


Please Log in or Create an account to join the conversation.
Please Log in or Create an account to join the conversation.

Please Log in or Create an account to join the conversation.
Please Log in or Create an account to join the conversation.

Please Log in or Create an account to join the conversation.
Please Log in or Create an account to join the conversation.
Please Log in or Create an account to join the conversation.
Please Log in or Create an account to join the conversation.


Please Log in or Create an account to join the conversation.

Please Log in or Create an account to join the conversation.
") something like this:
something like this:Please Log in or Create an account to join the conversation.
Please Log in or Create an account to join the conversation.


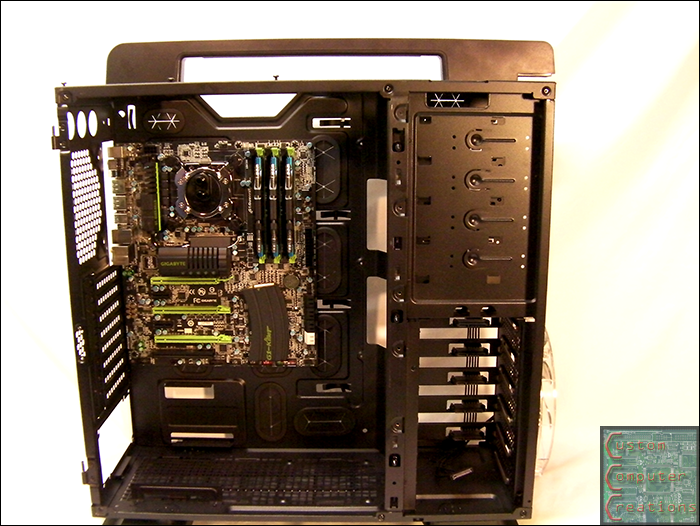
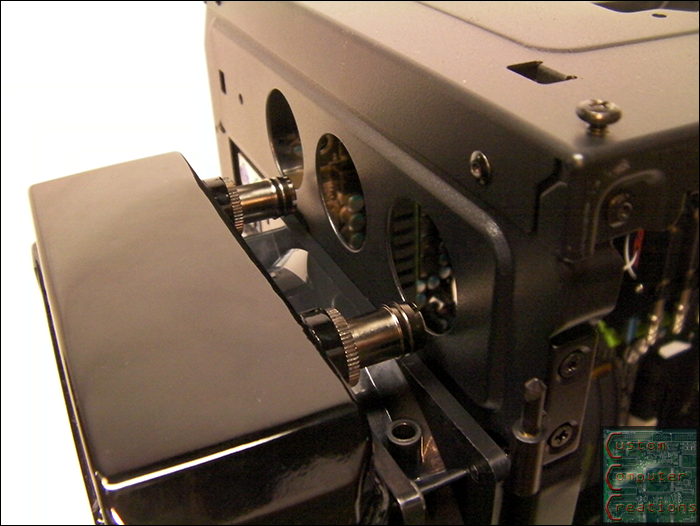
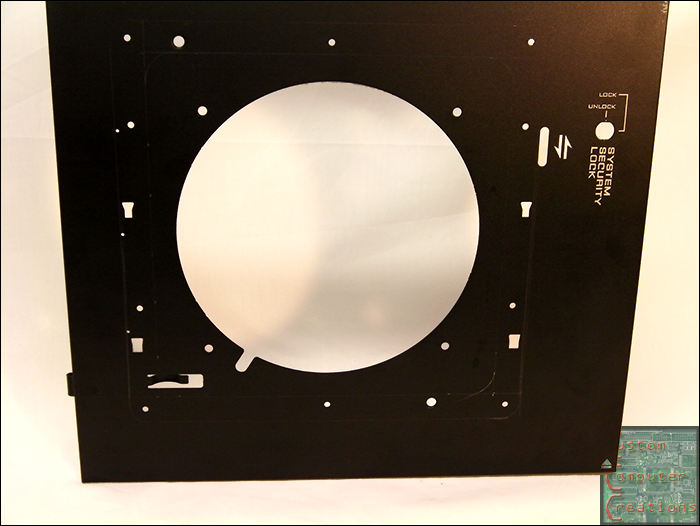
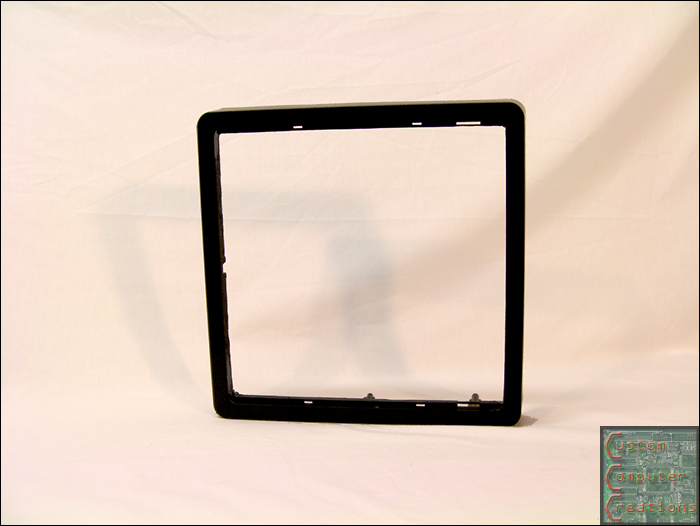
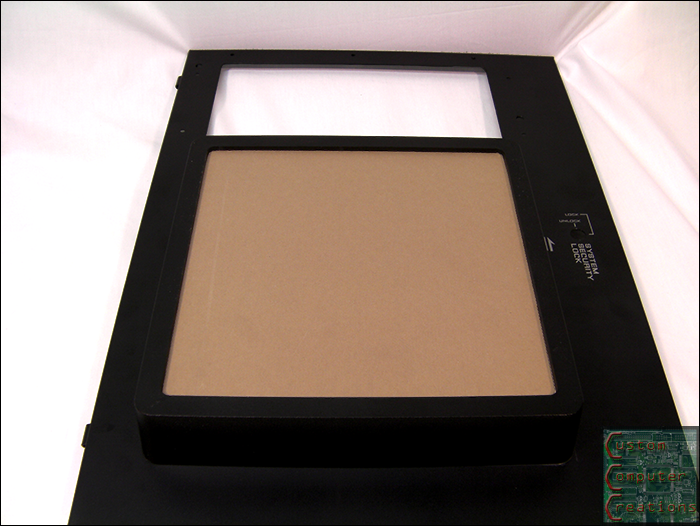
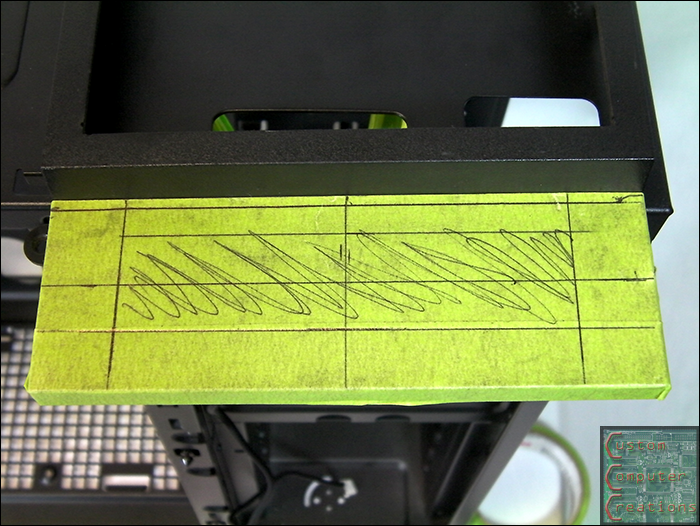
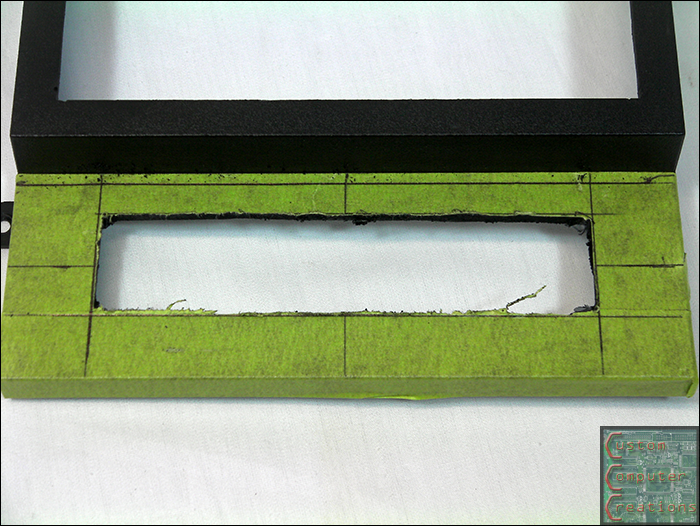
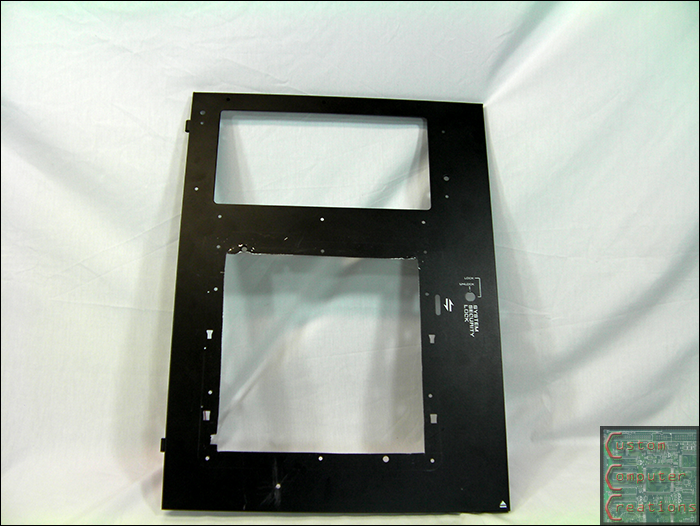
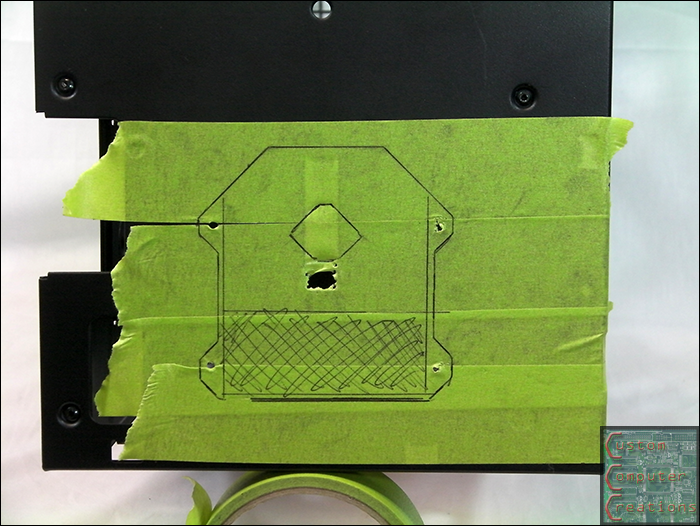
 This took a LOT of time as the window had to be a lot closer to perfect than the side one did. This window will also have components underneath, and both windows may have some etchings...we'll see on that later on.
 Please Log in or Create an account to join the conversation.
Please Log in or Create an account to join the conversation.
Please Log in or Create an account to join the conversation.
garfi3ld wrote: everytime i see you post up I get excited to see whats next
")
")
Please Log in or Create an account to join the conversation.

Please Log in or Create an account to join the conversation.
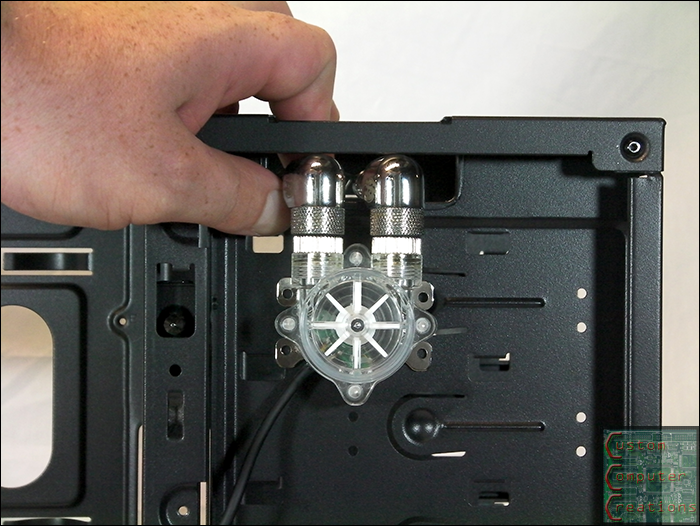
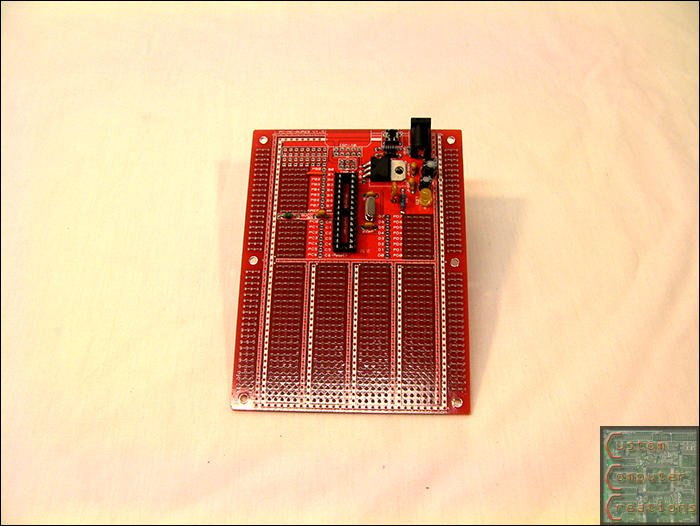
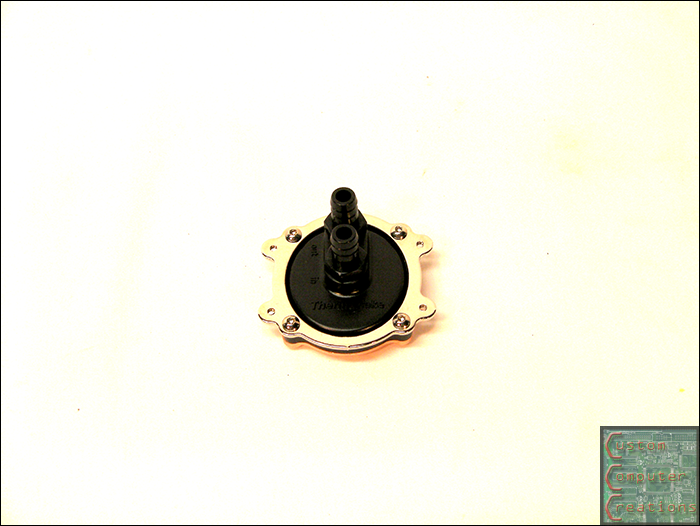
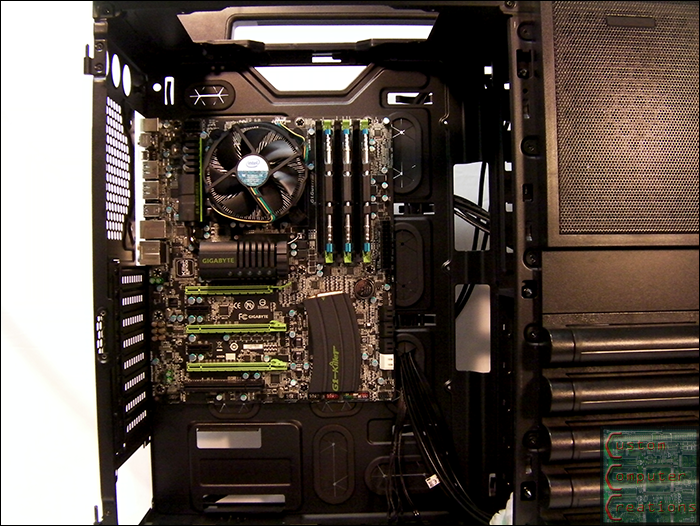
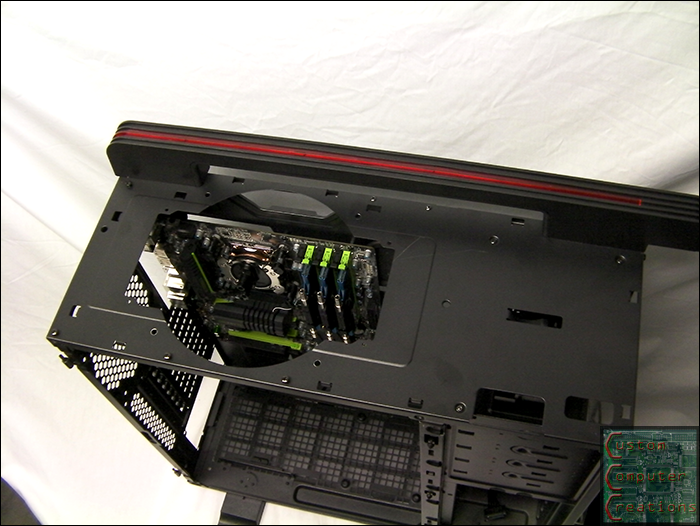
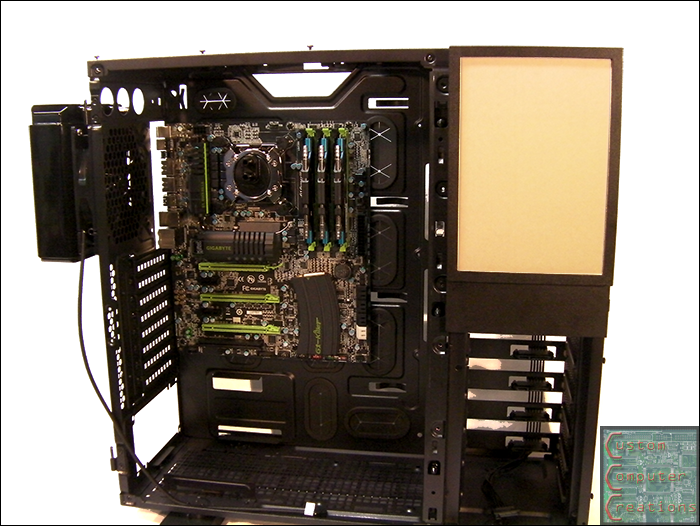
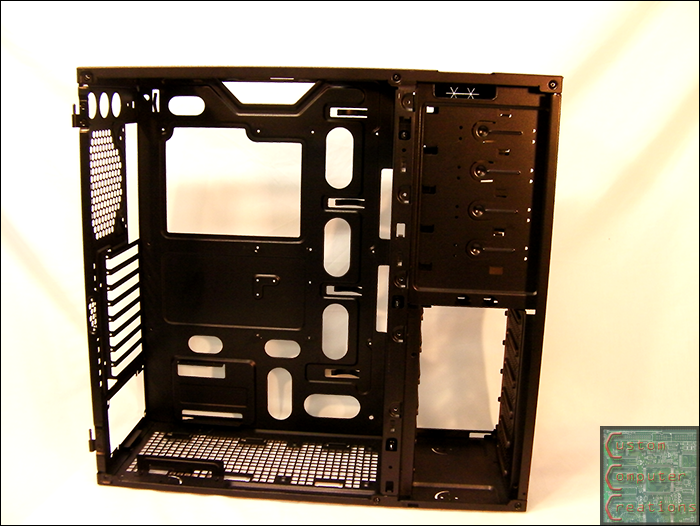
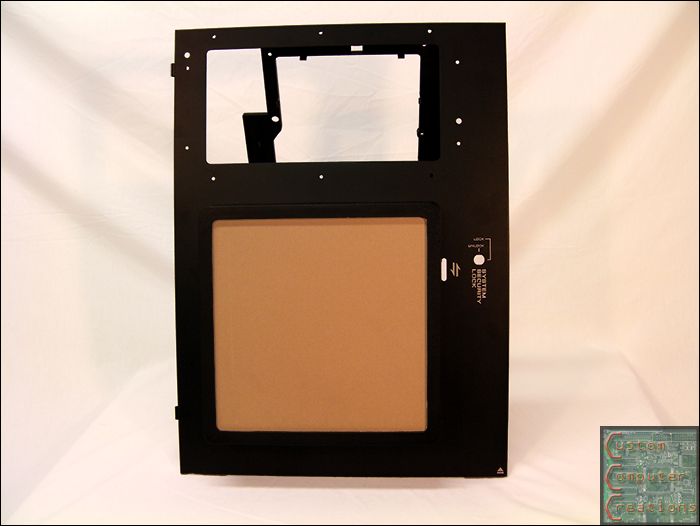
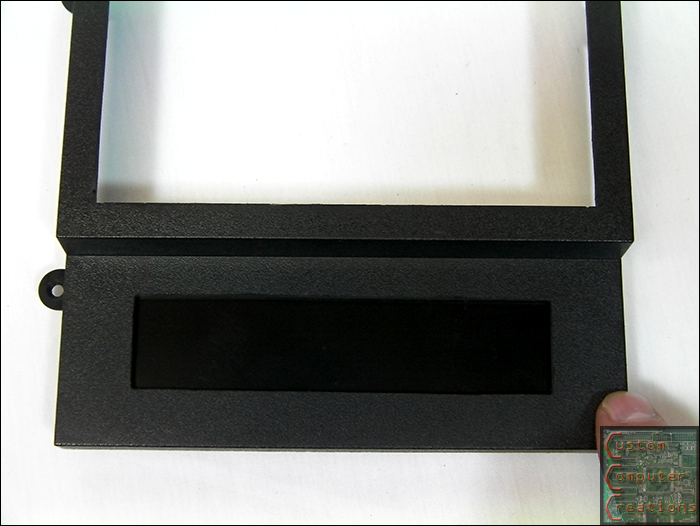
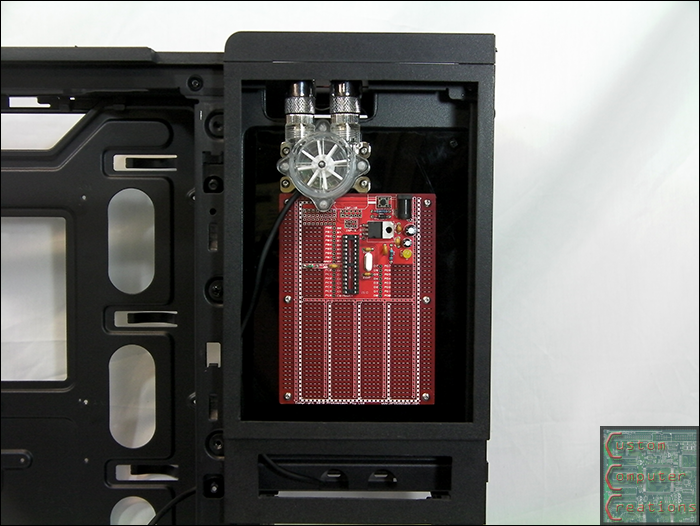
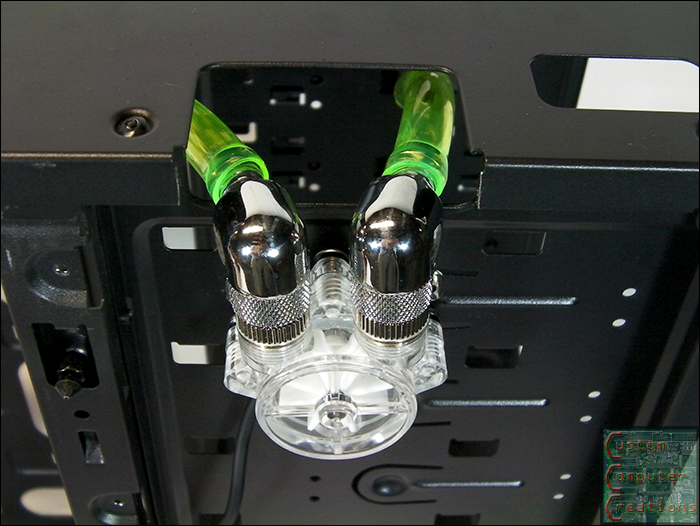 This will be visible behind the window I put into the side panel, along with one of the protoboards from ProtoStack. I've got an idea of what to use the board for, now I just need to make it happen
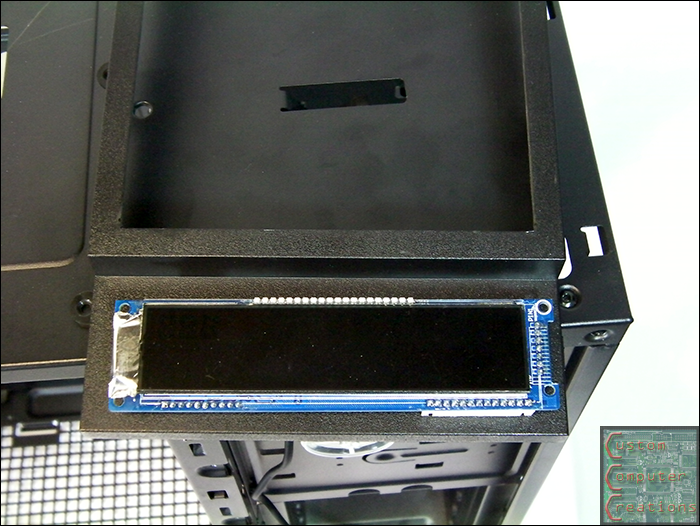
Please Log in or Create an account to join the conversation.
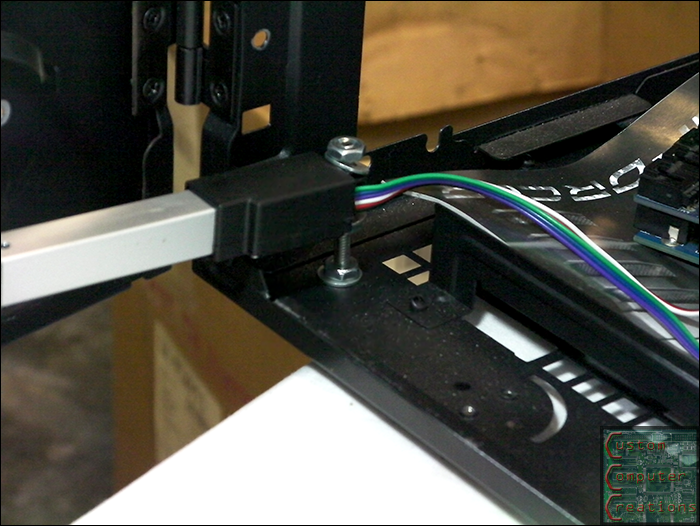
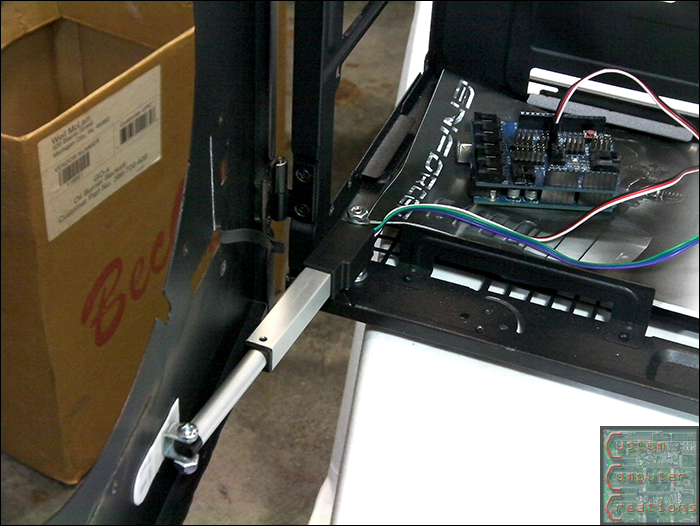
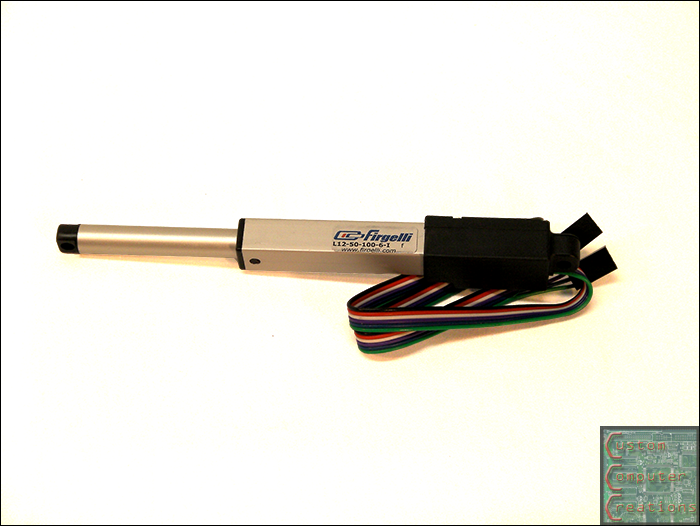
 I set the code to run the actuator full open, wait 9 seconds, then full close, repeat. The reason for 9 seconds is that it takes ~4 seconds for the actuator to fully extend or retract.
Please Log in or Create an account to join the conversation.
Please Log in or Create an account to join the conversation.
I've got 11 total forums to post on AND my facebook lol.Please Log in or Create an account to join the conversation.
Please Log in or Create an account to join the conversation.
Please Log in or Create an account to join the conversation.


Please Log in or Create an account to join the conversation.
Please Log in or Create an account to join the conversation.
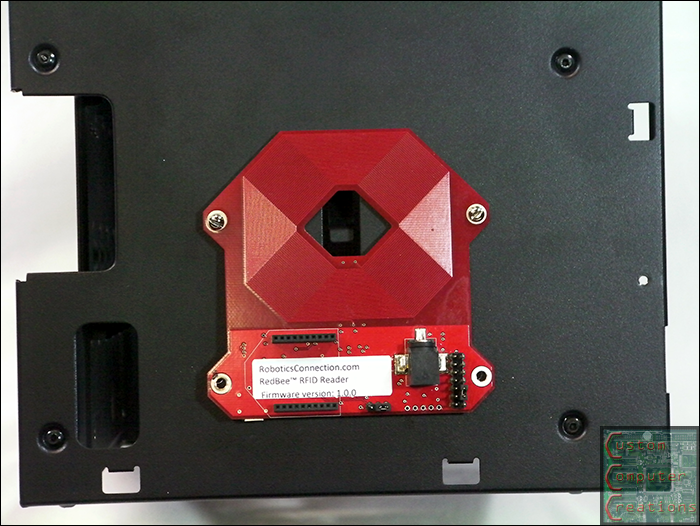
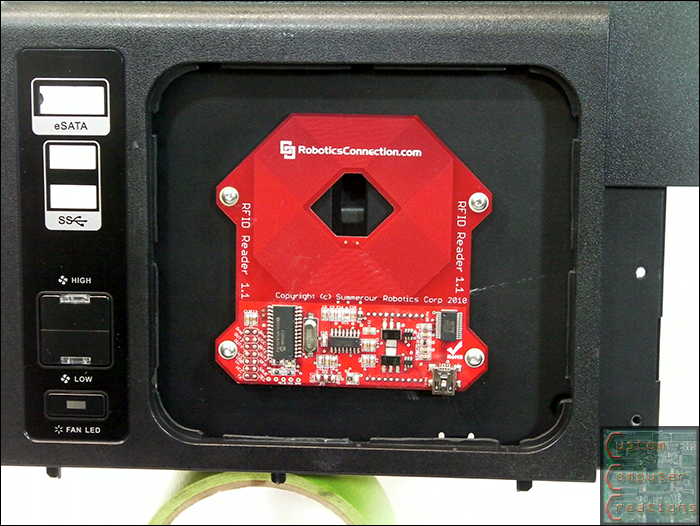
Lersar wrote: Very cool to see that RFID reader in there
Please Log in or Create an account to join the conversation.


Please Log in or Create an account to join the conversation.

Please Log in or Create an account to join the conversation.
