Installation
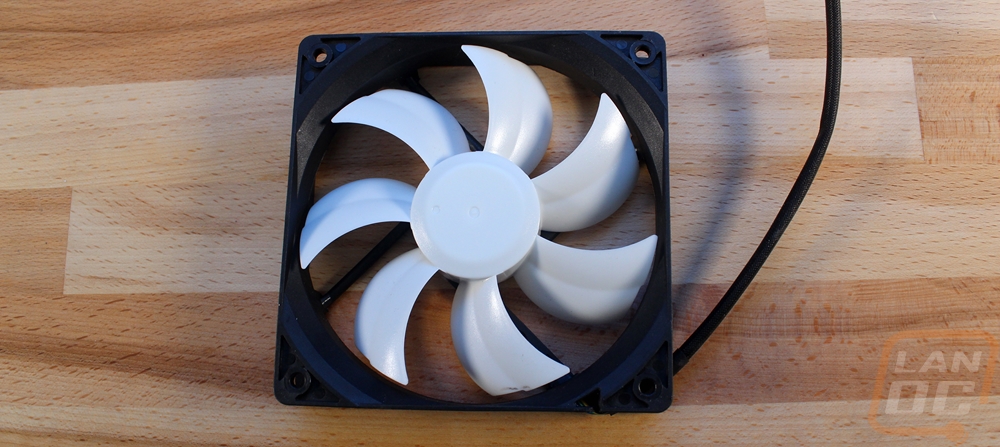
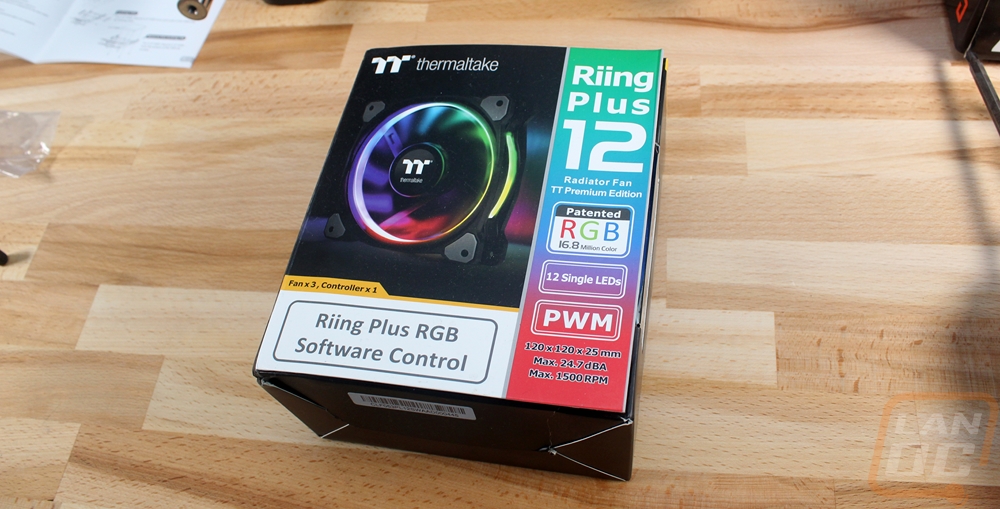
Before testing out the Core P1 I had to get a full PC built inside and luckily Thermaltake also sent along a few other toys to help with that. They sent over a Water 3.0 Extreme S kit for water cooling but the black and white fans weren’t really going to do anyone any favors in this very open case. To help with that they also sent a Ring Plus 12 set of RGB fans. So before I get started let's take a quick look at both.
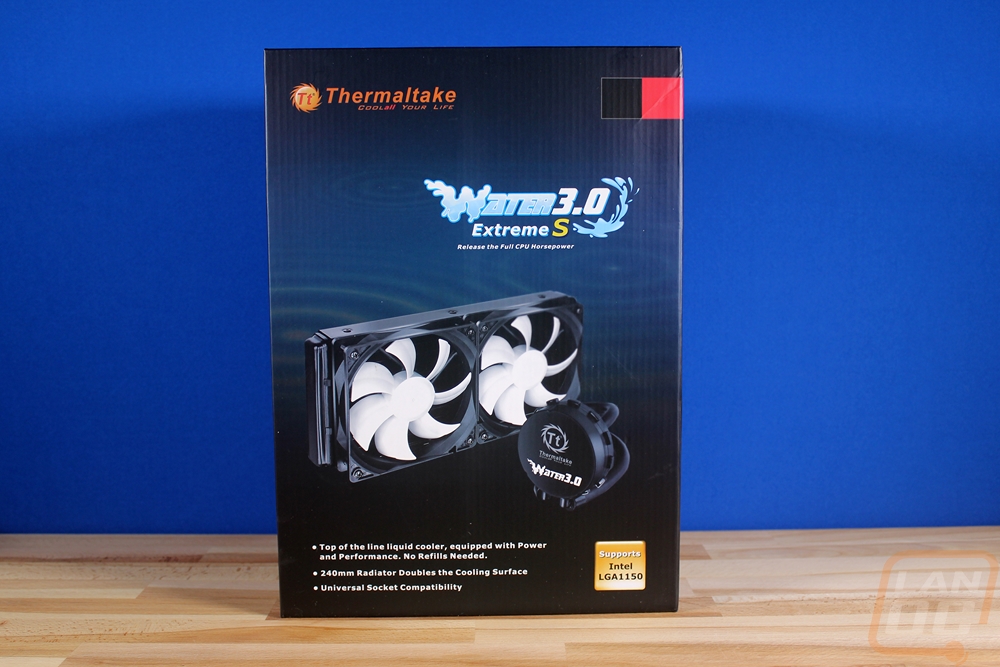
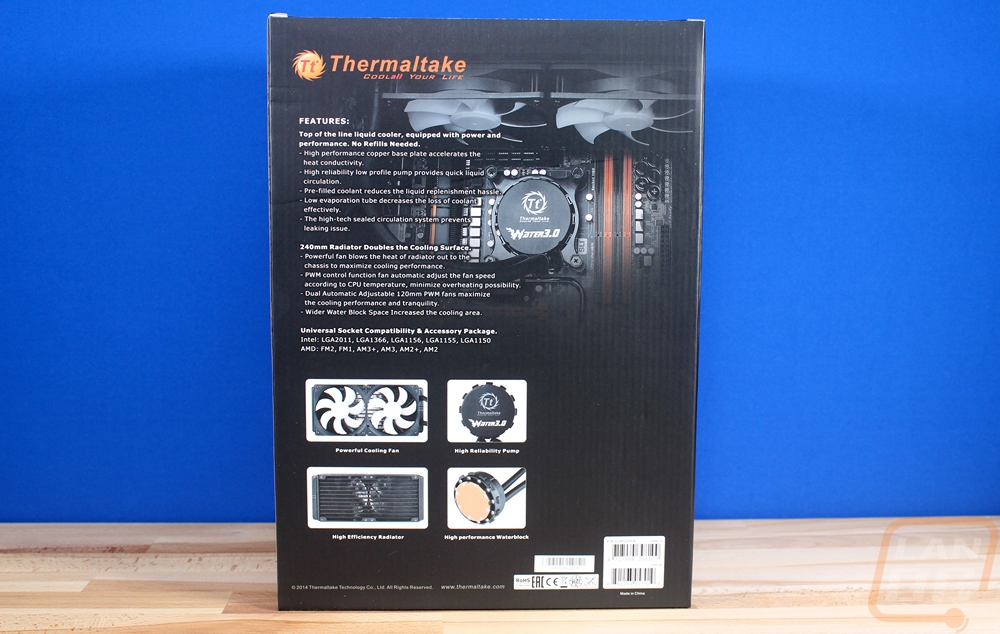
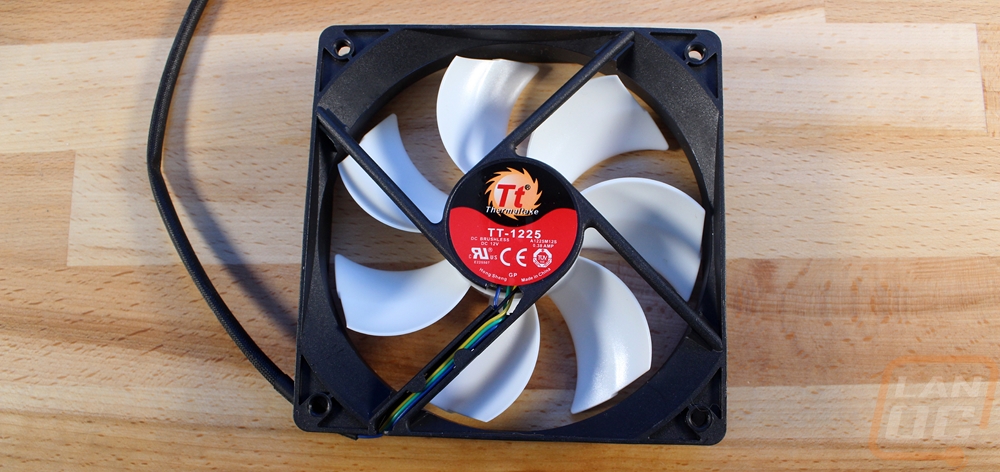
The Water 3.0 Extreme S AIO kit is actually the same kit that I used in our D-Frame build a long time ago before going full custom on it as well. It is reasonably priced and has decent performance, on par with any of your 140mm AOI kits. This is MORE than enough to keep the 7700k in this build cool.
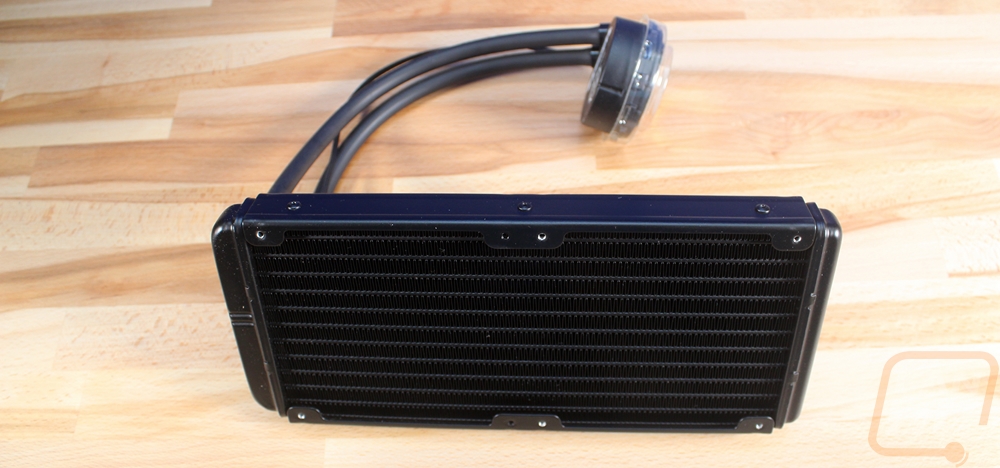
So yeah, those black and white fans would actually look good in a lot of builds but not in this one.
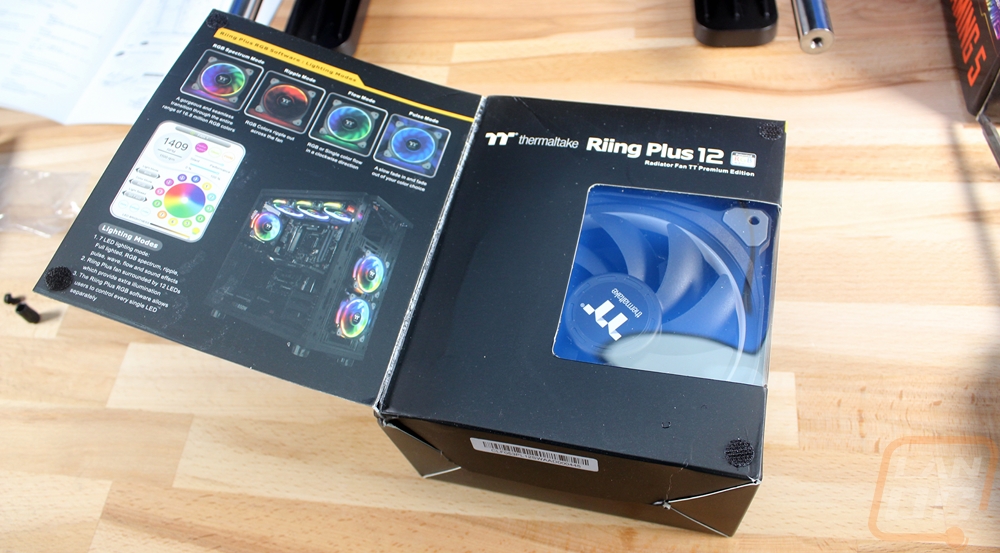
The Ring Plus 12 kit had three 120mm ring fans along with a control box to power everything. The fans don’t actually hook up to any of your motherboard's fan headers, instead, you feed it SATA power then hook it up to USB 2.0 to control the speed and lighting.
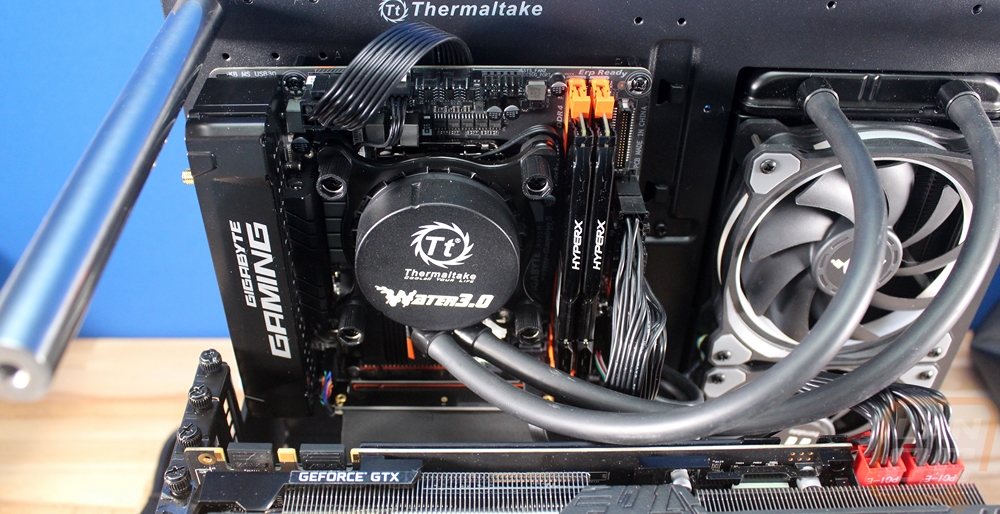
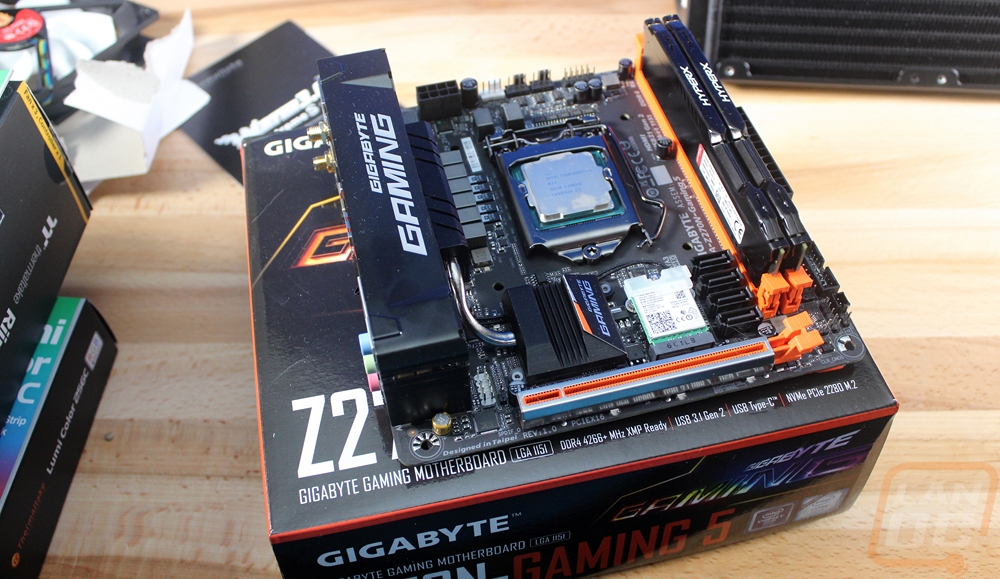
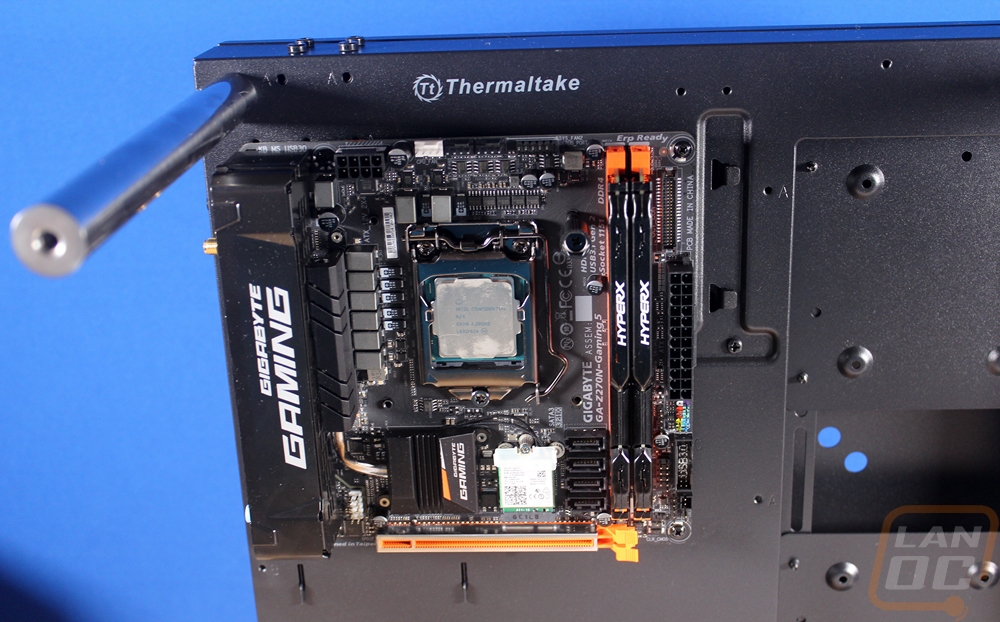
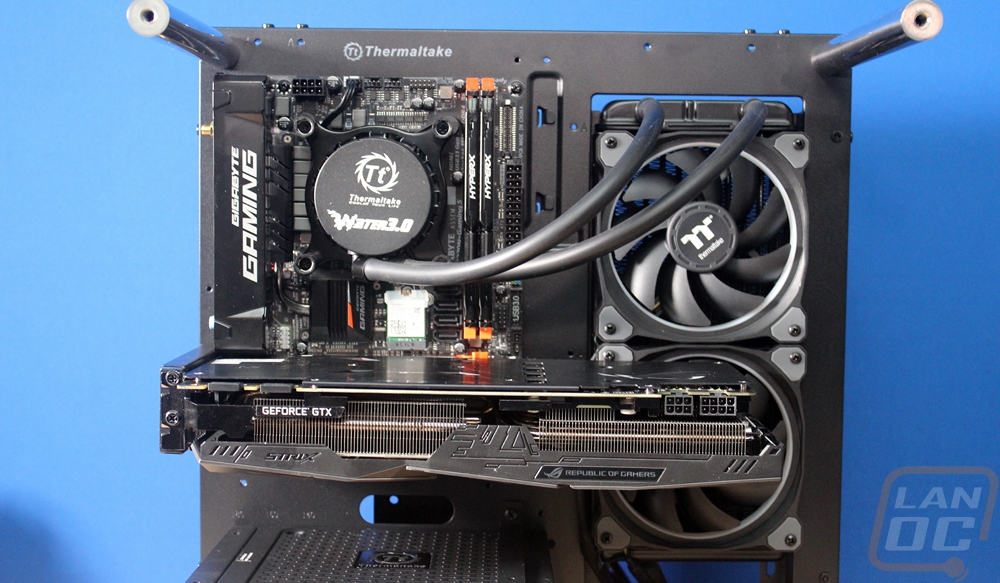
So around the time of starting my testing of the Core P1, I was also reviewing the Gigabyte Z270N Gaming 5 so I figured why not use that to test out the Core P1. I dropped in the 7700K and 16 gigs of HyperX DDR4 as well to round everything out. I have to admit the board looks really good in there! The Core P1 uses extremely tall standoffs for the motherboard but as you will notice there also aren’t any wire management holes around it, the tall standoffs give you room to run the cables up from a large hole in the middle under the board.
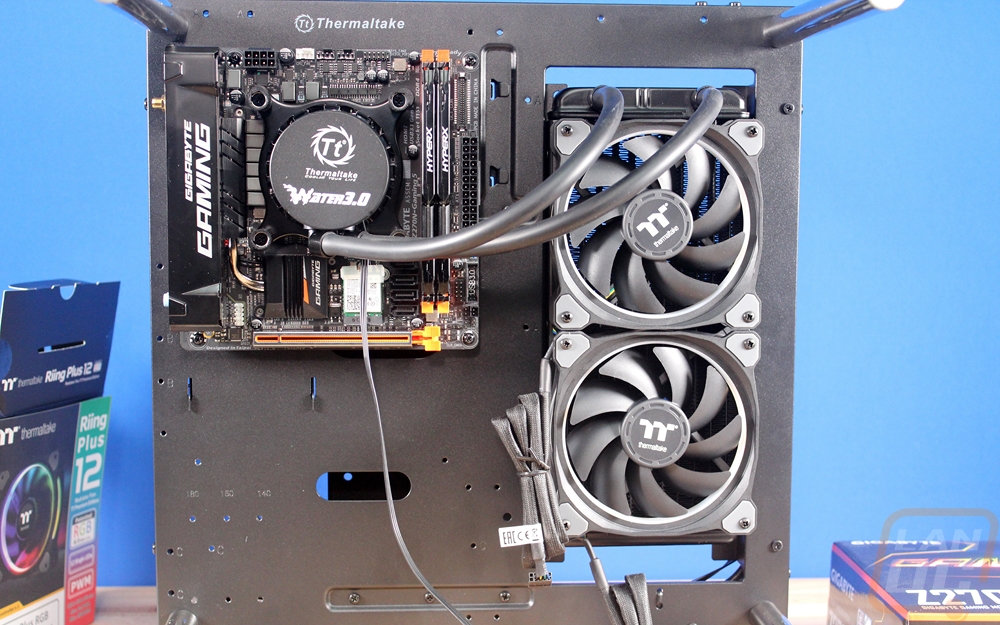
With the motherboard installed I then started in on getting that water cooling kit installed. I installed the two Ring fans on to the radiator first. Then I installed the radiator into the case with eight screws though four would have been more than enough. The screws on the left side in the middle were a little harder to get at because of the wires coming out of the front panel. Then from there, I installed the pump onto the motherboard. The distance from the CPU to the radiator was just right for the AIO kit.
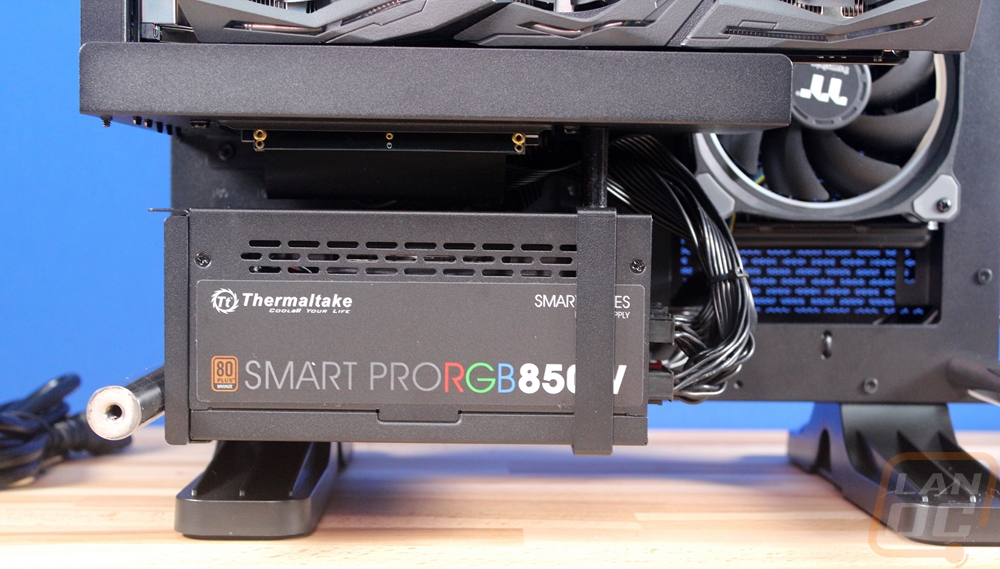
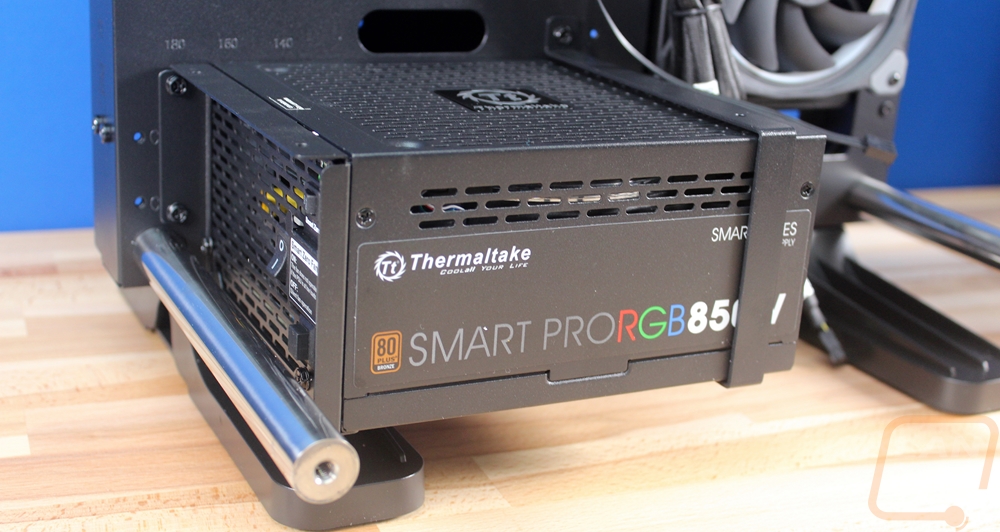
Installing the power supply required two brackets. One mounts to the power supply with your standard four screws then screws to the case. Then the second mount is a bracket that goes around the power supply for support on the back half. The second bracket is open and does leave room for longer power supplies if needed, though I wouldn’t recommend trying to pack a long one in the Core P1 if you plan on also using water cooling.
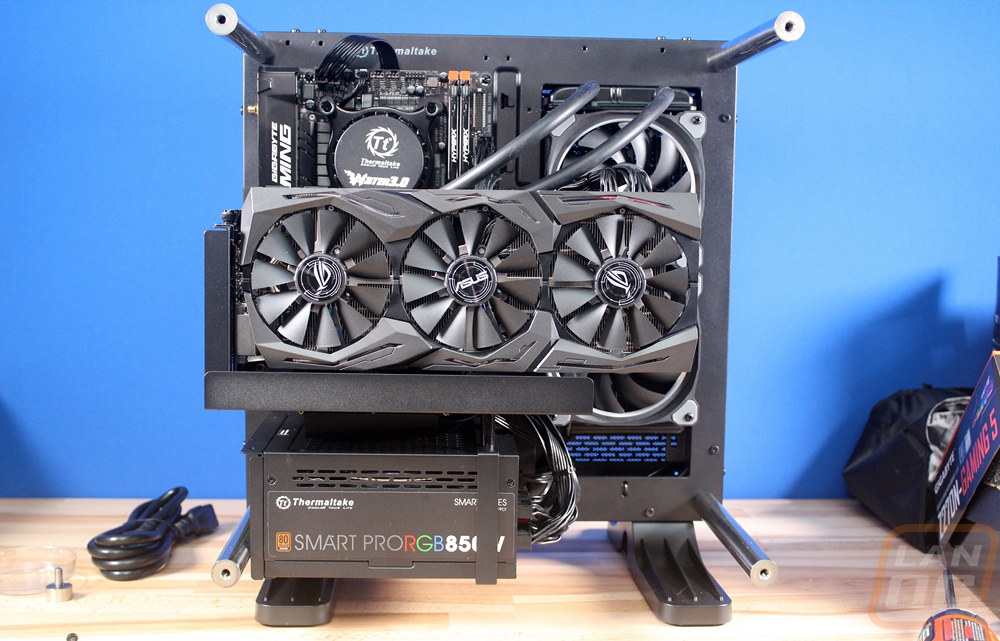
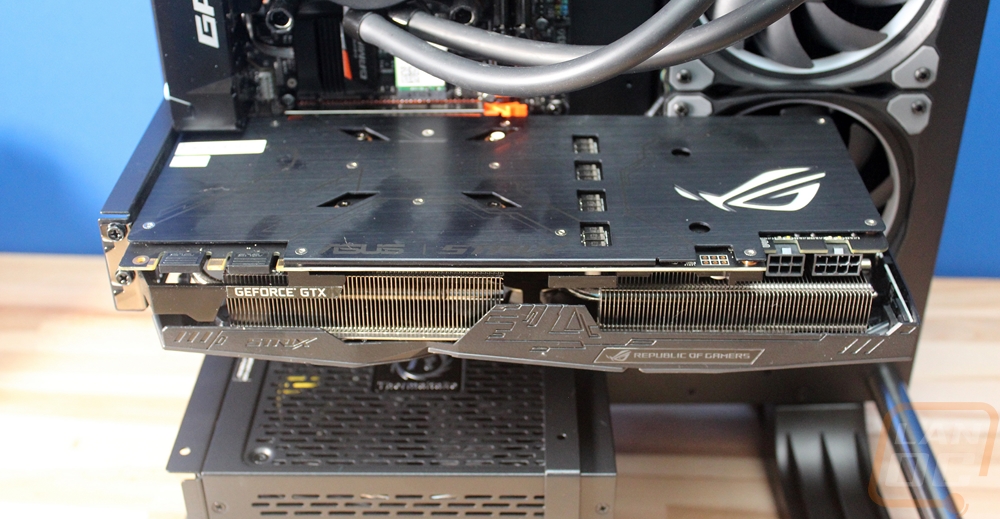
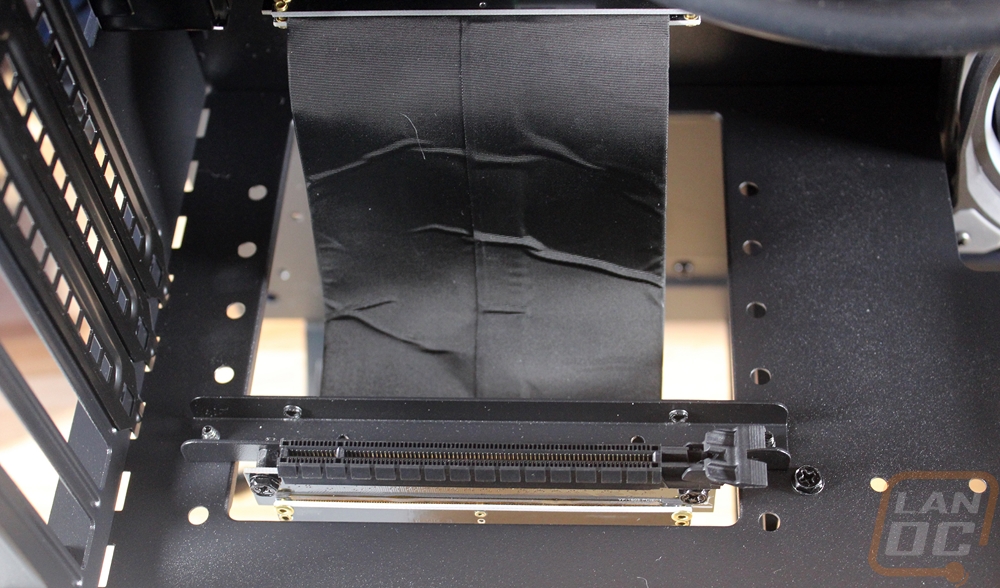
So for your video card or whatever PCIe device, you plan on hooking up you have two mounting options with the Core P1. You can mount it standard like in the two photos below. This mount is a simple double slot bracket that bolts to the case in two places.
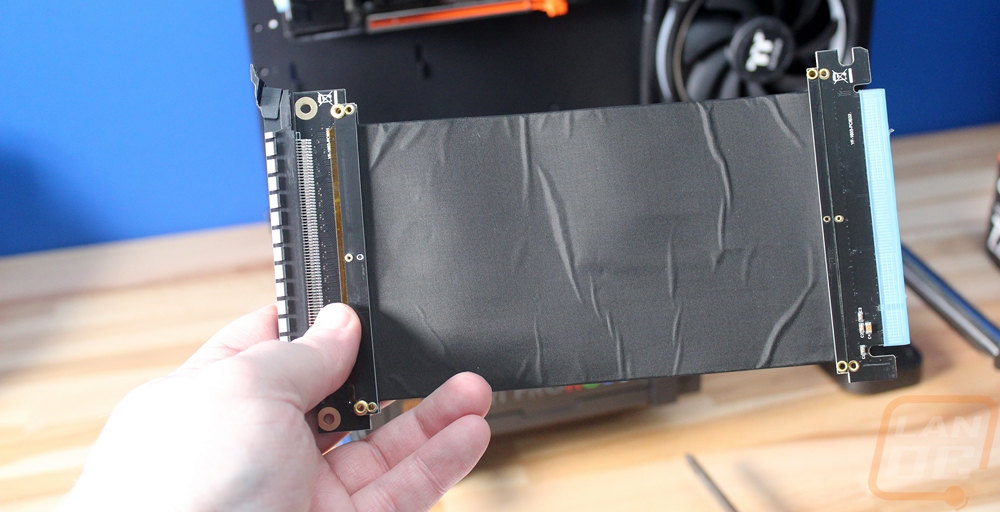
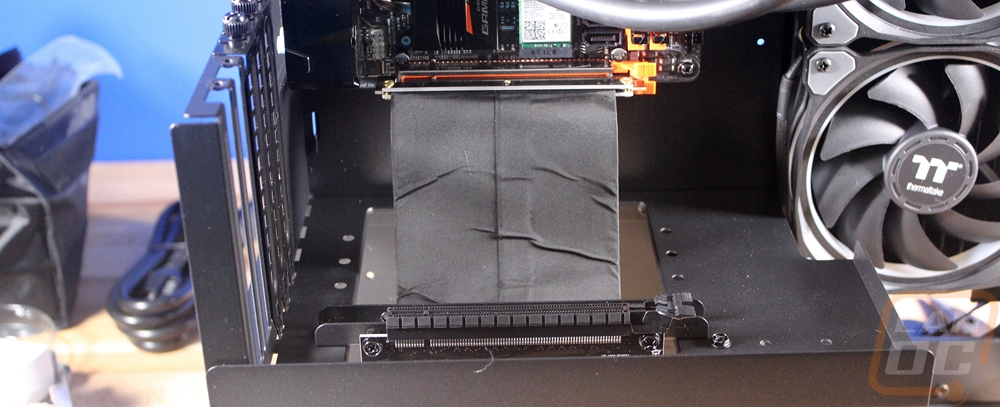
The second mounting option is a little different and is what I bet a lot of people like the most about the Core P1. This mount pulls your video card away from your motherboard and faces up so you can actually see the cool side of the care. To do that they include a PCIe riser cable and then you have to mount two brackets together. In addition to that, you have to pull the power supply back out to mount that bracket to it as well. THEN on top of all of that, you have to install the PCI riser cable on to the bracket as well. You have 5 slots available depending on how you want to position your card. This is important to have with thick cards and potentially for clearance on water cooling components too but I will get to that in a minute.
So I didn’t need the bracket at the time because I was using an AIO cooler, but here is a look at the included mounting bracket for custom water cooling. You can mount pumps and reservoirs to this one but note that they have two main slots. This depends on if you install your video card towards the glass or back towards the motherboard.

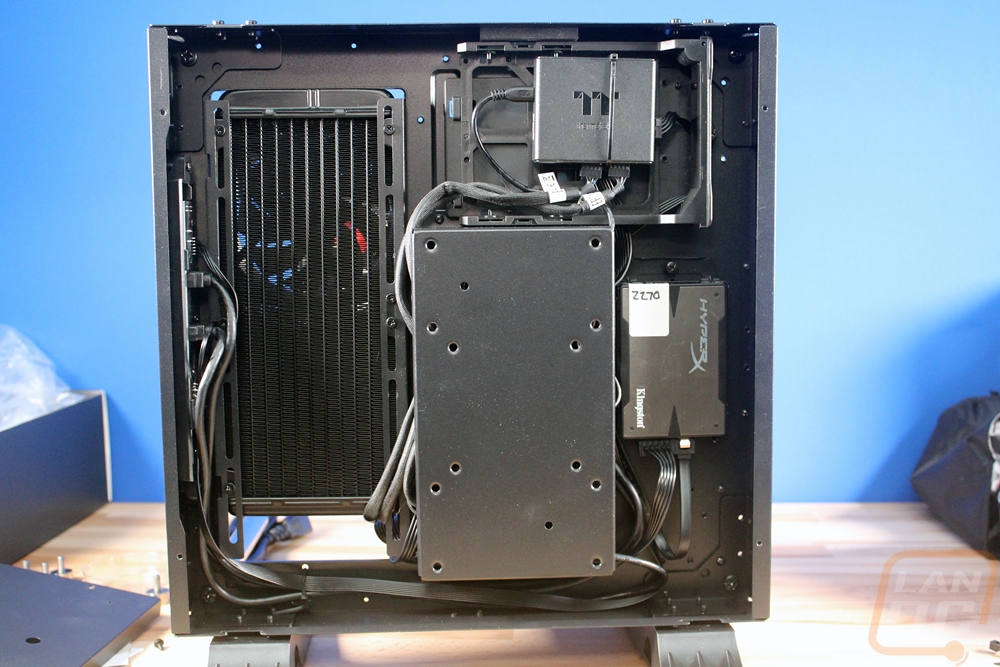
So with the main components installed I then had to get our SSD installed and get everything wired up. Wiring in the Core P1 could have been a disaster with basically no wire management holes but it turned out better than I expected. I routed the 24 pin and the GPU power directly from the power supply to their locations, then for everything else I ran it out the hole under the board using the wall mount bracket to keep everything hidden from view even from the back. Now the Ring fan controller was tricky but at least for now I have it installed in the 3.5-inch hard drive tray. This left the left side of the inside of the case clear for airflow coming from the fans as well.
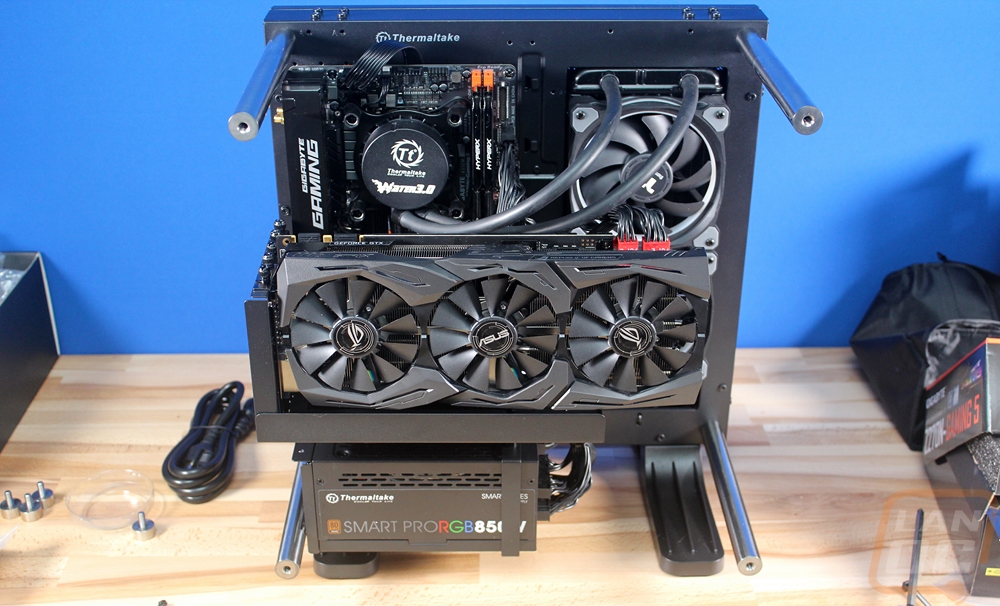
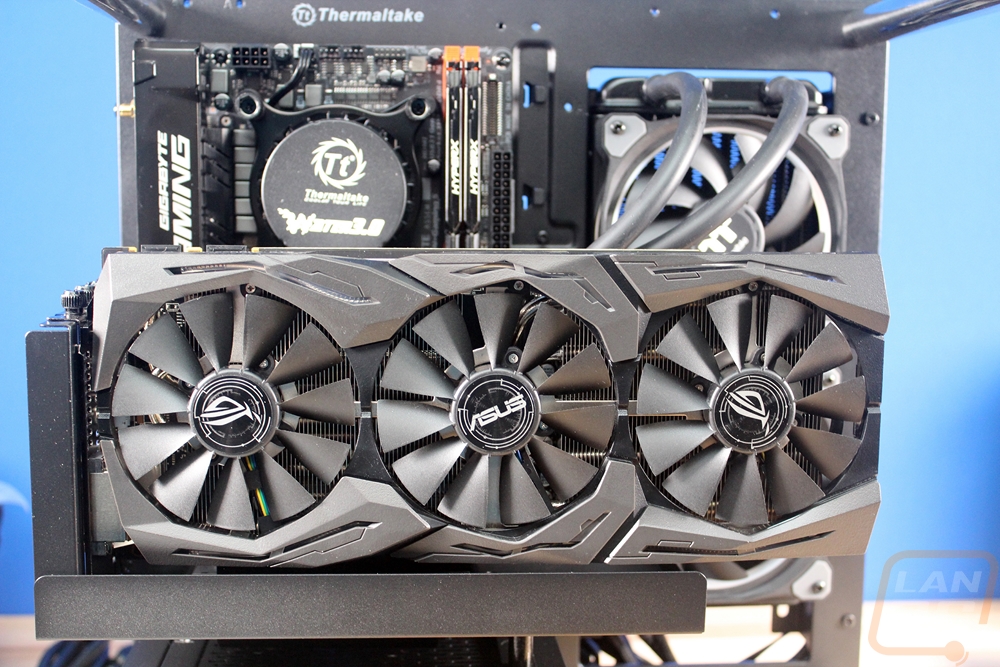
From the outside, the whole package looks even better. The huge GTX 1080 video card fills out the Core P1 really well, so much so that it blocks a lot of the view of the motherboard and new RGB fans but it was well worth it.