Outside
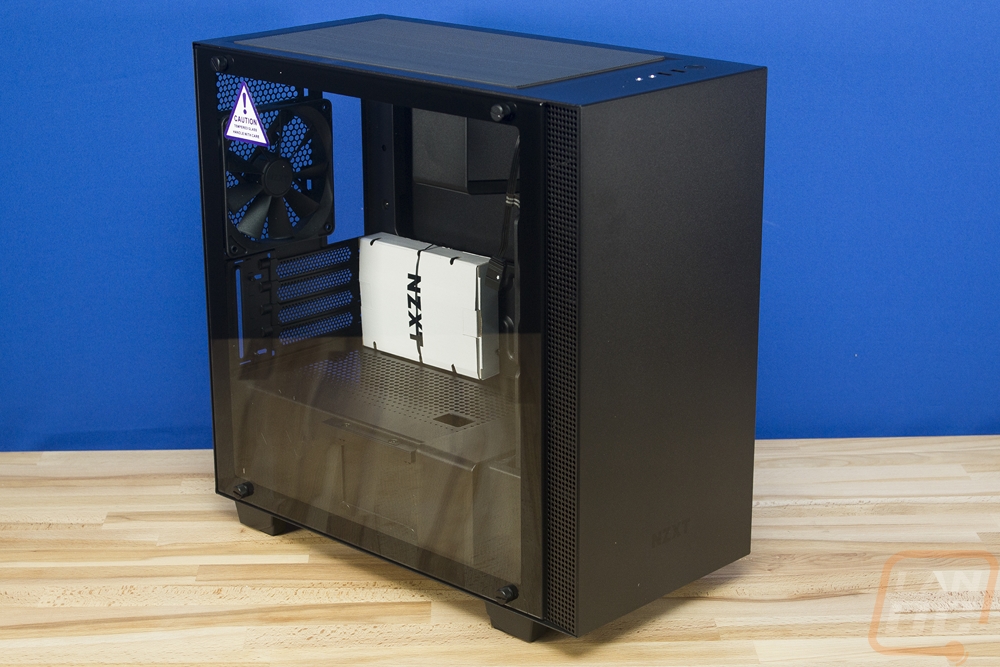
So before getting an H400i, you do need to figure out what color combination you want to go with. NZXT has models with black on the outside and red or blue trim that are really sharp. Then there is a while exterior model with black trim like what was on the packaging. Then lastly is the black on black model that I’m checking out today. This is the least flashy of all of the cases and it almost looks like a standard setup but having everything blacked out is a great look. The H400i is 417mm tall or just under 16 and a half inches. The H700i that supports full ATX is 516mm or 20.3 inches tall so it is noticeably smaller. It is 20mm thinner and is 73mm shorter on the depth by not having to support those EATX boards.
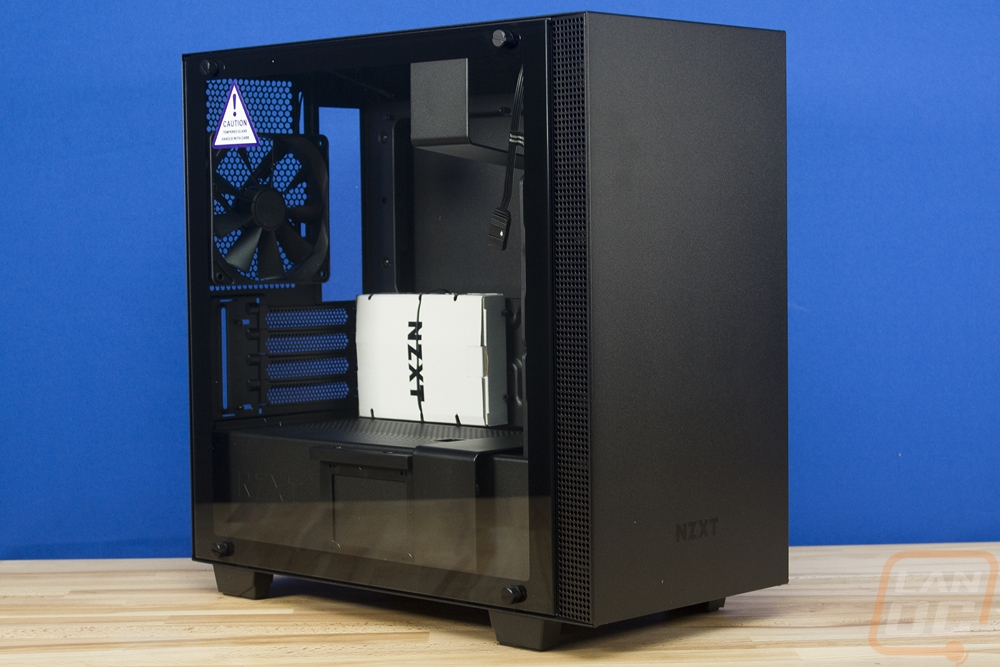
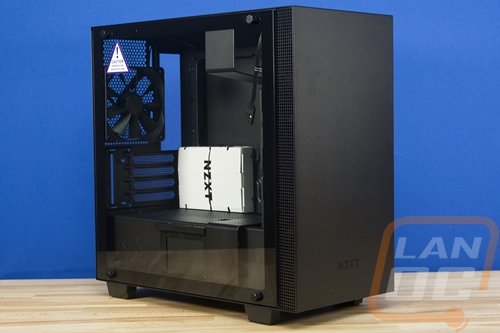
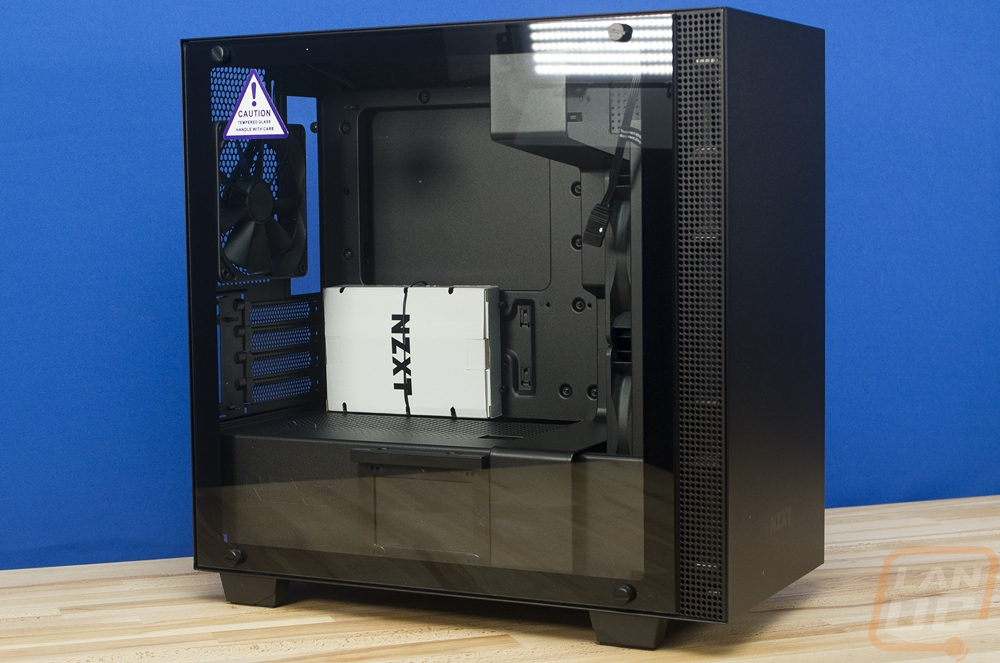
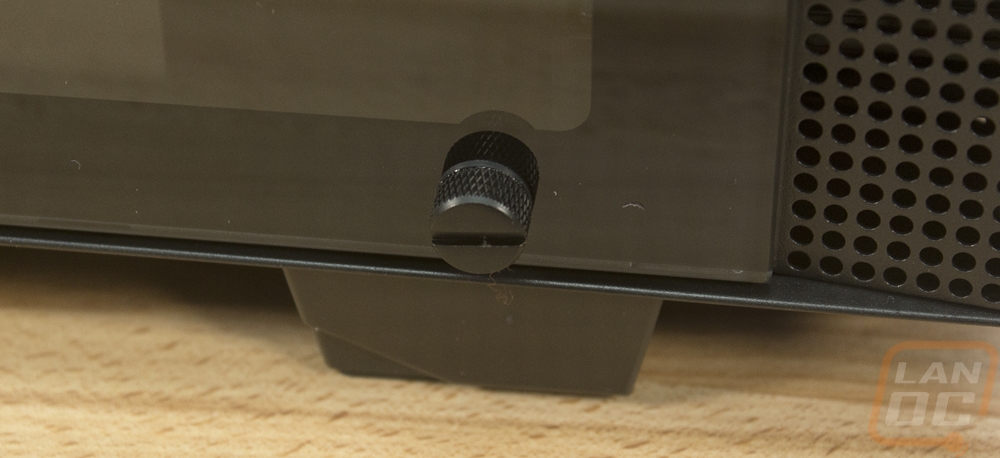
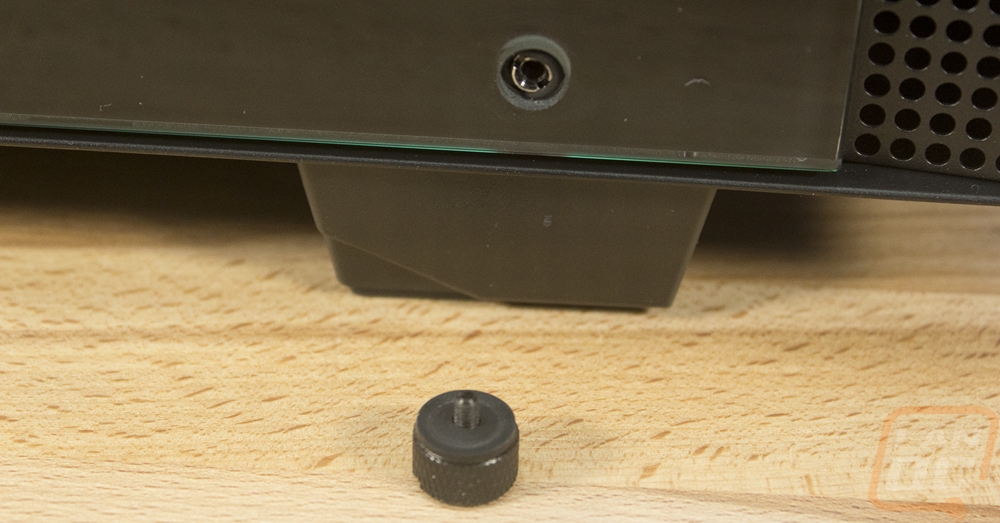
One of the key features of the H400i is its tempered glass side panel. NZXT didn’t try to put glass on every side like some companies have been doing. Just the left side has glass. The glass isn’t tinted like most have been doing as well. They did, however, paint around the inside on the outer edge to make sure to cover up all of the mounting lip to make it look a lot cleaner. The side panel glass is held in place with four thumb screws. Each has rubber on the inside and then the mounting posts also have rubber to keep the glass from rattling or scratching. The only other thing going on the side panel is the perforated area just behind the front panel. It's not mesh, the metal case actually runs all the way up to the front without any plastic tricks. The ventilation is on both sides for the front mounted fans to get airflow while having a solid front panel.
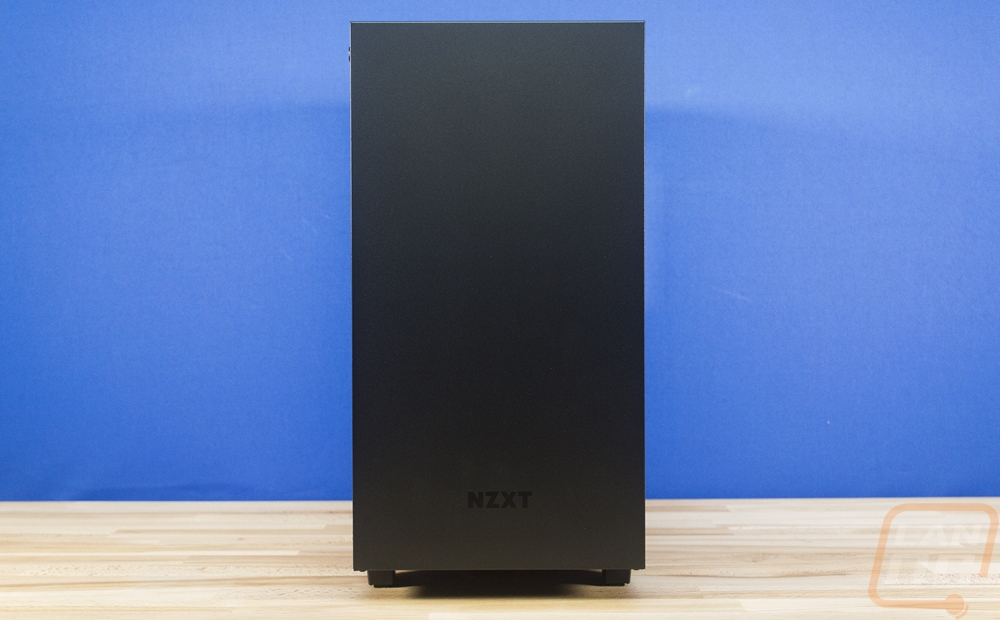
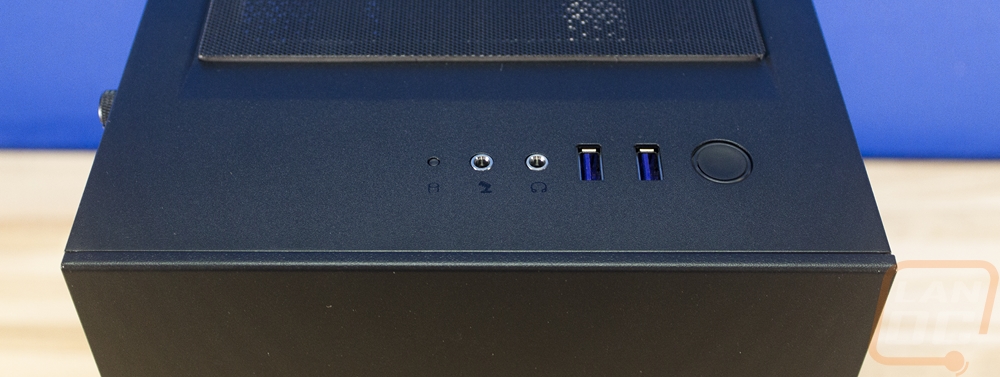
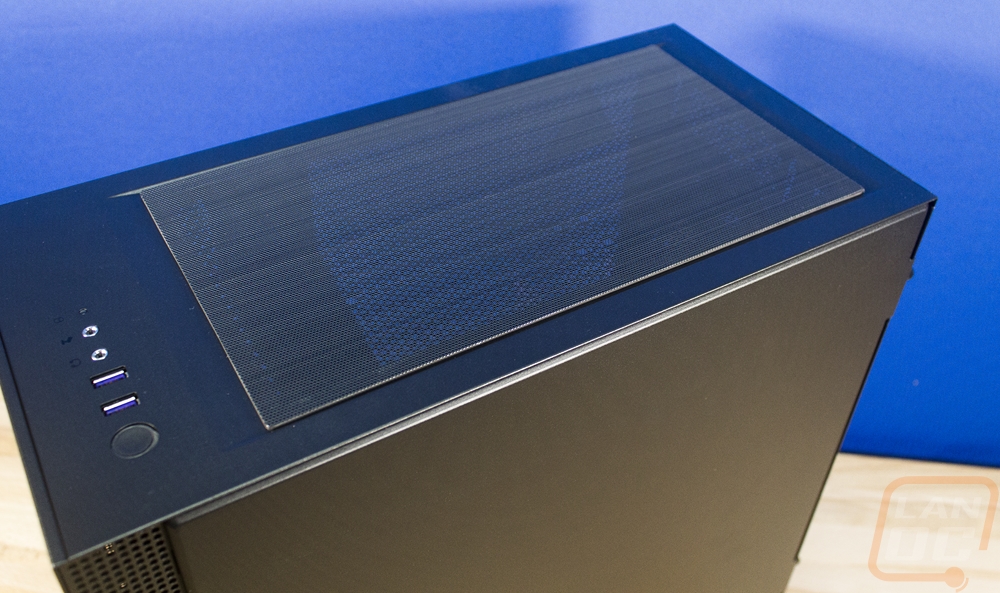
Speaking of the solid front panel here it is. The NZXT logo is printed on down at the bottom and that is all that is going on. Just around the top edge though they did slip in the front I/O. Like the front of the case, the I/O is as clean and simple as possible. You have a hard drive activity LED over on the left and microphone and headphone jacks. There are two USB 3.1 Gen 1 ports and then a single power button with an LED ring around it. The button feels solid and is blacked out matching the rest of the case.
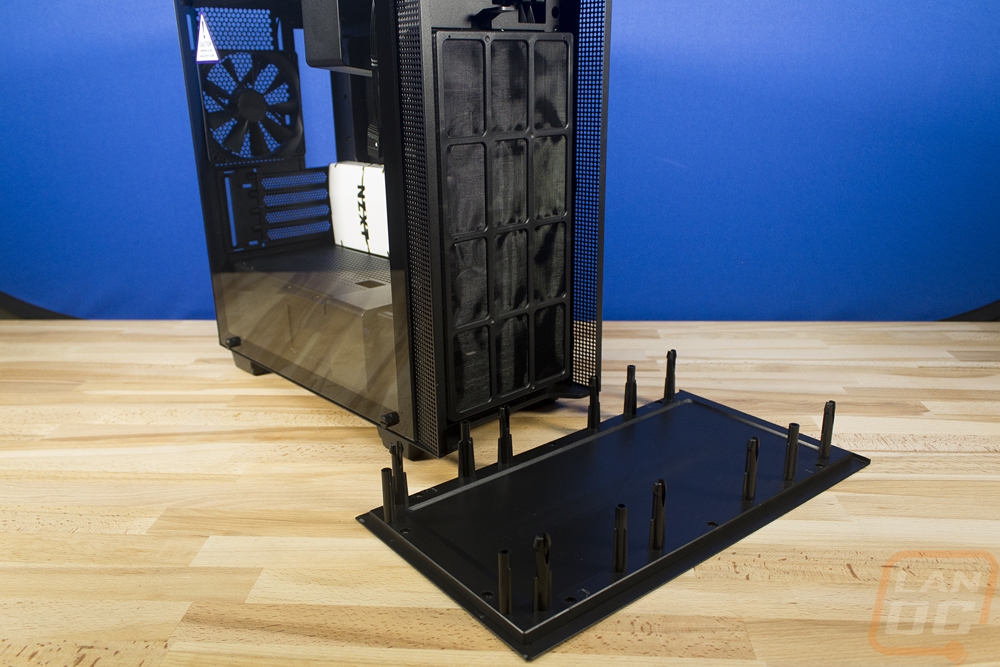
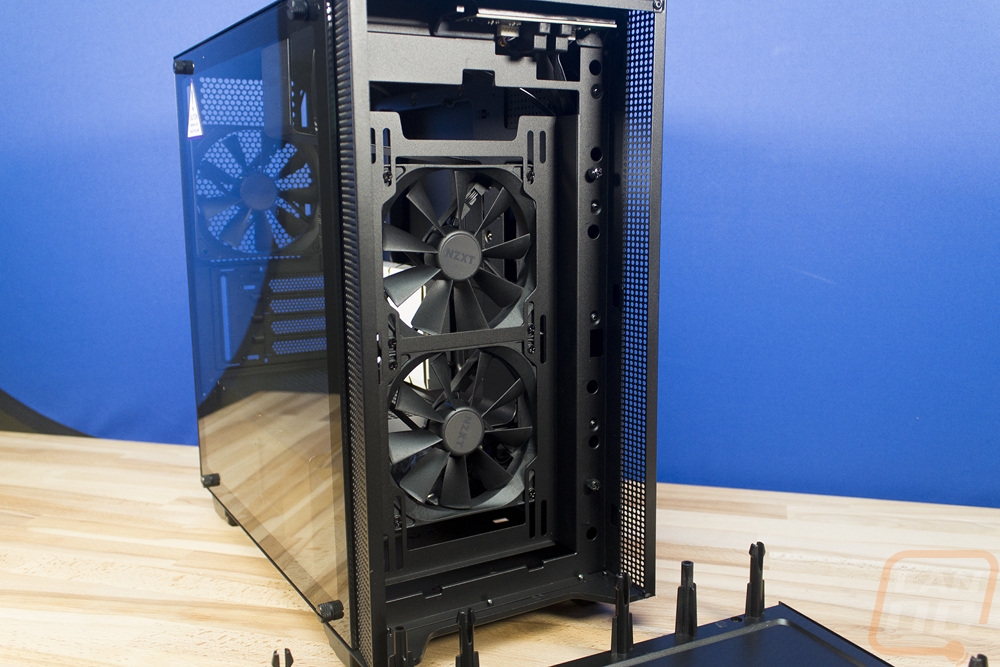
While the front panel is steel, just like the rest of the case, they did attach plastic mounting pegs. So if you grab up under the bottom of the front panel and pull you can pull it off. Behind the panel, we can better see how the two perforated side vents help with the airflow. The bottom where you grab the panel is also open for airflow as well. Then so you can keep your case clean, there is a full height removable fan filter. It clips in up top and latches in the bottom but the top clip was a little finicky for me. I also love that pulling the front off gets full access to the PCB under the front I/O as well as the removable connections. This doesn’t seem important, but if you ever have issues in the future with the front I/O it should be easy to replace without having to ship out your entire case.
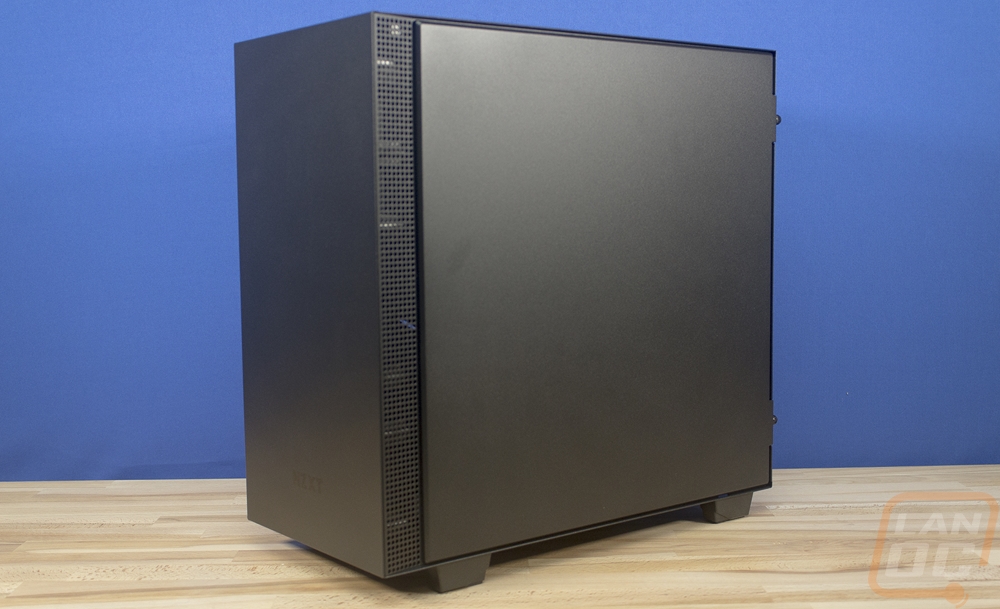
So the right side of the case, well this is the red-headed stepchild, isn’t it. Sure it has the same vent along the front edge but the rest of the side panel is metal, not a fancy tempered glass like the other side. The side panel does attach easily though. It has two built-in thumbscrews on the back and it latches in kind of like a car door so it is easy to take the panel off. No pushing hard and sliding hoping each hook latches in.
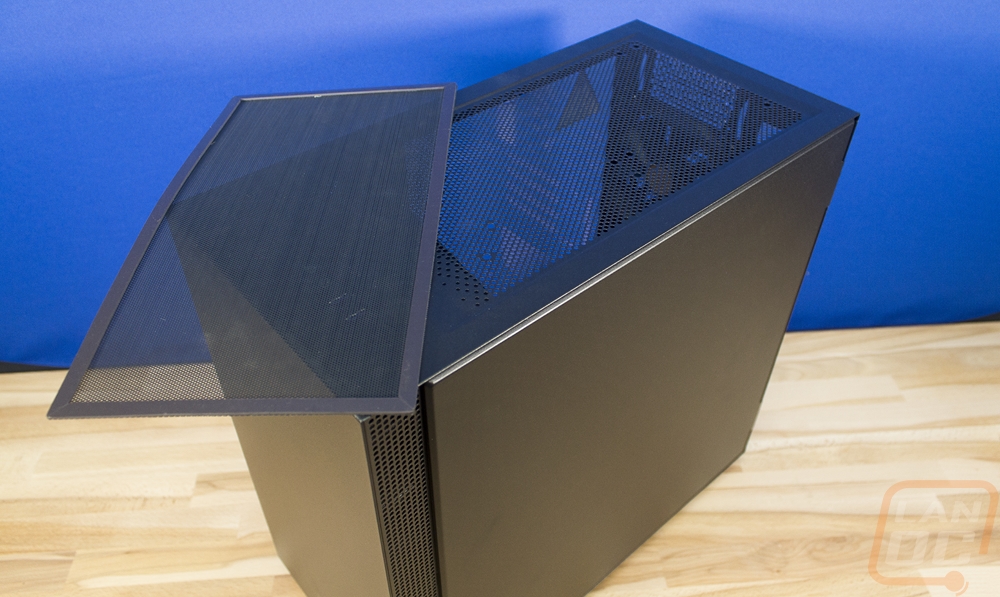
Up on top of the case, it is once again all sheet metal. I already touched on the front I/O but the rest of the top is also vented. I love that NZXT dented the vent in so that the included magnetic fan filter sits flush with the rest of the case. After pulling it off you can also see that they went even wider than the fan mounts with the venting for even more potential airflow. The top does have mounting for both 120mm and 140mm fans in a dual configuration. They are offset to the left side to allow for better clearance with the motherboard as well.
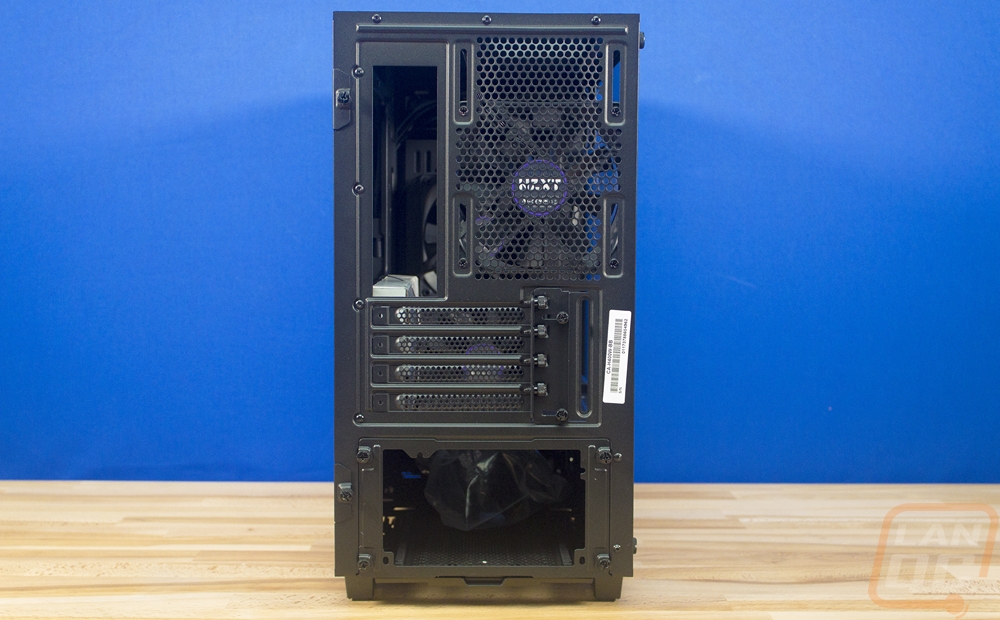
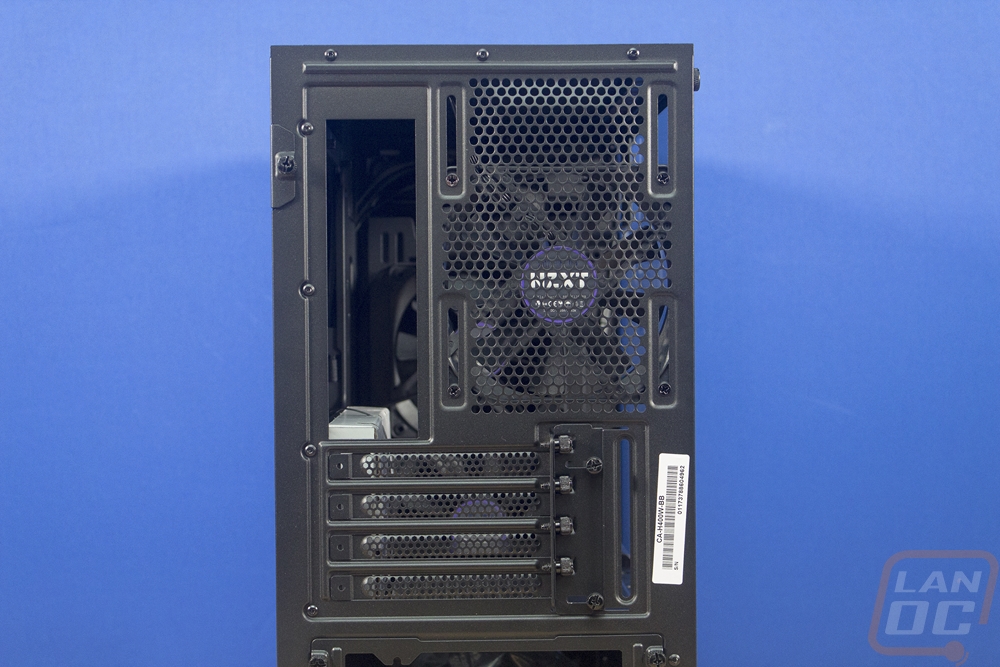
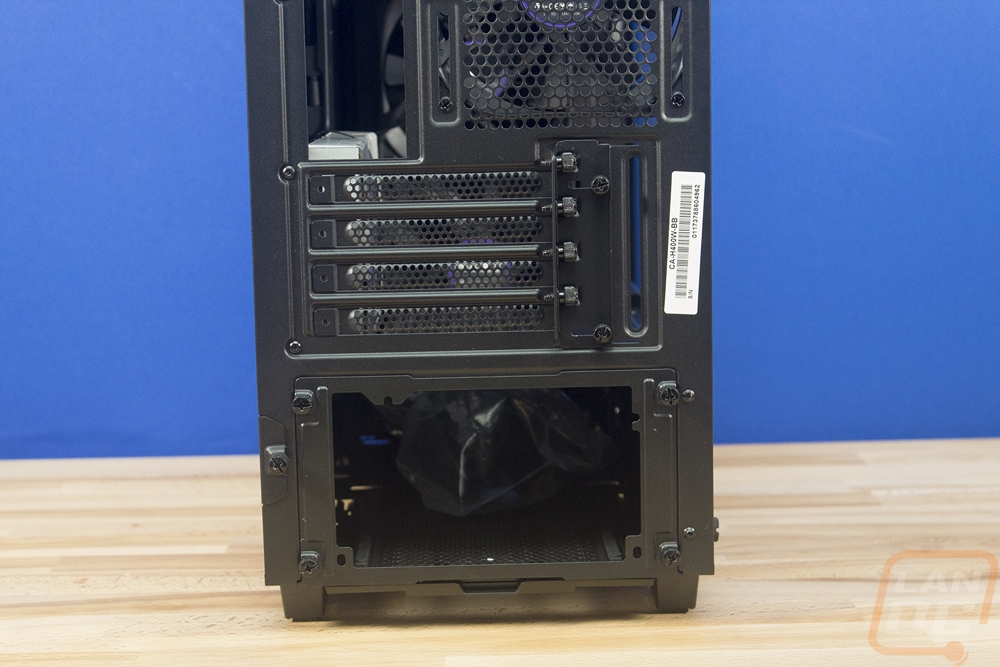
The back of the case has a mostly traditional layout with the PSU being down at the bottom, the PCI slots, then the rear I/O but there are a few features to note here. For starters, the PSU does have a removable mounting bracket, just like the Meshify had. Then the PCI slots are all mesh for a little more airflow. The rear I/O hole is noticeably lower meaning the motherboard should have room up above it and next to that the is another fan mount. This is for a 120mm exhaust fan and it has long slotted mounts to move it up and down depending on what you need.
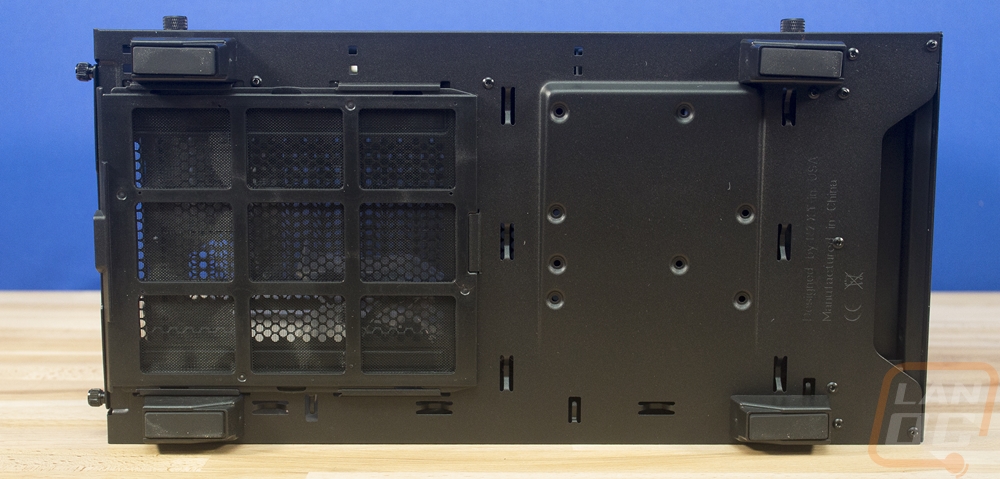
Lastly, we have the bottom of the case. For feet, NZXT went with rectangle shaped plastic feet that keep the case a little over an inch up off the ground. Each foot has rubber on the end for traction as well. Also on the bottom and the reason for raising the case up at all is the vent for the power supply fan that faces down. NZXT put in a slide in filter that can be reached from the back of the case to keep dust out of that as well.