Outside
If you have been following small form factor cases for a while now, the Ophion Evo’s shape and layout shouldn’t be a huge shocker. There have been a few cases designed by the community which have been very popular that stick to this small size but put the motherboard and video card on different sides like this. Raijintek didn’t change the layout all that much with the exception of the Evo version that I am tested today is taller to support water cooling. What they did do however is bring this shape and layout more into the mainstream, the community designed cases have been very expensive. This is partially because of their build quality, but also because building in small numbers doesn’t allow for the price to drop. The Ophion Evo also goes with an open look with it having tempered glass panels on both sides where the community cases haven’t gone that direction for the most part.
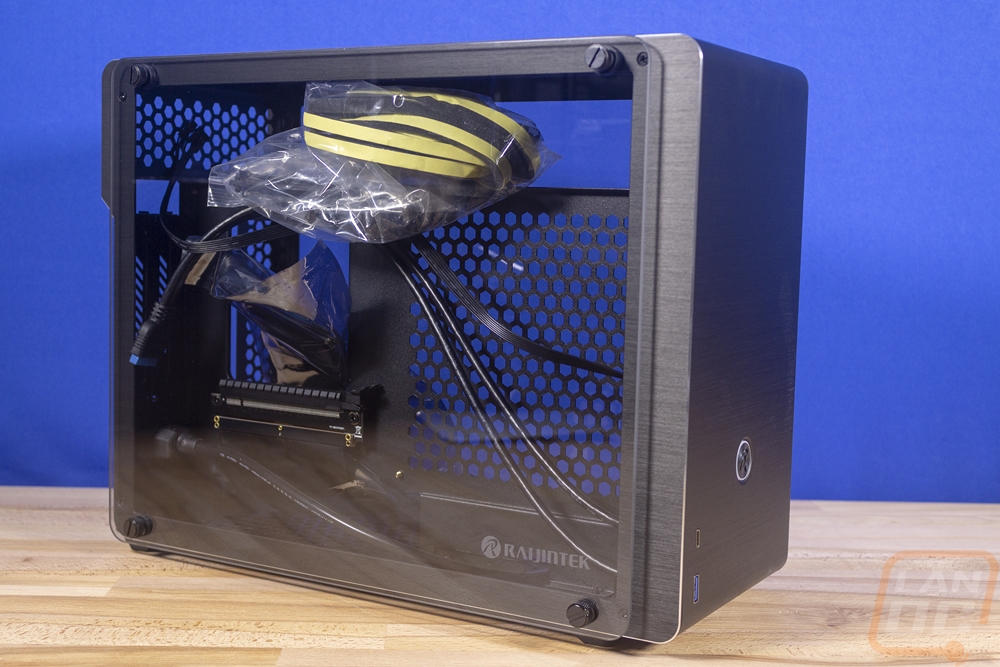
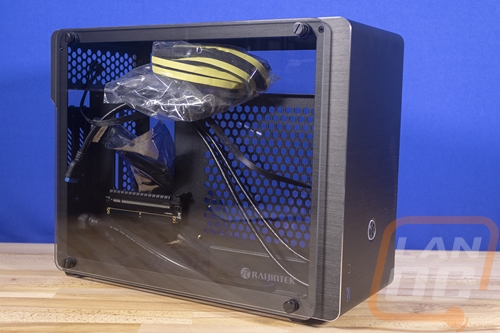
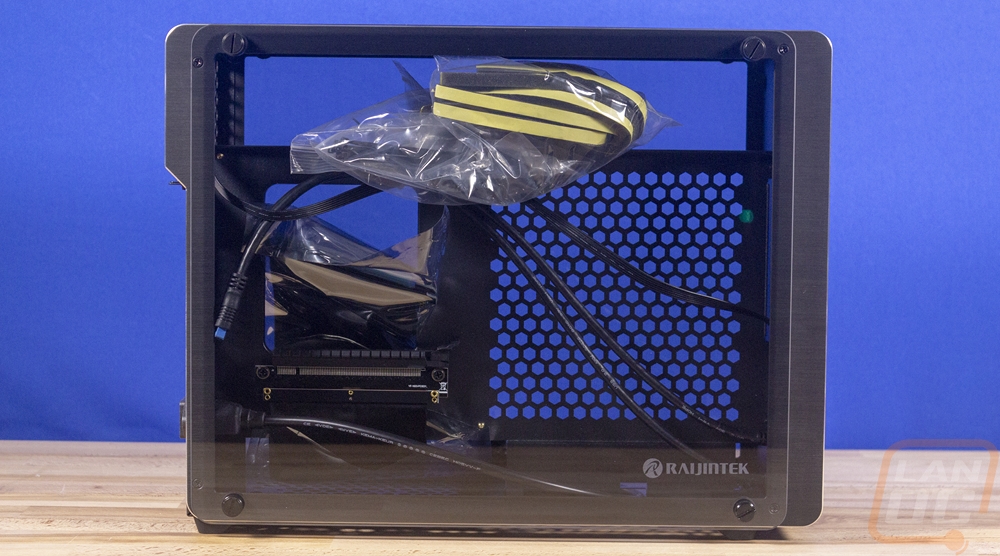
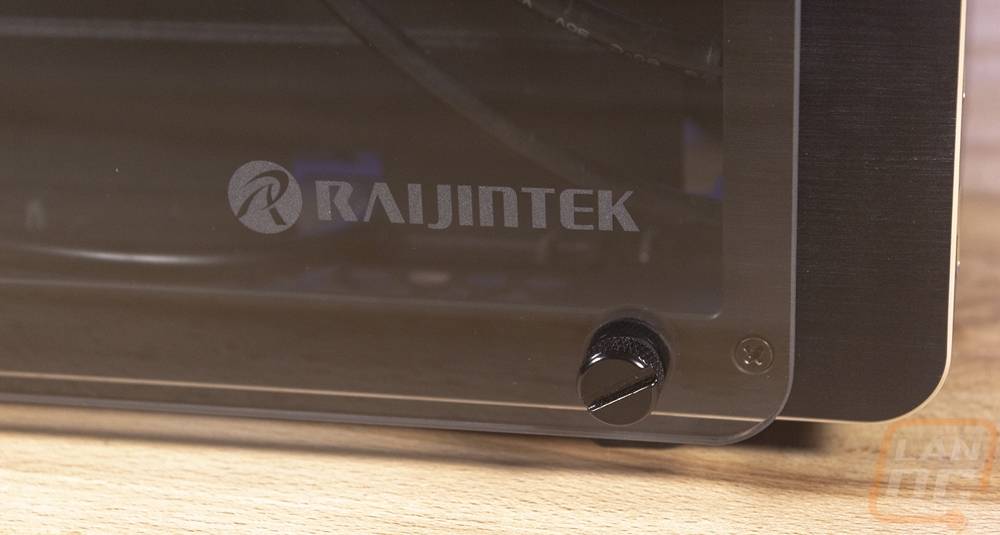
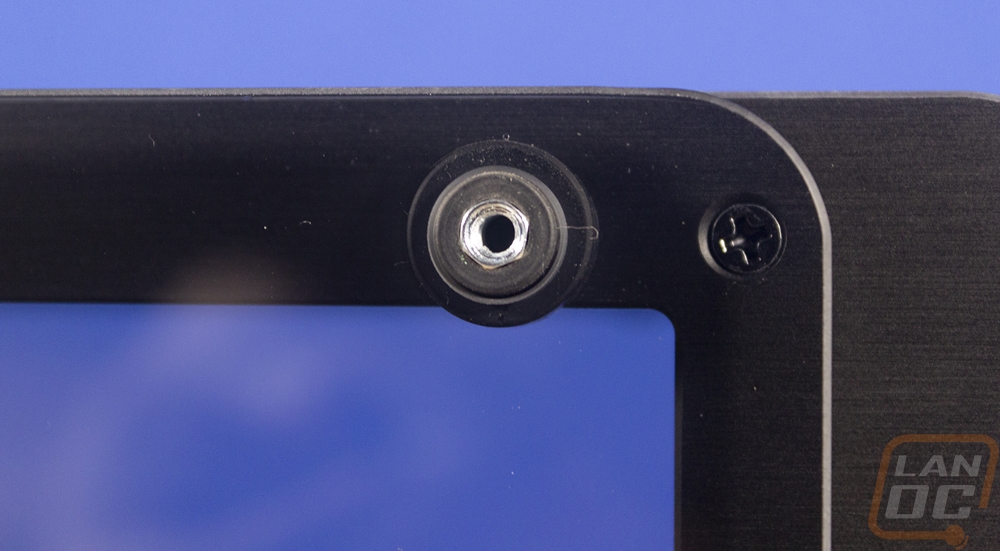
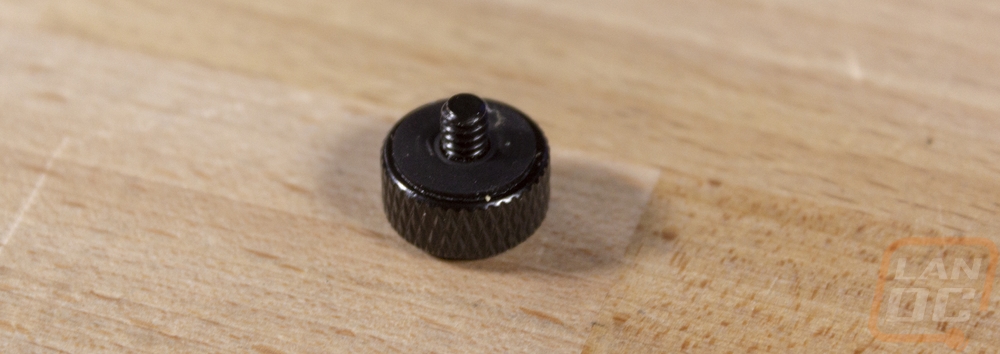
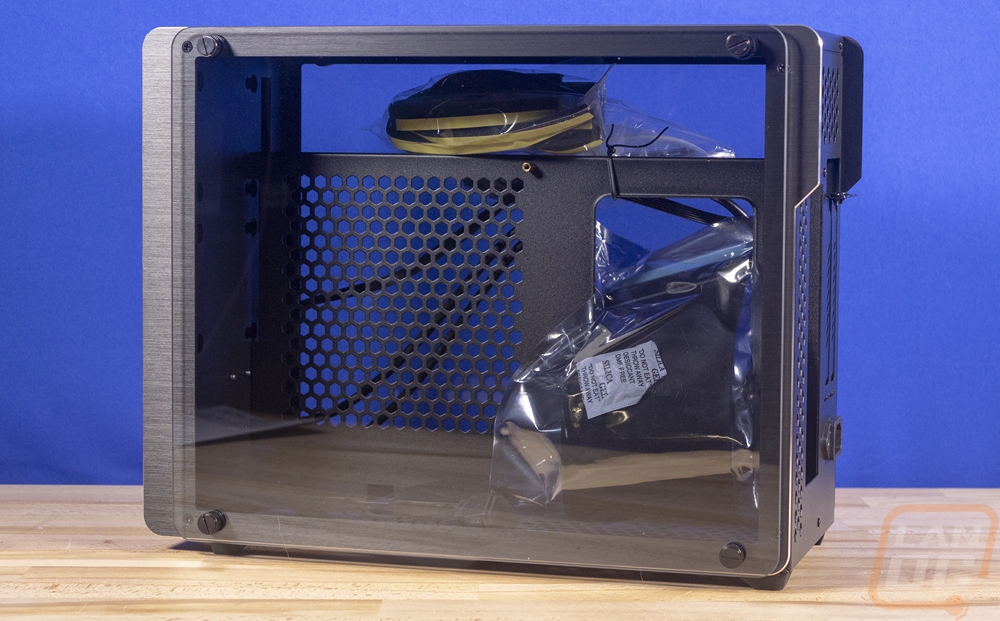
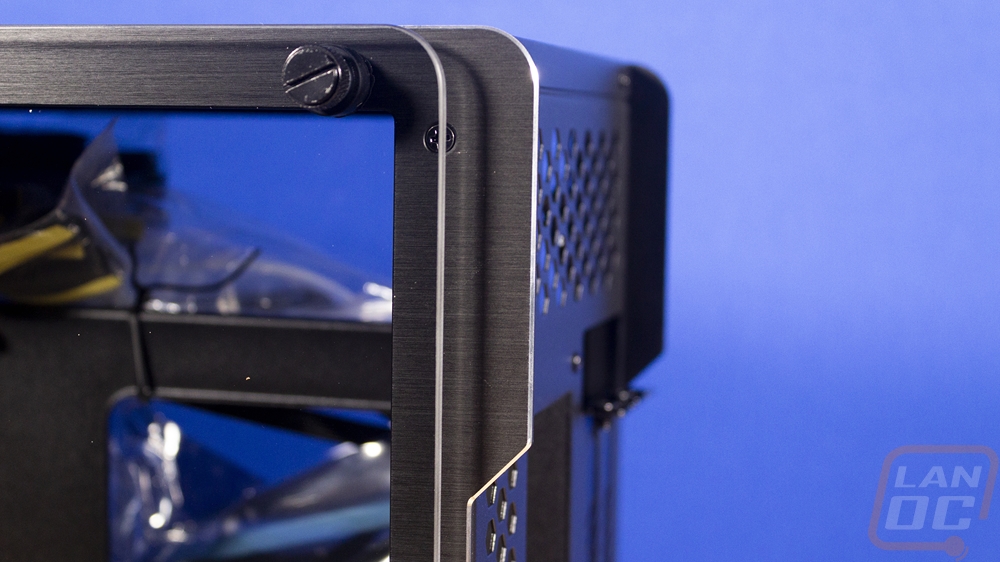
So the tempered glass side panels end up being a significant part of the styling on the Ophion Evo. The main reason is that you can basically see through the case with them being on both sides like this. Of course, once you get hardware in a lot of that will be blocked and you will then get to look at your hardware from both sides. The glass has just a slight tint to it and in these pictures, it isn’t visible at all. The motherboard side of the case has the Raijintek logo etched into it in the bottom right corner. As for holding them on the case has standoffs with large rubber rings around them which the glass sits on. Then they went with a wide thumb screw to hold the glass in place. The thumbscrews have rubber on the glass side as well, which while that makes sense there are a lot of tempered glass cases that don’t do that. The most interesting part though is how the standoffs hold the glass out away from the aluminum side panels on the case. This puts ventilation out around the glass which helps a lot given that a majority of the Ophion Evo’s ventilation is up on the top and with glass you can’t just add vents like you could with a traditional side panel or acrylic side panel window.
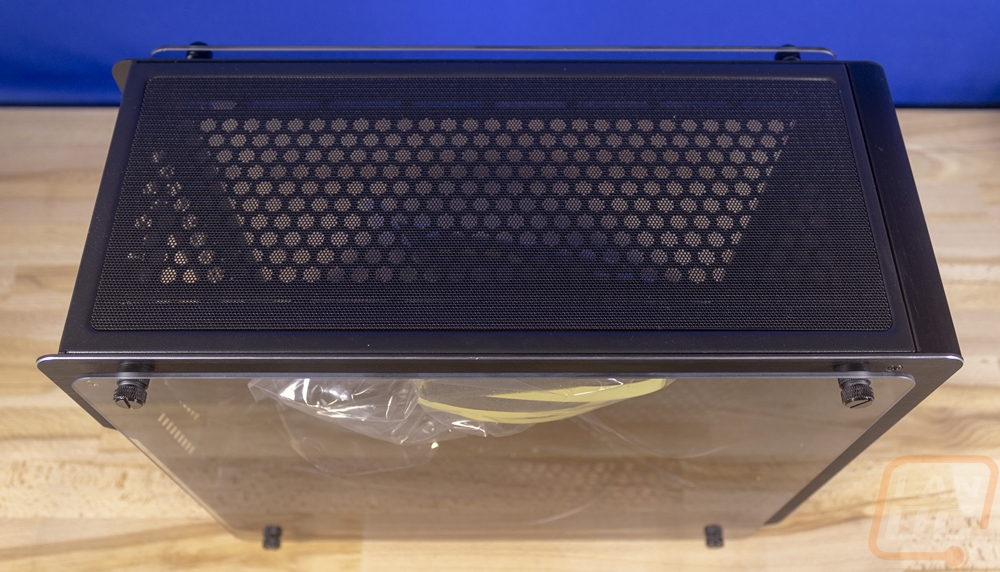
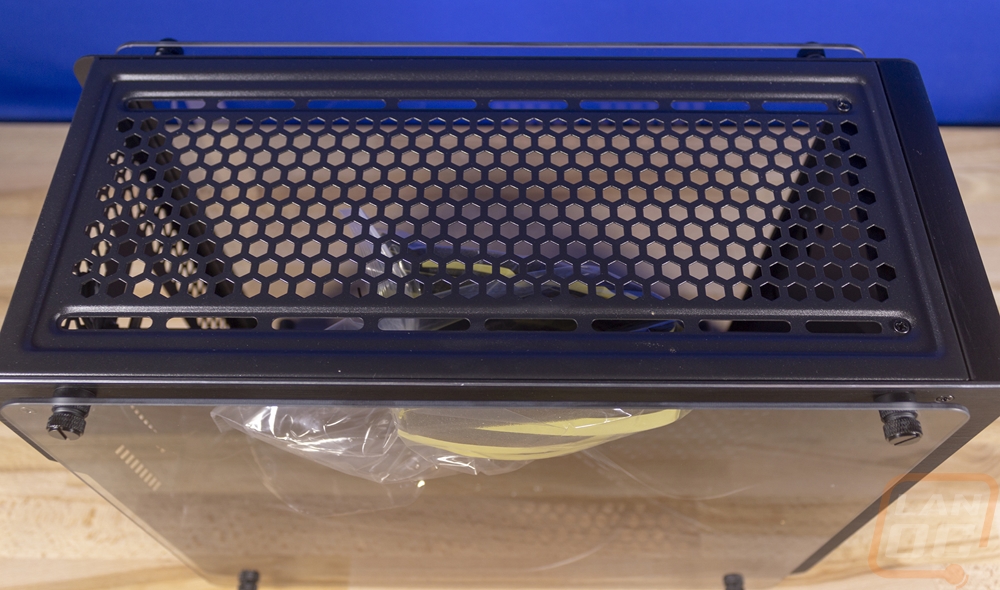
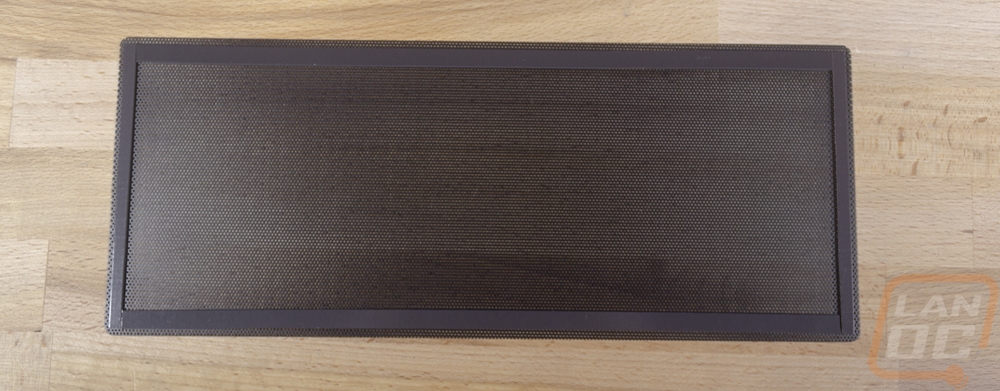
So up on top, as I mentioned before the Evo design that we have here is a little taller to better support water cooling. With that, the top of the case is basically all ventilation with pentagon shaped holes. There are then 8 slots along the edges for fan mounting. It almost looks like if they got a little creative there is enough width for 140mm fans here but the slots are all sized for 120mm fans. This allows for radiator or fan mounting up top and with the mounting being slots, there is adjustability to move it left or right depending on what configuration you go with inside. Then for filtering and to somewhat cover up the top for a cleaner look, the Ophion Evo has a magnetic filter that goes over the entire vent. The case itself is designed for this filter so when it is on you can see that it sits flush with the rest of the case.
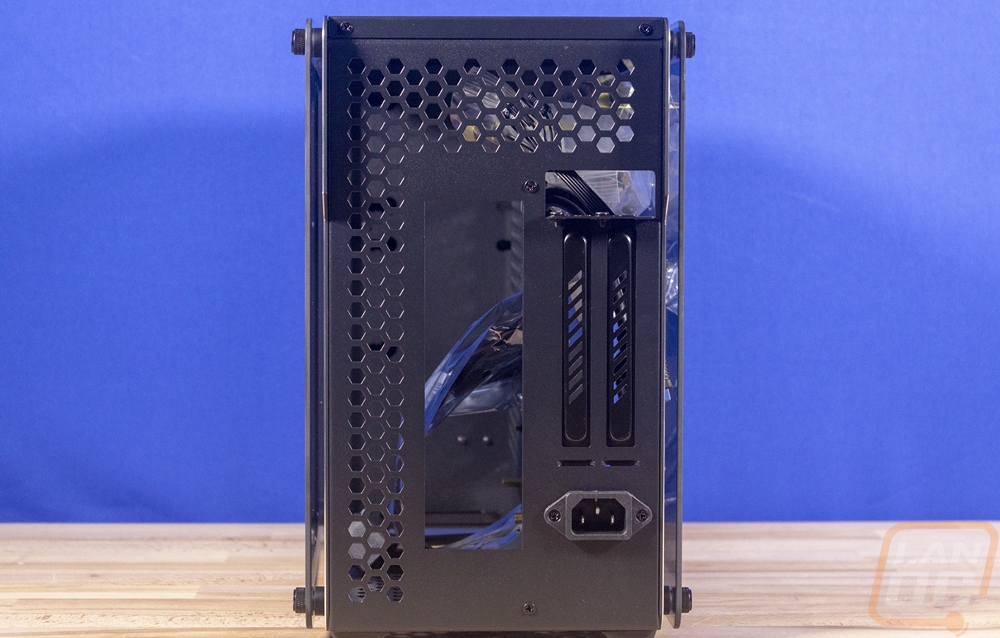
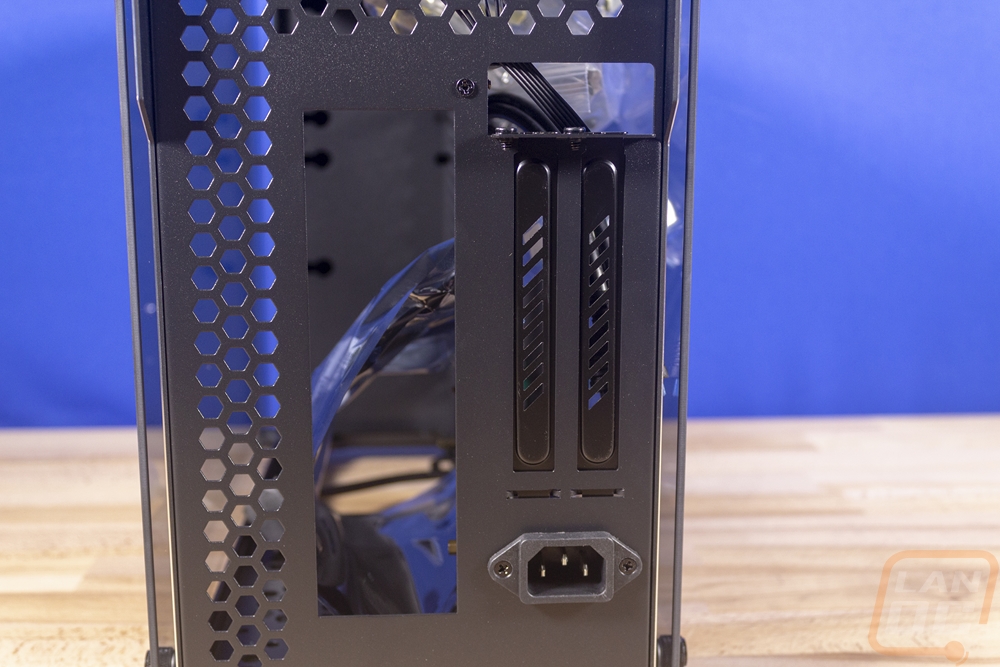
Around on the back of the Ophion Evo, you can get a better idea of the cases layout. The motherboard rear I/O hole is on the left but you can see just how close the two PCI slots are for the video card which is on the back side behind the motherboard tray. Below that is a power plug which means the PSU is inside of the case using an extension cord. The rest of the back has more pentagon shaped ventilation wherever it could be used. This view also gives a better look at how both side panels are spaced out from the case. Raijintek did include foam insulation if you want to seal that area.
The back side of the case looks nearly the same as the front/left side. This is where the video card goes. This also gives a better angle to see the small wings on the back of the case on each side where the aluminum panels stick out. You can also see that those panels have a brushed finished and are anodized black and then the outside edge has been re-machined for a little bling.
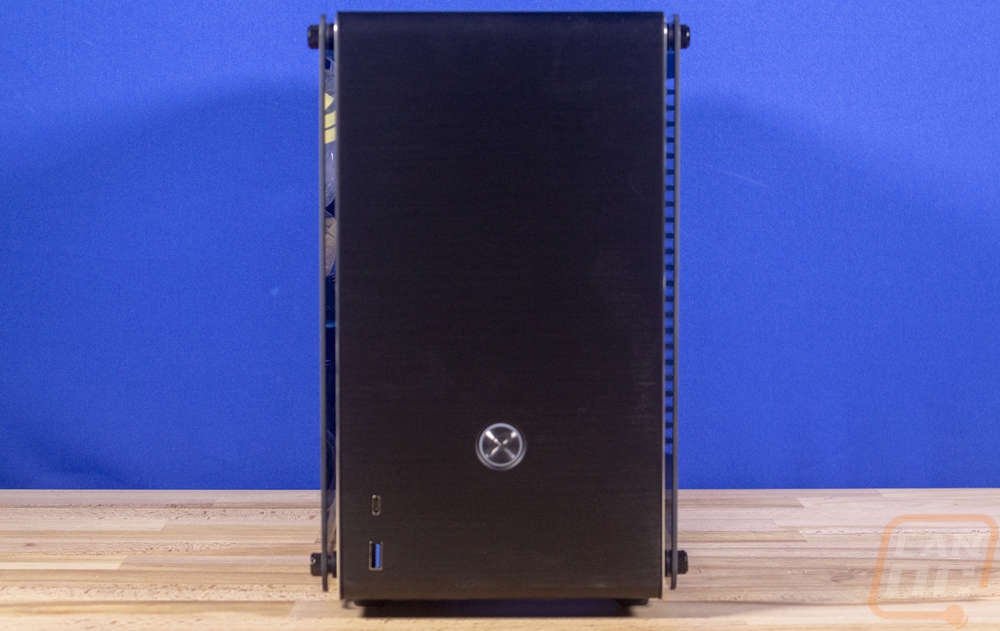
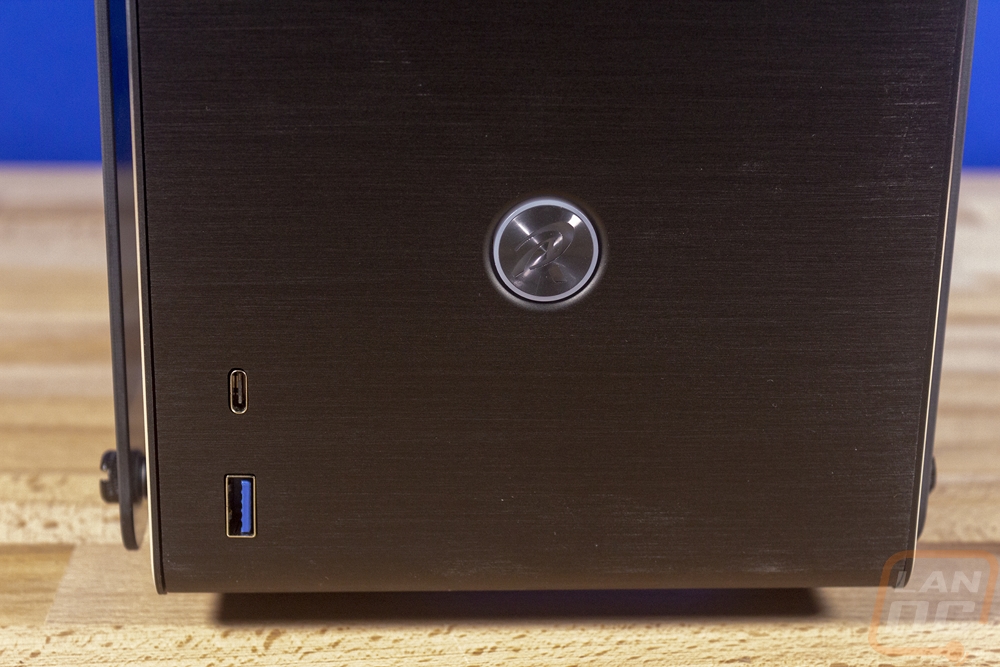
The front of the Ophion Evo is where you can really see the Raijintek styling. If you have seen our Lunchbox 4 build you would recognize that they like to go with a brushed aluminum look that is simple almost to a fault. The front here hard rounded edged up on top and bottom and really not too much going on. There is a USB 3.0 connection and a USB Type-C connection with it for the front I/O and then one large power button in the middle. The power button has the Raijintek R logo on it and has an LED ring around it. I was really happy to see the Type-C connection, not enough cases are including them. As for the power button, I would have preferred a vandal type power button here. That would allow you to change the LED color easier and frankly, the plastic button used here feels a little flimsy. I don’t power my PC on and off a lot, but if I did that often I might be a little concerned that it might break in the future.
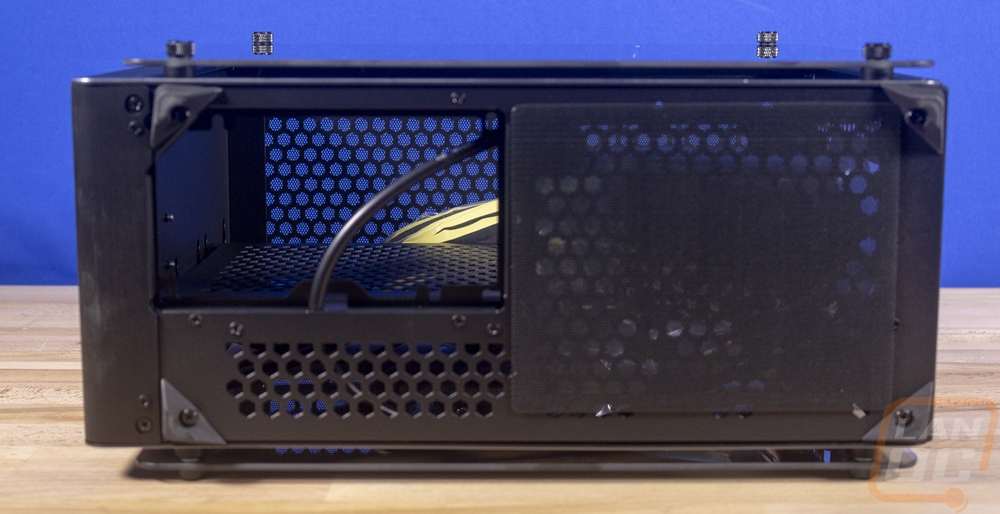
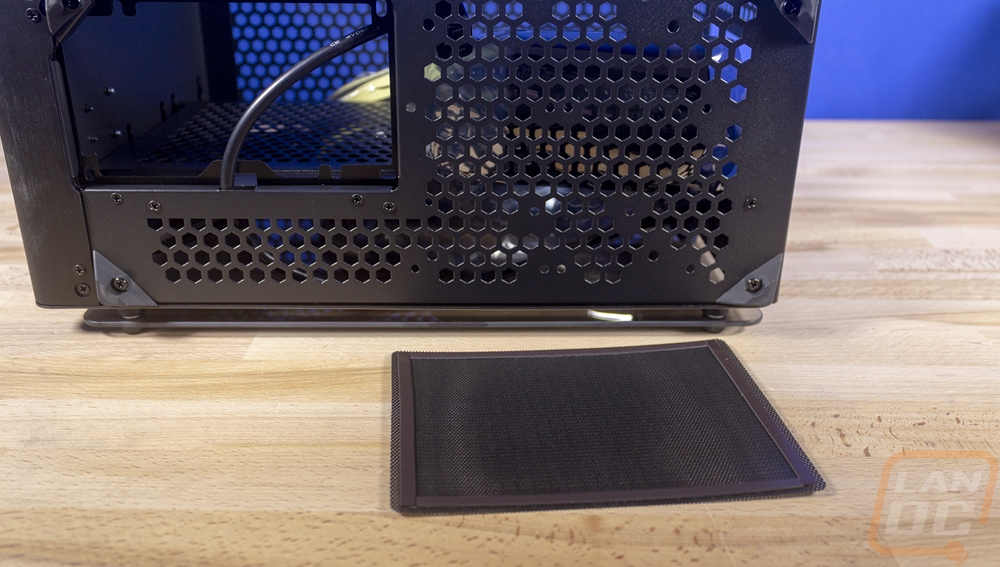
The last area to take a look at is the bottom of the Ophion Evo and honestly if I showed you this first you might assume it was the back of the case. You can see that they did put triangle shaped rubber feet on each corner. The feet are actually the same as on our Raijintek Metis. There is more pentagon shaped ventilation holes including a large section on the right which is near the back of the case where they also included another magnetic filter. The large hole in the bottom of the case is actually the mounting hole for the cases ATX sized power supply and you can see the extension cord that runs from here to the back of the case sitting there as well.