Inside
Working with the Revolt 3 is shockingly easy for an SFF case. All four of the side panels can just be pulled off and just snap in place. This gives you quick access to the inside when needed without any tools and you can also get at the mash filters as well. This is also how you swap out the black mesh for the copper mesh included with the launch kit. With the side panels off you can also see that HYTE did make sure to label the side panels with an L and R stamped on to the back as well which should help not mix those up as well.
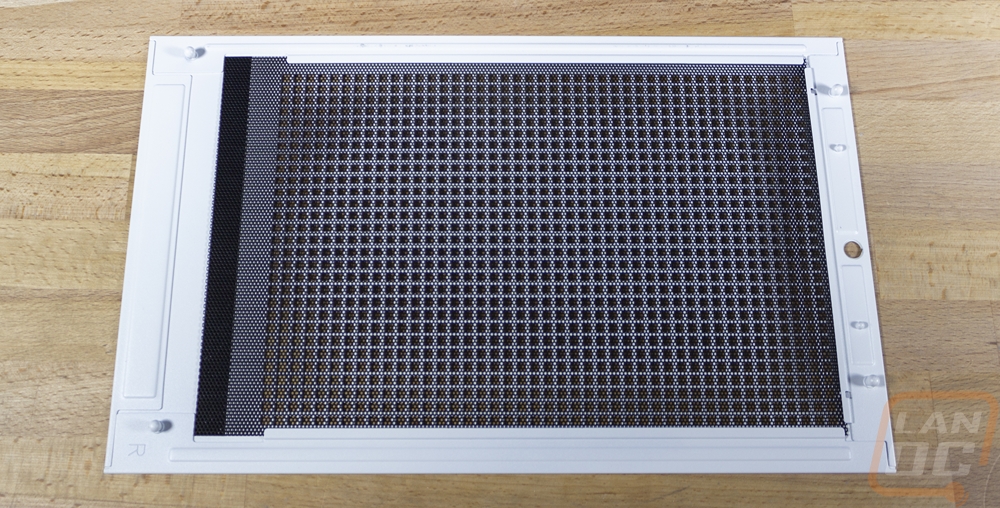
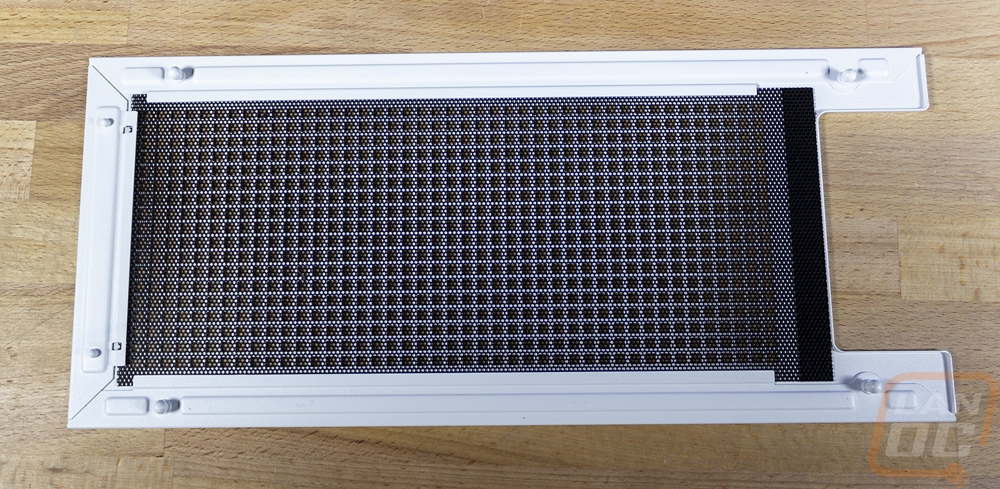
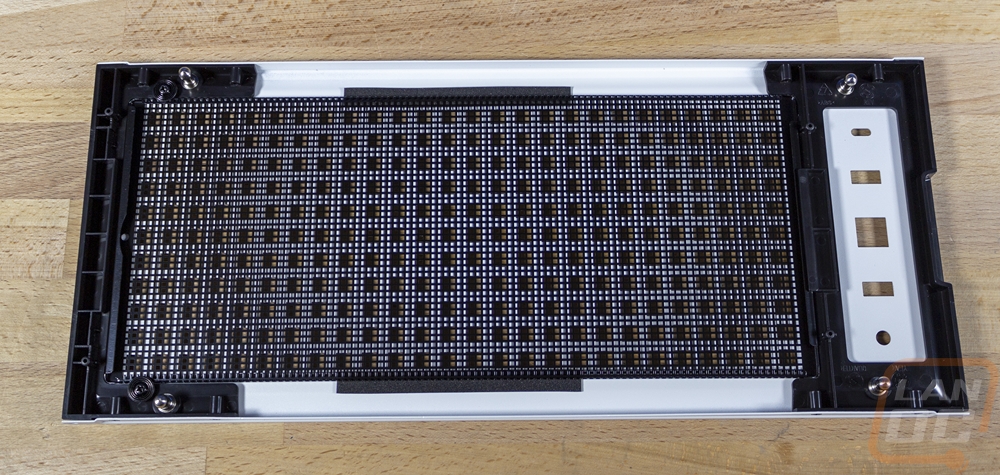
The front panel is a little different with its mesh. The others have a normal fabric mesh, but this panel has a metal panel that is painted black. It has two screws up near the top that you can remove to swap it out with the brass panel. This design also means you could paint the black mesh any color you want to add a little color to your build as well for a quick and easy mod.
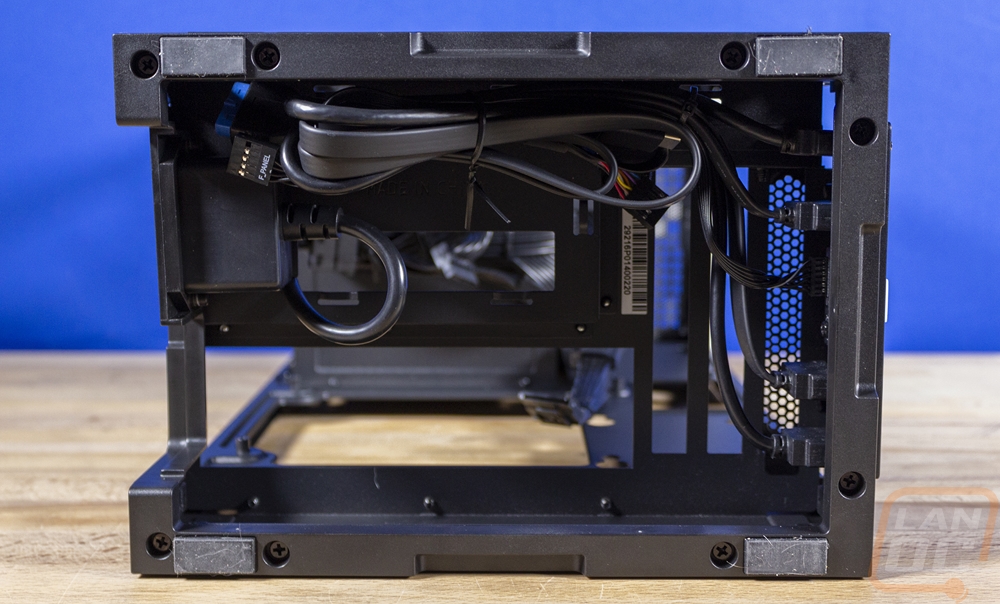
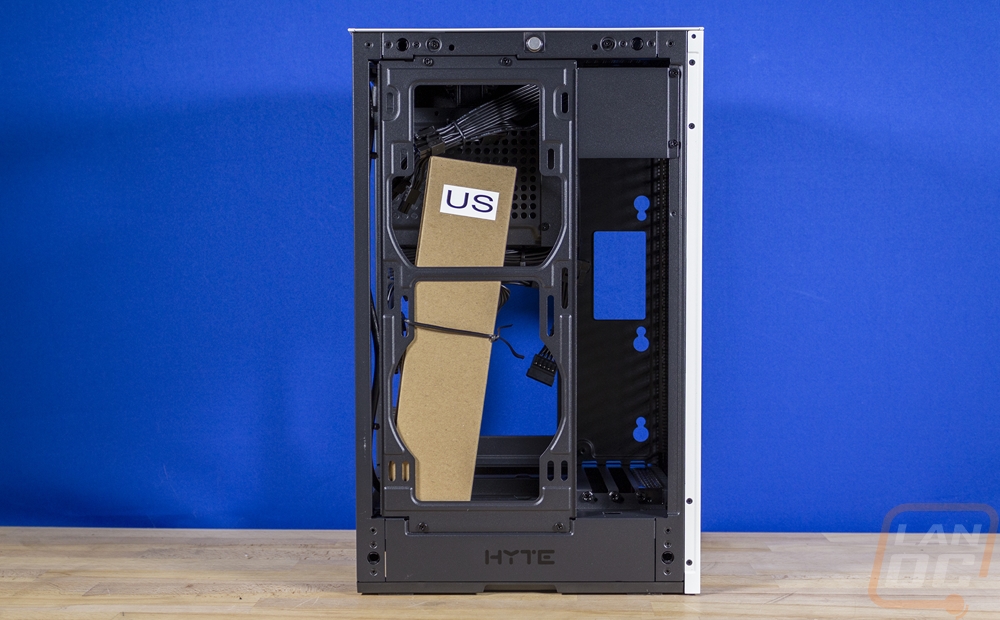
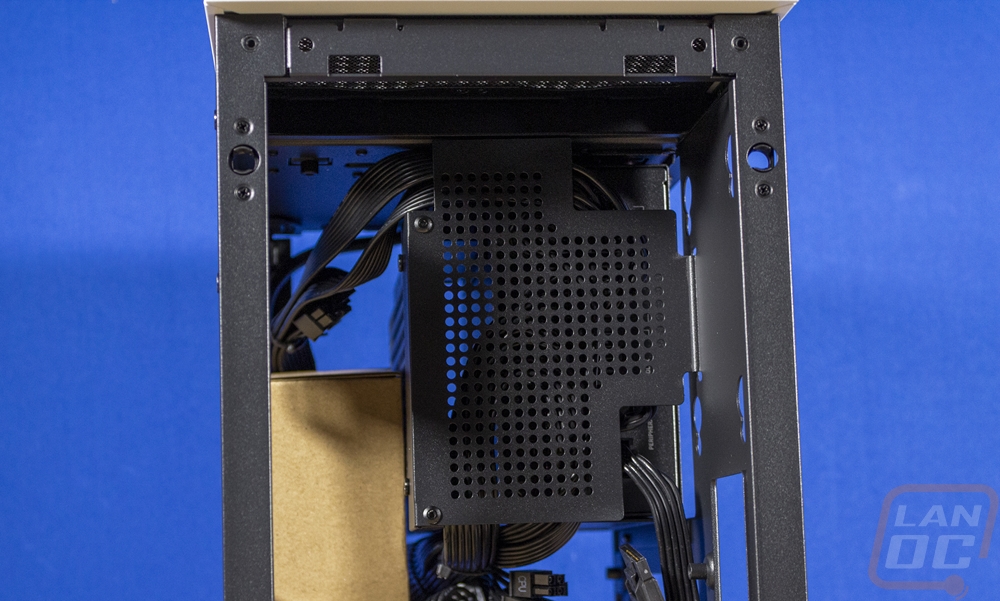
Officially it is the right side of the Revolt 3, but it is also the area behind the motherboard. You have a huge opening to give you access to the back of the motherboard for CPU cooler installation and more recently for M.2 drives as well. There are also two 2.5 inch drive mounts back here as well on the left with the four screw slots. They include screws and rubber mounts to slide in place there. Then up top, you have the power supply opening. The Revolt 3 comes with a power supply in the retail version but if you want to provide your own directly from HYTE you can get the case without a power supply. The one included has iBUYPOWER branding and is an SFX-L 700 watt 80 Plus Gold model which has custom length cables to help fit in the case. If you provide your own you can go with the shorter SFX or SFX-L sizes. The back of the motherboard tray area has around a half inch of space to fit those SSDs or if you need to hide a controller box back here.
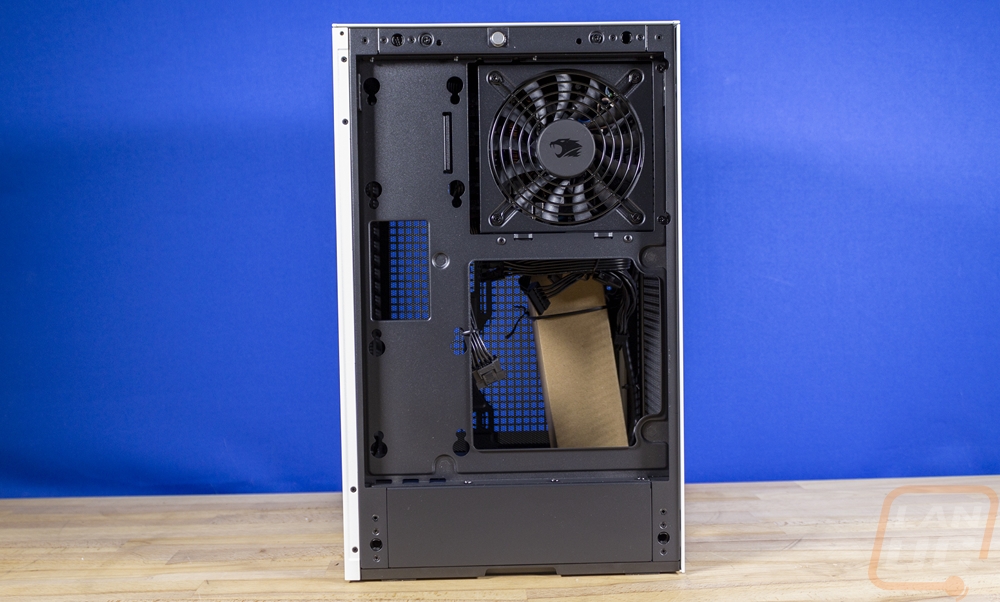
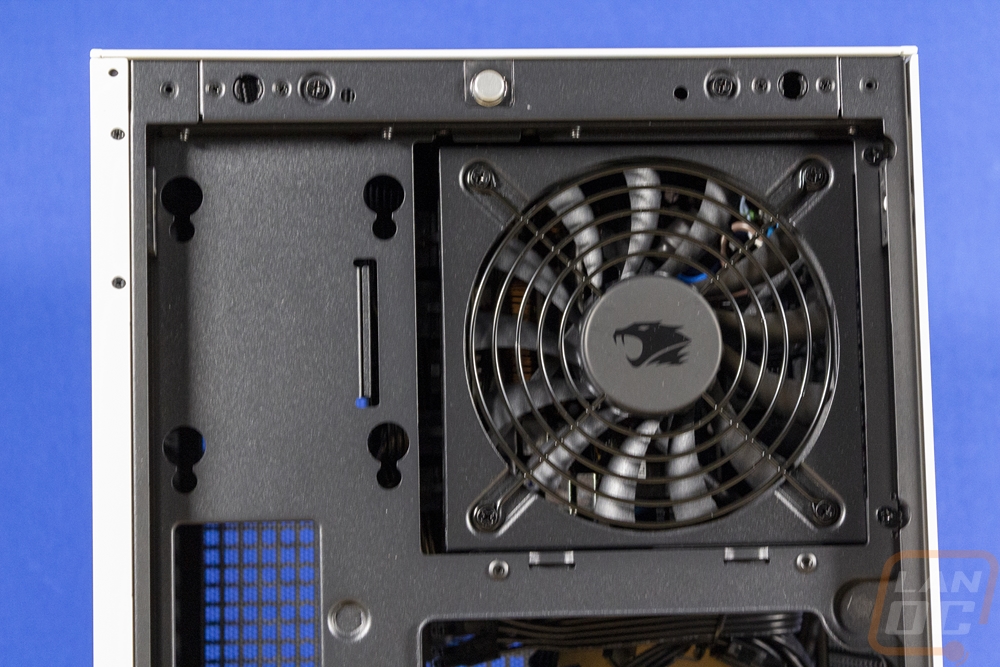
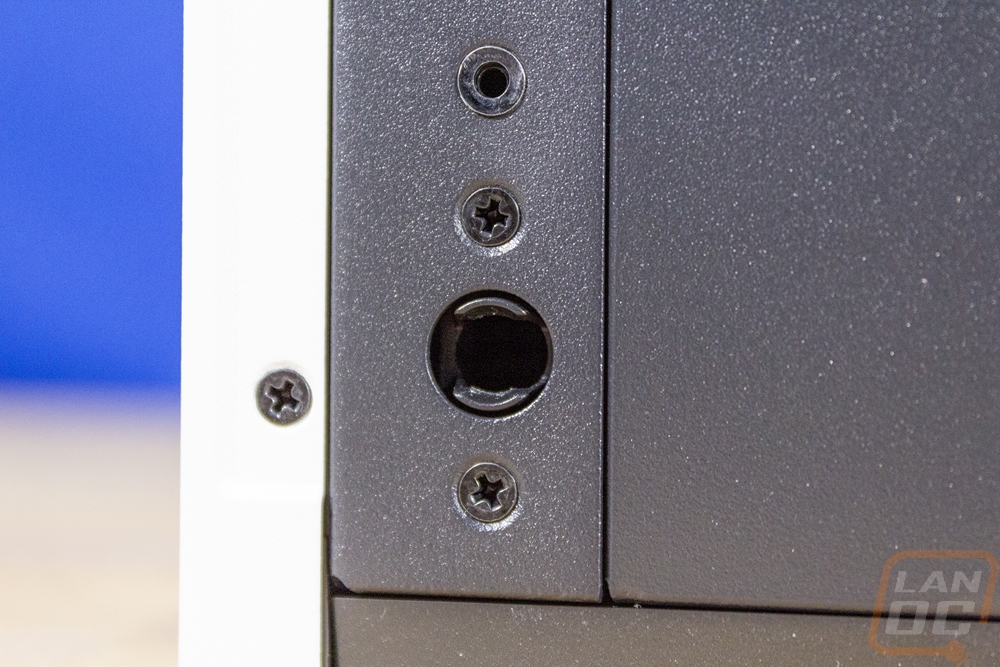
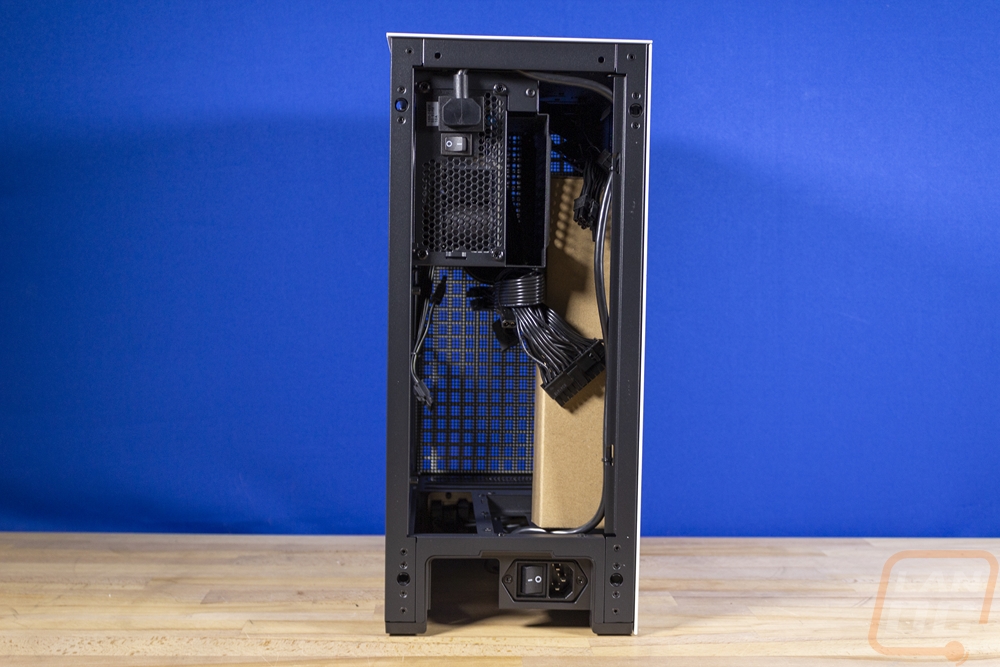
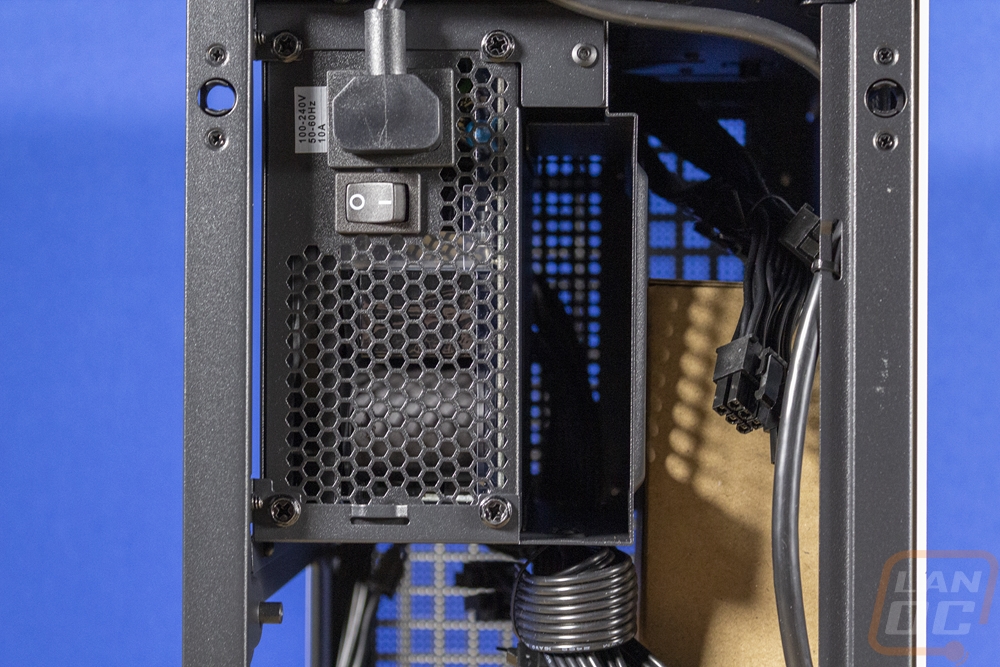
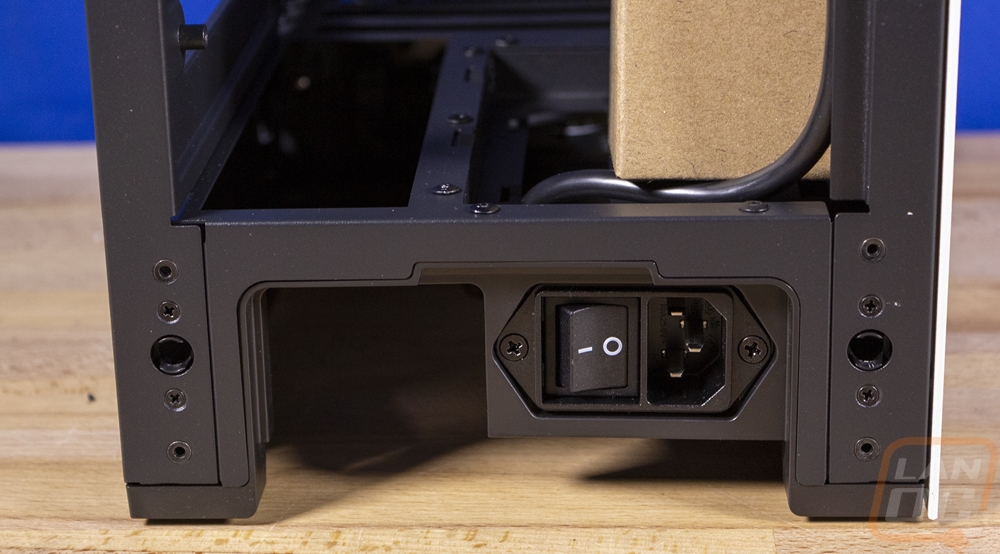
Next up we have the back of the case. Up top, you can see that HYTE is using a power cable extension with a hard 90 up top to plug into the SFX-L power supply and then to wrap around down to the bottom of the case where you plug your actual power cable in. I did want to point out that the PSU comes turned off at the PSU as well so make sure before starting things up to flip that switch. The PSU does fit in that top bracket perfectly and the bracket also has a second opening which is where they have tucked in a single 3.5 inch hard drive opening. In total, you can fit two 2.5 inch drives or SSDs and the one 3.5 inch hard drive on top of the one or two M.2 drives that you can fit on your motherboard depending on the board. For an SFF build, that is a lot of space. Down at the bottom where the power cable plugs in they have a second power switch and the rest of that bottom opening is where any cable plugged into your motherboard's rear I/O will come out.
The left side of the Revolt 3 has just one big thing going on. This is where you can mount your AIO cooler or fans. The mount is actually a door, but it still uses four screws as well, two up top and two at the bottom. They have support for dual or single 120 or 140mm fans and the door design is there to simplify everything and to give access to the rest of the system later. You can pull this door panel off and remove the screws (I wish it just had two to make this quicker) and swing the cooler out and you have full access to the motherboard and video card.
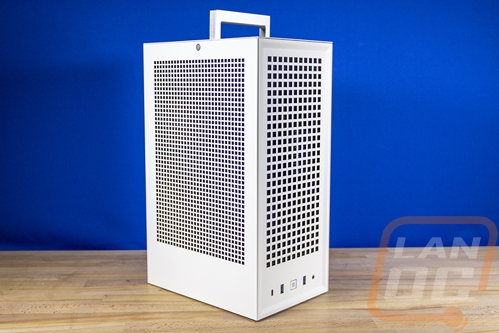
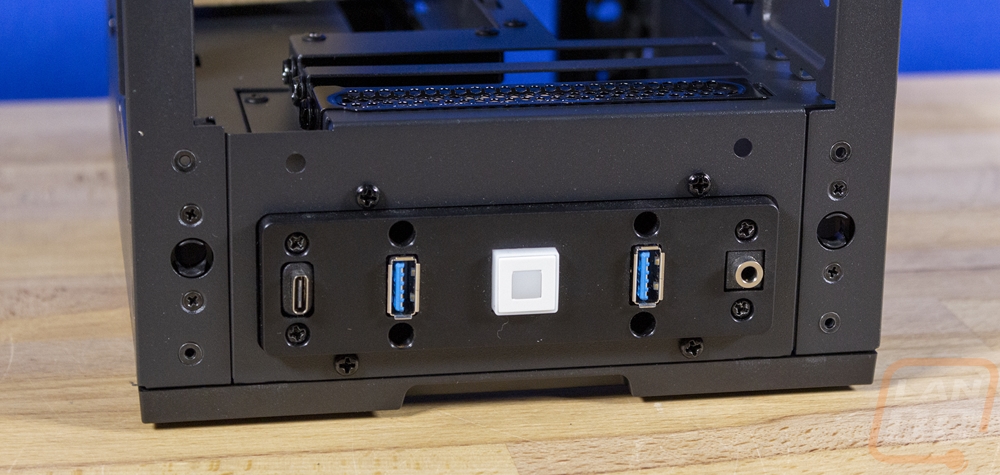
The front of the Revolt 3 is also the video card side of the case. So even though there isn’t a window, this is the side that will be pulling in cool air for it and the front of the case is least likely to be obstructed which is nice. This side is very open with the side panel pulled off giving you full access to the GPU. Down at the bottom, all of the front I/O are still there as well, including the button which matches our white panels.
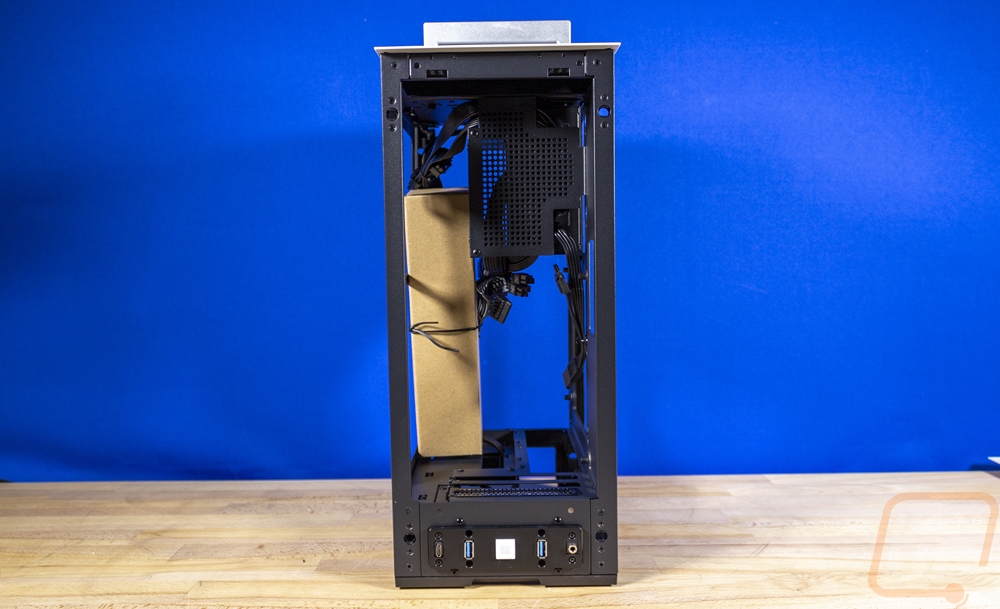
Looking through the front section down into the inside we get a little more insight into the motherboard layout as well. You can see the rear I/O opening which also has a hole above it for cable management. Then next to that are the three PCI slots. Being an ITX build there is only room for one device, but HYTE has left a LOT of room for just about any video card with three full slots of width, 140mm of height, and up to 335mm in length.
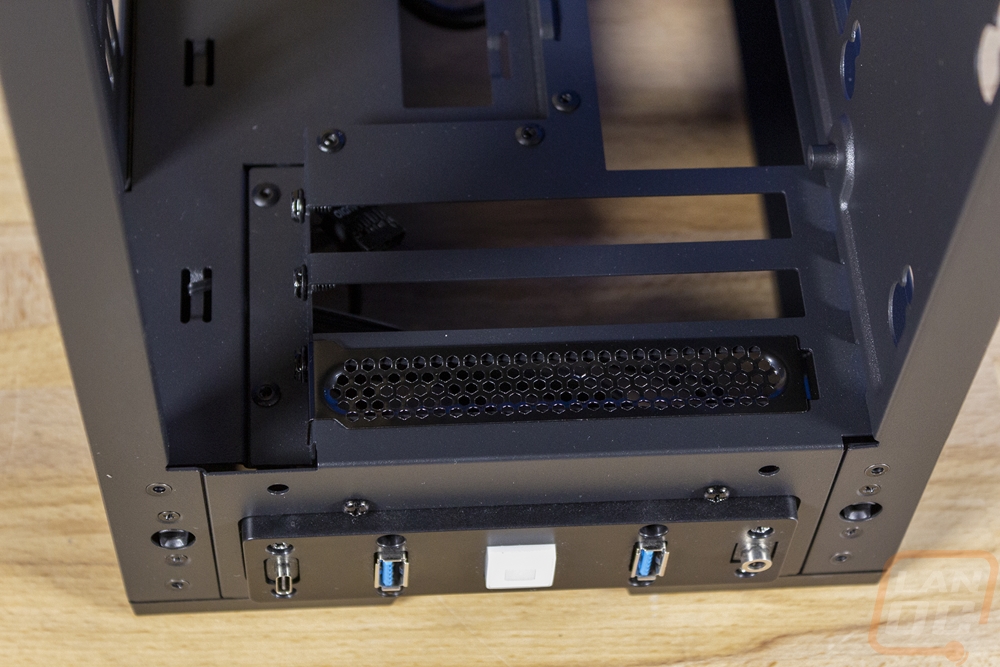
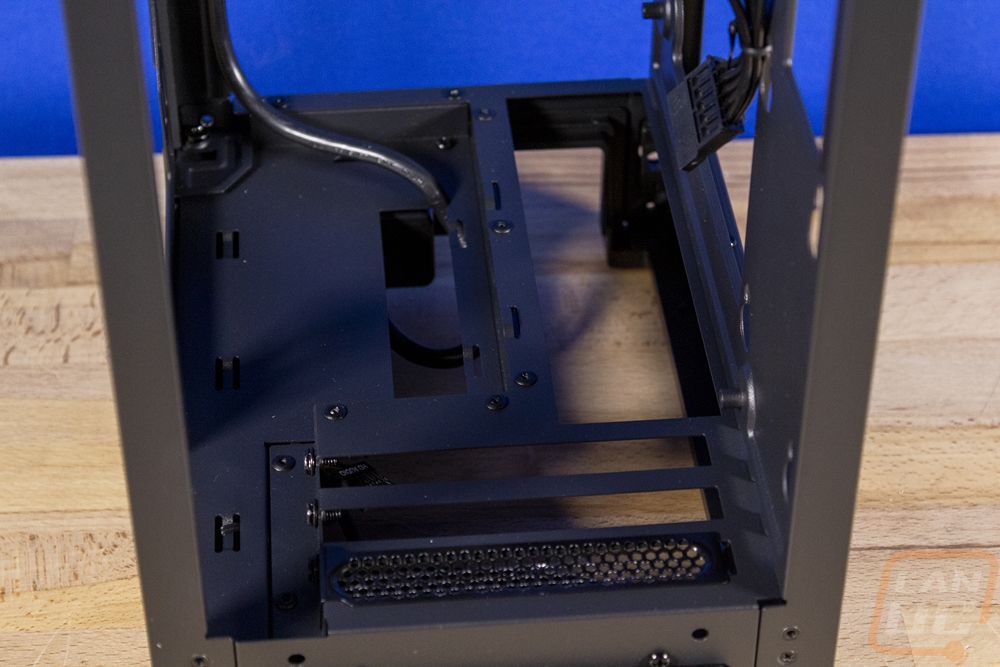
Looking in on the bottom of the Revolt 3 we can for one see the four inch long rubber feet that it uses to keep the tower from sliding around. Beyond that, though there is a big opening from the bottom to the bottom of the main section of the case. Some of that space is used for the cables going to the front panel and for the rear power cable. But this is also where the motherboard's rear I/O panel ends up as well as the GPU I/O as well. So you will be plugging in any extra devices here and running those cables out the back. For LAN events this may not be much because you could use the front panel connections for your keyboard and mouse. There is one thing to consider though, if you use flash drives you will need to save the space on the front I/O because a long flash drive isn’t going to fit in this space (a shorter drive will work fine however).