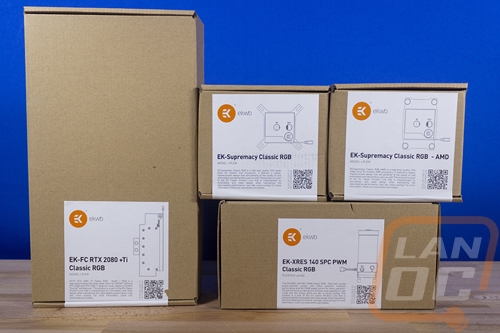
FC RTX 2080 +Ti Classic RGB
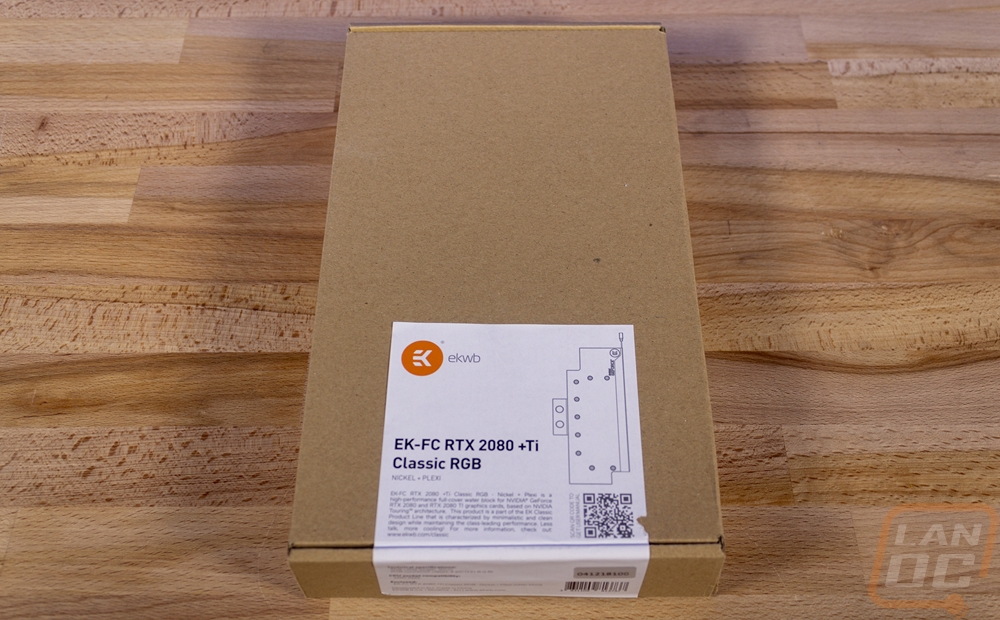
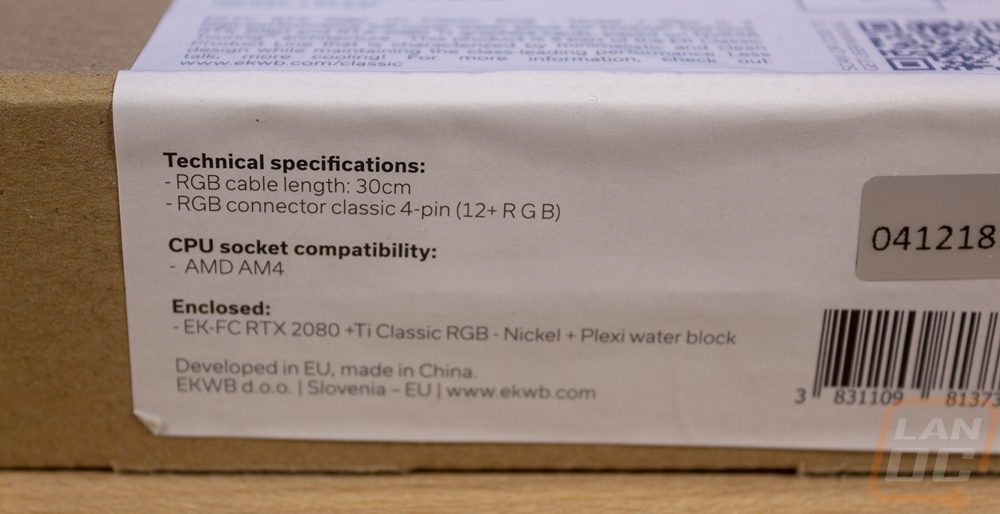
The last component in the current Classic RGB lineup is their FC RTX 2080+Ti Classic RGB. I love EK naming because again that tells us exactly what we have. This is a Full Coverage waterblock for both the RTX 2080 and RTX 2080 Ti, specifically any cards that use the Nvidia reference PCB design at least. The box for this again has that brown box treatment like all EK products and the white product label. Funny enough I did spot a big typo on this one, but these were early samples. As you can see in the specifications they have this listed with AM4 CPU socket compatibility, it should be interesting getting it to fit! But the top of the tag helps us out and is clear to point out that this is an RTX 2080 and RTX 2080 Ti card.
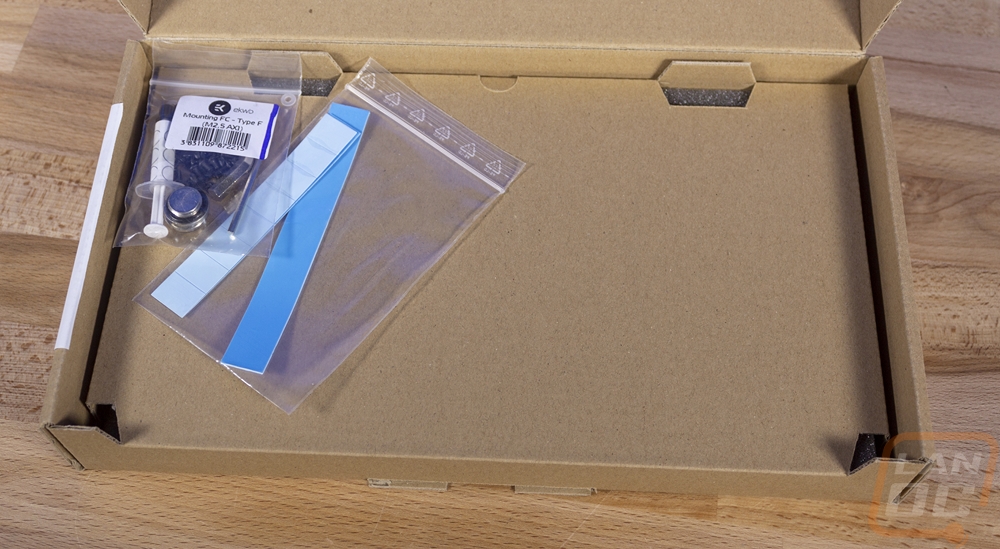
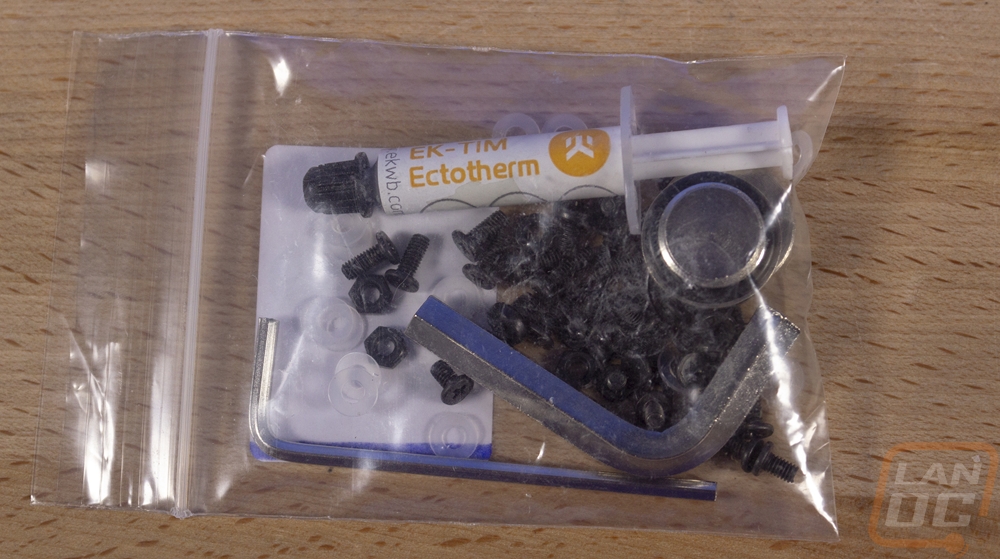
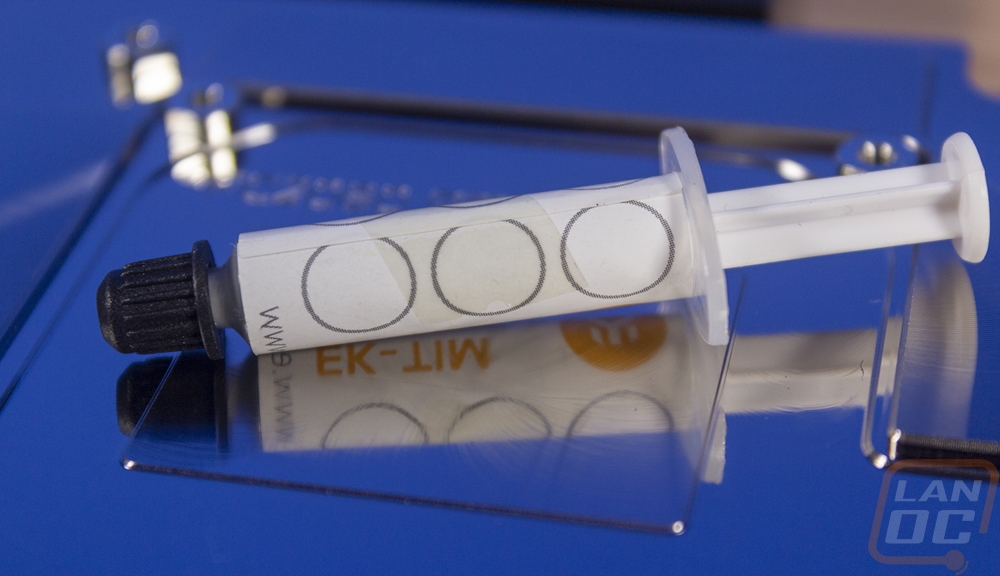
Inside of the box, the block itself comes up under the cardboard flat. On top, you get two bags of required bits. This includes a lot of screws and plastic washers for the installation. You also get a small tube of EK TIM just like the CPU blocks and the two different Allen wrench sizes you will need for the installation. There are two G1/4 plugs for the block as you can pick from two different directions for in and out flow holes so you need to plug the two unused holes. Then there are two strips of thick thermal tape needed to replace what comes on your card for all of the other contact surfaces other than the GPU itself.
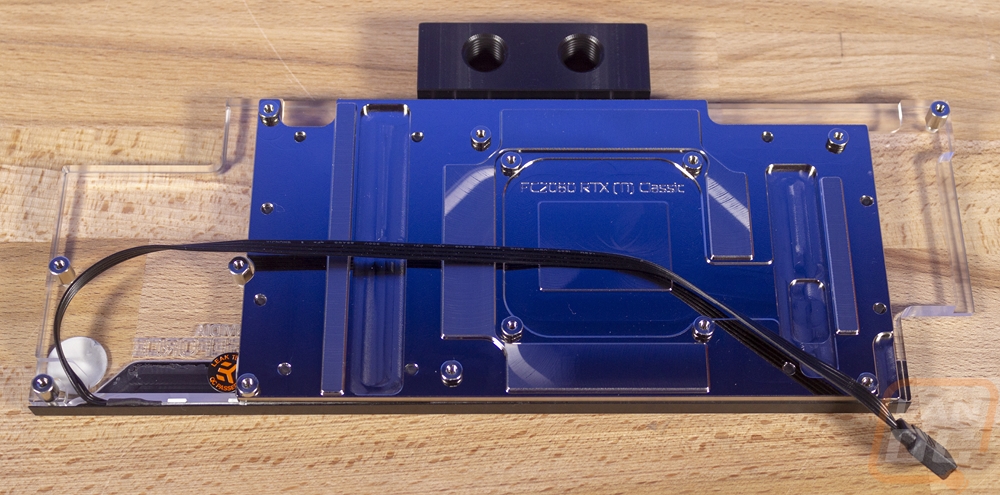
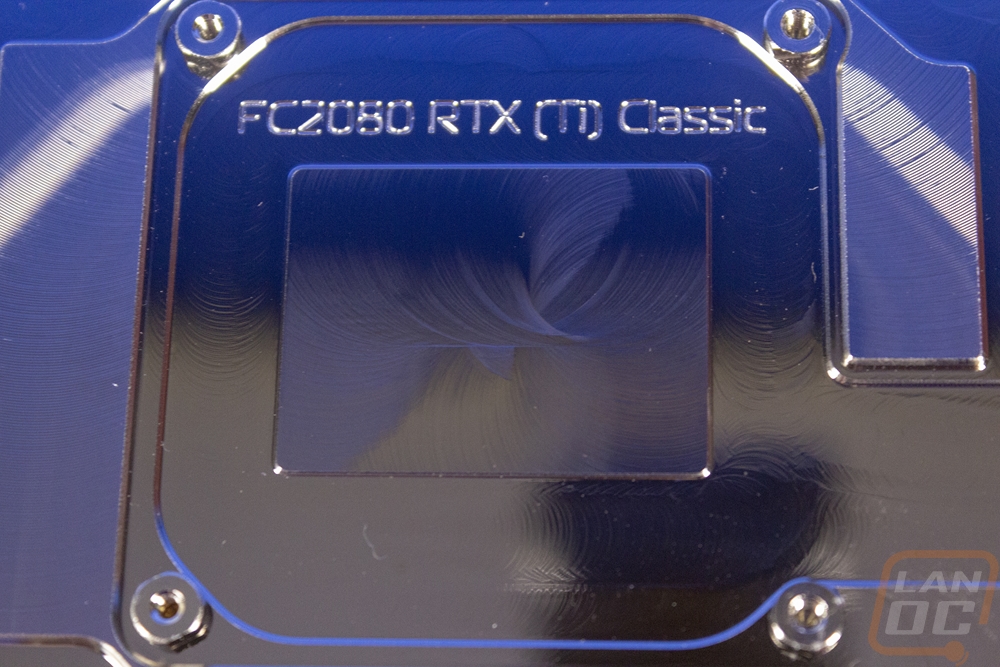
Here is the back side of the block, as you can see even with this being a full contact water block it does not have the metal portion of the block running the entire length of the card. There are plexiglass portions at both ends that are going to give you a peek at the PCB while still protecting it. The GPU contact surface is in the middle and you can see the memory contact points in a partial circle around it. They carved the water block name into the unused area between the two. Then out on the outer edges, you can see all of the VRM contact points on the far right and far left along with the portion.
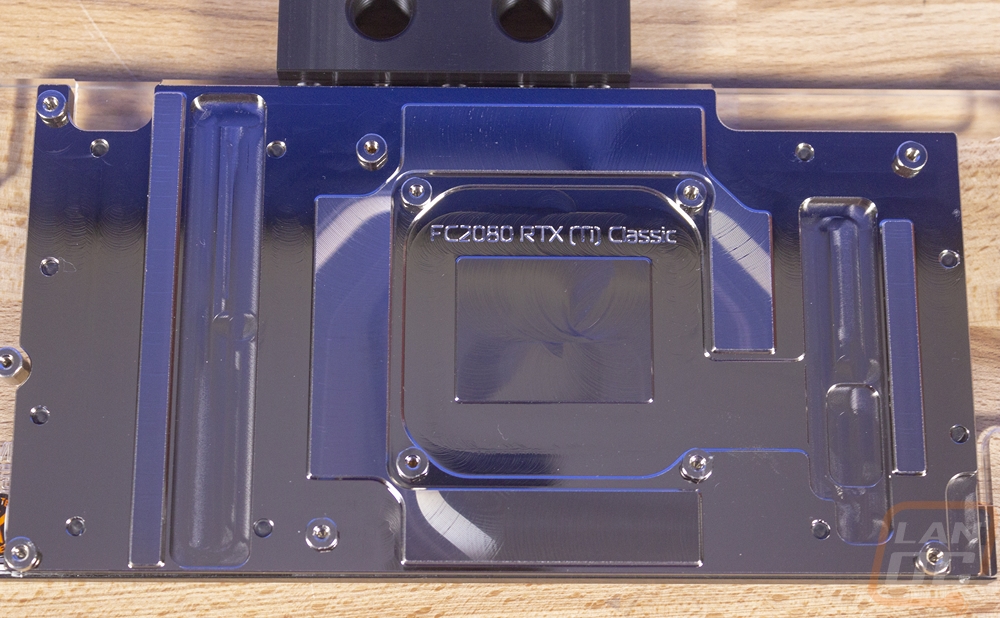
The nickel finish on the entire block looks amazing but I was most concerned about the contact surface at the GPU and frankly I wasn’t all that impressed. Unlike with the CPU blocks, this one looks like it may have missed the last machine pass. At first glance with the thermal paste on top for a reflection, it doesn’t look too bad. But when you look down on it you can see large swirls. Machine marks aren’t out of the ordinary and frankly, I’ve seen much worse, but I was just surprised this block didn’t get the same mirror finish as both CPU water blocks.
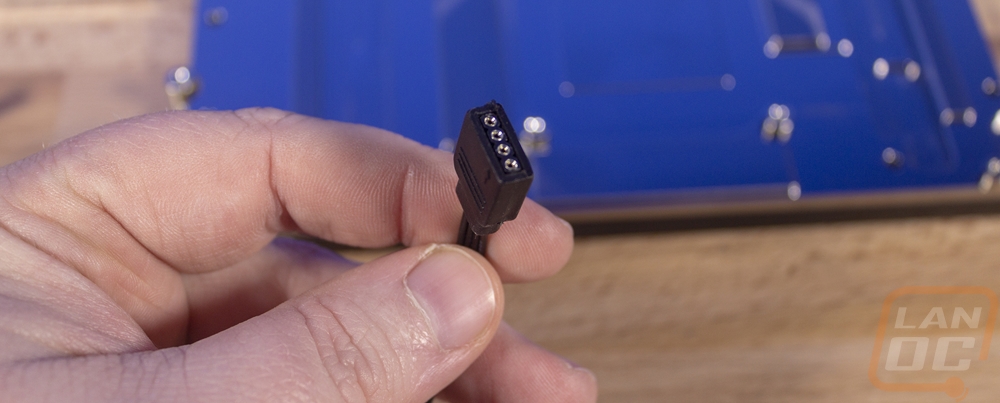
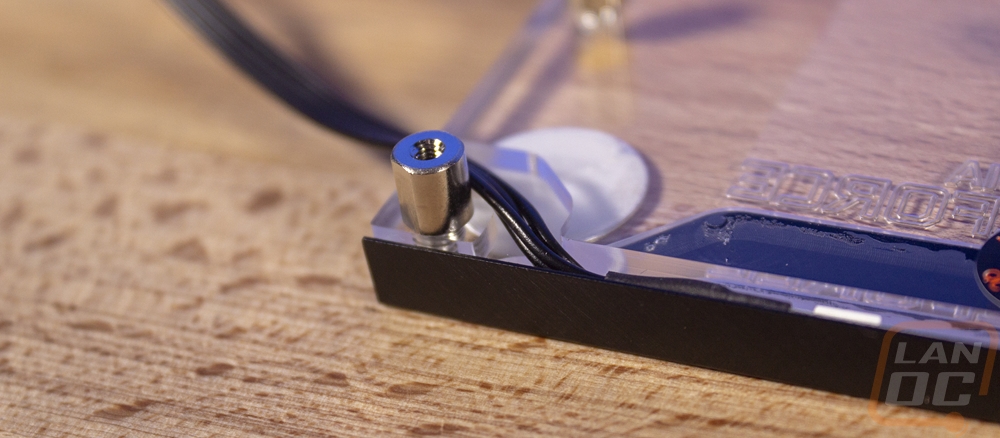
As for the RGB lighting, it actually runs the length of the bottom of the block and then from there, the plexiglass has a carved out area to fit the cable. The pigtail for the RGB has the standard four pin connection and is 10 inches long, just like with the other Classic RGB devices. I love how they carved the grove just around that standoff. Speaking of which, even in the transparent areas of the block EK did use Nickle finished standoffs. They are thick with a nice round and smooth finish. I don’t think most people will see them, but it’s a nice detail.
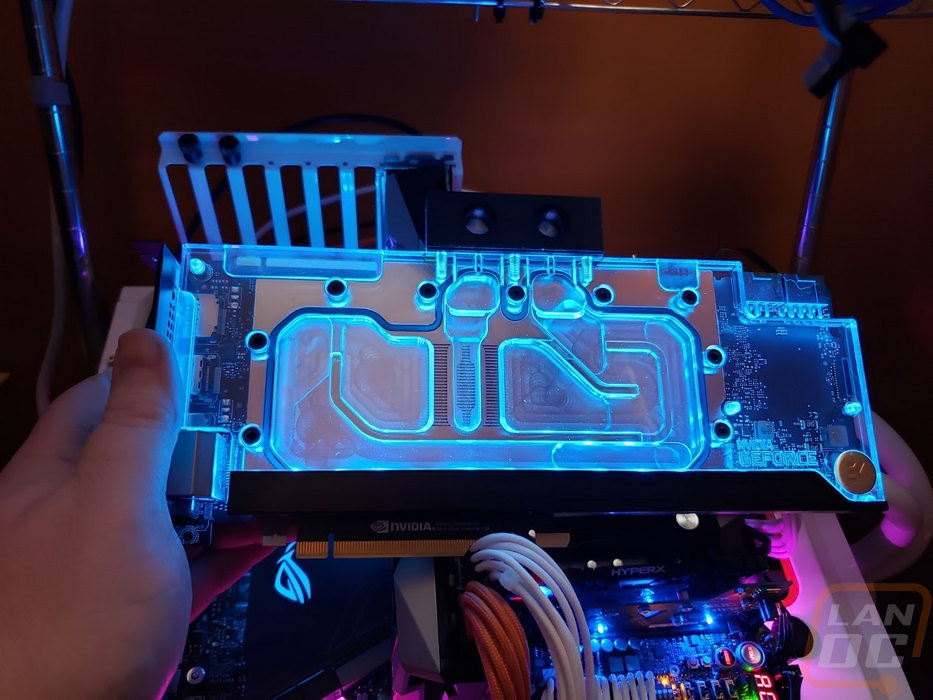
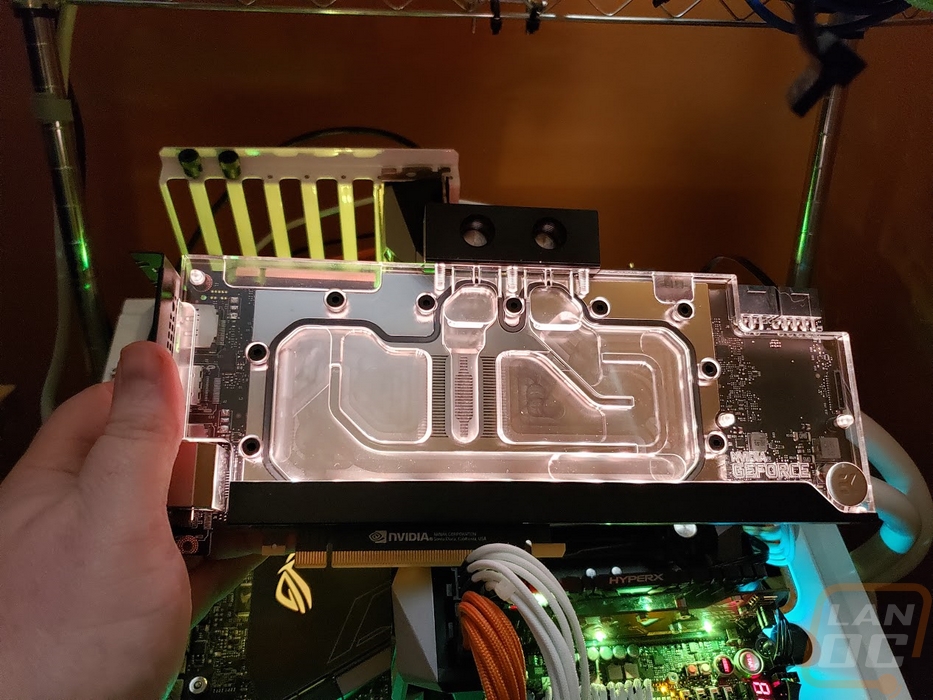
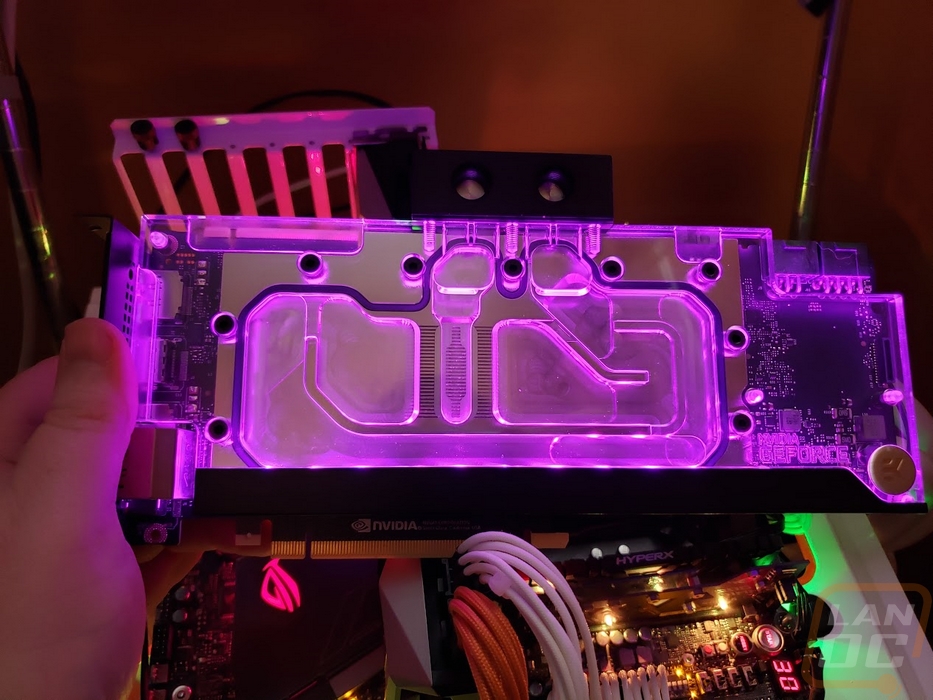
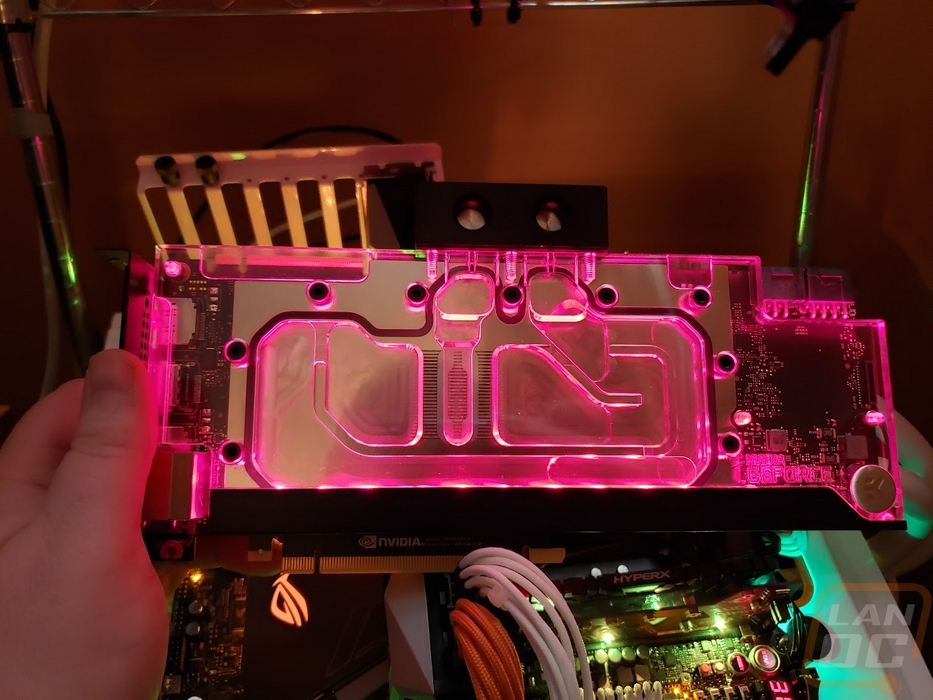
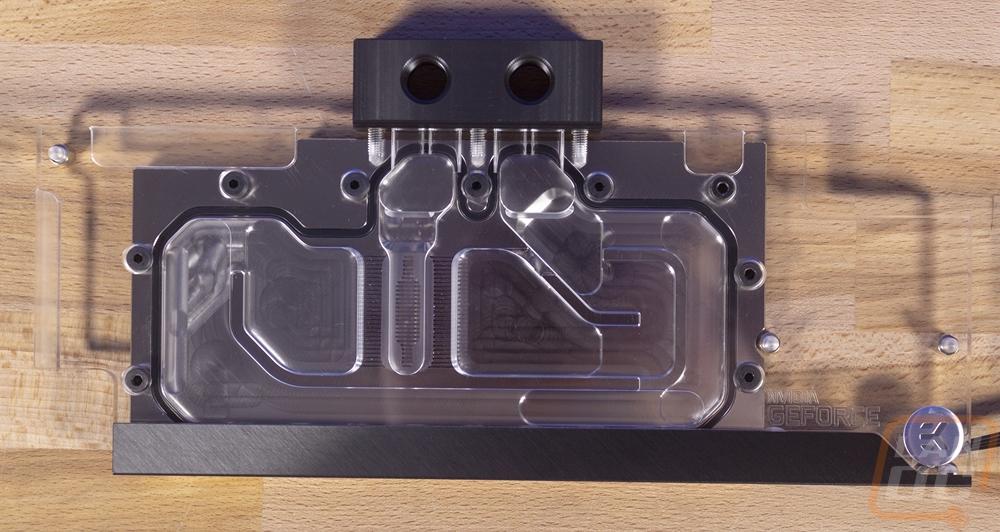
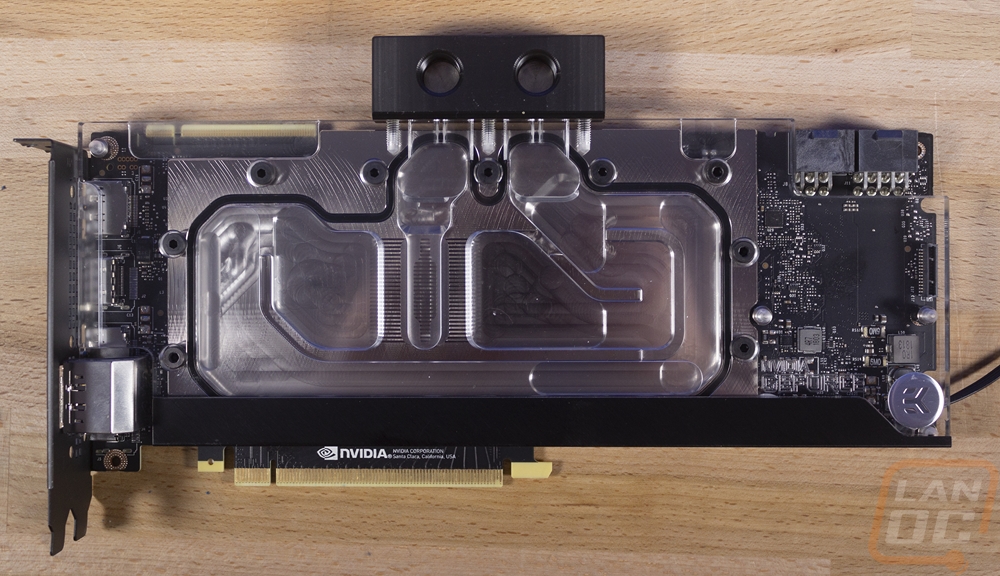
The front of the block has a thick plexiglass across the top that in addition to giving us a look inside of the block also covers up the PCB down at the end to keep it safe. As far as the waterblock goes, you can see that it flows in from the left port and down through the jet and the thin fins directly over top of the GPU. From there it flows both directions to cover the memory and VRM then they join back together right below the exit port. It is hard to see in the photos but In addition to the EK logo down in the bottom right corner, they also etched the Nvidia GeForce logo.
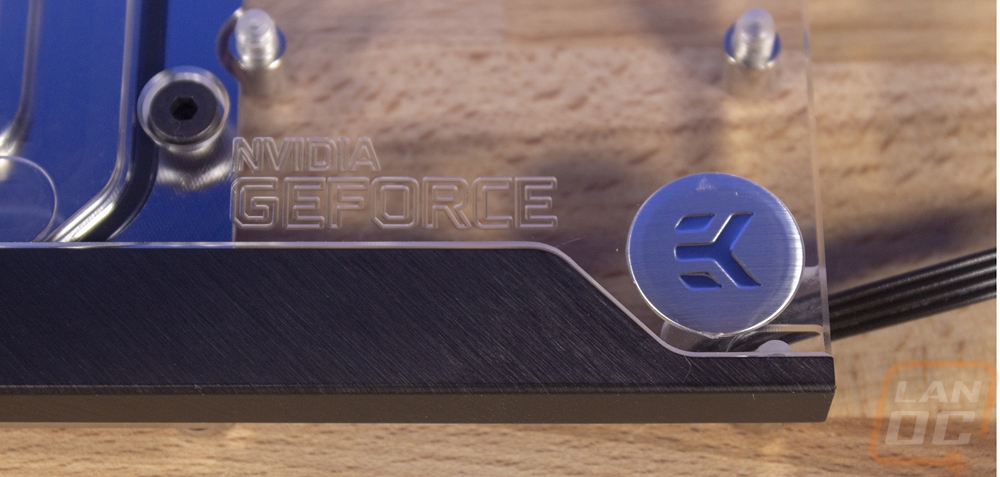
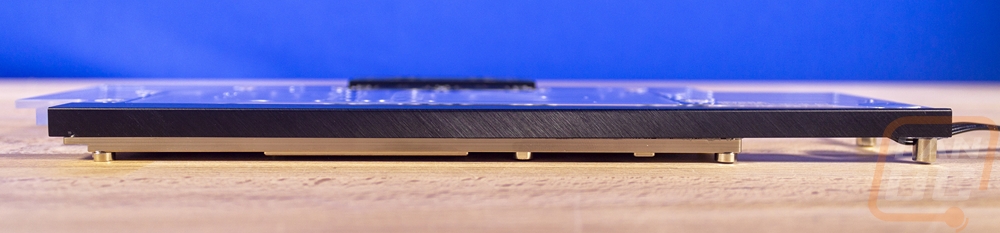
Down along the bottom edge that same black brushed cover runs the length of the card and also wraps up over some of the plexiglass. Like on the pump and the CPU blocks this is where the RGB light strip is mounted and it helps block the direct viewing of the LEDs for a better look.

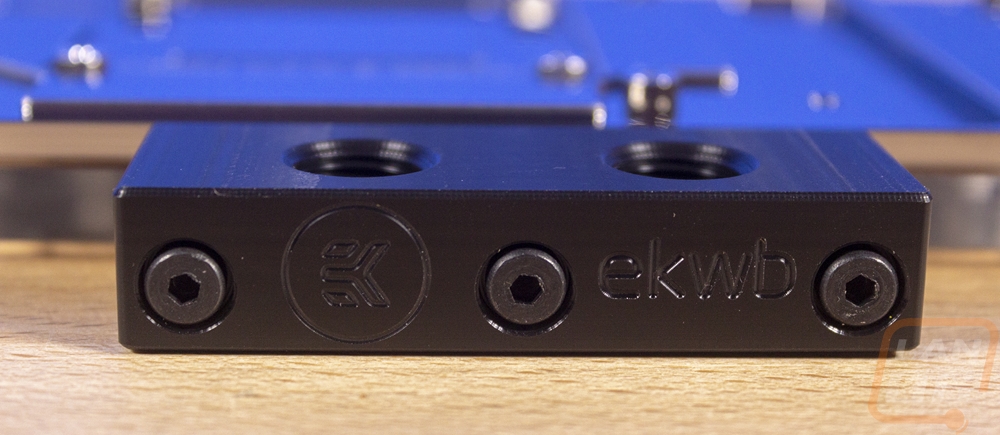
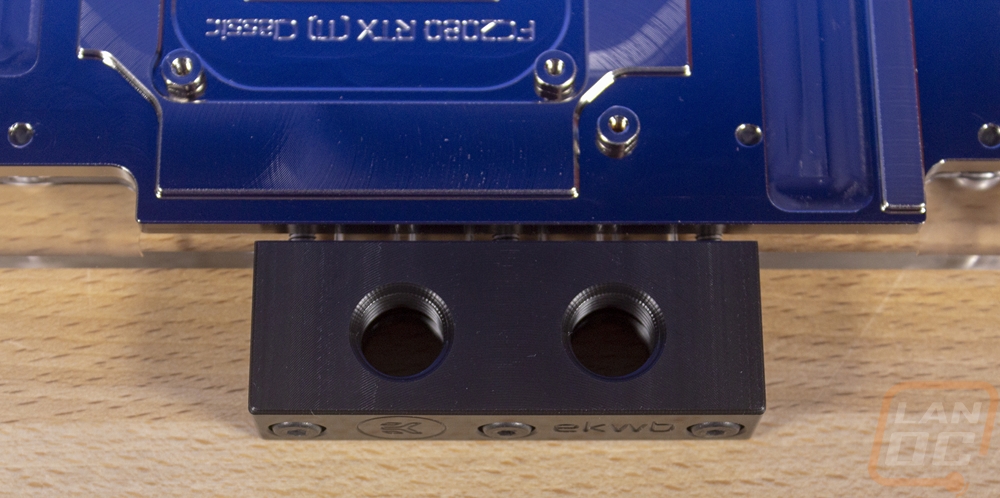
The terminal cover up on the top is also in a nice black finish. Unlike the EK Vector water block for the RTX 2080 and 2080 Ti, the Classic RGB has an older style blocky terminal cover. It is more of an everything you need and no extra material used for angled edges or anything. That said it does still have the EK logo and EKWB branding carved into the top edge though I would prefer it to be RTX or the Nvidia logo to help show which cards you have inside. The terminal has flow through ports if you want to run two cards in parallel or with the include G1/4 plugs you can hook the input and output up to either side.
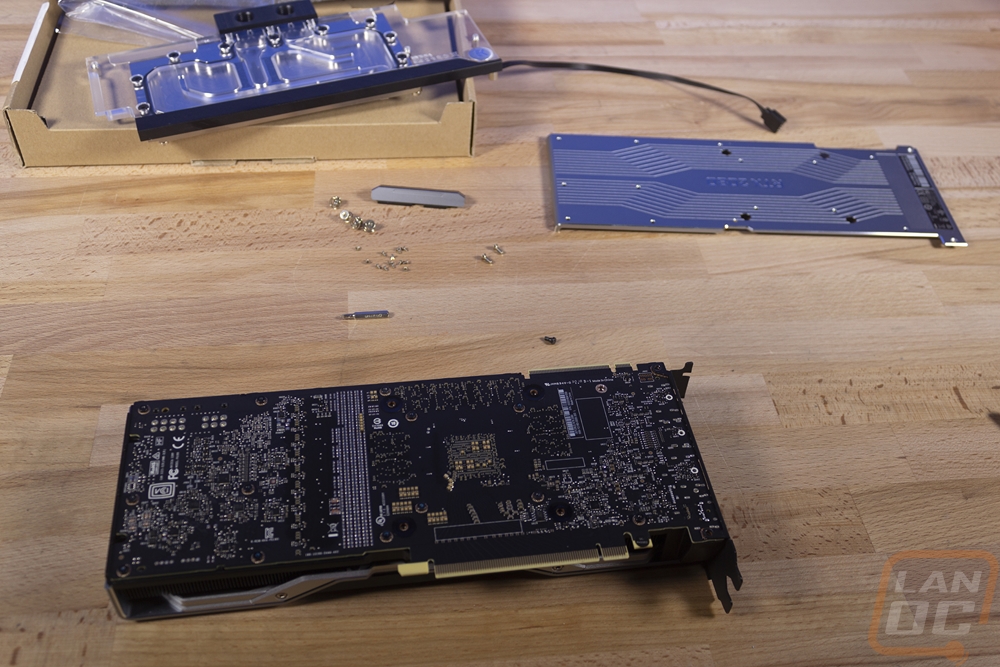
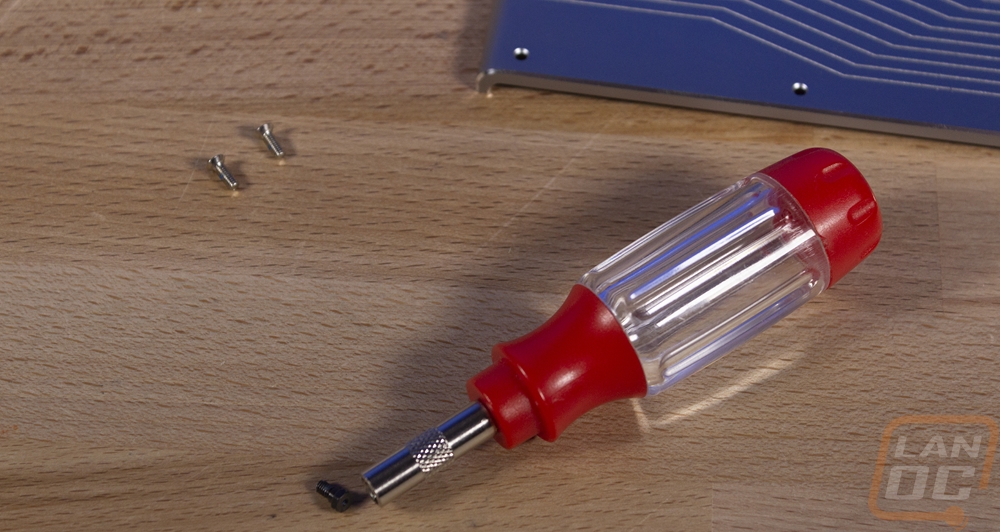
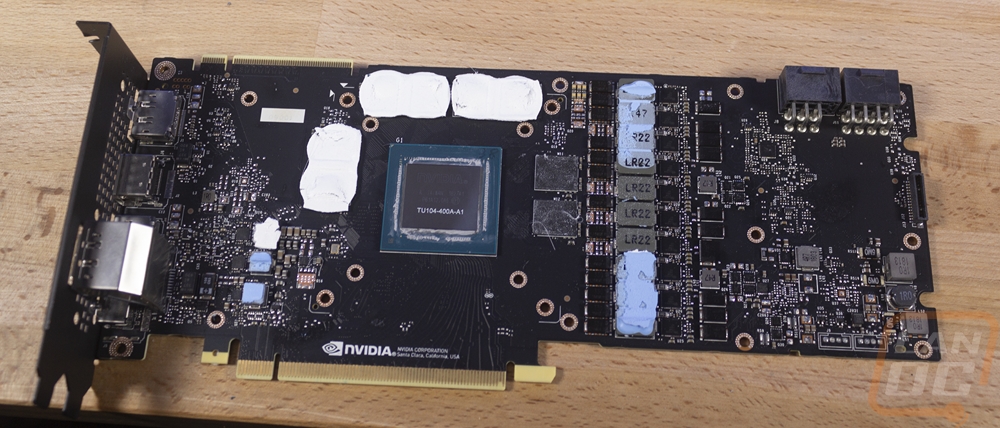
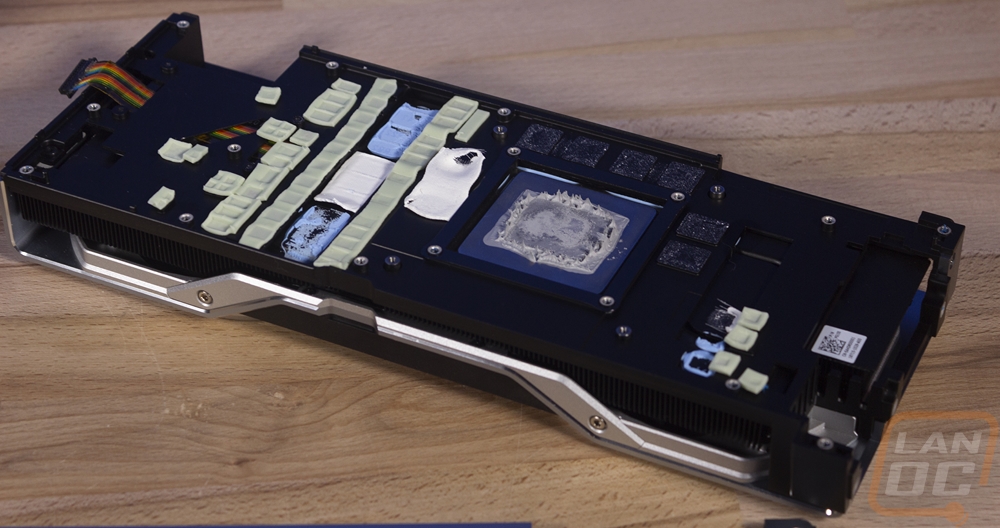
Putting the FC RTX 2080 +Ti Classic RGB on to the RTX 2080 Founders Edition might make some of you a little nervous, it is not as easy as installing your CPU water block. That said it wasn’t any different than any previous water block experiences. In fact, I was surprised that the Founders Edition wasn’t any harder than the GTX 1080 to take off, taking the cooler father apart than that is a whole different story. But to install the waterblock you just need to remove the original cooler safely and clean everything up. The main thing here is having a quality small screwdriver to use, all of the screws are small especially what Nvidia used on the backplate. You start by pulling all of those tiny screws out to get the backplate off. From there each of the locations that had a backplate screw now has a bolt-like screw with a tiny hole in the top. You need a 4mm tool to remove these, it just so happens that my screwdriver when I remove the bit is the perfect size for these so they came off quickly. There are four more large spring-loaded screws around the GPU then you need to remove the three larger screws on the PCI bracket and the cooler will pull right off. Be careful not to damage the ribbon cable when unhooking that and you are all set to start cleaning. EK has a nice instruction manual on the product page that shows all of this. It also shows where to install all of the thermal pads and how to put your new thermal paste on.
Here is a look at the RGB lighting for the block without any coolant. I was impressed with how they managed to get light into every portion of the card, not just a little in the middle or the end. The long light strip along the bottom helped with this. The GeForce logo lit up with the lighting and all of the water cavity had light around its edges.