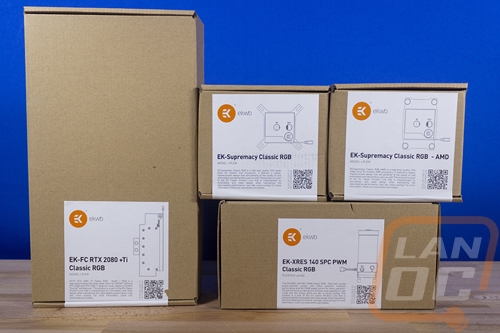
Installation and Performance
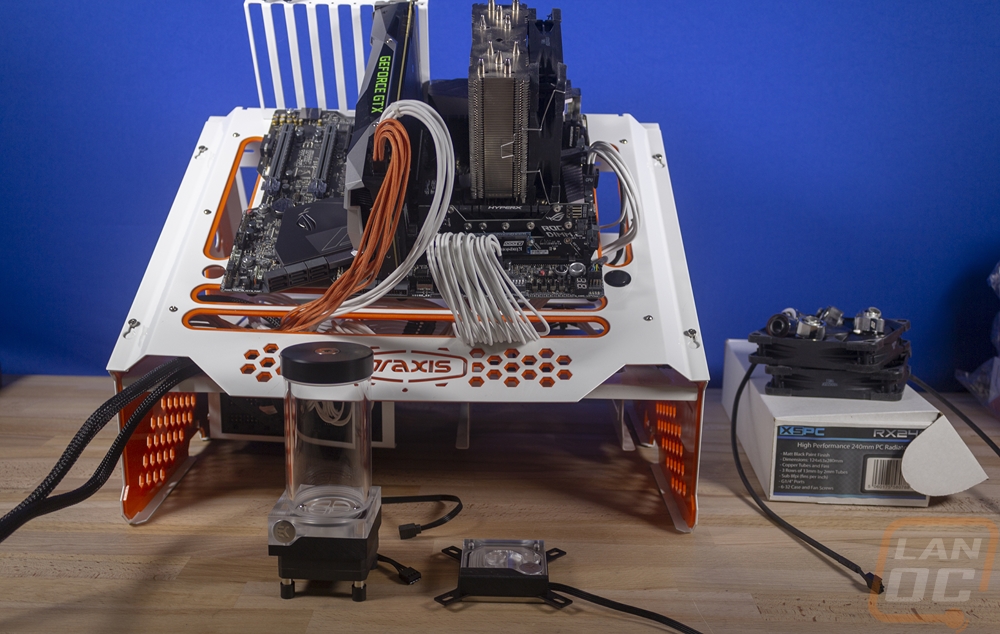
For testing, I took this as a chance to do something I have been wanting to do for a while now. Water cool our video card test bench. When taking thermal pictures of the back of video cards our Noctua NH-U12S has been getting in the way. I’ve been extremely happy with its performance, but given that, this test bench doesn’t change but every few years a water loop has been needed. I would have just tossed an AIO kit on it years ago but the Wetbench while designed for water cooling, needs longer lines than any of the AIO kit offers to be able to mount the radiator where it is needed.
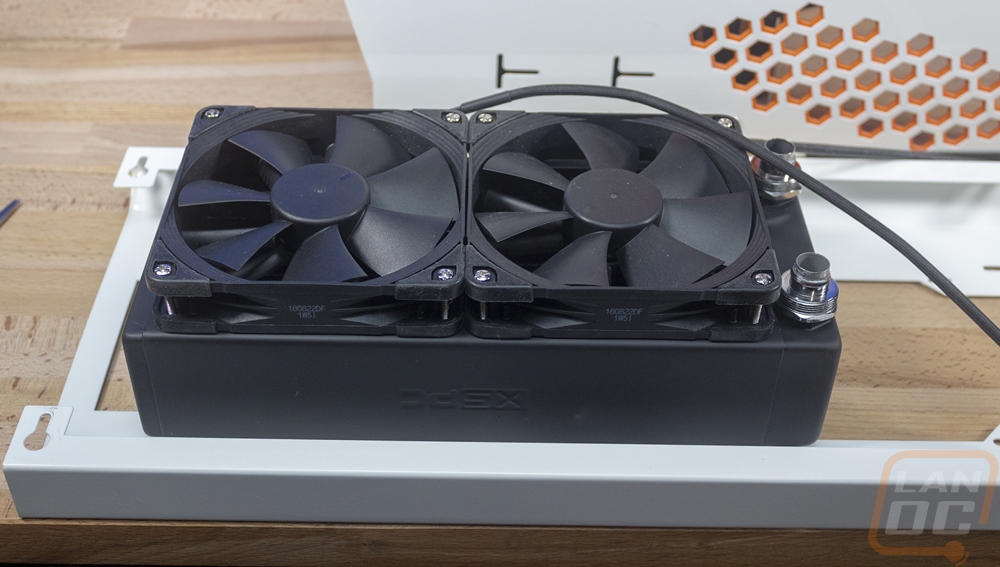
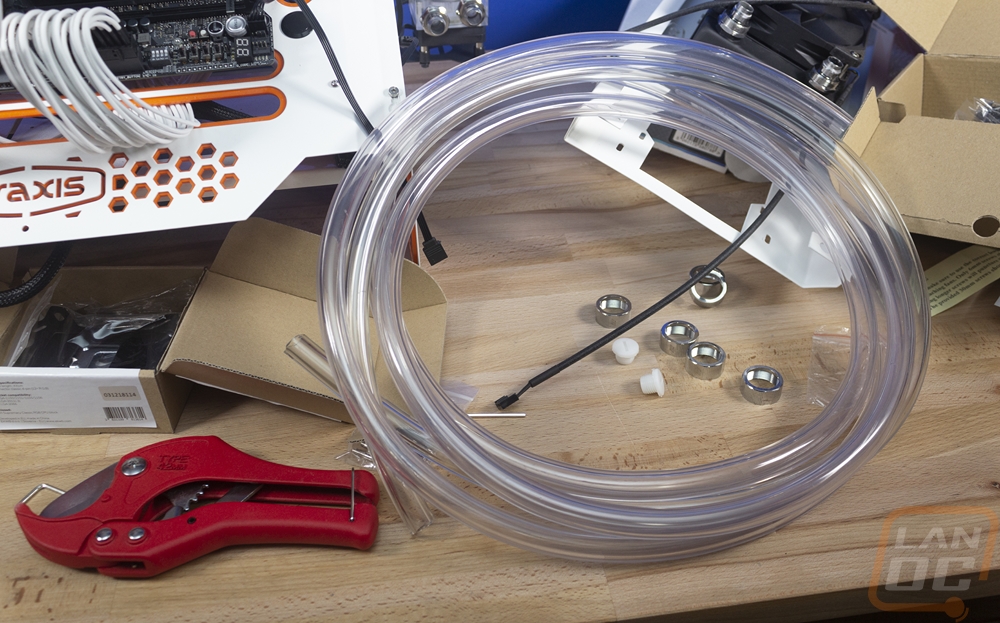
Sadly though, this was a last minute plan so I had to scavenge the parts that I still needed including fittings, lines, and a radiator. The fittings I found from our old Fridge build, same with the tubing. The original plan was to use transparent tubing, which I also had but I forgot how little fun the extremely tight tubing was compared to our nice white tubing and that matches the orange and white Wetbench. So I got what I needed out, an old XSPC radiator that was surprisingly thick, two Noctua 2000 RPM IPPC fans, Swiftech compression fittings, the XRES 140 SPC PWM Classic RGB, and the Supremacy Classic RGB with the Intel bracket. Our test bench is an X299 configuration which makes installation a little easier, there is no need to remove the board to put the backplate on.
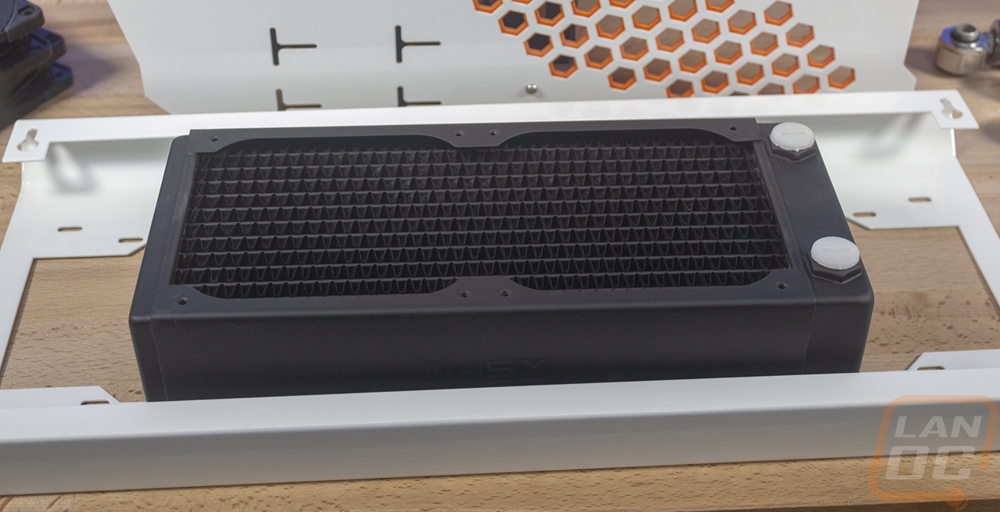
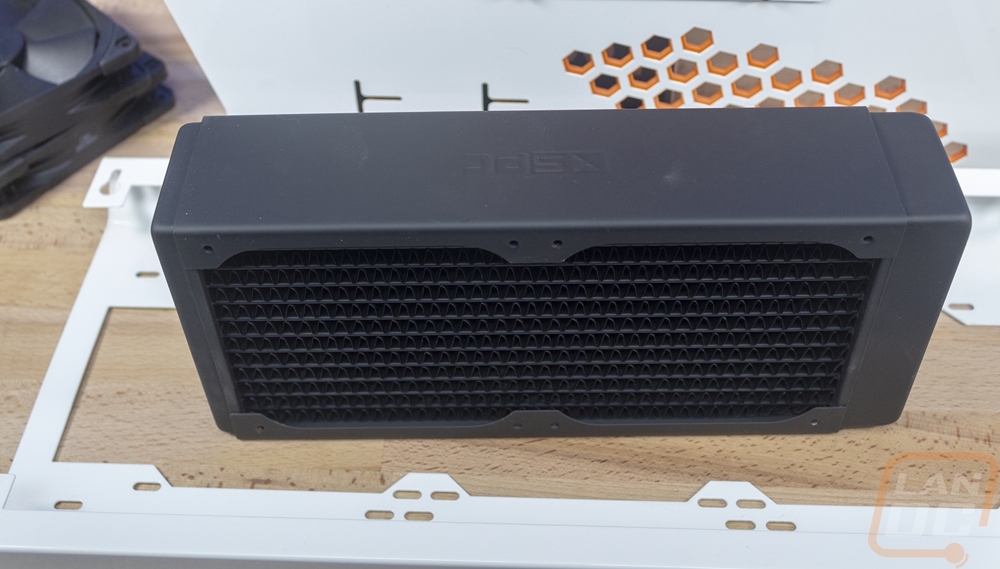
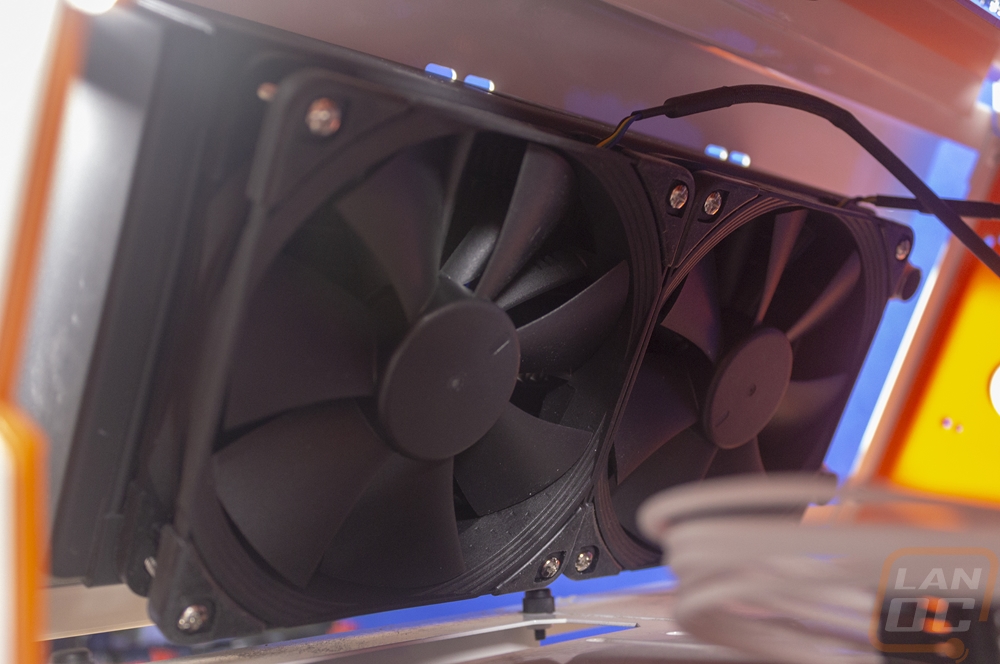
I was a little concerned that the thick radiator I went with wasn’t going to fit, but the Wetbench had room for it and the two Noctua fans to be mounted inside of the case. The removable bracket lifted off and you can mount the radiator to the bracket then the fans to the radiator in a push configuration to blow air out the back.
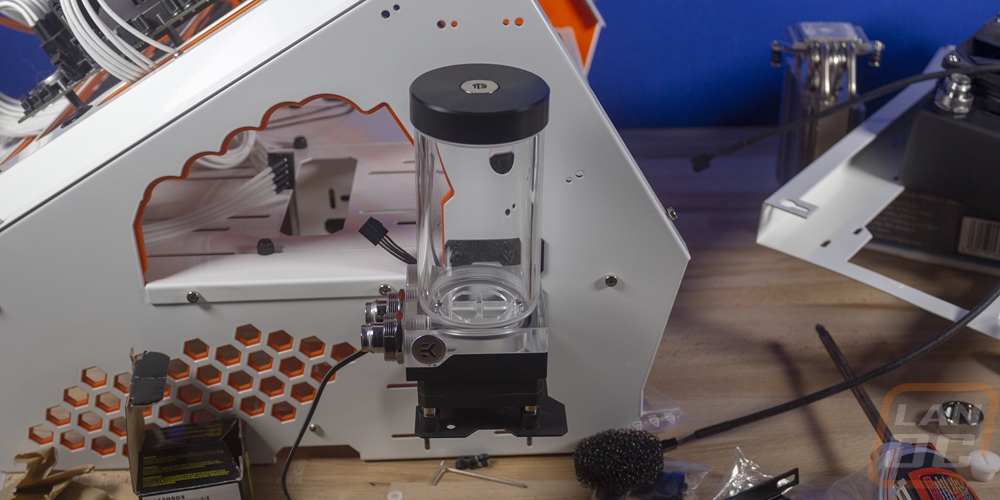
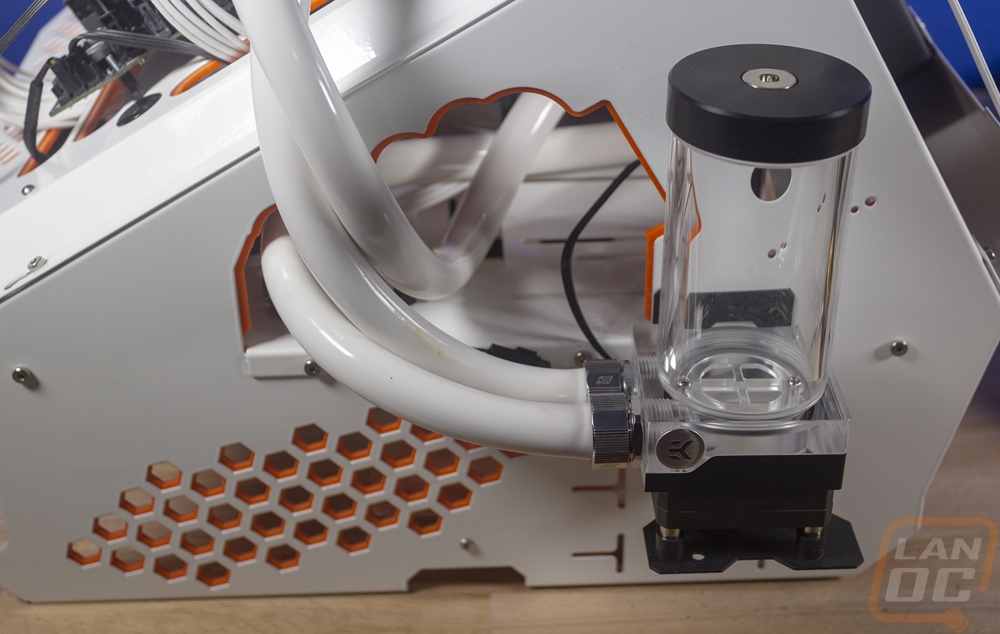
Getting the XRES 140 PWM Classic RGB mounted to the side of the Wetbench was without a doubt the hardest part of the whole installation. The Wetbench has a few mounting options but they are all side mounted and EKs Pump/Res has just those four bottom mounts. I dug around through my old extra brackets and ended up finding a Primochill bracket that would do the job, but I did have to drill out new holes for the SPC pump. Once I did I was mounted and good to go.
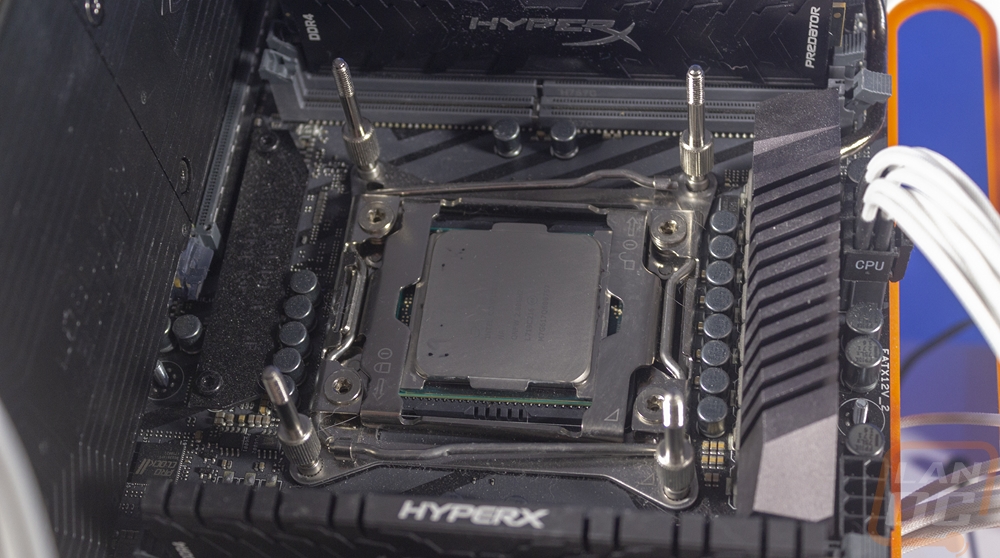
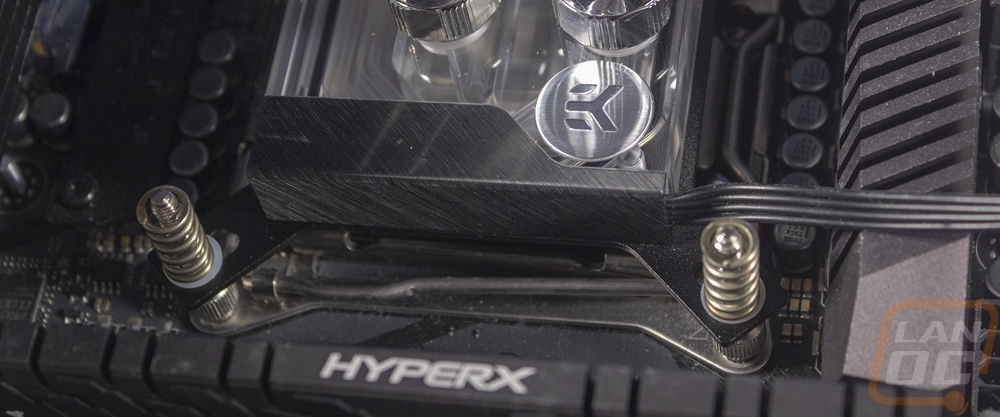
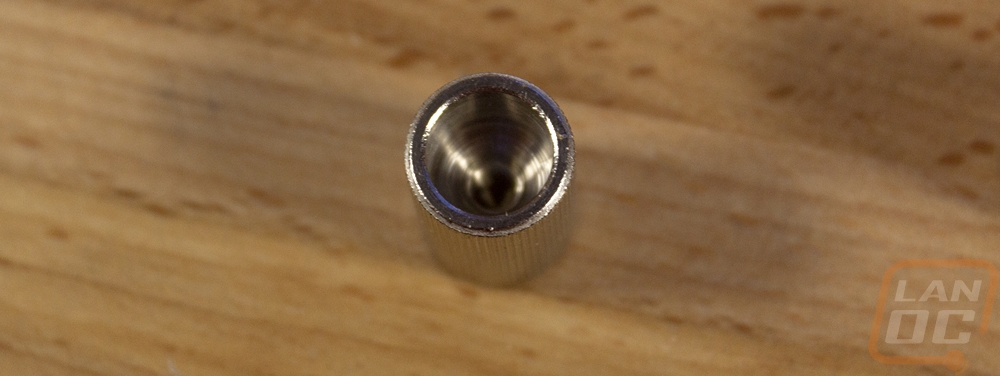
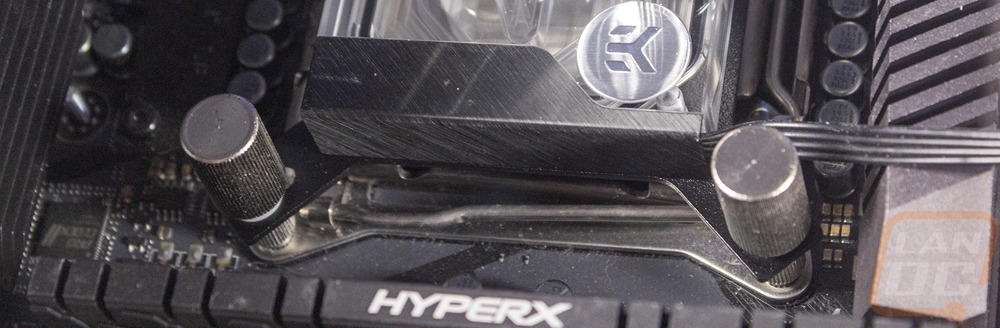
Installing the Supremacy Classic RGB waterblock wasn’t too hard. The LGA 2011 socket has the built-in mounting points so I just had to install the mounting bolts. They have knurled spots part of the way up to do this easily without any tools. The only issue I had here was that I installed the LGA 1155 mounts at first but I figured it out when I test fit the waterblock and it didn’t touch the CPU at all. You put your thermal paste on the CPU, slide the waterblock on than the plastic washers and springs. Then the cap bolts go on top. The springs don’t let you overtighten anything so you just snug them down and the black is installed.
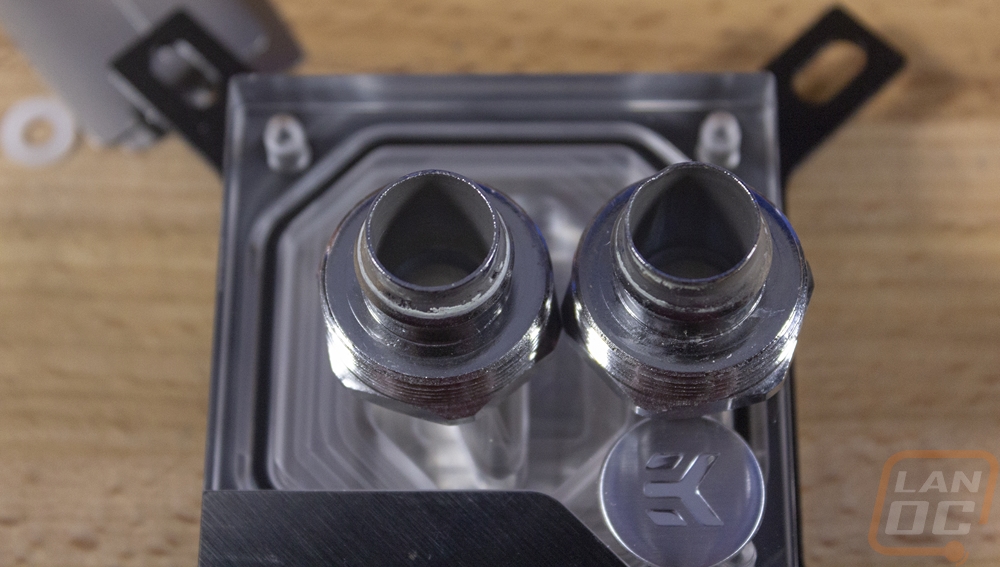
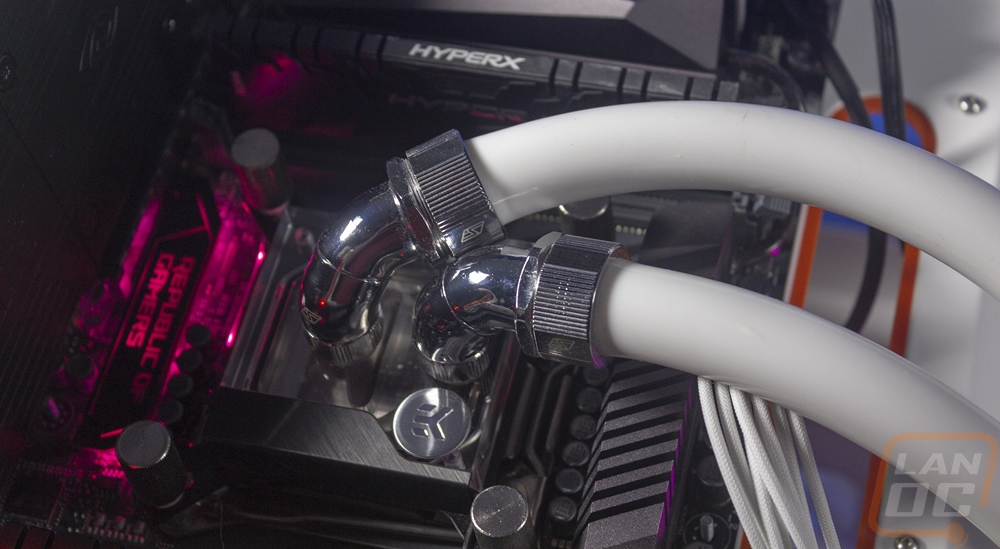
I did have an issue with the huge fittings I had to use. They looked like they might fit, but you could install one but the second wouldn’t be able to spin to get tightened down. Because of that, I had to dig out a few swivel fittings to raise them up and apart from each other. Almost no one is using ¾ flexible these days but if you are, do keep in mind you might need to use a right-angled adapter or some other way to keep the fittings apart.
For tubbing, a nice pair of tubing cutters is needed, as you can see this is the tubing I decided to not use. The leftover white was much easier to work with. But from there you just plan our your loop then hook up one end of the hose. Remember with compression fittings to slide that on first. Then route and cut and connect the other end.
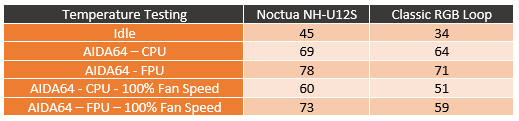
Once I was done installed distilled water, and tested for leaks and spent a LOT of time getting air out of that huge radiator I did do some testing. Your mileage will vary depending on the radiator and fans you are running, in this case, this was a very thick radiator with quality Noctua fans. I did thermal testing on both the Noctua NH-U12S I was replacing to our Classic RGB loop. The biggest surprise to me was the overall idle temperature. The Noctua cooler isn’t exactly an underperforming air cooler, but dropping 11 degrees at idle was nice to see and as an indication that I had a good contact with the Supremacy Classic RGB water block on our 7960X. From there I went through our normal tests. This meant using AIDA64 to load up the CPU. I test with the CPU load which is more realistic and the FPU load which is more demanding. I did this twice, once with the stock fan profiles from the Asus board and again with the fans and pump turned up to 100%. At the stock fan profile, things did run cooler. The 5-degree drop on the CPU load and 7 degrees with the more demanding FPU load. But I was happy to see than cranking the fan and pump up to 100% showed there was even more room left in the loop as the delta went up o 9 degrees for PCU and 14 for FPU.
I also did noise testing though to be fair the only thing that can make noise from EK was the pump. The Noctua NH-U12S, on the other hand, had just one fan where our loop had two fans that also had a higher max speed (2000 RPM). So I wasn’t surprised that at 50% fan speed things were about the same nor was I shocked when I turned the fan speed up to 100%. The two 2000RPM fans made a lot more noise at 49.3 decibels over the 43.9 of the NH-U12S. But I did note that the EK pump really wasn’t noticeable at either speed except when I had air in the loop. This was an ongoing issue when I did though. The design of the pump has the old coolant coming in right at the pump intake. So when you get air in the loop it really liked to pull the air bubbles right back into the loop when they did clear out. It might even be easier to temporarily hook the input line up to the top of the res if you have a lot of air bubbles to clear out. Beyond that, I have loved the setup!

