Cooler Master Wraith Ripper
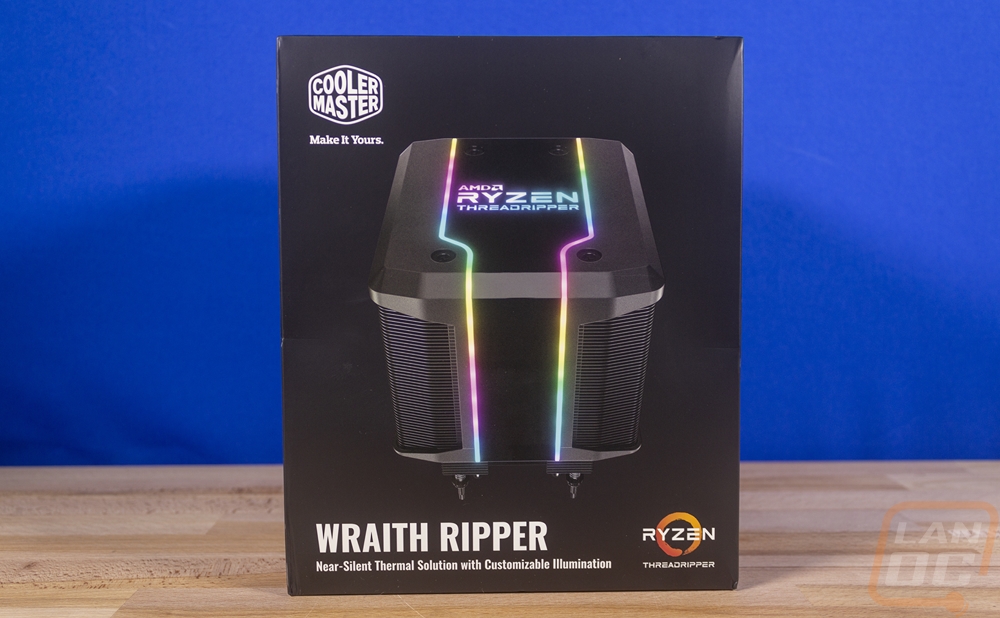
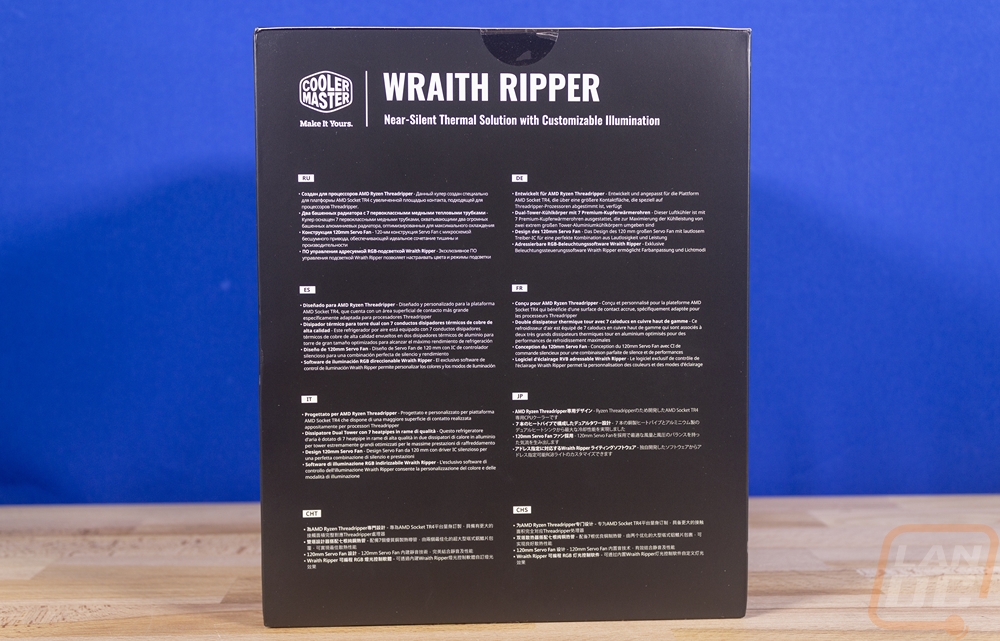
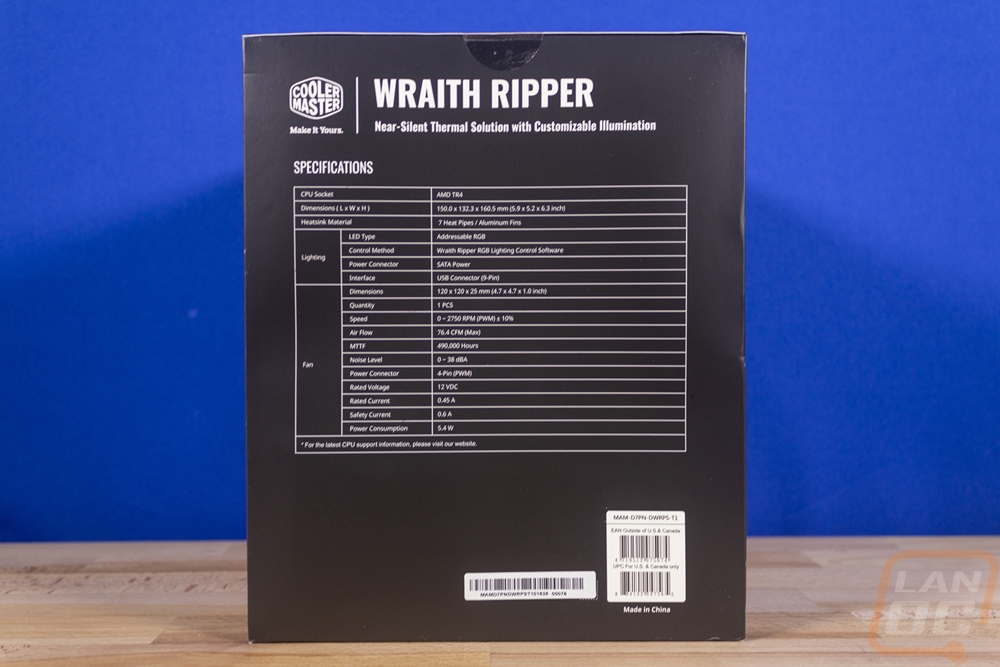
The Wraith Ripper packaging looks a little different than your standard Cooler Master heatsink. The box is all black and they feature a photo of the heatsink with the RGB on the front. For branding, Cooler Master has their logo but it isn’t too large. Then the name is down on the bottom left. Then, of course, the Ryzen Threadripper branding is there as well. The box is huge, I’m sure the article image shows just how big this box is even when put next to the Noctua coolers. One side of the box has features listed over and over in different languages. I love that there is a full breakdown image that shows you what makes the Wraith Ripper tick and along with that they have all of the dimensions of the heatsink. When it comes to large coolers that is important. Cooler Master also included a full specification listing on another side. Overall, if you were shopping for this in retail all of the information you need to know is there to help you decide and to make sure it is going to fit in your case.

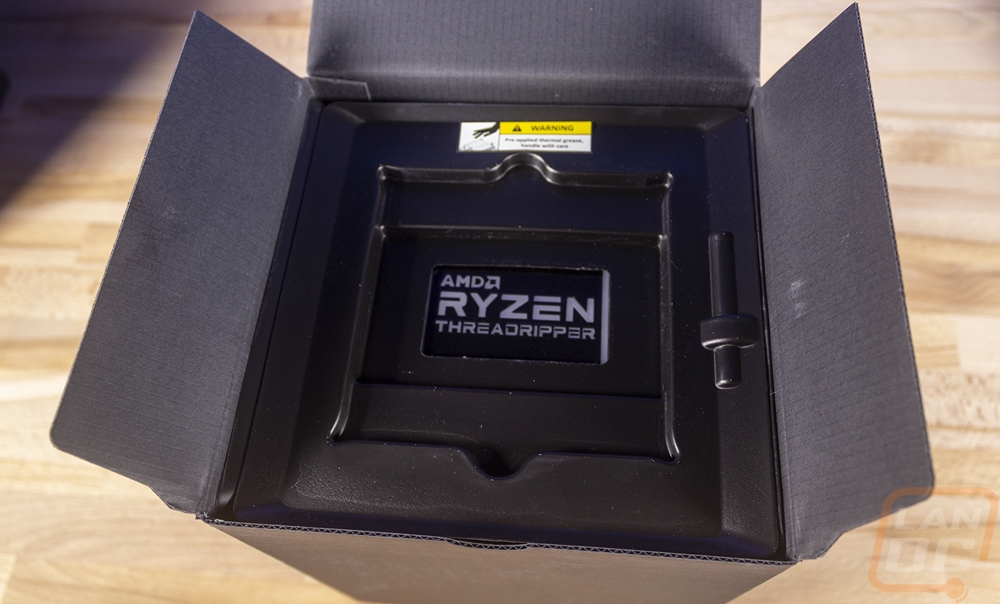
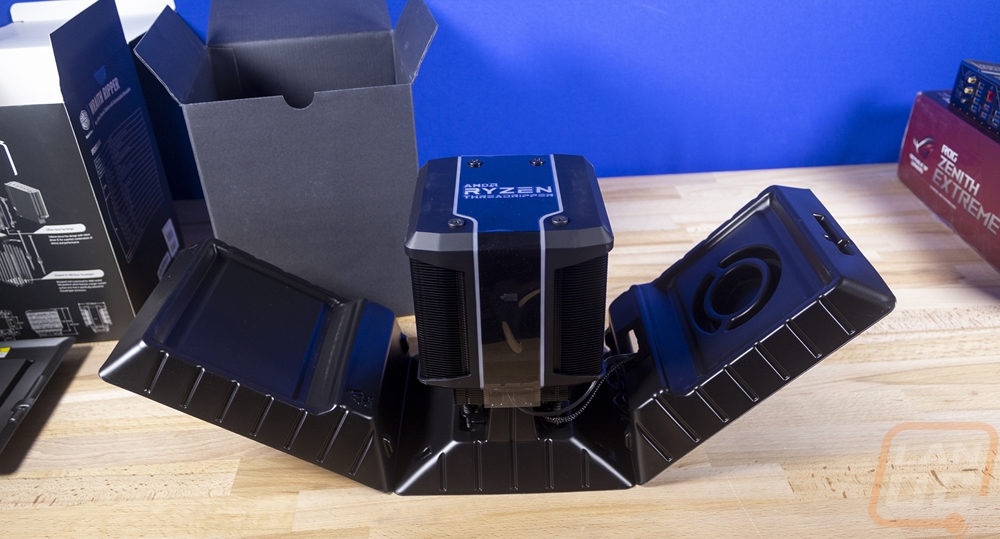
Also unlike most other Cooler Master heatsinks, the Wraith Ripper packaging feels like you are opening up something special. When you pull the box out from inside of the liner and open it up. Up on top, you have a small envelope with the documentation in it. But what surprised me is when you remove that, up under it they have a hole in the plastic where you are greeted with the Threadripper logo which looks like your Threadripper CPU on top. It is actually the top of the heatsink peaking through but it is a nice touch. Then when you pull that out of the box the plastic that is formed around the heatsink opens up and you have the whole heatsink right there for you.
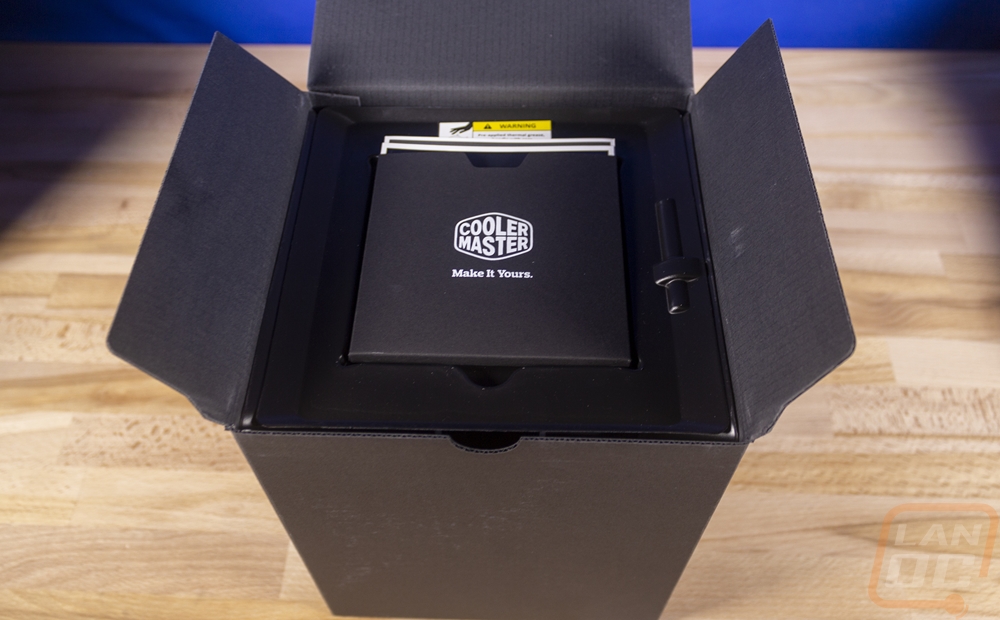
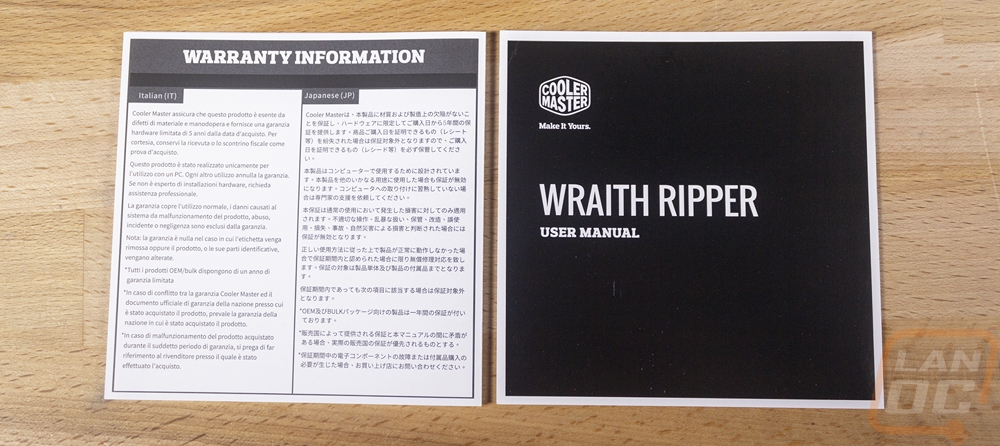
What is interesting is not getting anything else with the heatsink. I’m used to premium models sometimes coming with stickers, case badges, tools, etc. What you end up with is a warranty paper and then a small user manual. Compare that with what comes with each and every Noctua cooler later on, it is night and day.
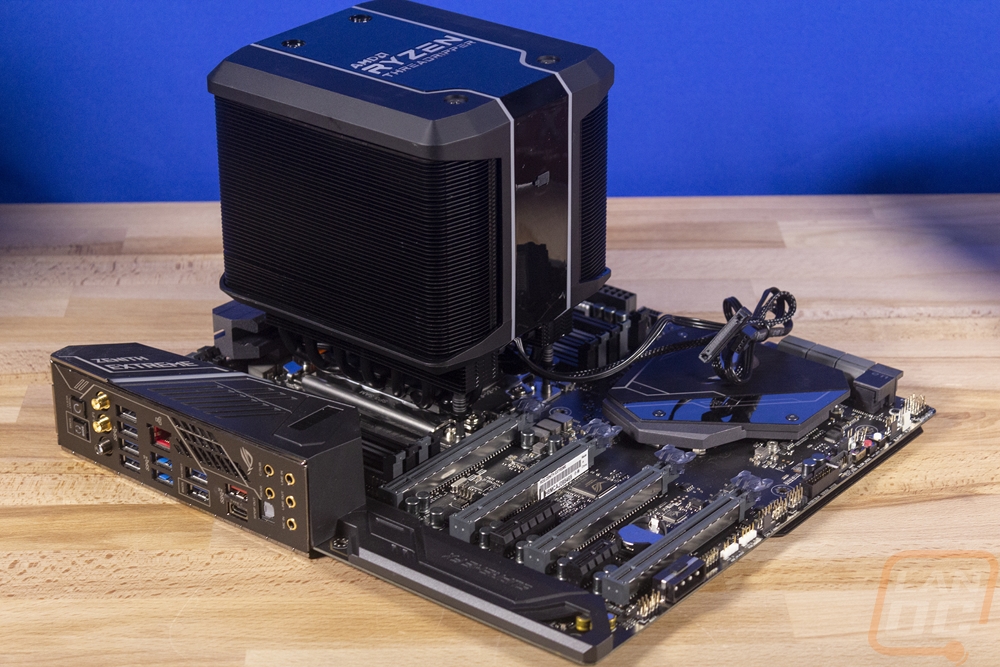
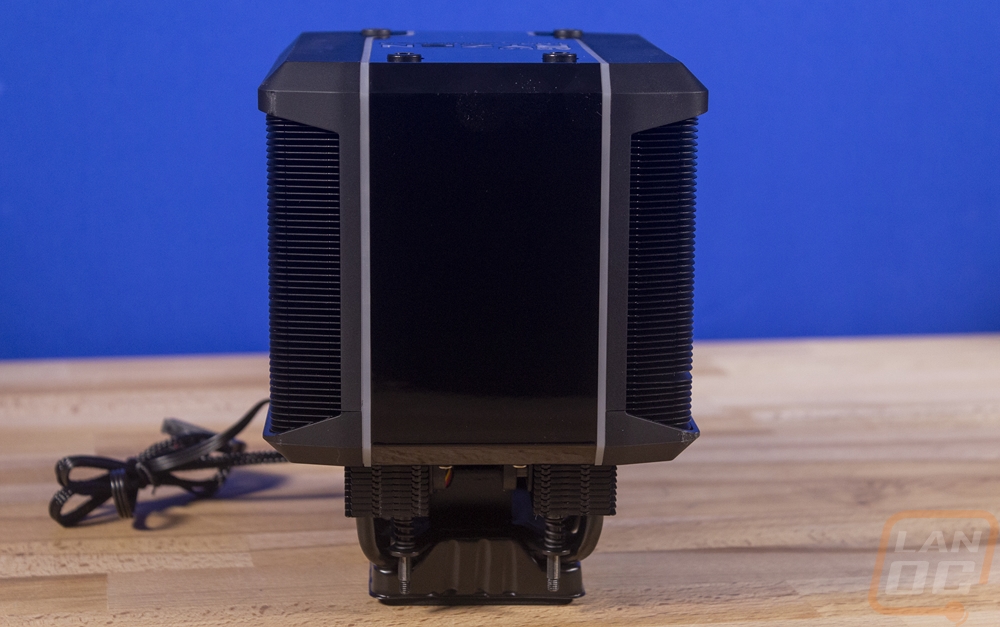
So I have to say it, the Wraith Ripper is an absolute monster. That is going to be the first thing you notice. From there, after you come to terms with the size, you will notice the branding up on top along with the lighting and then the all blacked out look. The heatsink in every area is black including the bottom of the contact surface and it also has the plastic shroud on it as well. The heatsink itself reminds me a lot of the Cooler Master V8 which has had two designs. The original had a single fan in the middle with heatsink towers on both sides and a shroud up on top to make it look like a motor. Take away the extra heatsinks that the V8 had and make the whole thing larger and you have that setup here, only with more RGB and more black.
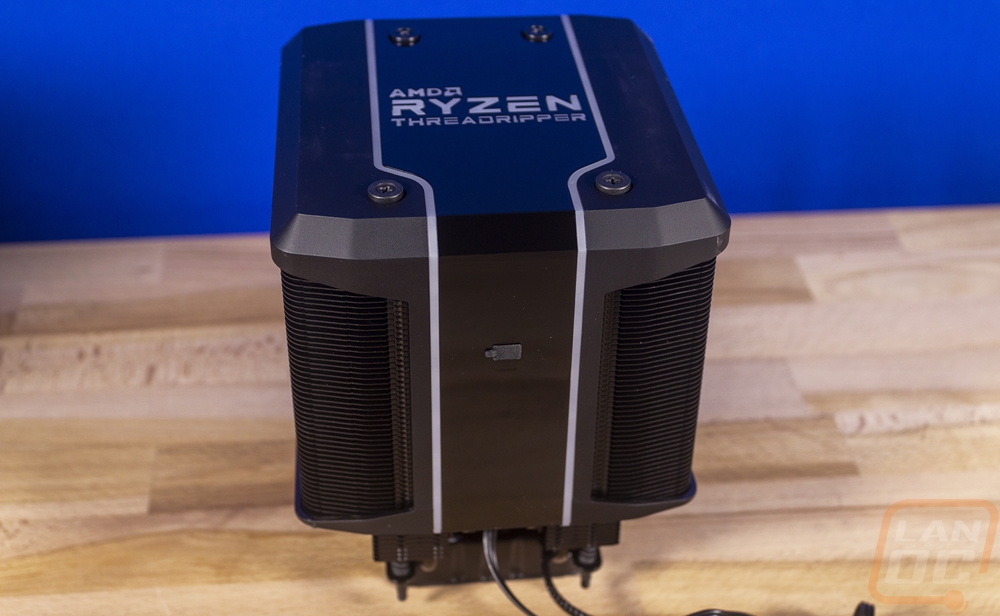
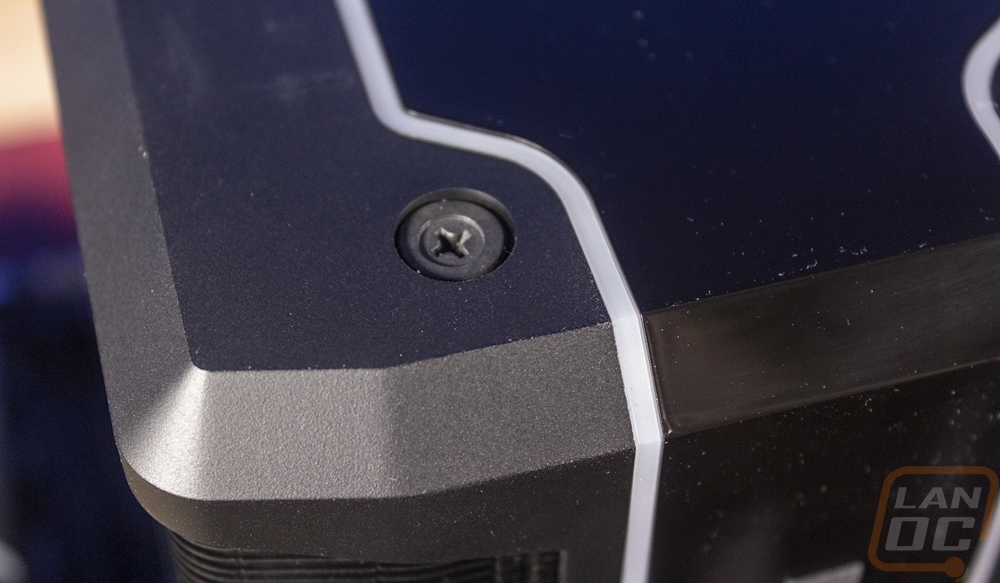
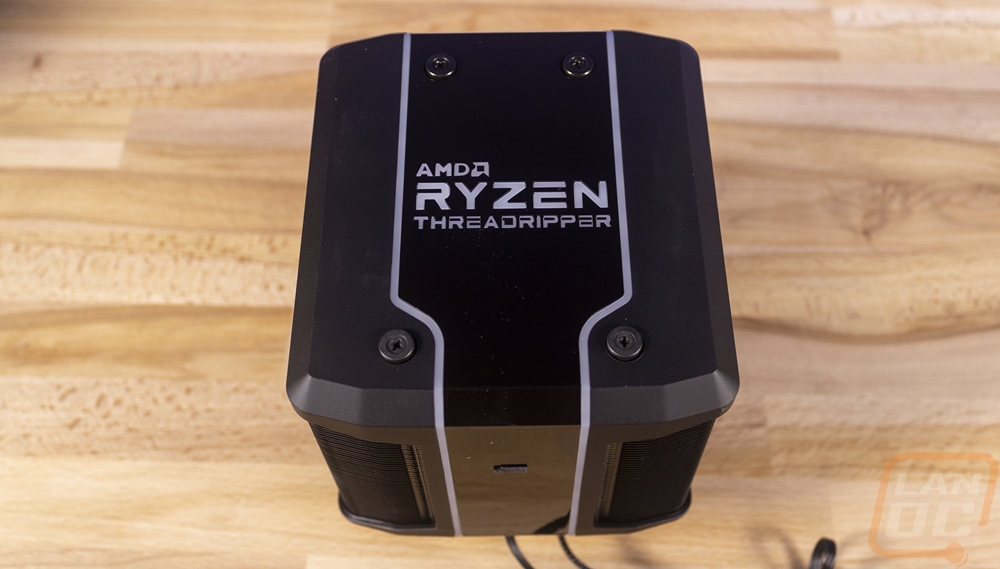
So starting up on top, the entire top of the heatsink is covered in a plastic shroud. This helps direct the airflow for the fan, but it is mostly a chance to deck the Wraith Ripper out in lighting. RGB lighting has been integrated on the Wraith coolers for a few years now and this one is no different. Well, I take that back, it does have a lot more lighting. But having lighting for a wraith cooler is almost standard, at least on the higher-end models. The top lighting has two strips of addressable LEDs that split up the two different plastic surfaces where you have flat plastic on the outside edges and gloss in the middle. You also have the AMD Ryzen Threadripper logo on top which is lit up as well. This has to be the best feature of the heatsink, getting to push that big logo right up to the window on your PC tells everyone what you are running. Normally I don’t like backlit branding all over my builds, but getting to show that you have Threadripper inside is right up there with having 2080 Ti glowing or Titan. They speak for themselves.
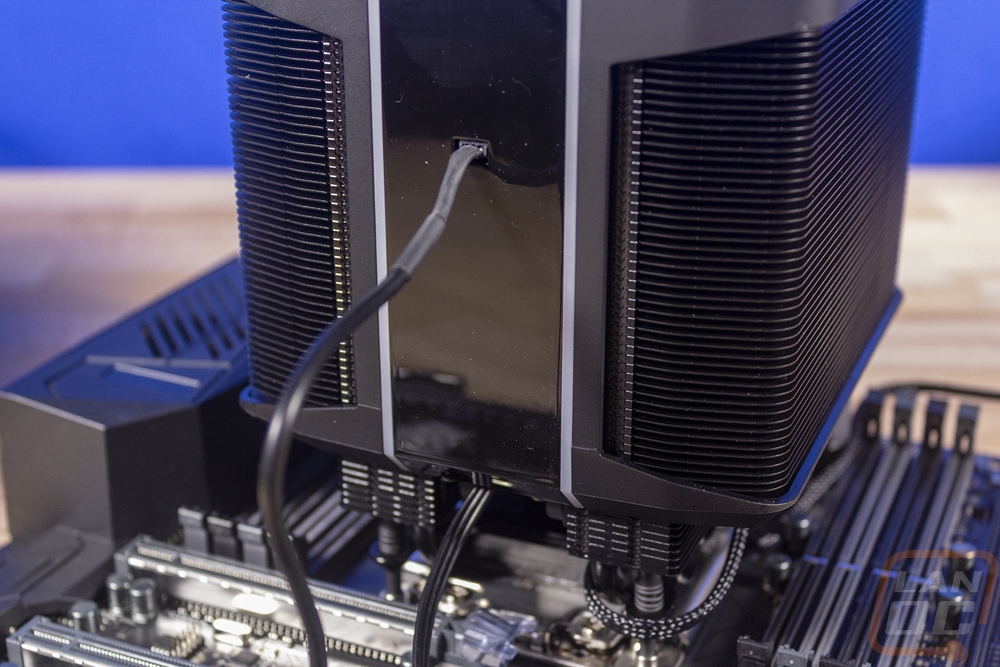
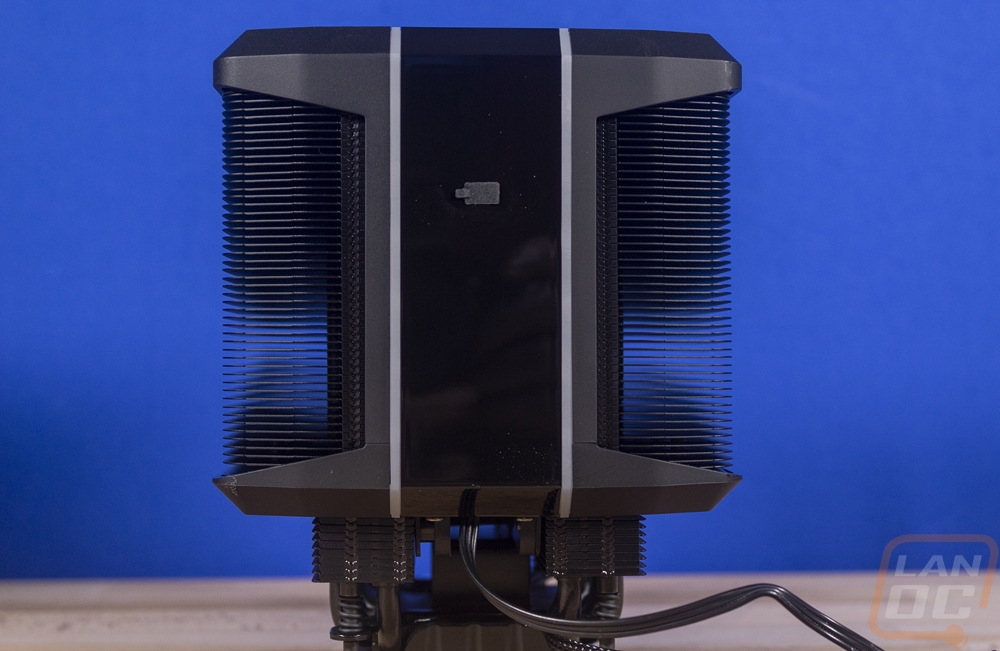
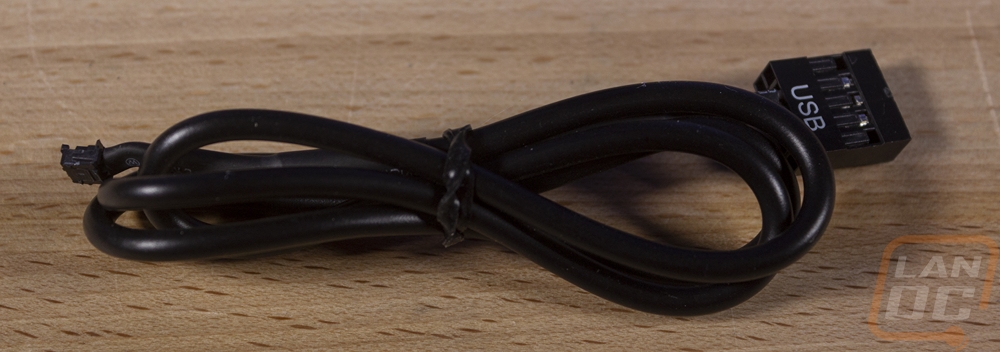
So the heatsink layout, as I mentioned, is two towers on the outside and one fan in the middle pulling and pushing air across them both. It is a little different than the normal one tower and one fan or two towers and two fans, but assuming the fan is powerful enough to do it, it is more space-efficient. Even the heatsink fins are all anodized black which looks amazing. Beyond that the shroud in the middle doesn’t have too much going on. Just the addressable RGB lighting strips doing down both sides. Speaking of which there is a tiny plug right in the center of the bottom side of the cooler. If you have used an RGB wraith cooler because you will recognize it, this is where the USB cable for lighting plugs in. It has to be one of the worst locations I’ve ever seen. It is way high up, so there is no hiding the cable, and it faces down towards where your top PCIe slot will be, I can see the cord being tight up against a GPU given the size of the heatsink.
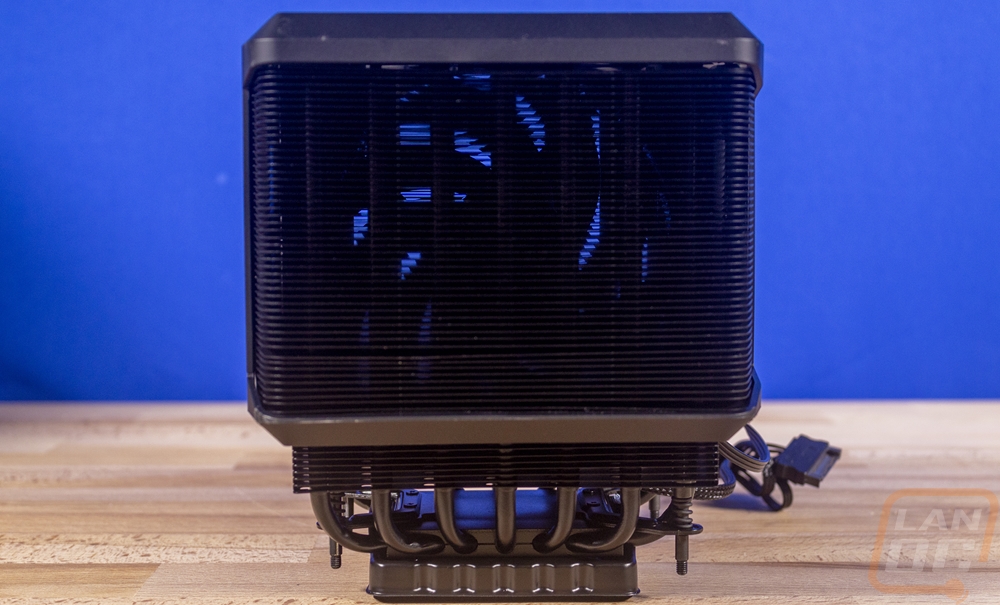
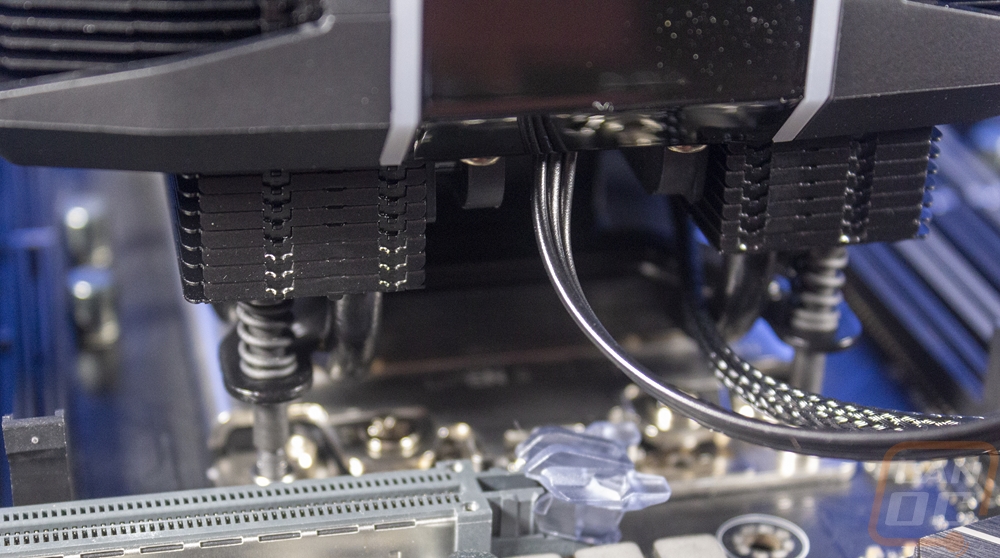
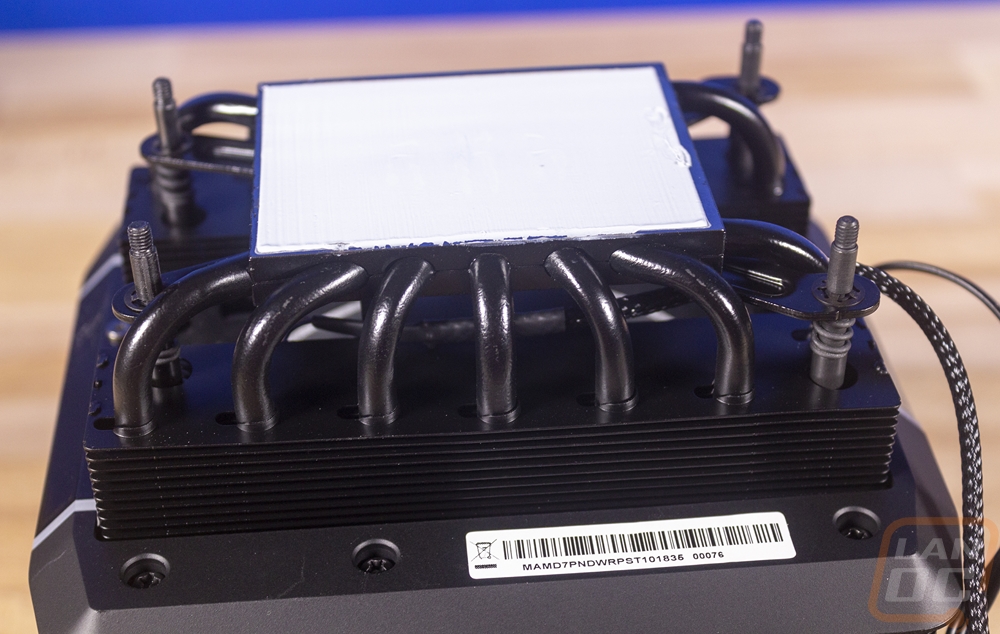
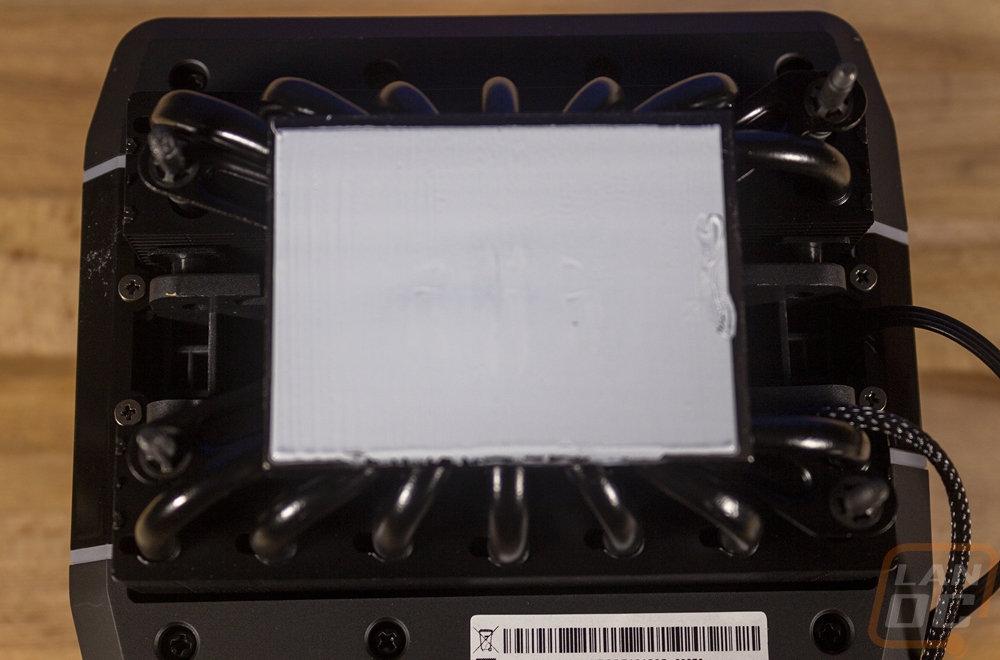
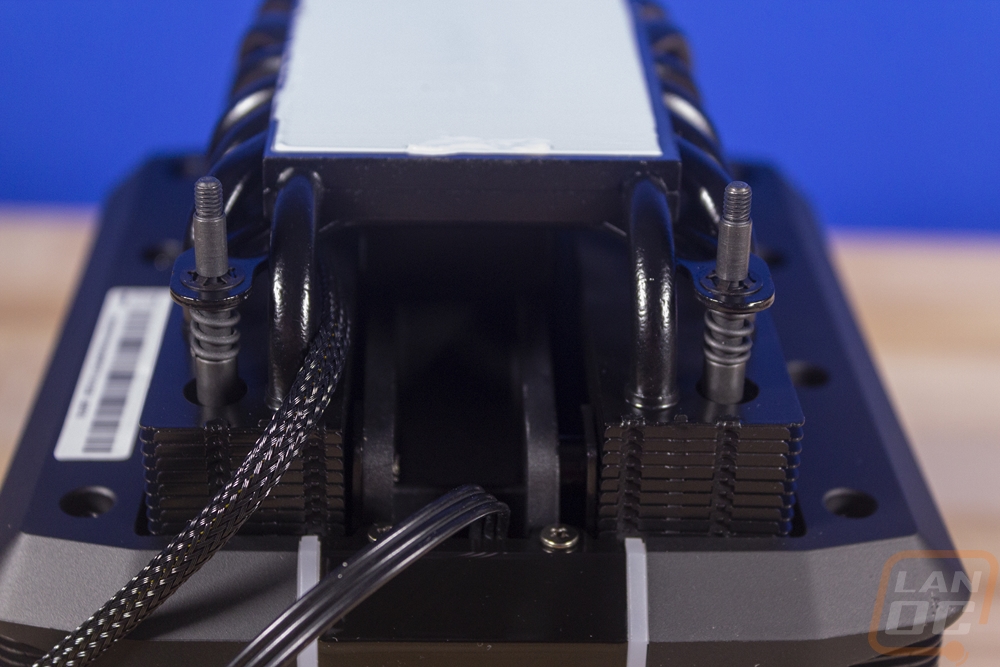
The bottom portion of the cooler is best described as “holy crap look at all of those heatpipes”. Each side of the contact surface has 7 heatpipes which is crazy! I have to point out that every detail down here is also all black which is awesome. Also the Wraith Ripper comes with thermal paste preinstalled. Given the size of the contact surface this should make installation easier. But with no extra thermal paste included you better hope you don’t need to remove and reinstall for anything. The bottom view also gives you a peek at the fan in the middle of the heatsink. It is a 120mm fan in you guessed it, BLACK. You can also see the mounting screws which run all the way through the heatsink sticking out the bottom.
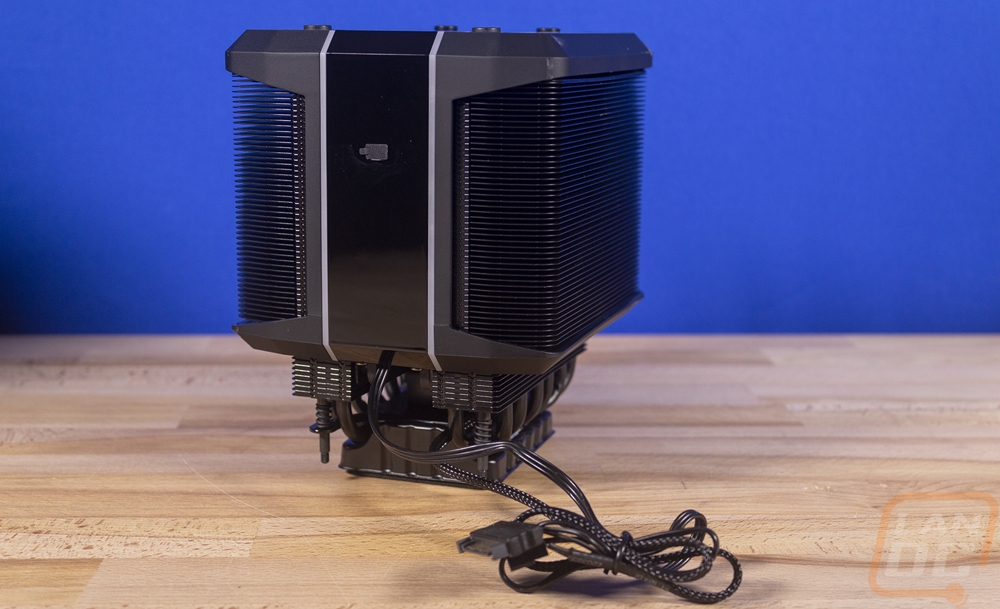
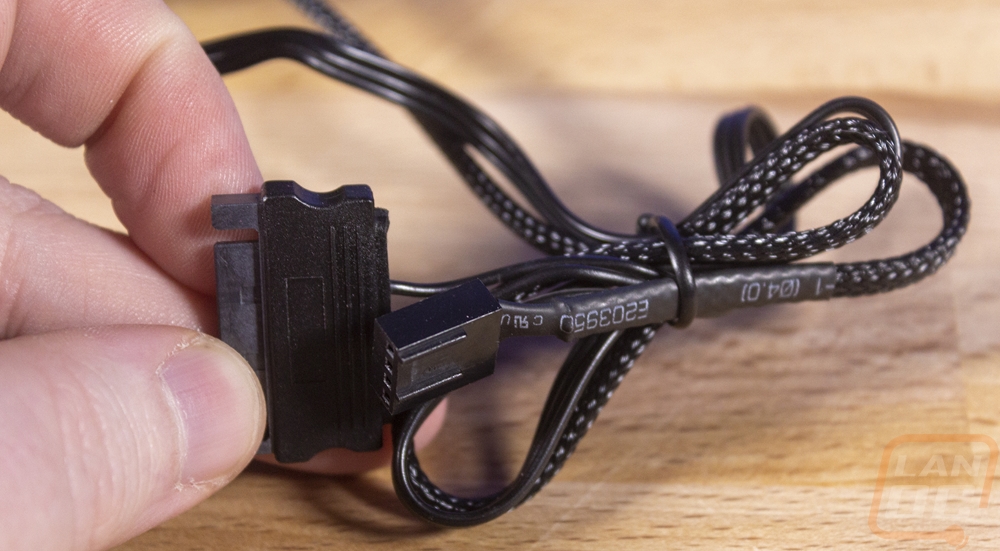
It's just a heatsink it should just have one wire for each fan it has right? That means just one wire for that 120mm fan the Wraith Ripper has tucked away in its inners. NOPE. Adding that addressable RGB lighting complicates things. So there are actually three cords and it’s a bit of a mess. I mentioned the USB cable that plugs into the middle of the heatsink. That is in our second photo, that is the same USB cable that the other Wraith coolers use including that small plug. But Cooler Master also requires more power and for that you have a SATA power cable, so plan for that. All three cables are black of course. But each of the three cables are a different style. The fan has a sleeved cable and a 4-pin PWM header and with that out of the bottom is the SATA power. That has a flat and flexible cable like a power supply. Then the USB cable is a round and thicker cable with an internal USB 2.0 header on the end.
The Wraith Ripper just happened to be the firs heatsink I used on our Threadripper setup so I had the chance to get a few out of case photos of it in action. The installation had me torn. Physically this has to be the easiest heatsink to install I have ever dealt with. Because it is Threadripper specific there wasn’t any fussing around with brackets and then with the LGA socket, it includes mounting points. So you sit the Wraith Ripper down on top of the CPU with the preinstalled paste and at the top of the heatsink in the plastic there are four Philips head screws. These are the long screws that lock it down. It was just that easy. But then I had to mess with the three different cables. The rear USB plug is the worst and it is really ugly, there just isn’t any good way to hide the cable on such a good looking and clean heatsink, it’s a shame.