Noctua NH-U9 TR4-SP3
The packaging for the NH-U9 TR4-SP3 follows the standard layout for a Noctua cooler. This includes the mix of brown and black with white trim that all of their products have and the layout of where everything is on the packaging. This includes the product name being vertical on the left and horizontal up at the top and below that they explain what type of cooler this is, this is a 92mm U type cooler because of the heatpipe layout is in a U shape. The front then has a shortlist of all of the key features of the NH-U9. The only thing missing really is a photo of the cooler, in the background there is a zoomed-in picture of a heatsink, but for retail shopping it is always nice to be able to see what you are getting. Each of the features is broken down into more detail on the side of the box with a small line drawing and description. Then on the other side you do get a full specification listing of the heatsink and of the included fans as well as a list of everything that comes in the packaging. With that there is also a small line drawing of the cooler with the dimensions to help with making sure it will fit ahead of time.


Long before the recent movement to be more sustainable with cardboard over plastic Noctua has always used cardboard for packaging and it is always crazy how they manage to put it all together to keep their heatsink from moving around. Alongside that is a small box with all of the accessories and documentation.

The box is decked out with the heatsink information on it and a list of most of what is inside on the top with line drawings even. Once you get inside you will see that most things are split up into a bag labeled NH-U9 TR4-SP3 Common Parts. Inside you get a Y adapter for the fans and low power adapters for the fans as well that will help run the fans at a lower RPM without any software tomfoolery. Noctua as always includes a FULL tube of thermal paste, not just a tiny one or a pre-applied amount on the heatsink. This goes unnoticed by some, but a full-sized tube of thermal paste often goes for $10 by itself, it's great that you always know you have some. There is also a case badge inside which is really unique because it is thick metal and painted with the Noctua logo, not just a cheap sticker. This has always been one of those areas where you could tell just to what level of detail Noctua would go. Then there is, of course, installation instructions and an included tool for installation. Normally this is a long screwdriver but I noticed that this is thinner and has a ball-shaped Allen head on it.


With the NH-U9 finally pulled out, this is in a different world than the giant Wraith Ripper that I looked at previously. The U9 is actually the same cooler that I used on our X299 based Crush build due to having a limited height available so I know it can be capable. It comes with dual 92mm Noctua fans running on both ends for a push and pull configuration and the entire heatsink, base and mount included is 125mm tall in total which might seem tall but is as small as you can get in a tower-style configuration.

The side profile really shows the overall layout. The U shaped heatpipes pull heat up from the contact surface across both sides of the heatsink and the dual fans help cool things back down. When you pull one of the fans off you can get a good look at the fit layout which is very unique to Noctua. Each fin is thick and the spacing is a little wider than you might expect. On the fan side, there are bumps that run the full height of the can and the heatsink wraps slightly around the edge of the fan to help lock it in a central location.


For being such a compact heatsink it has a crazy number of heatpipes which is one of the main upgrades used over the traditional NH-U9 models to support the larger Threadripper contact surface. It has six in total and they are actually staggered to even be able to fit next to each other at all. All six run the full height of the heatsink twice because of the U shape so in a way, it feels like 12 heatpipes. This view also gives us a good look at the mounting brackets as well. Like normal for Noctua, the brackets are screwed in place and can be replaced. Noctua is amazing about supporting future sockets with updated brackets, so if Threadripper changes mounting layout I’m sure they will have something out and ready in no time like they have had in the past for free for heatsink owners. The brackets have the offset mount layout which has two screws closer together on one side and farther apart on the other side. The screws have a spring and then an Allen socket on top to match the new tool included. The heatpipes aren’t direct contact, you can see the base has a machined surface.


As for the contact surface, in the picture above it looks a little hazy. There is a slight machined surface still, this isn’t polished to a mirror finish, but even so, the finish isn’t bad at all as you can see.

The top view also gives a good look at the staggered heatpipe layout and just how dense the small heatsink is with 13 heatpipes coming out of the top. It is a small detail, but every Noctua heatsink also has the Noctua logo stamped into the metal on top. You may or may not like their tan on brown branding for fans or their stubbornness to change until recently where they finally have all black heatsinks available. But the Noctua look is a classic one and you know right away what kind of quality to expect when you see it.

Here is another look at the mounting attachment layout. It isn’t a long screw through the heatsink like Wraith Ripper, this is back to the classic Noctua mount with a solid bracket and a screw/spring layout reached with the included long screwdriver or in this case Allen wrench. The screw does fit a touch loose where the Wraith Ripper screws because of their length are really solid and don’t tilt.

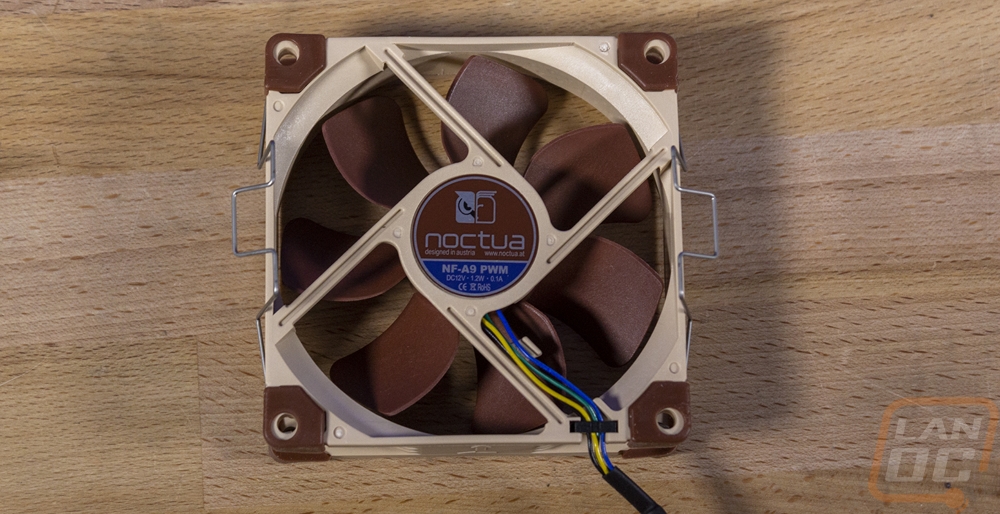
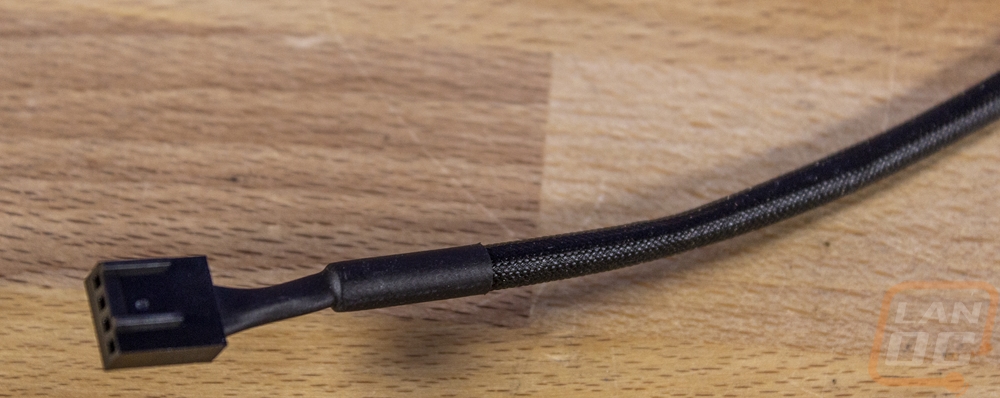
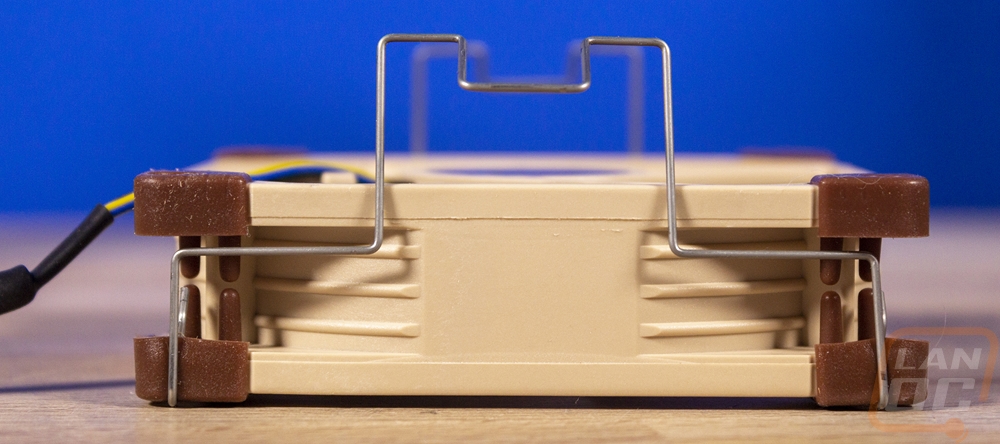
I touched on the 92mm fans included with the NH-U9 TR4-SP3 but pulling them off gives us a better look. Both are Noctua NF-A9 PWM fans which are the standard 25mm thickness, not the thinner A9 design that you find on some of their SFF heatsinks. You get the standard Noctua features though like SSO2 bearings, the tan and brown housing, and fan blade as well as rubber mounts on all of the corners to cut down on vibration. These fans run at 2000 RPM or 1550 if using the included L.N.A. The fans also come with a sleeved cable which Noctua has a unique sleeving that almost feels like it has a wax coating on it that is extra smooth. They also both come with metal clips that hold them on to the heatsink and with the U9 Noctua uses a different shape than on the other two that I’m checking out today where the clip sticks out more making them easier to work with. Frankly Noctua’s fan mounting solution was easy already compared to a log of other companies and easy to do inside of a tight case.


