
Well along with the new Ryzen CPUs AMD also introduced their new X470 chipset. That means new motherboards. While they are still AM4 boards so most of the original boards should be getting updates to support the new CPUs and don’t worry the new X470 boards will also support the original Ryzen CPUs as well. But I’m excited to see what everyone is going to do different this generation, I’m not used to seeing new AMD boards on the regular like this, I could get used to it! So to start things off I’m going to check out the X470 Gaming M7 AC from MSI that MSI and AMD provided.
Product Name: MSI X470 Gaming M7 AC
Review Sample Provided by: MSI
Written by: Wes Compton
Pictures by: Wes Compton
Amazon Affiliate Link: HERE
Packaging
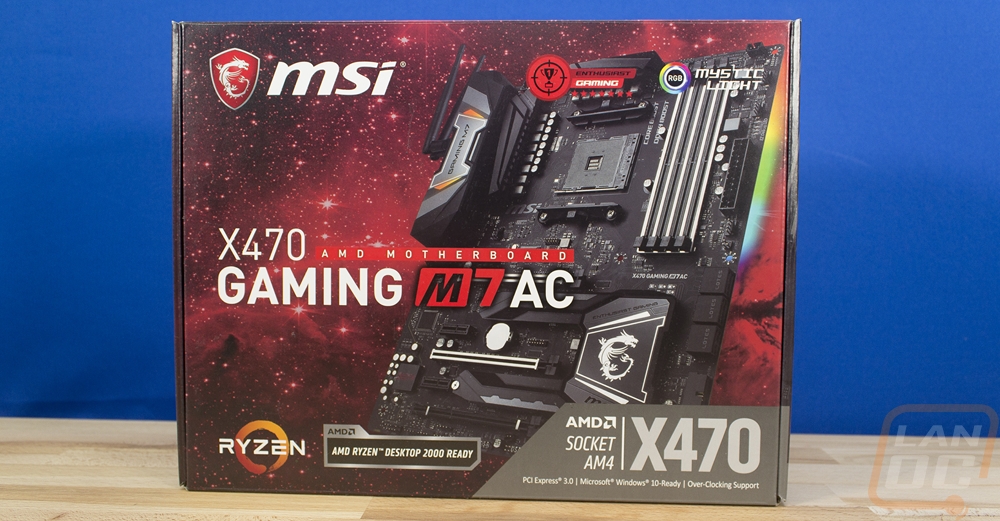
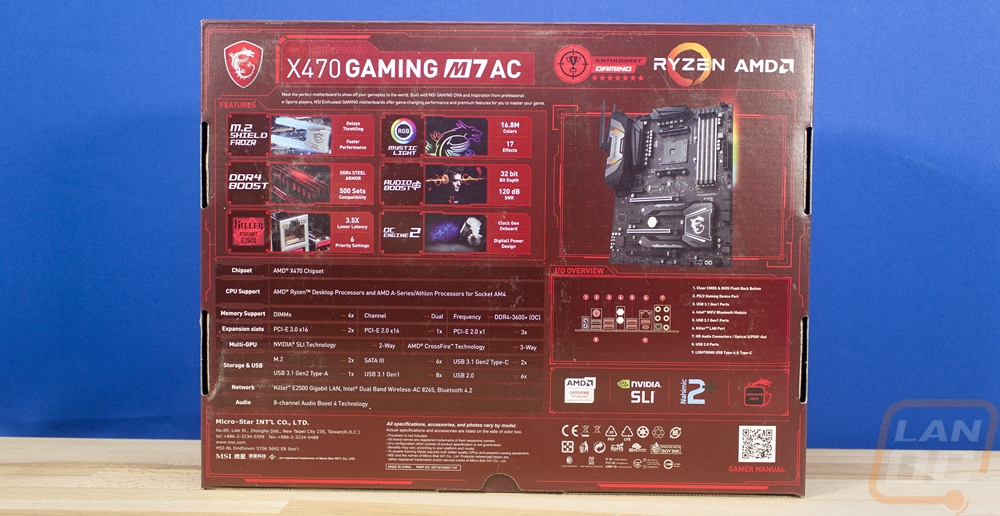
Well right off the bad I want to say that I love MSI using a big photo of the actual board right on the front of the box. There isn’t anything worse than getting lame artwork rather than a look at what you actually want to see. The front picture shows the built-in wireless and the RGB lighting over on the right. Beyond that, the background is a red stars scene and the board name is right in the middle and easy to see. Around back the red theme continues. There is a small picture of the board here. Next to that MSI has highlighted a few features and then you get a basic specification listing and a line drawing of the rear I/O.
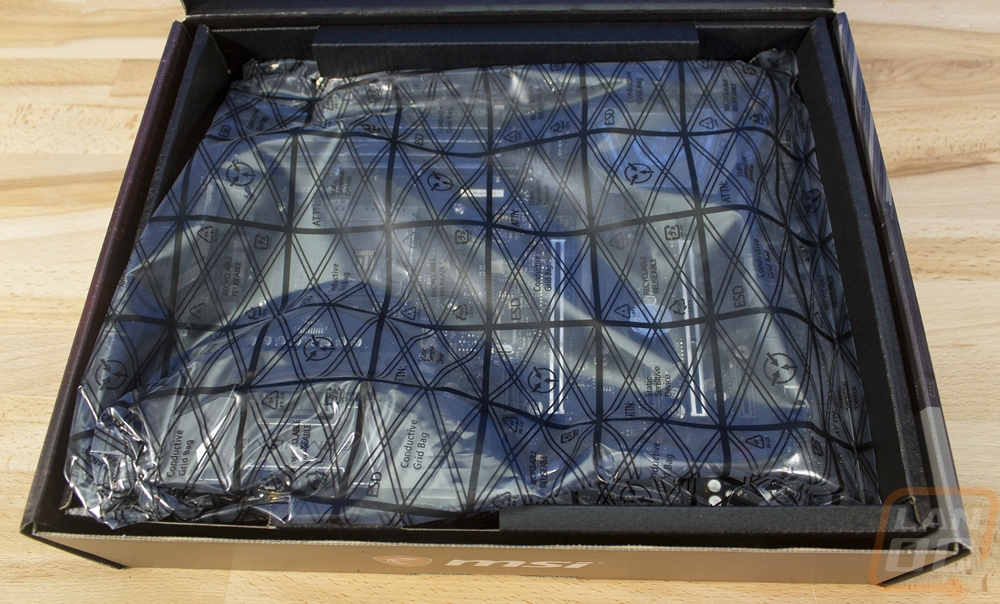
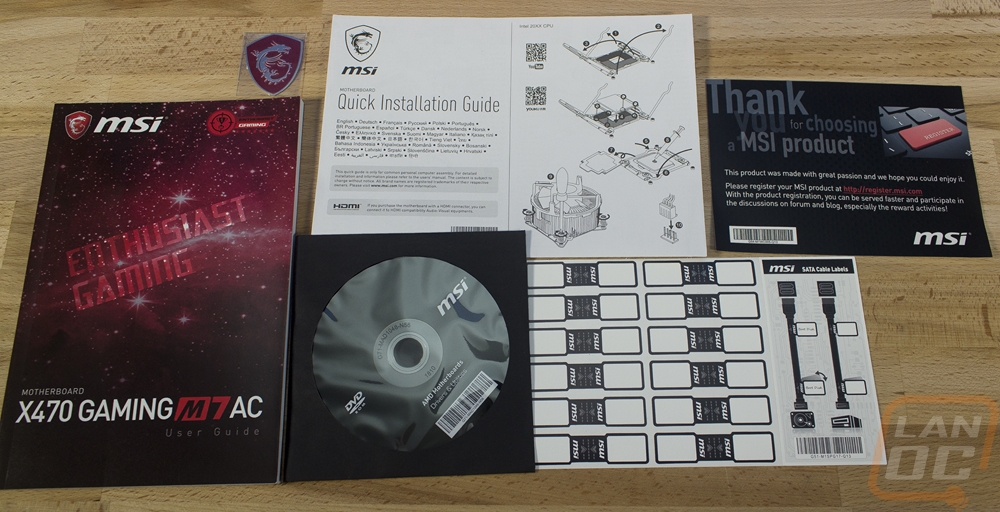
Inside the board comes wrapped up in a static bag on a cardboard tray floating above all of the accessories. For documentation, MSI includes a few things. You get a full user manual with a color cover and an installation guide. There is a sticker pack with stickers to label your SATA cables and a nice metal case badge with the MSI Gaming dragon on it. Then there is a registration card and then a software/drive disc.
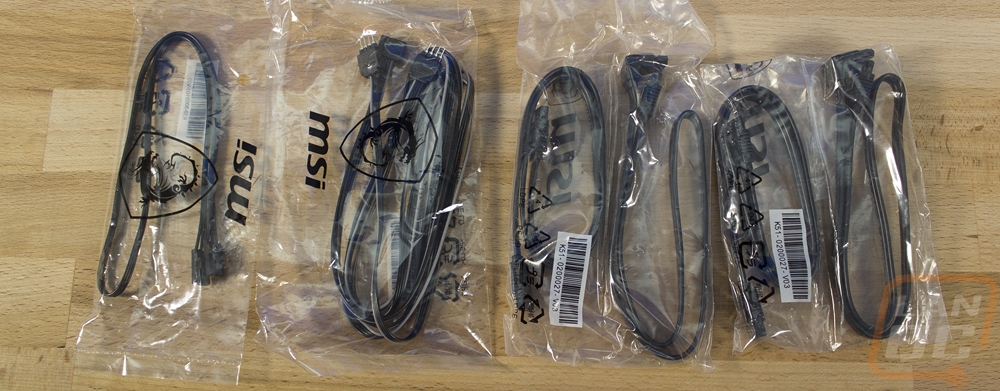
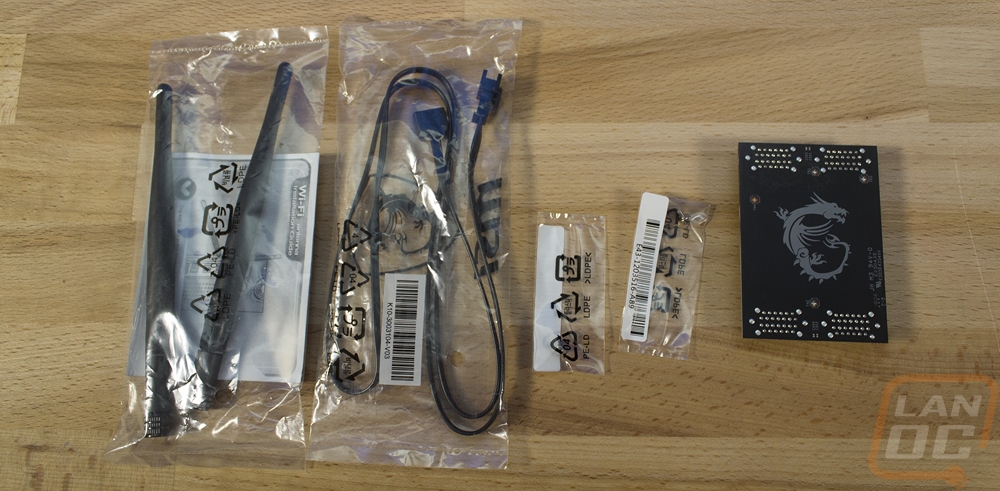
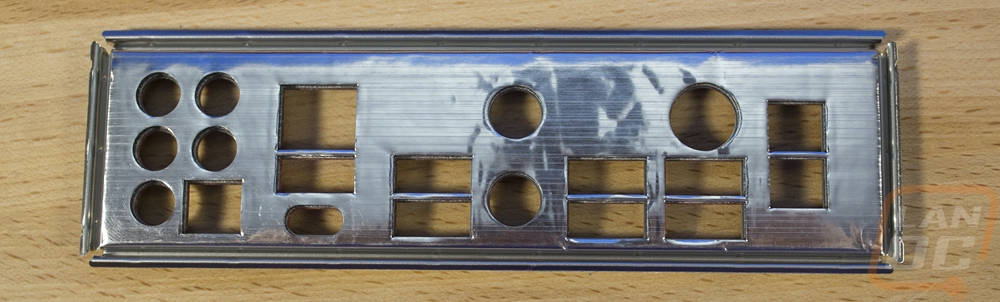
For accessories, you get a few things. MSI included four SATA cables, as always two of those have a right-angled connection on one end. Then the other two cables are RGB related, one is for new addressable lights and the other is an extension cable for traditional RGB lights and a splitter as well to give you an extra plug. You get antennas that attach to the rear I/O, not one that sits away from your PC and M.2 screws. Then a black solid PCB SLI bridge with the dragon logo on it. Then last but not least is the rear I/O cover. It is black with red legends as well as a red square that helps show the faster Gen 2 ports. The rear has the foam rather than the finger cutting springs.

Board Layout and Pictures
So what all does the X470 Gaming M7 AC have going on, well for starters this isn’t one of MSI’s specialty boards so it isn’t white or silver and it doesn’t have camo or carbon fiber even if the memory AMD sent would have gone perfectly with a camo board. This actually looks a lot like MSI’s pro theme boards and that is a good thing. You get a black PCB and a dark gray for accents on the heatsinks and rear I/O and just a touch of chrome that goes well with the guards on the memory and PCIe x16 slots. The X470 Gaming M7 AC is an extended ATX board and with that space, MSI packed in a lot of features so today I’ going to take a closer look at what is on the board.
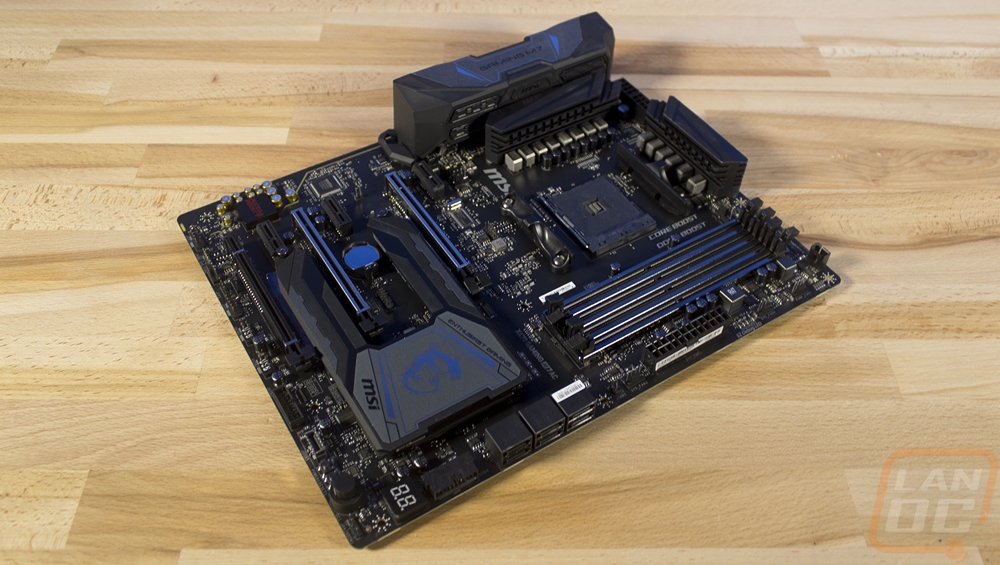

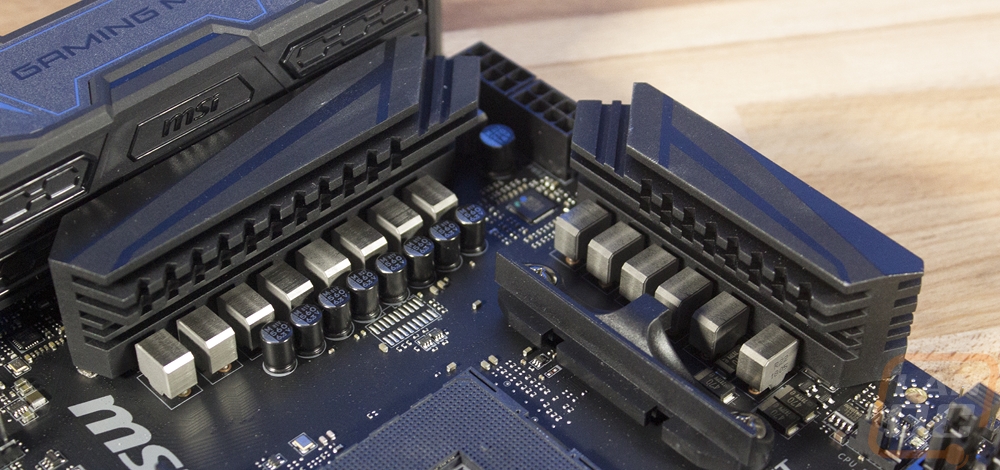
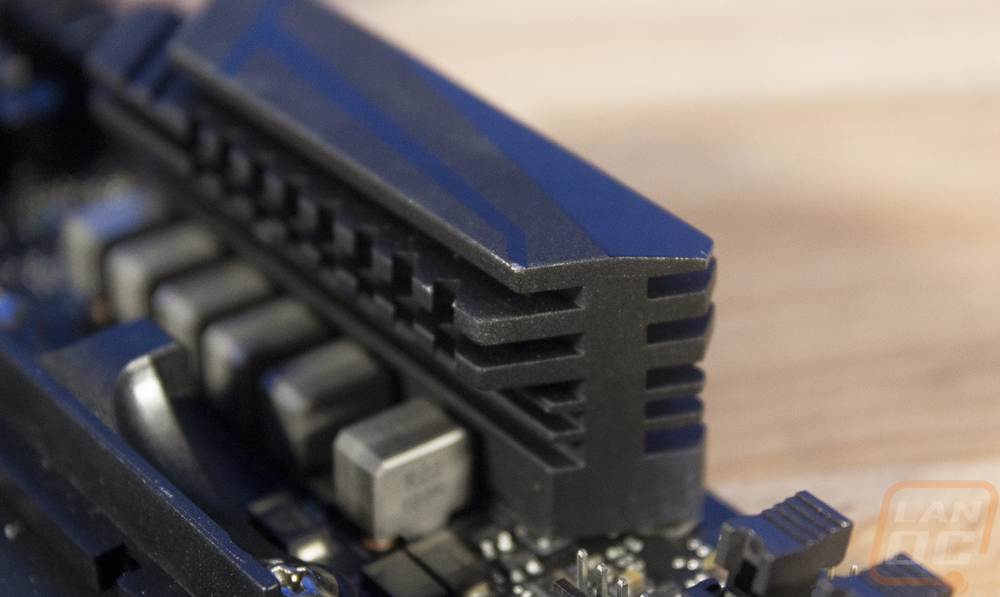
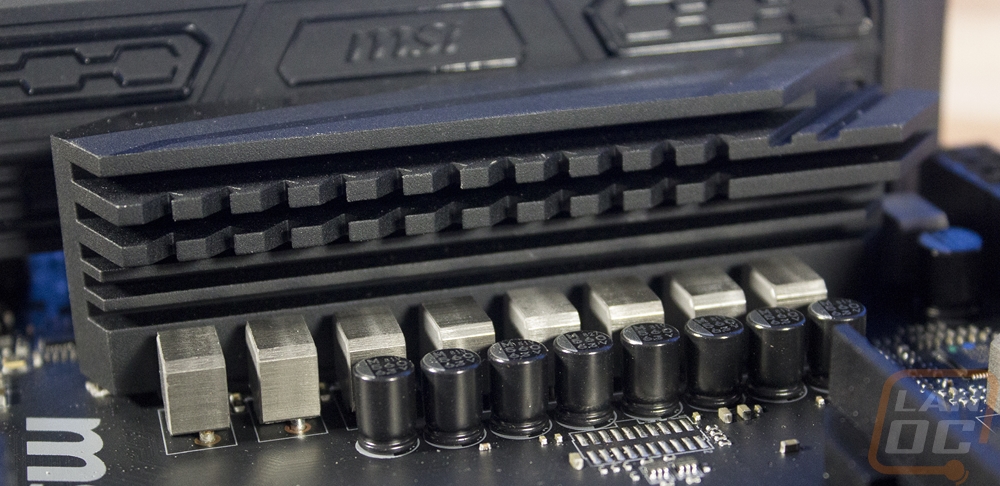
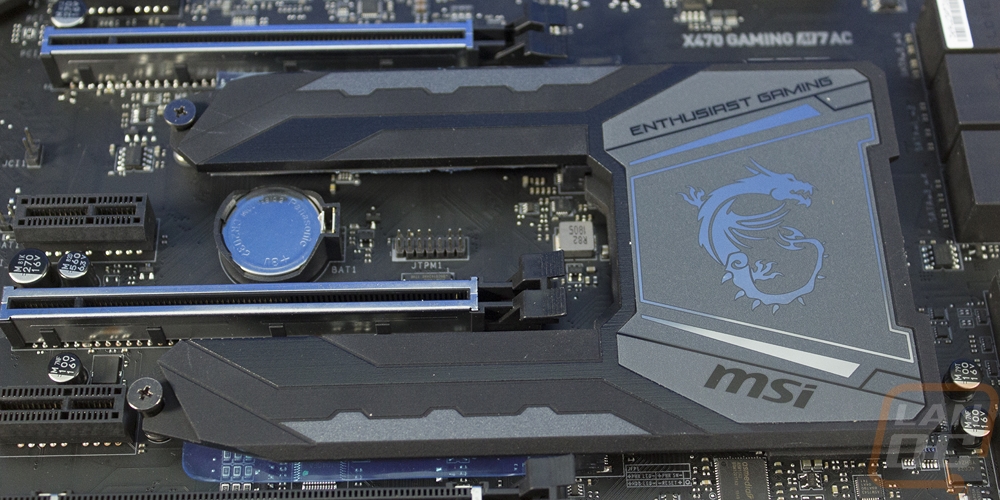
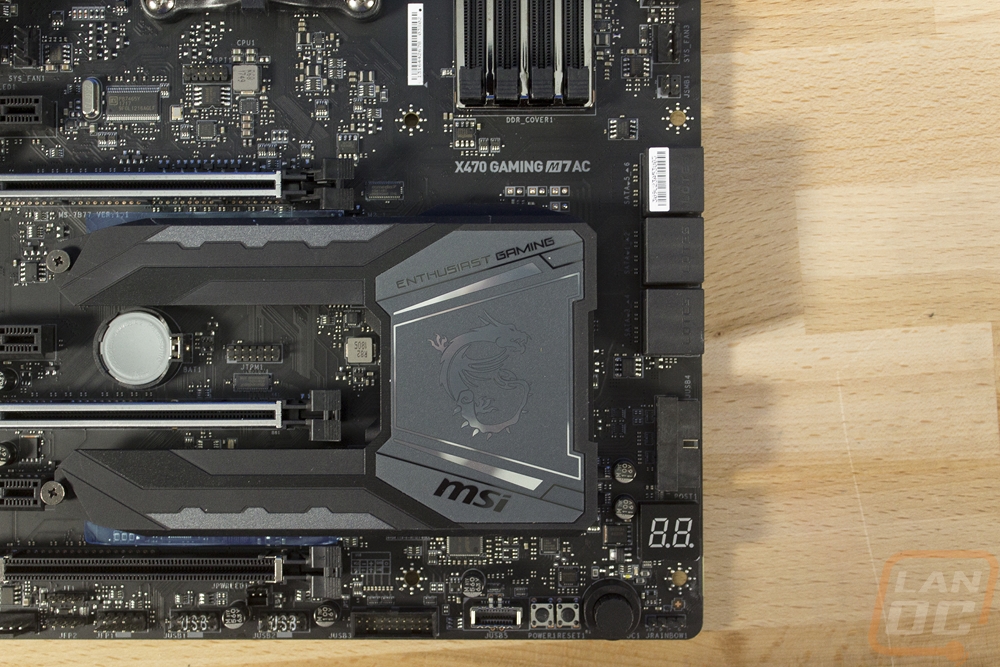
Keeping everything cool is important and for the Gaming M7 AC, MSI has a few large heatsinks. Up around the CPU socket for the VRMs there are two heatsinks. Surprisingly MSI didn’t link them together with a heatpipe but both are tall with grooves cut into the sides to add to the surface area. This gives a simple look from the top and a more complex look from the side, especially the vertical slots cut in as well. They are both finished in a flat black with gloss black lines on top. The other half of the cooling is a combination heatsink that looks like a bug U. The chipset cooler has been combined to also handle both M.2 drives. This heatsink doesn’t have any special cuts in it as these don’t need as much cooling as the VRMs, plus you need to save room for cards to be installed in the PCIe slots. They went with the same flat black and gloss black finish here but added in a little grey as well with the nameplate that has the MSI logo and the gaming dragon.
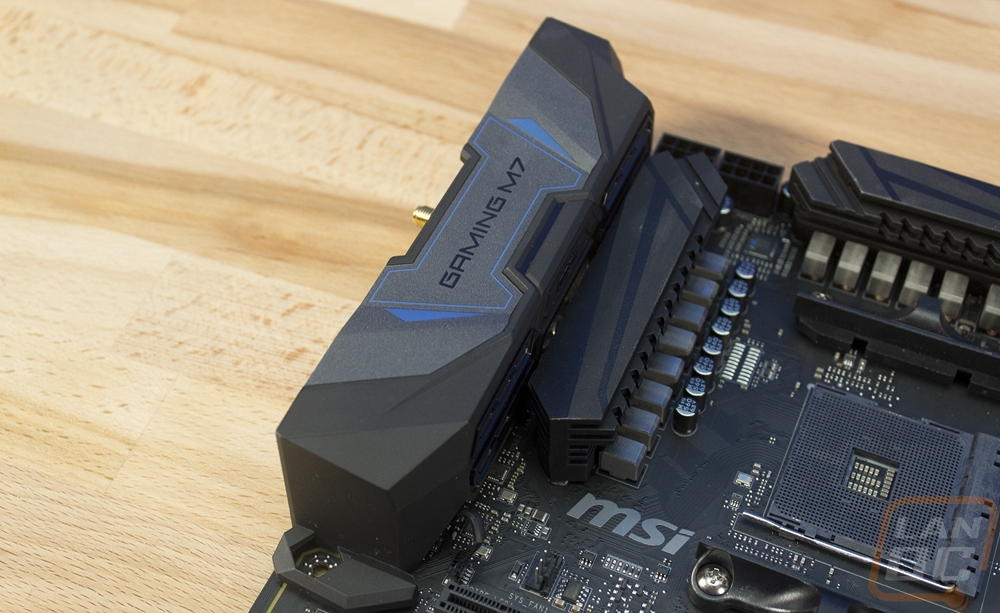
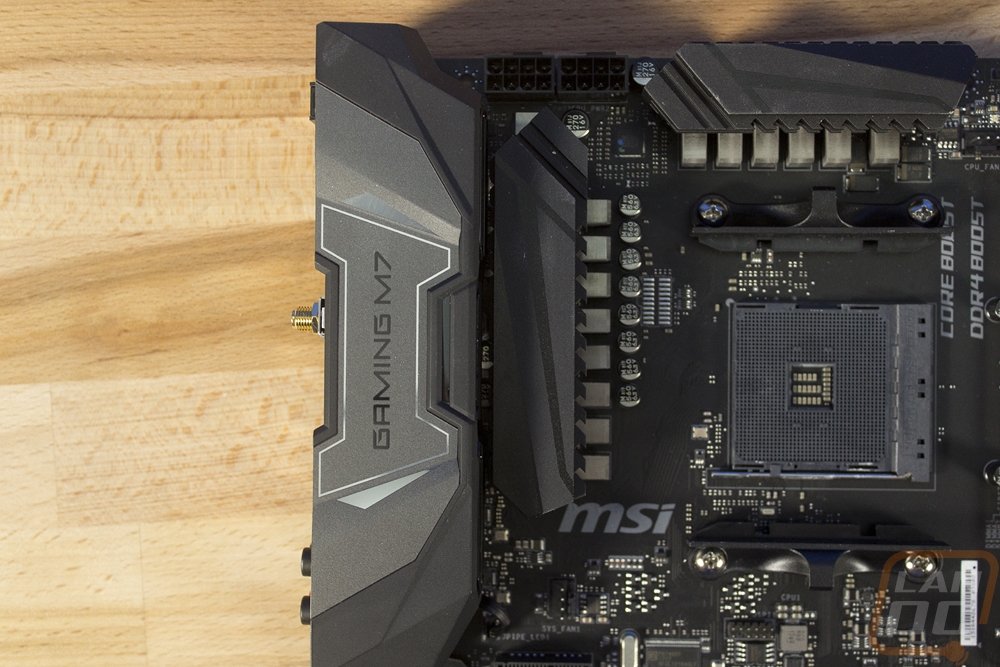
The rear I/O is also tied into the whole black and grey theme with a cover over everything. Hiding the chrome looking I/O always helps give a nicer look and this one really goes with the chipset cooler. This is where they have the Gaming M7 model name at as well. The cover is plastic so it doesn’t add any additional cooling capabilities like a few boards have been starting to do. It does have two RGB sections above and below the model name as well to give a little color to the otherwise monochromatic board.
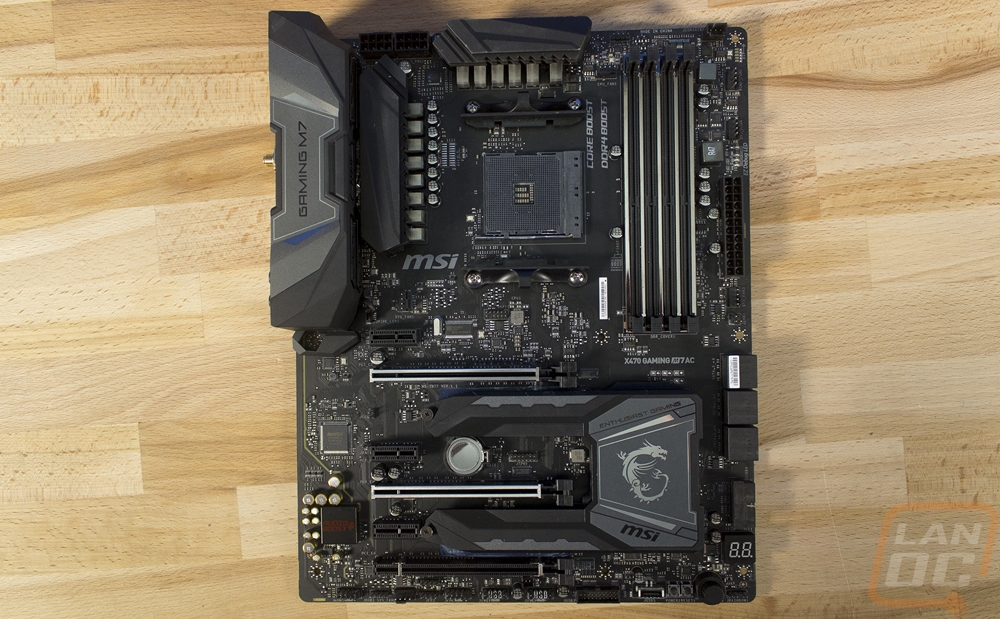
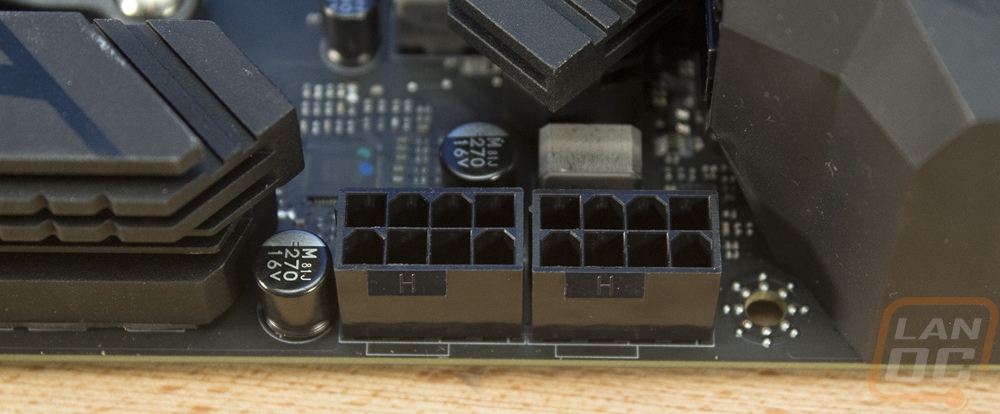
So starting up in the top left corner of the board most of the space is filled up with the rear I/O and cover. In addition the CPU socket itself and the VRM coolers. We do have a total of 8 chokes over on the left and 6 up top for what looks like 14 total power phases but MSI has said there are 15 on this board. Those are fed by two 8-pin power connections up at the top edge. Then down below the left VRM heatsink, there is a 4-pin PWM fan header for a system fan.
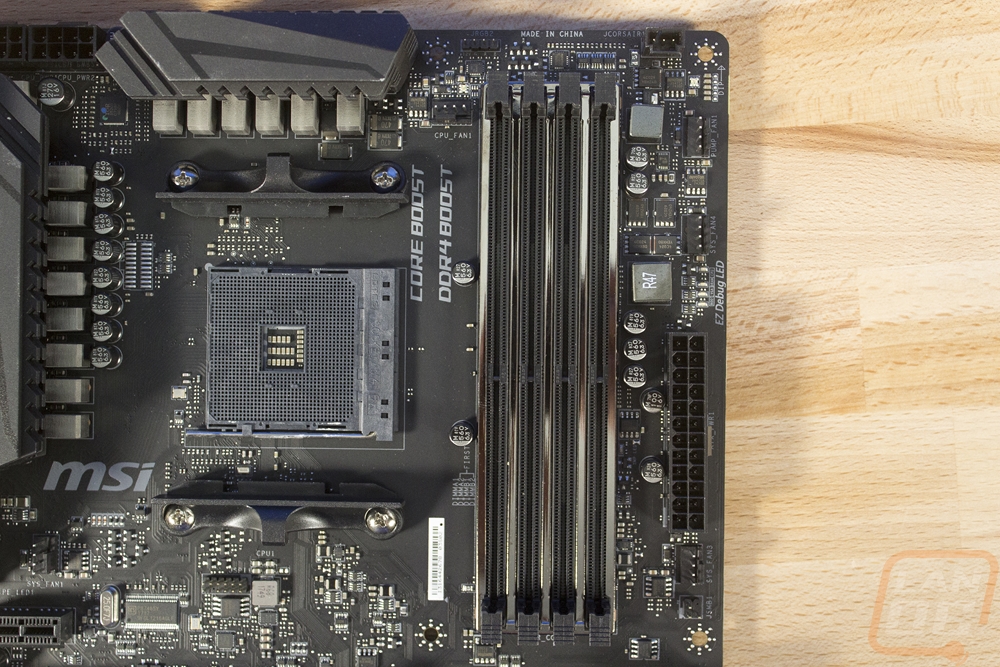
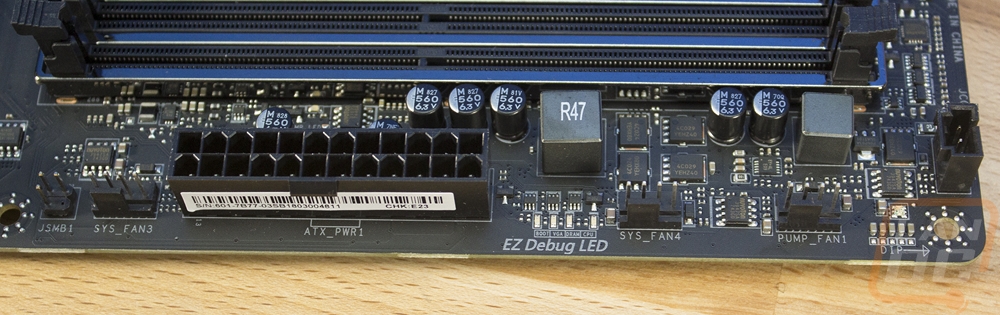
Over on the top right corner, there is a lot more going on. The biggest thing here are the four DDR4 DIMMs. MSI has shielded each DIMM as well. But just above them, we have a CPU cooler fan header and an RGB lighting header for any lights up top. In the corner you get a Corsair header, this lets you actually hook your corsair lighting or RGB fans up using the included cord to control them with your Mystic lighting app. Going along the side of the board next to the ram you have three more 4-pin PWM headers but the top one is a water pump header that supports up to 2 amps. There is the 24-pin motherboard power of course and right above it the EZ Debug LEDs. These let you know where you are in the boot process and if your boot fails it will show you where to look. Also, there is a small header labeled JSMB1, this seems to be an SMB connector used for the old Green Power Genie device.
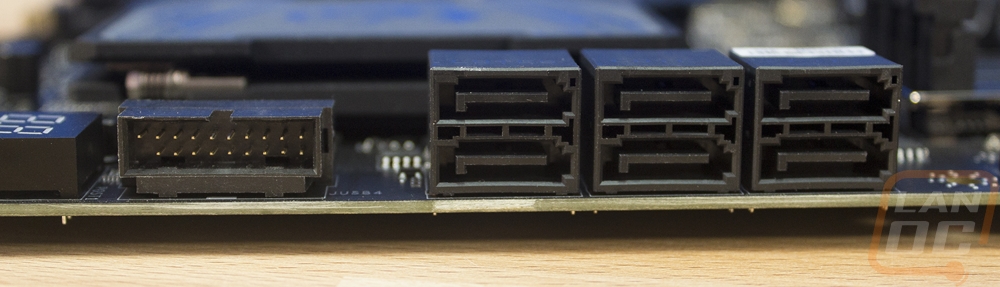
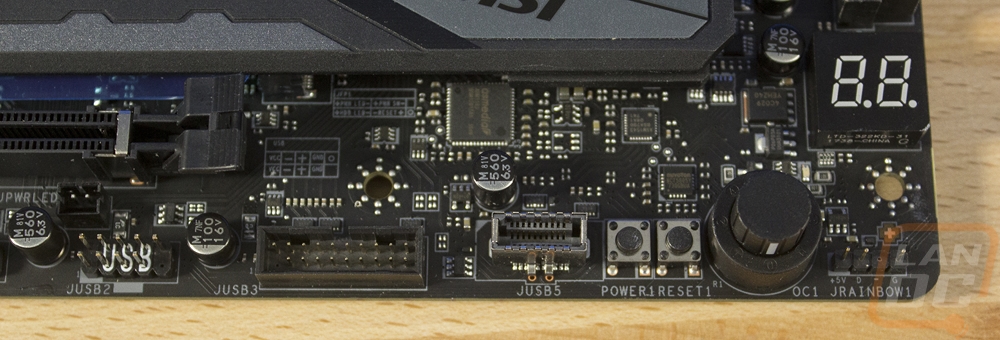
Moving on down to the bottom right corner, the large combination chipset and M.2 heatsink take up most of the inside space. But around the outside edge, MSI has slipped in a lot here. First off you have six SATA ports that are all right angled on the right edge. Then below that is a USB 3.1 jack that is also right-angled. This isn’t the only USB 3.1 header, there is a second one own on the bottom edge and right next to that one is a new USB 3.1 Gen 2 header as well. Combine that with the two USB 2.0 headers and you aren’t going to run out of ports. This is great because I’ve had a few builds recently that needed two USB 3.0/3.1 jacks just for the front panel connection and I only had one. Anyhow also along the right edge near the corner is an LED diagnostic readout. In the corner where I always prefer to have the front panel connections for easy access, MSI has put the addressable LED header. Don’t get me wrong, I love RGB but I would have been happy with this port anywhere. For buttons, the X470 Gaming M7 AC has small power and reset buttons and next to them a knob. This is an overclocking knob to let you turn on automatic overclocks without even getting into the BIOS.
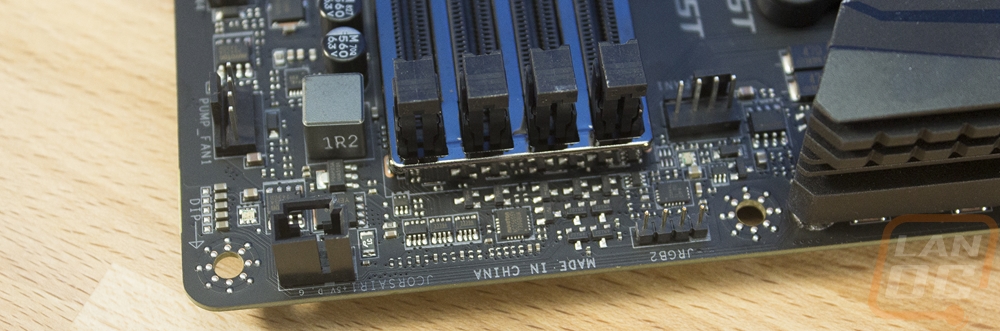
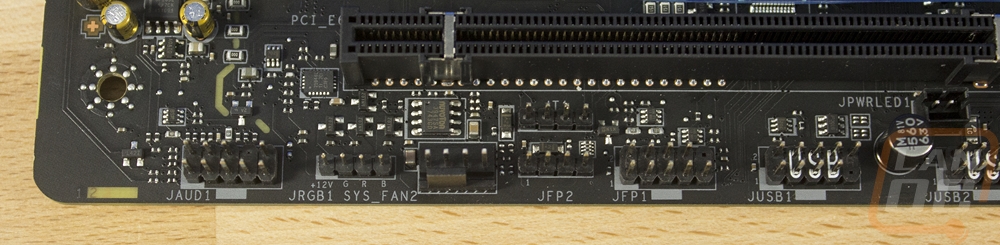
Well, we have finally made it all the way around to the bottom left section of the Gaming M7 AC. Starting down along the bottom edge next to the USB 2.0 header that I’ve already talked about is the front panel connection. Man, this is a little far over, I think some cases may even have a hard time reaching. I would also prefer this be color coded or at least have clear labels next to it, some people will have trouble with this connection both because of its location and because it's hard to see. Beside the front panel, headers is one last PWM fan header for a total of 5. Next to that is another normal RGB header and then the front panel audio header on the far left. So before getting into the PCIe layout, I wanted to touch on the two M.2 slots under the U shaped heatsink. The top M.2 runs off the CPU directly and has 4 lanes but doesn’t support SATA drives. The second M.2 is also x4 for the PCI lanes but this one will support SATA based M.2 drives, not that I would recommend them to most people. As for the PCIe slots, you get three x16 length slots and three x1 slots. I like the gap under the top x16 slot and it's nice that you can slip a drive in above your video card or use that space to gain more room around your CPU. The bottom x16 slot is the only one without a full metal shielding and it only has x4 lanes. The two other slots share 16 lanes, so if you use the top one you get x16 but if you use them both they are both x8. This is assuming you aren’t running a Raven Ridge CPU with only 8 lanes, in that case, only the top slot will work and you only get x8 on it.
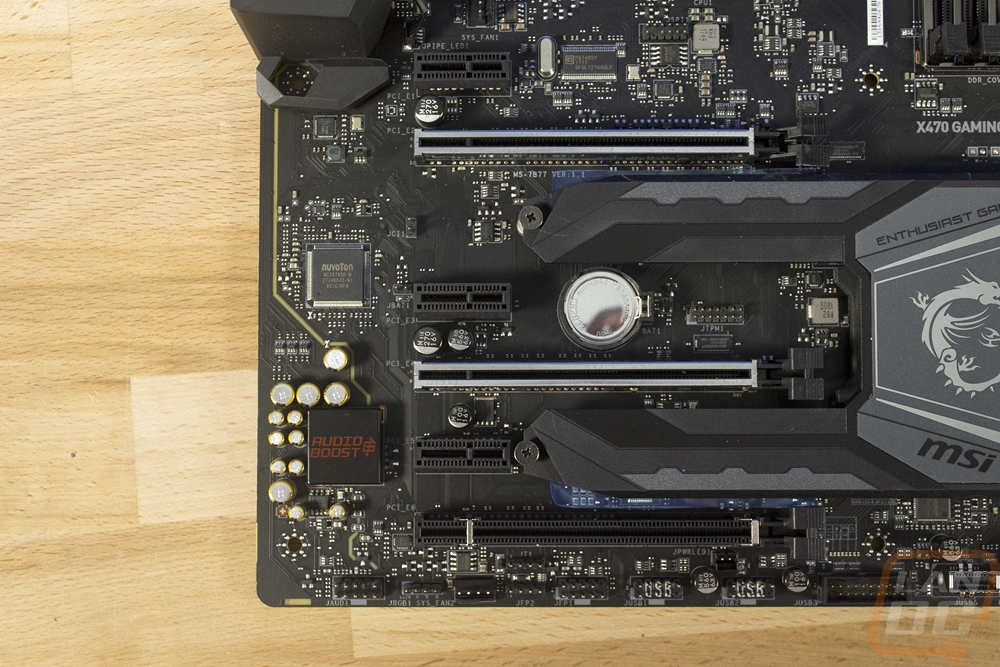
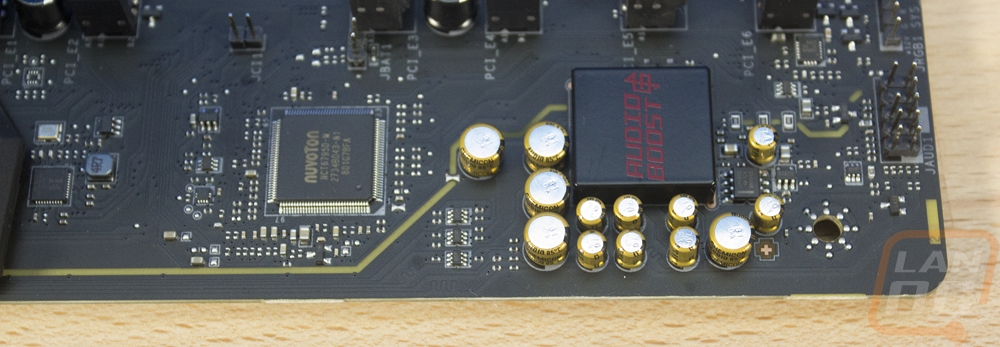
Tucked away up under your PCIe cards is the audio chipset on the M7. MSI used a Dual Realtek ALC1220 Codec setup for 7.1 channel audio. The audio boost 4 processor is up under a metal shield and next to it is an auto-detecting headphone amp. You can also see that they went with high-quality caps as well. Nothing here stands out above the last MSI board I took a look at, but overall this is basically the standard for decent onboard audio performance.
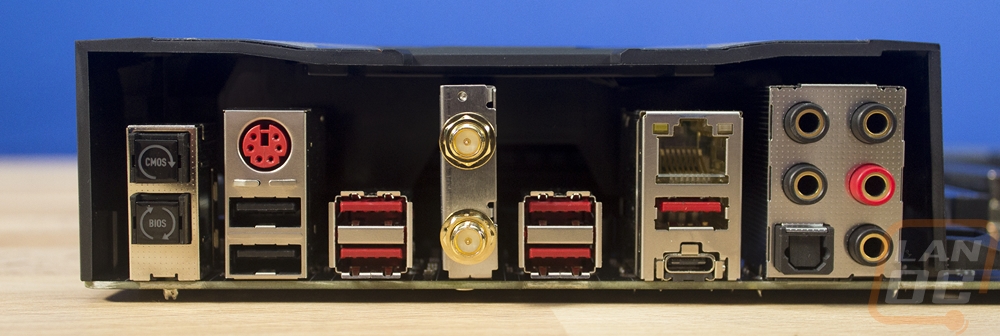
For the rear, I/O MSI did a good job of filling out the space. On the left, you have a clear CMOS button to reset the BIOS and a button to boot you directly into the BIOS. Then next to it are two USB 2.0 jacks paired up with an old school PS/2 port for those old-school keyboards. There are a total of four USB 3.1 ports in two different stacks. Then there are two USB 3.1 Gen 2 ports, one being the Type-C. Those are up under the network jack, MSI went with the Killer E2500 for the onboard and for wireless they went with the Intel 8265 wireless AC with dual band. Last but not least the audio jacks are over on the right with the traditional 5+optical layout.
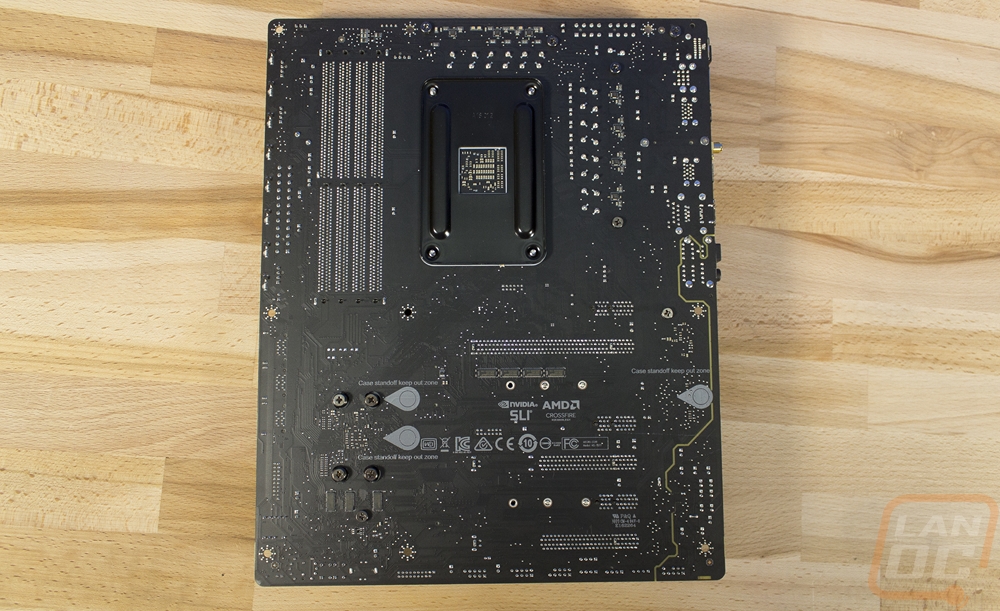
The back of the X470 Gaming M7 AC doesn’t really have too much going on. We can see the flat black PCB and this helps highlight the split PCB for the audio chipset that runs from the bottom where the front panel audio connection is up to the bottom section of the rear I/O. There aren’t any special brackets other than the standard AM4 back bracket and the M.2 slots are both on the front. We do have the same warning arrows printed on the PCB that I saw on the last MSI board that came into the office. It looks like they are doing that across the board to make sure people don’t ground out their board on a standoff and fry everything.
BIOS
As always I think that a good portion of the experience you have with a motherboard is with its software and the BIOS is a lot of that. So I’m going to take a look at what MSI has going for the X470 Gaming M7 AC. Rather than toss 50 pictures in here and still not show half of the options available I have put together a basic video that just runs through every feature.
So you boot into the easy mode, something that a lot of boards don’t seem to do. This page is laid out for people who don’t know their way around a normal BIOS so they don’t make any important changes that they don’t understand. MSI does give you a lot of options here though. For starters, up top, you can drag and drop boot priority, turn on the game boost overclocks just like with the knob on the board, and turn on XMP for your memory clock speeds. As you can see I have ours on to get the 3400MHz clock speeds promised with our test ram.
Getting into the advanced section, aka the normal BIOS. We have the same top bar here as in the easy mode. That is nice to have because you can see your clock speeds and temps at any point in time. From there you can open up the options on the right There is a page that lets you save and load up to 6 different overclock profiles. With that, you can also load them from a USB drive so you could actually share with friends or if you were a PC builder you could quickly copy your overclocking profile to all of your PCs. Also on the right, you can open up the hardware monitor to check temperatures, set fan profiles. Then the board explorer opens up a photo of the M7 and shows you what is hooked up and where including on the rear I/O.
Over on the left is where you get into the main BIOS options. Basically, everything is split up into two sections. The settings page has all of your board options for peripherals and built-in subsystems. Then the overclocking page has anything at all related to voltages and clock speeds for your memory and CPU. Its actually crazy just how many options were in the settings page alone, opening them all up completely took longer than normal. It didn’t help that I was having the same bug that I also experienced on the MSI B360 that I recently covered where when backing up my mouse would double click. You will notice in upcoming X470 coverage that I don’t have the issue with any other boards tested.
The overclocking section is also loaded up with options, a lot beyond the standard voltages and clock speeds. Once you open this up you can navigate with your mouse or keyboard if you prefer that. Most options come set to auto by default but you do have the option to dive in.
Overall I like what MSI has going, it is split up logically and you do boot into the easy mode as you should. Navigation was “okay” with the double click issues being the only problem but when you get sent all the way back to the start when trying to find a setting it is very frustrating.
Test Rig and Procedures
Test System
CPU: AMD Ryzen 7 2700X- Live Pricing
Cooling: Noctua NH-U12S for cooling - Live Pricing
Noctua NT-H1 Thermal Paste - Live Pricing
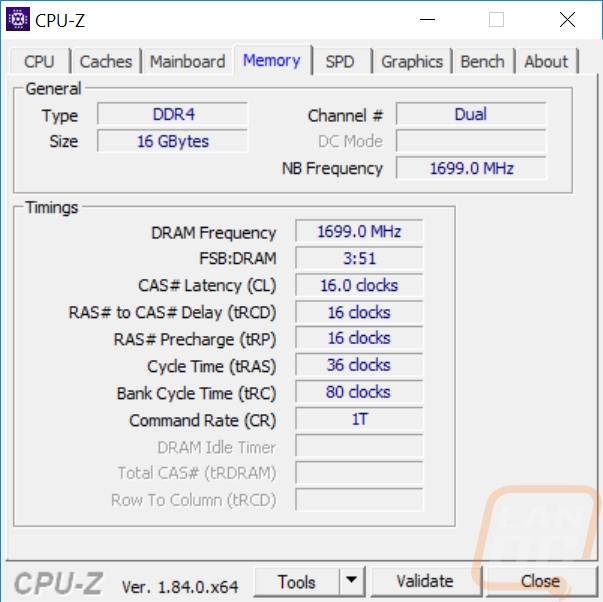
Memory: G-Skill Sniper 3400MHz CL16-16-16-36 8GB - Live Pricing
Storage: Kingston HyperX 240GB SSD - Live Pricing
Video Card: Nvidia GTX 1080 Ti - Live Pricing
Power Supply: Corsair TX750M - Live Pricing
Case: Dimastech Test Bench - Live Pricing
OS: Windows 10 Pro 64-bit - Live Pricing
Performance
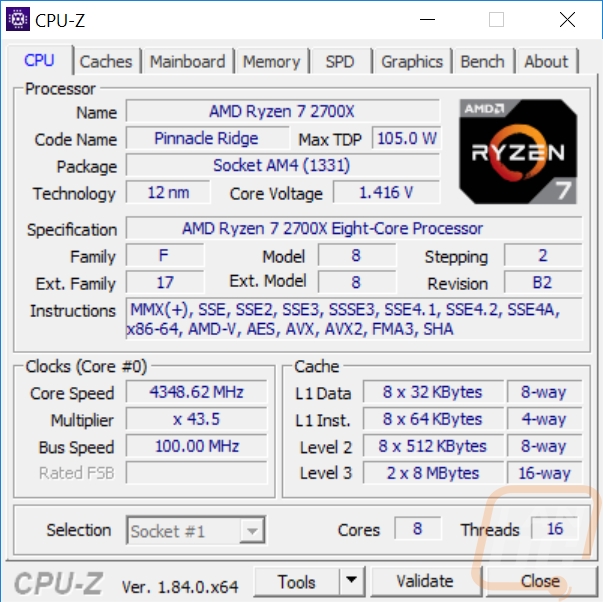
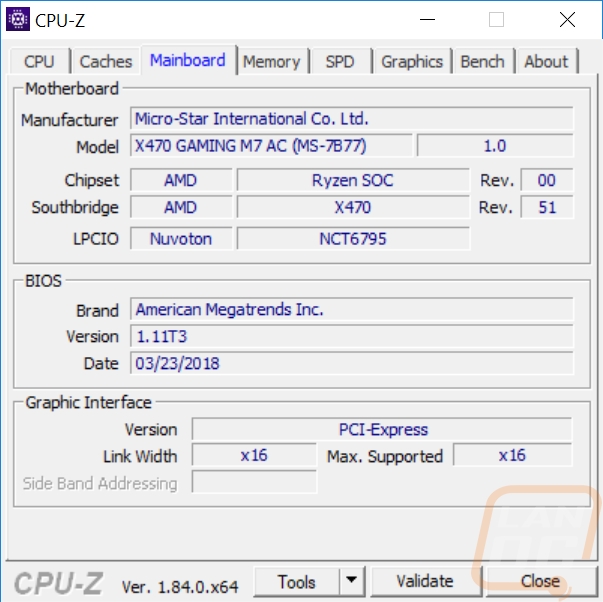
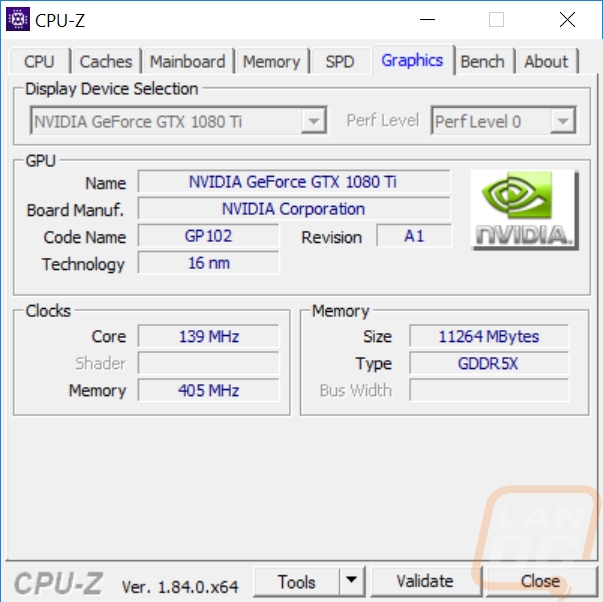
For performance testing, I’ve mentioned it a lot in the past but it’s always good to post up a reminder. The performance between different motherboards really isn’t big unless you have one company overclocking or underclocking the CPU. So most of the testing below is just to keep everyone on the up and up and make sure there aren’t any issues. Not to mention with this being our first X470 review I don’t have any numbers to compare just yet. First though, here are our CPUz readouts so that everyone can see our exact configuration and BIOS revision.
So all of the standard benchmarks that I run came out about where they should be. Pairing the 2700X with the GTX 1080 Ti creates a monster PC right out of the hole. Gaming performance was good and of course, the 16 threads handled all of the other tasks. It was the network speed that I was most curious about, MSI went with a Killer E2500 NIC over Intel. While the numbers weren’t slow I would normally see something close to 925 in average network speed in our test so I suspect that once I get more numbers for comparison that is going to be a touch low. The wireless, on the other hand, was well above what I normally see, ironically that is on an Intel chipset lol. Overall I think most people will be happy but the week point performance wise did seem to be the wired NIC with the wireless being the strong point. I expected the wireless to not perform as well because MSI went with direct mount antennas that can’t be pulled up away from your PC for a better signal, so your results could vary.
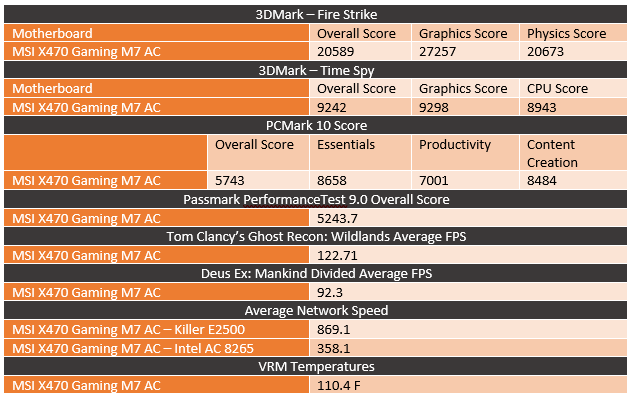
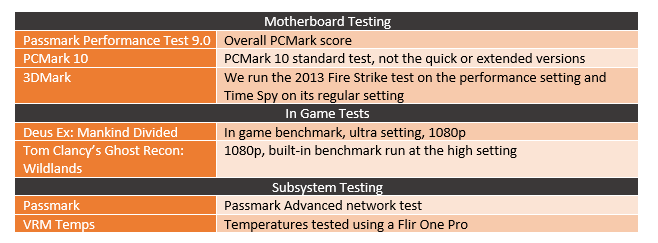
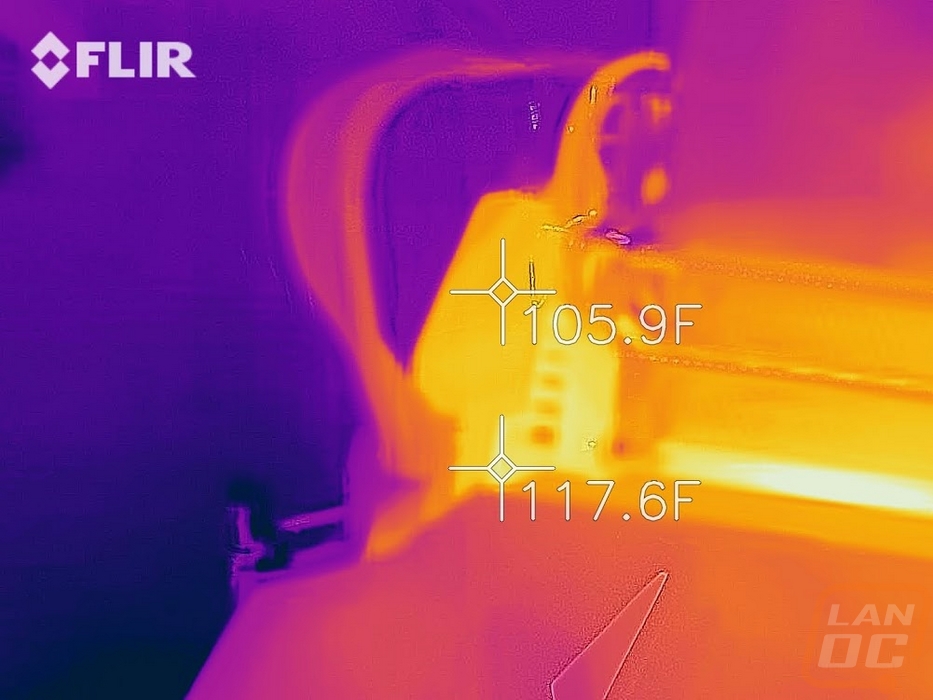
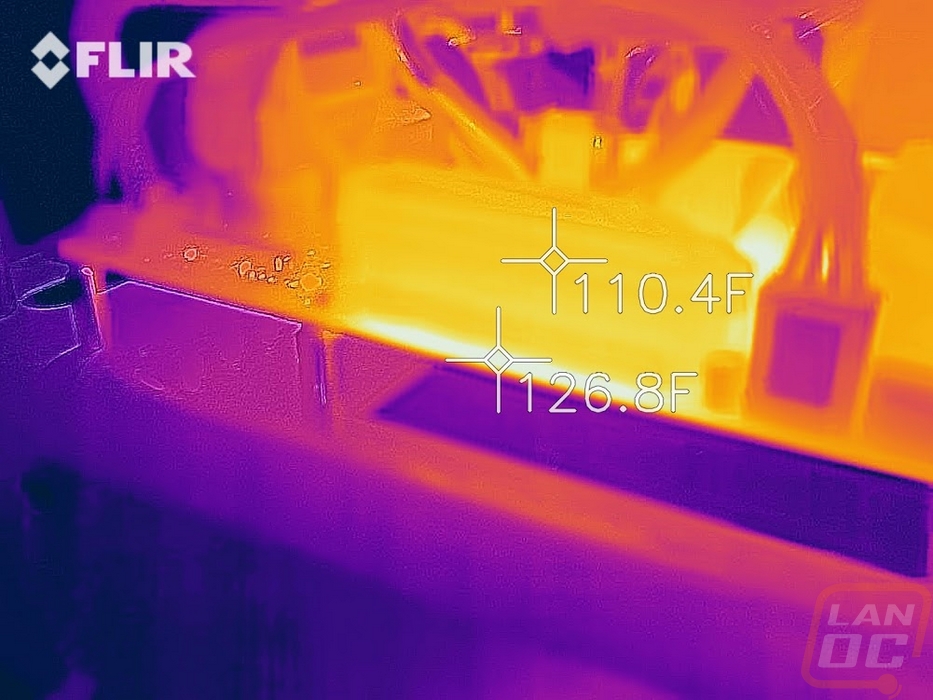
This time around I also added VRM temperature testing as well as you may have noticed the numbers above. Well, I busted out our new Flir and got our numbers from that. But don’t worry I didn’t just grab the numbers, I included the pictures below. What you are seeing in the pictures is the top the higher temps are the temperature of the PCB and VRMs under the cooler and the lower numbers are the temperatures at the outside of the heatsink. It looks like MSIs cooling is doing its job and cooling things down, I will have to wait until we get into our other motherboard reviews to know just how this compares to the competition though.
Overall and Final Verdict
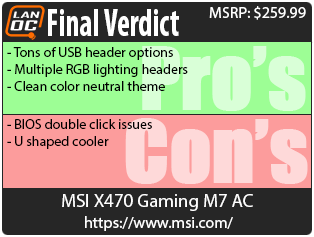
So as you may have figured out, the move to X470 isn’t a big one from X370, if you are running an AM4 board there isn’t any reason to upgrade. But if you are just now deciding to build a new PC and want to go with the new Ryzen CPUs X470 isn’t a bad way to go. Everyone has revised boards available. In this case, when compared to the X370 Gaming M7 ACK the X470 Gaming M7 AC dropped the lighting on the bottom half of the board but kept all of the other features. What that means is you end up with a clean looking layout with a color-neutral them that lets you add your own flair via lighting or with your case itself. This shouldn’t sound too crazy as this is how things have been moving, but MSI offers a lot of crazy options like camo themes, all white or all silver, lots of black and red, and even carbon fiber looking boards. While I like some of those options, especially the white and silver ones, I’m happy that the M7 AC keeps it simple and lets you set the tone. They do that with a whole bunch of lighting headers, so you can run normal RGB, addressable, or even link right in your Corsair products and control them with your Mystic software.
The other thing that stood out with the M7 was just how many USB headers are on the board as well. With most motherboards, if you have a new 3.1 gen 2 header you only get a single gen 1. But MSI packed on two 3.1 gen 1’s a 3.1 gen2, and two old school 2.0’s for those internal devices like lighting controllers and AIO’s that now need them. So you should be good on USB ports.
As for issues, my only real issue in testing was the double click bug that I’ve been experiencing on MSI boards in the BIOS. It is limited to just that though so most people won’t notice it. I also don’t know how much of a fan of the large U shaped cooler used to cool both M.2’s and the chipset. Tying those together in general worries me a little as heat is the main thing that kills NAND so if you have hot cool cycles from the chipset when not using your SSD are you lowing its life. But mostly just because every time I see the cooler I want to play horseshoes with them.
Overall though the MSI X470 Gaming M7 AC is a good board, you get lots of connection options, built-in wireless, and it looks good (mostly). This isn’t a cheap board, in fact at least right now this is MSI’s most expensive X470 option at $259.99. The price seems to of gone up slightly compared to the X370 variation that was originally $239. You do now get an Intel wireless NIC and I prefer that, a lot more RGB connection options, and higher overclocked memory support. Overall this isn’t a bad board though being a higher end X470 board it doesn’t really feel like a high-end board but I can’t put my finger on it. But if you want RGB headers and USB header options I doubt you are going to find any other X470 boards that compare with the MSI X470 Gaming M7 AC so it really depends on what you need.

Live Pricing: HERE


