Board Layout and Pictures
Well with the packaging having that new bright red look you might have come here expecting a significant design change from the Z370 and Z270 Strix ITX boards. There was one big change visually with them integrating the left heatsink into a full I/O cover but ignoring that there is only so much room in an ITX form factor and the M.2 and top heatsinks don’t have as significant of changes. That said the I/O cover does change the overall look of the motherboard a lot. But you get the same grey on grey on black look that has made Strix popular as well as the angular styling of the last few generations.
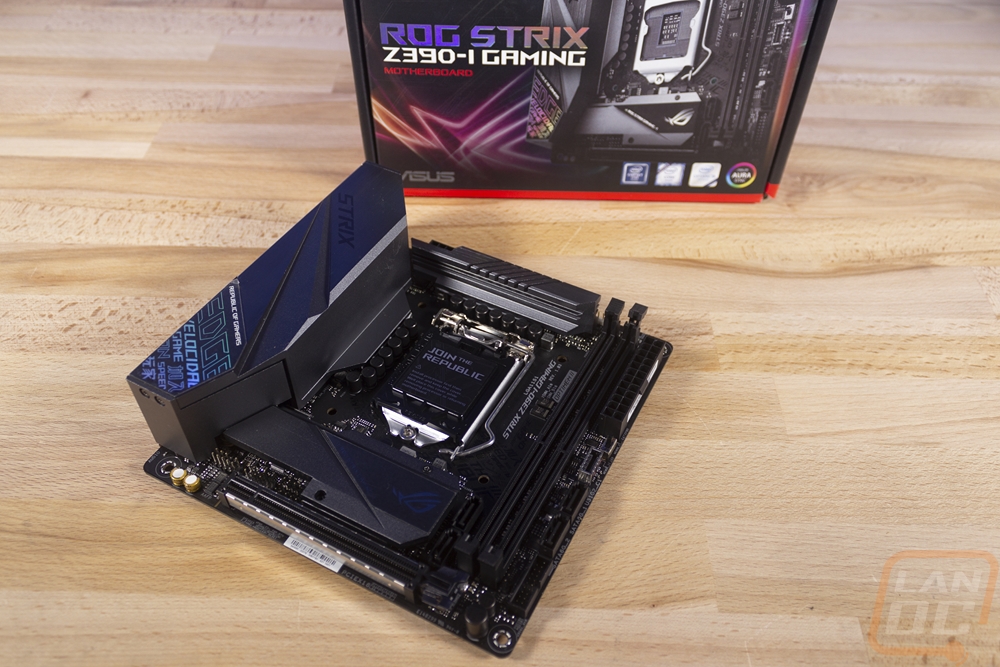
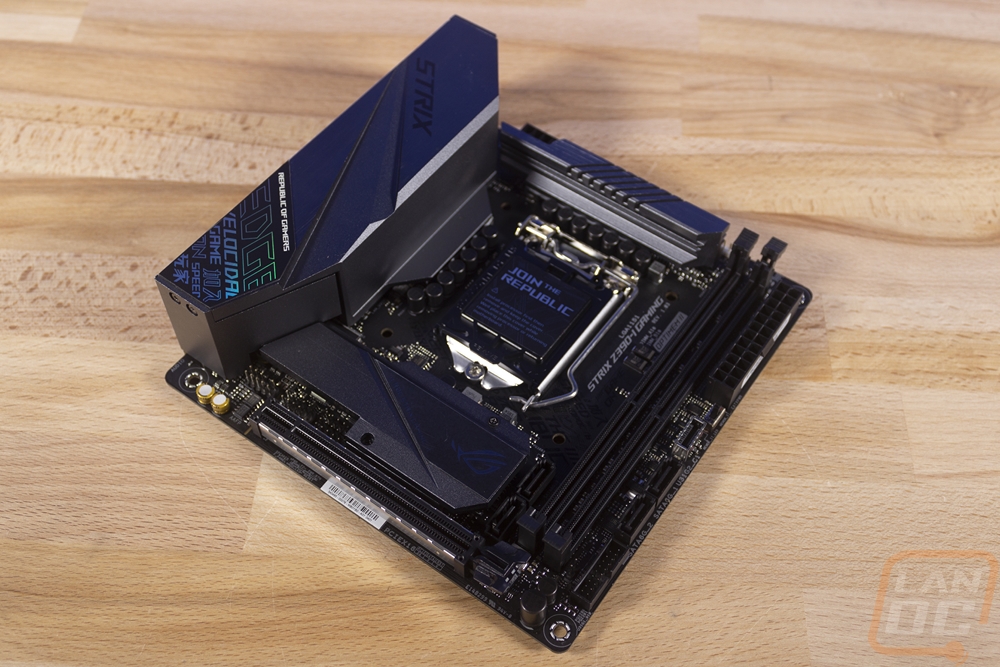
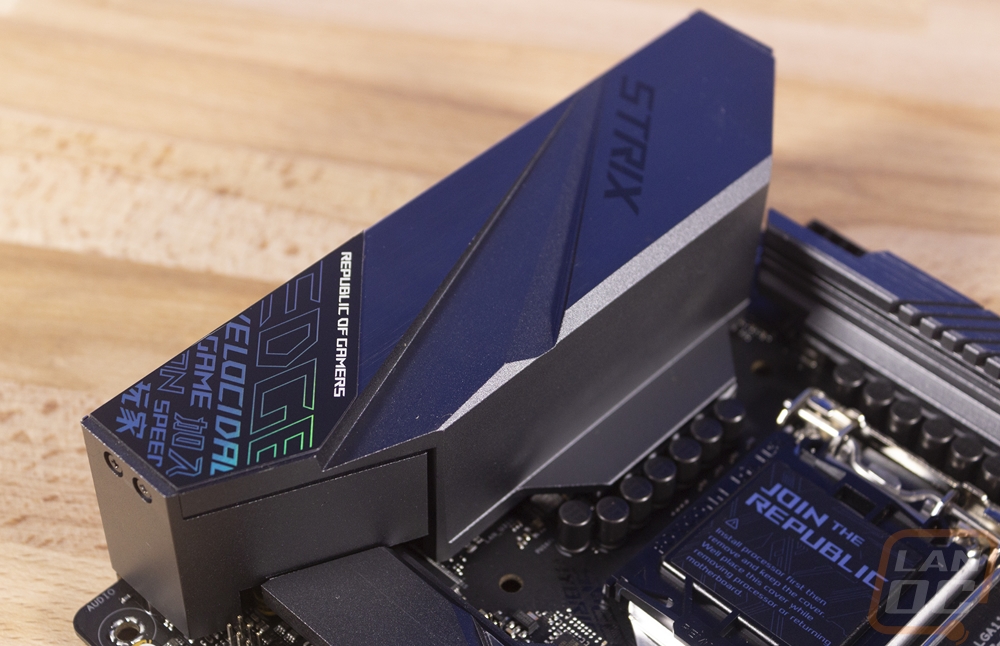
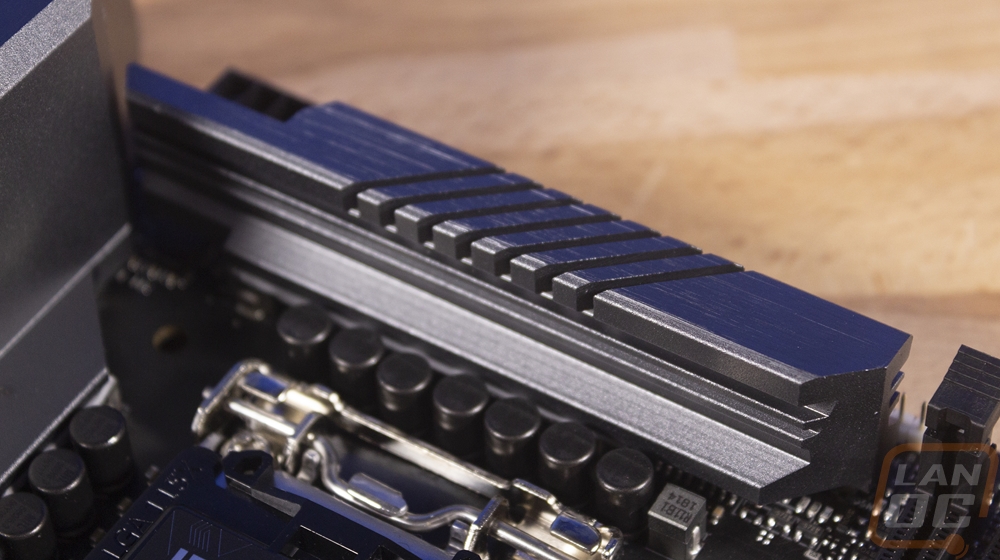
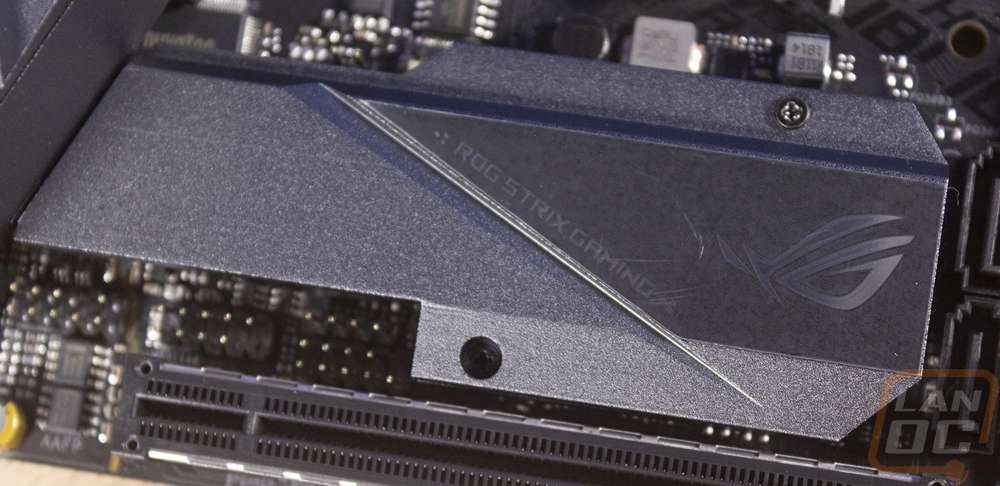
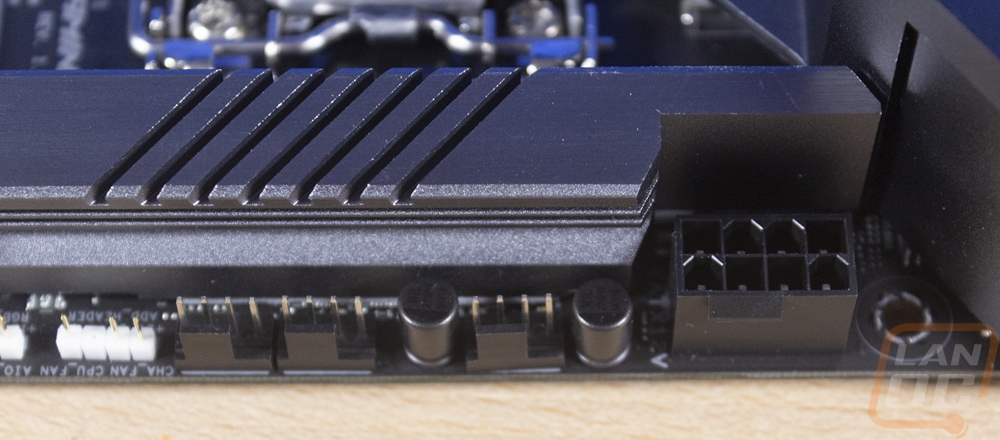
So for cooling, there are three heatsinks and frankly given that this is an ITX motherboard that in itself is a big accomplishment. There are two heatsinks that handle the power circuitry and then one that goes over the M.2 drive. The M.2 drive slots in just above the PCIe slot and the heatsink had two mounting screws holding it on. Under it, there is a full-length thermal pad and up on top, it has an ROG Strix logo with ROG Strix Gaming along the edge. The picture below as it turns out still has the plastic on it so it looks a little foggy compared to the black with chrome look that it should have so keep that in mind. The top power heatsink runs from the ram slots all the way over to the rear I/O with a notch cut out on the top for the 8-pin power. This is similar to the Z370 design but it has a little more material used this time and the top has the 7 grooves cut into it as well to add a little more surface area. Then the biggest heatsink is the left one. This is something Asus has done a few times in the past and I just love. They integrated the heatsink from the left power phases right into the rear I/O cover. A lot of the ITX boards don’t get a cover because of space so this addition not only is more space efficient but it also looks much better now without the bright chrome of the different rear I/O headers sticking up. This has the Strix branding on the dark grey finish and then down at the bottom left corner they have the ROG branding along with this holographic design with random words in different languages that I hated on in our X470-F review. Asus calls it their cybertext design.
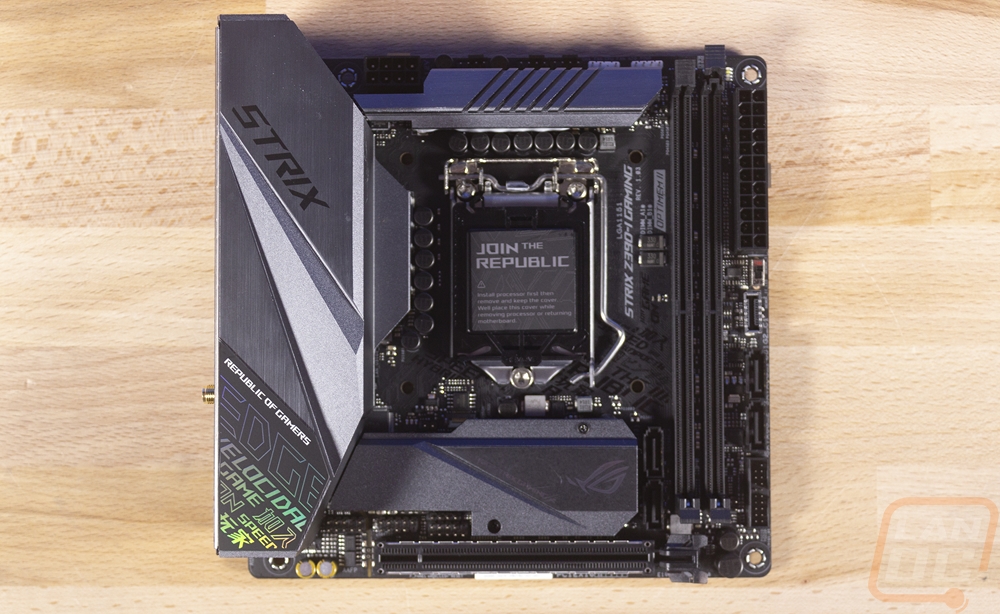
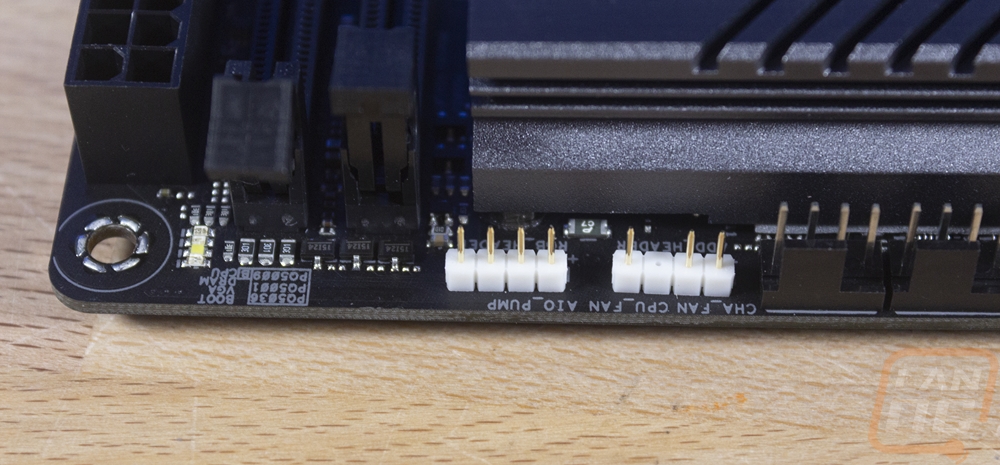
Being an ITX board I can’t really divide it up into ¼’s like I normally do to break down board features. So let's just start with everything along the top edge. You can see just how right everything is on this board design with how Asus tucked headers in any location they could fit. The 8-pin EPS power is tight in between the top and side heatsinks with the top notched to fit around it. But then right next to it you have three four-pin fan headers, two for normal CPU and one for higher amperage pump if needed. I was surprised to see that some of these seem to be installed at different angles, normally Asus is tight on tolerances with that sort of thing. Then next to those there are two white RGB headers. The four pin is a traditional RGB plug and the three pin is for addressable LED lighting. I was happy to see both, the Z370-I was missing the normal RGB header. Beyond that, over on the far left corner, you can see four surface mounted LEDs and with them, Asus printed on the board to label them. These help diagnose no-boot issues by showing you the last part of the boot process that everything stopped on.
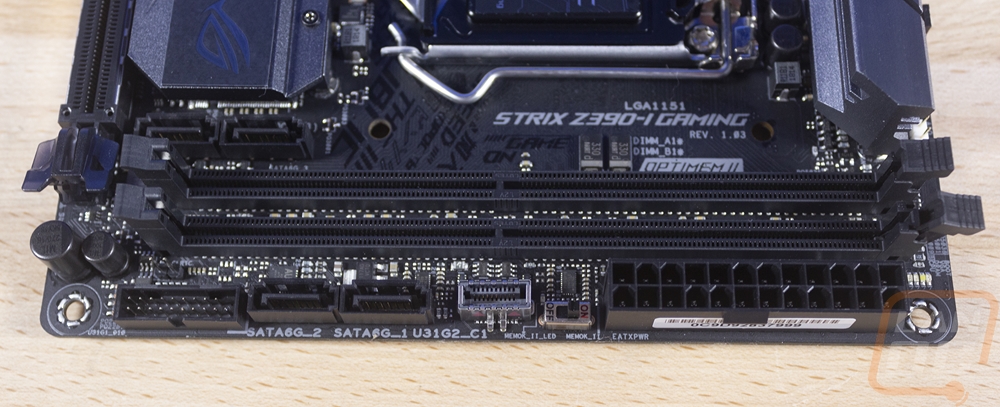
Over on the right side of the Z390-I, this is where the main 24 pin power connection is. Asus tucked it up close to the top right screw mount to make room below it. Below it is an on/off switch for the MemOK system. Below that is an internal USB 3.1 Gen 2 connection for use with new cases that have a high-speed Type-C connection on the front panel. Then with that, there are two SATA connections and another two tucked on the other side of the memory by the M.2 slot. Then down at the bottom corner, there is a normal USB 3.1 header as well as the clear CMOS pins. For memory, the Z390-I has the normal two DDR4 DIMMs but this board does support dual stacked memory so if you need the ultra high memory capacity that is an option.
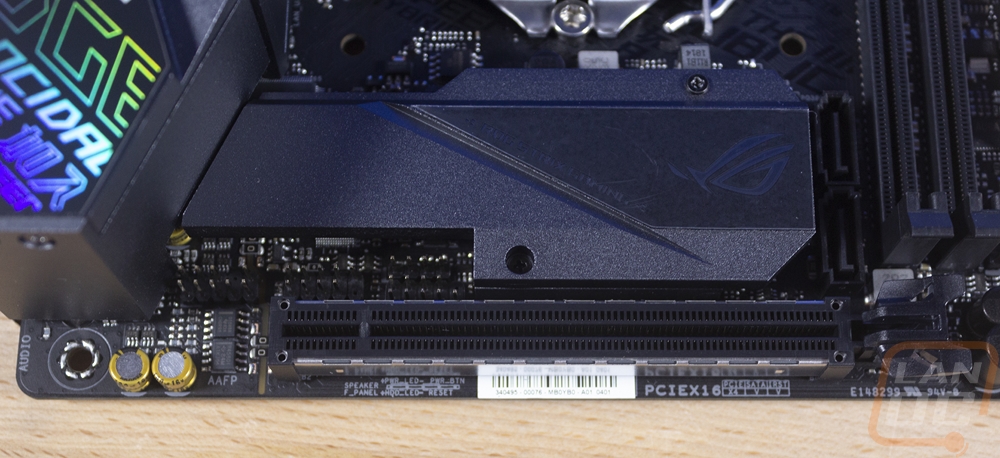
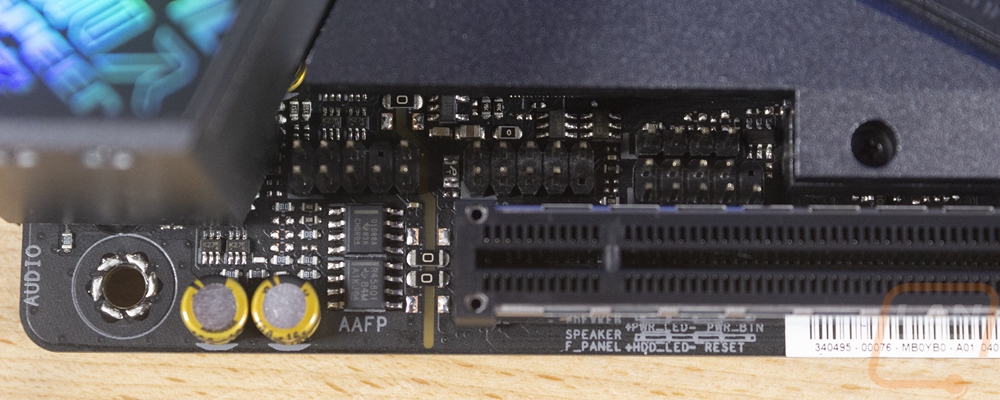
So on the bottom area of the Z390-I Strix, the most obvious things going on here are the main M.2 mount and heatsink and the PCIe slot below it. Being the only PCIe slot, this is a x16 length and bandwidth slot so no worries there. The M.2 slot has support for all of the normal drive lengths and both this and the second M.2 slot both support PCIe or SATA drives. If you use a SATA drive it does disable the SATA 2 port on the board though. Now the less noticeable thing in this area are the three headers tucked in just above the slot and below the M.2 heatsink. The one on the left is the front panel audio connection, it is right there with the audio chipset. Asus went with an 8-channel design using the S1220A CODEC, it has dual headphone amps as well as impedance sense on the front panel connection as well as the rear headphone jack. The 120 dB SNR on playback and 113 dB SNR on recording is solid, especially for an ITX motherboard with limited space. Then, of course, you can spot those gold premium caps in the far left corner. Also with the front panel audio connection, there is one USB 2.0 header and then on the right is the front panel plug with the motherboard speaker plug above it. This location for the audio header is good, but the other two are going to be hard to get at and hard to wire. Those two will have to run the wire along the top edge of your video card assuming you have one installed, but the audio jack can run under the video card next to the PCIe slot.
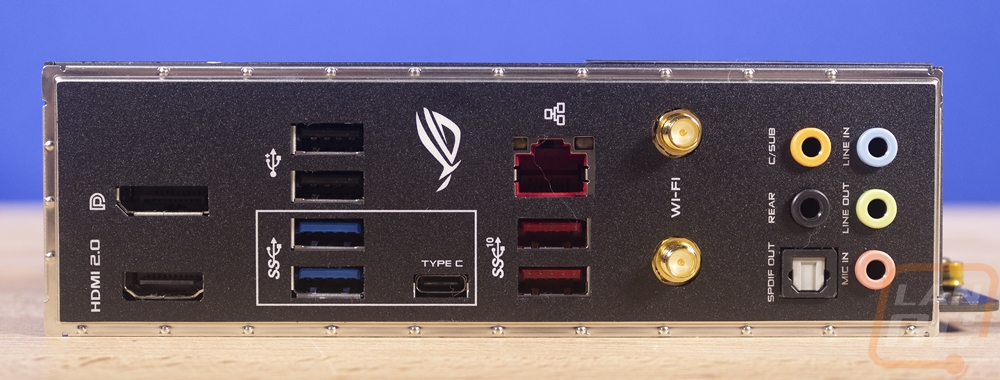
The rear I/O, in addition to having the metal heatsink/cover over it, has a reattached I/O shield. This is a nice touch that only a few boards have had that hope to see more often. With it, you don’t have to worry about forgetting the shield and then pulling everything apart or fighting with getting everything lined up when you installed the motherboard. Plus with some of the In Win cases that don’t even have I/O shield mounts like the D-Frame you can get a cover. For connections, you get the normal 5+optical audio array and next to that the WiFi. There is a Gig ethernet jack as well, both the wireless and NIC are running on the normal Intel chipset offerings so you get a quality NIC and with it being red indicates that this has Asus’s ethernet surge protection built in as well. Below that are two red USB ports, these are high-speed Gen 2 ports. Oddly enough those are both Type-A where a lot of boards do one A and one C. The Type-C is then over to the left and you can see that Asus was careful to put a box around this and the two blue ports to indicate that all three are USB 3.1 gen 1, so the Type-C connection here is an older slower type. Then above that, there are two USB 2.0 ports as well. For display options with the onboard video, you get a full-sized DisplayPort and an HDMI 2.0 header. The rear I/O shield itself is blacked out to match most builds and I also noticed that the use of bright white for the legends is a lot easier to see than the red that MSI has been using recently.
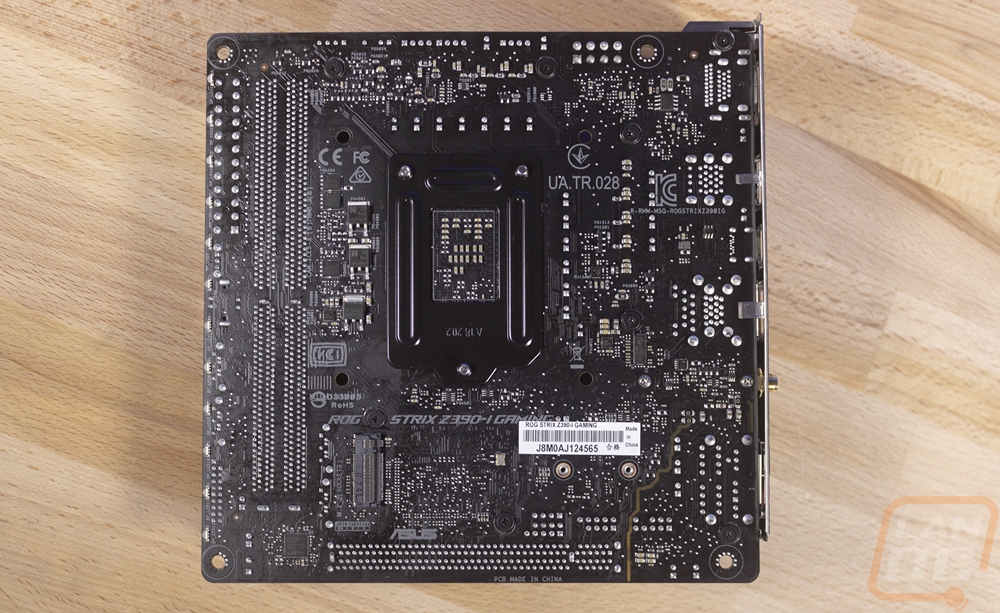
The back of the Z390-I is about the only area where you can really see that black PCB, the top is just too packed full. Also down here is a second M.2 slot. I don’t think I will ever be upset at additional M.2 slots being hidden back here, especially on ITX boards where M.2 drives open up even more space in already tiny builds. You can see the audio circuitry is partially split with the transparent line breaking it up over in the bottom right corner as well.