Board Layout and Pictures
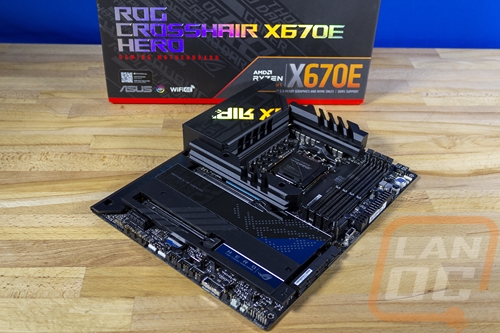
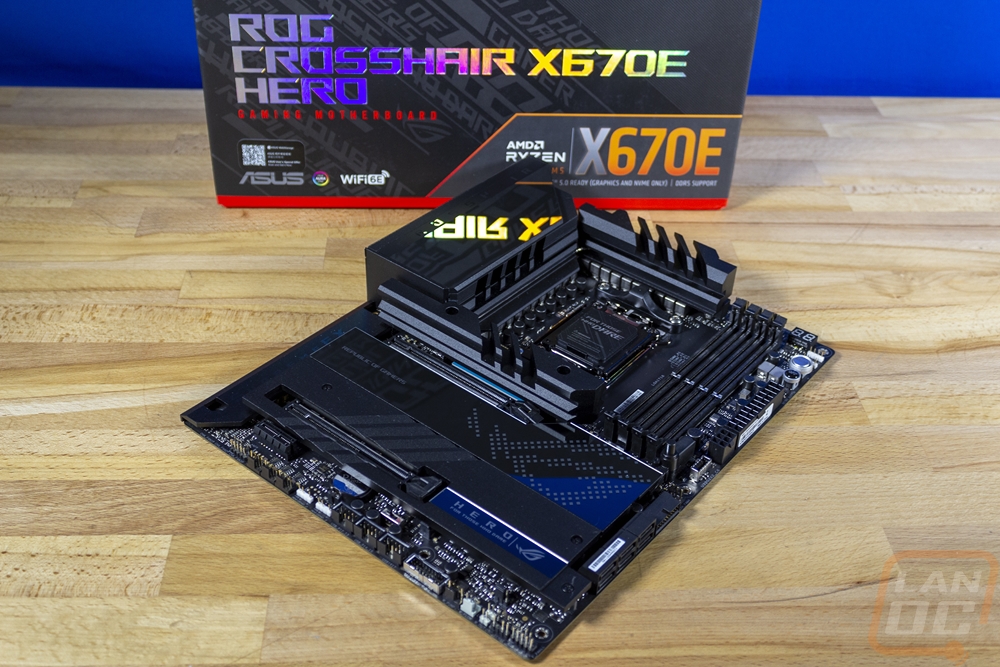
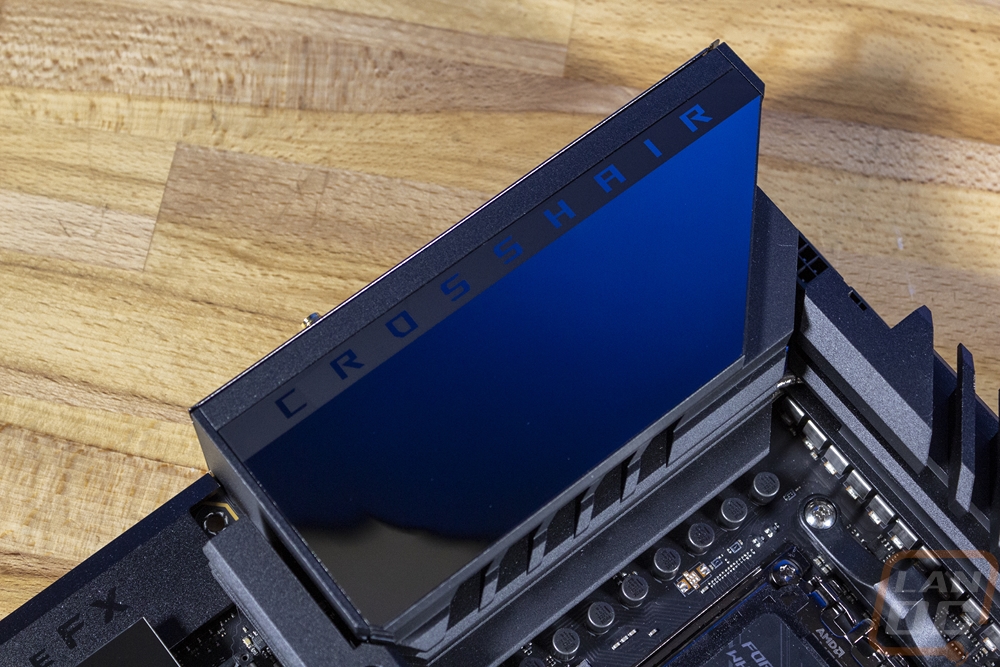
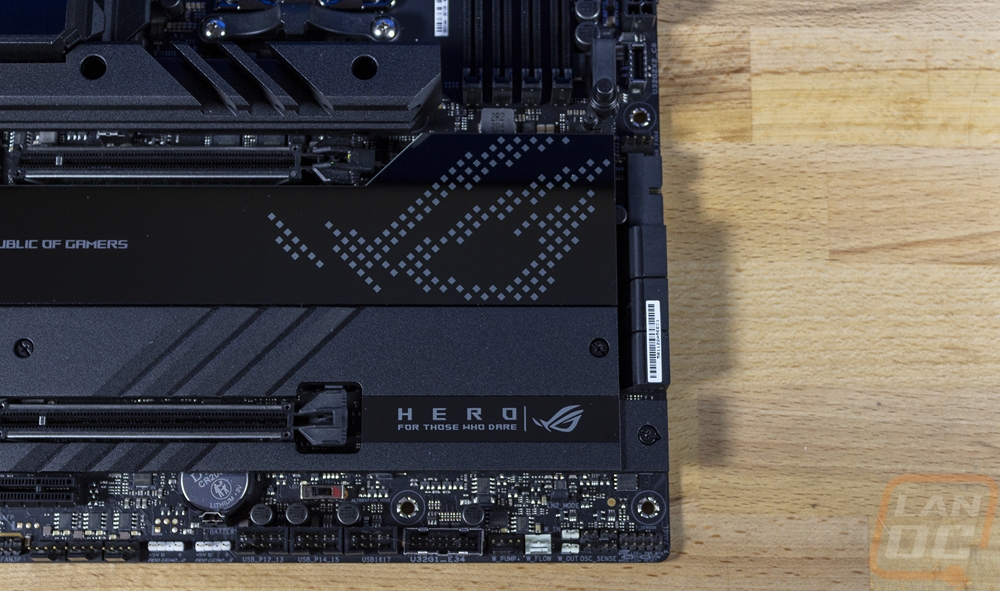
The ROG Crosshair X670E Hero has the same styling that ROG has used on the last few generations with a fully blacked-out PCB and blacked-out heatsinks. With the ROG Crosshair X670E Hero being high in the product stack (only the Extreme is above it) it is also decked out in shields and covers. The rear I/O integrates in with the heatsinks around the CPU socket but has a mirrored finish across the top along with the Crosshair branding printed in black on black. The same is going on down in the bottom half with SupremeFX printed on the shield on the left and a mirror finish on half of the covers between the PCIe slots over to the chipset. The ROG logo is integrated into that mirrored design with their pixelated backlit design that was also on the Z690 Extreme.
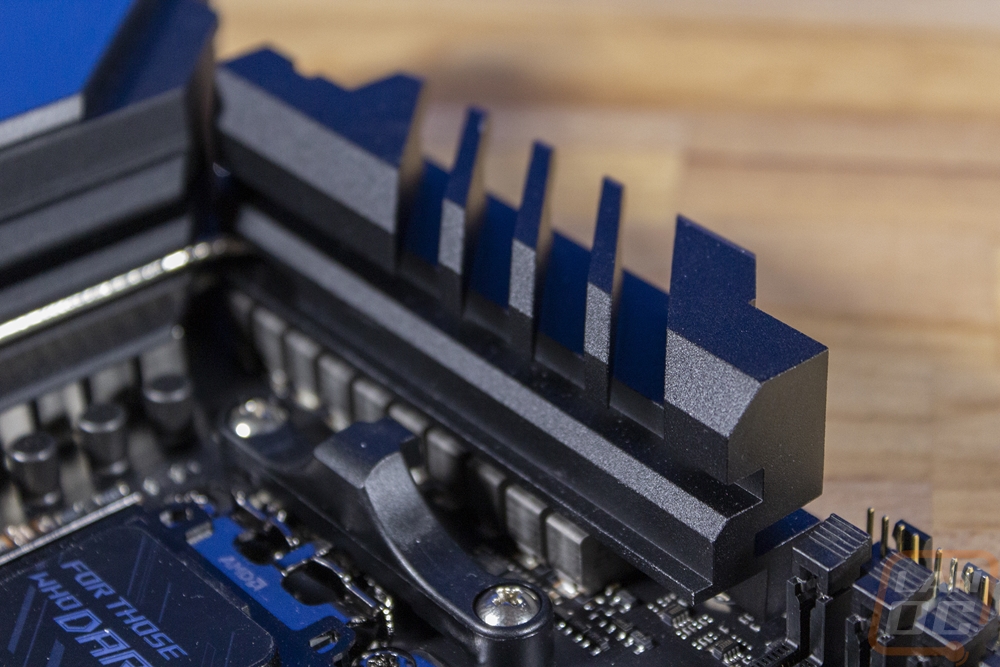
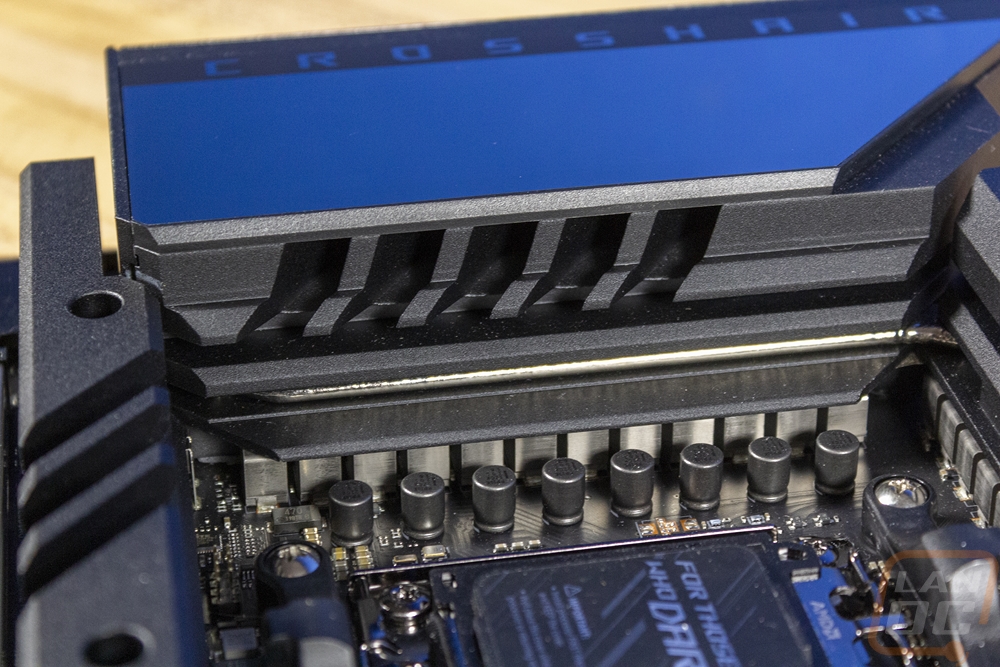
A majority of the shield and covers covering the ROG Crosshair X670E Hero all work together as heatsinks. The biggest example of this is up around the CPU socket with the three heatsinks there. The ROG Crosshair X670E Hero has an 18+2 VRM layout with 110A rated smart power stages and 10k rated capacitors. All of that has large blacked-out heatsinks on top which are connected together with a heatpipe. The VRM on the left side of the PU socket have their heatsink hidden up under the rear I/O cover, but that cooler is there as well. The heatsink at the bottom of the CPU socket is the most interesting to me though because at first glance it looks like it is part of the VRM cooling but it is a huge heatsink for the top M.2 slot.
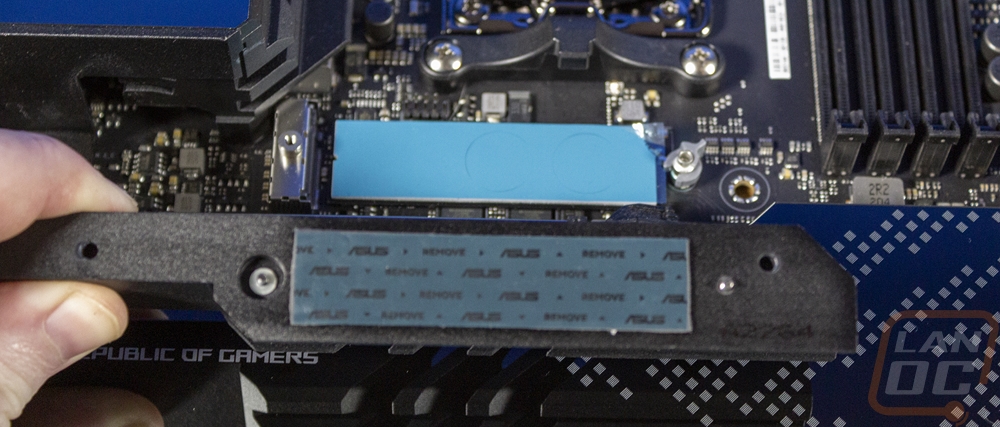
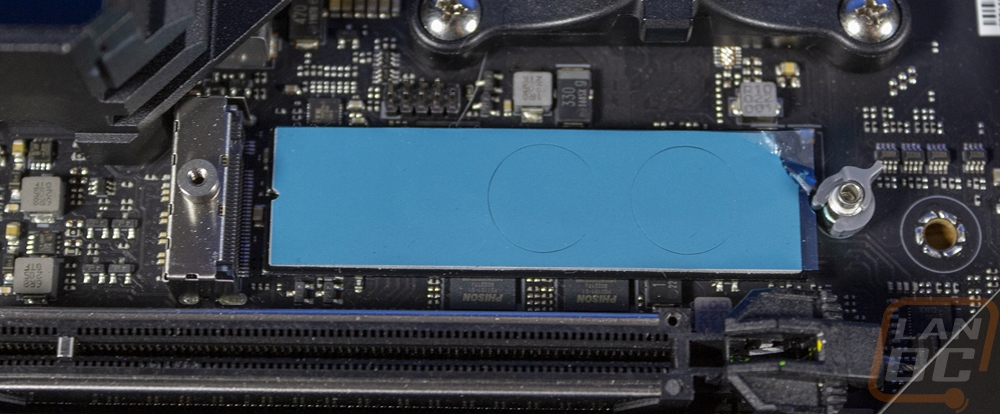
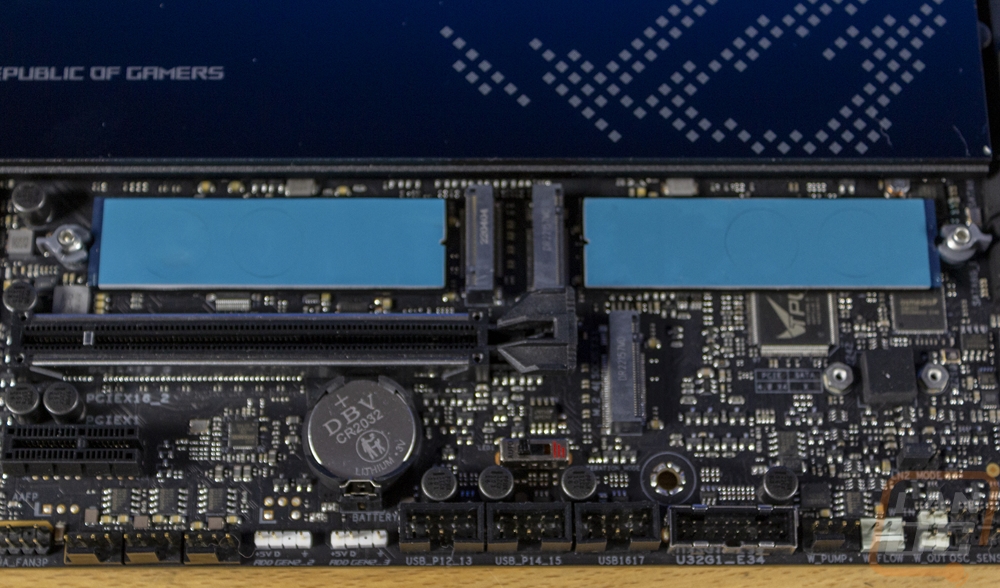
The rear I/O cover does have lighting on top just like with the Z690 Extreme only they are calling this the Polymo Lighting design and with the mirrored finish you really can’t see any of it until it is powered up. The large heatsink that covers the board from left to right and starts below the top PCIe slot has a few different functions. On the right where the ROG logo is goes over top of the chipset to pull some of that heat out. All of the mirrored section doesn’t get removed. The second half however is where Asus has three more M.2 slots hidden. The cover comes with thermal pads in place for all three M.2 locations but be sure to remove the plastic if you use them.

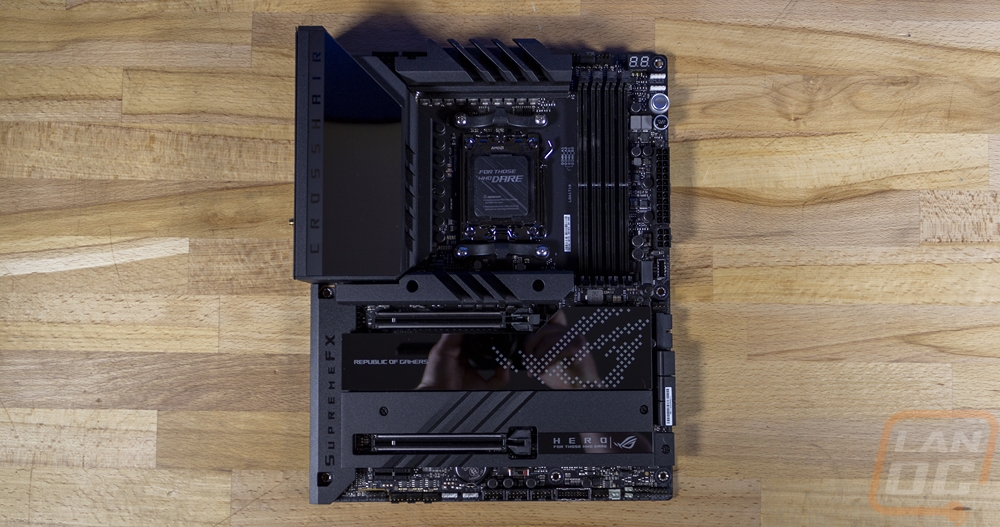
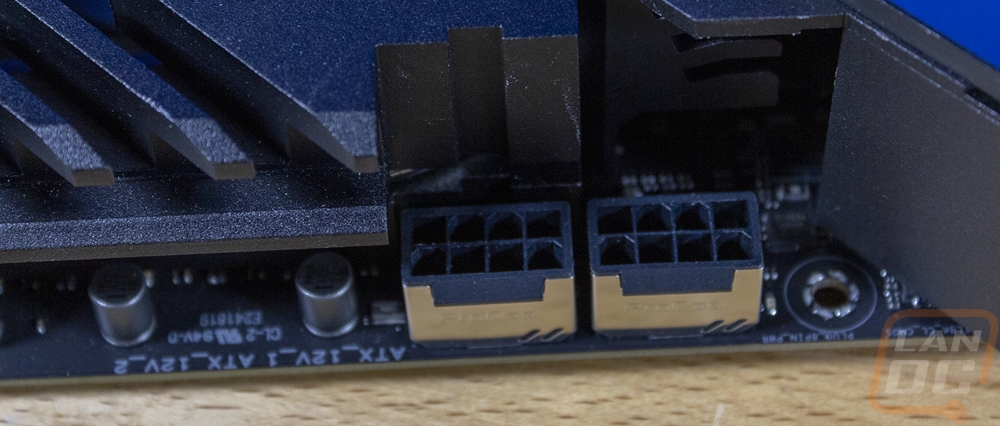
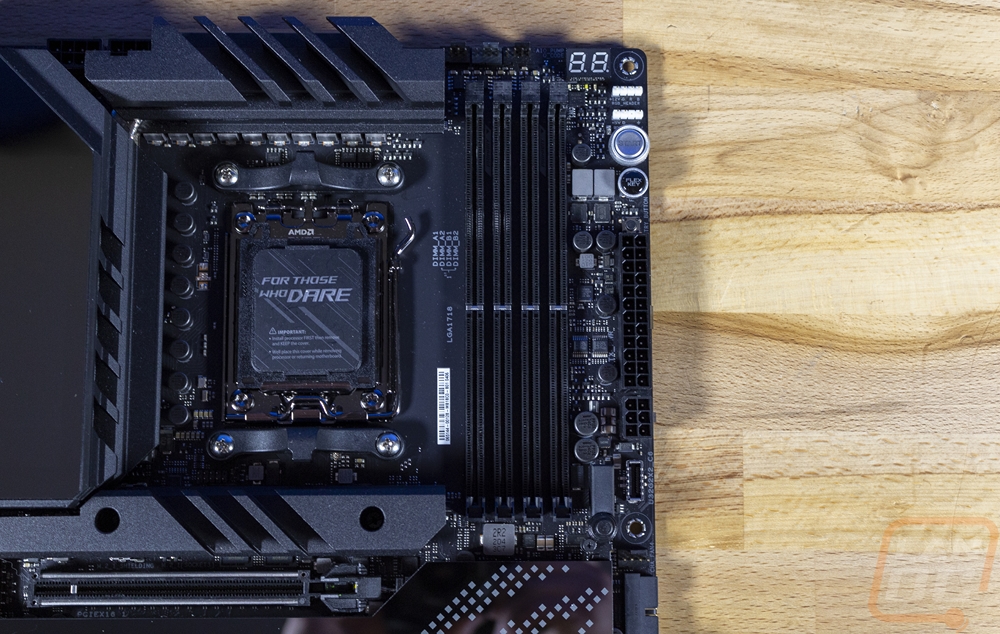
Starting in the top left region of the ROG Crosshair X670E Hero the majority of the space is filled with the three heatsinks, rear I/O, and the CPU socket itself. But the board does have two 8-pin CPU power connections tucked away up in the top left corner. Both connections have metal around them to pull heat out and keep them from overheating.

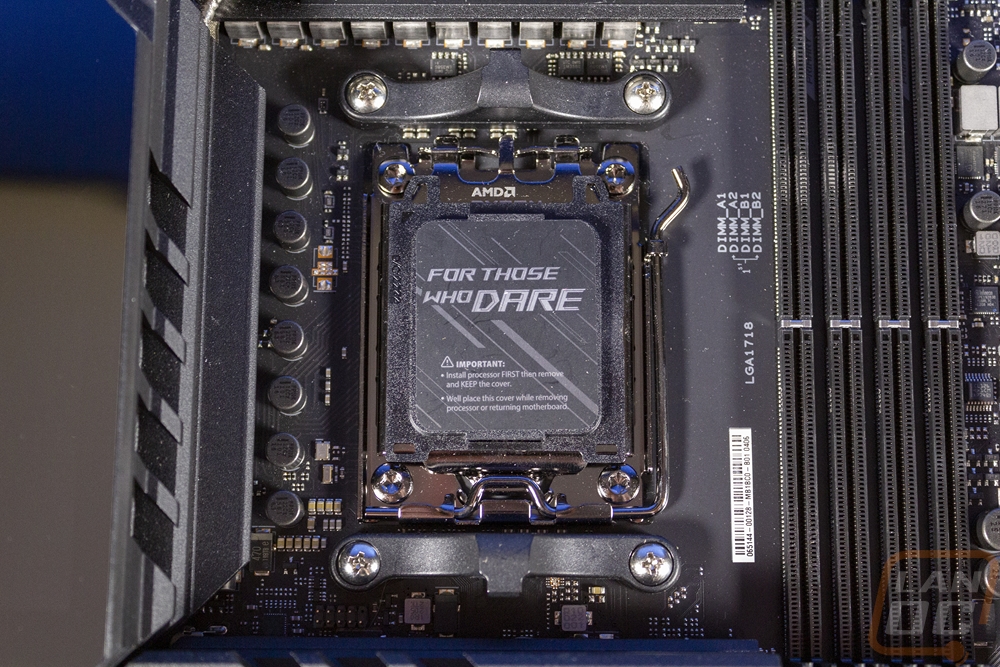
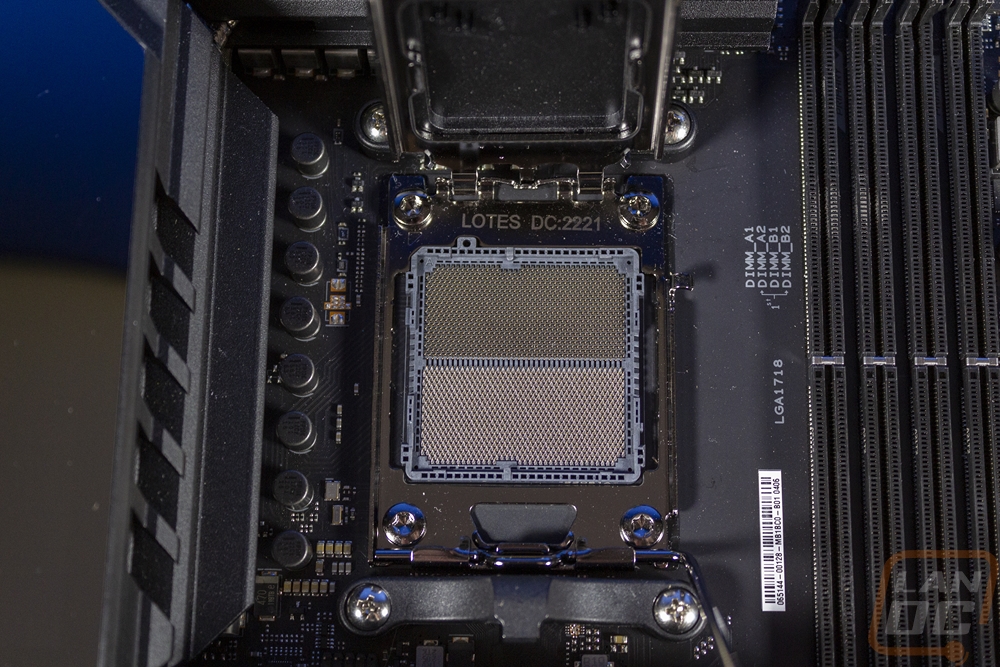
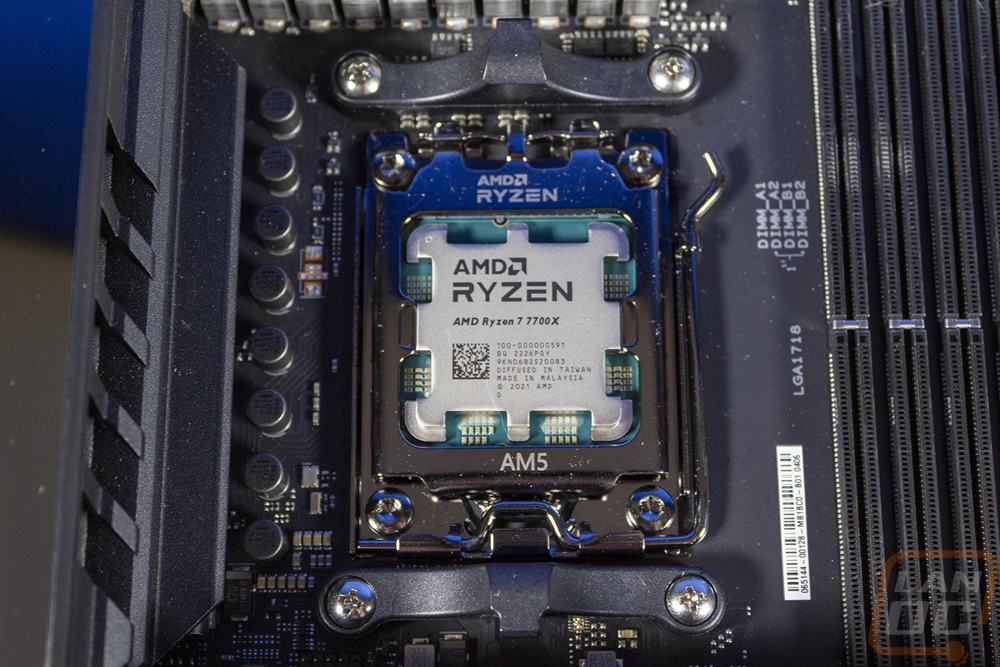
The new AM5 or LGA1718 socket is worth stopping and taking a look at itself. AMD stuck with the same pinned CPU setup forever now so switching it up and moving over to an LGA setup is big news. It’s been so long that some people are going to see this new socket and associate it with Intel. LGA stands for land grid array which means all of the pins that used to be on the CPU are now on the motherboard itself and they use the metal bracket to lock the CPU in place on top of them and to push down onto them. Easy CPU pin repairs are a thing of the past, but this design does mean you no longer have to worry about pulling the CPU out of the socket when you pull your cooler off and they are able to pack more connections into a small space. All of that said, AMD did keep the hook-style mounting for their CPU coolers alive. A majority of coolers will work with AM5, if they use the hook mount they will all work. Coolers that replace the backplate on AM4 and below will have issues, however.
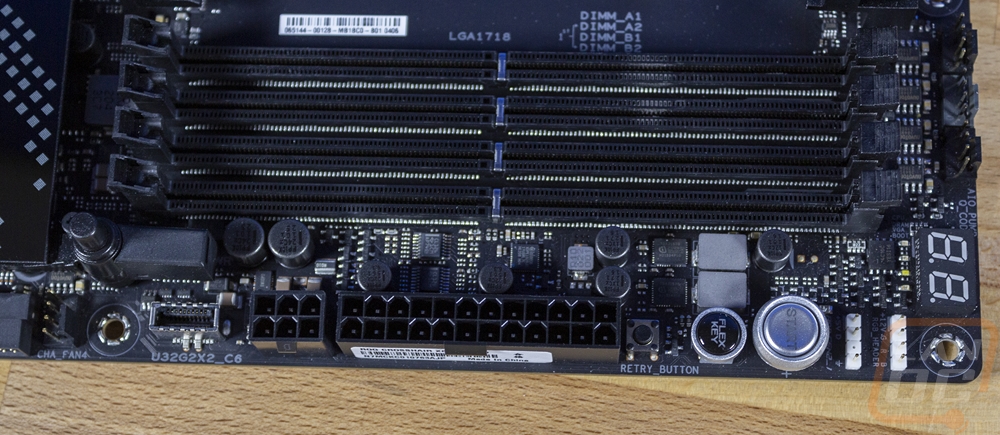
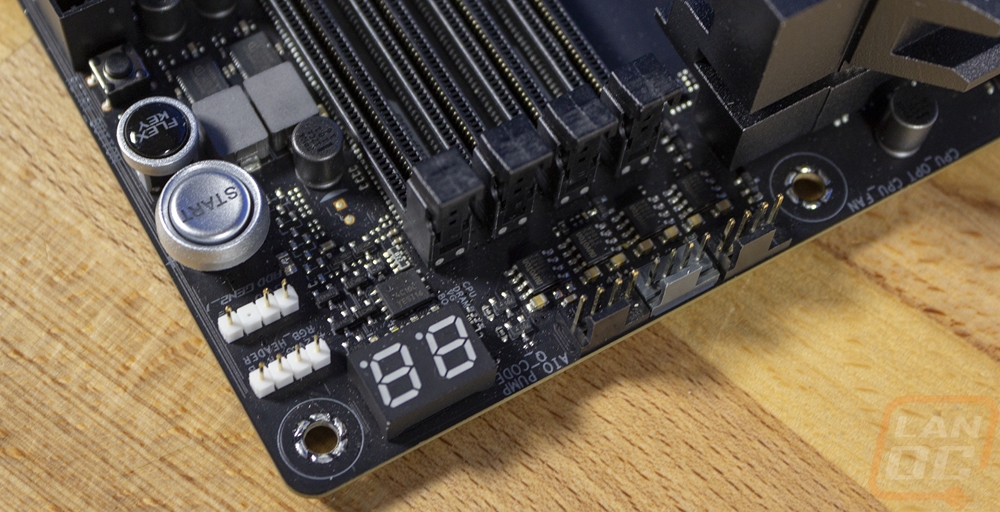
The top right corner on the other hand has more going on starting with the four DDR5 slots which for the ROG Crosshair X670E Hero are blacked out to go with everything else. This is AMD’s first DDR5 chipset and unlike Intel, they aren’t doing double duty with DDR4 and DDR5 being options. Up on the top edge above the RAM DIMMs, the ROG Crosshair X670E Hero has three PWM fan headers with two being CPU fan headers and one for your AIO pump. Next to that is the status LED readout that shows your booting status. Then at the corner, there are two RGB headers designated by their white color, one is a 3-pin addressable RGB header and the other is a standard four-pin RGB header. Moving down along the right edge you have three buttons. The largest at the top is the power button which Asus has labeled as start. Below that is the flex key which you can program its function in the BIOS to do anything you want and then below that the small button is the retry button which is for overclocking when you want to reboot without changing any settings if a boot failed. Below that is the 24-pin motherboard power plug and a 6-pin additional power connection. Then below that is a USB 3.2 Gen 2x2 connection for a front panel Type-C connection, this can support up to 60 watts of power which should be great for charging devices.
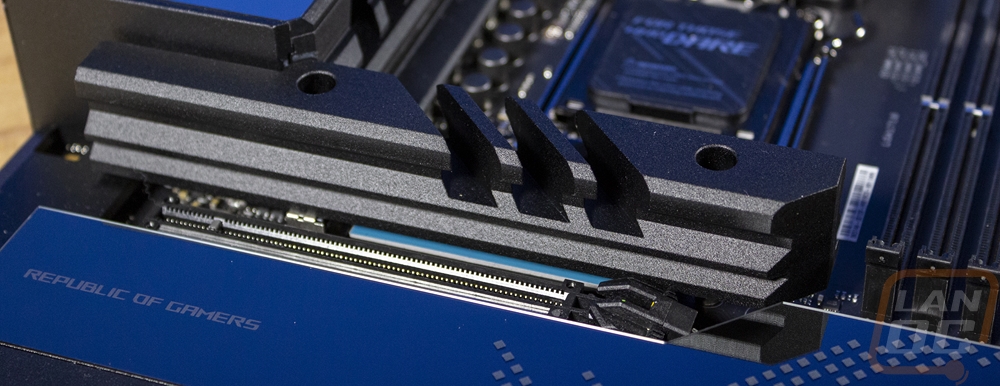
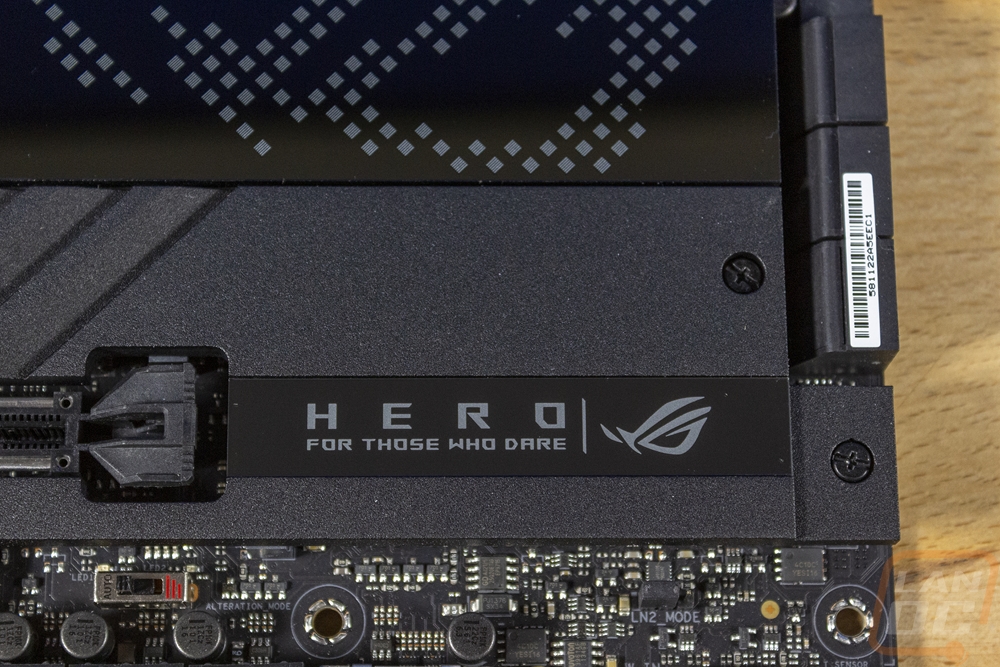
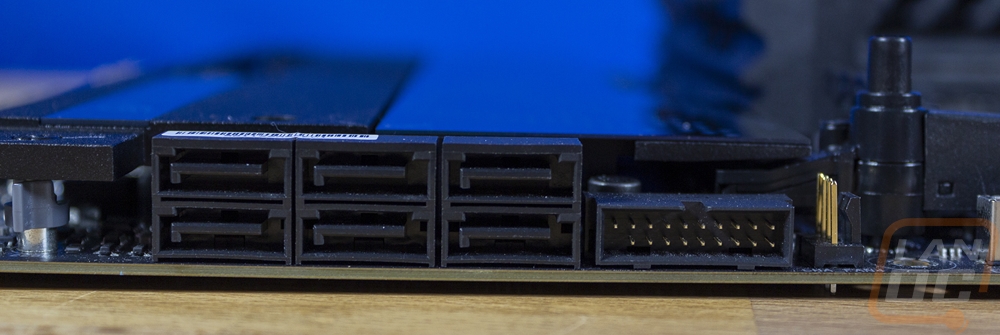
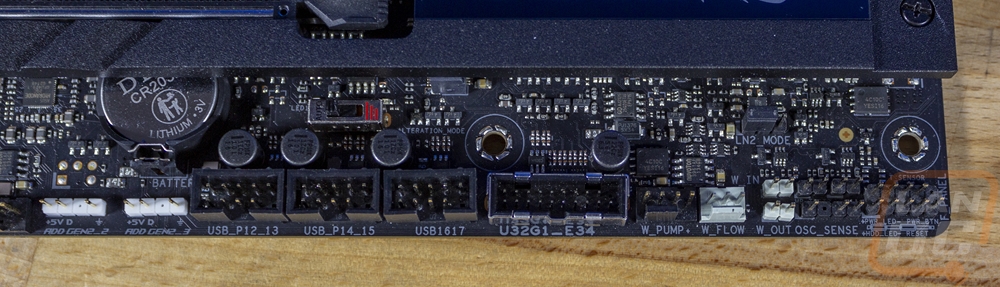
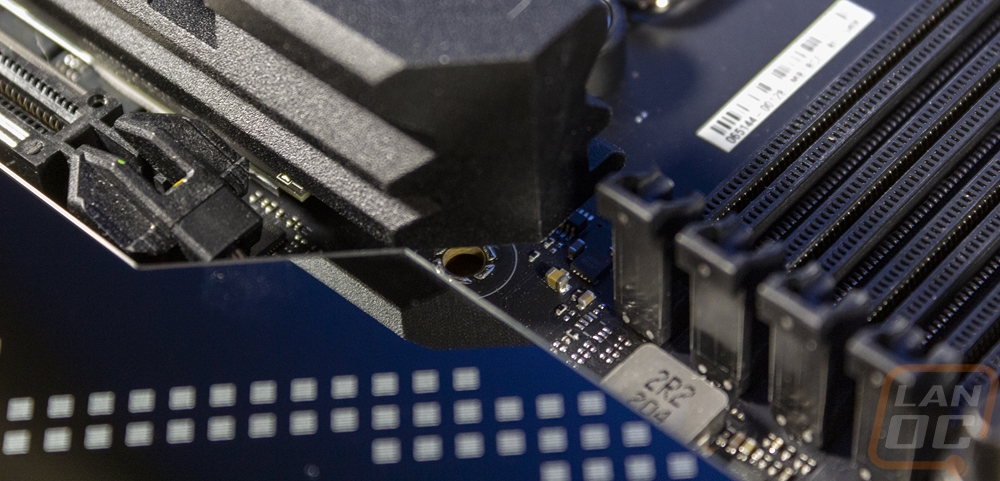
The bottom right corner has the chipset cooler but even with that, a lot is going on both on the bottom edge and along the right edge. But I did want to point out two other things first. The top M.2 heatsink that sits below the CPU socket does cover up the middle mounting screw so if you are planning on using all of your mounting screws remember to wait to install that heatsink after the board is in your system. Also in that same area, the ROG Crosshair X670E Hero does have the easy push button PCIe latch like we first saw on Z690 boards. It is just to the right of the bottom of the memory and pushing the button pulls a string and unlatches the PCI latch without having to stick something in that tight space between the heatsink and your video card. On the right edge of the ROG Crosshair X670E Hero, there are six SATA ports which are all right-angled, and a right-angled USB 3.2 header as well along with one PWM fan header. Along the bottom edge in this bottom right corner has three standard USB 2.0 headers and a second USB 3.2 which this one has a metal shield that should give that connection more strength, I know I’ve pulled a few of those off in the past. There are two more individually addressable RGB headers on the far left (3 addressable and 1 standard so far). Then in the bottom right corner, Asus calls this their water cooling zone with a four-pin PWM header for a water pump(5 so far) and a 3-pin connection for a water flow meter. There are thermal prob connections for water temps in and out and more. Then in the corner itself are the front panel connections. The LN2 mode jumper is also right here in the water cooling section as well.

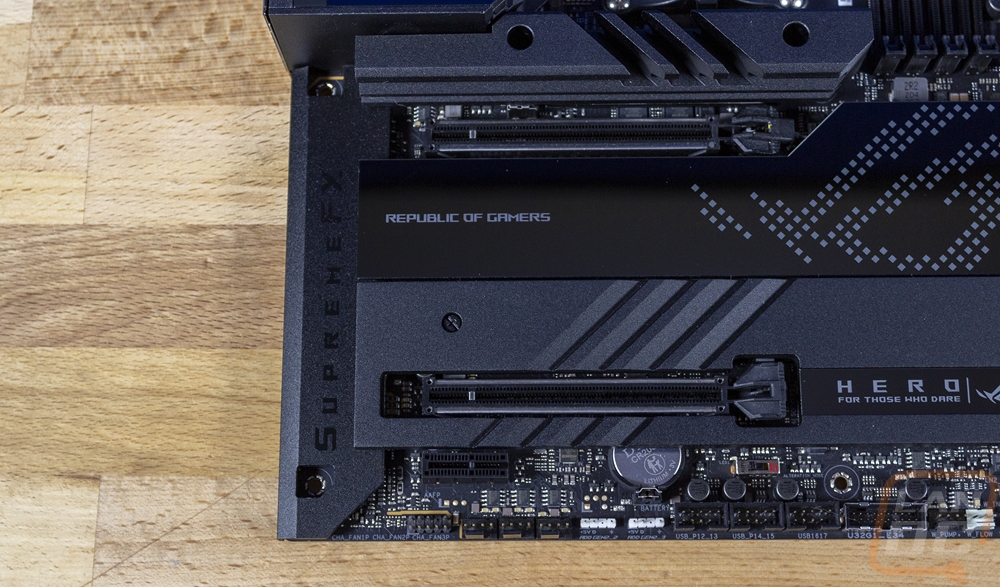
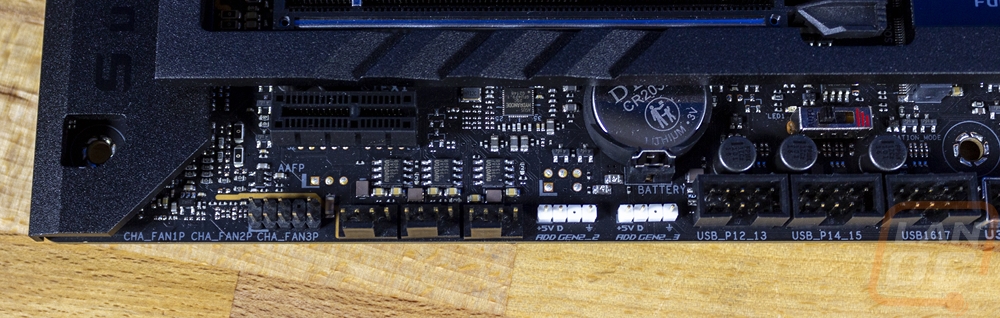
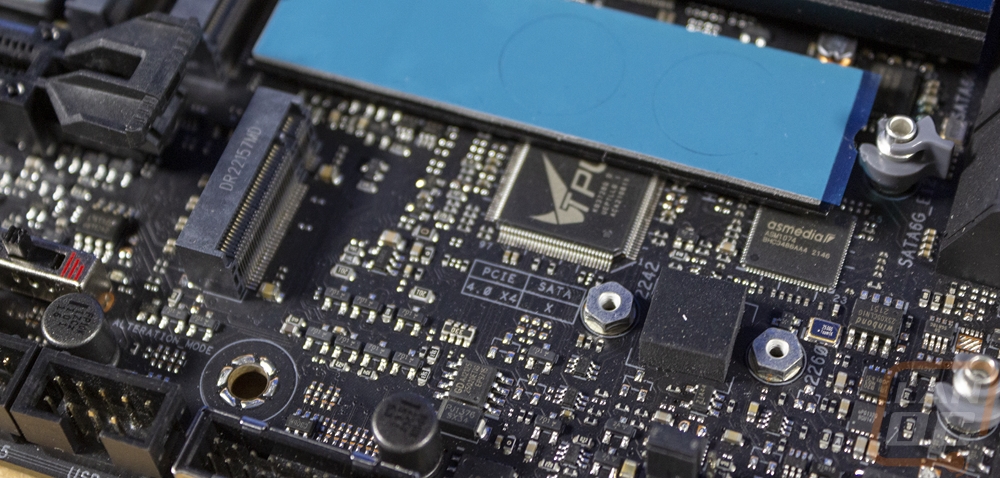
The bottom left corner of the ROG Crosshair X670E Hero is where you will find the board's three PCIe slots. Two of those are full length and at the bottom, there is one X1 length slot but with that, I should point out the slot is open-ended on the right side to support longer cards but only give x1 bandwidth. Both of the full-length x16 slots are PCIe 5.0 compatible and those run right off of the CPU itself where the X1 slot is on the chipset. They have x16 lanes if you are running one slot but when both are in use they share that bandwidth for x8/x8. Also in this area are all of the M.2 slots which there is one up under the CPU socket and then three under the heatsink at the bottom. M.2 slots 1 and 2 are both PCIe 5.0 x4 and you also have the included M.2 PCIe card as well for a third. Those all get their lanes from the CPU and then the last two M.2 slots run off of the X670 chipset which both of those are PCIe 4.0 x4. On the far left the onboard audio is covered by the shield that runs that entire length and it is a Realtek ALC4082 codec and has an ESS ES9218 quad DAC amp as well. The front panel audio header is down on the bottom edge alongside of three more PWM fan headers for a total of 8 which all support 1 amp each.
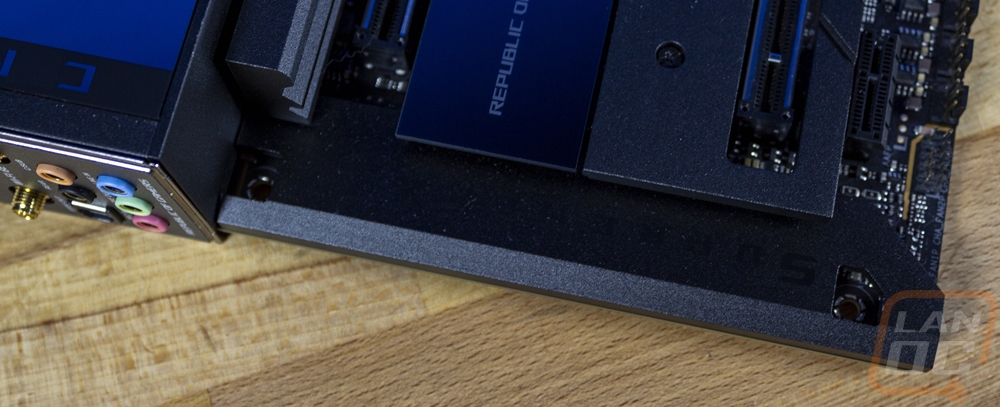
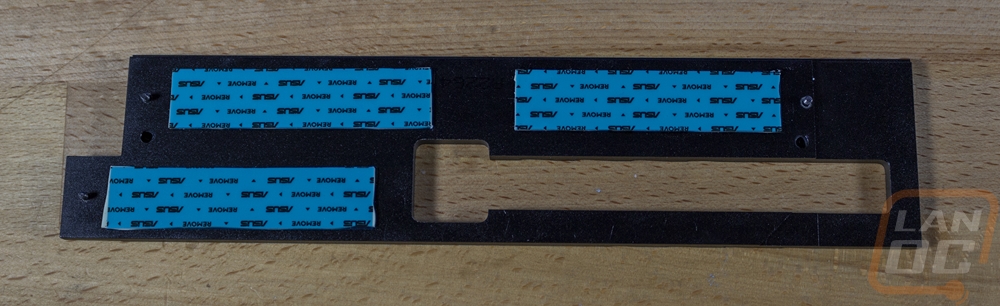
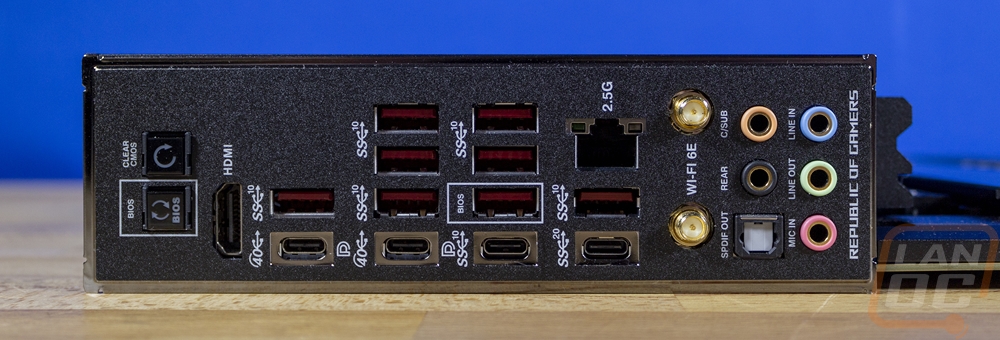
The ROG Crosshair X670E Hero has a preinstalled rear I/O cover which is great to see and Asus has put a sticker on it to black it out and give it a texture that should match well with most cases. All of the connections have bright white legends so you know what each does including all of the audio connections which also are color coded. Sadly they don’t also have the built-in color LEDs that make plugging them in the dark even easier. On the far left of the rear I/O there is a clear CMOS button and below that the BIOS flashback button for updating the BIOS without a CPU or memory installed. Next to that is an HDMI header for the built-in GPU. From there the ROG Crosshair X670E Hero is loaded with USB connections with four rows. Each row at the bottom has a Type-C connection for four in total, two of those are the new USB 4.0 running on the JHL8540 controller and then there is a USB 3.2 and a USB 3.2 Gen 2x2. For the eight Type-A connections those are all USB 3.2 Gen 2. The last row of USB connections shares space with the single ethernet connection which is a 2.5G connection that runs on the Intel NIC and next to that are the two wireless antenna connections that work with the Intel wireless NIC for Wifi 6E and Bluetooth v5.3.
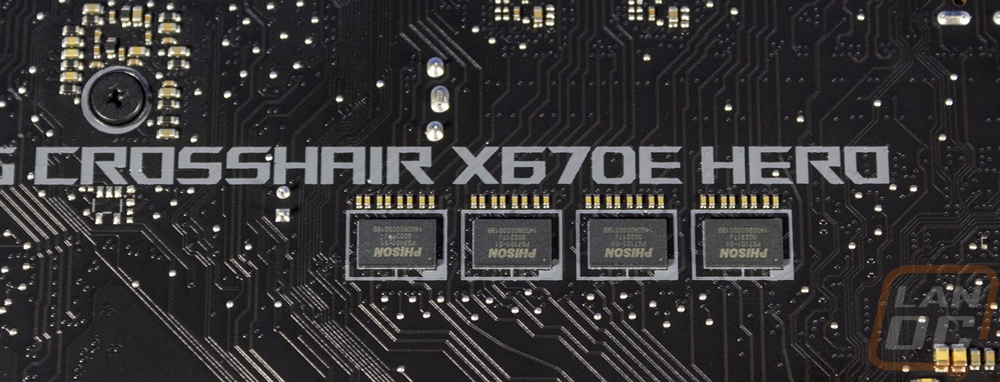
The back of the ROG Crosshair X670E Hero gives us a good look at the blacked-out PCB and we can see the split PCB on the right around the audio chipset. That also shows us that the cover over the audio that runs to the rear I/O is a lot larger than the audio section itself which is mostly down at the bottom of the board. The new AM5 socket has a large all-metal backplate on the back of the CPU socket. But the most interesting thing going on back here is the four Phision chips mounted on the back. These look just like the controller on an SSD but are actually redrivers for the new PCIe 5.0 interface. 5.0 can only run short distances, the redrivers help lengthen that distance.