Photos and Features
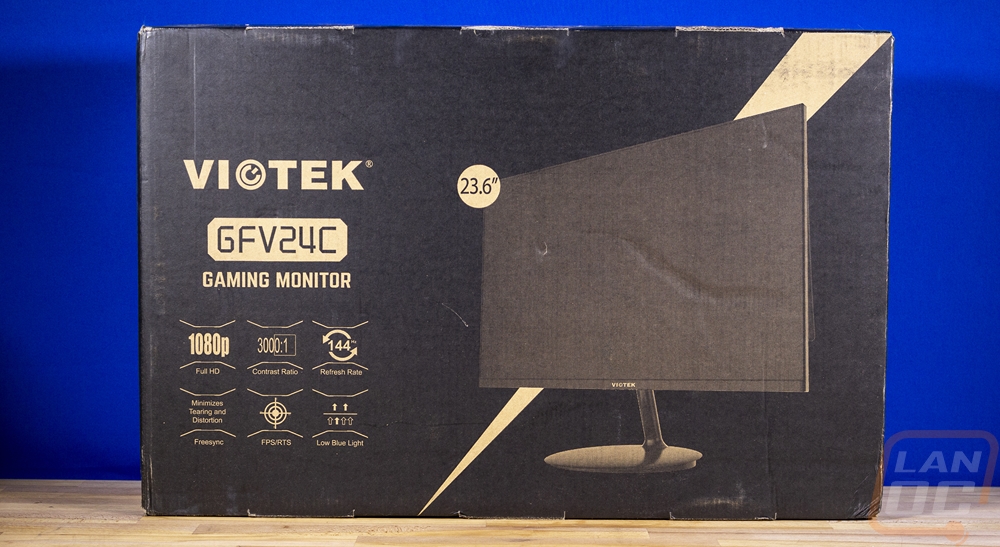
Before checking out the GFV24C, we do have to get it out of the packaging. Viotek ships it in a brown box which is mostly covered in black giving it a black background using the negative space for their name and the model name below that. The front of the box also has a picture of the monitor on it, all in black and brown of course. Then they also touch on the main specs like 1080p, 144 Hz, the 3000:1 contrast ratio, and Freesync. The back of the box is a little plainer but overall the box isn’t too flashy. This is good because they and most companies ship the monitor in its original box and flashy just means more visible to thieves.
Inside you get two large pieces of Styrofoam which are formed around the monitor. The monitor also comes wrapped in a foam bag to keep it safe from any small movements as well. All of the accessories are then up on top in their own compartments in the foam, be careful when pulling this out of the box to have this side up or it will all fall out.
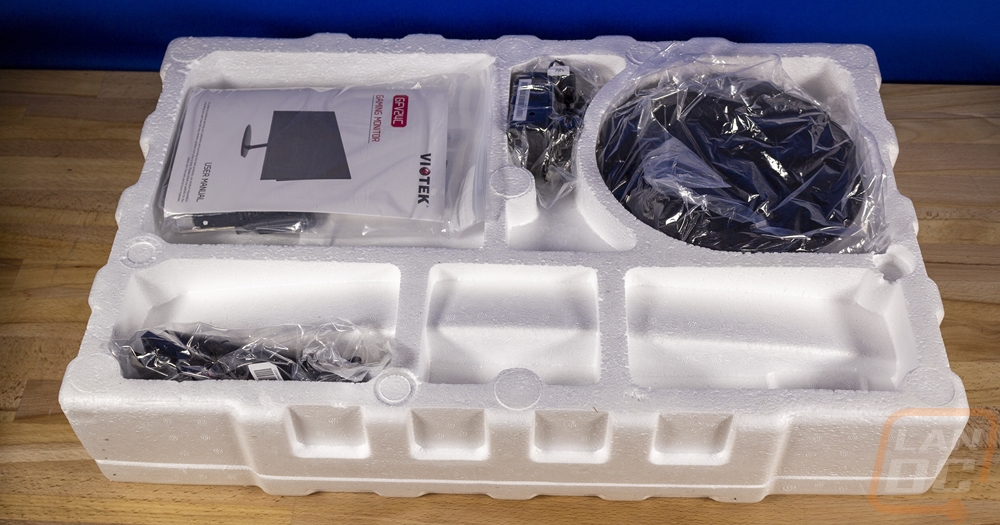
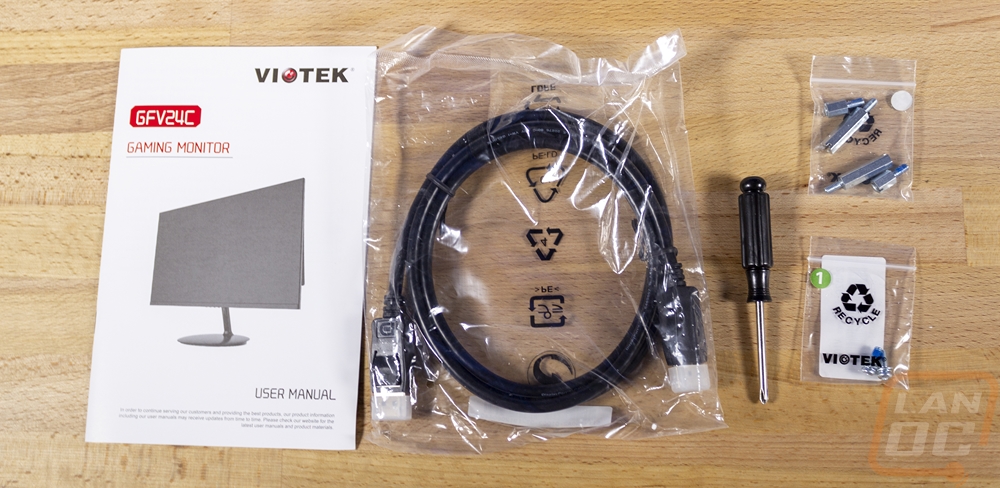
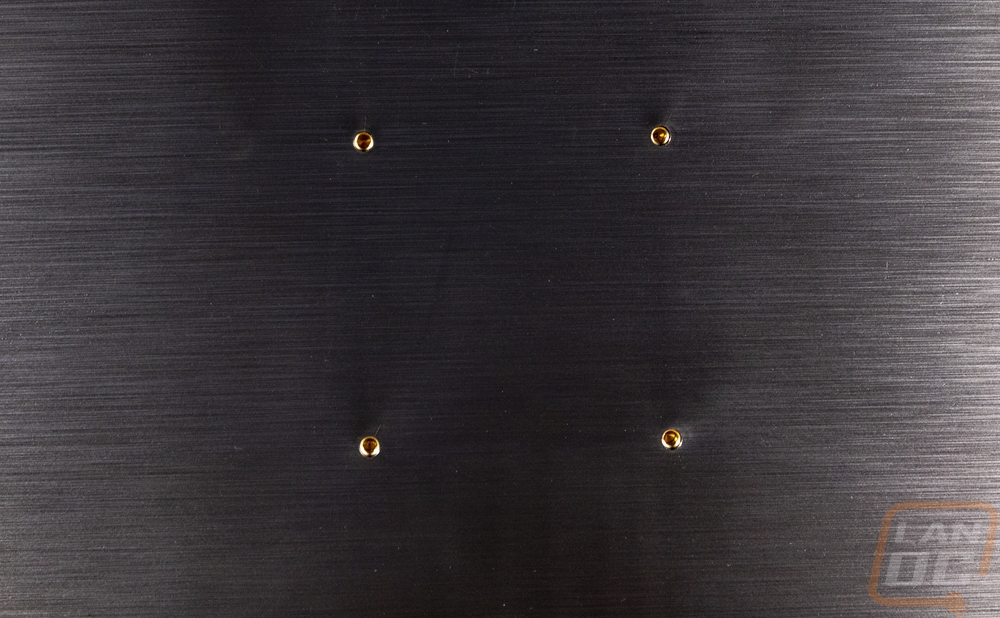
The accessories and documentation included is extremely similar to what I saw with the GFV22CB which gets you a user manual which includes instructions on putting everything together for documentation. There is a DisplayPort cable, the stand components, a screwdriver, two screws, and four standoffs. The screwdriver is to put the monitor together and it may be a small detail but it is nice that you don’t need any of your own tools. The two screws, well only one is needed and it is to secure the base to the mounting arm. Viotek just includes an extra just in case. Then the standoffs, well these are for the VESA mount because the back of the monitor isn’t flat. You will need these if you want to use it with a wall mount or desktop stand so be careful not to misplace them.
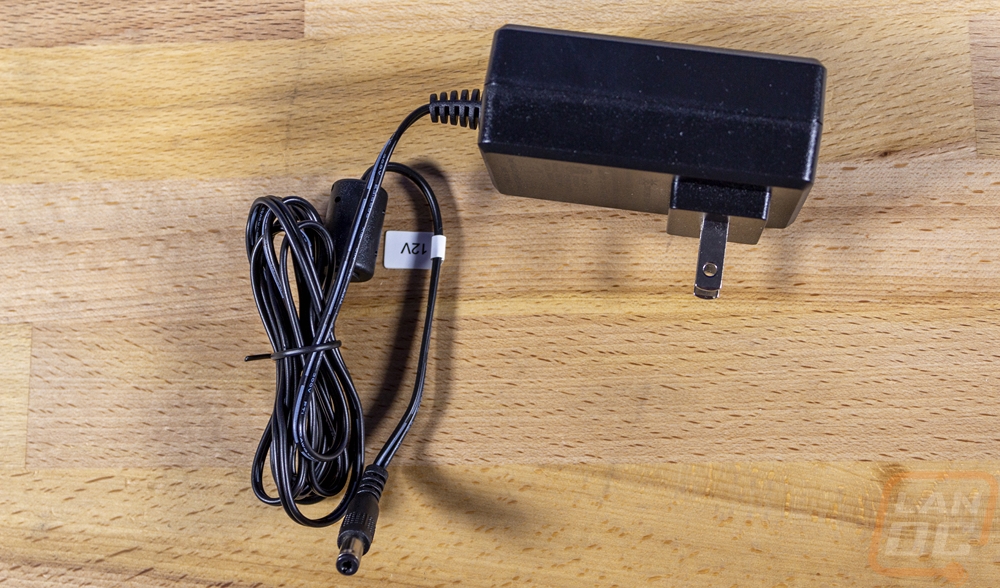
You do also get a power adapter and the GFV24C uses a wall wart not a traditional PC power cord. I hate wall warts and would even prefer a cord with the power supply in line over this design. But they are cheap and get the job done.
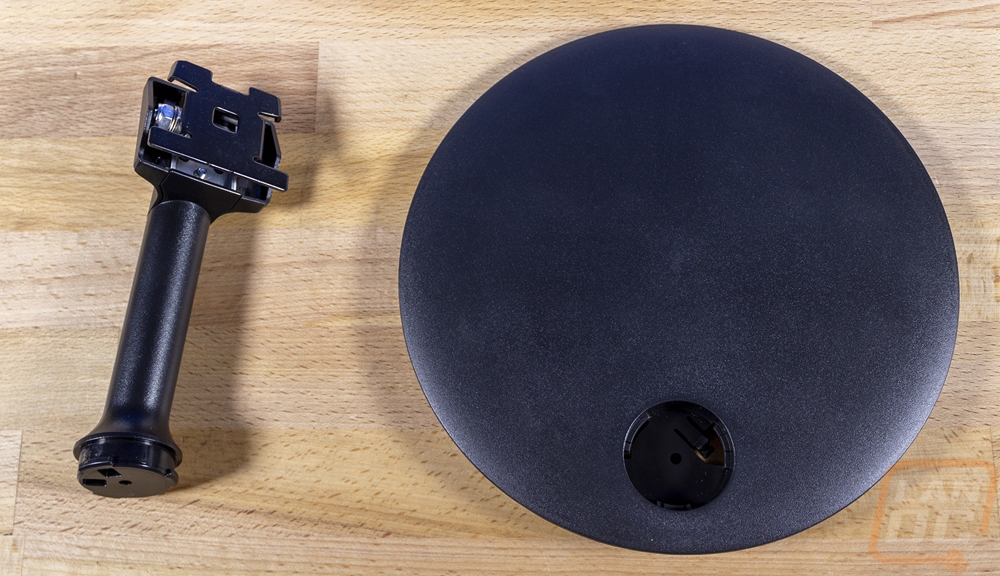
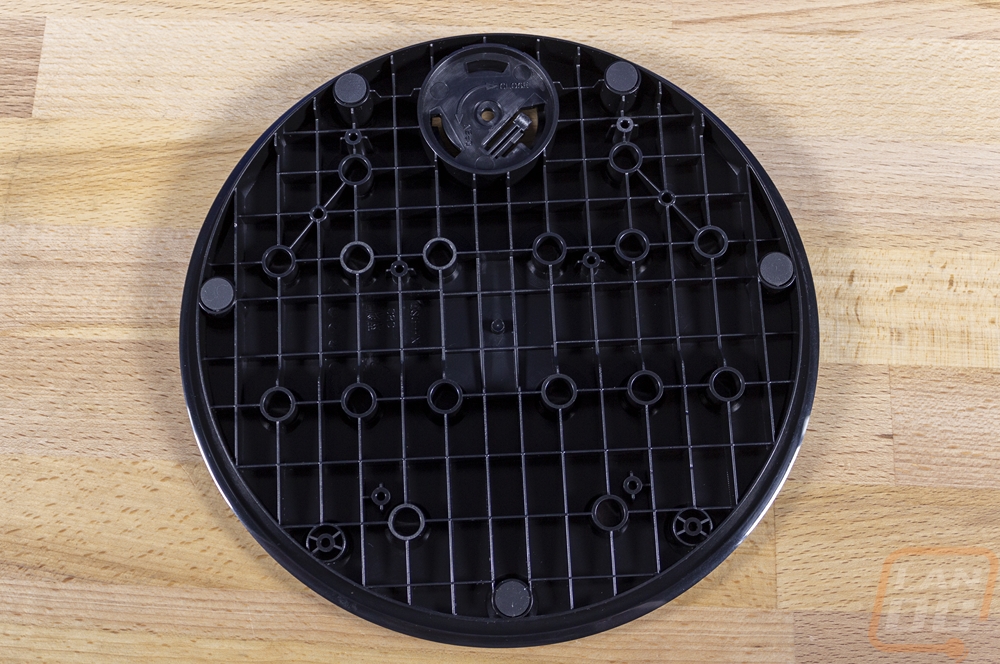
 As for the stand, you end up with just two components and both are mostly plastic. The design is different from the GFV22CB I previously took a look at which is good considering the issues I had there. The base is round with a mounting hole for the included post near the edge of the circle. The pole is plastic but the mounting end does have a metal bracket built-in which is adjustable. The bottom fo the base looks like infill in a 3d printed part to give the base the structure and weight that it needs. It also has 5 small rubber feet to help give it a little traction as well.
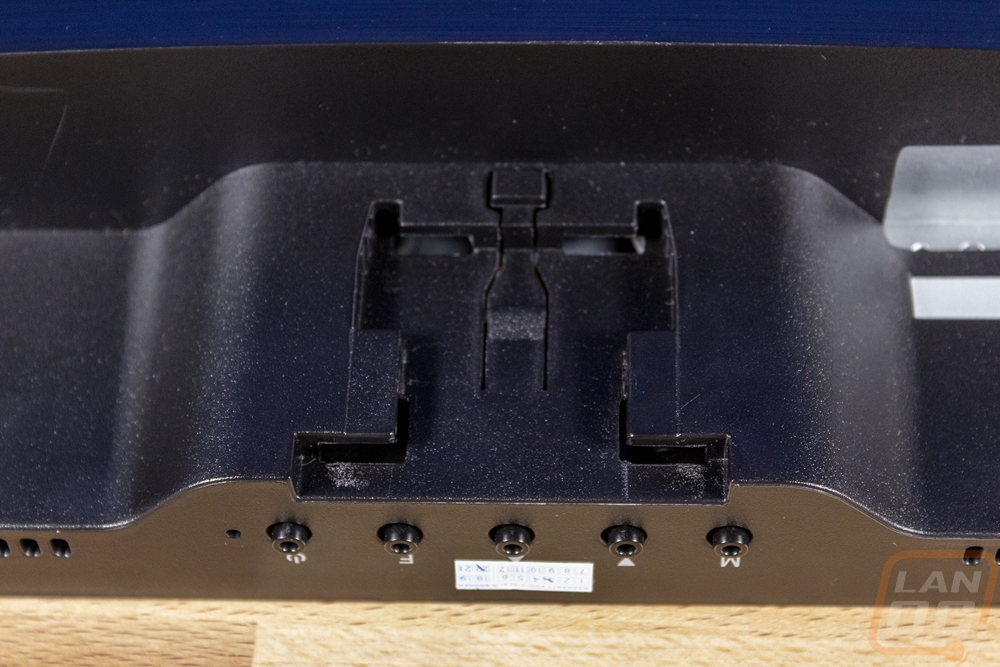
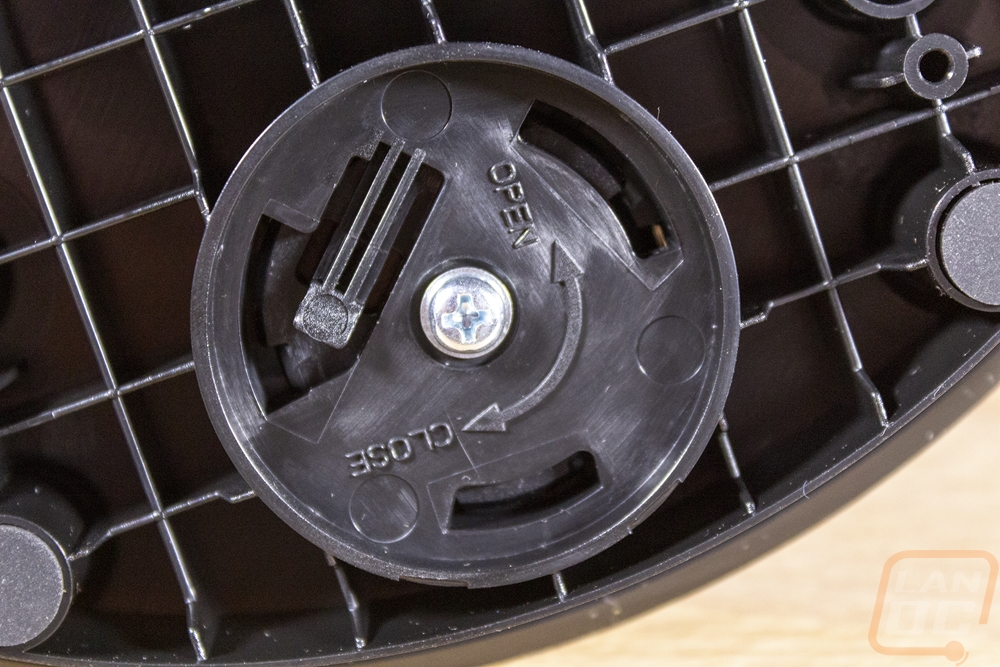
The back of the GFV24C has a notched section at the bottom of the back where the base can slide in and lock in place quickly. Quickly being able to attach the base may not seem like a big deal, but given the features of the GFV24C, I can imagine it being perfect for LAN use and that is the one situation where a base that can be quickly put together and broken down is important. It is also important that the base doesn’t take up a lot of space when removed, which is something a lot of other gaming-focused monitors seem to ignore. Especially with huge triple leg setups. Even just storing the stands because I use a multi-monitor stand on my desk is a pain. That isn’t a problem with the GFV24C. In fact, putting the base together is as simple as sliding the pole into the back of the monitor where it latches. Then the pole and the base twist and latch in place as well. Viotek also has the one screw for the base just to be safe and the included the screwdriver. I think if I were taking the GFV24C to a LAN though I may skip the screw to keep things simple. But Long term usage you should use it.
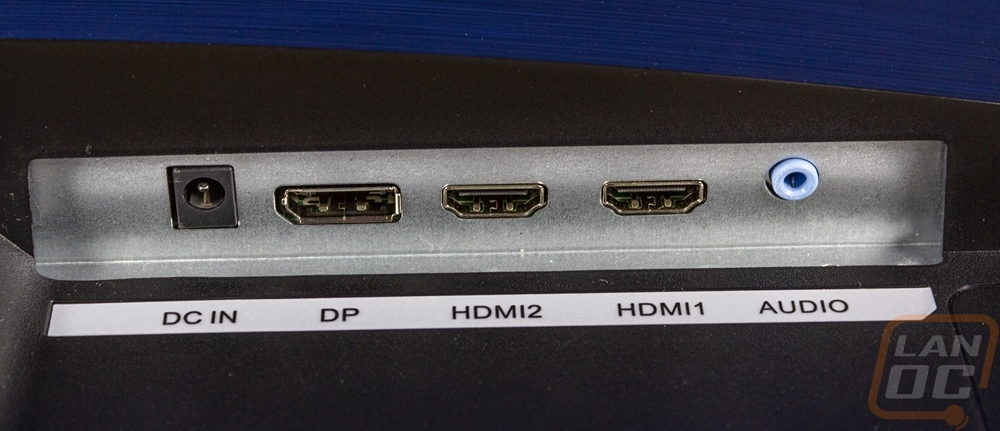
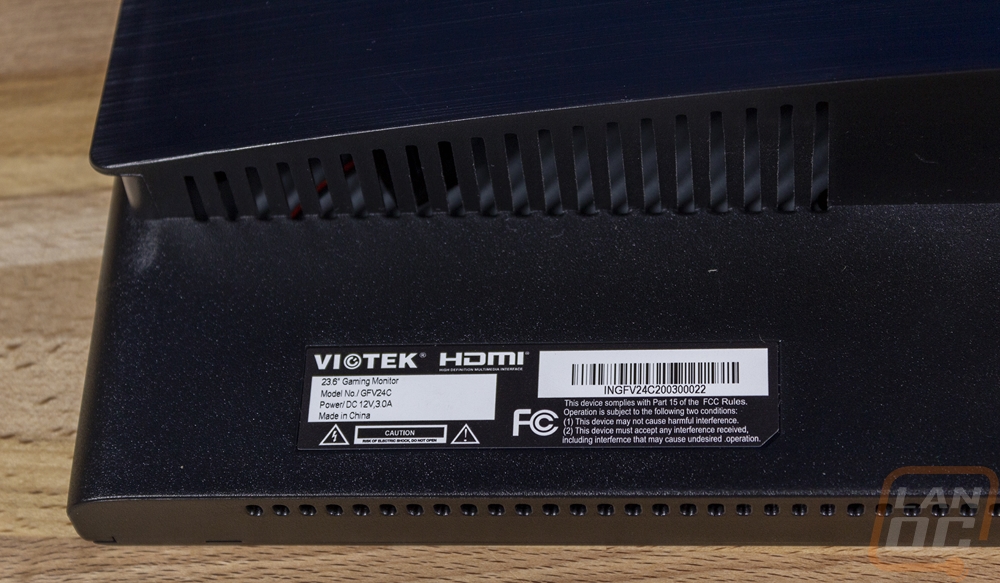
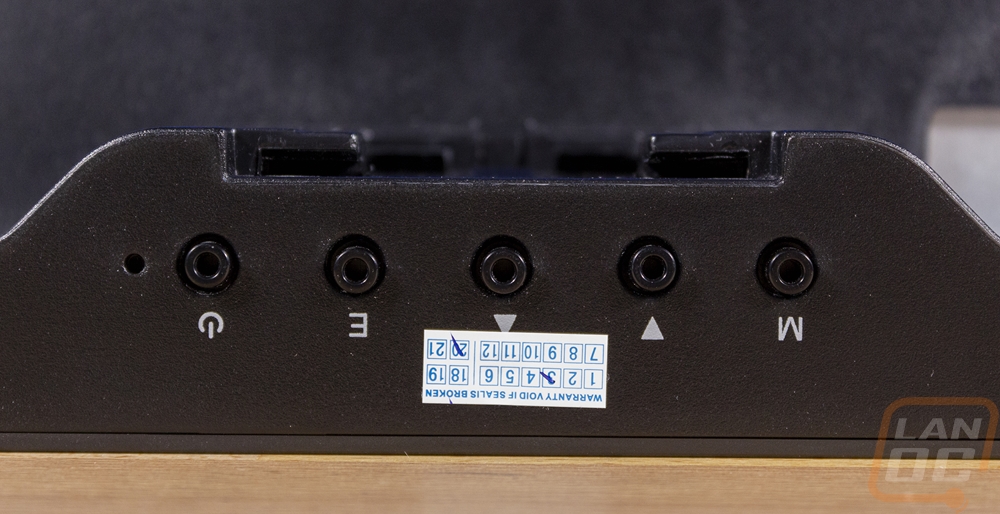
Before we put everything together though, let’s take a look at the back of the GFV24C. It does have a black plastic case but a majority of the back has a brushed finish on the plastic that makes it look more like brushed aluminum. The shape is thin up at the top but gets thick at the midpoint (this is why they included those VESA standoffs to make the mount flat) of the VESA mount to make room for the I/O which faces down. This also allowed them room for two sections of ventilation, one of each side. For the rear I/O you get two HDMI ports, one audio jack, and one DisplayPort. Then for power on the left is a DC input. The two HDMI ports are both 1.4 and the DisplayPort is 1.2. All of the I/O is labeled on the surface below which even if you can’t look up at the ports help point to where each is. The back does also have a small sticker with the Viotek branding on it as well as a logo for its FCC certification. The sticker also has the monitors serial number and on the left the model name, display size, and power input specifications. The back also has a side to side arch so the center just above where the base mounts is a lot thicker than you might expect at around 6cm or 2 3/8 inch.
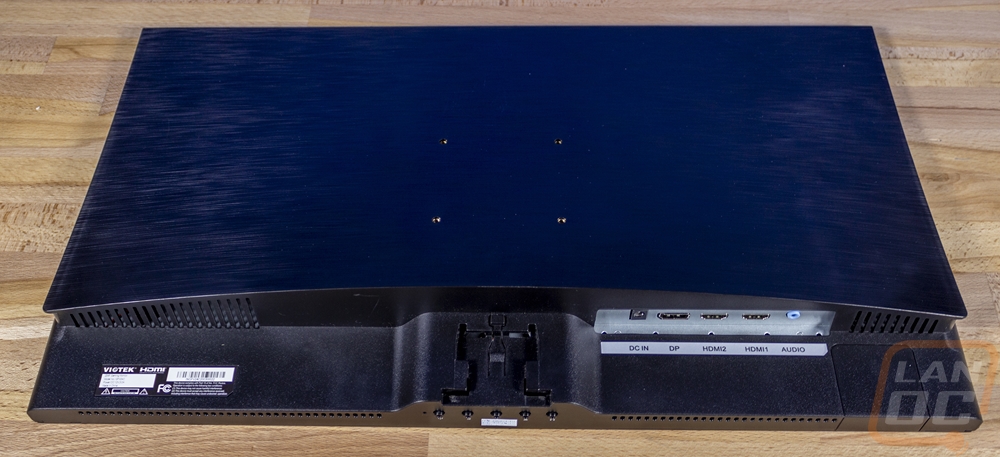
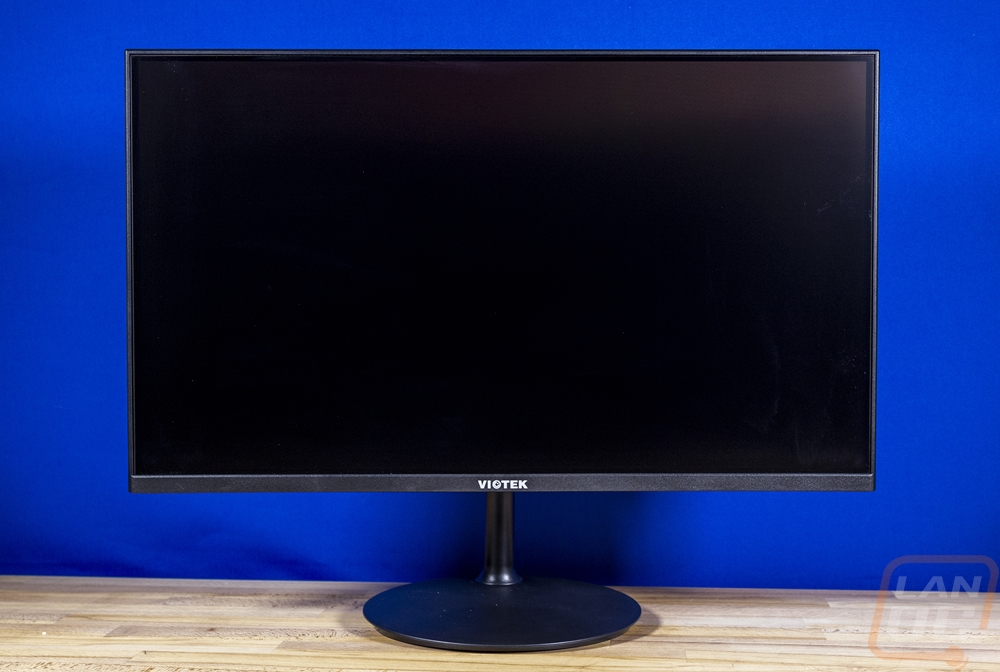
The center of the bottom edge is also where the menu buttons are hidden away and they aren’t anything crazy or special. They are the same 5 hollowed out buttons that the GFV22CB had. You have a menu button, up and down, an enter button, then power on the end. A fairly standard layout.
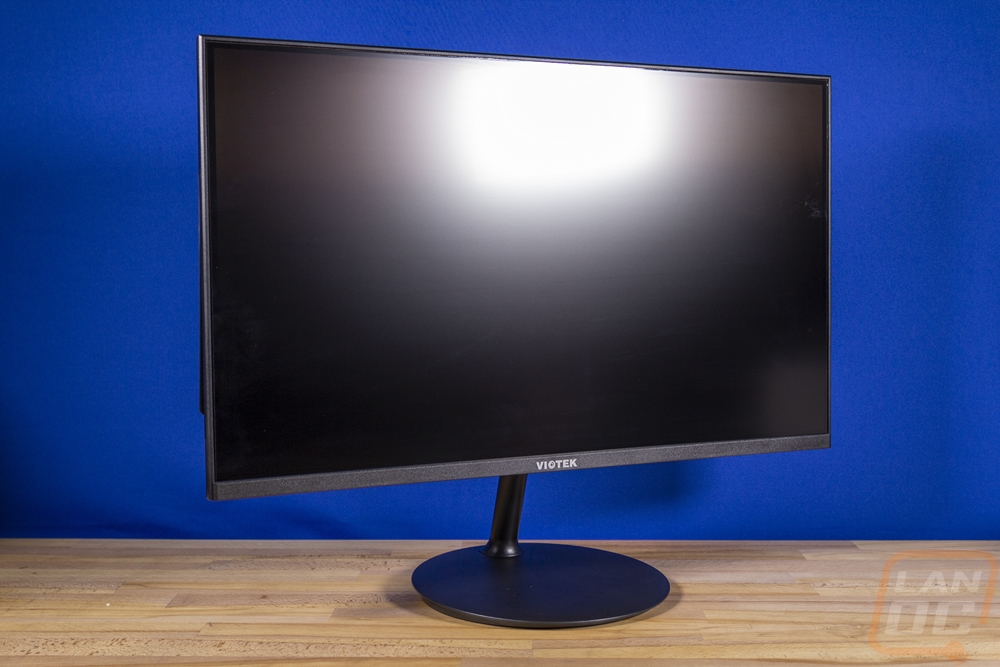
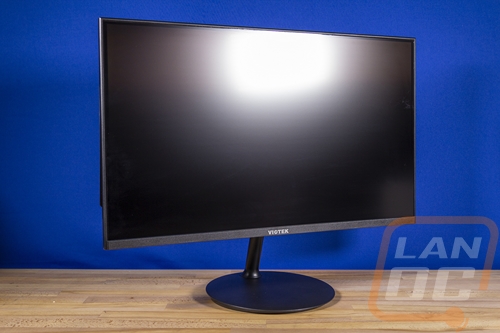
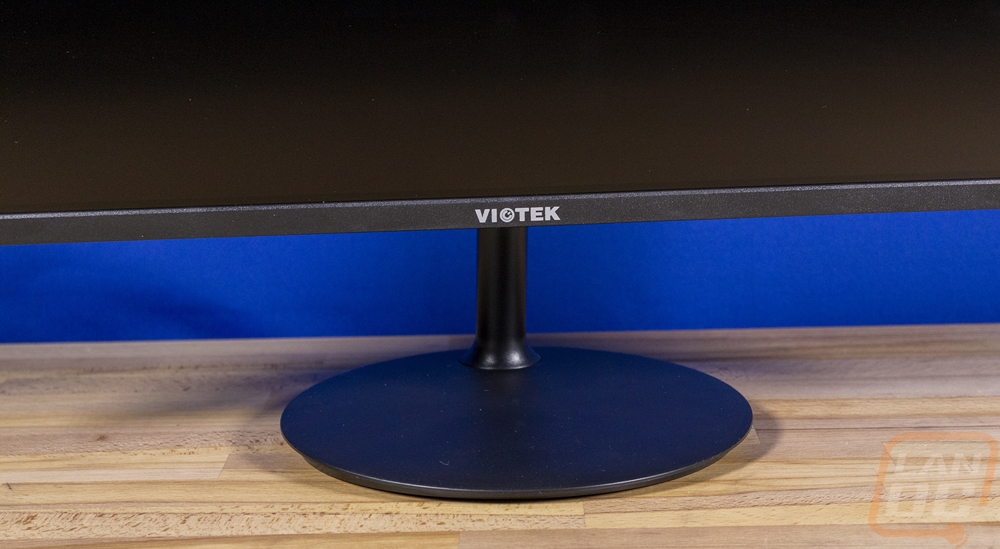
 Now with the stand put together and attached to the GFV24C I like the simple look of the stand. It is thin and doesn’t draw attention to itself and the base while not extremely thin, could still have things sitting on it if your desk ends up being a mess like mine. Above the stand, directly in the center, they did slip in a while Viotek logo which isn’t too bad for branding. The stand doesn't have any side to side articulation and it doesn’t raise or lower but you can tilt it front to back and Viotek has that listed as between -5° and 15° degrees which you can see that the back tilt is more pronounced.
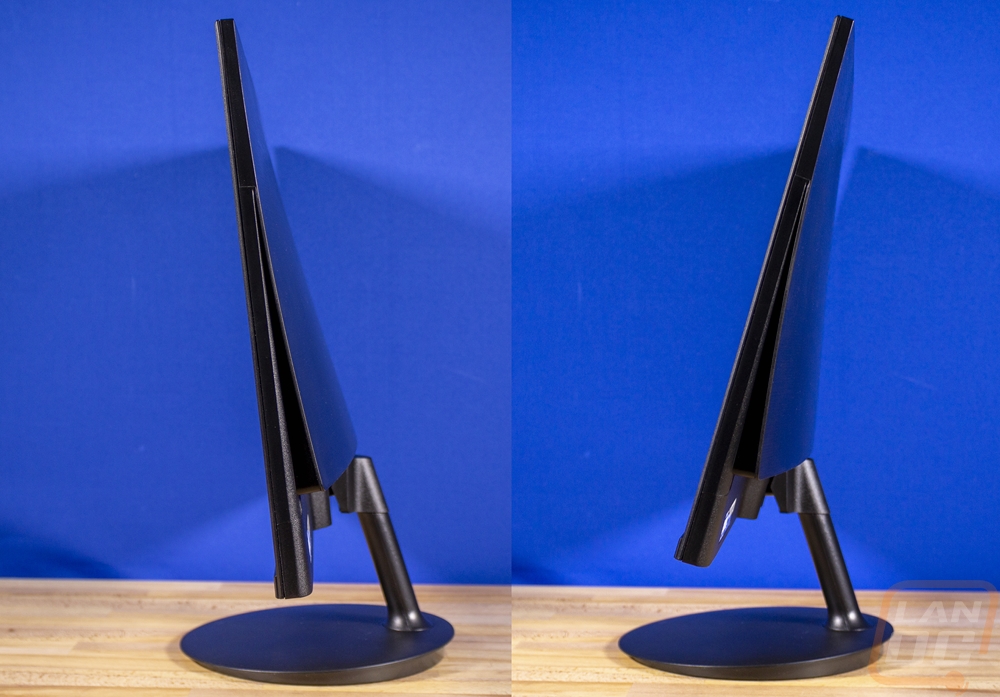
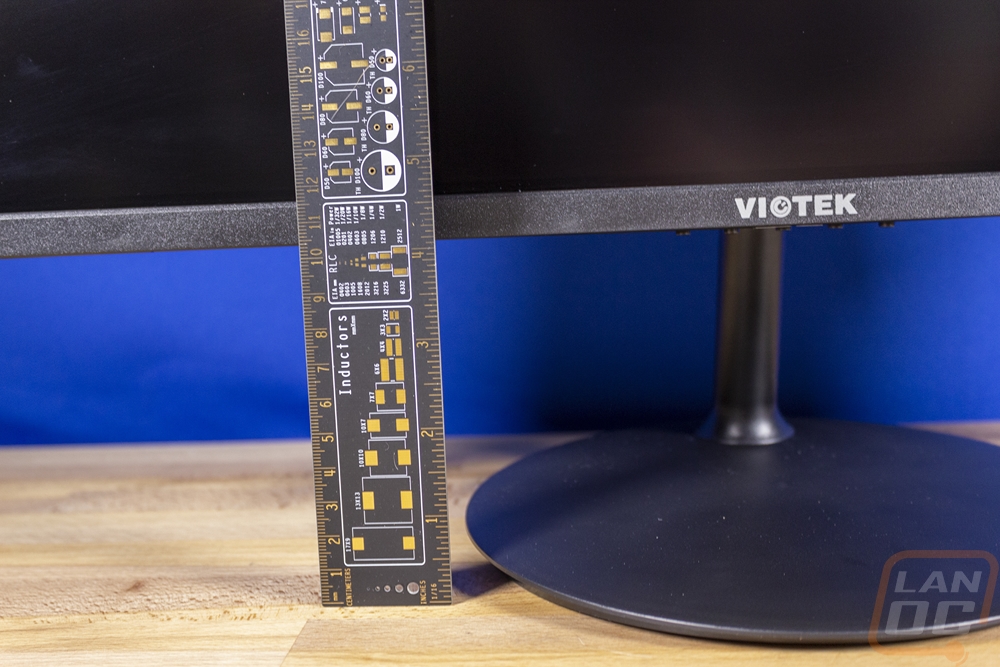
With the fixed height the bottom of the monitor sits up 4 inches up off your desk. This view also lets us see that the thicker bottom bezel plastic is about a half-inch thick.
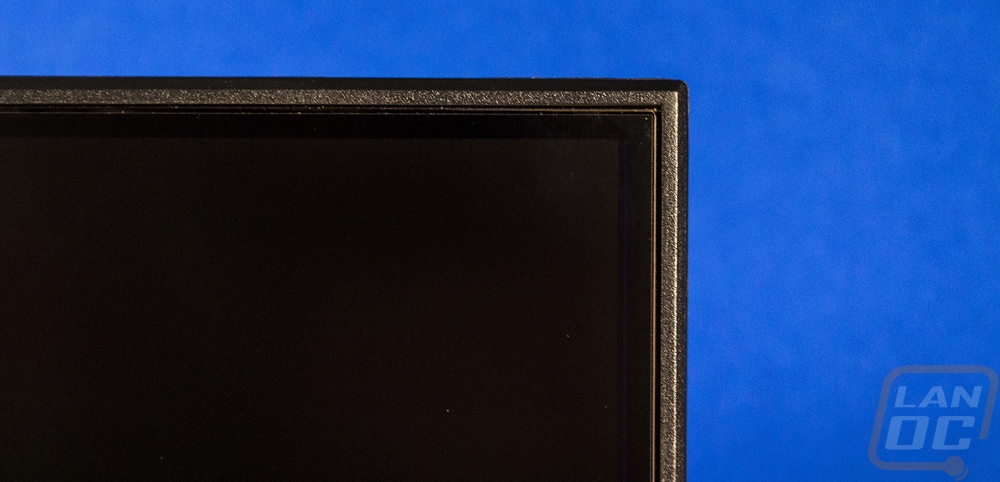
I did want to take a closer look at the bezels because Viotek did pull a small trick here. The side and top bezels look extremely thin which would be amazing. But if you look closely on those same edged the screen itself then has a black bezel in attrition to the bezel of the case. So the same half-inch thickness on the bezel does go around the entire monitor. I don’t think this is horrible, but It is thicker than some of the higher-end monitors and is something to keep in mind with multi-monitor configurations. It is also an improvement if your last monitor is older. I even think the look is better than if the thicker bezel went all the way around, I just don’t want anyone to see a picture and get expectations of a razor-thin bezel.
Here’s another shot of the back of the GFV24C with the stand installed. I covered everything back here, however.

The front look, well I’ve already touched on the stand, the branding on the front, and the bezel. The only thing left is to bring up the screen itself which has a matt finish and comes in at 23.6 inches on the diagonal. I will dive into the display a little more in the testing, but it has a resolution of 1080p which is now a bottom end resolution but is still just right for a 24-inch monitor. Its big highlight is the 144 Hz refresh rate but I also think having Freesync support is a big one as well.