Photos and Features
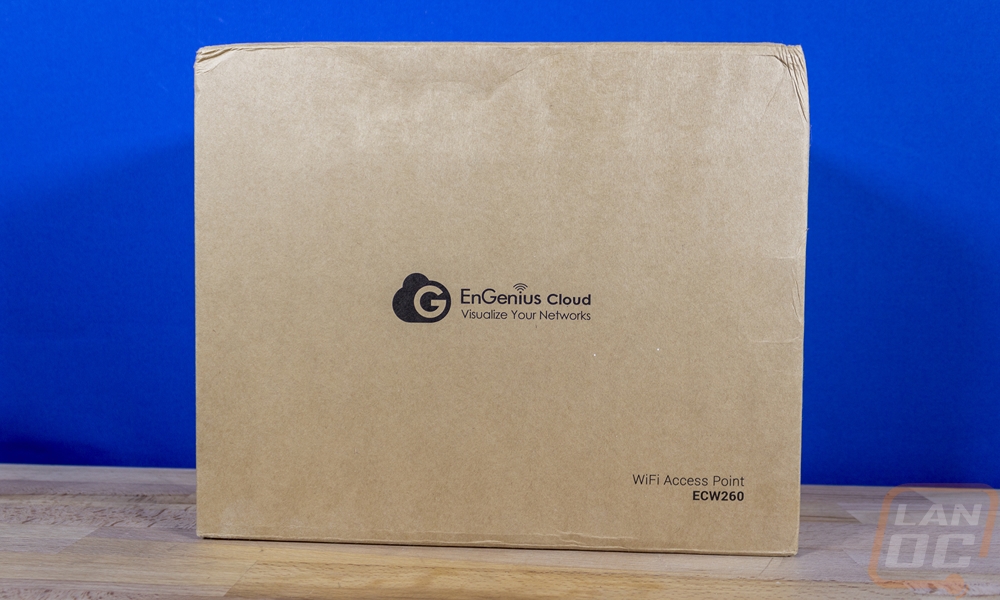
The packaging for the EnGenius ECW260 is in typical EnGenius style mostly just a brown box. They didn’t go with a universal box though, the front of the box does have the model name printed on it down in the bottom corner. Normally with something like this in a brown box you might only have the brand printed on and then a sticker with the actual model name to share it across a few models. It also has the EnGenius cloud branding in the middle as well to let us know that this is one of their cloud-enabled models.
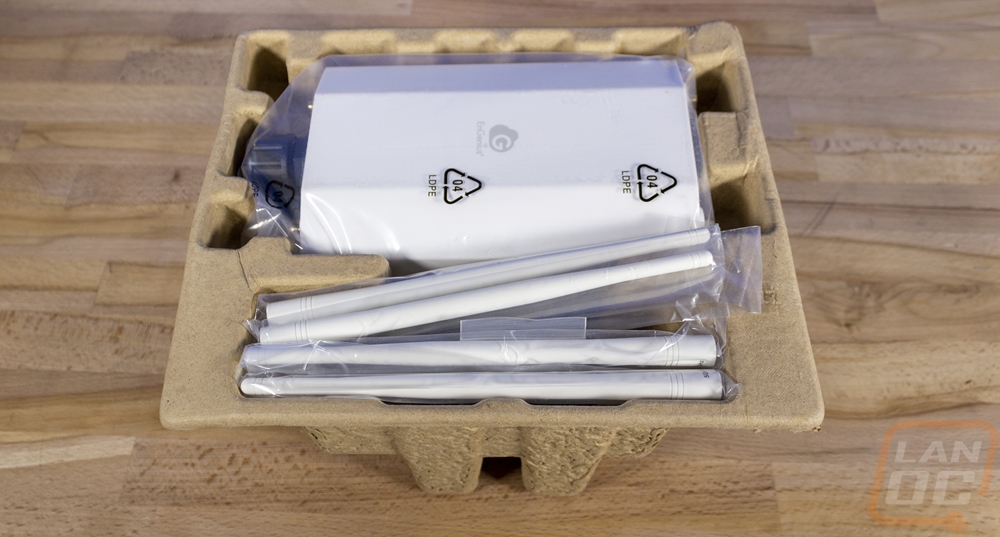
Inside the box, you have a formed cardboard tray that is formed around each of the components. Each component also comes wrapped in its own plastic bag with the AP itself up on top as well as four antennas. Then when you pull those out you can see everything including the documentation up under it locked in with the formed tray.
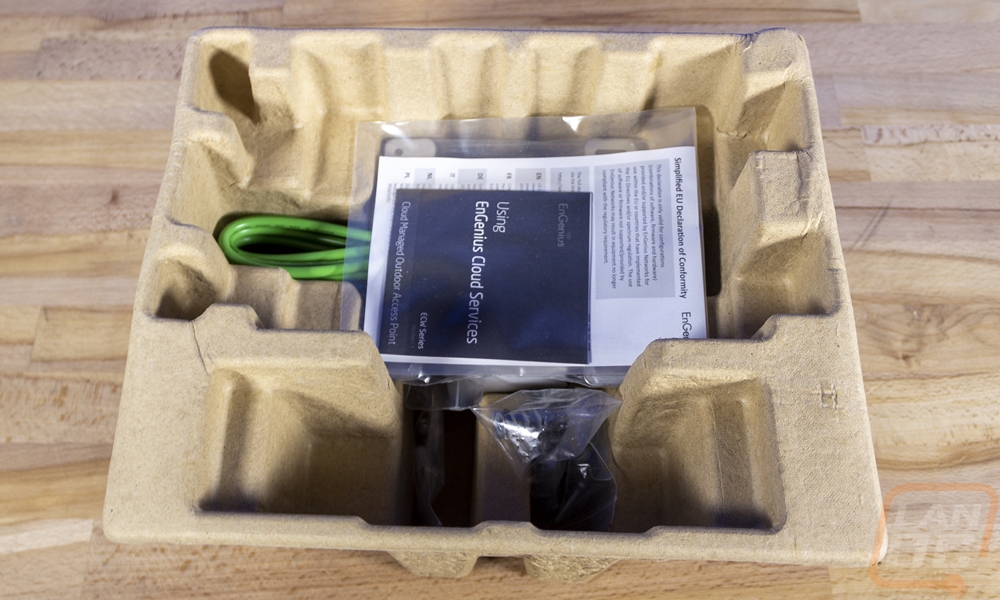
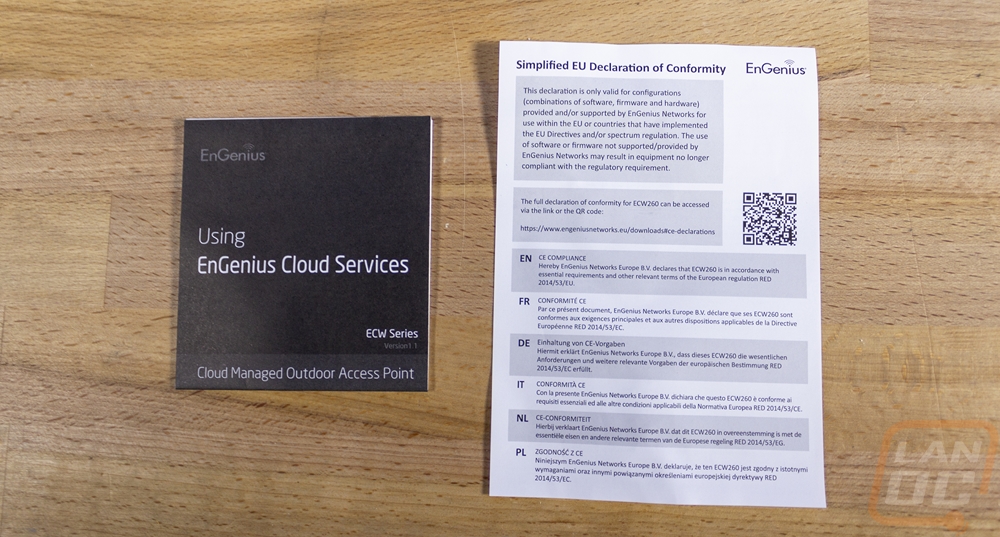
The ECW260 comes with a surprising amount of accessories as well as the standard documentation. You get a paper on the EU compliance then a book explaining how to get your new cloud-managed outdoor access point setup on the cloud.
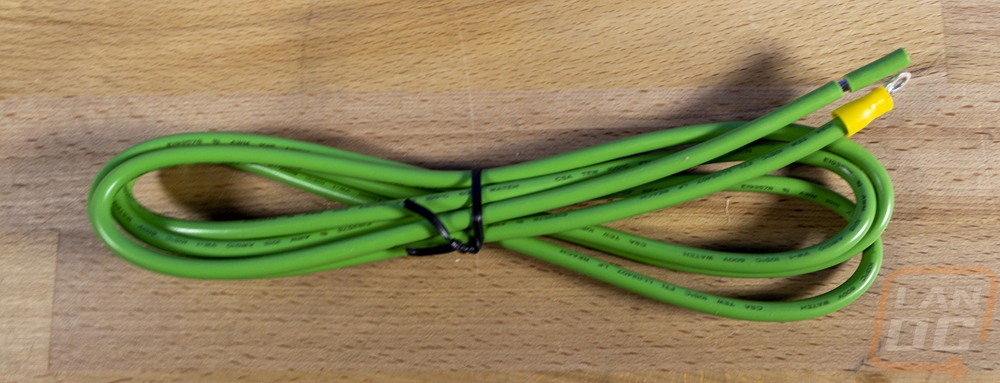
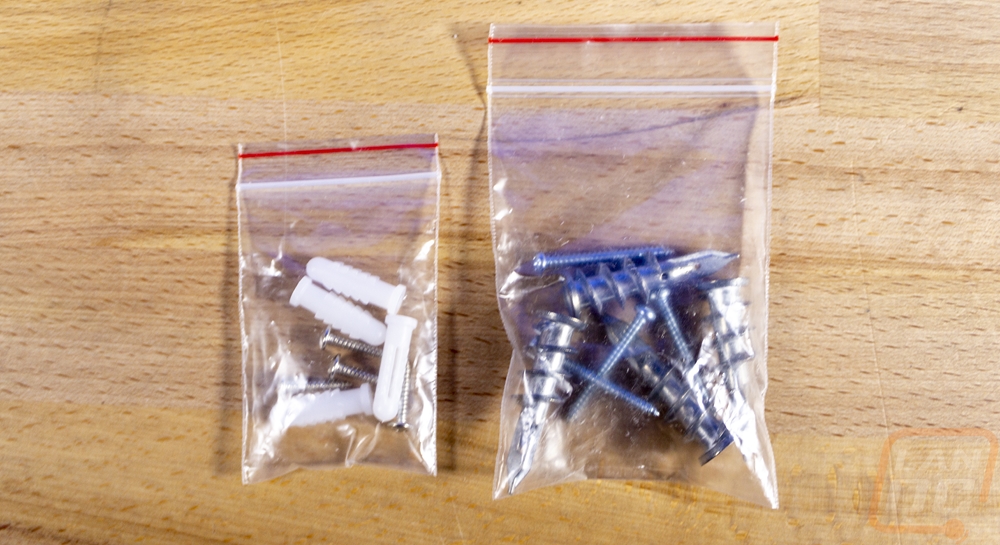
Like I said there are a lot of accessories, this starts with the thick green ground wire. The wire can be mounted to the metal mount to help give at least some protection to your equipment inside from static and lighting. The cable looks to be around an 8 gauge wire and it comes with a ring end on one end and then the cable pre-trimmed so you can attach the other end to ground if possible. For mounting options you get two baggies, the left bag has plastic anchors and smaller screws then the bag on the right has a heavy-duty metal sell tapping anchor with larger and longer screws. Both are typical for drywall mounting, I personally wouldn’t use either on an outside wall but we can touch on that later when I talk about installation.
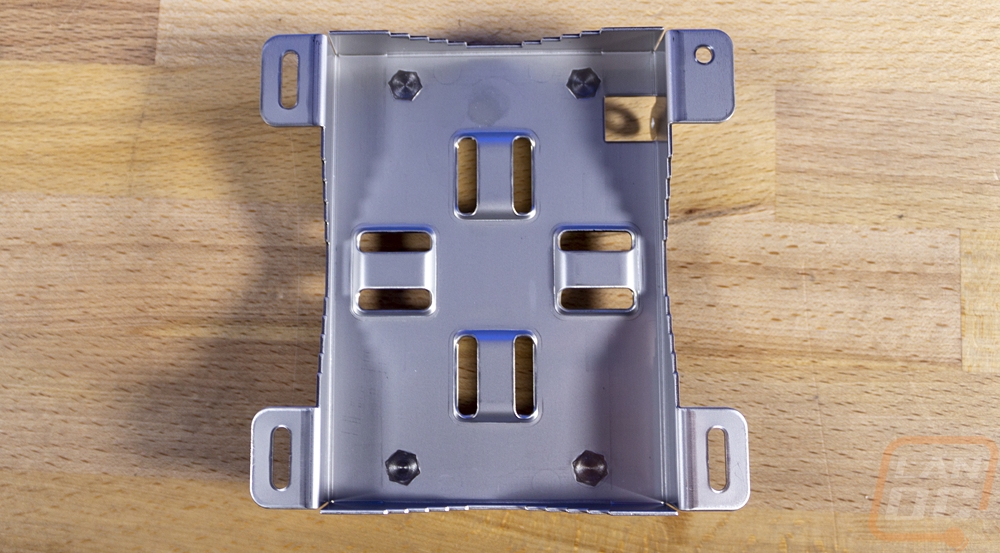
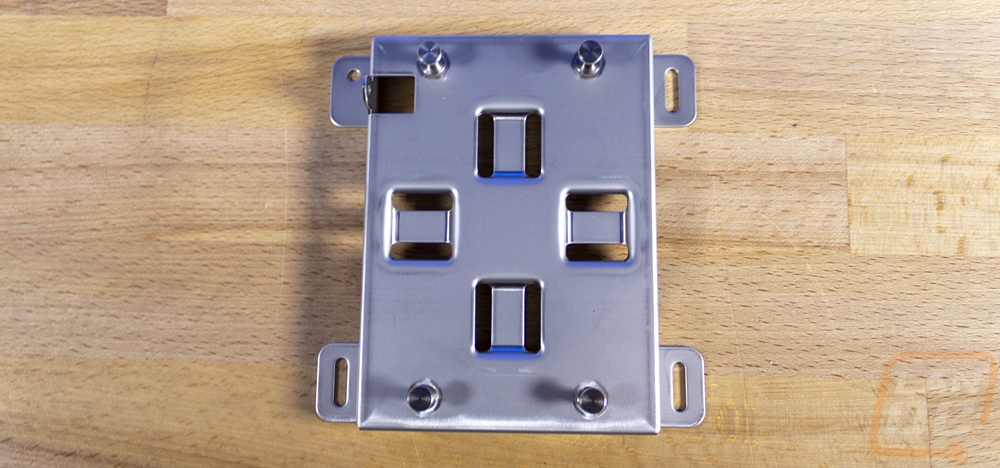
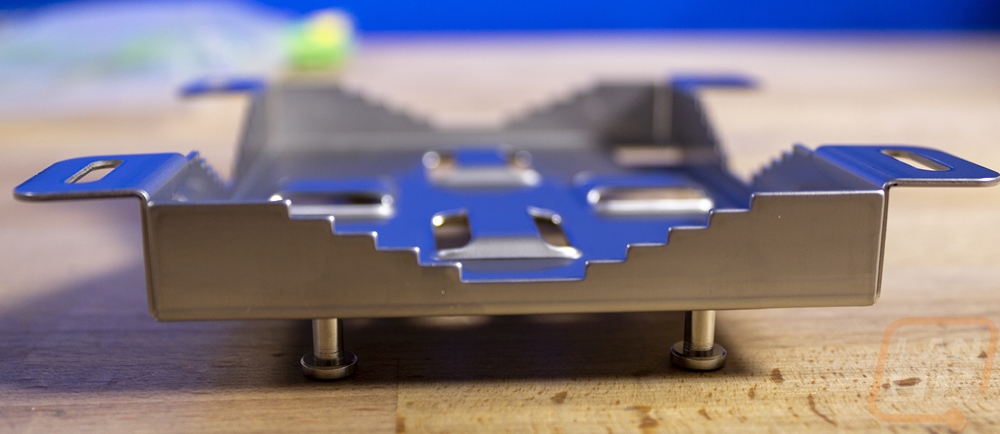
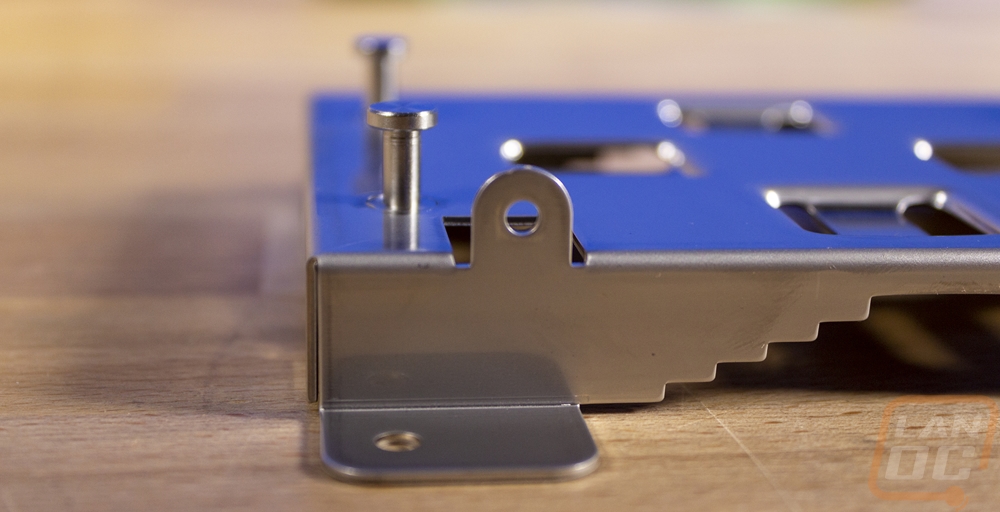
This is the mounting bracket provided with the ECW260. The access point actually can be mounted without the bracket at all, but I love the design that EnGenius came up with here. This design gives you a LOT of mounting options. First off for a traditional wall mount you have the four mounting tabs with the one small hole and the other three are slotted to allow some adjustment once mounted. Then the mount itself has a step-down area in the middle of each side, these are for mounting the ECW260 to different sized poles which isn’t that rare with an outside AP installation. The stepped-down design means it can work with a small 2-inch pole like any antenna mast or you can mount to larger poles all the way up to a light pole. Then on the inside, there are four tabs with slots on each side where you can slide in a large clamp for pole mounting giving you the option to mount horizontal or vertical. Then on the front side of the mount, there are four thick mounts that slide into the mounting holes on the back of the AP. It is then locked into place with the small tab on the top left that lets you put one screw into the side of the ECW260.
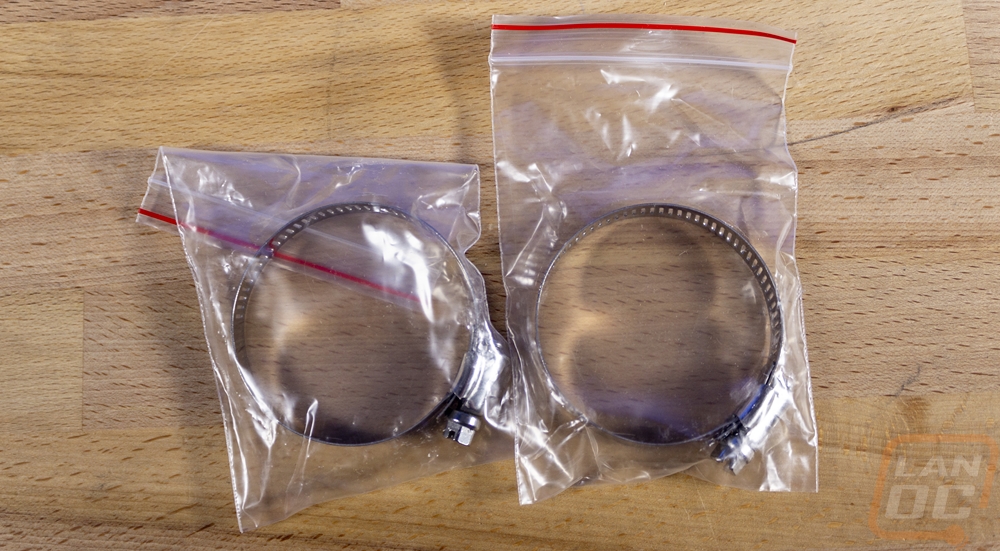
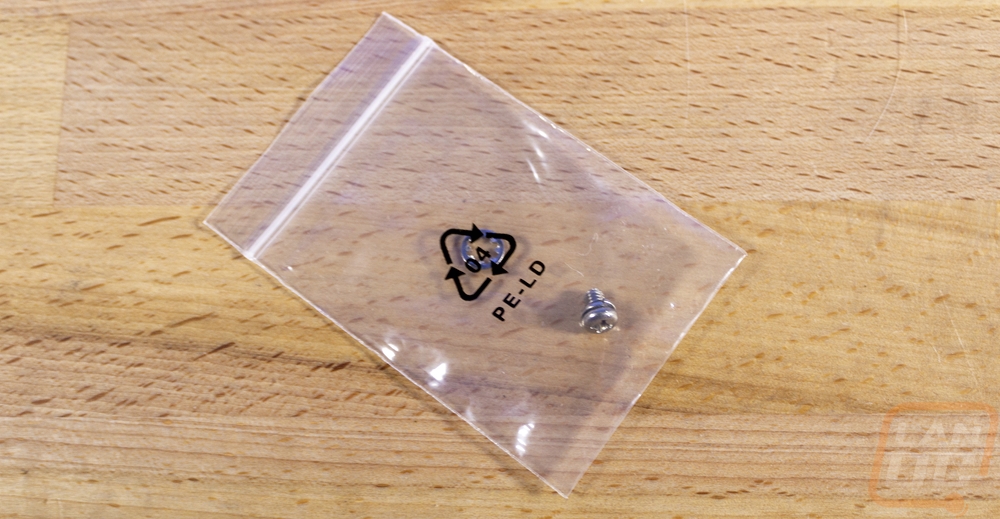
For the rest of the mounting hardware, EnGenius even went out of the way in my opinion and included heavy-duty clamps for pole mounting the mount. Then the small bag with the single screw is for the ground cable installation.
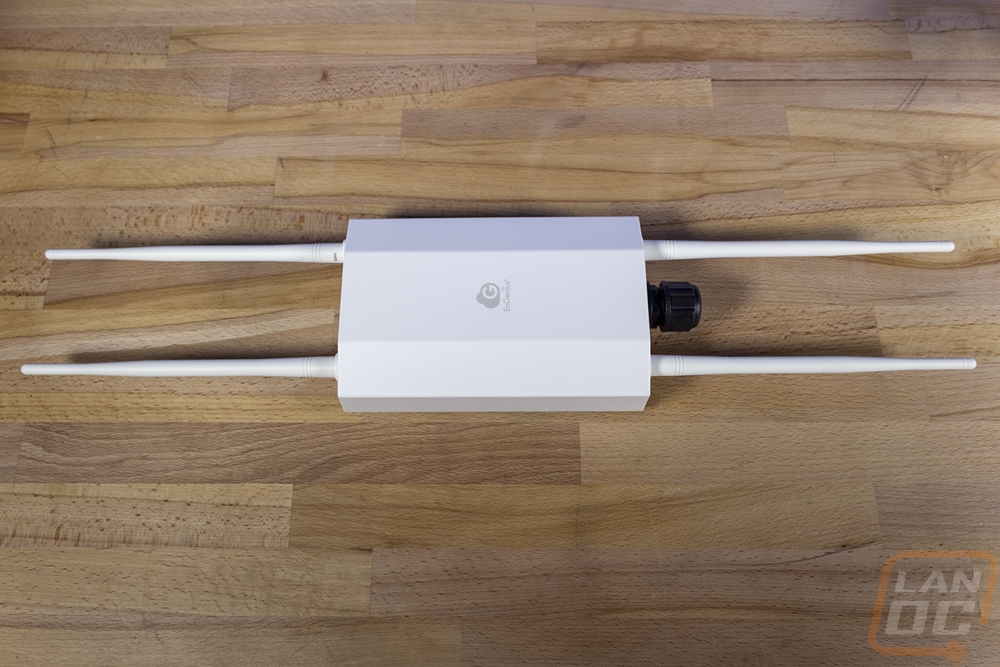
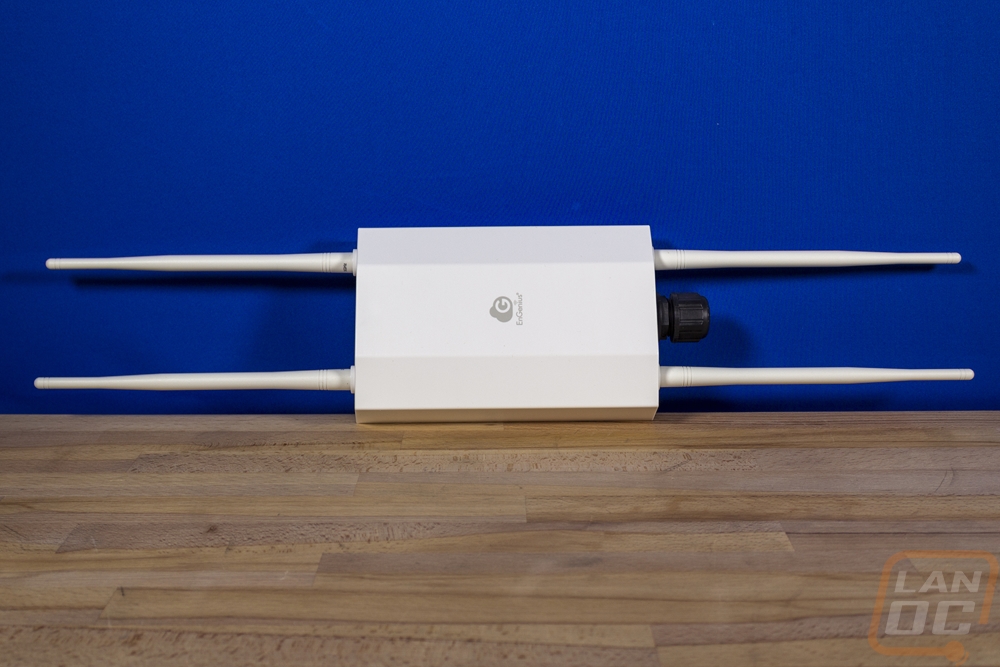
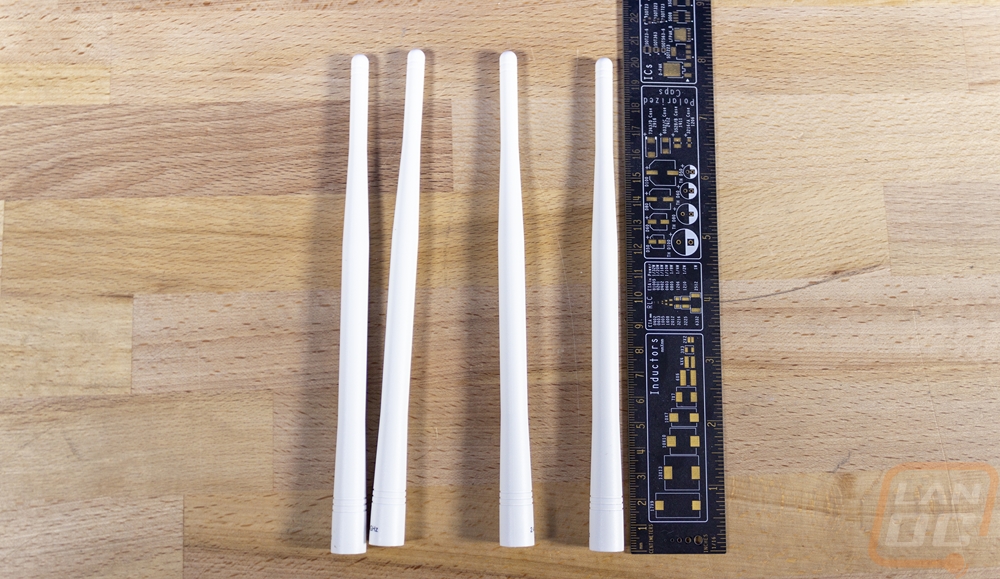
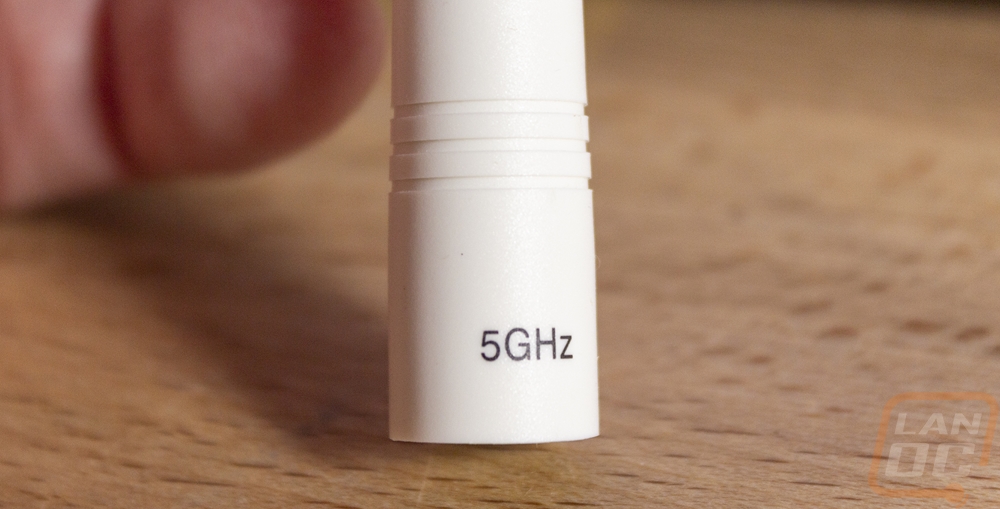
Also include of course are the actual antennas. The ECW260 runs four antennas, two on top and two on the bottom. They are eight inches long and you do have to be careful here. They are labeled for 2.4 GHz and 5Ghz use so you do want to get them in the correct spots on the access point to get the best performance. They are otherwise a standard looking antenna design and could most likely be swapped out if needed, though I don’t know if you could see a performance improvement with that.

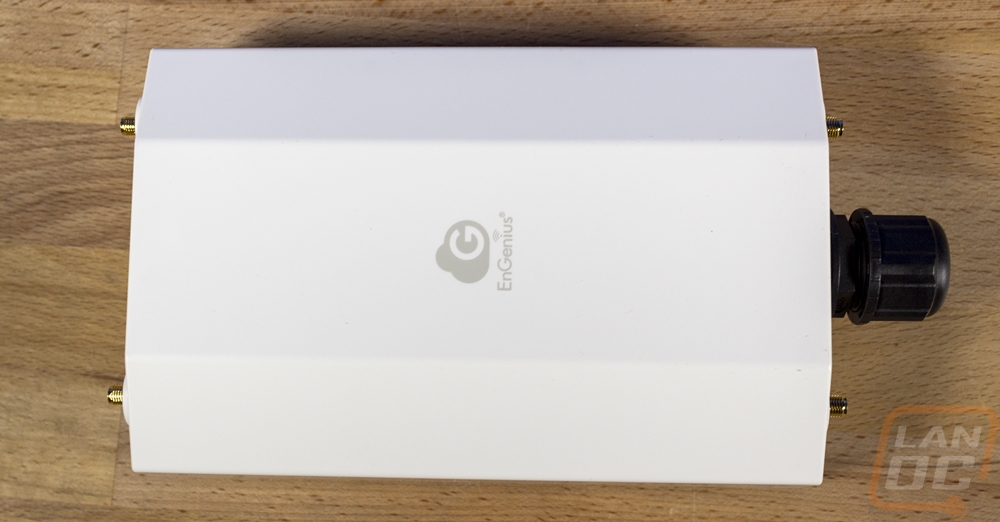
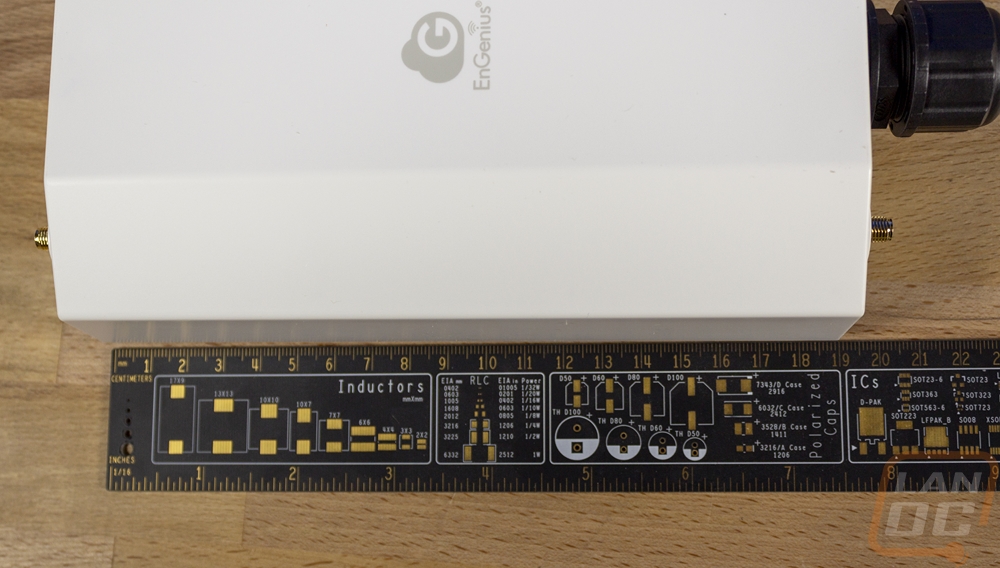
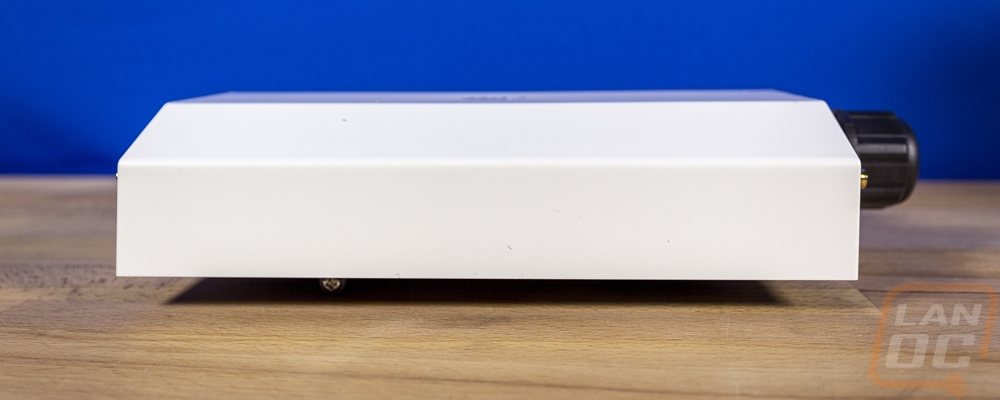
So here is the base ECW260 and it is a relatively unassuming design with a flat front and 45-degree angles on both of the side edges. It is 190mm to just under 7 and a half inches long, 124mm or just over 4 inches side, and 52.5mm or 2 inches thick. It is all except for the weather sealing cap on the bottom and the front just has the EnGenius logo on it without any lights facing out that might draw attention.
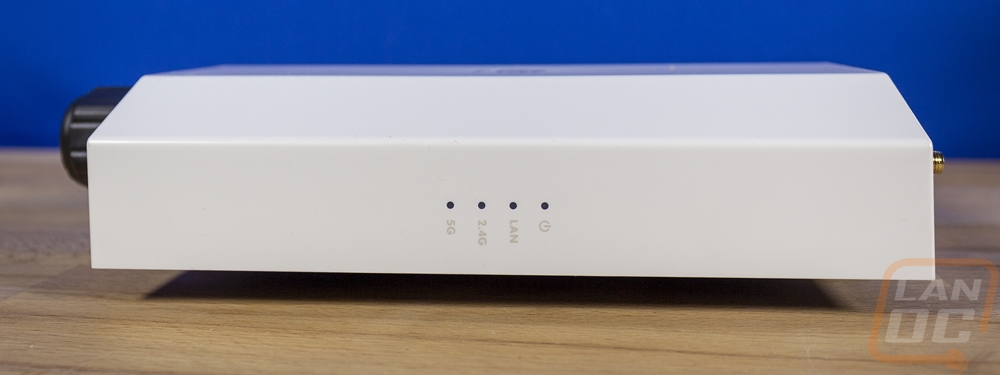
The left side of the ECW260 is black but the right side does have all of the status LEDs on it. I like that these aren’t facing the front so they are a little less obvious but you can still see them when you need them. The top LED is the power indication, then you have LEDs that show network traffic on the 2.5G ethernet connection and then 5G and 2.4G wireless bands with those split across two different lights.
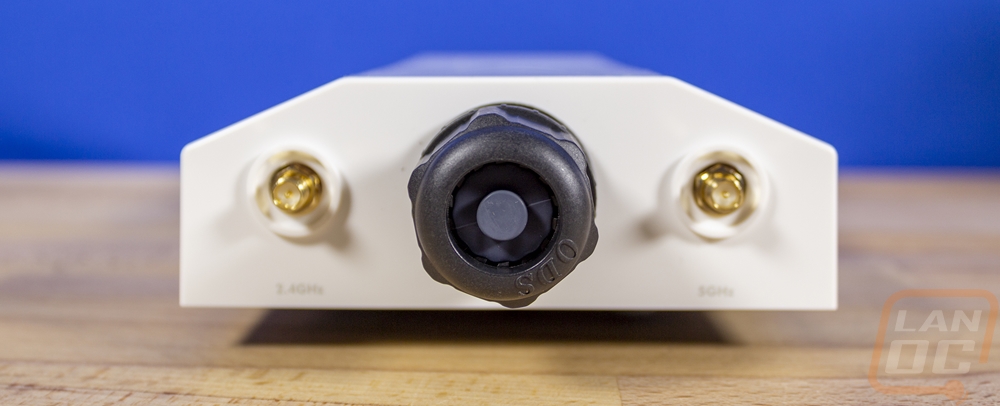
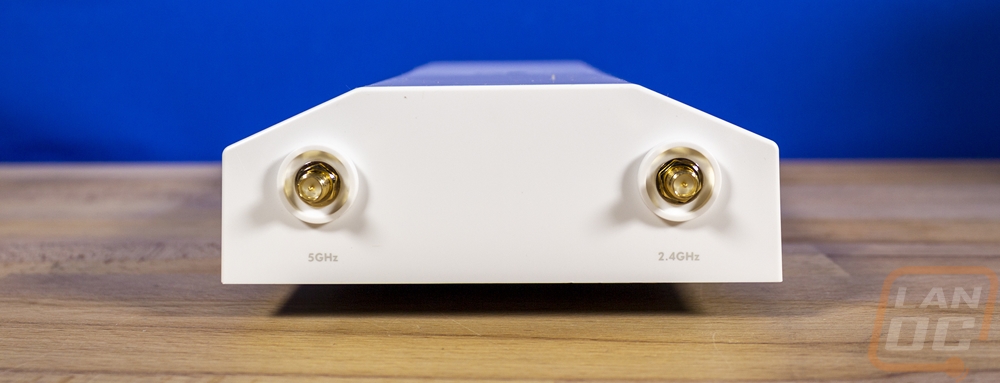
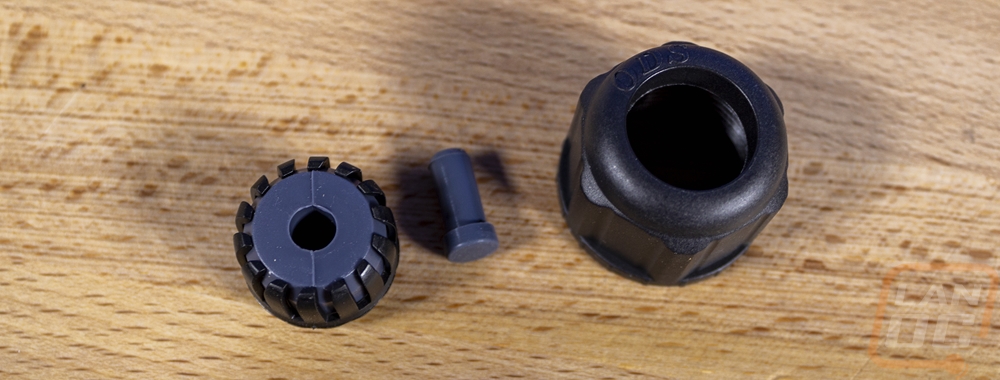
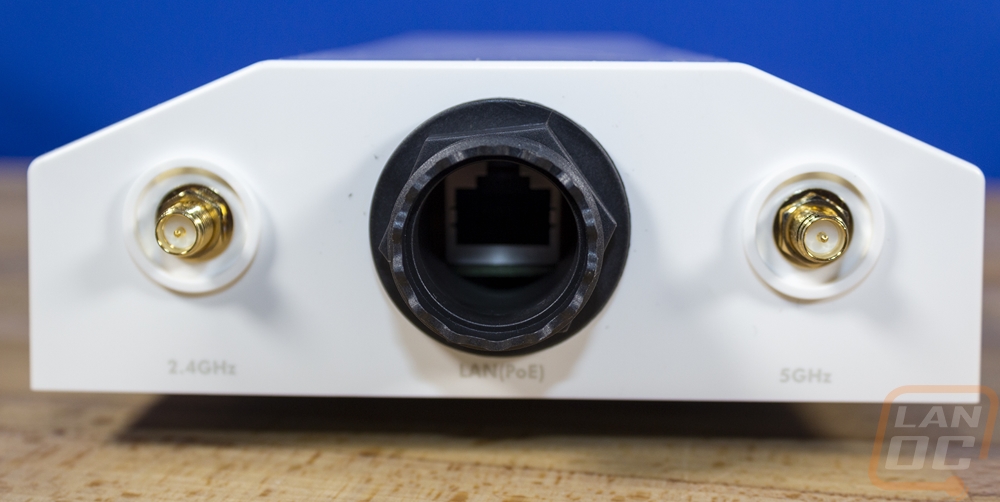
Then for the top and bottom, you have the four antenna mounts. You can see the labels for 5Ghz and 2.4Ghz on each. Then on the bottom in the center is the only actual connection. The ECW260, like most access points, is a PoE-powered device which keeps the installation very simple. There is just one 2.5G ethernet connection which is behind the weather seal and way up inside. This can be a pain to plug into and even worse when you need to unhook so I would recommend only hooking up when you need to. The weather seal comes with a plug in the hole that you will need to remove then the plug itself squeezes down on the cable when you tighten the outer cap. This along with the tight fit around the antenna connections is how it gets its IP67 rating. It can operate in a humidity of 90% or less and it has an operating temperature of -4ºF to 140ºF which for me here in Ohio covers most of what I might see though we do see a few days a year that are under that -4 at times. The ECW260 has a wider storage temperature range at -40ºF and up to 176ºF, so I have faith that if nothing else on those ultra cold days it should still hold up. I was going to say that I wouldn’t even want to be outside at that temperature anyhow, but it did occur to me that I may need it when snow blowing.
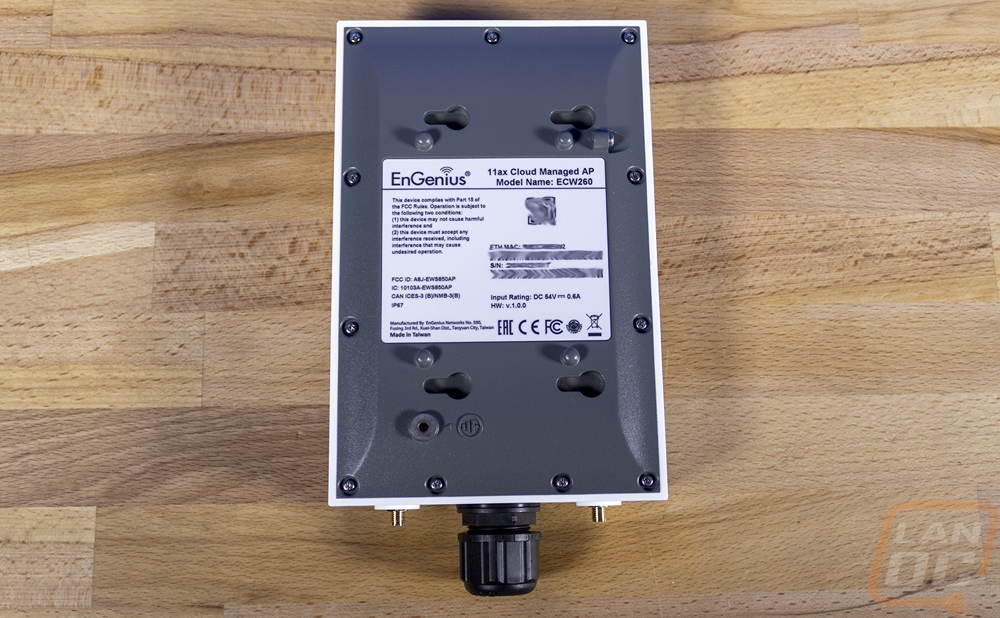
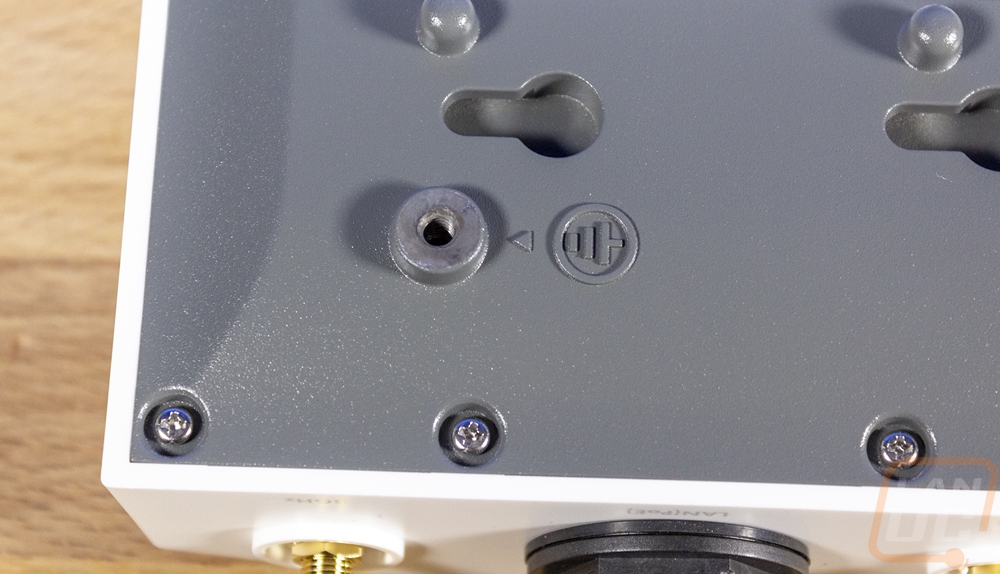
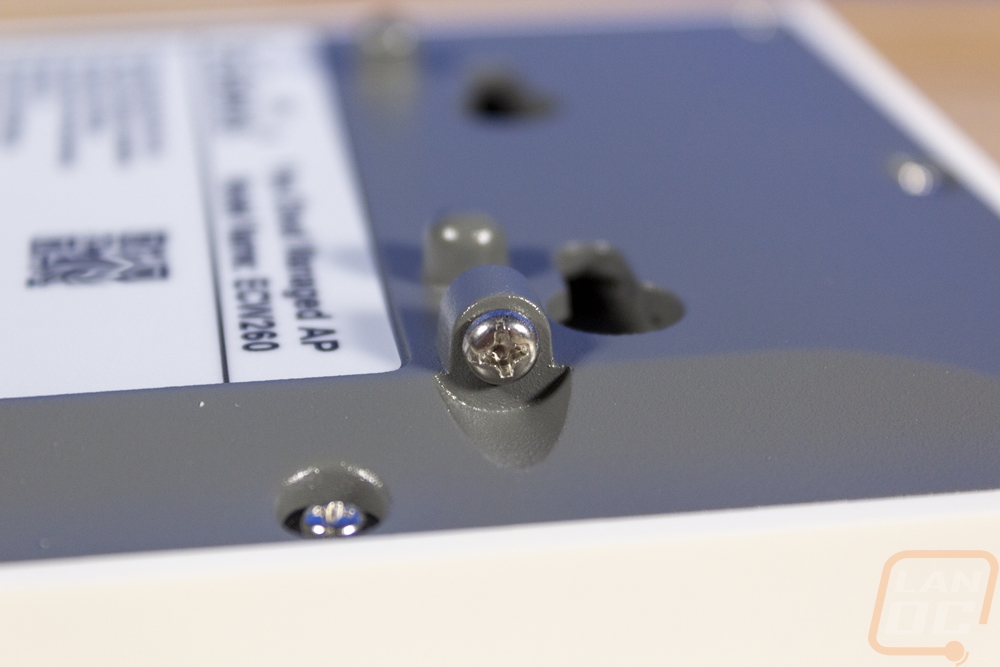
The back of the ECW260 starts to explain what I was talking about with the mount design. You have four slot mounting holes and you could use a normal screw to mount to them if you mounted the AP horizontal. Then you have the one side screw that locks it in place, the screw for that comes pre-installed in the hole. There is also a larger screw hole down at the bottom, this is the ground location and it has a metal liner inside. Then in the center on the back, you have a large white sticker which has the model information as well as a QR code for the easy cloud setup with EnGenious’s mobile app, and below that, you have the serial number and a mac address.
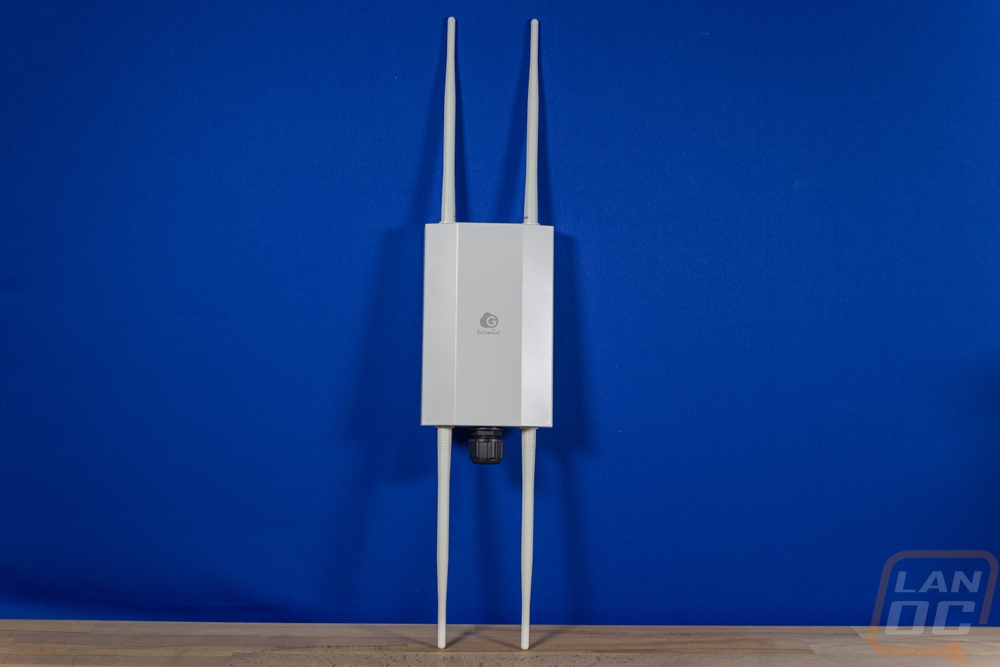
Here is a look at the ECW260 with all four antennas installed. You do have both vertical or horizontal mounting options depending on what you might need. Adding the 8 inch long antennas to the 7.5 inch ECW260 means it does end up being just under two feet long altogether.