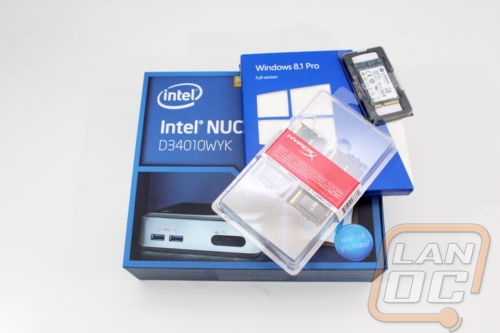
Building the NUC
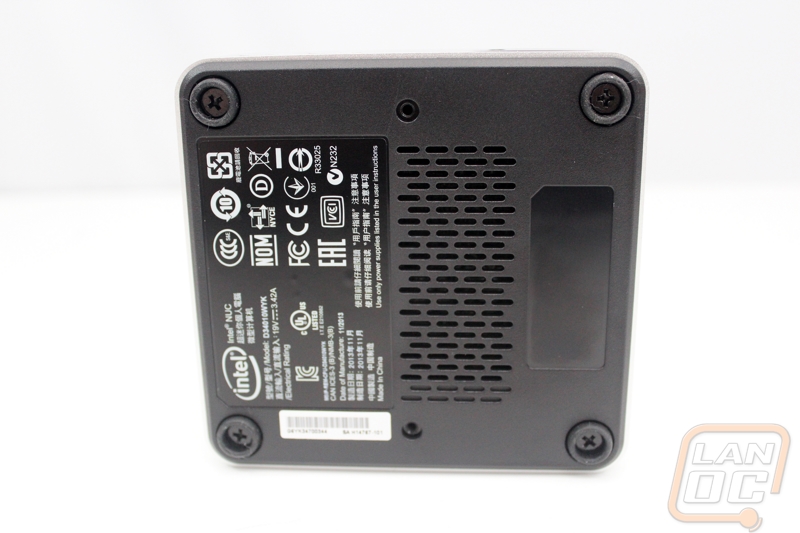
In order for you to install your SSD, SO-DIMM’s, and a WiFi card you have to gain access to the inside of the NUC. Lucky for us, they really couldn’t have made it easier. On the bottom there are four screws inside of the feat. Once you remove those the bottom comes right off. I originally thought that removing the screws would let the top come off, because I’m used to these things being on the top of the PCB. In a way I guess they are, but the CPU is actually mounted on the other side of the PCB. This makes working in the NUC simple though, because you don’t have to mess with removing the CPU cooler. The only cooling on the bottom side is a small thermal pad that pulls the heat off of your SSD.
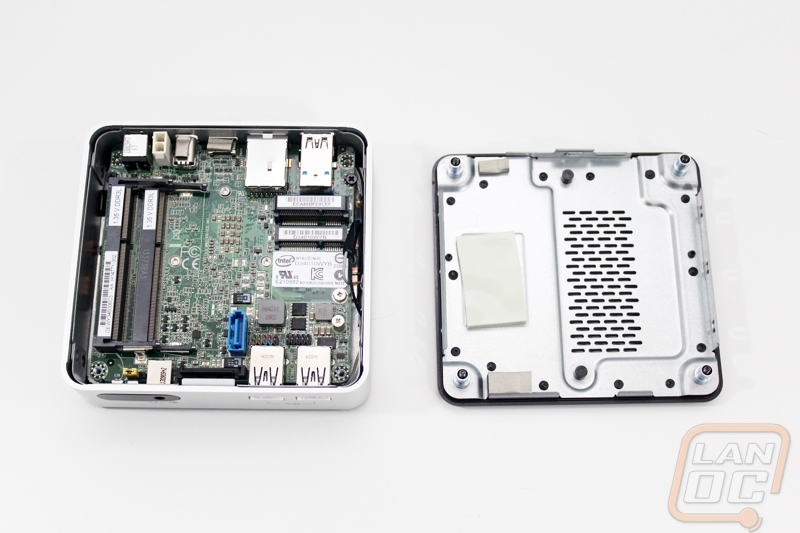
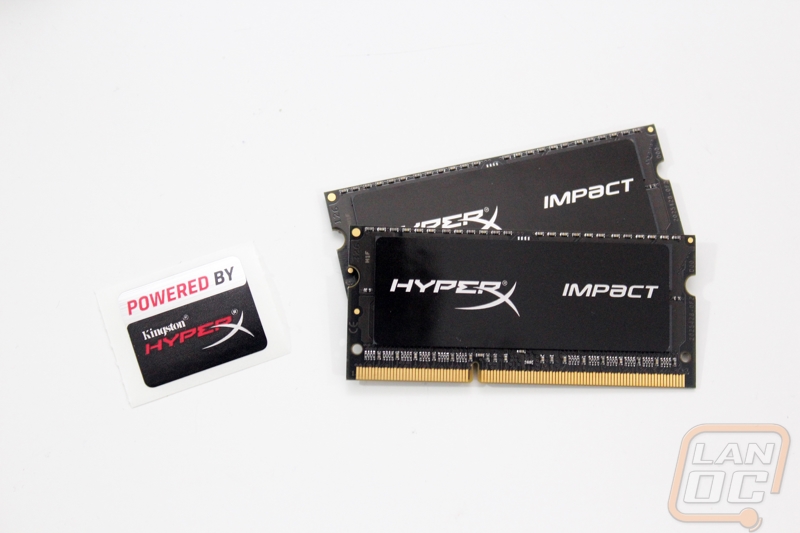
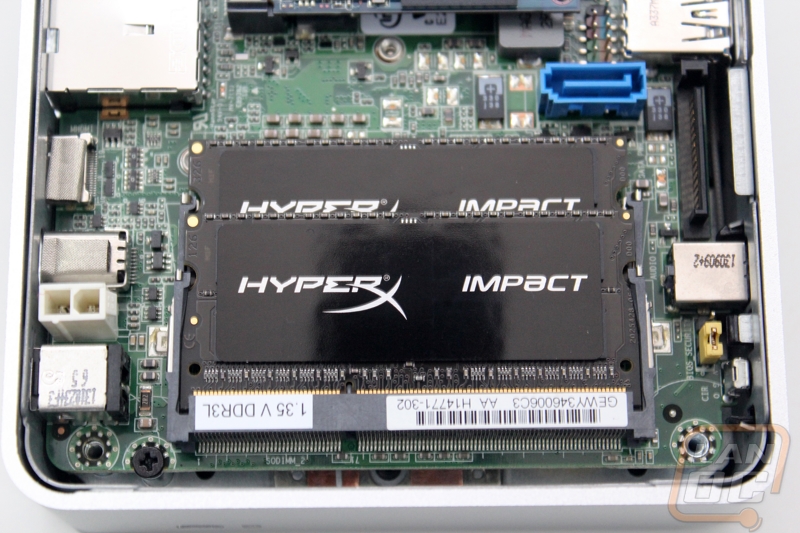
To start things off I installed our two 8 gig sticks of HyperX Fury SO-DIMM. For being so small, Kingston really packed enough RAM on them. They install just like ram on any other laptop. You have to install the bottom stick first, putting the connector in then pivoting it down until it snaps into place. The second stick installed the same as well. Being HyperX RAM they did put stickers on them to give them a little style. Sadly with SO-DIMMs there isn’t enough room for a heatspreader.
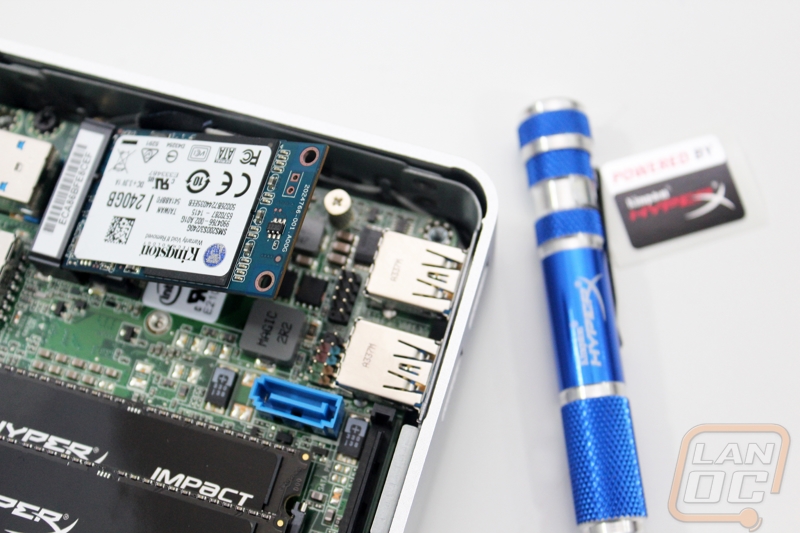
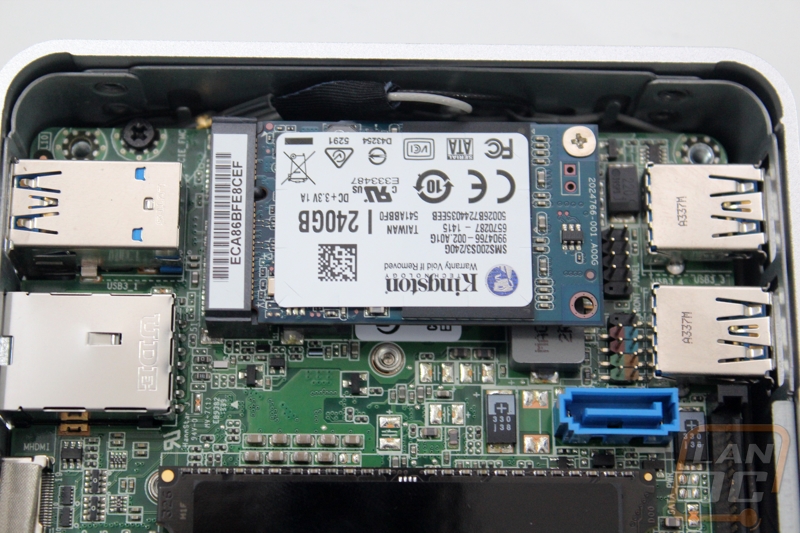
Your WiFi and SSD both install stacked on top of each other to save space. In our case we didn’t have a need for WiFi so we went directly to the SSD. The mSATA SSD installs like the RAM with the only difference being with the hold down. To keep the SSD in place you remove the small screw in the photo below and tighten the SSD down with it.
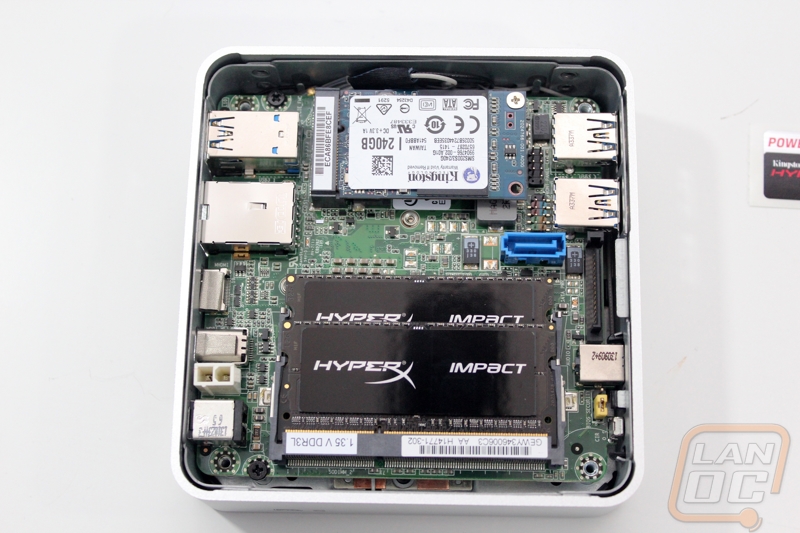
A notable mention while inside of the NUC is the inclusion of a SATA connection and SATA power connection. This is great for hooking up a DVD Drive if you don’t have a USB drive to install windows with. With everything installed I just had to reinstall the bottom panel with its four screws.
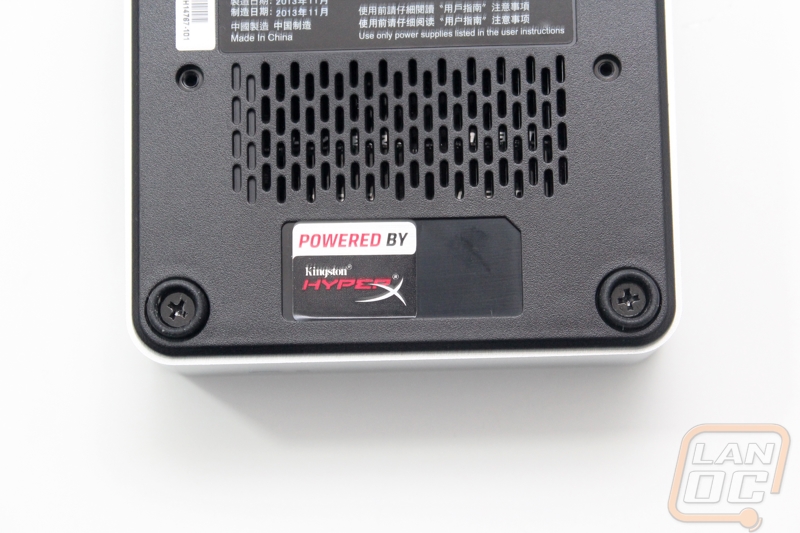
I typically avoid stickers unless it is something that goes with the build but considering the awesome RAM and SSD that Kingston provided I couldn’t help but slip the Powered by HyperX sticker up on the underside of our NUC.