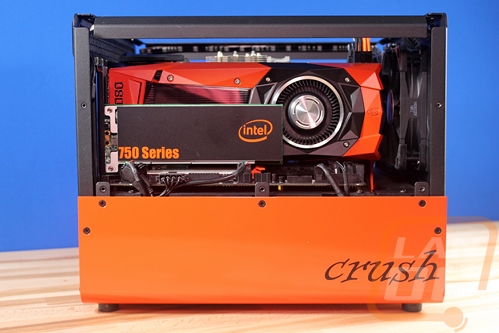
Well, things have been extremely busy and with that, I haven’t been able to follow up on the Crush project build recently. AMD and Intel both had big launches that pushed everything back and I just couldn’t fit these into the publishing schedule. That said I have still been working on things. More specifically I have been making a few tweaks after living with the build for a while. I said I was all finished a few articles ago then I just had to paint the cards. Well with them painted I had to do something about the Intel 750 Series drive to match and I also noticed just how much dust and dirt was in the case after a few weeks so today I’m going to deal with both of those issues.
Title: Project Build: Crush – Part 6 – I can’t leave things alone
Written by: Wes
Pictures by: Wes
Build Sponsors/Supporters: Nvidia - Gigabyte - Caselabs - Noctua - Kingston - Seagate - OCZ - Asus - Corsair - CableMods - DEMCiflex
Amazon Affiliate link: HERE
Links to the rest of the project: Part 1 – Part 2 – Part 3 – Part 4 – Part 5 – Part 6
Dealing with dust
So after running Crush for a few weeks, I went to take things apart to paint the GTX 1080’s and I was extremely surprised at the level of dust in the case. Part of this was related to having our Rostock MAX V3 sitting above the PC, knocking dust from our surface preparation down on top of the case, into the vents on the top. Also building a new workbench and photo area in the office meant moving things around, kicking up a lot of old dust as well. I have been working on keeping things cleaner and being more careful with the printer but I still wanted to see what I could do about cutting down the dust inside the case as well. Lucky for me there is a company that makes filters for CaseLabs cases including the Bullet series. I reached out to them and they were excited to see how they would work in our build. They shipped all the way from South Africa, not an area where I normally get packages from at all and they came in extremely quick. I spoke with them on the 2nd and I had them in hand on the 6th, I don’t normally see things that fast from here in the states even. Big props to DEMCiflex for that one.
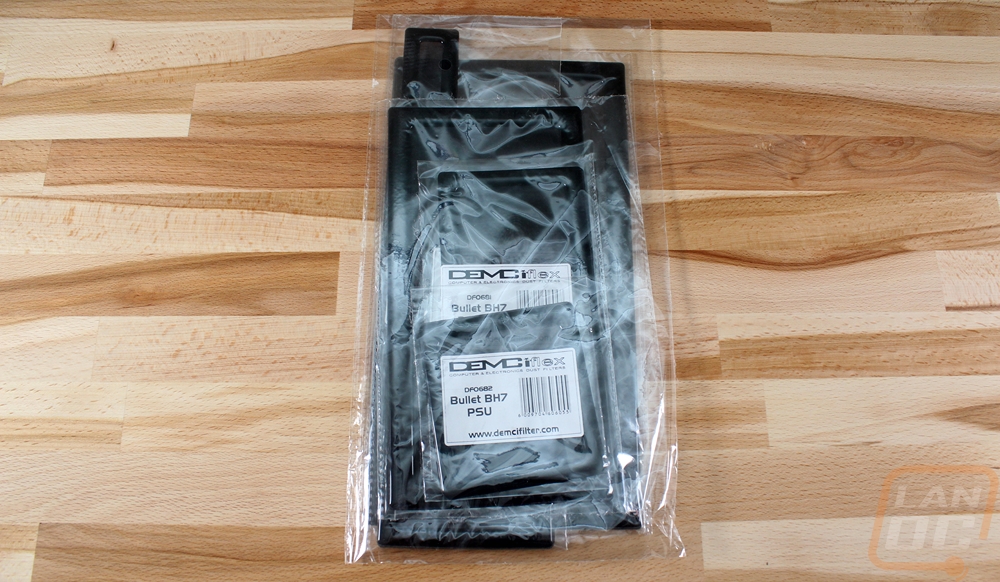
So the kit for the Bullet BH7 comes with one for each opening. My issues were based around the top opening and the front fan inlet but I wanted to at least try to seal everything else up as well. Each filter came in its own plastic bag and has a label on the front showing the case and location. There aren’t any included instructions, but these are more of a case mod so I didn’t really expect any, plus they are fairly simple.

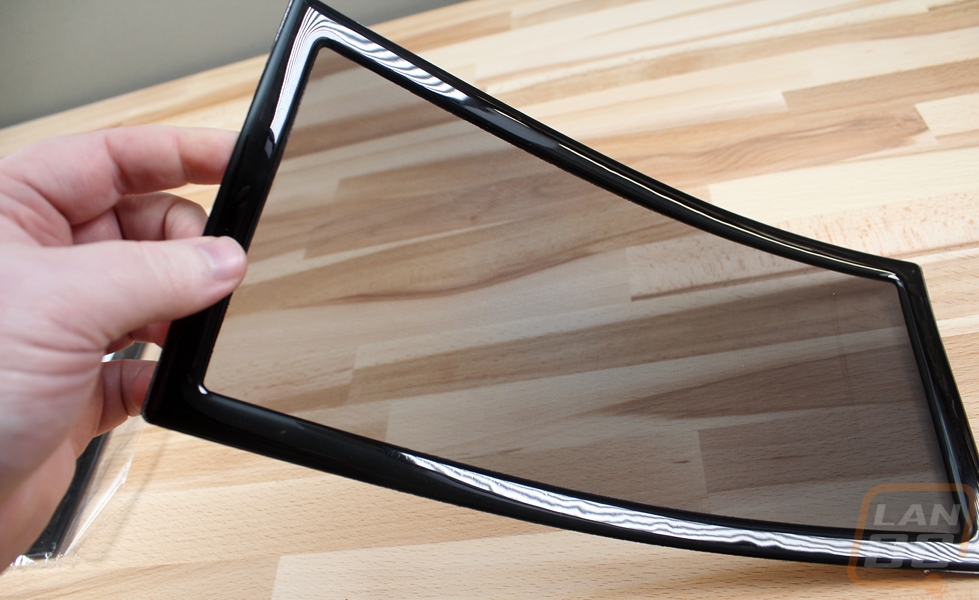
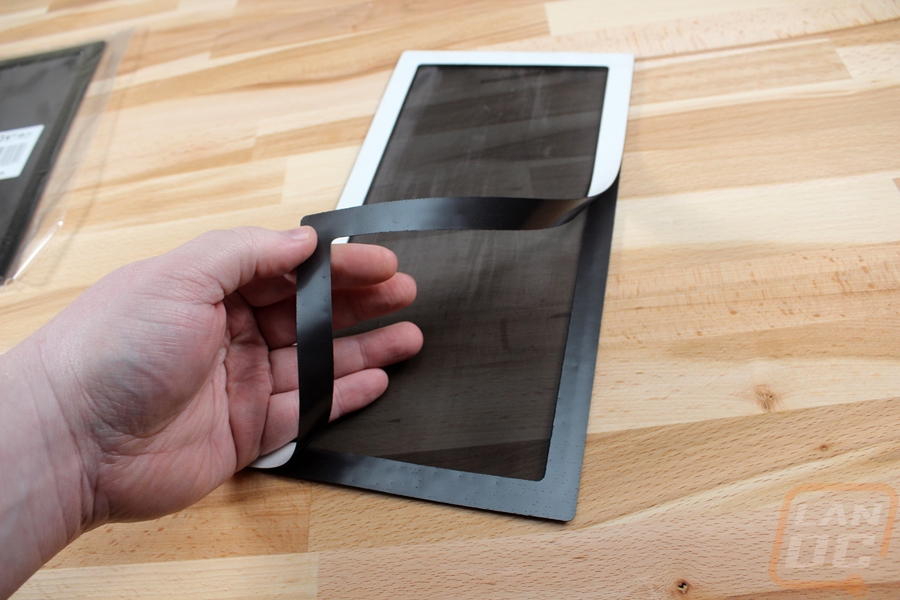
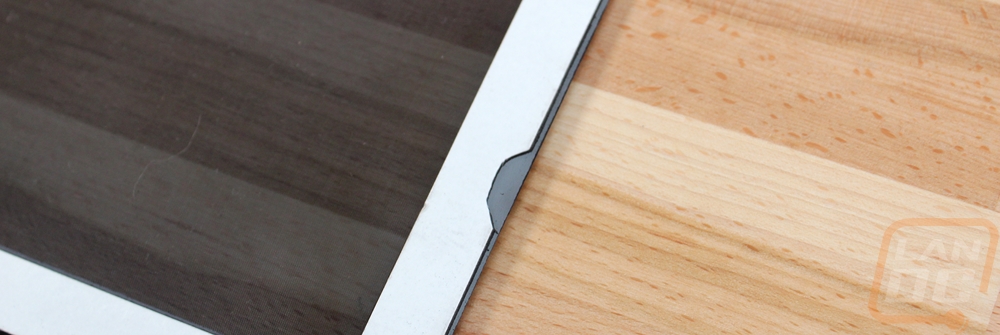
Basically, for each filter, there are two parts. You have the filter portion, then a matching ring. This is because our case is aluminum and the filters are magnetic, so the additional ring has a double sided sticky tape on it and it sticks to the case making the filter removable still.

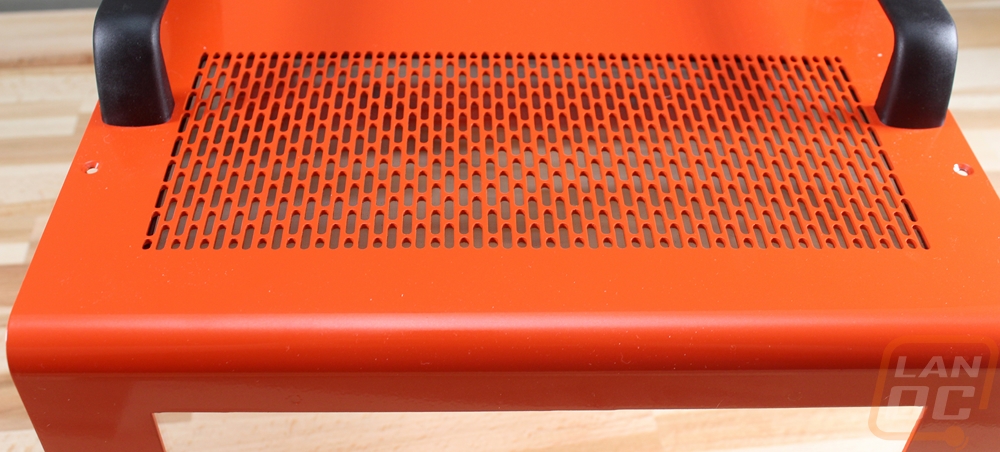
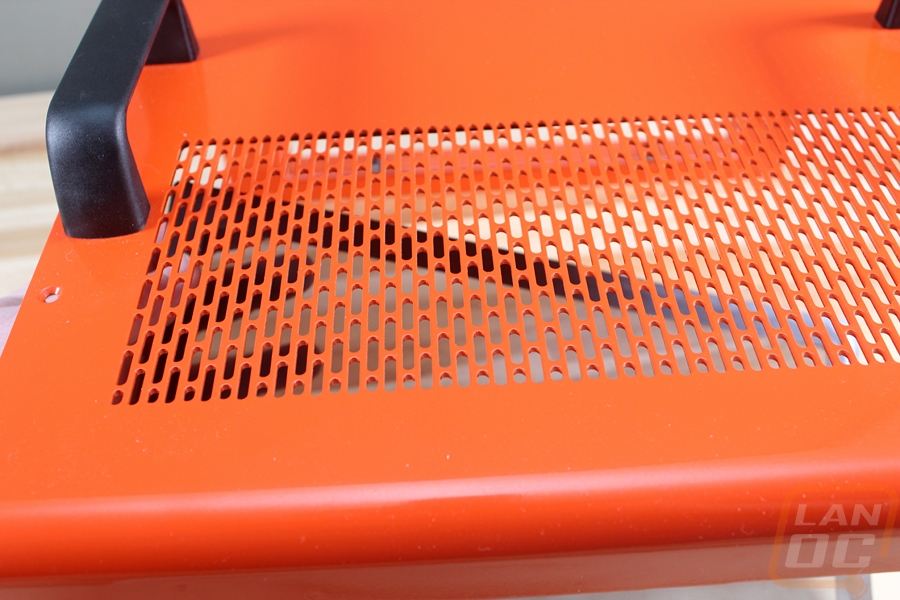
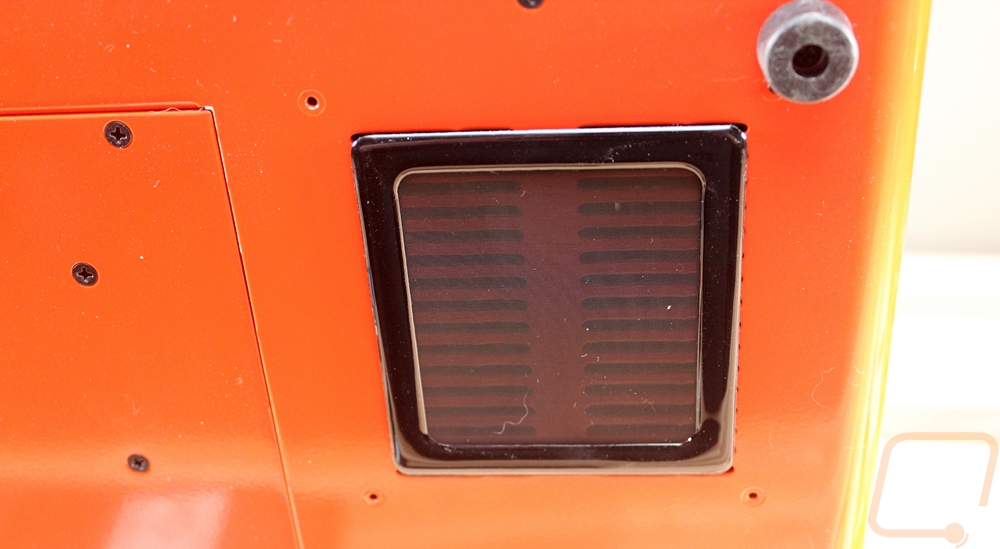
The first one I installed was the top filter but I did run into an issue here. Our build uses the optional handles so the top vent has the handle bolts right up against it. I ended up laying out the stick on ring and cutting out what I needed to fit around the bolt and then putting it back on the filter and cutting the filter section. Cutting the filter cleanly was a little hard and mine came out a little messy even after taking my time but I think everyone gets the idea of how to handle this.
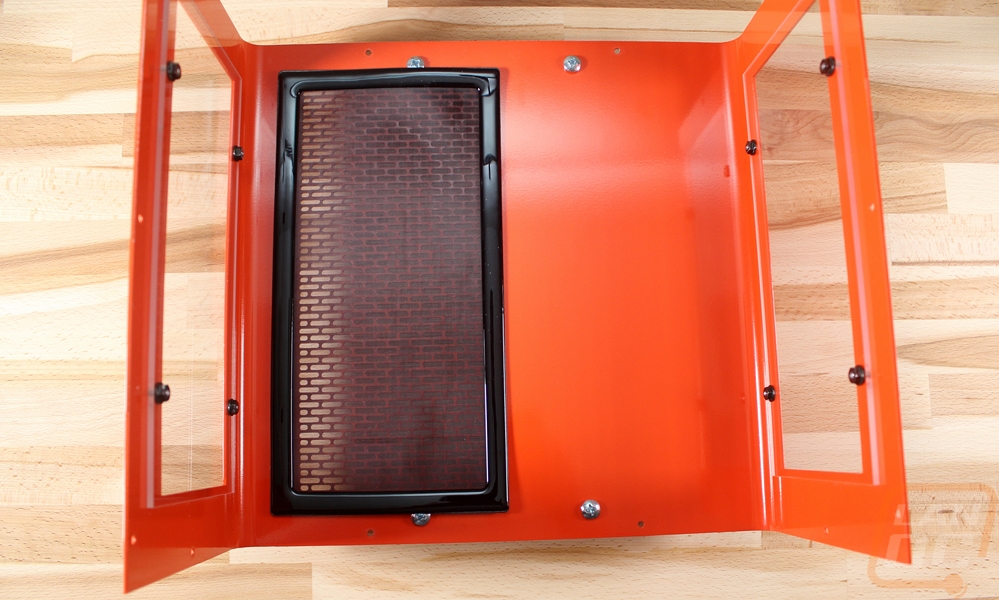
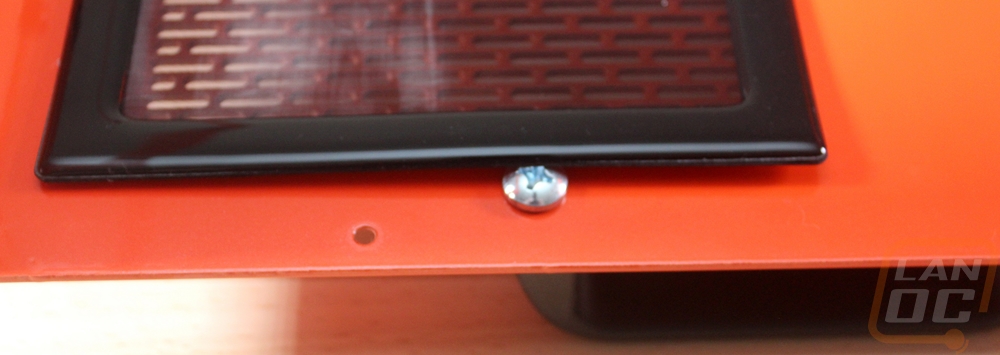
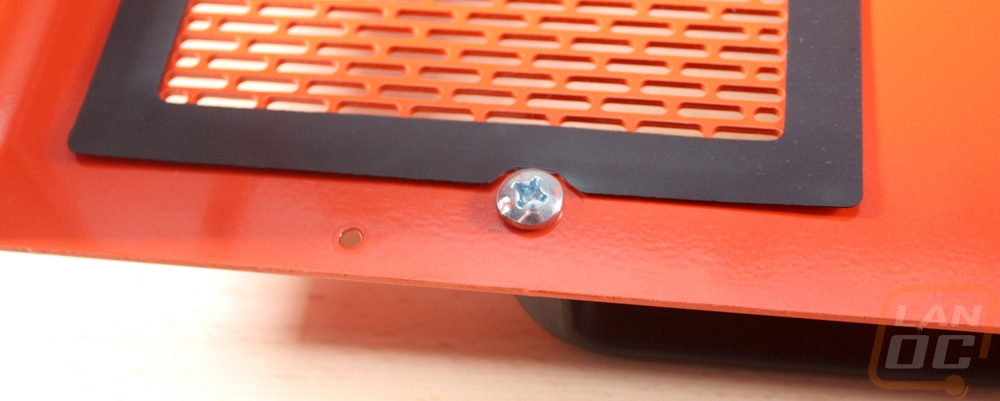
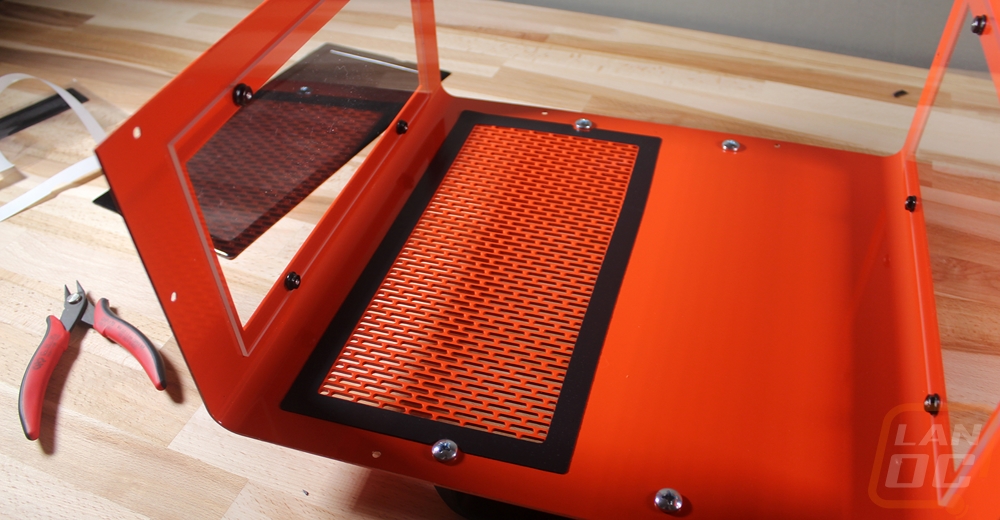
The end result worked well and was hidden inside of the case. You can see the black filter a little as it tints the vent but that actually goes well with our orange and black theme.
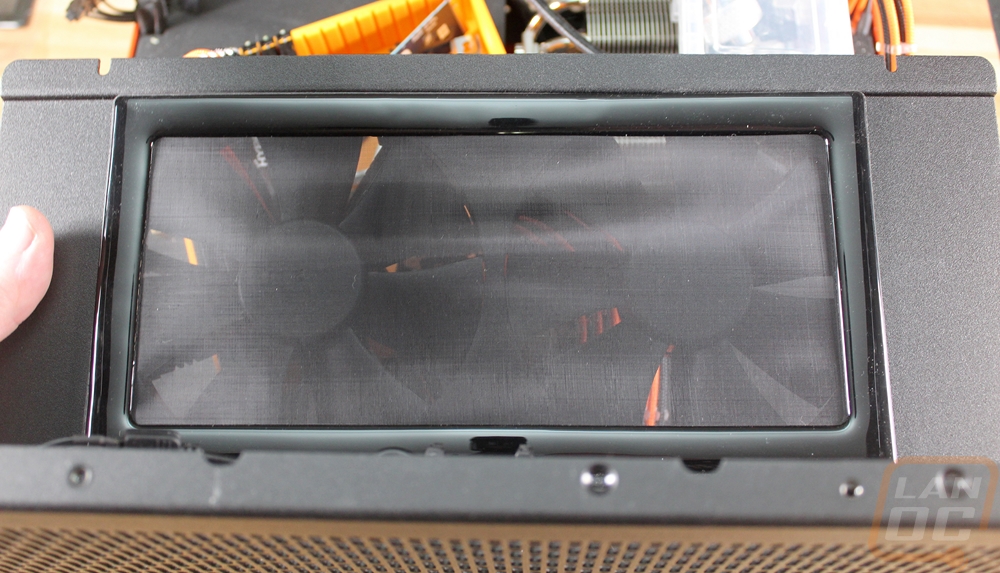
While I did manage to fit the top filter inside of the case, the original intention is to install these filters to the outside of the case. I didn’t really figure this out until I moved on to the rest of the filters and I nearly stopped because I didn’t want to spoil the good looks of our case with filters stuck on the outside. No matter how good they look individually. In the end, I compromised. I installed the top and front filters inside of the case. The front being much harder to get at because I installed it on the front side of the front fan mount.
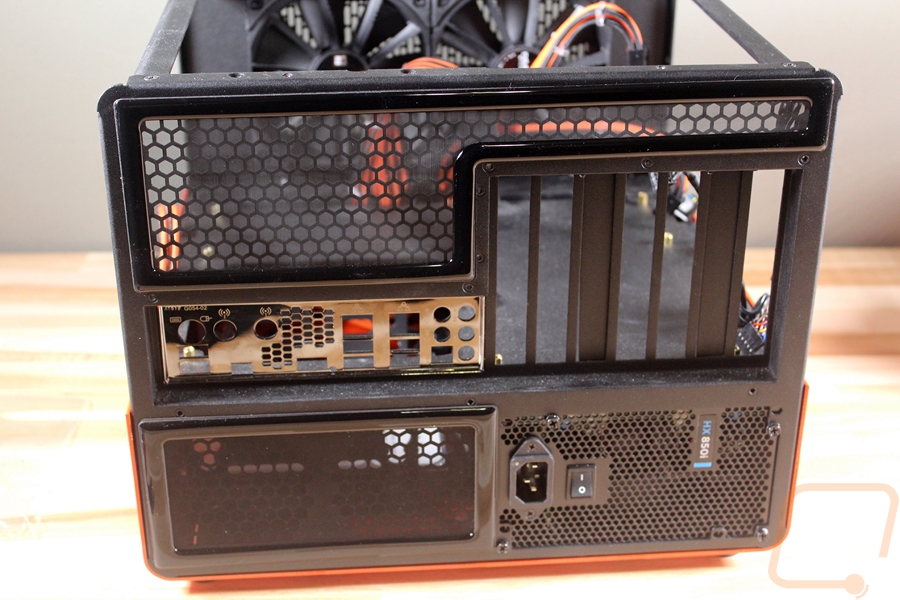
The back and bottom filters I installed on the outside. The bottom wouldn’t be visible and the back filters blend in with the black finish and again aren’t visible day to day. I had to do this because the odd shaped filter at the top of the back can only go one way.
The end result wasn’t too bad. It’s going to take more testing to find out how much it will help with the dust in the case but with everything sealed up, I don’t know how it will ever get in the case. I hope DEMCiflex considers having more of an internal focused design as these filters are really good. They are easy to pull off and clean and have a good build quality. There is a good chance that I end up using them in future builds as well. Given the only filter that is going to be hard to get at is the front fan filter and it should be the one I need to clean the most, there is a chance I swap to a design mounted to the fans on the inside to make things easier, but beyond that I don’t see me removing the rest of the filters, especially that top one.
