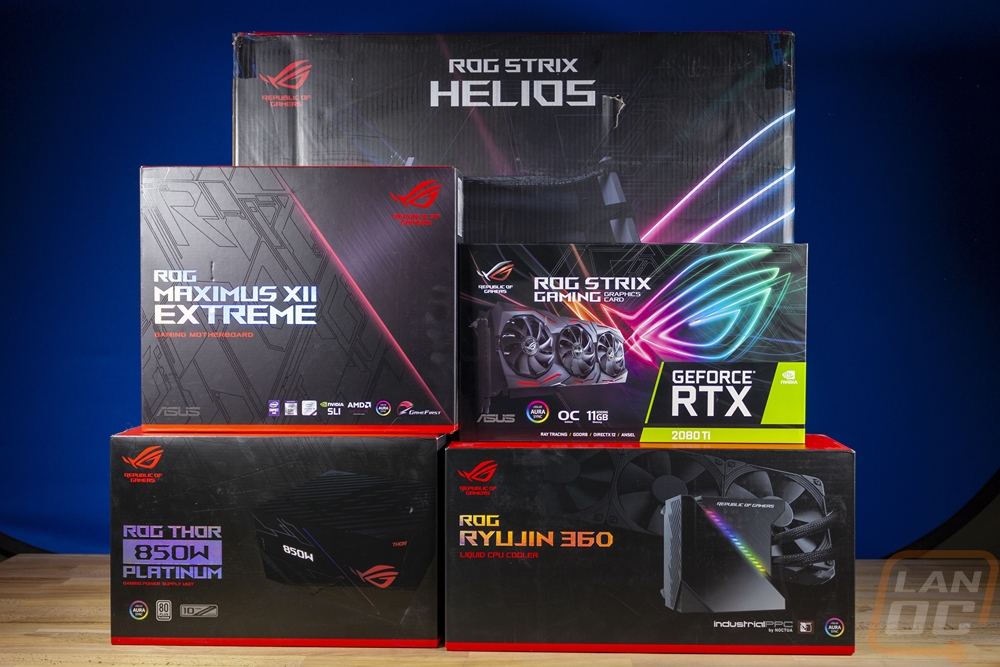
I think just about everyone who builds their own PC eventually gets comfortable with a few different brands. They have a good experience along with having friends or family have similar experiences and then you start to favor a few brands over others when given the choice. I know in my builds there are a few that I tend to go with, it's almost like a superstition. For the most part, though, your PC is going to have components from a variety of companies, but recently a few of the brands have been branching out a lot to the point where you can nearly build an entire PC using just their components. Asus being one of those companies has in the last few years gotten into the PSU market, water cooling, and cases as well. I thought it might be fun to put together an all Asus build using the ROG Strix Helios, so let's see how it goes!
Article Name: All Asus ROG Build
Review Samples Provided by: Asus
Written by: Wes Compton
Amazon Affiliate Link: HERE
ROG Strix Helios
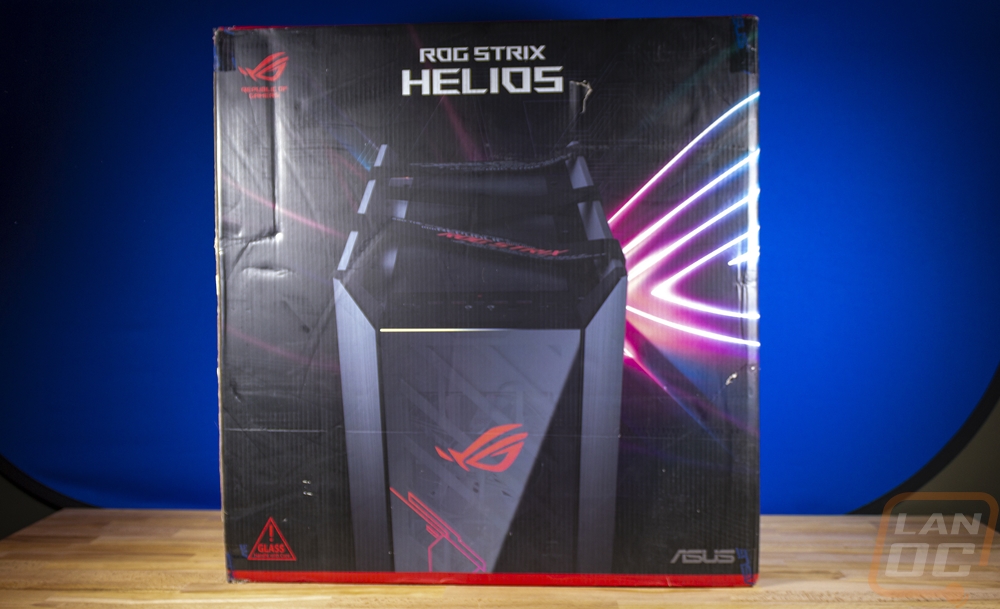
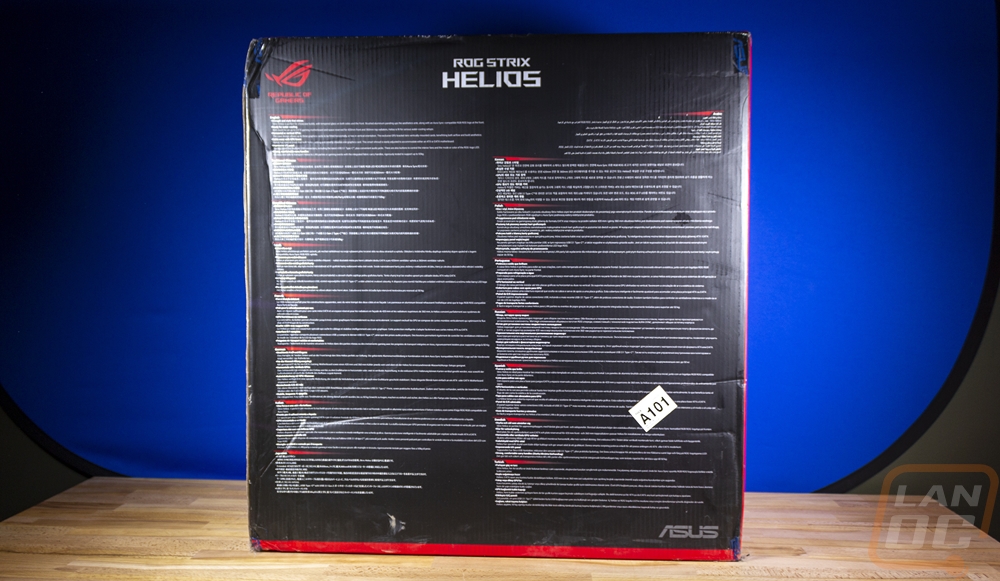
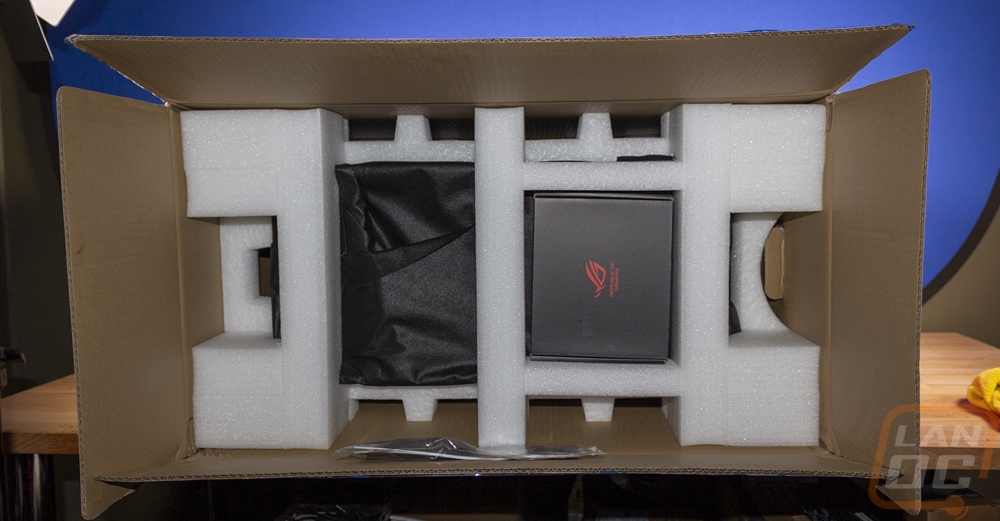
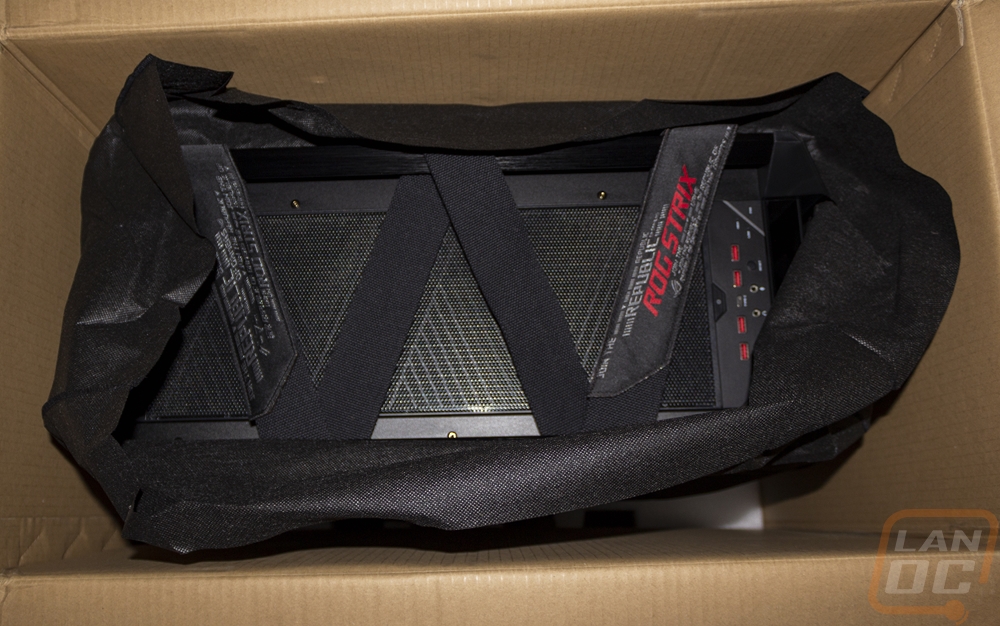
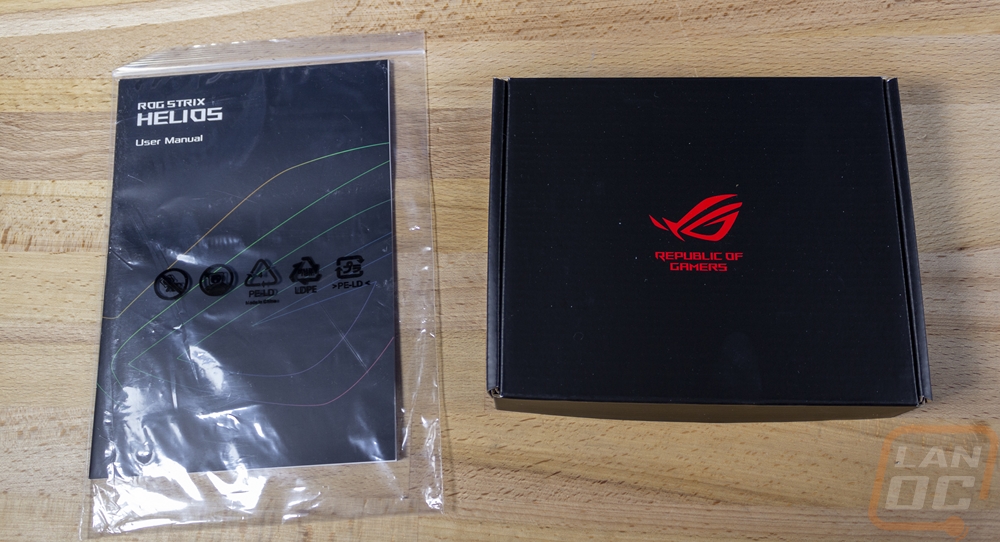
So lots of companies make cases, it isn’t like Asus it breaking new ground by making them as well. But they do tend to take a different look at things and design from a different angle. So going in I was really curious what Asus might do differently with the ROG Strix Helios so today I’m not doing a full review though I did take enough pictures for one. There just isn’t enough room here to cover every detail so I’m going to try to run through what the Helios has going on. First off, even just the box gives a few things away. For one the Helios is a big case and it is hhhheeeavvy. I hated moving it around even just for the pictures. That said the box is all color with a picture of the top half of the case on the front with the Strix ROG logo in the background. On the back, they talk about some of the features, but there aren’t photos of the cool features just a wall of text that most people will most likely ignore. When you open it up there is nice foam keeping the case safe and on top, there is a small box of accessories as well as the instructions. I like that Asus didn’t bury those. The case also comes wrapped up in a microfiber bag. They were at least nice enough to leave the open end at the top so you can open it up and use the built-in top carrying straps to pull the case out of the box to get started.
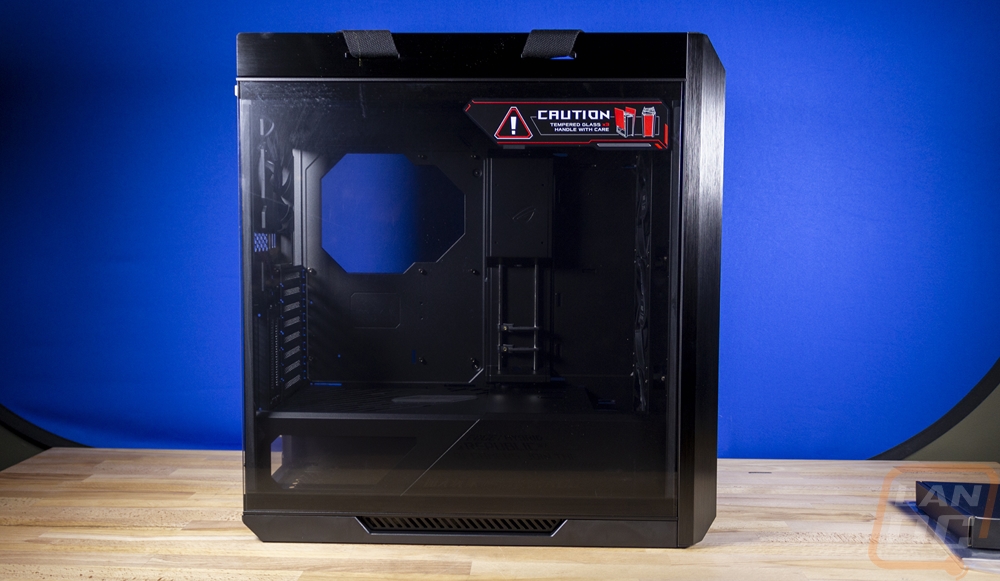
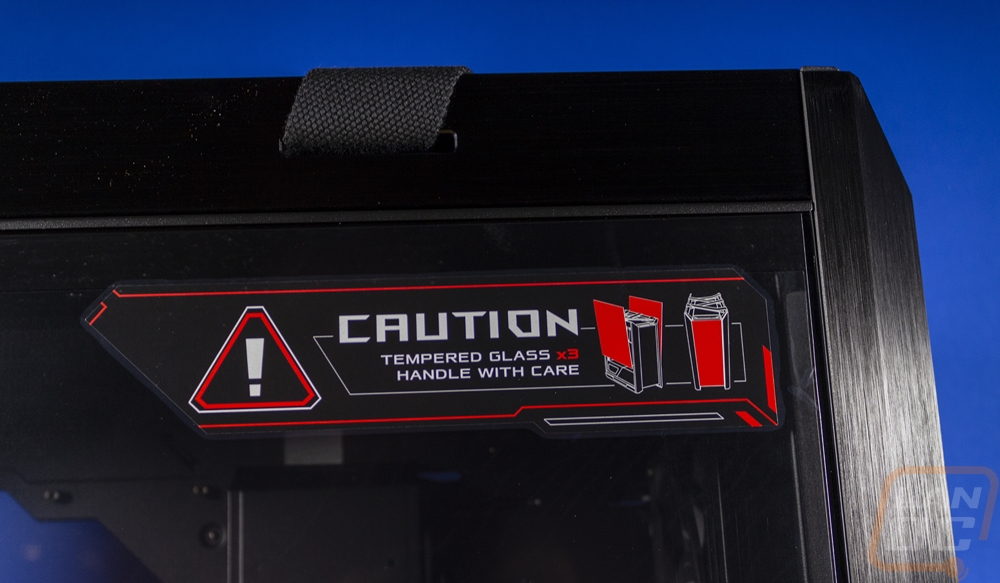
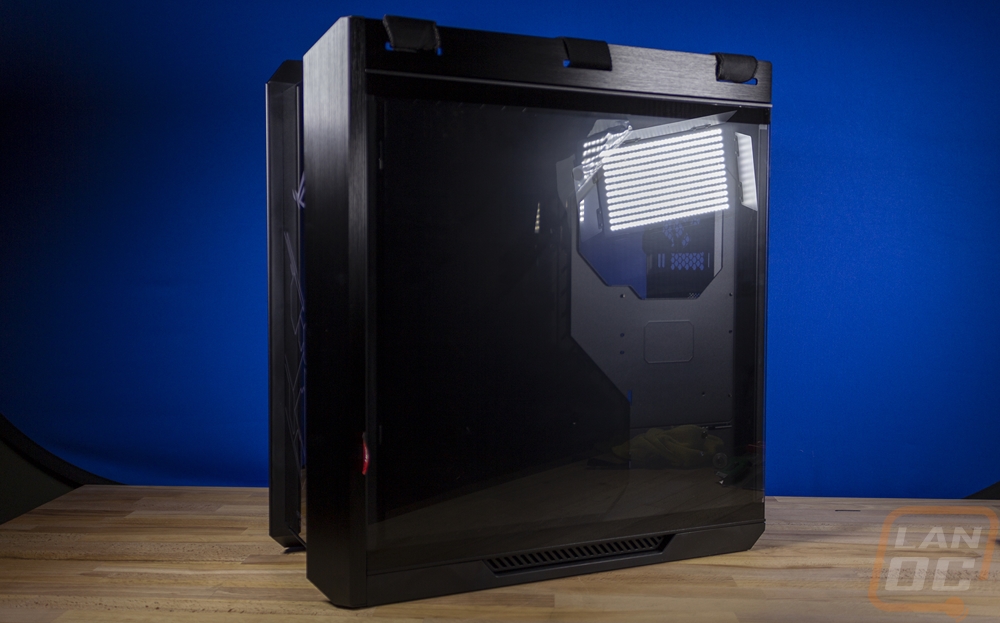
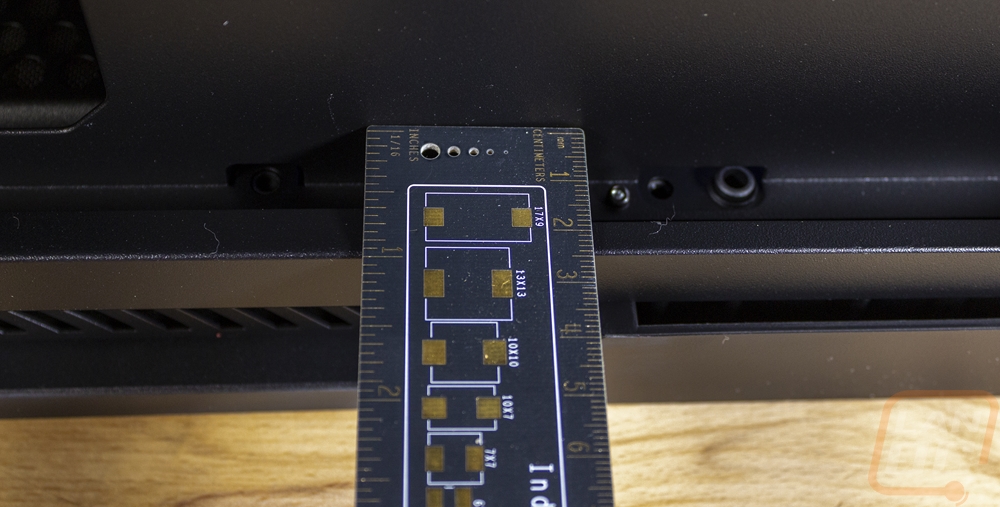
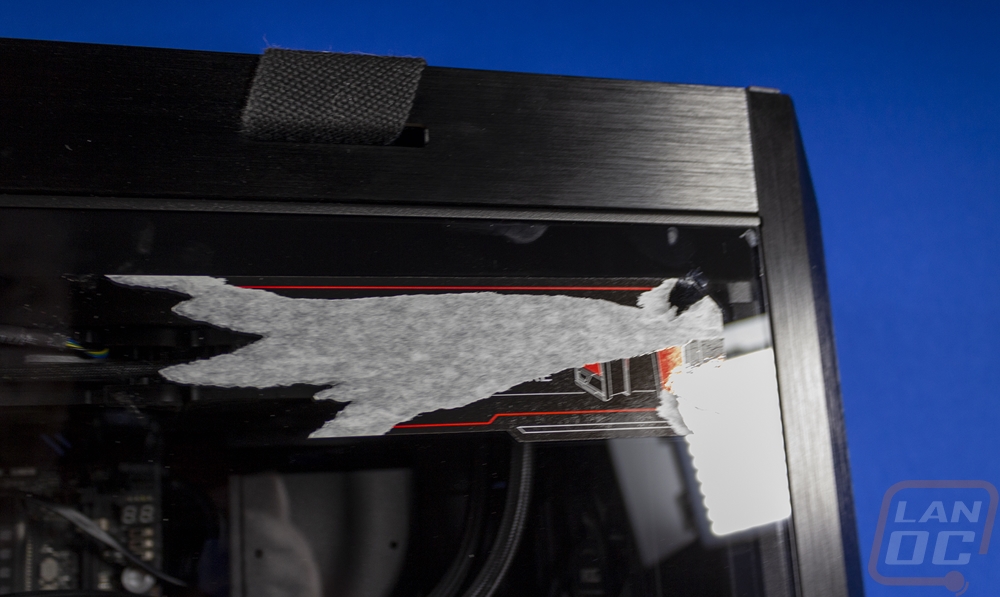
So the Helios comes in at 250 x 565 x 591 mm or for those of you here in the states that is 9.84 inches wide, 22.2 front to back, and 23.3 inches tall which isn’t exactly small but not exactly Cosmos II sized or like my Case Labs TH10. But because the design features large tempered glass panels on three sides and Asus build the frame to be solid it comes in at 40 pounds before you even put anything inside of it. It supports E-ATX as well as the old XL-ATX form factor and even server sizes like SSI EEB and CEB which include dual CPU motherboards so you don’t have to worry about anything not fitting in it. Those who love pealing plastic are going to love it as well because each panel has it on both the inside and outside, but I wish they would have put that glass warning sticker on the outside of the plastic because it is a nightmare to remove.
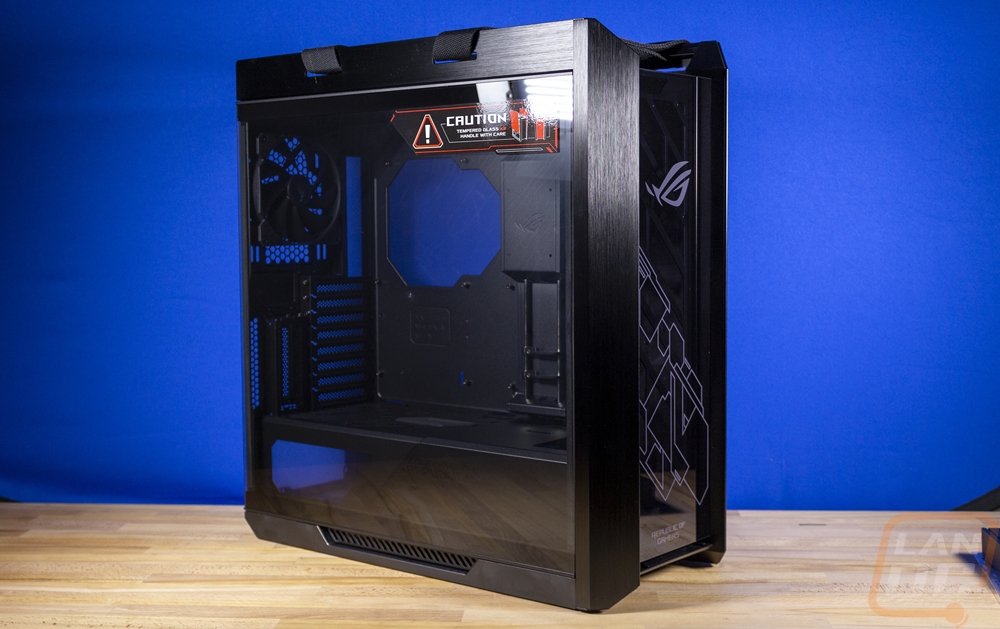
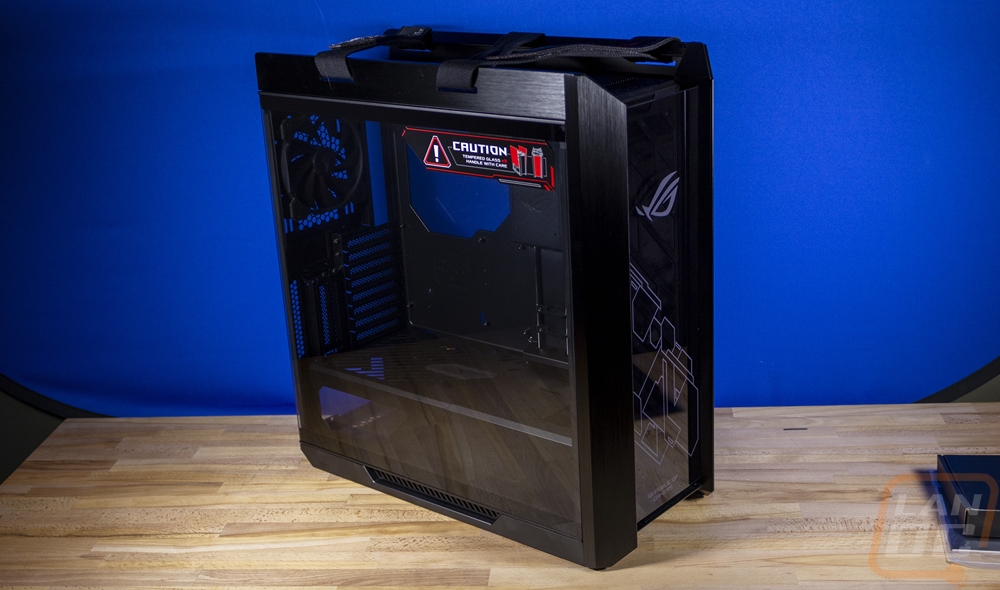
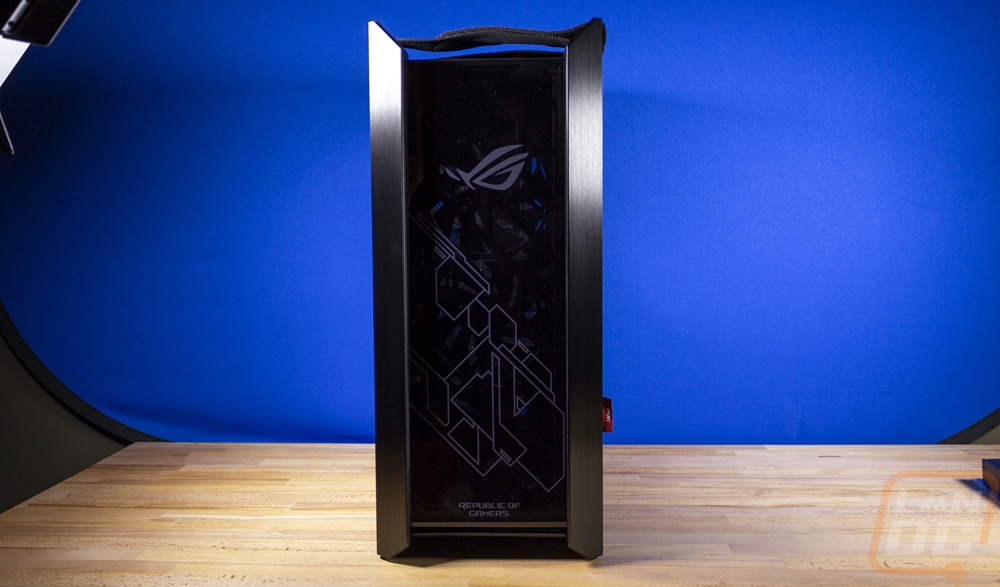
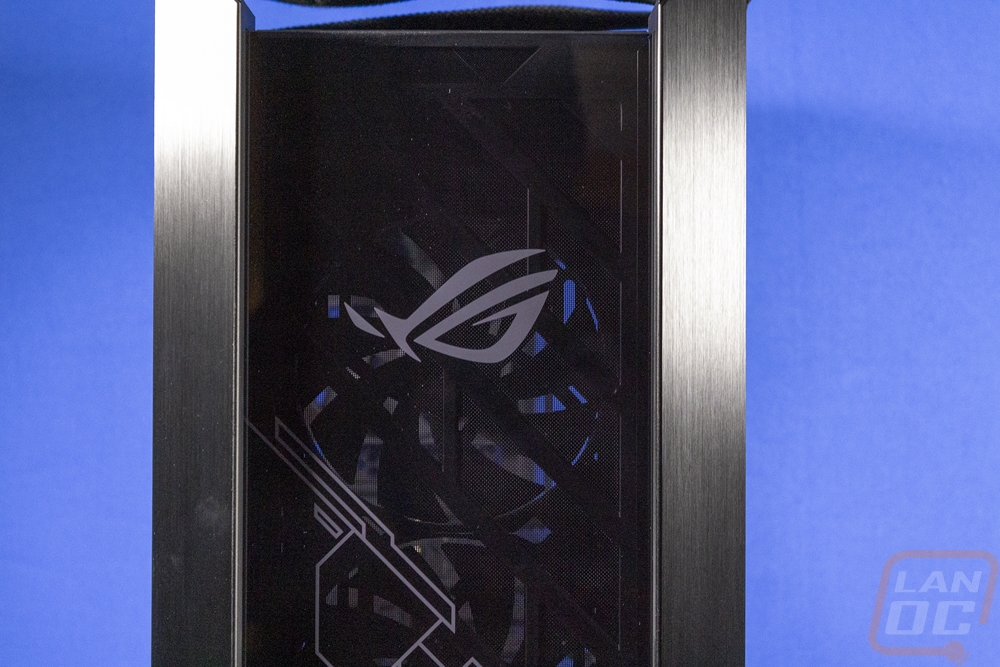
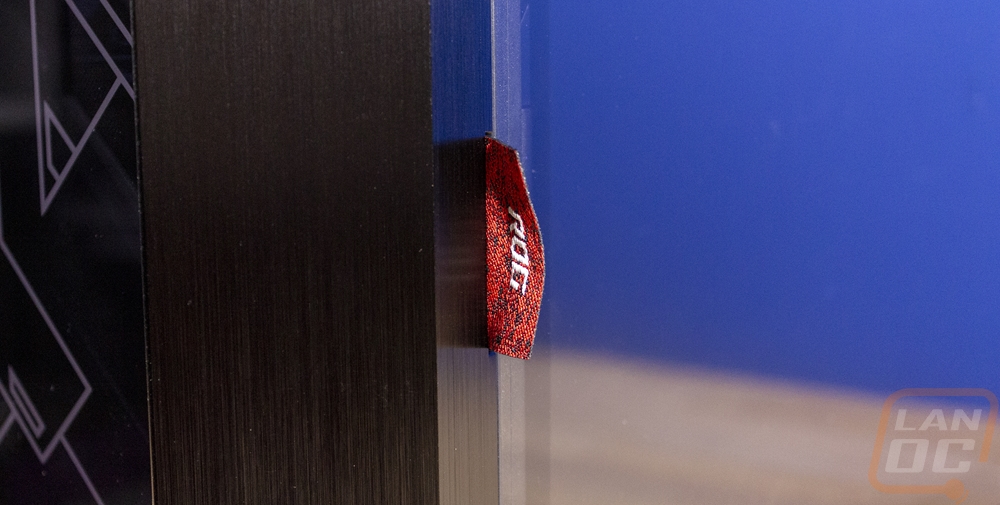
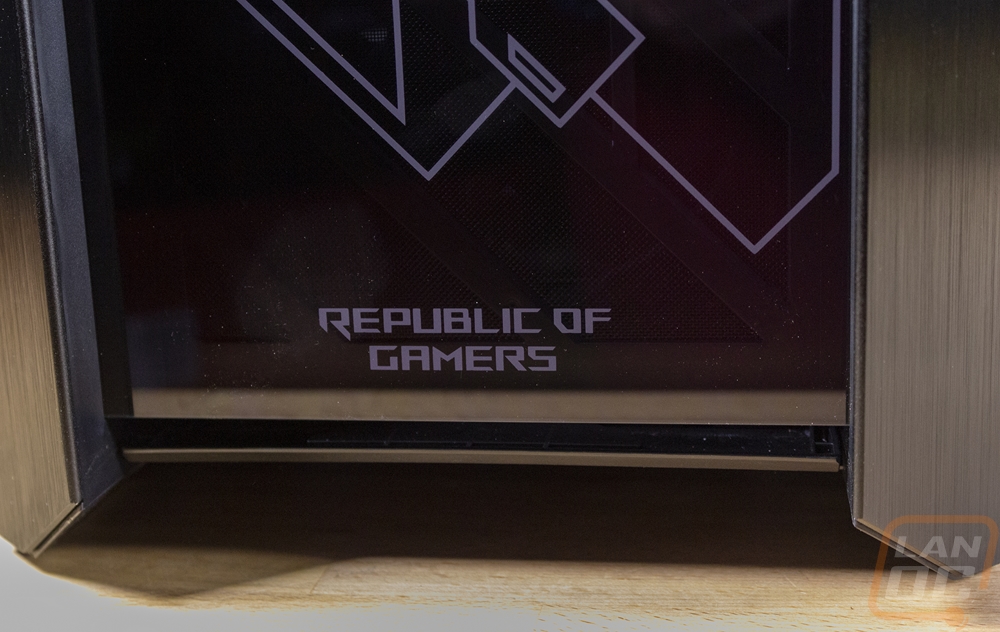
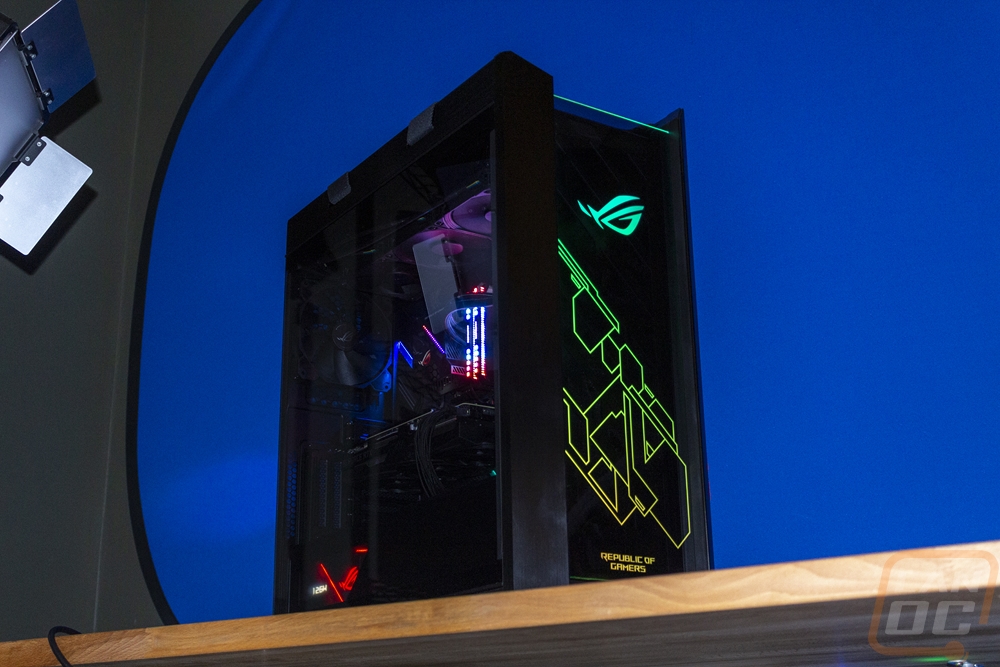
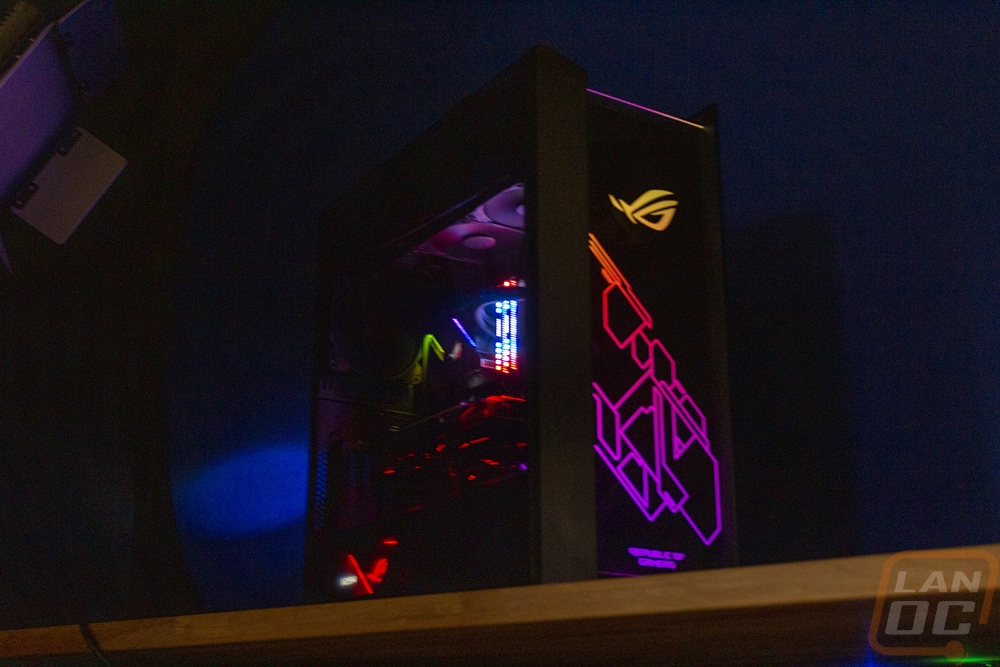
The front of the Helix has two aluminum pillars on the sides that stick out and the tinted tempered glass behind that. The glass is backlit with RGB so the ROG logos and the design on the front here light up with their addressable lighting. I never would have expected a case to have a tag like a pair of Levi’s jeans, but the Helios does on the side of the front with the ROG branding on it.
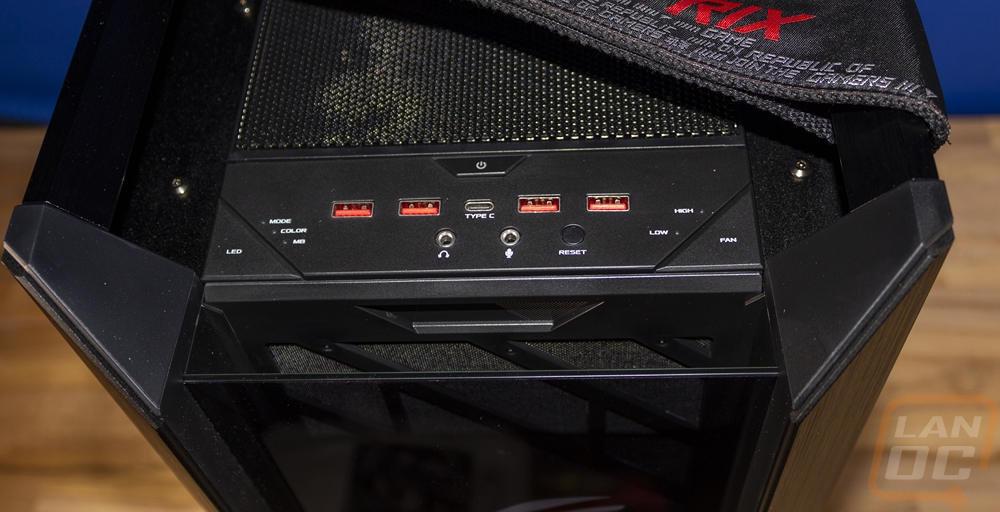
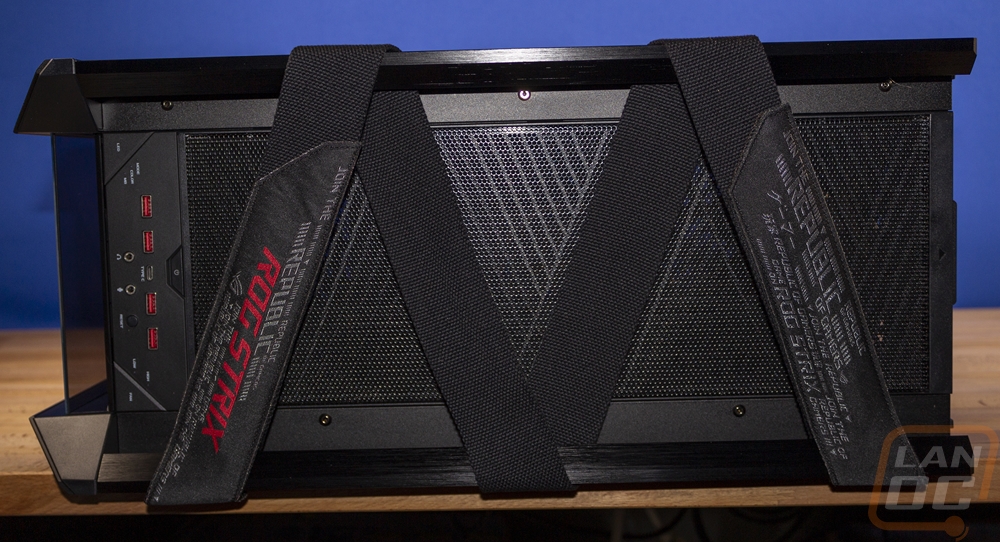
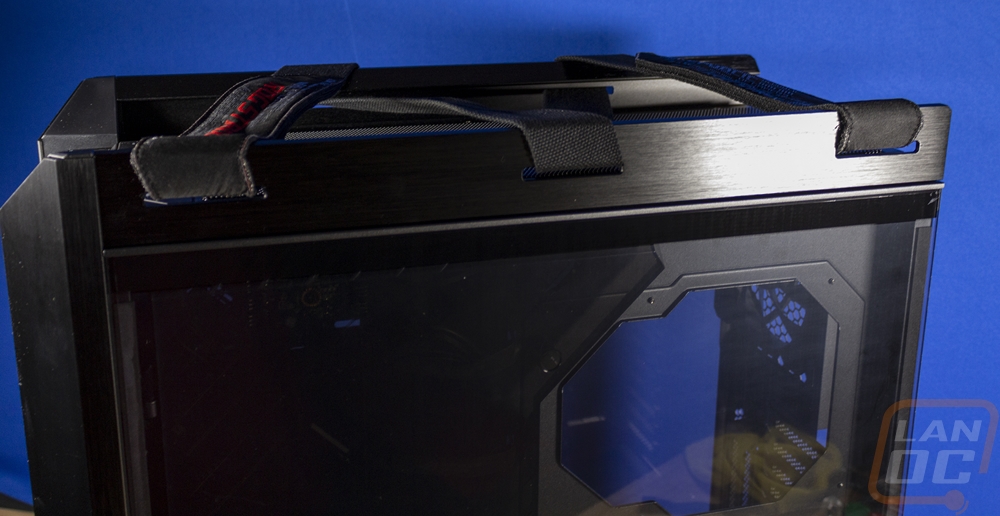
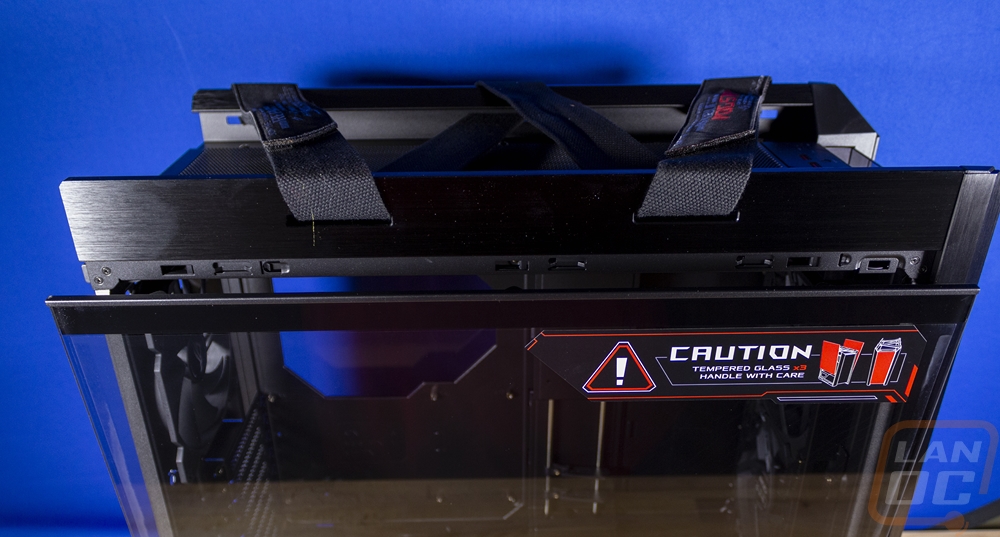
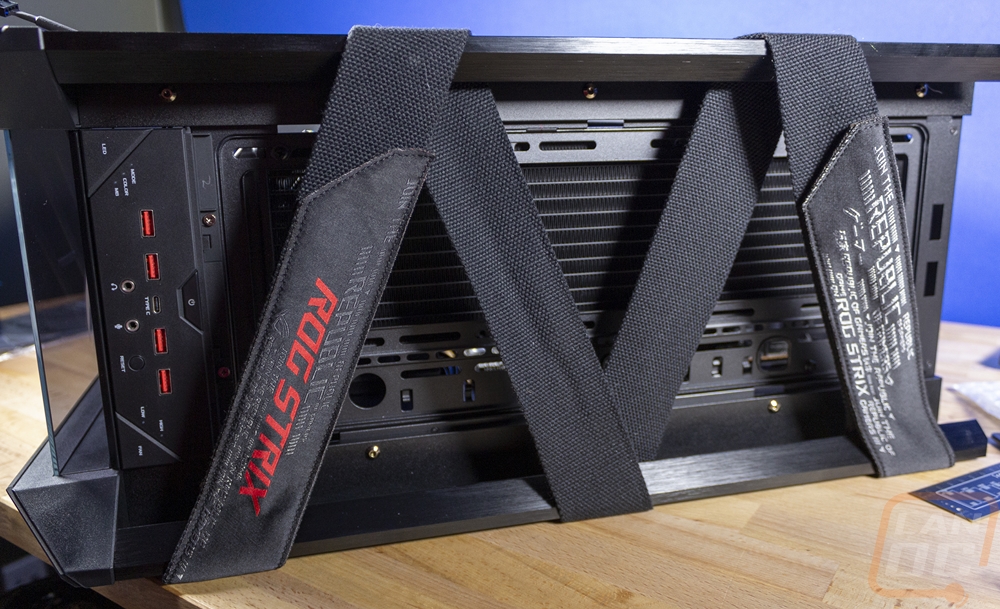
Up on top, you can see that the front panel glass does have an inch gap between it and the front fans for the case. There is a pull out filter here that comes out the top which is easy. Then the entire front I/O is all right here. There are four USB 3.0 USB plugs which is twice as much as you would see on most cases and then they also included a Type-C connection as well in the center. Front panel headphone and microphone jacks are there of course. Then there are a few buttons. In the center is a power button and they also have a reset which is tucked in under the USB ports. Then both the bottom left and right corners have buttons with status LEDs next to them. The left is for the case LED lighting, you can hold the button to switch between colors, mode, and MB. MB is motherboard, meaning you have the lighting plugged into your motherboard and are bypassing this control. Then you can switch the lighting colors or the effect modes which include a Strix rainbow effect then the typical breathing and solid. On the right, you can control the included case fans with low and high fan speeds. The top of the Helios also has a full-length metal grill with a dust filter in it that can be removed for cleaning. But the main feature here and for the entire case is the carrying strap that crisscrosses the top for carrying. It is two inches wide and heavy-duty with Velcro holding it together on the ends. It loops through holes in the main frame rails and for a case this heavy is very needed.
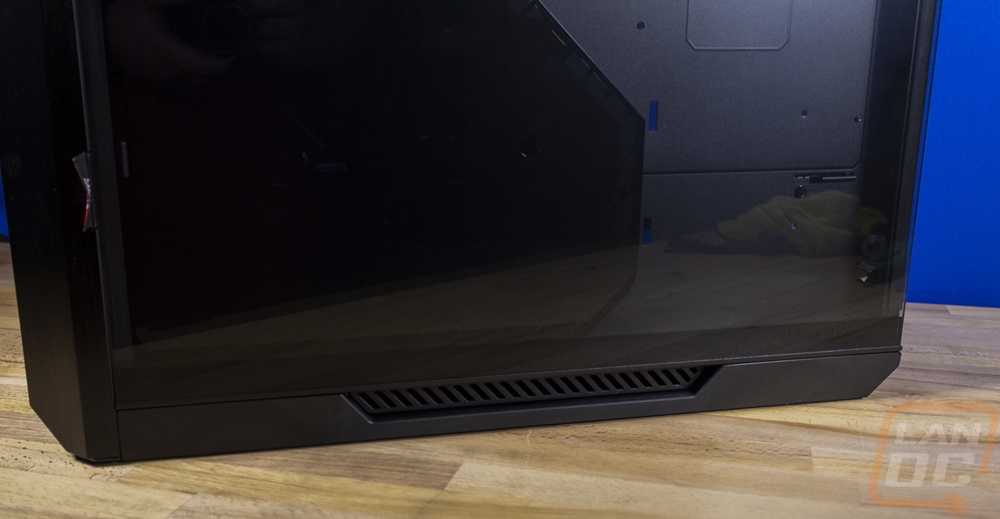
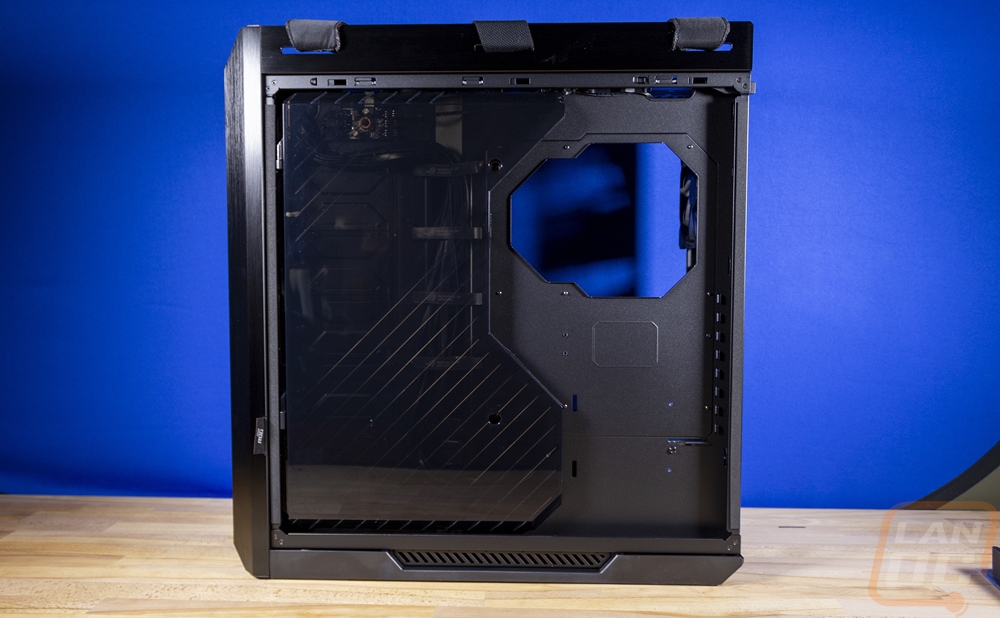
The right side of the Helios is the same as the left, a full glass panel with the metal frame up top and a vented frame down at the bottom.
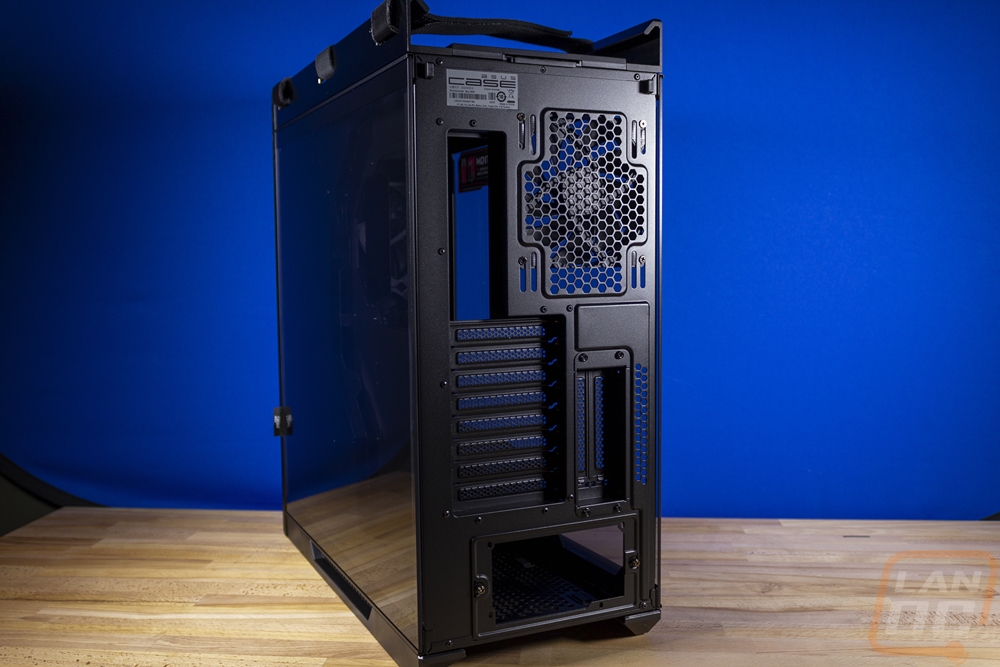
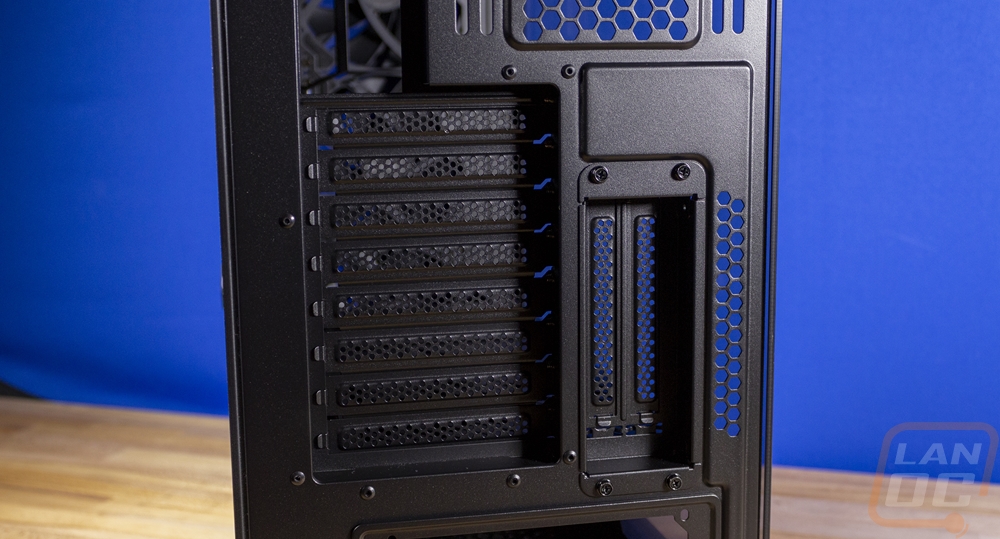
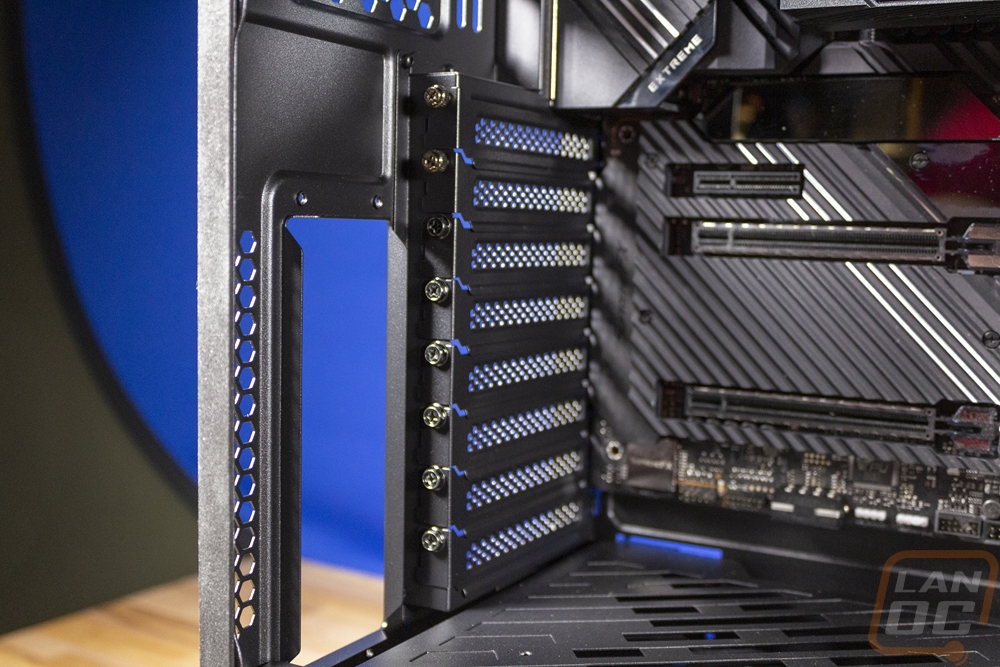
Then at the back, you have a steel panel in all black. There is a 120 or 140mm fan mount above the rear I/O that can be slid up and down. Then 8 PCI brackets which are all vented in the normal orientation then two more with a vertical video card layout. Then down at the bottom is the full ATX power supply location which has dual thumbscrews that can be removed to take the bracket off entirely to mount to the PSU outside of the case. This also makes hooking wires up easier as well if you don’t want to remove the PSU shroud which I will talk about later.

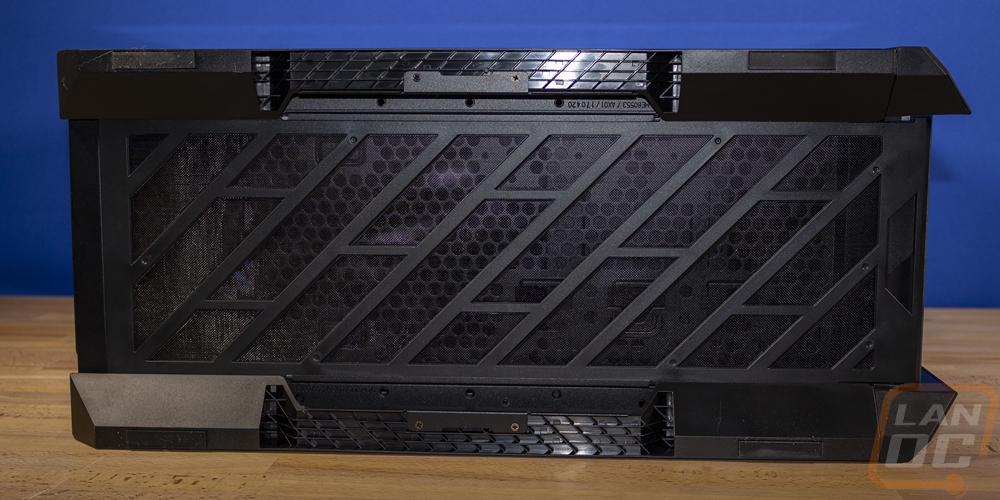
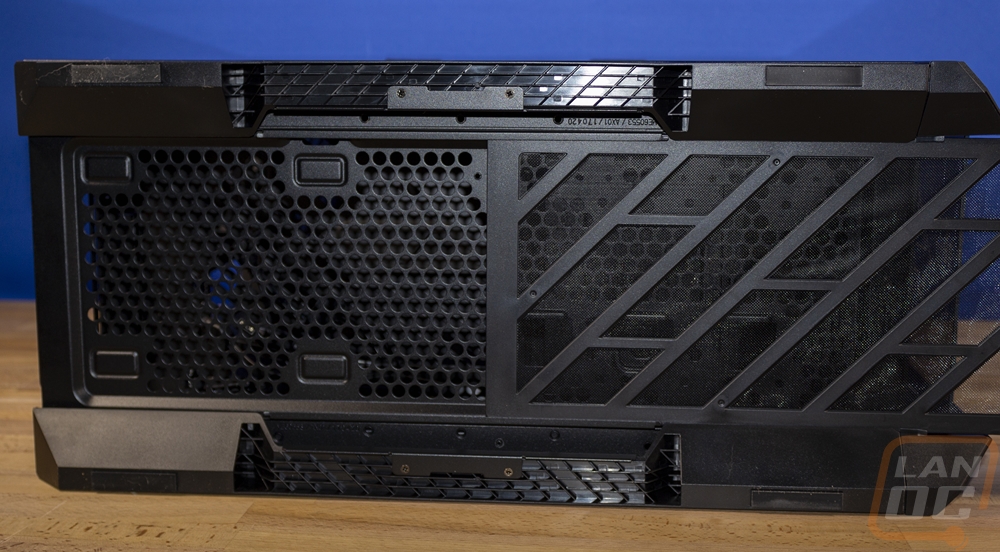
The bottom of the Helios has another full-length dust filter. Then for feet, it has two long plastic rails with large inch wide and 4 plus inches long rubber feet in each corner to keep this beast from moving around.
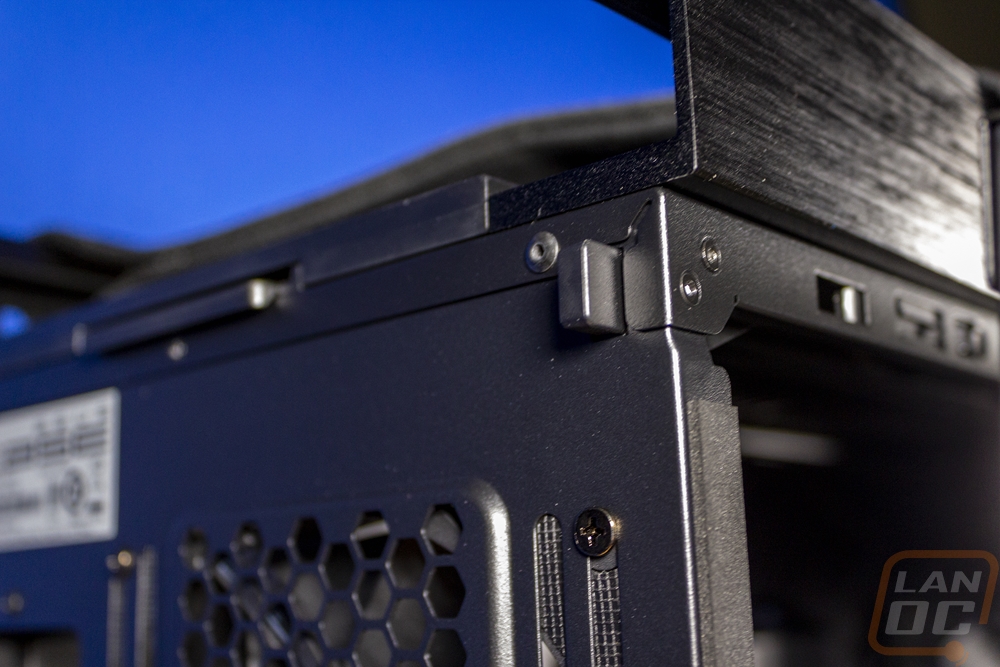
So like I mentioned before, the side panels are box tempered glass with a steel frame. Asus used the steel frame for the mounting on the top and bottom. The bottom of the panels just latches in by sitting it down then at the top there are three hooks. These work with the button on the back of the case, one for each side panel to push to open the side up.
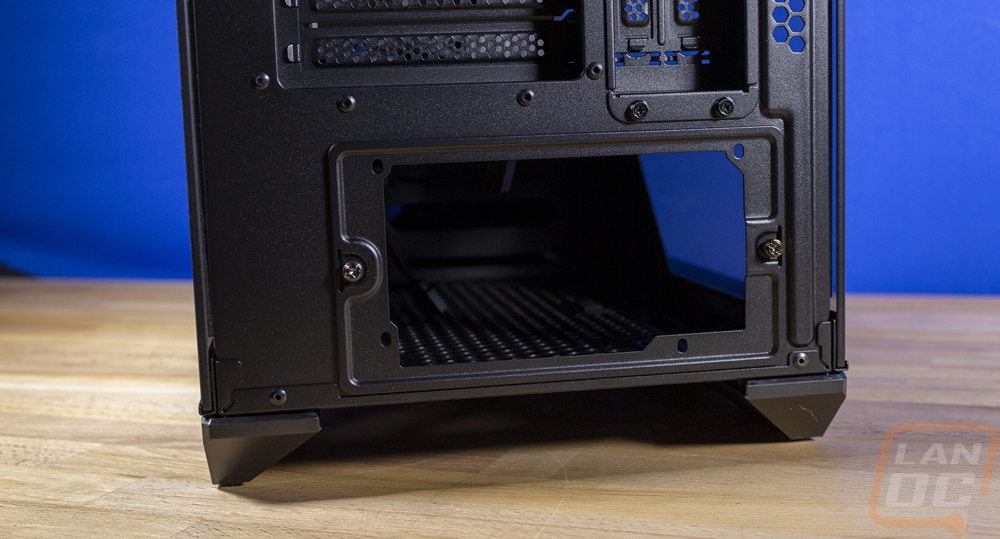
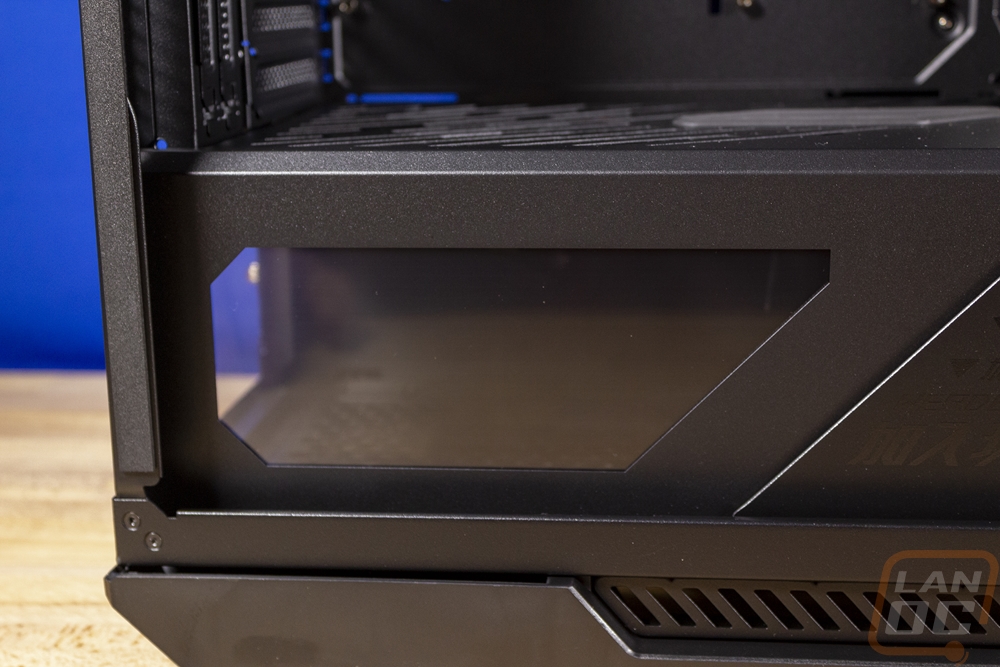
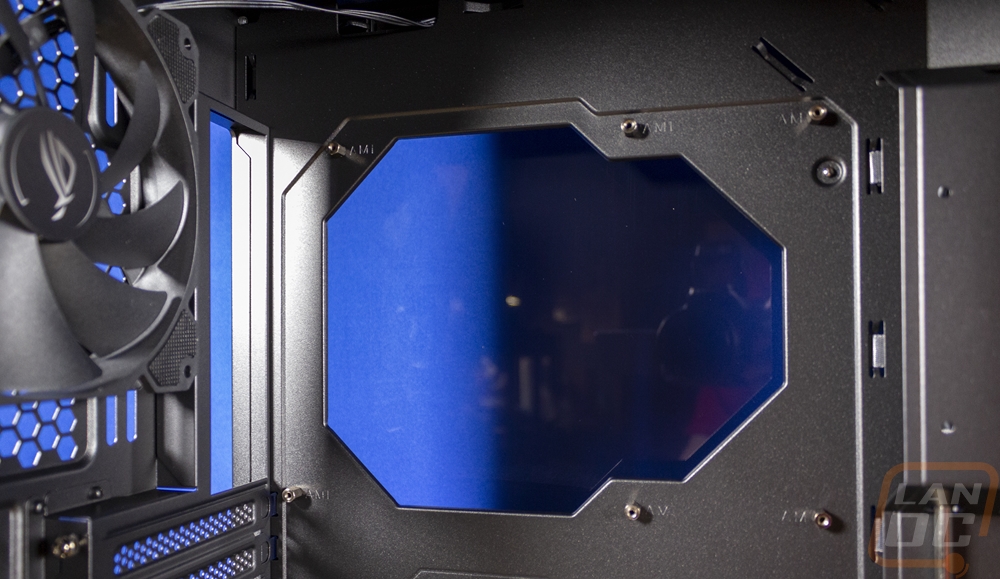
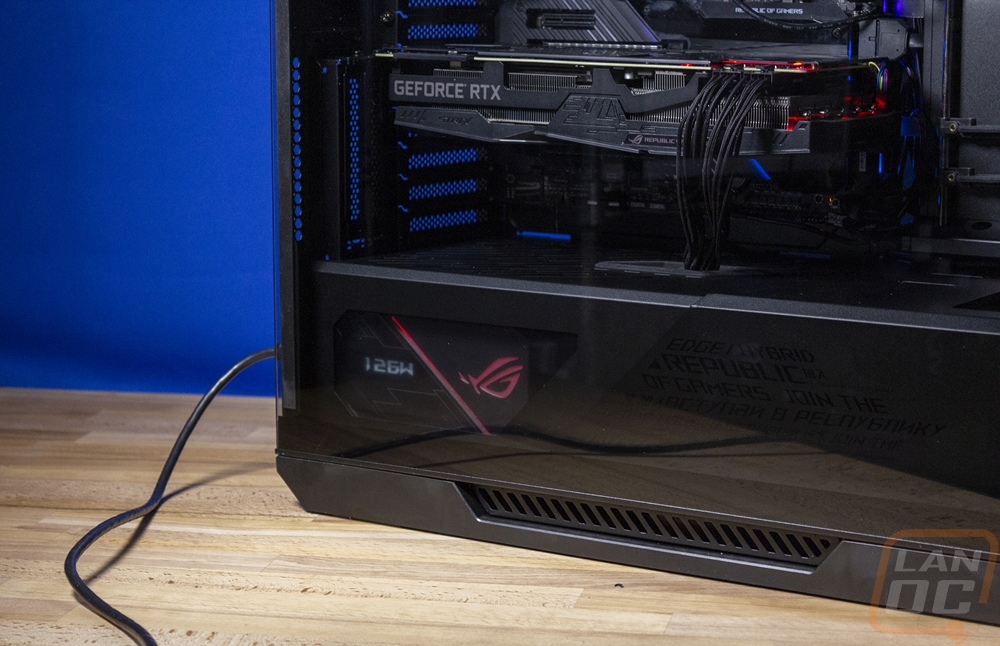
Once you get the side off the case may be big, but the layout is what you would expect. The bottom portion of the case has been completely split off to hide wiring and to keep the PSU in its own thermal zone. That does have a window, which is unique to Asus. But it just so happens they are the one company that also sells a PSU with a screen on the side. The rest of the interior is all black, just like my hea.. um just like the rest of the case. ROG specifically loves everything being blacked out now that they use RGB to add color back in.
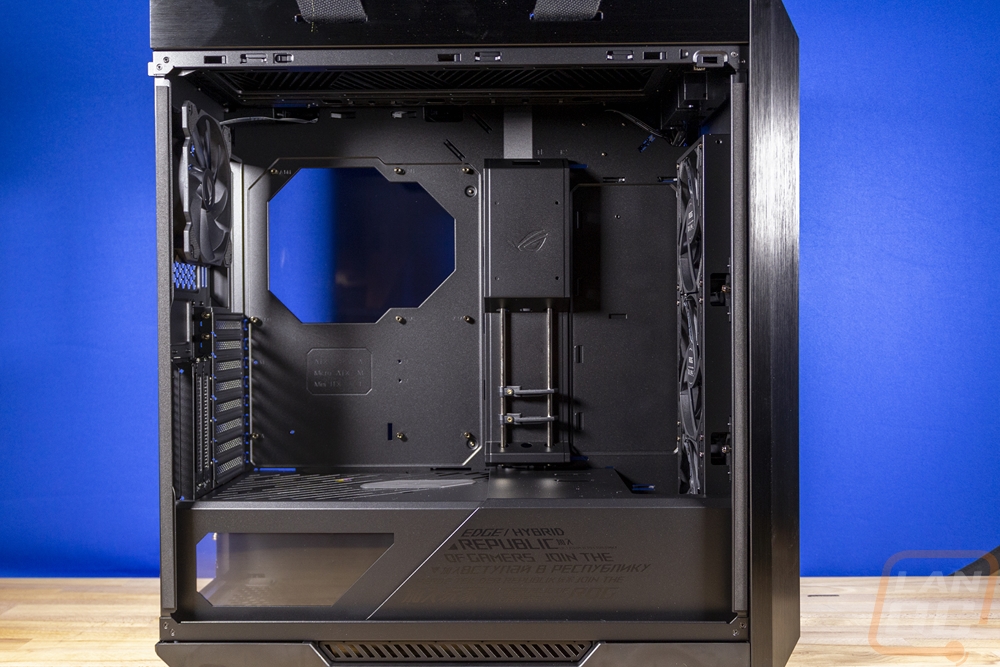
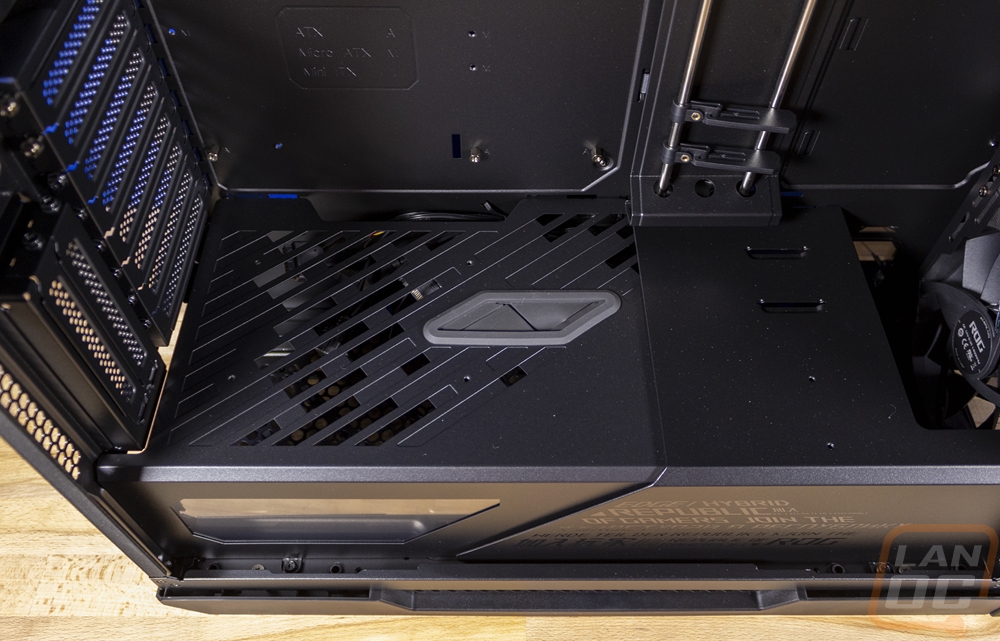
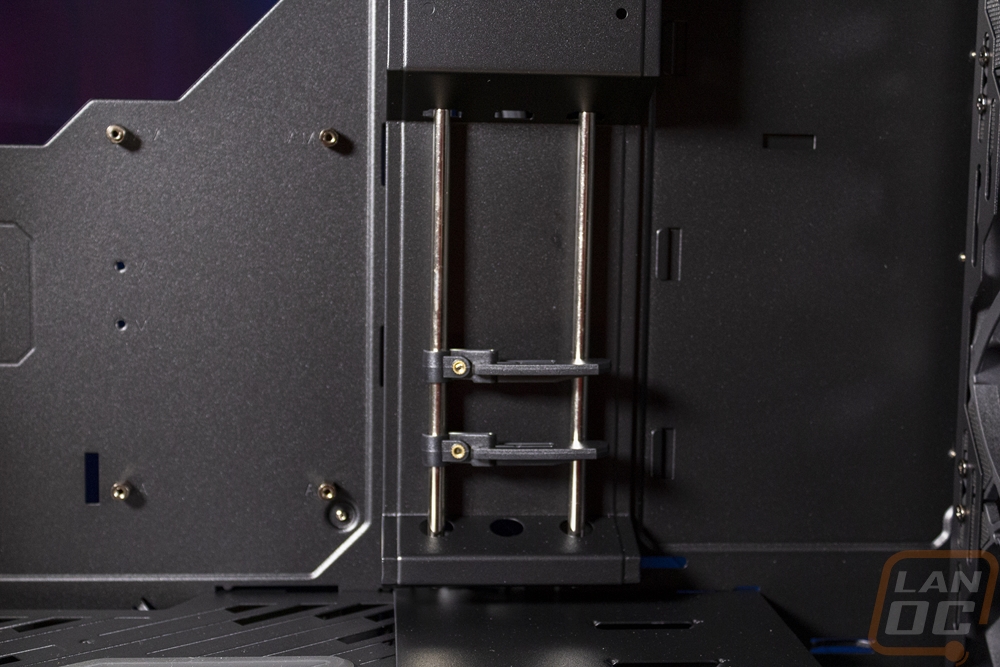
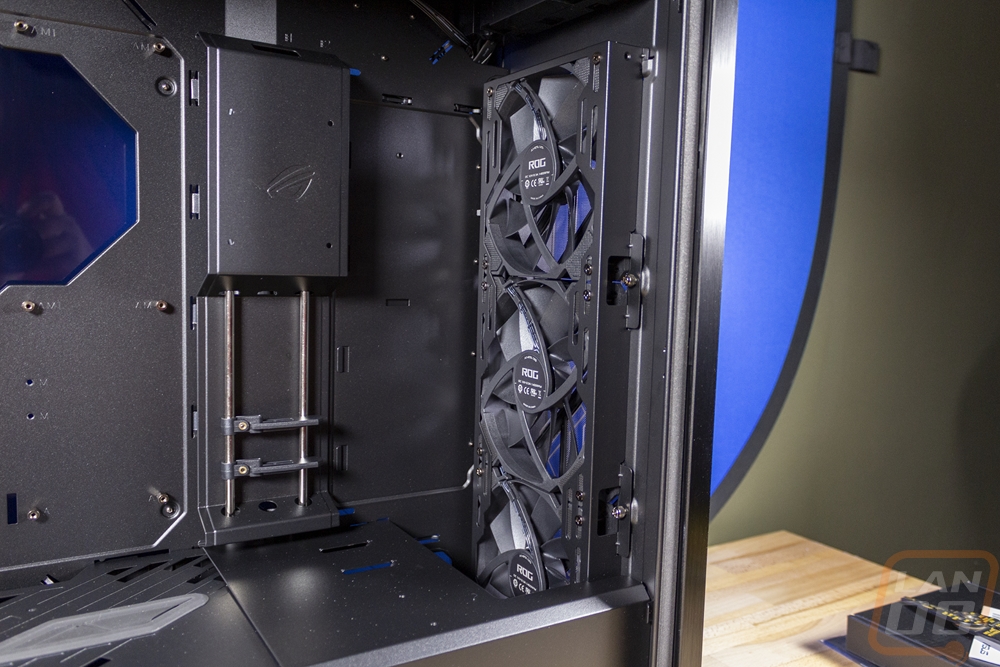
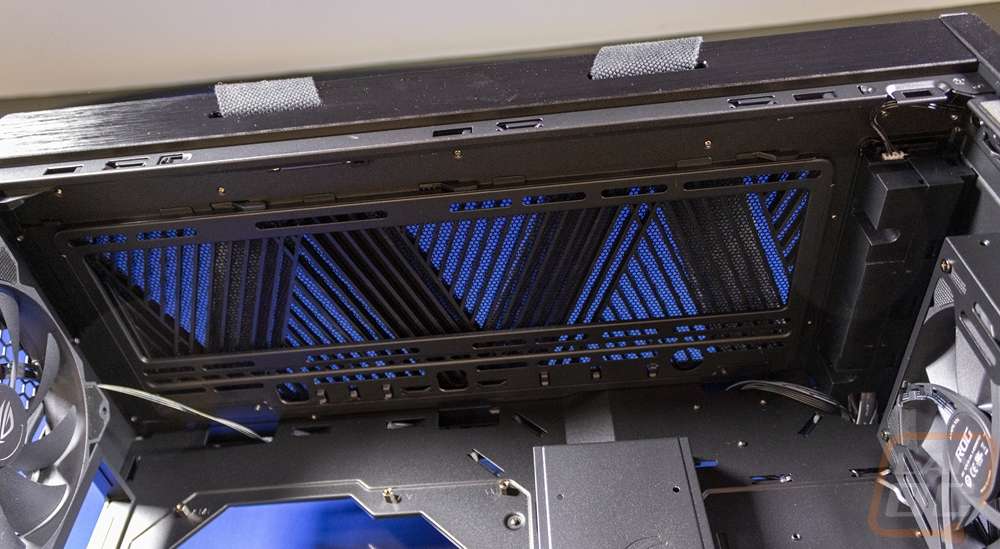
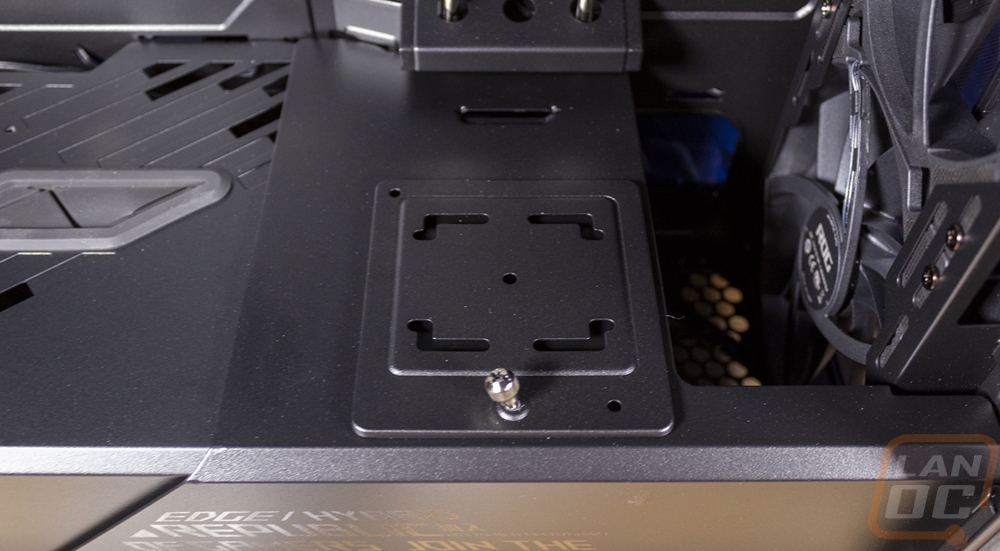
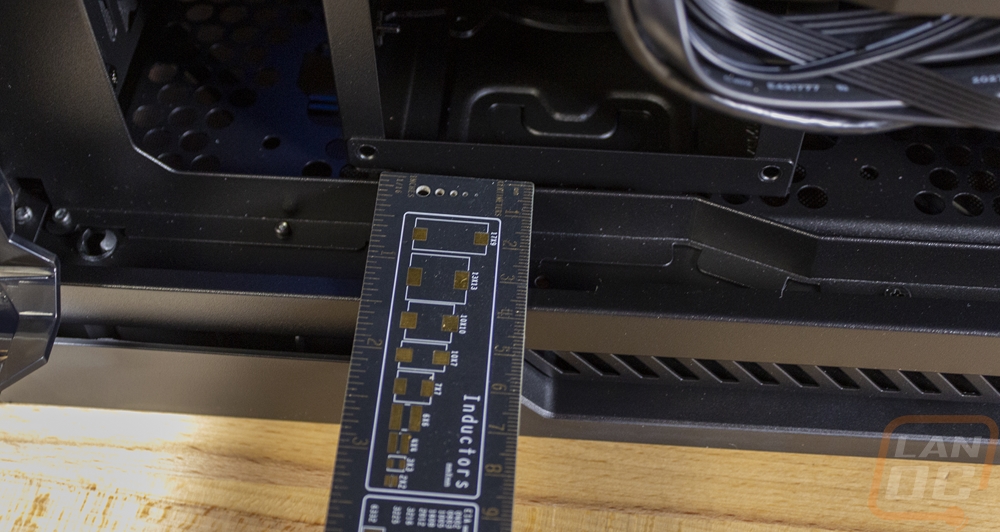
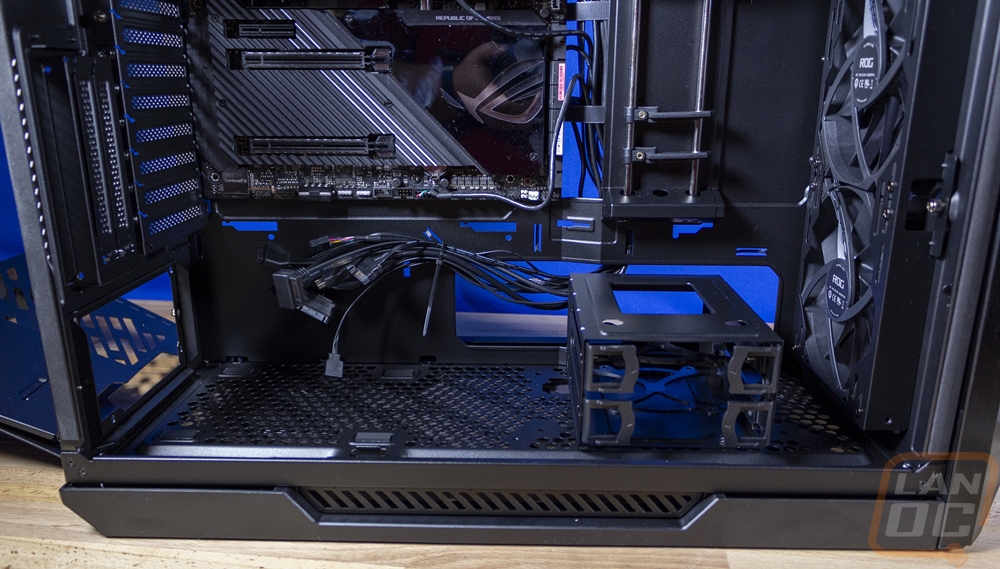
Up in the main compartment, it's cool that Asus built in a GPU anti-sag setup which has two adjustable mounts for two devices. This setup also can slide to the side more if you are running a wider motherboard. Then at the front, you can see the three preinstalled 140mm fans. These have an inside mount that can be removed if you want to install your own and you have support for 120 or 1440mm. More importantly though behind that at the bottom, the PSU shroud has left room for a radiator if you want to mount one here.
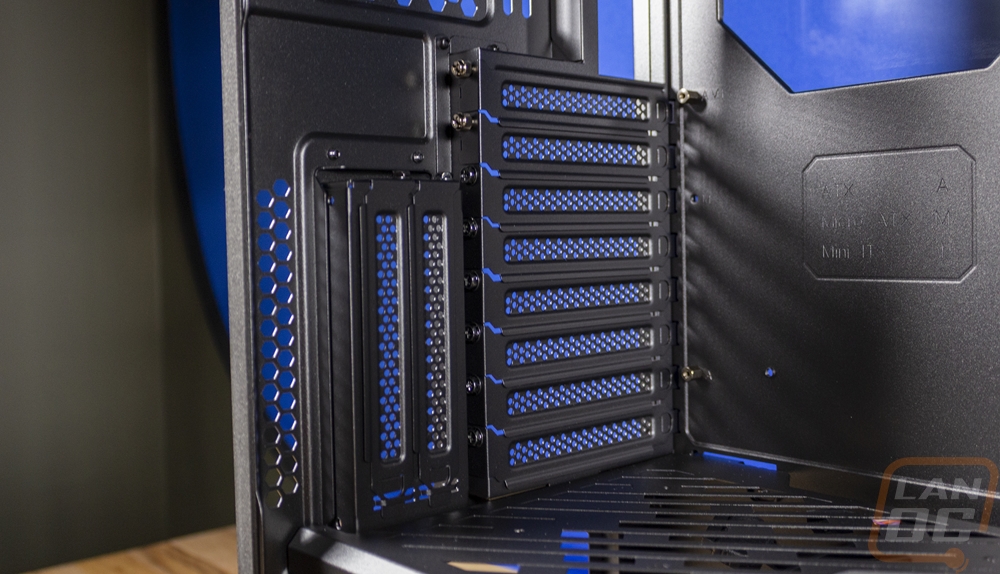
The PCI bracket area is interesting because of the dual layouts as well as just how many PCI brackets you have in the normal layout. The top two come with thumbscrews but the rest all have normal screws due to the space between the vertical bracket and the top of the PCI brackets. In fact to do anything with all of these you need to remove that vertical bracket which has four screws on the back of the case. Up above all of that is the rear I/O hole and that sliding 120/140mm fan mount that I mentioned. That one comes with the case's fourth Asus 140mm fan as well which is prewired to the controller. Then just to the right of that is a large CPU access hole in the motherboard tray which is larger than normal. Most don’t go wider than the ITX mounting posts, I don’t know if the extra room is there for the server motherboards or what.
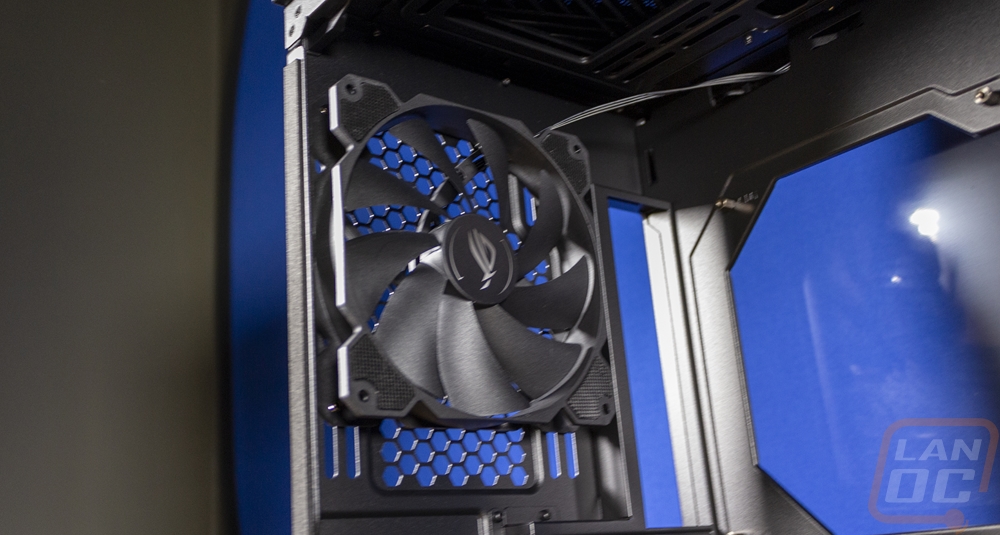
Then up top, there is yet another fan and radiator mount. This one supports 120mm and 140mm again but doesn’t come with any fans.
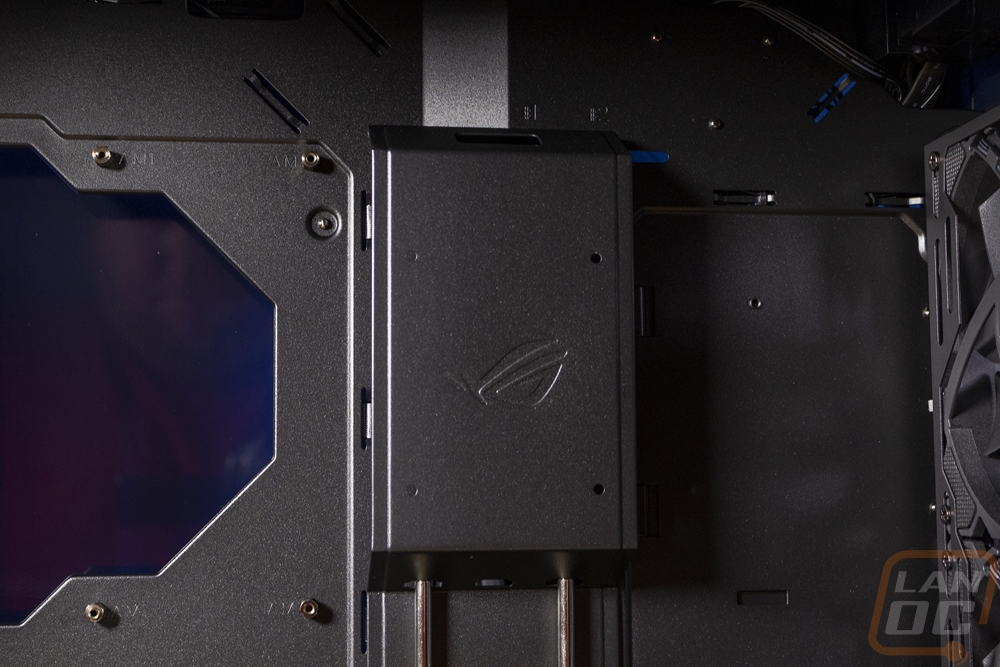
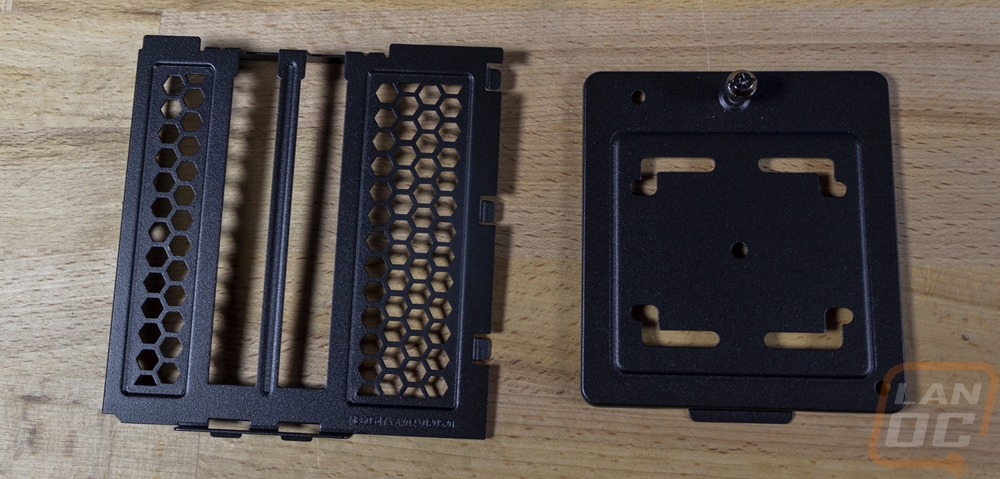
Before jumping to the back I did want to point out two accessories that come with the Helios that work in the front. On the left is another vertical GPU mount, this one mounts in place of the normal PCI brackets putting it closer to your motherboard. Which can potentially open up vertical SLI or using one for something like a capture or audio card or even the new WD Black AN1500 which has RGB. Then the other bracket is a water pump/reservoir mount. That mounts behind the front fans and has two different mounting locations. It slides into one of the two tabs and then attaches with one thumbscrew keeping it easy to use.
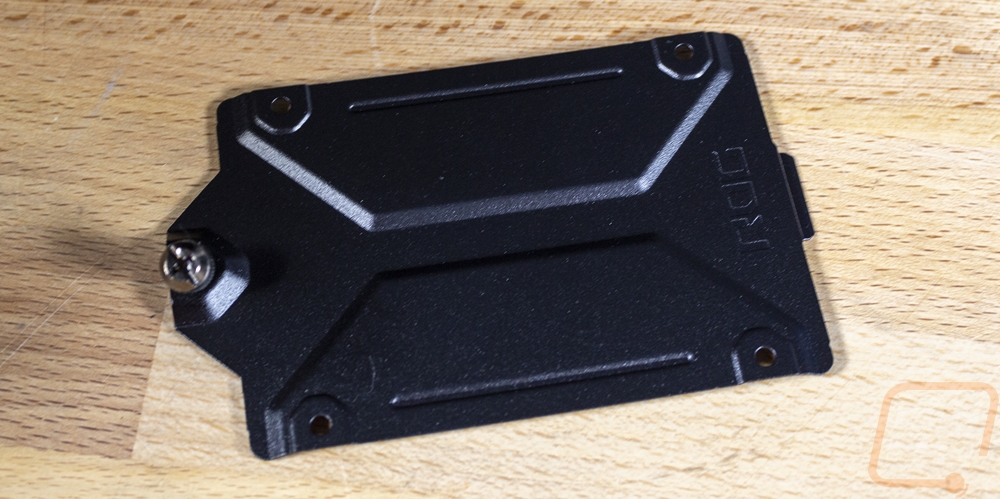
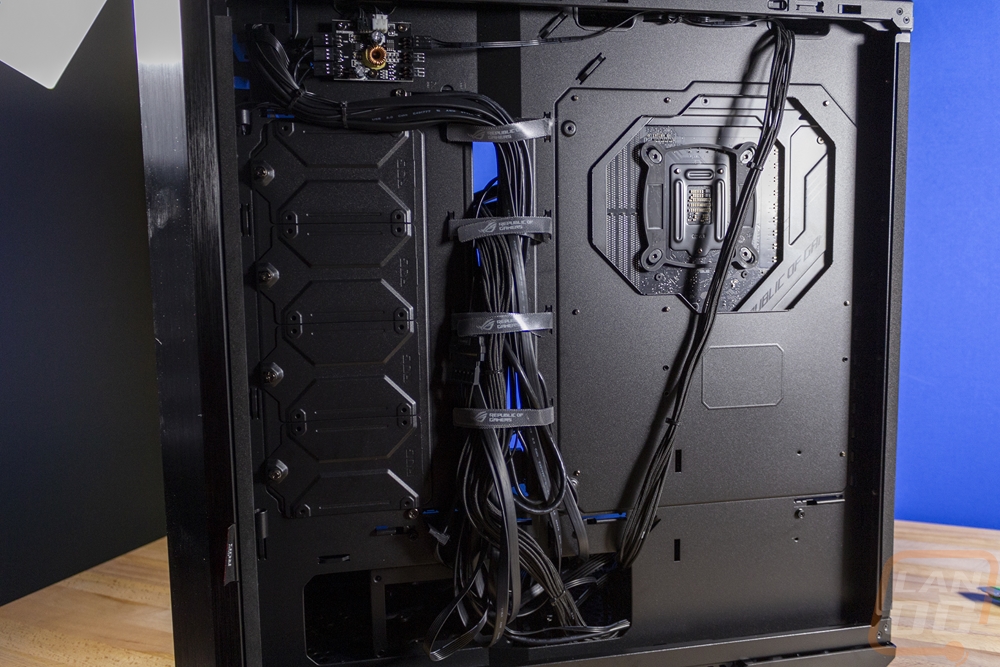
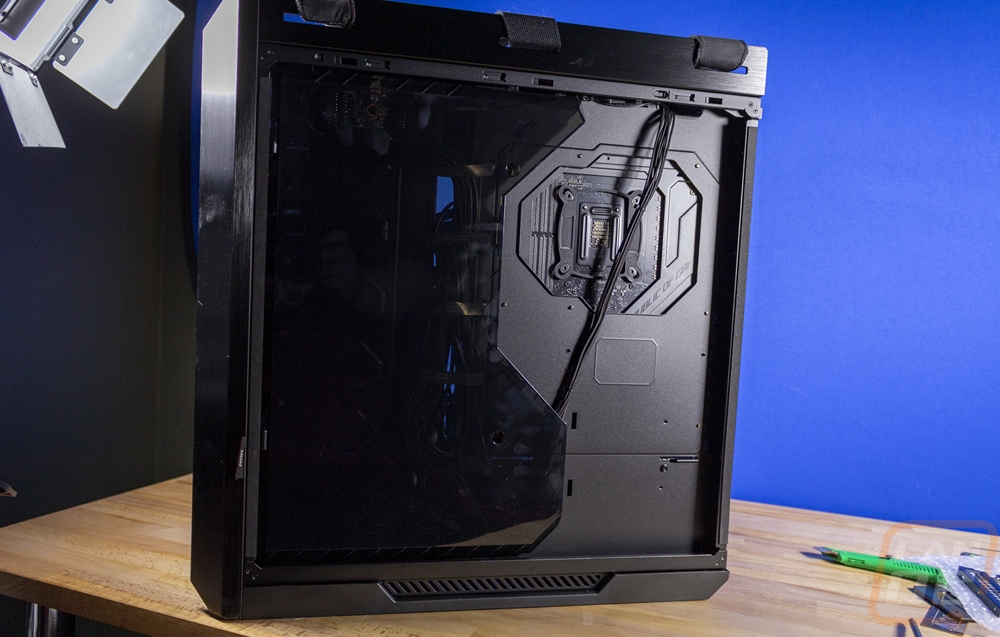
Okay around on the back side or the right side of the case once you have the side panel off there is something interesting. Asus has another door. This isn’t one of those lion door tricks or a Christmas prank where you just keep opening up box after box. With the back being exposed with the glass they have a plastic door here to hide all of your wiring. It is held in with two screws then can be lifted off when working.
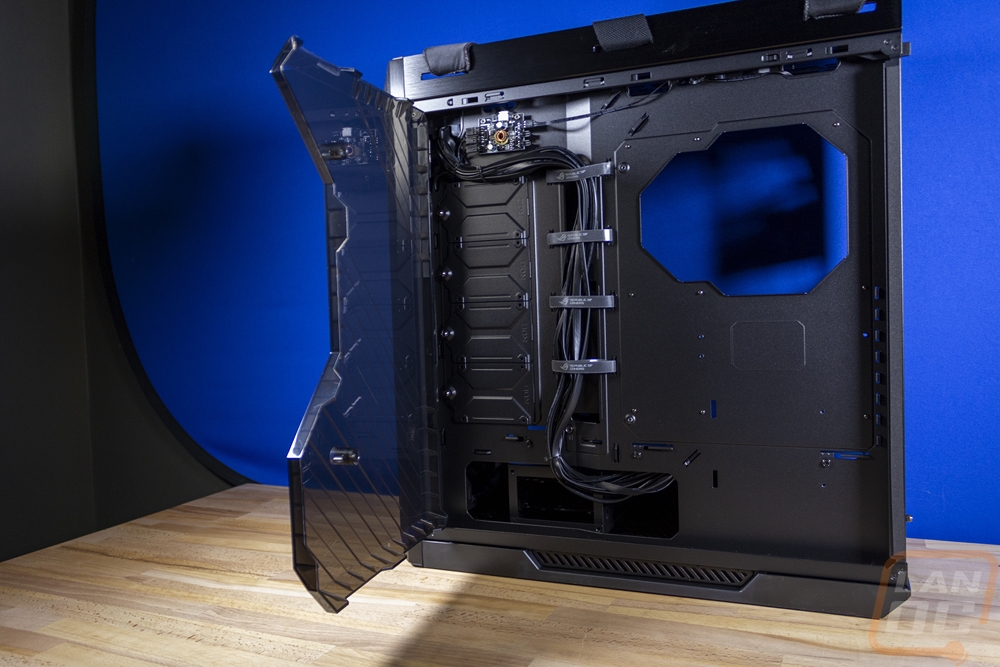
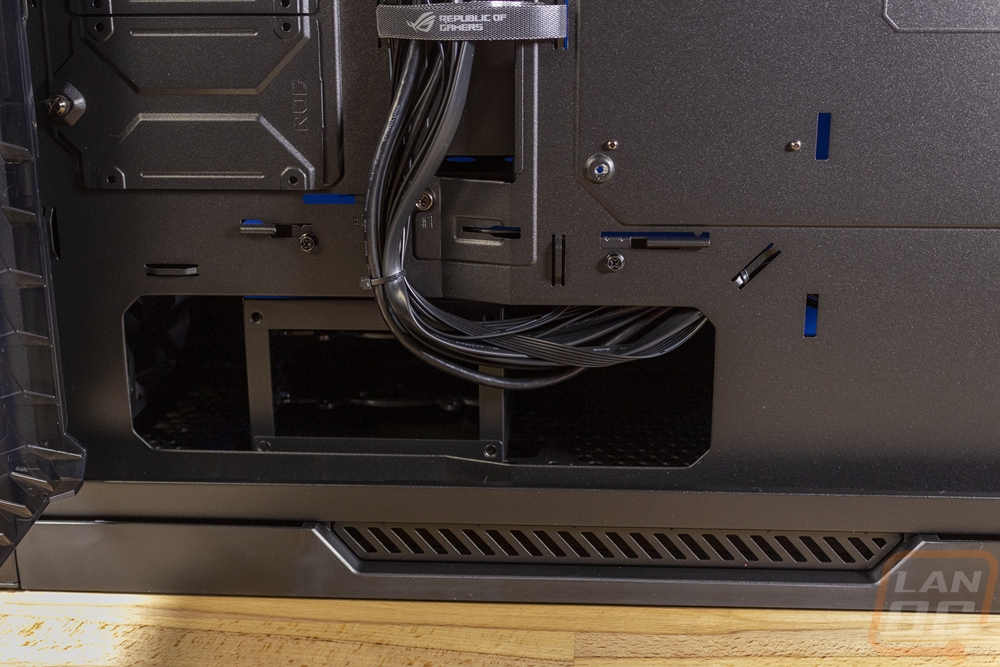
The space behind the motherboard tray isn’t bad, you get around 23mm directly behind the tray. Then on the left, it steps in and you have a deeper section which is around 35mm. The deep section opens up to the PSU section a the bottom as well.
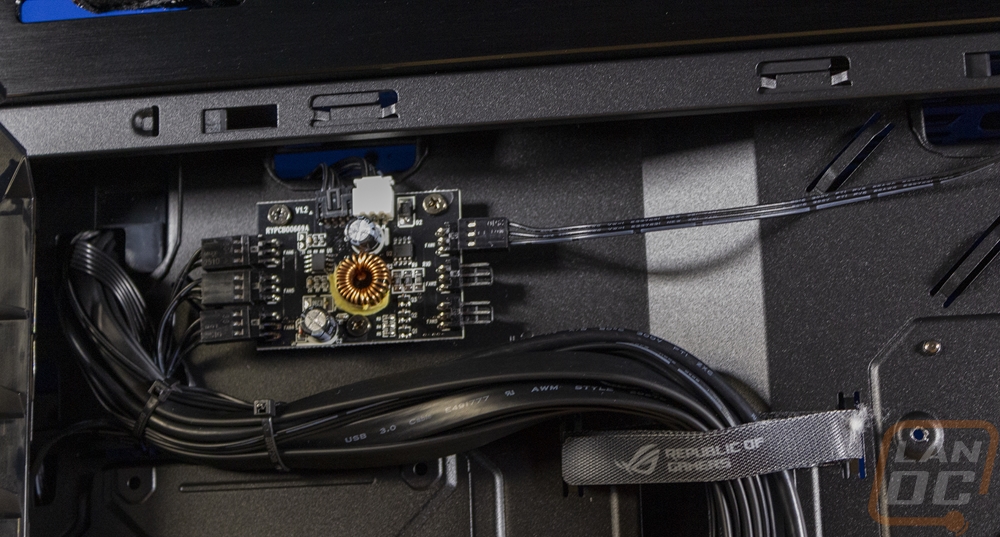
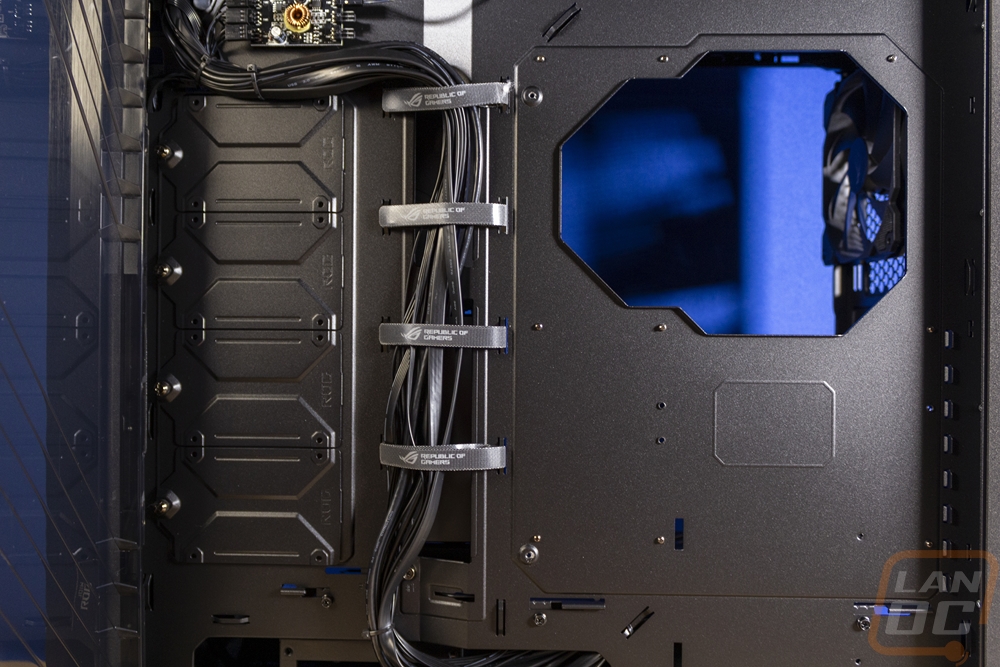
So the Helios comes with all of its wires pre-ran down the back under the ROG branded Velcro straps. Then up top is a small PCB that controls the four fans with two more hookups if needed. All of the wiring is all blacked out. I somehow don’t have a photo, but you get your normal front panel audio, a new Type-C internal wire, the front panel power/LED cables, and two USB 3.2 cables. One of those is a weird right-angle design that I will talk about later. Then there are also two SATA power plugs, one for the fans and another for the lighting. The back of the case gives you access to the four 2.5 inch drive bays. These all have a single thumbscrew mount and all line up under the tinted door within a door. There is also a double 3.5 inch hard drive mount inside of the PSU shroud area that can be seen here but is best accessed from the other side after removing the shroud panels.
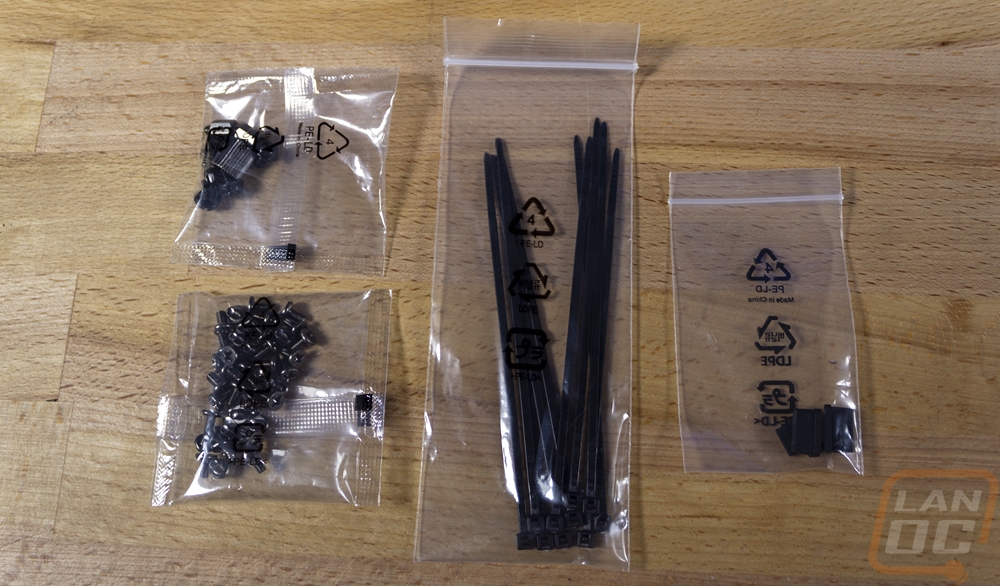
I can’t forget the rest of what you get in the accessories box as well. Asus includes a generous amount of black zip ties, a bag filled with black screws of a few different threads, and then a bag of motherboard standoffs as well as a standoff tool. I wish however that the screws were sorted and labeled and that the bags themselves were reclosable. What are you doing with all of the extras after you are done with these one time use bags? I guess you have to use the zip tie bag lol.
PSU and Water cooling
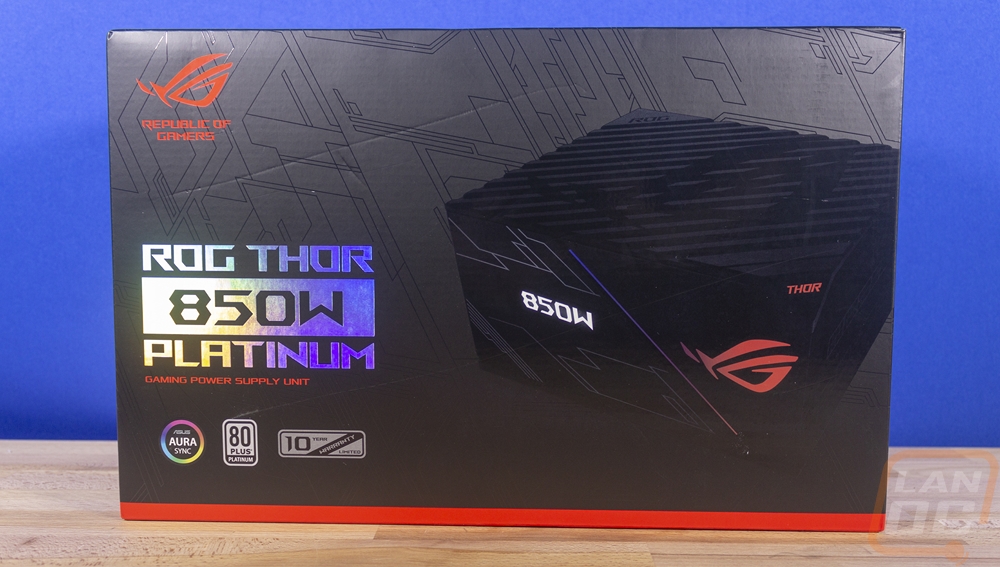
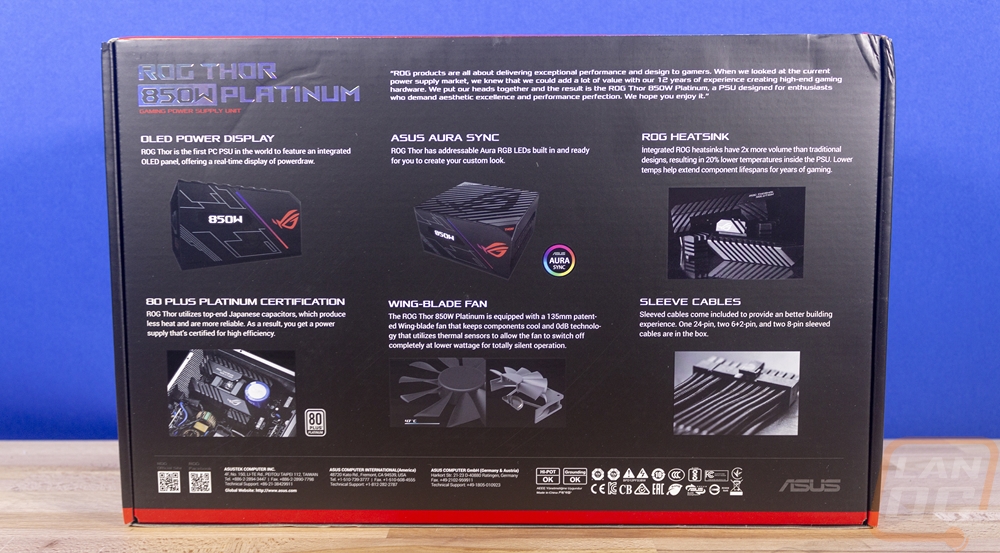
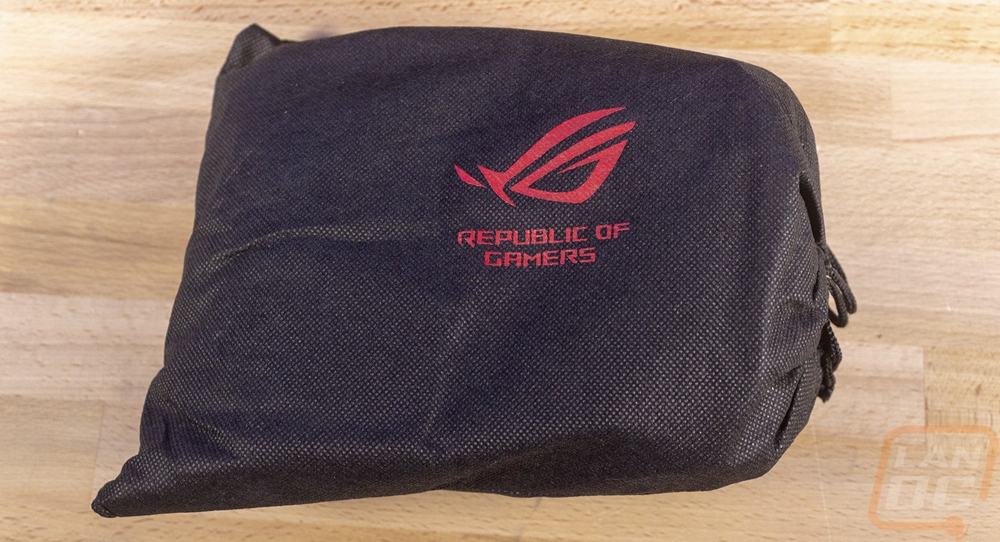
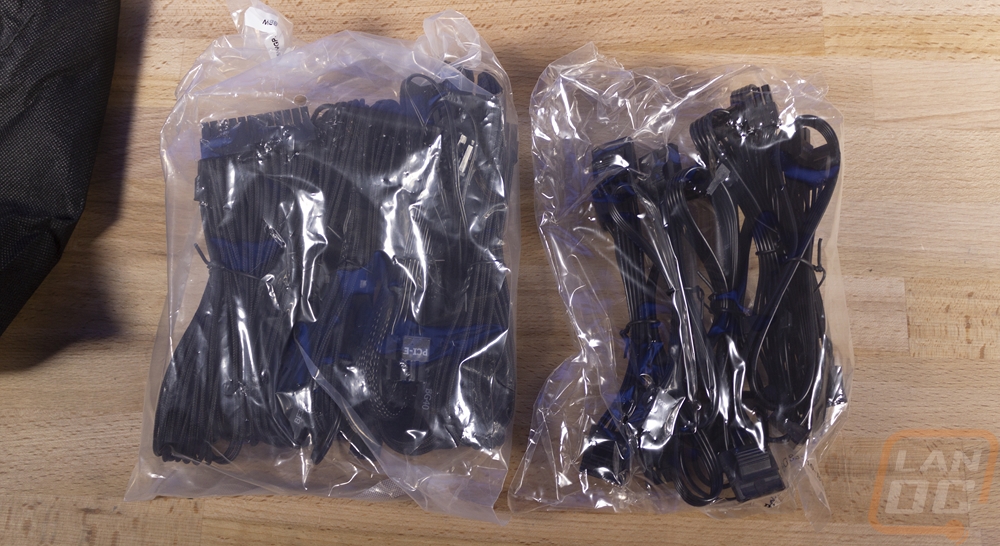
Beyond the case, the other two components that Asus has jumped into in the past few years are power supplies and cooling with water cooling. In fact, I actually took a look at the ROG Thor 850W power supply back in late 2018. I’m not going to dive into everything about the Thor here, be sure to check out my previous coverage HERE. The packaging on the Thor Asus stuck with the normal ROG theme with the red and black but did at least include a picture of the power supply on the front of the box. They touched on some of the key features on the back as well. Then inside you get two boxes, one with the PSU in a foam cocoon and the other has an ROG branded bag inside with all of the cables.
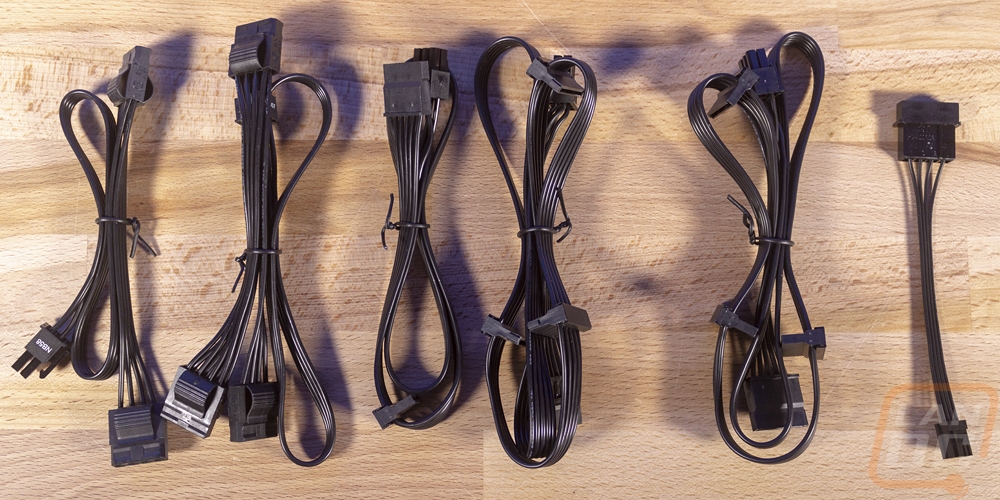
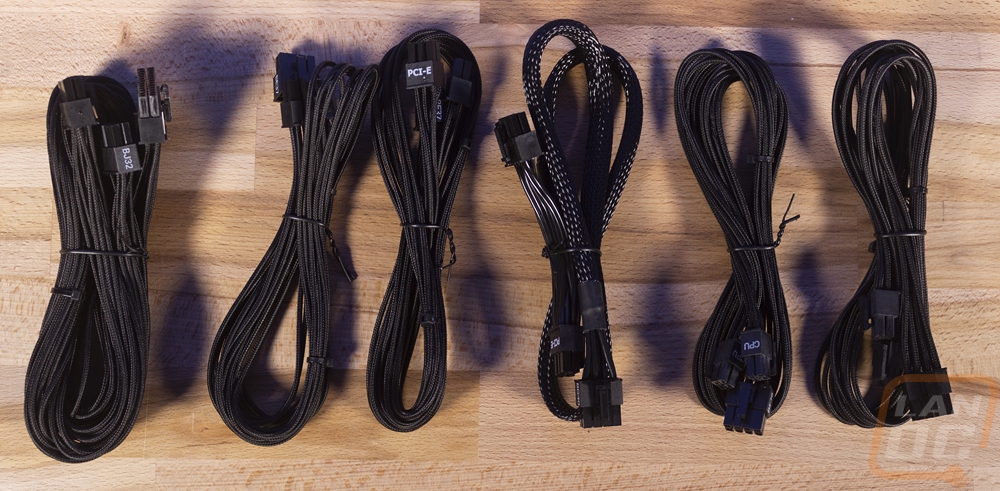
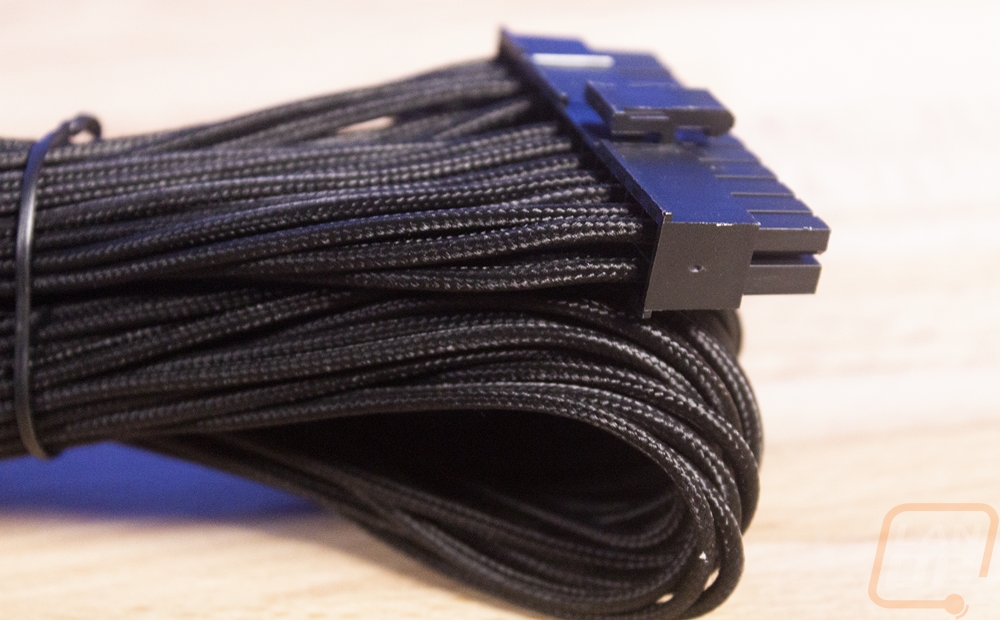
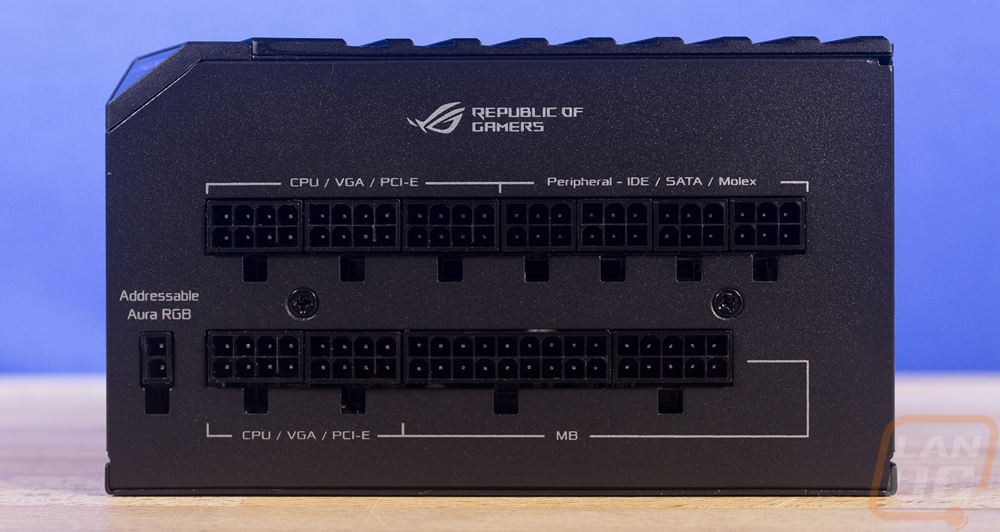
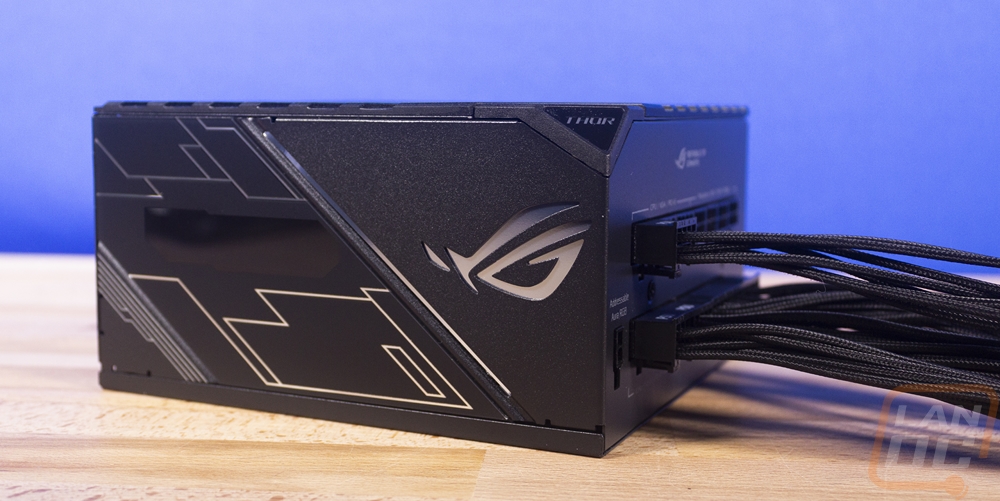
The cables are one of the main areas that the Thor stands out in my opinion. All of the accessory cables are the normal flat cables which are black and very flexible and easy to work with, but those are all going to be hidden. For everything else, they dropped that and went with actual individually sleeved cables with a black sleeving. They also included clear cable combs as well. This adds a lot of value to the power supply, buying a set of sleeved cables like this can be expensive.
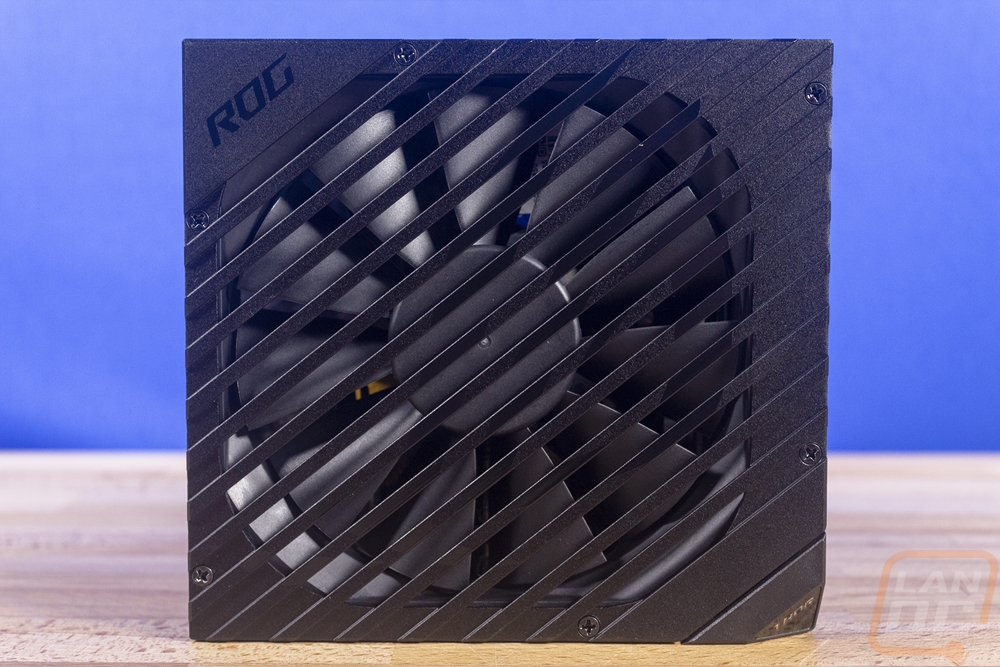
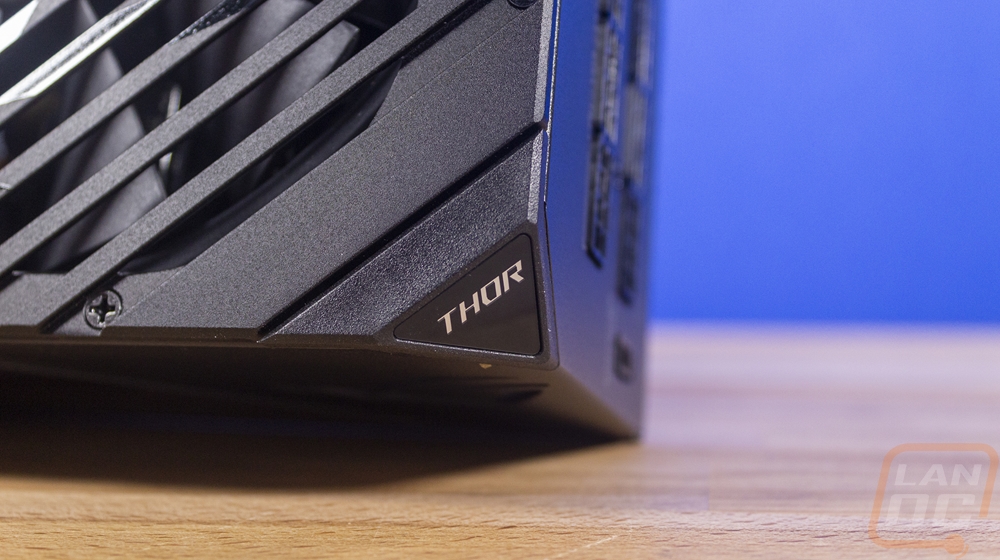
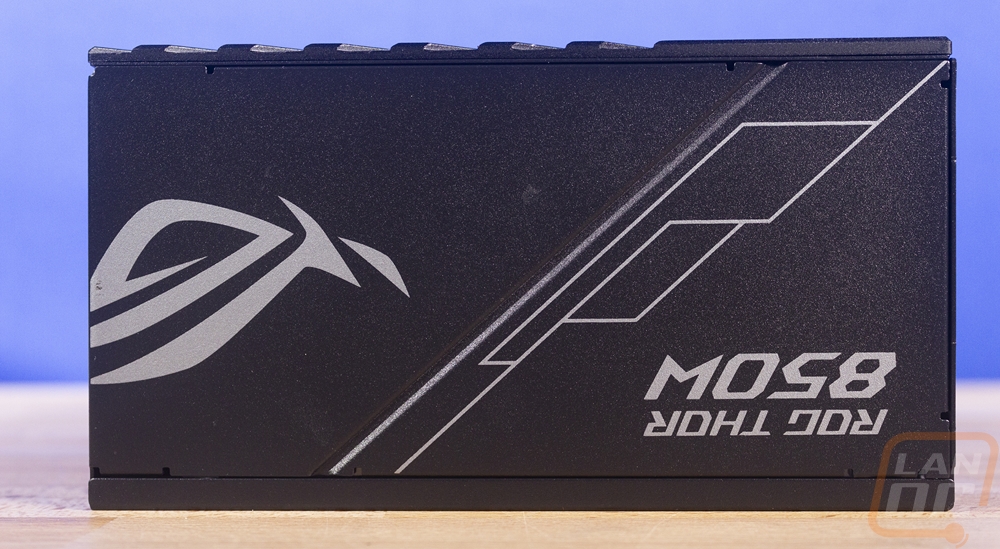
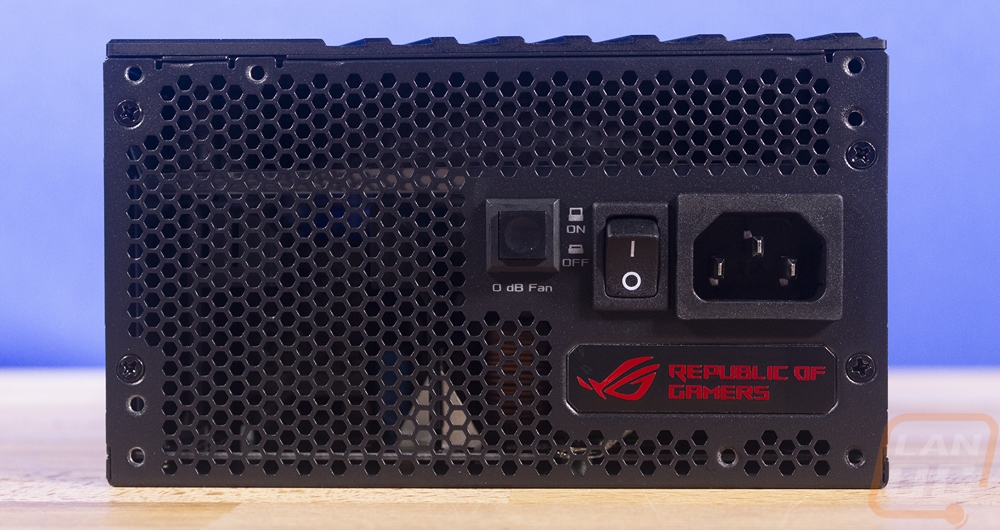
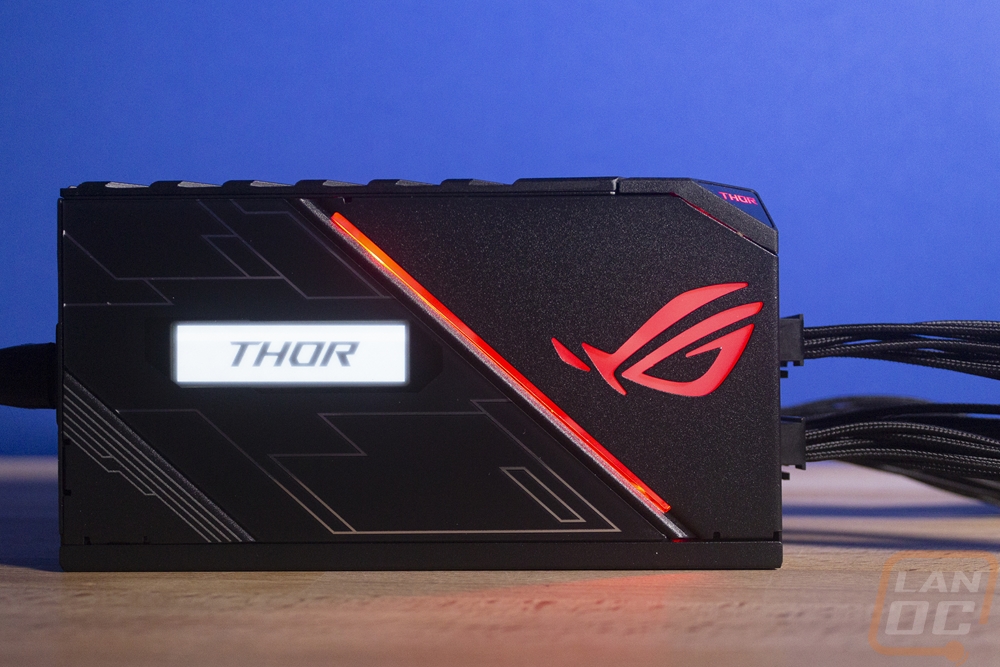
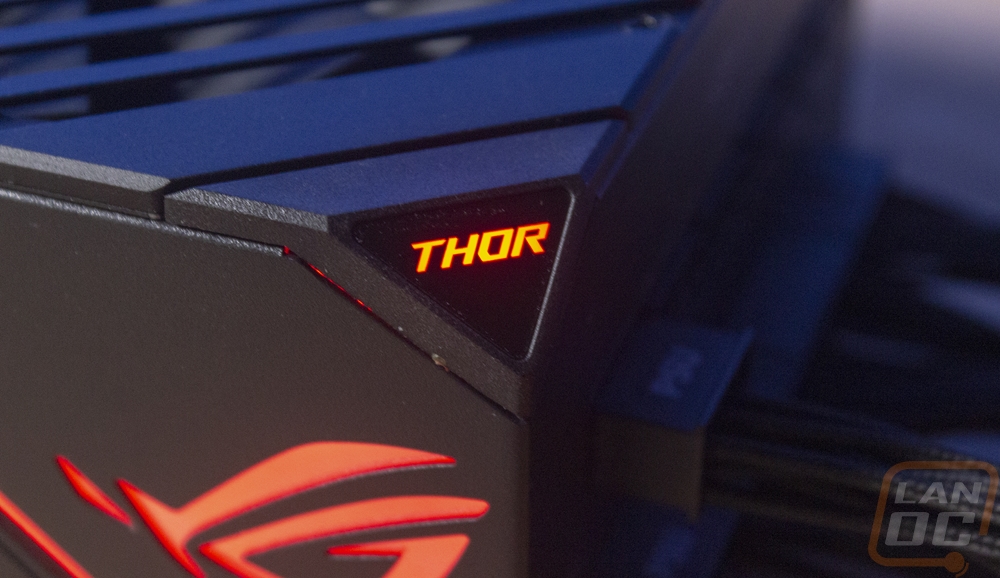
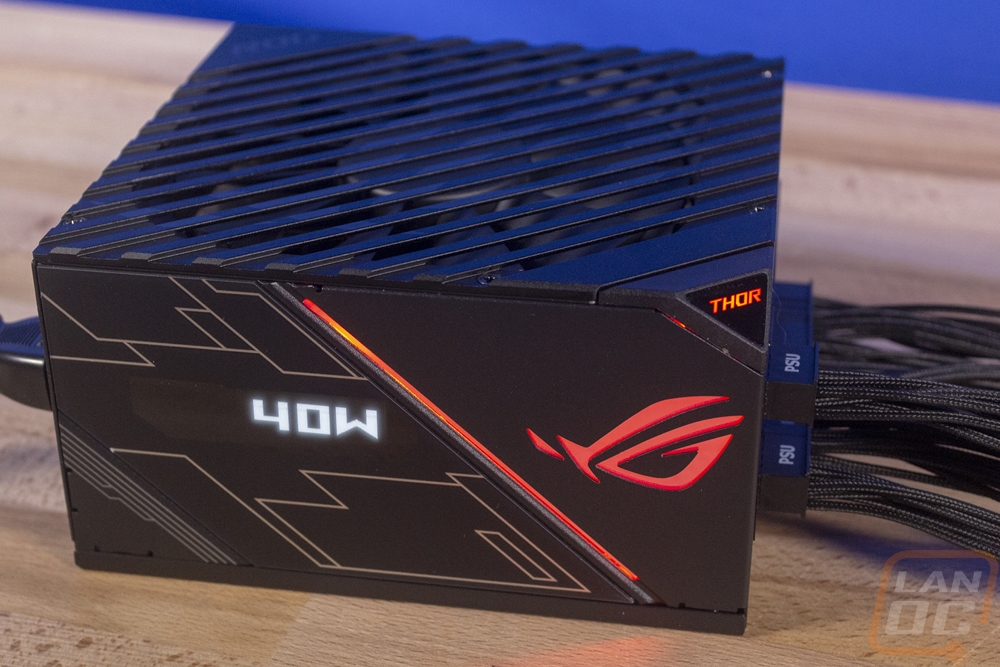
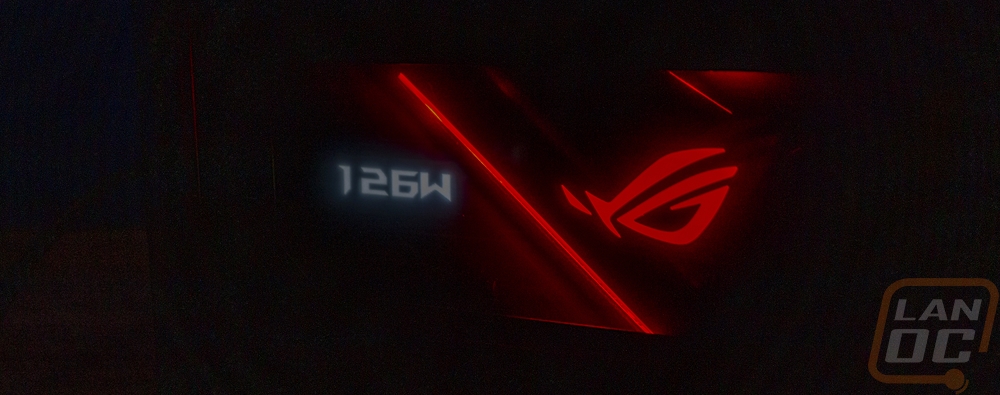
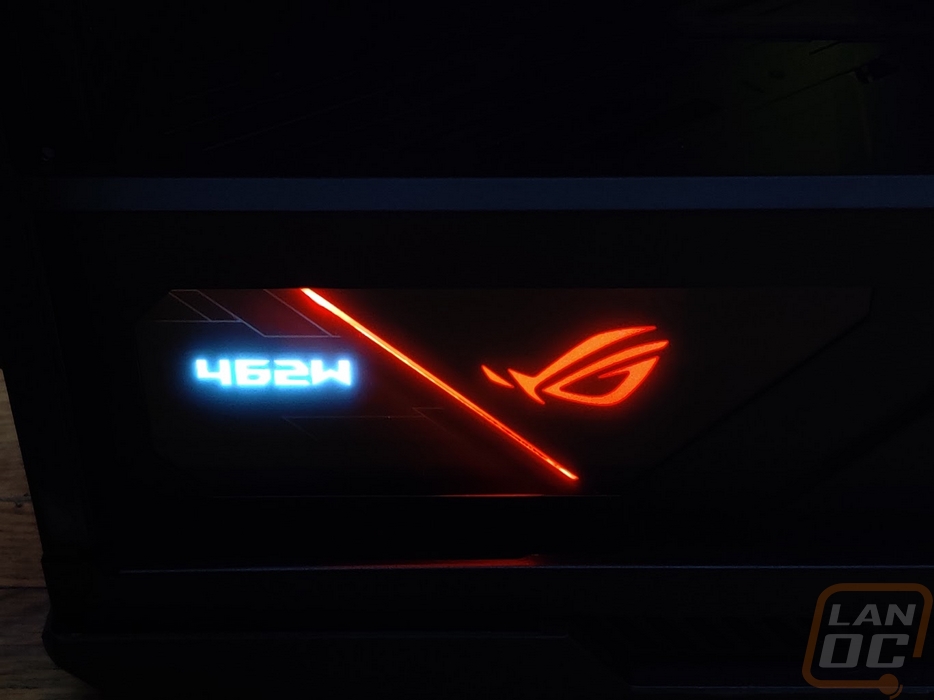
For styling, the housing for the Thor has a cool machined cover for the fan that I’ve never seen anyone else do and they also carved the one corner out to integrate the Thor logo. That corner as well as the side of the power supply have lighting built in that can be tied in with your motherboard or case lighting. It also has a very unique screen built in that shows the Thor logo when first powered up and then shows the wattage being pulled all of the time. Because they couldn’t put this on both sides, it does mean you have to have the fan mounted up to see the screen, because not every case has a bottom vent. Which is one of the big downsides to the PSU, but it is a cool feature. The rest of the PSU has that black powder-coated finish and they made sure to include the ROG branding on every. Single. Side…
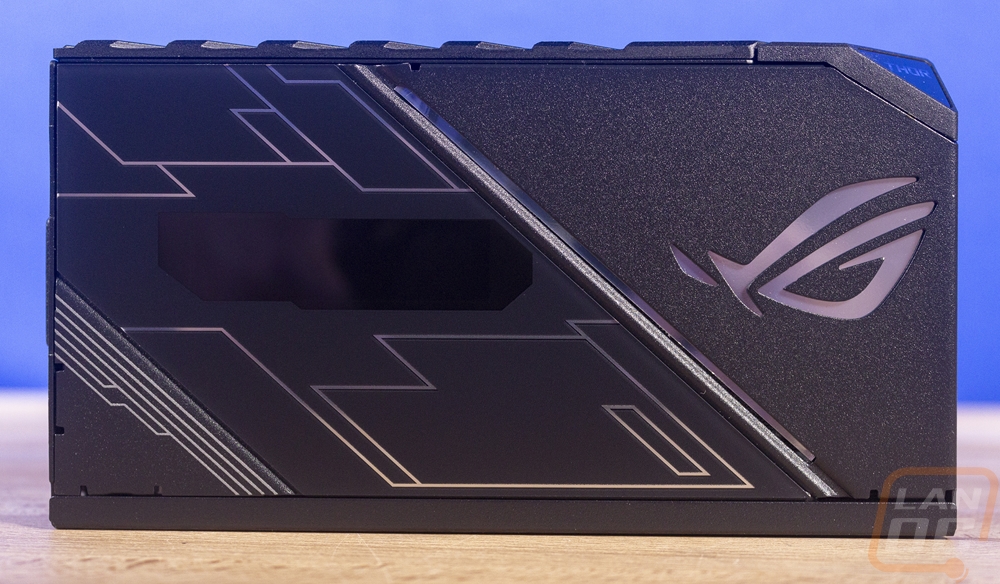
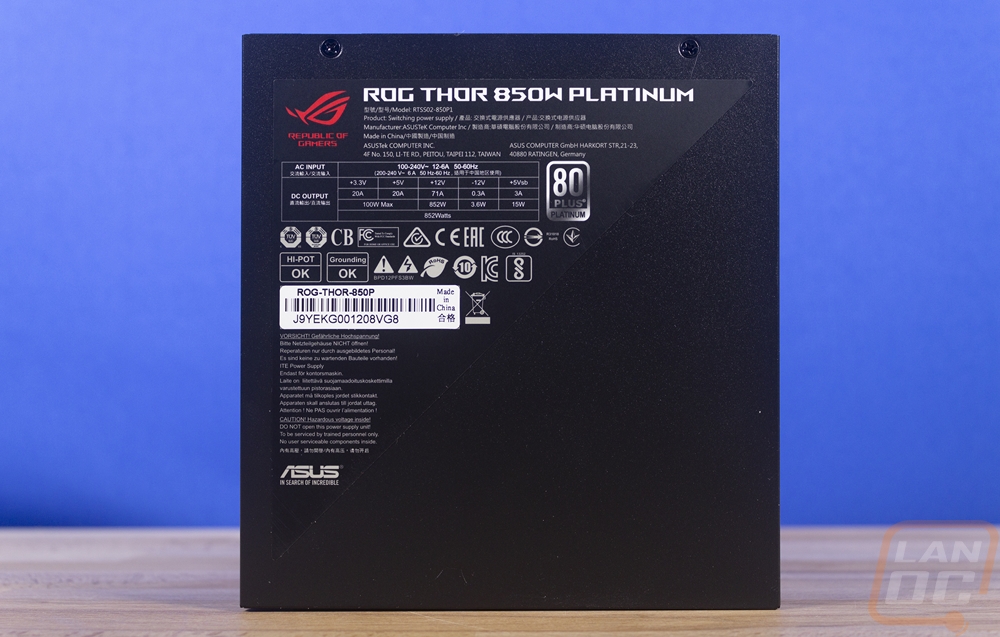
Inside the PSU has an 80 PLUS rating of platinum which is extremely efficient and Asus was smart to work with Seasonic for the PSU, basically creating a Seasonic Prime Ultra Platinum only with Asus’s own cooling design inside. When powered up the lighting is cool, not something that everyone might want but if you were building an all Asus PC, well that would be exactly what you would want with the ROG logo being lit up. Especially with the Helios having a window specifically to see the power supply.

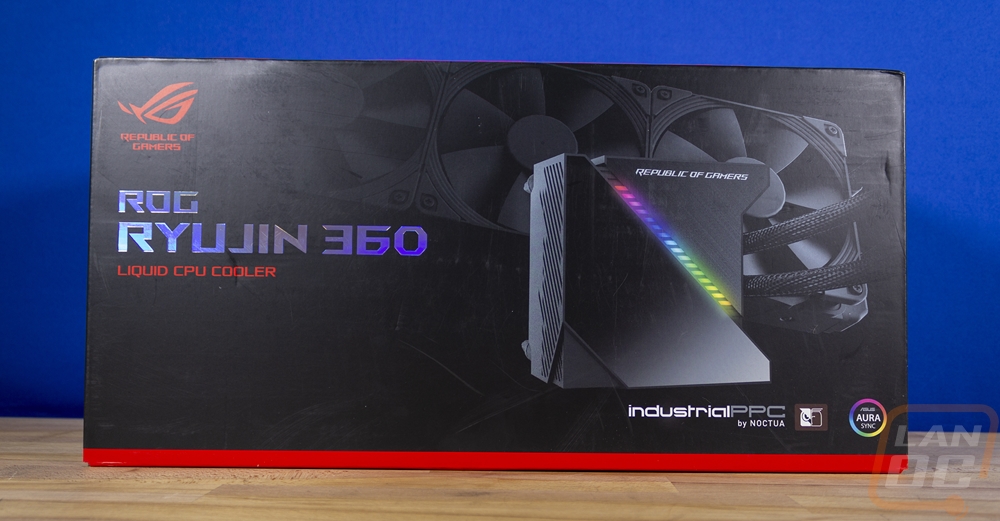
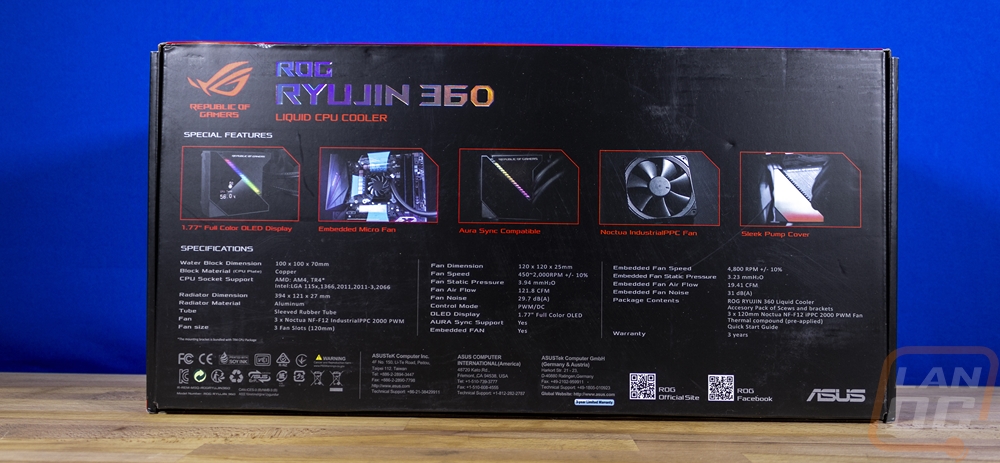
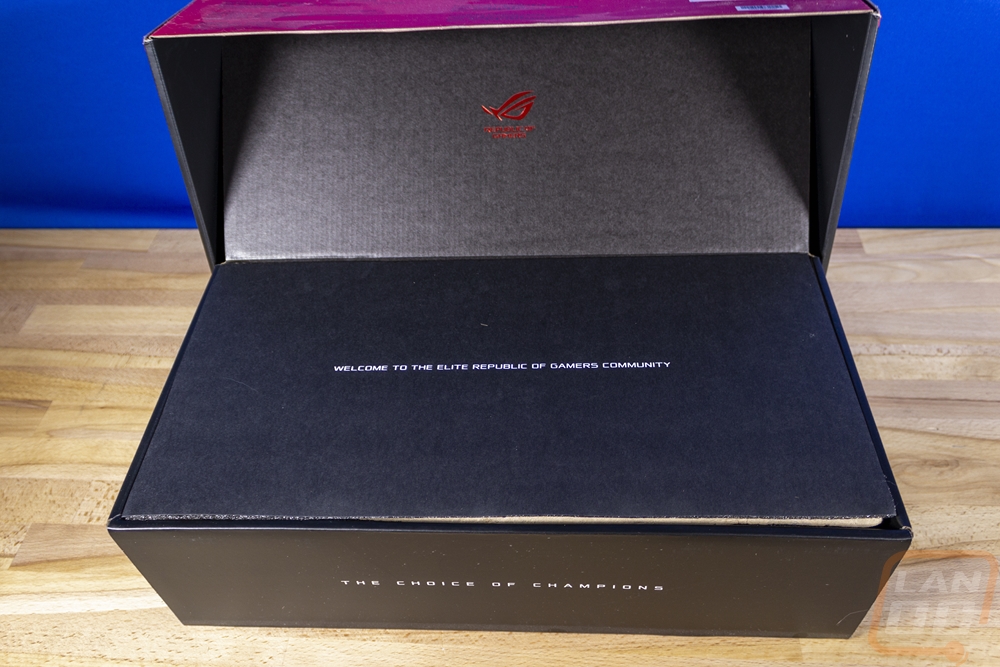
For cooling, Asus has the Ryuo which I reviewed around the same time as the Thor which has a built-in screen but is a standard AIO design including the round pump/block housing and it had Asus branded fans that I wasn’t a fan of. Then they have the ROG Ryujin which also has a screen but integrates a fan into the block/pump area and has upgraded fans from Noctua. They also have a Strix branded model as well which drops the OLED screen altogether and just has lighting in an otherwise standard AIO design. The ROG Ryujin is something I have wanted to check out for a long time and it is also a good match with the other higher-end components so I went with the ROG Ryujin 360. Again, like the others, the ROG theme is there with the packaging with the black and red theme, ROG logo on the front along with the holographic model name. The front has a picture of the pump/block and the fans and radiator in the background. They also have the Noctua Industrial PPC branding right out in the front as well because that is a huge feature. The back bracks down how the cooling fan in the pump housing works, the lighting, as well as the built-in OLED screen. When you open it up they have a thin foam layer that greats you, then inside formed cardboard keeping everything safe just like any other AIO.
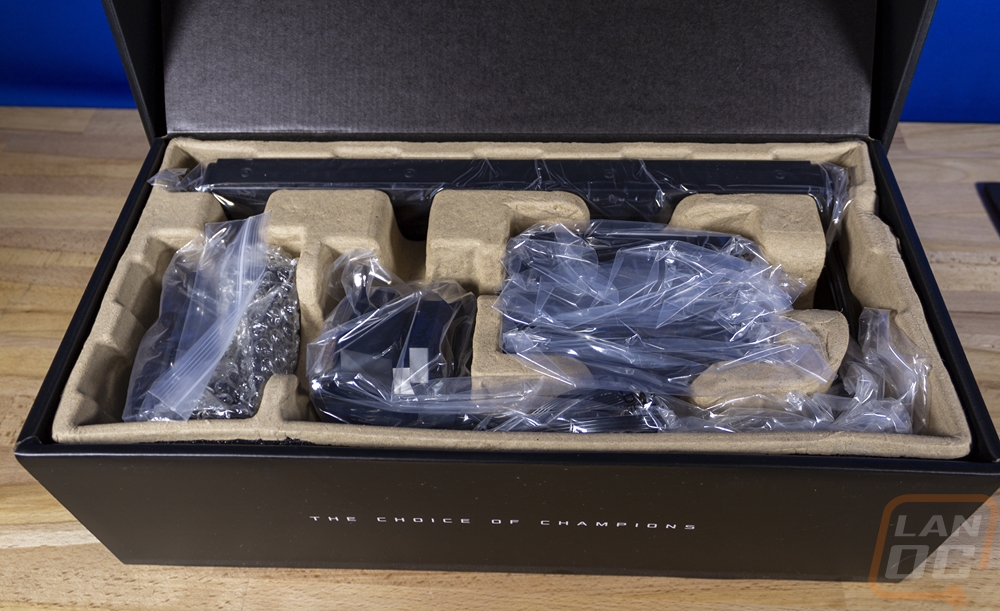
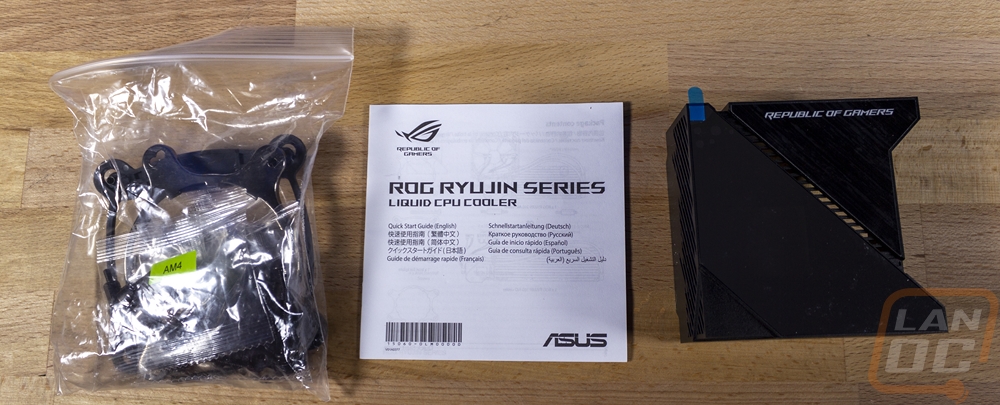
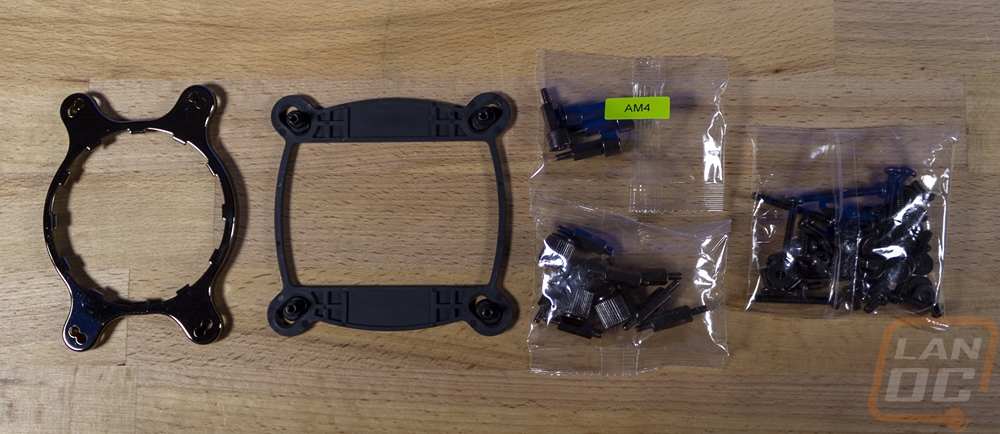
When you get into everything you of course have the pump/block/radiator all together and the fans. Then you get a bag with the AMD mounting, the backplate, and screws for the fans and mounting as well as block installation hardware. It's all blacked out and you get more than enough, in fact, I was surprised you get a washer for every fan and mount screw. Normally you only get enough for one or the other for some reason. There was a small instruction manual of course. Then the square cover for the block comes apart from everything else and it has plastic protection on the tinter/reflective surface where the screen will be.
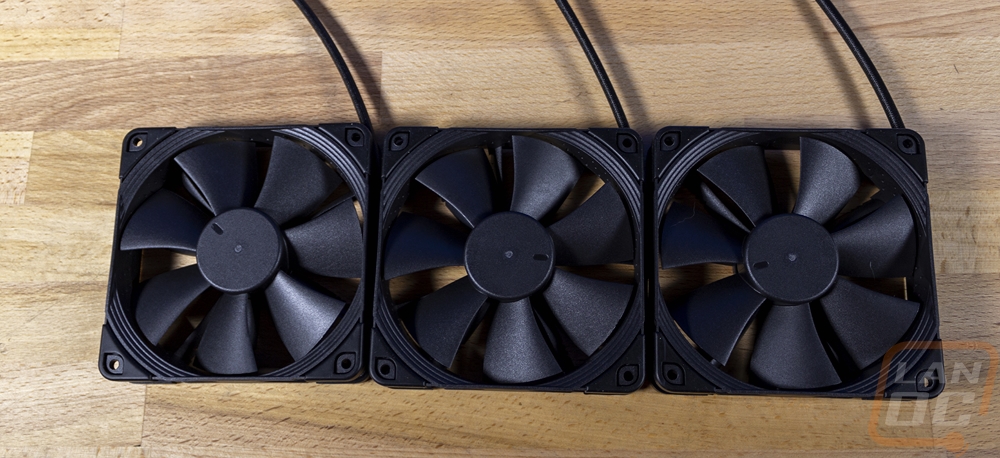
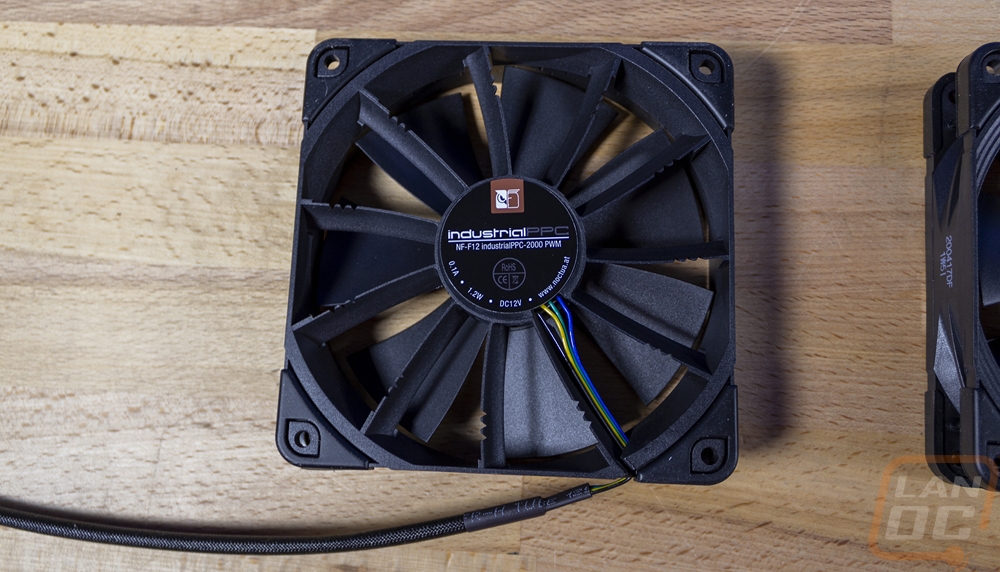
I don’t want to downplay the water cooler itself, but for sure the highlight of this whole kit is the fans. If you don’t already know, Noctua fans are some of the best you can get and they are never included with an AIO. These aren’t even their cheaper Chromax series of fans, these are the Industrial PPC fans which use a stronger fiber infused plastic and are rated for work environments for dust. They also contribute a LOT to the overall cost of this kit. Specifically, they are the NF-F12 industrialPPC-2000 PWM, but they have the black vibration pads, not the dark brown they normally get. Even right now you will have to put down just over $25 for each fan on Amazon to get one and that doesn’t include the Chromax black vibration pads. Which would normally run another $7 for a set, if they were in stock. They run at 2000 RPM and as the name indicates are PWM fans. This is an 80+ upgrade you might look at later when the noise of the cheaper AIO cooler fans get on your nerves, which is why it's cool they are included.
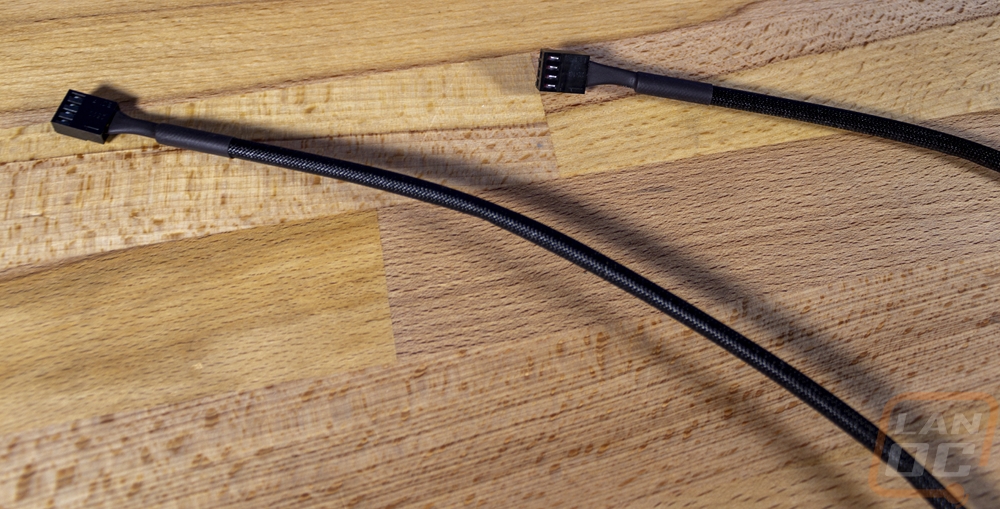
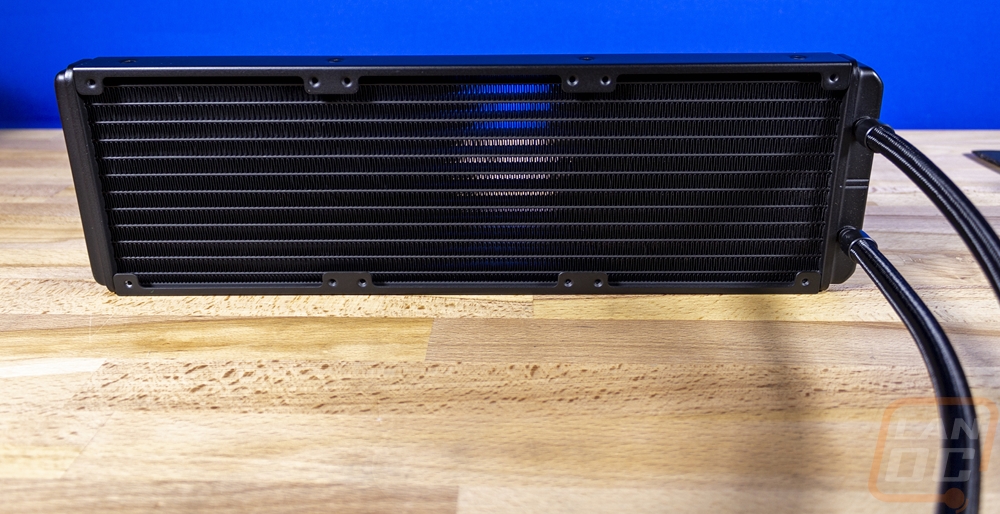
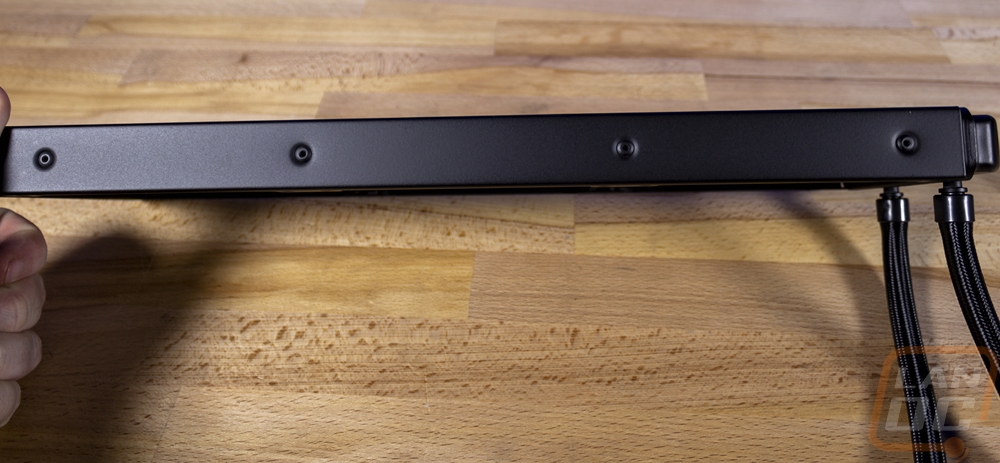
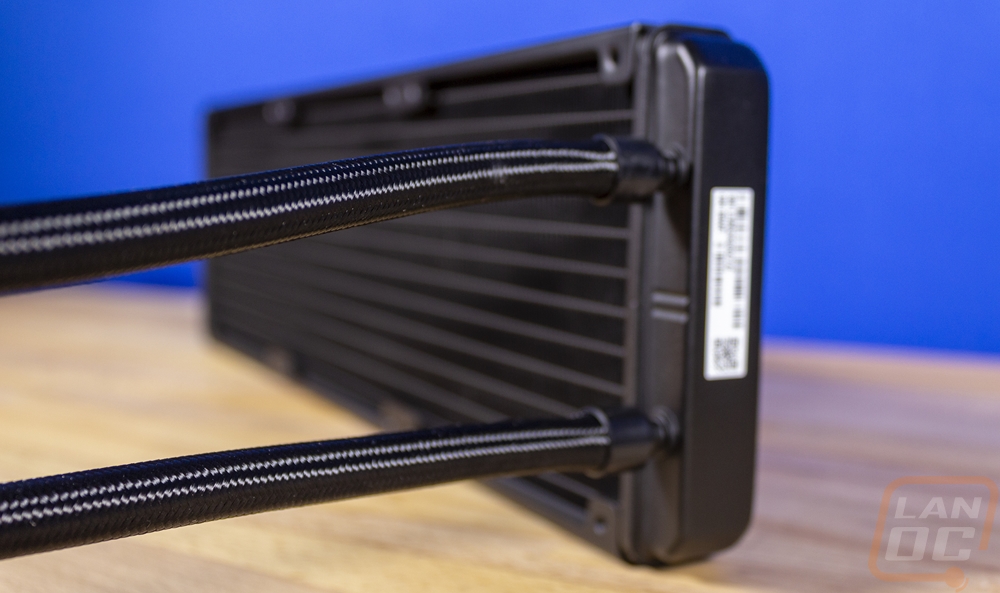
The radiator isn’t any different than your standard AIO. Ours specifically is a 120mm x3 but they also have a 240mm or 120mm x2 AIO as well. The hoses are sleeved in black to match everything, which these days is standard as well.
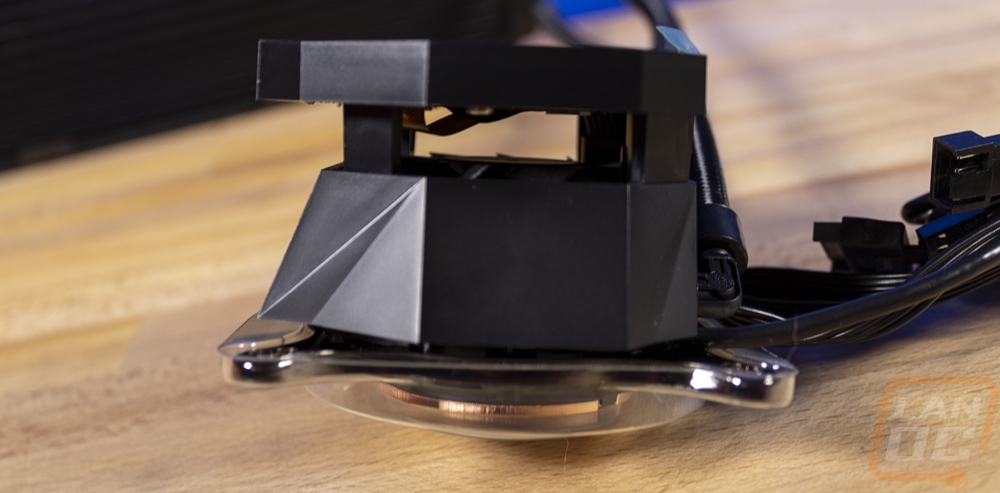
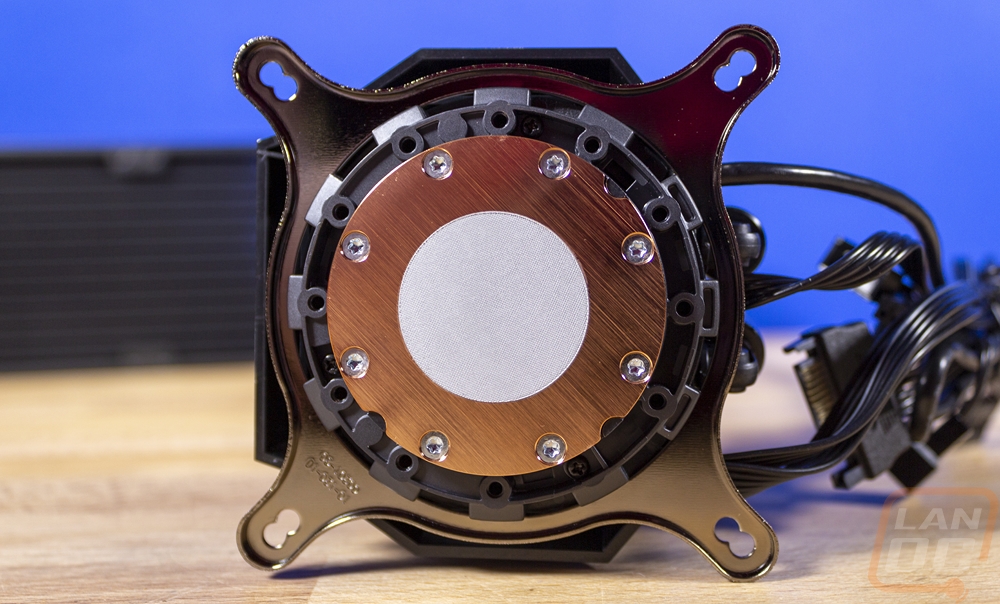
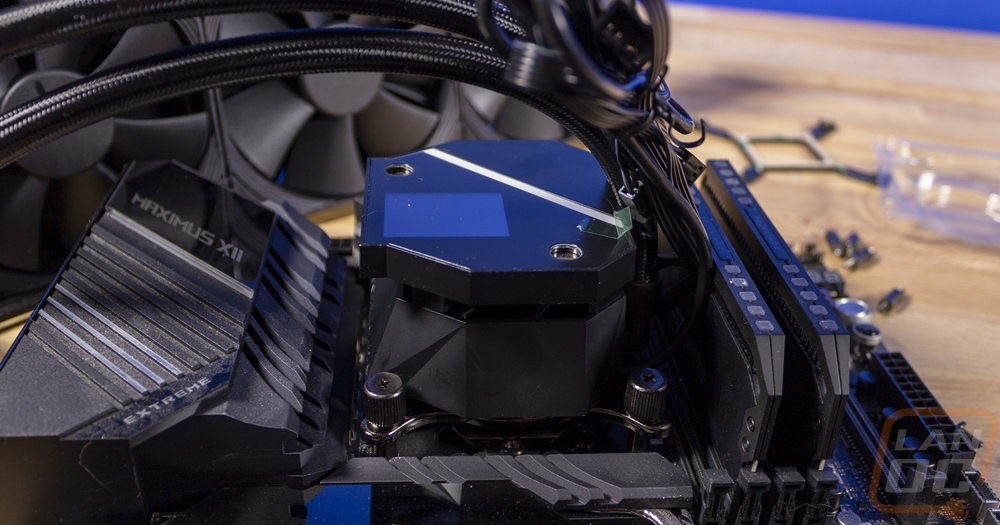
Then we have the pump/block assembly. This is the other big area where Asus made changes. What you are seeing here is the pump without the included cover so it doesn’t have the full squared-off shape, but you can see the integrated OLED screen which when the ROG Ryujin was introduced no one else was doing. A few companies have followed the trend as of now though. The other big design feature here is the integrated fan which might seem a little weird, why would you need a fan here for a water cooling kit. The issue with water cooling, both with custom and AIO kits is that while they pull the heat away from the CPU well there are VRMs around the CPU that require airflow as well as your memory. The integrated fan here makes sure to keep some airflow in that area. Which Asus would know all about given they design the VRM cooling on their boards. This is why this part has a weird shape, they are leaving room for airflow to blow out between this and the square cover. You can see the fan from the side profile. Beyond that though, this is still a standard OEM partnered cooler which you can tell from the round contact surface and the standard Aasetek mounting design.
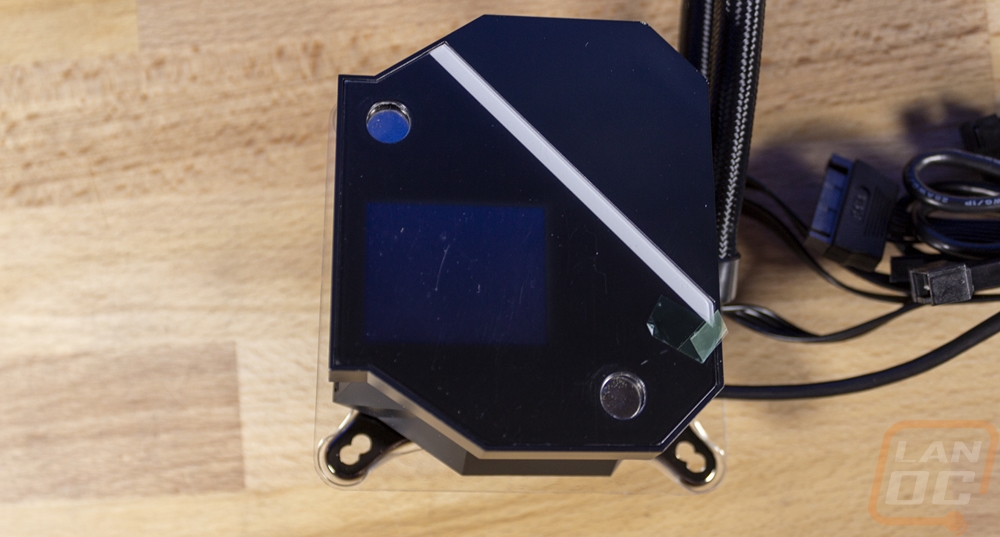
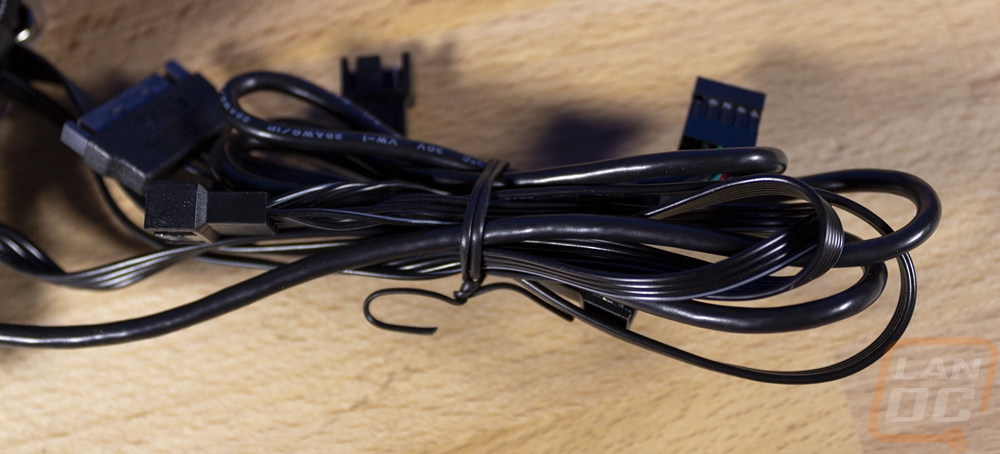
The pump, screen, and all of the controls are all built into the water block. So for wiring, everything comes out of that area. There is a wire for the three fans to plug into, a USB 2.0 plug to allow for the fans, the screen, and the lighting to be controlled. Then for power, there is a SATA power plug. There is also one PWM fan header that plugs into your CPU fan header to relay fan speed to your motherboard so it doesn’t freak out thinking you don’t have any cooling.
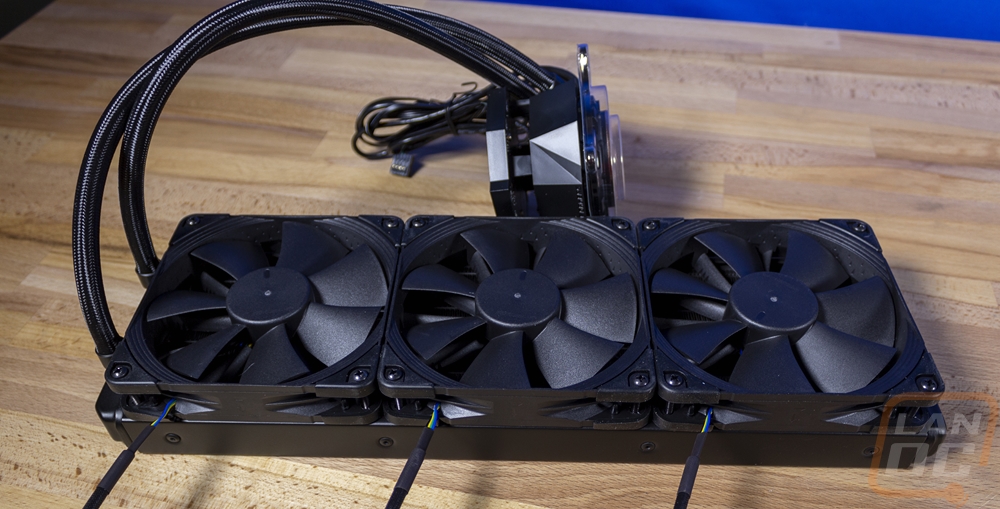
With everything together, the Ryujin looks great. The Noctua fans set everything off and I like the ROG blacked-out design. The OLED screen is something I like because you can integrate a logo or PC stats which always gets attention with the Ryuo that I have installed in one of our LAN rigs.
Motherboard and Video card
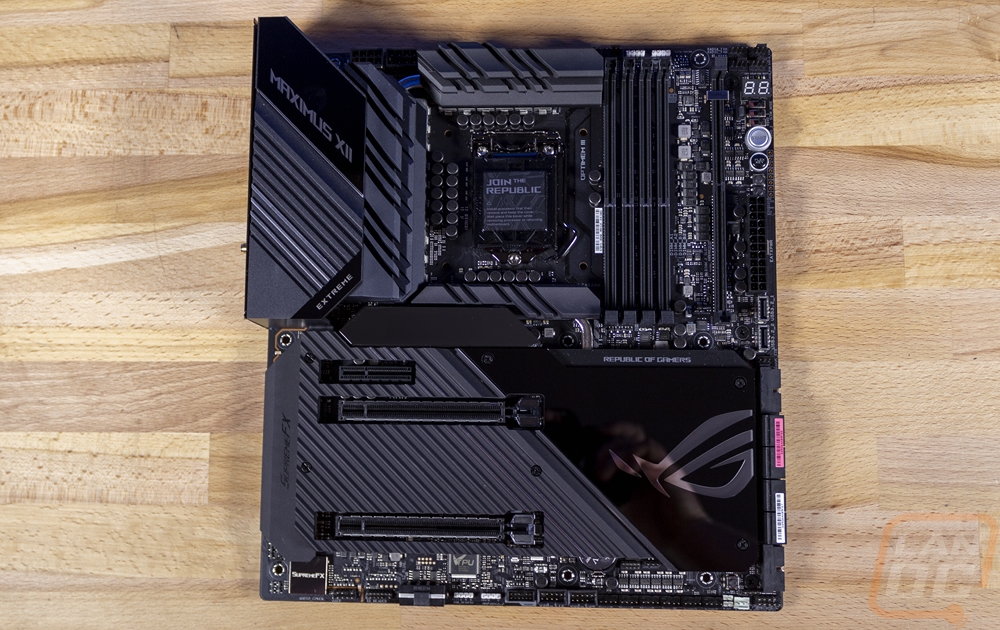
The meat and potatoes of the build are the motherboard and video card and as you might have guessed they are both Asus ROG. For the motherboard, I went with our ROG Maximus XII Extreme which is a Z490 motherboard and one of the craziest Z490 boards available. The Helios case supports the E-ATX form factor and ROG to me is extreme so why not go with the biggest badest one available on the chipset we were going with. I reviewed this board back in June so I’m not diving into all of the features. Frankly, we just don’t have time because there are so many. Check out the full review for that. Today I’m just going to run through a few pictures/features. The packaging still has the red and black theme of course, but I do wish this one had a real picture of the board on the front like most of the other ROG products have. The back of the box does have a few pictures though including zoomed in pictures of a few of the main features.

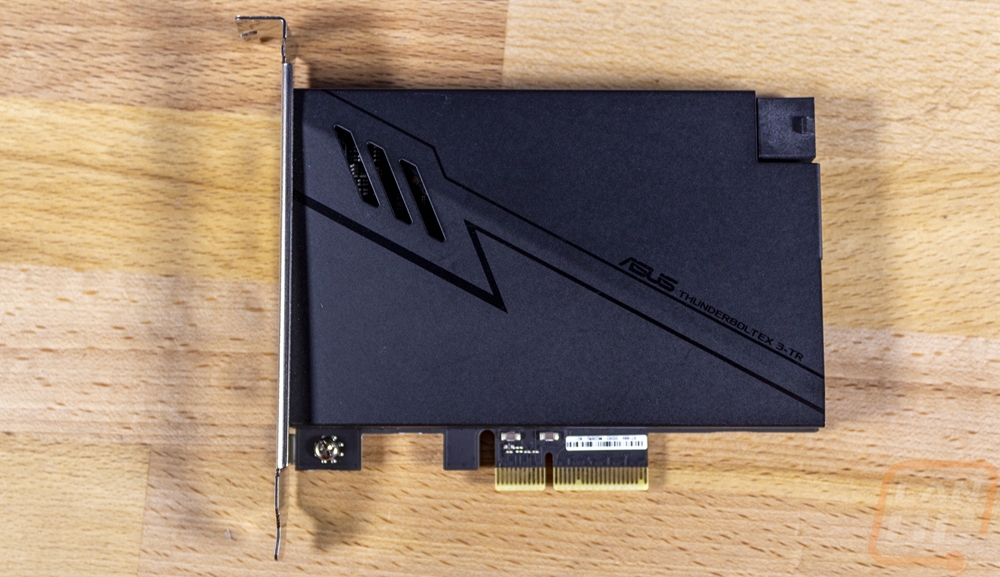
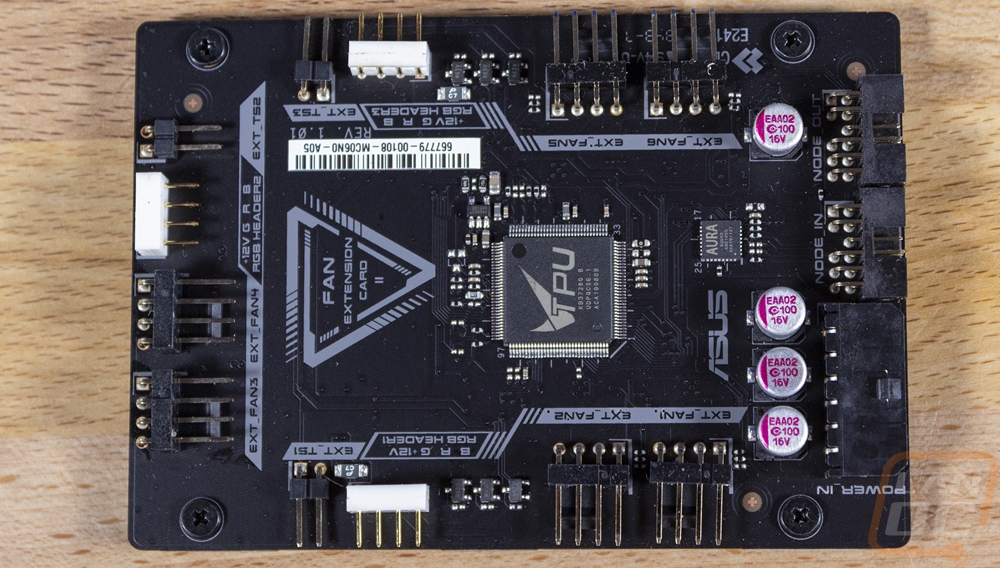
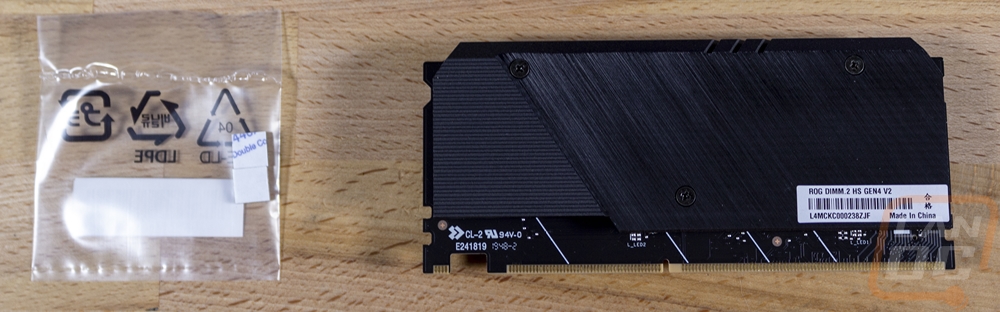
I think what I like the most about Asus’s highest-end motherboards and this isn’t something they seem to do with their high-end video cards anymore. But when you buy an expensive ROG motherboard you get a whole collection of accessories and even some swag. This board came with a sweet keychain, a USB drive, stickers, and so much more. That doesn’t even include the add-in boards that also come with it like the Thunderbolt 3 PCI adapter that adds more USB Type-C connections including a full speed Thunderbolt 3 connection. You also get a fan expansion board which adds six more PWM headers as well as three thermal sensor plugs to go with the included thermal sensors and three more RGB plugs which is nice on a build like this where you can hook the case and power supply up into the lighting. Then they have their DIMM.2 card which looks like a stick of memory because it comes with a nice black aluminum heatspreader. This adds two more M.2 slots to the board and keeps them up and away from all of the heat.
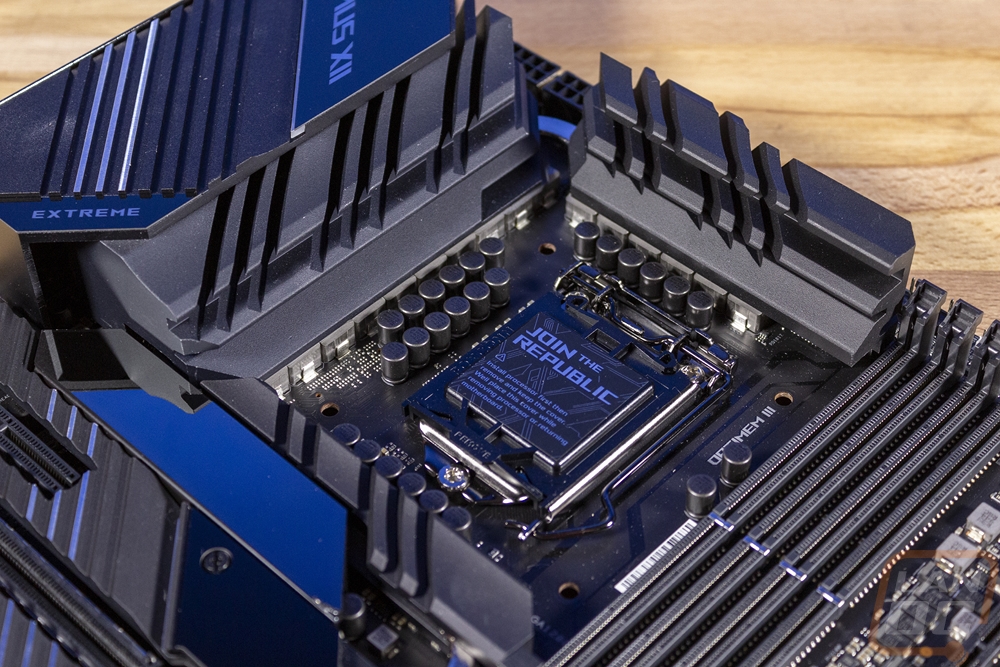
Like I said before, there are just too many features on the Maximus XII Extreme to go through in this build article. But Asus has it completely packed pull of headers and connections. You can see every open area that doesn’t have a heatsink is full, which is why they have additional break out boards. The number of PWM fan headers on this one is nutty with 14 in total. I’ve had issues in the past even with normal builds not having enough plugs for fans, even the Crushed build uses PWM splitters for two sets of fans to make everything work and that build only has 5 fans. You get two of the new Type-C headers, two USB 3.2, and two USB 2.0. Every plug, memory DIMM, and PCI slot has a metal shield to cut down interference and to hold tighter. Then there is an OLED screen below the CPU. For overclocking, it is all there including LN2 modes and voltage pickups for your multimeter. Even the back of the board has an almost full metal backplate as well.

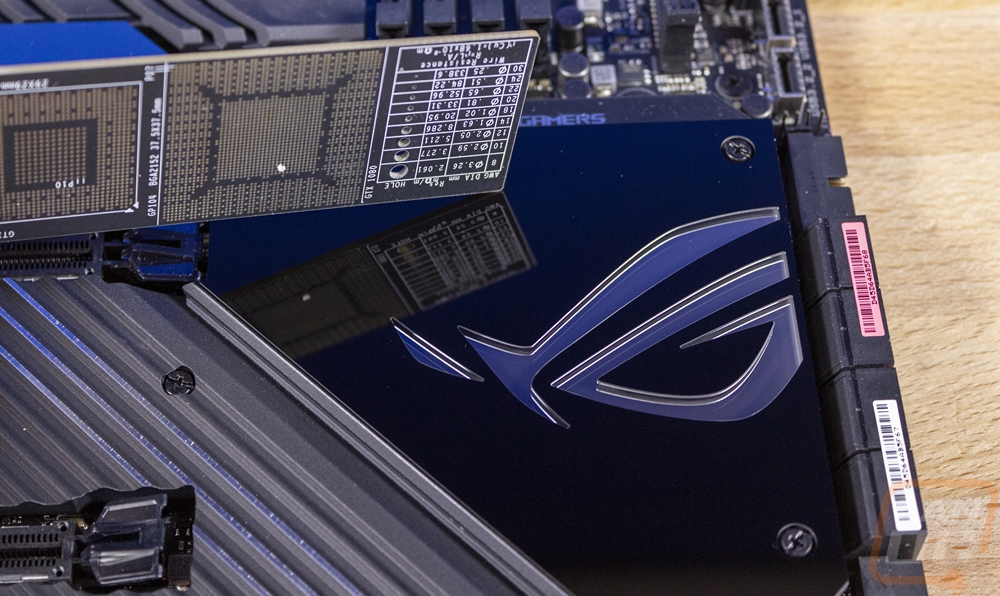
For cooling they didn’t skimp, the VRM heatsinks are huge and also integrate into the metal rear I/O cover. Then most of the rest of the board is integrated into the chipset cooler and the M.2 heatsinks which all have a nice mirror finish on them.
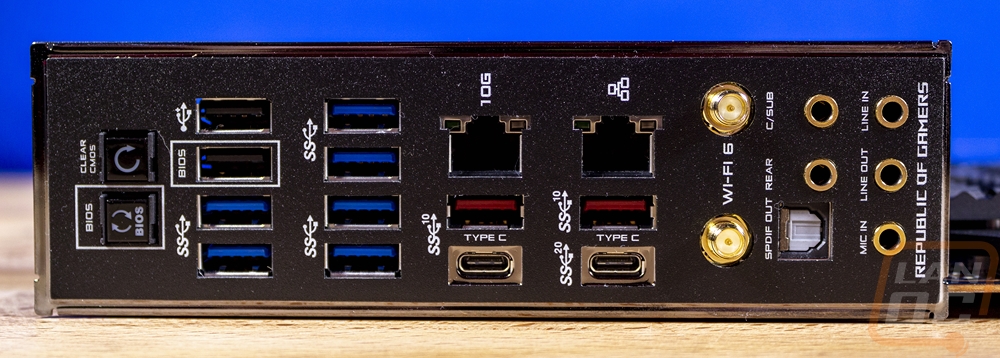
Then for the rear I/O, this might be the only board that has everything I want to see. You get two stacks of four USB 3.2 plugs. Then there are four Gen 2 ports, two are Type-A and two are Type-C which is great. It has the normal Intel 2.5G NIC but they also include a full 10G NIC as well. Then WiFi6 is over on the side next to the audio connections which are all gold plated and have LED lighting built inside each plug that lights up the color of the plug it is to make it easy to spot even in the dark. Also over on the left, you have an easy to reach clear CMOS button and a BIOS button for updating the BIOS with a flash drive, even with no CPU.
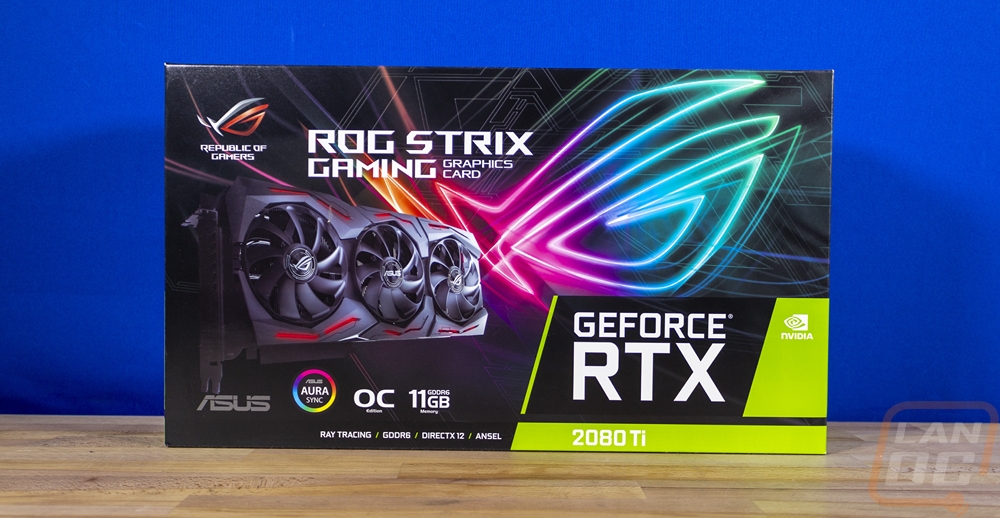
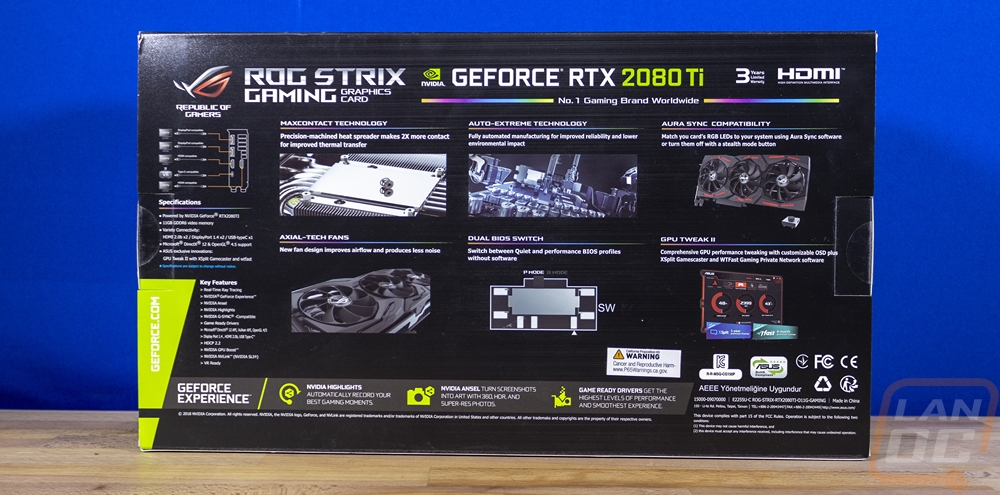
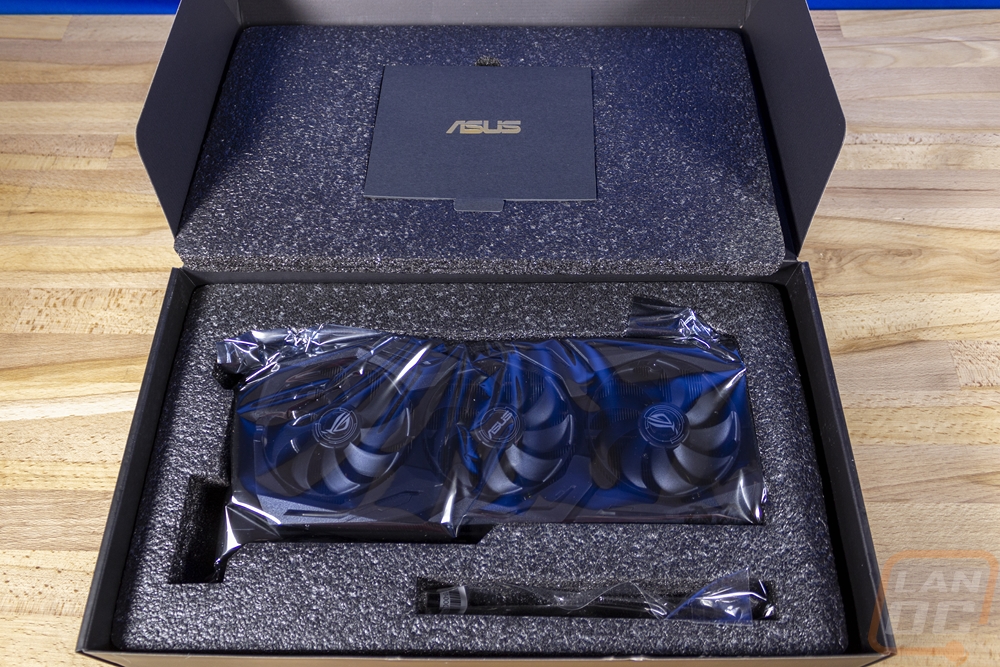
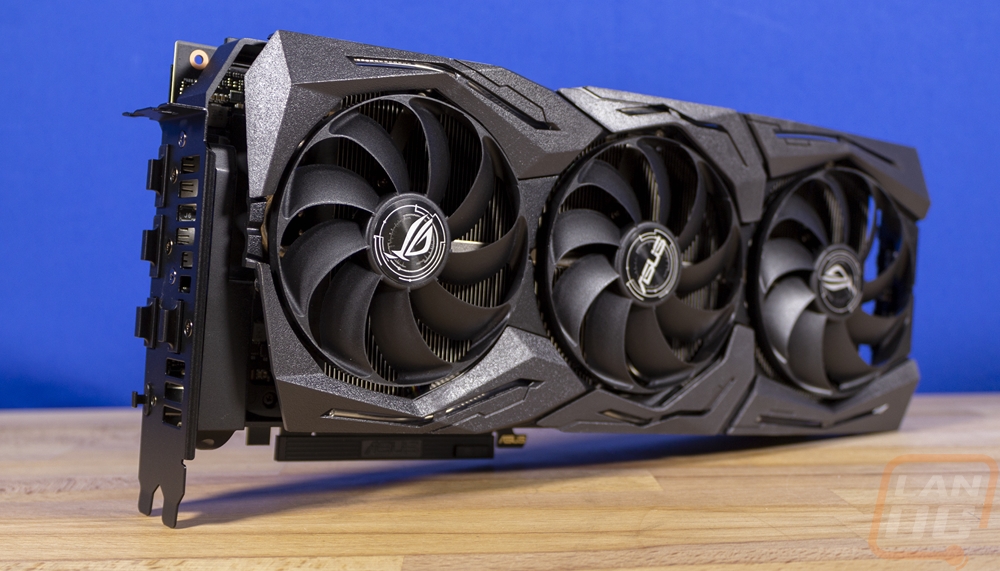
Now for the video card, we have an Asus ROG Strix RTX 2080 Ti. This card was planned for this build long before the new Nvidia cards came out or the AMD cards were announced. But more importantly, it is the biggest most badass Asus ROG card I have at this time due to the limited availability of anything and everything. This is the only ROG product that doesn’t stick with the same old black and red theme really and that is because it is a Strix card. It has the ROG logo with the rainbow/neon look in the background and it does at least include a picture on the front as well. Like all of the others, the back does have more detailed pictures and diagrams that help detail some of its features. Asus even included a line drawing of the rear I/O which is nice so in the store, you know what cables will work with it. When you open it up you have the card wrapped up in a static protective bag and sitting in a foam tray. With it, you get ROG Velcro wire ties and there is a top foam panel that has a small box with the documentation in it.
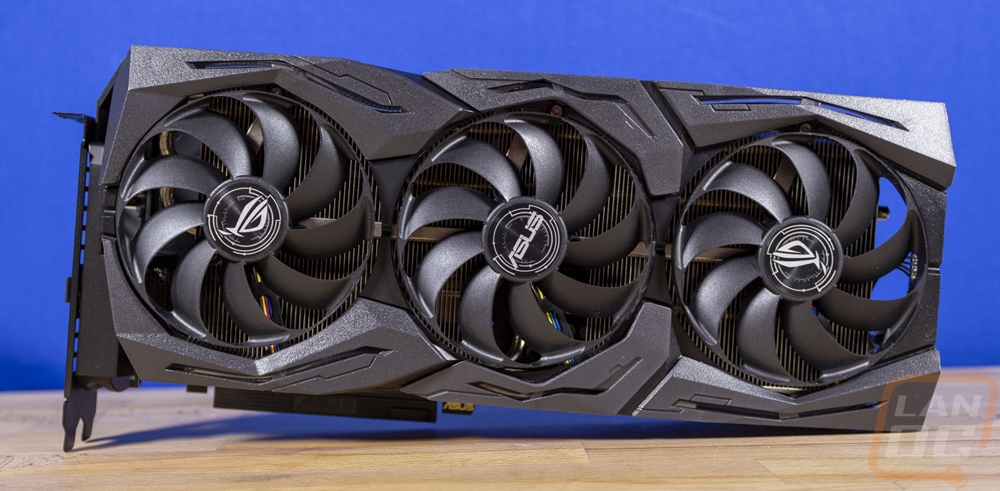
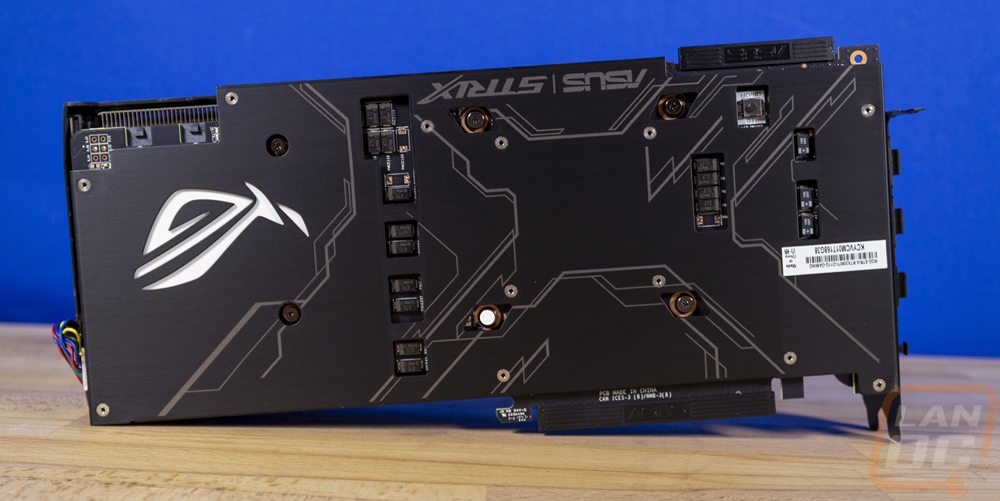
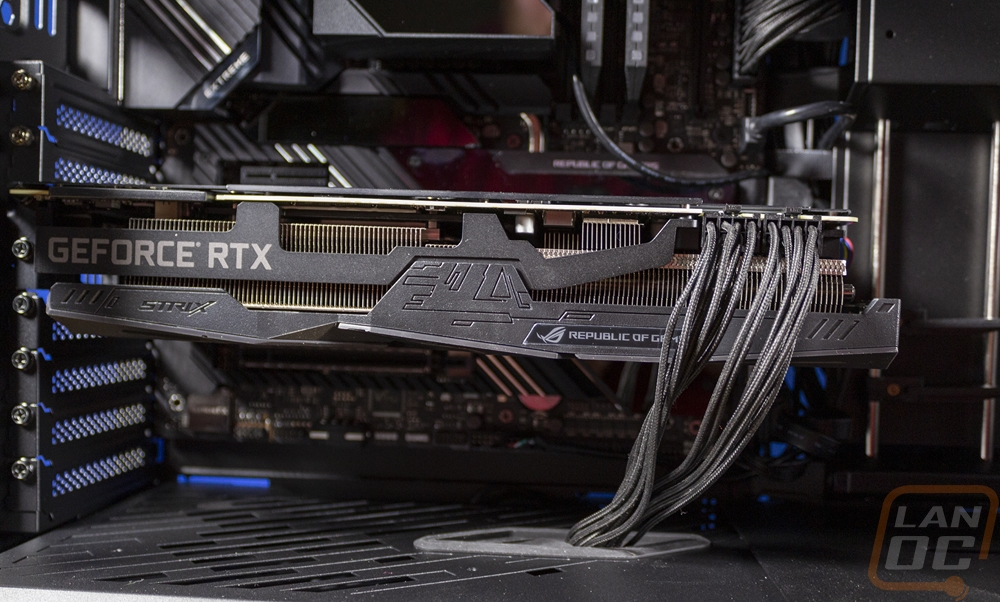
Now, this is a big card, in length, height, and thickness. But overall it still has the same ROG cooler design that Asus has been using for a while with its angular shapes and integrated lighting. I love that they use the RGB lighting as an accent on the front, not just for branding. Of course, the back of the card has a huge backlit ROG logo, so I can’t give them TOO much credit. It has three axial fans blowing down into the huge heatsink to keep the 2080 Ti cool. Like everything else ROG, it is all blacked out including the PCI bracket and the backplate as well which is made of thick aluminum, not the thin sheet metal that some cards get.
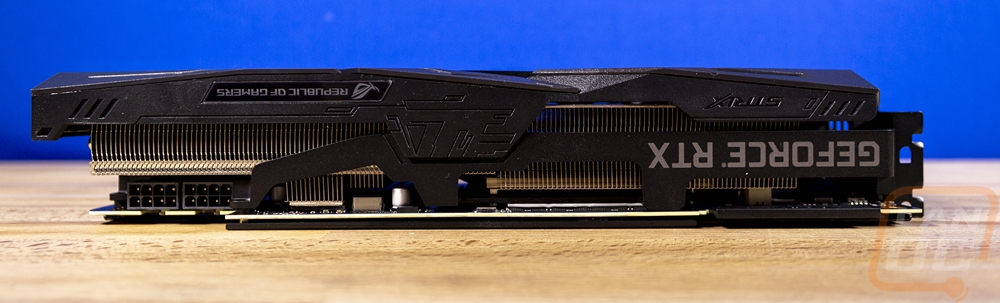
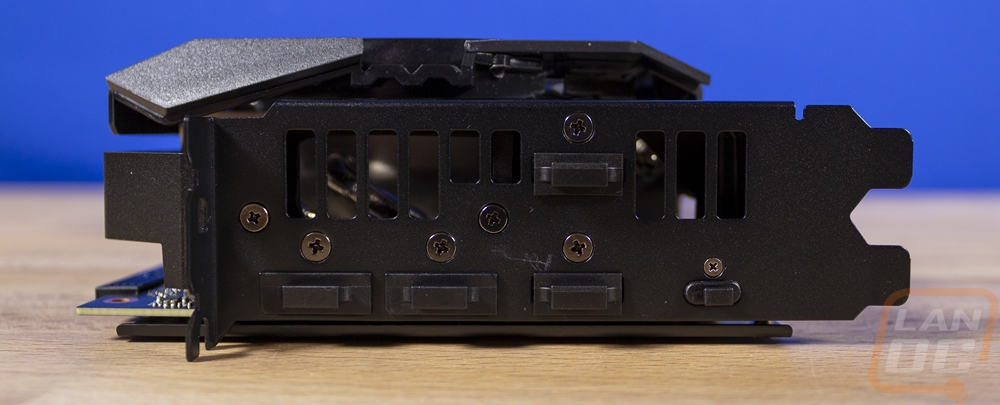
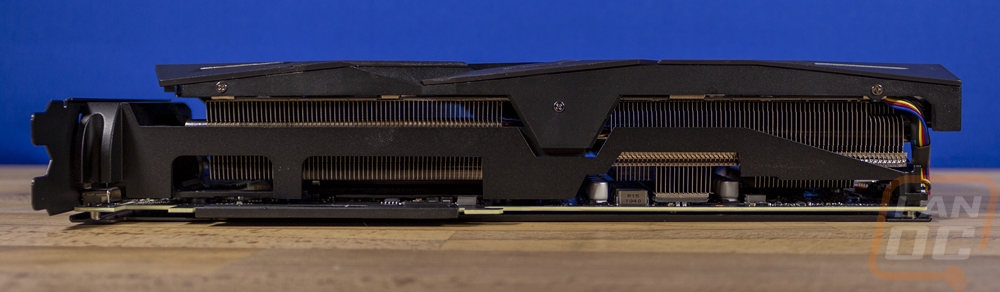
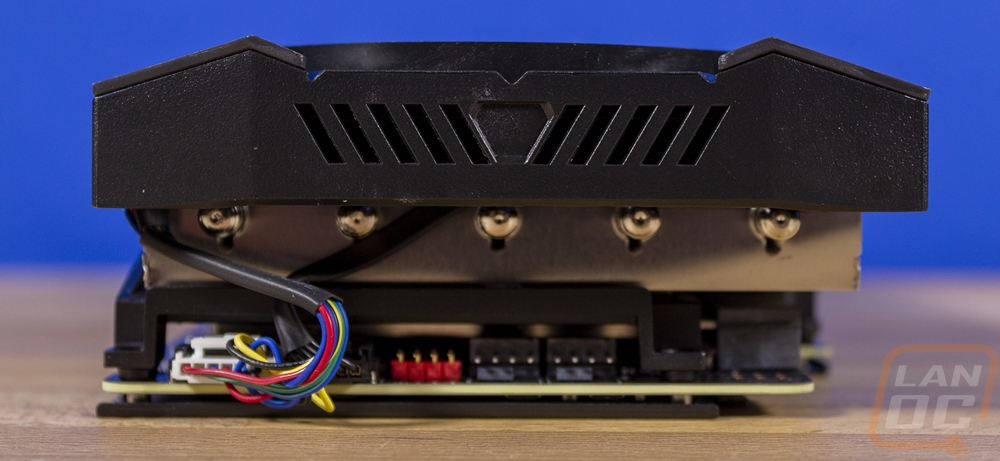
The side view gives a better idea of the thickness of the card and you can also see inside of the shroud how much of that space is filled with the heatsink. The plastic shroud has metal brackets up top and on the bottom that help hold it in place. Overall the card weighs more than the Founders Edition cards which have thick cast shrouds. The PCI bracket has wide vents for some of the air that might go in that direction, but most will go out the top and bottom. Then for connections, it has two DisplayPort, two HDMI, and one VirtualLink type-C connection which has already vanished sadly. On the other end, Asus also slips in two PWM fan headers and one RGB header. This is unique to them and more cards should have this. These let you plug in fans to control the fan speed of case fans dependent on the GPU temps, not your CPU temps. So if you have a fan that blows near the GPU this is a good way to keep things cool. The RGB header just adds another Aura controlled plug, which if you have an older board might not have any or enough RGB headers if you are crazy about your lighting.
Non-Asus components
The number of non-Asus components in the build is very small. These are things that Asus doesn’t make. So we have the CPU and the memory. Asus does partner with a few different companies on the memory side of things and I even have a set of TUF memory from Crucial that I had originally planned on using in this build when I was going to go with the TUF case. But frankly, I don’t have a TUF video card and the ROG power supply and water cooling wouldn’t go with it as well either.
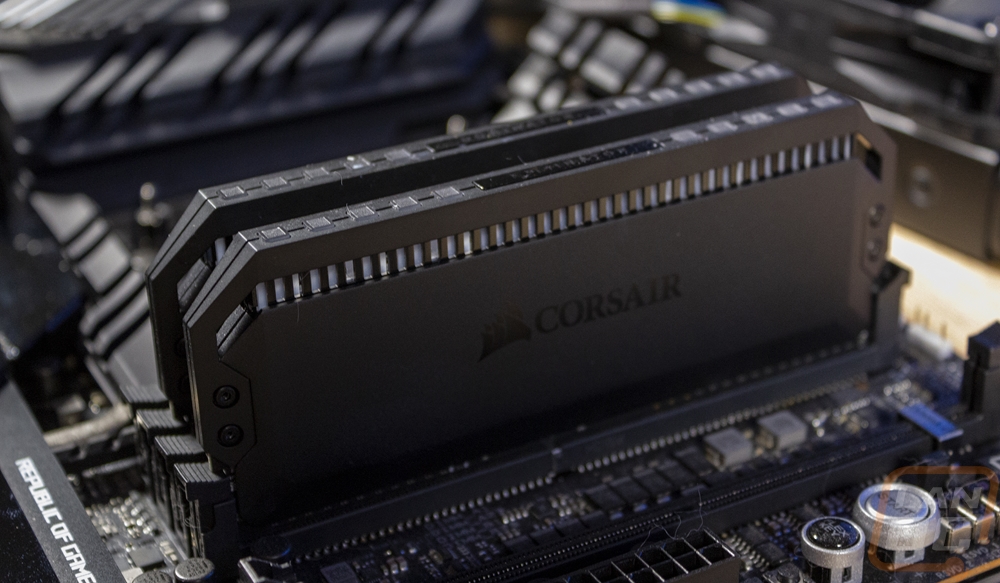
So for memory, I just stuck with the Corsair Dominator Platinum RGB 16GB 3000MHz kit that I have been using with our Z490 test bench. I reviewed them back in 2019. They have integrated RGB lighting that supports Asus Aura control and the all-black look matches everything as well. Not to mention, while not a monster kit, it isn’t a bad kit with its CAS latency of 15.
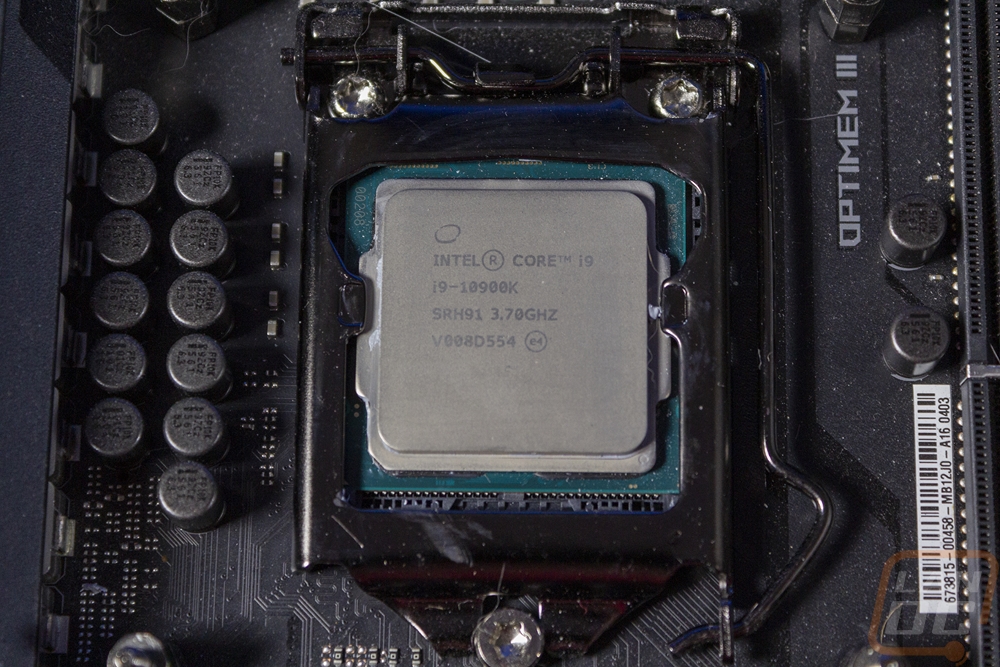
As for the CPU, by now you might be wondering why the crazy ROG build doesn’t have a shiny new AMD 5950X or 5900X, well this was started before those were announced. But I also don’t have them yet as well. So I stuck with the next best thing (for gaming) which is the Intel Core i9-10900K which I covered earlier this year. It complements the gaming-focused build and takes advantage of the big 360mm AIO cooling as well.
For storage, I went with the SSD that we use for our Z490 testbench which is the always quick SN750 from Western Digital. This kept things simple because it was already set up, but even without that, it would have been on my short list with Z490 not currently supporting PCI 4.0 devices and the SN750 being a fast PCI 3.0 drive.
Performance
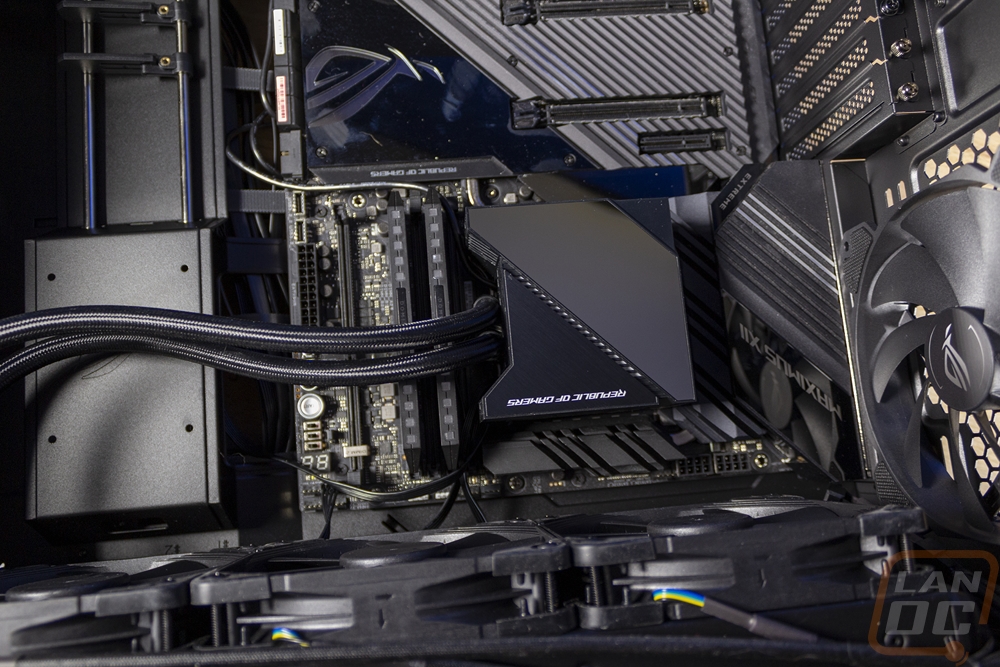
With everything picked out I did still need to get it all installed in the Helios case then test everything out. I already had the memory and CPU installed into the motherboard, as well as the M.2 drive as well. So to finish that up I wanted to preinstall the ROG Ryujin 360 as well. This meant installing the fans on the radiator in the orientation that I had planned. Then mounting it to the motherboard. It came with thermal paste pre-installed which was nice. It also had the Intel bracket installed. So getting it mounted was as simple as installing the backplate with the standoffs. From there I could mount the pump/waterblock using the included thumb nuts. I left all of the wiring for later, so from there it was time to install the motherboard into the Helios.
Once the motherboard was installed, I had to mount the radiator into the top of the Helios which you do have to work around the carry straps or remove them. You also have to take out the top dust filter, which slides right out. I also removed the protective coating on the OLED on the ROG Ryujin 360 and snapped the square cover on.
So you can install the power supply without removing the PSU area shroud, but it is only a few screws, and having the shroud out makes the installation and wiring a lot easier. I did however go through the wiring for the Thor power supply ahead of time and install all of the cables that we would need because that is always easier outside of the case. Running all of our wiring there were a few things that stood out. For one, that 8-pin EPS/CPU power cable was just barely long enough to reach, I had to unplugged it from the Thor until I had it hooked up and then plug it back in and as you can see on the back of the case, it goes right across to get to the plug at the top. With the Helios using both USB 3.2 headers and one of the Gen-2 plugs as well I did have to use the one right-angled USB 3.0 plug from the Helios and because Asus already put the plug at a right angle on the motherboard I ended up with a weird layout that had the cord sticking up. On any motherboard with a normal USB plug, this would have worked great, but it's an interesting interaction where Asus tried to fix the same problem on both the motherboard and case, and it ended up making it worse. The other weird wiring issue I ran into was with the front panel audio connection, it was too short to reach while running it in the hidden PSU shroud.
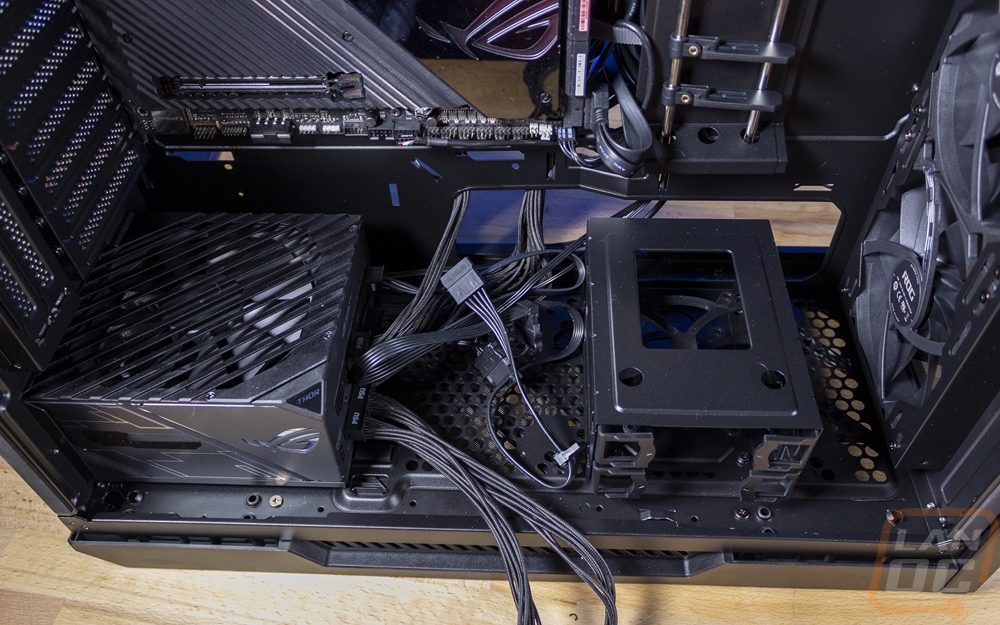
Once I had everything wired up, I reinstalled the plastic wiring cover behind the motherboard tray. It does look a little weird with that EPS power not being hidden by it though.
All that was left was to install the Strix RTX 2080 Ti and when I reinstalled the PSU shroud I ran the wires out of the top making it easy to plug in. But before getting it installed I did have to remove the vertical GPU mount so I could even access the normal horizontal screws. I would have preferred to go vertical mount, especially with the Helios coming with two different options for that. But sadly for a $300+ case, it doesn’t come with a PCIe riser.
I just have to point out how frustrating the warning sticker on the tempered glass was as well. It was paper backed and took forever to get removed, then required a lot of cleaning to get the adhesive off as well. Installing that on the removable plastic, or using a better sticker would save a LOT of frustration.
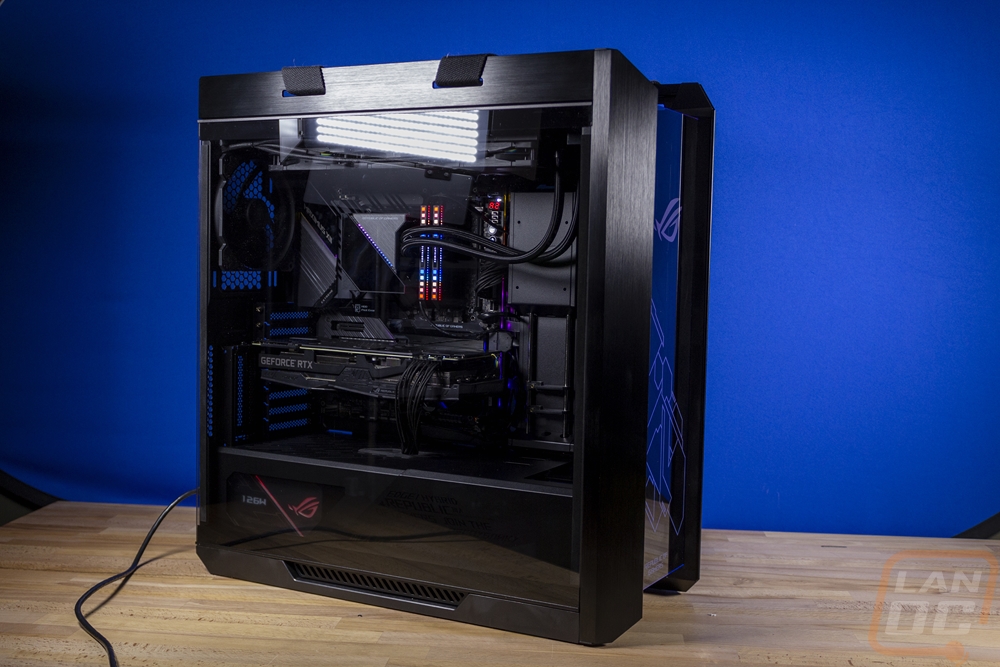
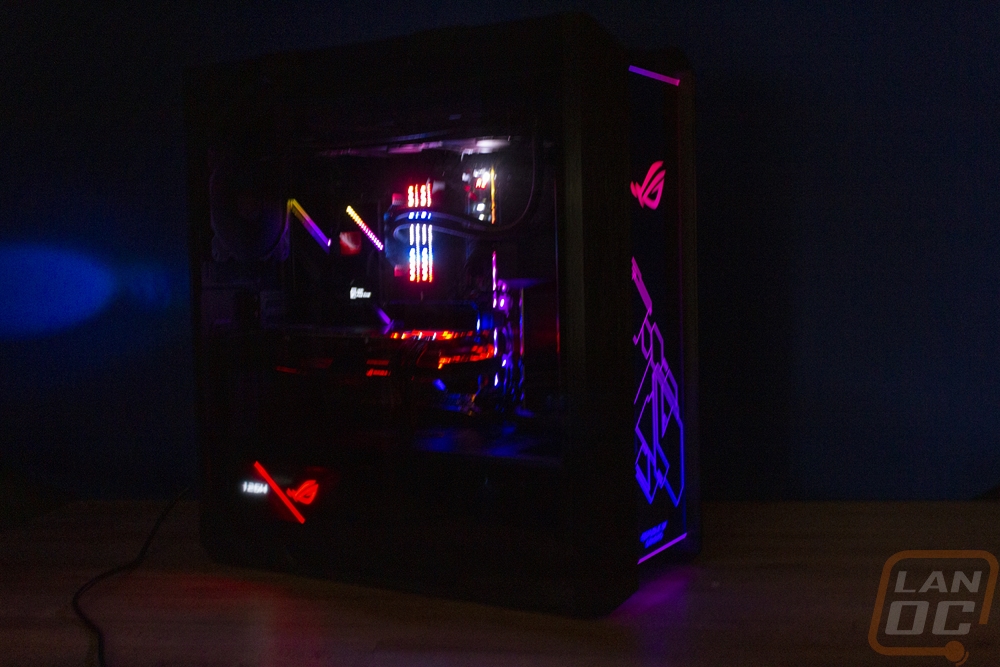
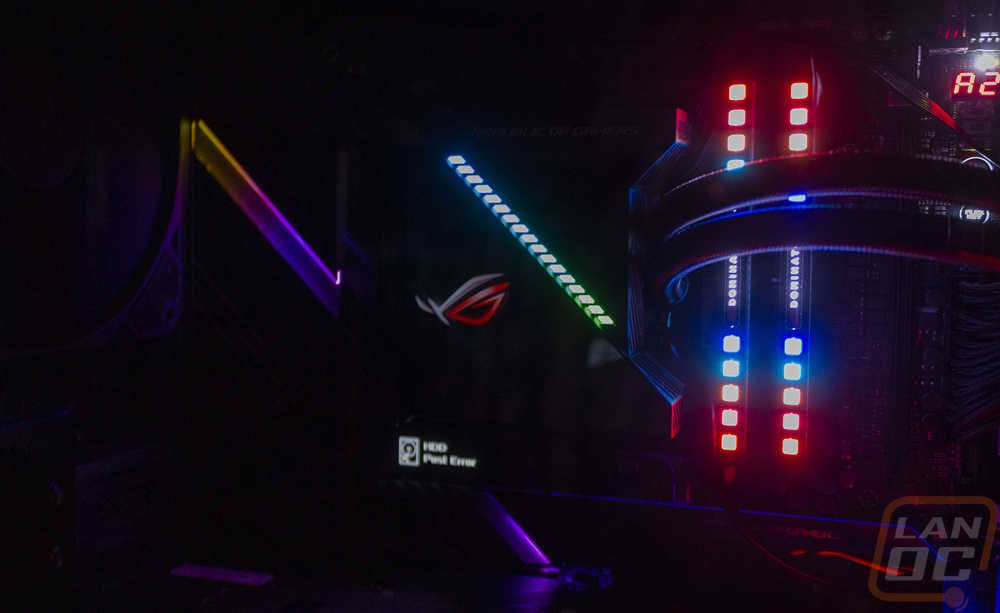
After that, I could get everything up and running and one thing is for sure, by going with nearly all ROG products, everything matches well. My only complaints would be with just how much tinting stacked on tinting seemed to hurt the visibility of the OLED screen on the ROG Ryujin 360 water cooling. Look at how much better you can see the screen under it on the motherboard itself. The same goes for the screen on the Thor PSU, the plastic panel on the PSU shroud would be much better if it was also tempered glass and I would swear that there is still a plastic film on there somewhere causing it to be extra blurry but I can’t find it.
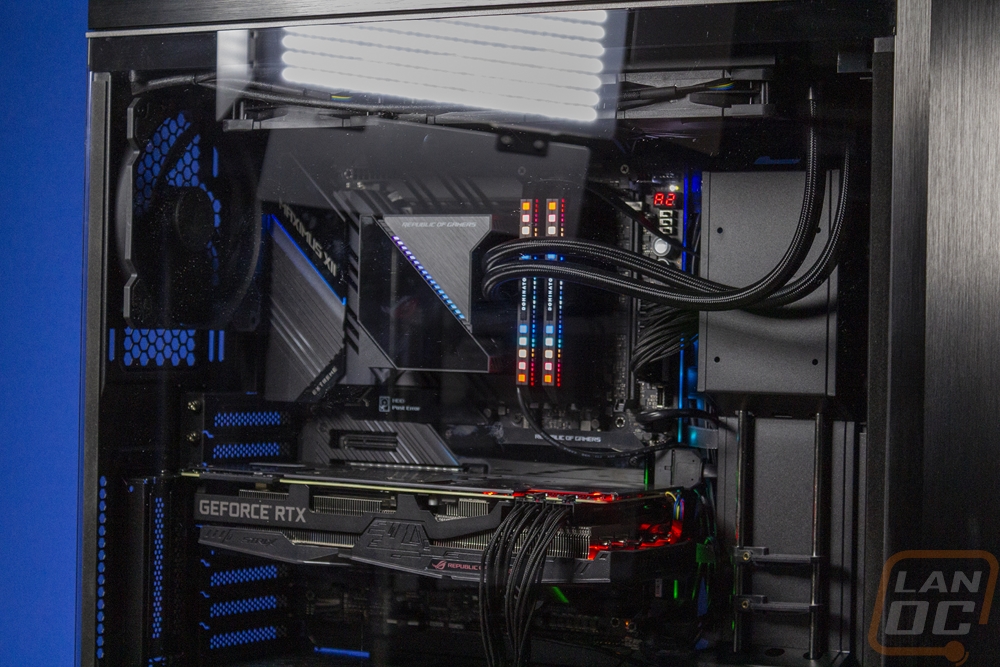
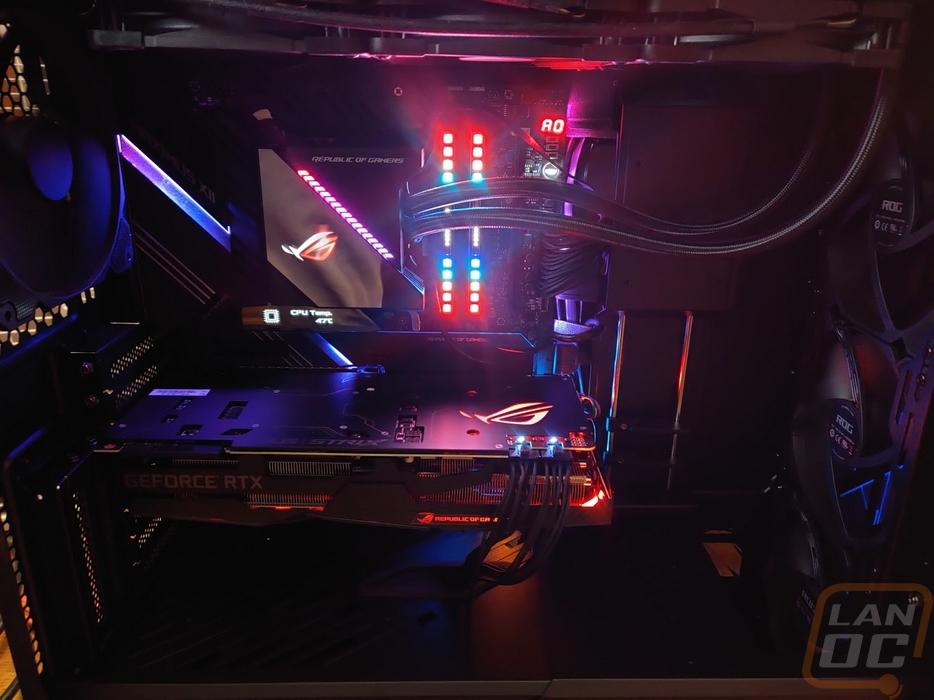
Now the lighting on the Helios looks great, especially the front panel. It doesn’t tie into your motherboards controlled lighting without a little extra work, however. You need to use the RGB connection to hook it up to your motherboard, I initially thought it might work using the USB connection. I also think it could benefit from more interior lighting. Asus does sell Aura Sync lighting kits if you are looking for that and want it to tie in with everything else.
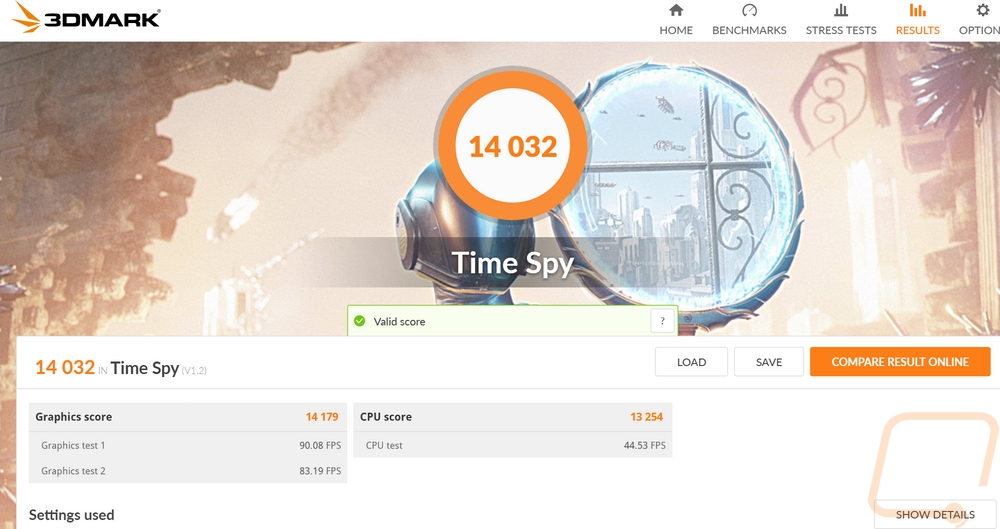
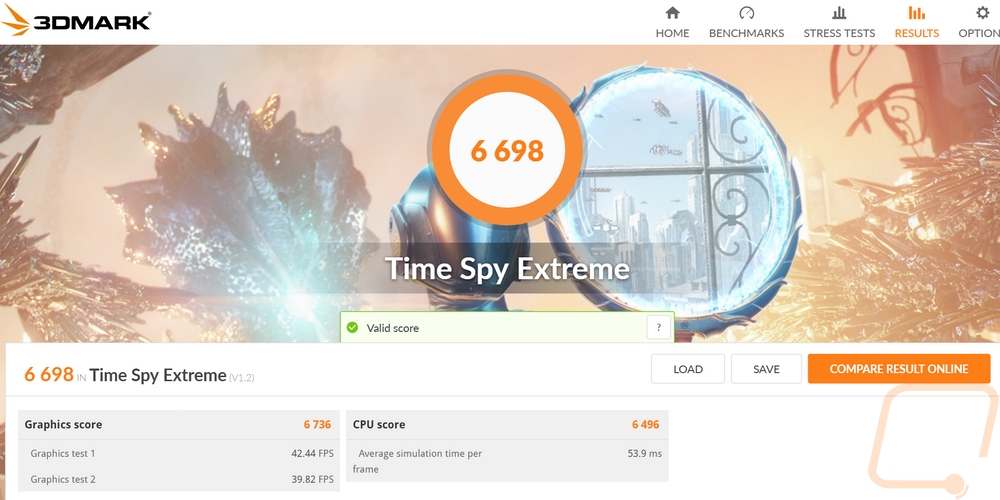
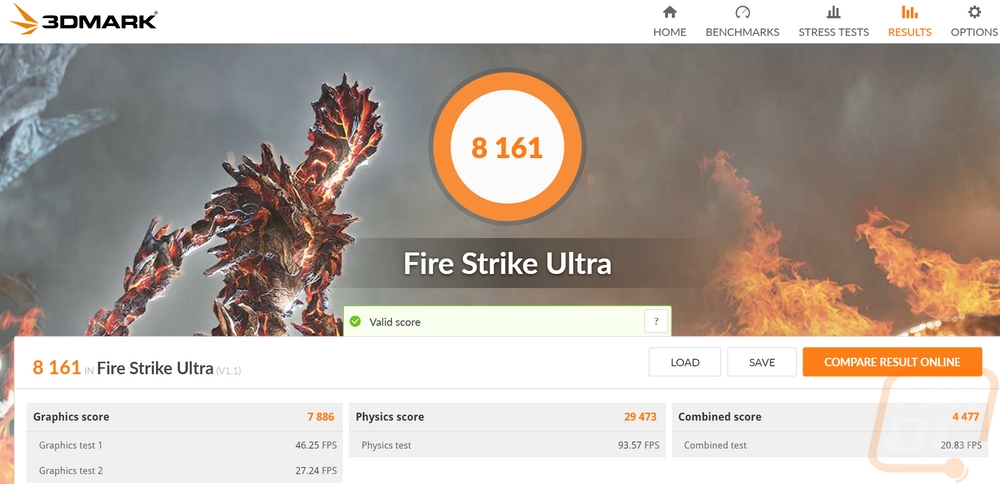
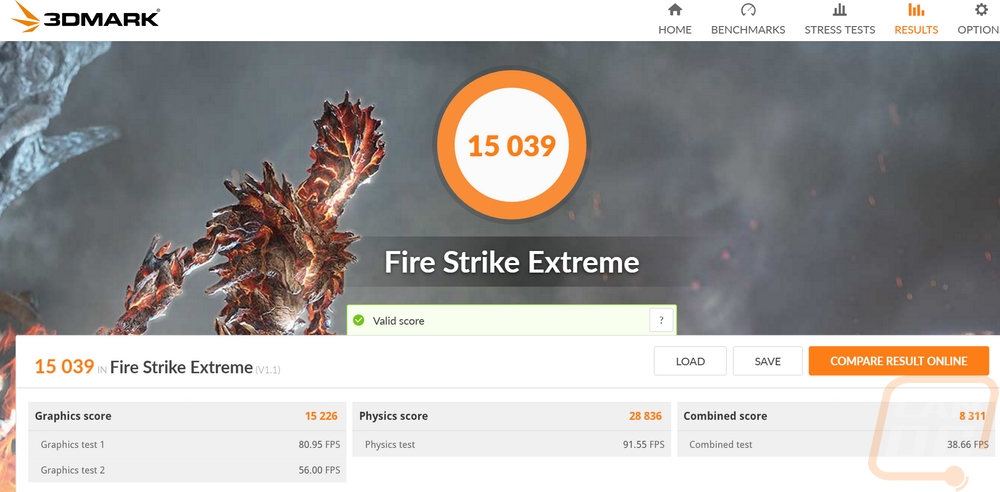
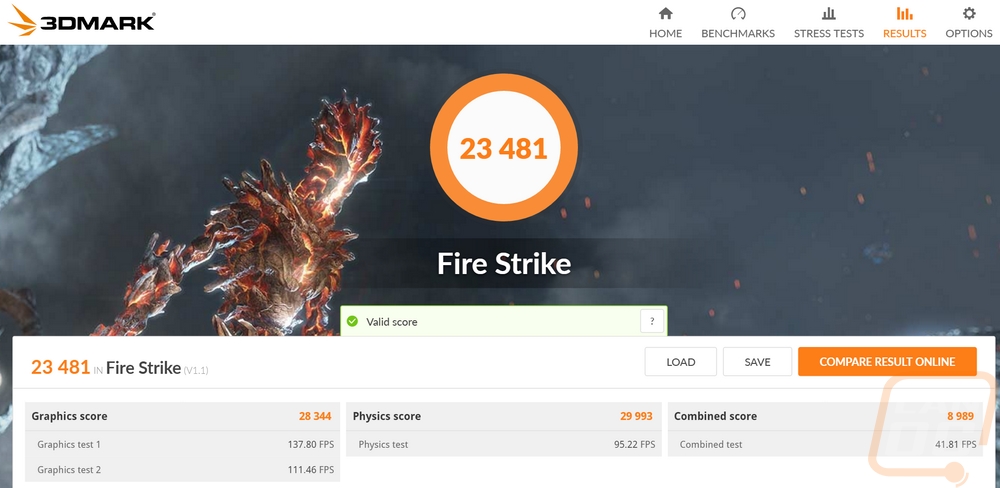
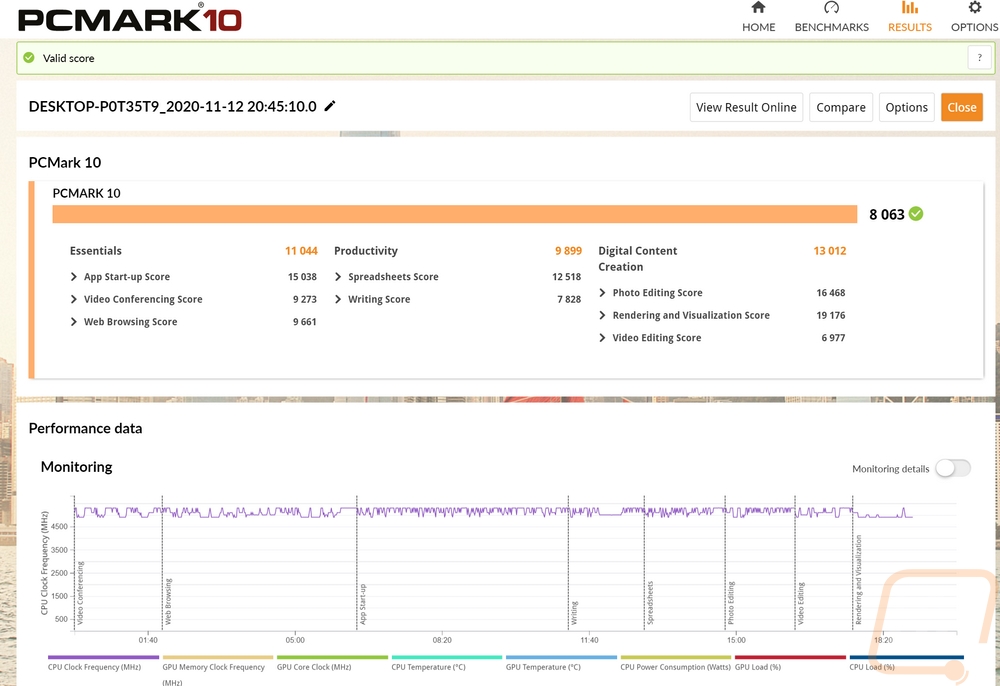
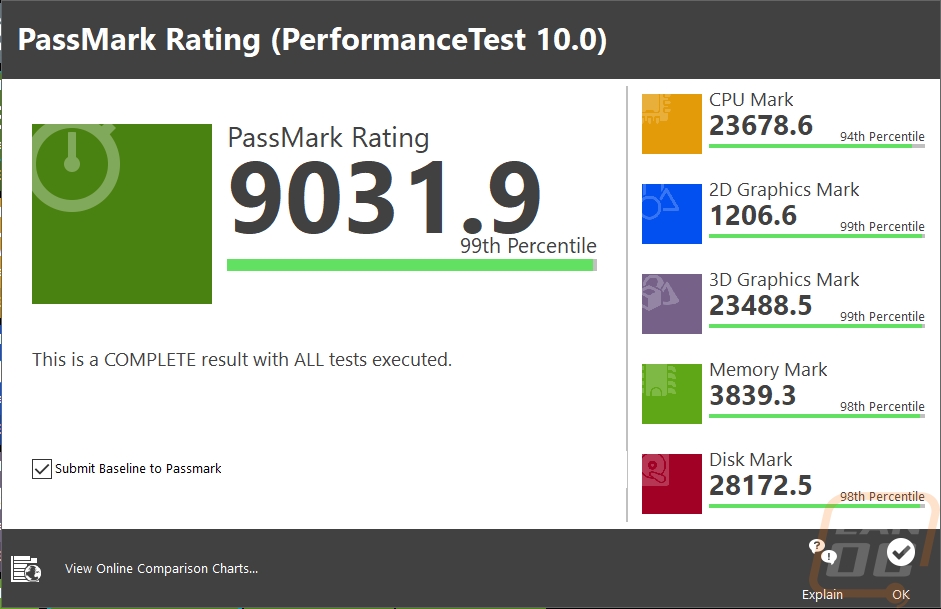
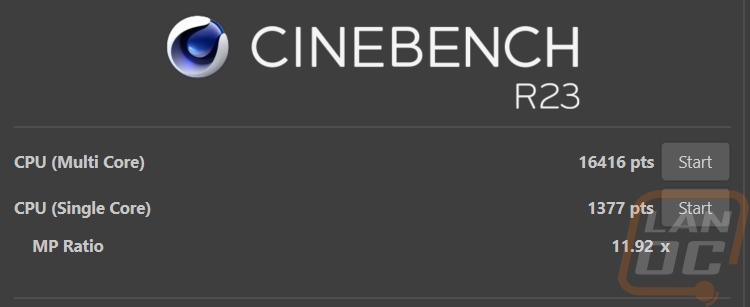
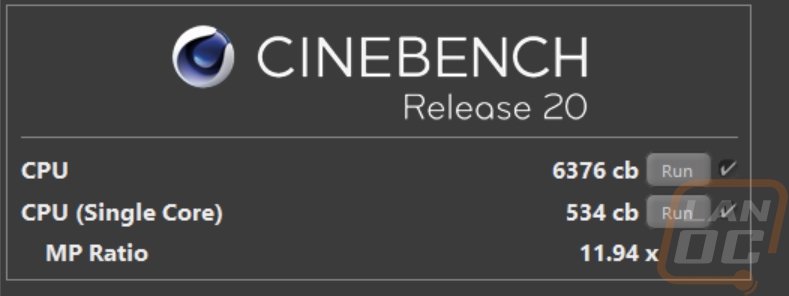
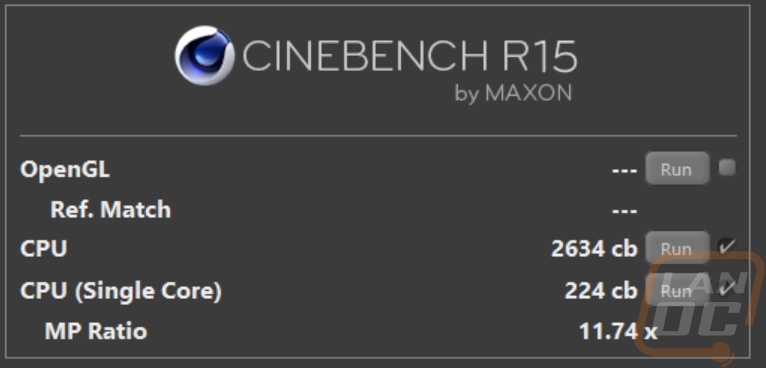
Now I think most people looking to do an Asus ROG build at this point would be looking at the new Nvidia 3000 series cards or the upcoming AMD 6000 series and a lot of you might be looking at AMD for the CPU so a lot of this won’t really apply. But I did go ahead and run some tests on the build as a whole just to see how it performed with the Intel Core i9-10900K and the RTX 2080 Ti Strix.
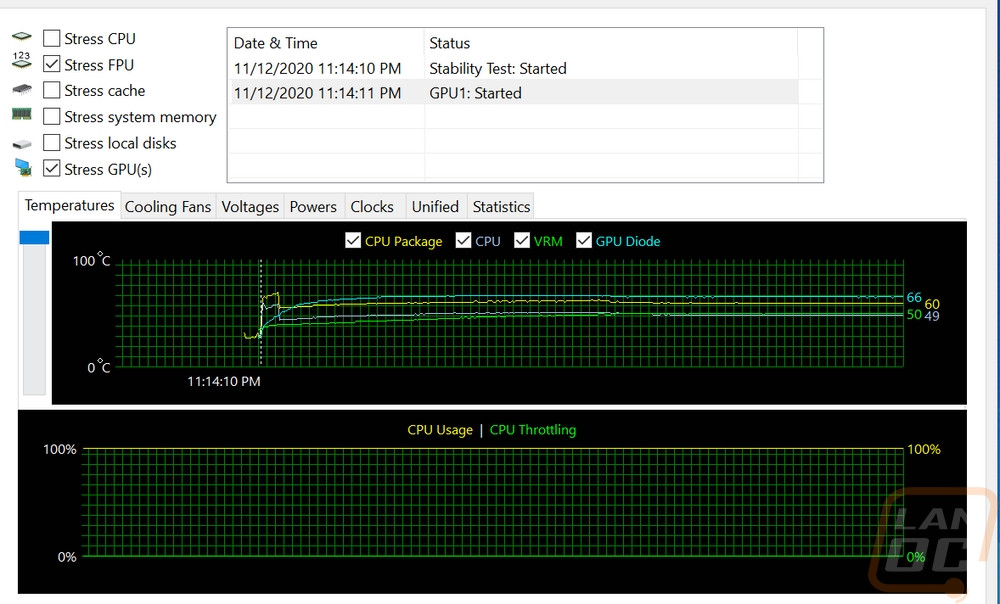
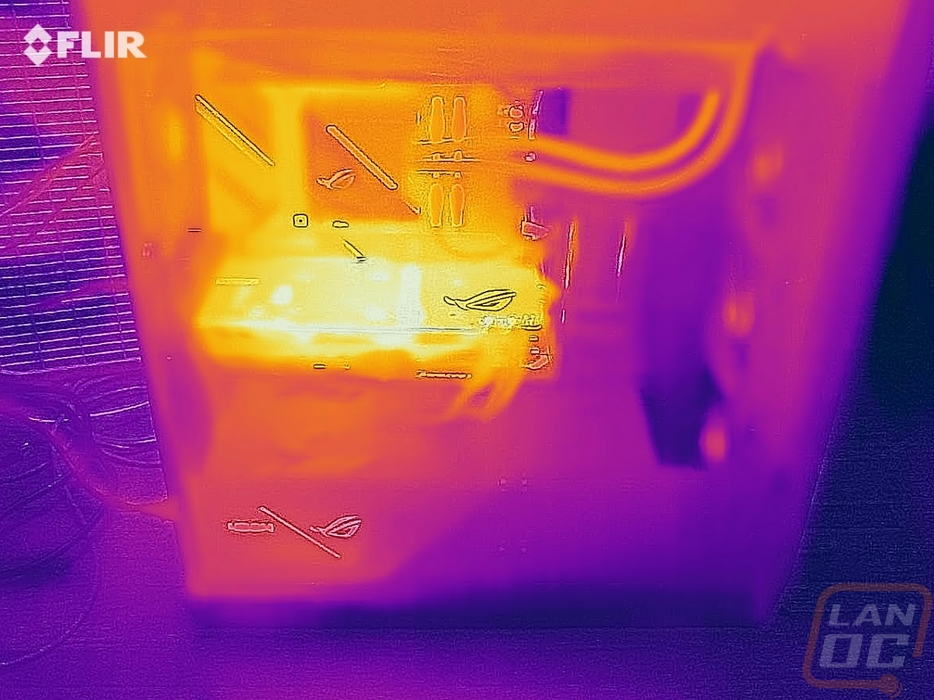
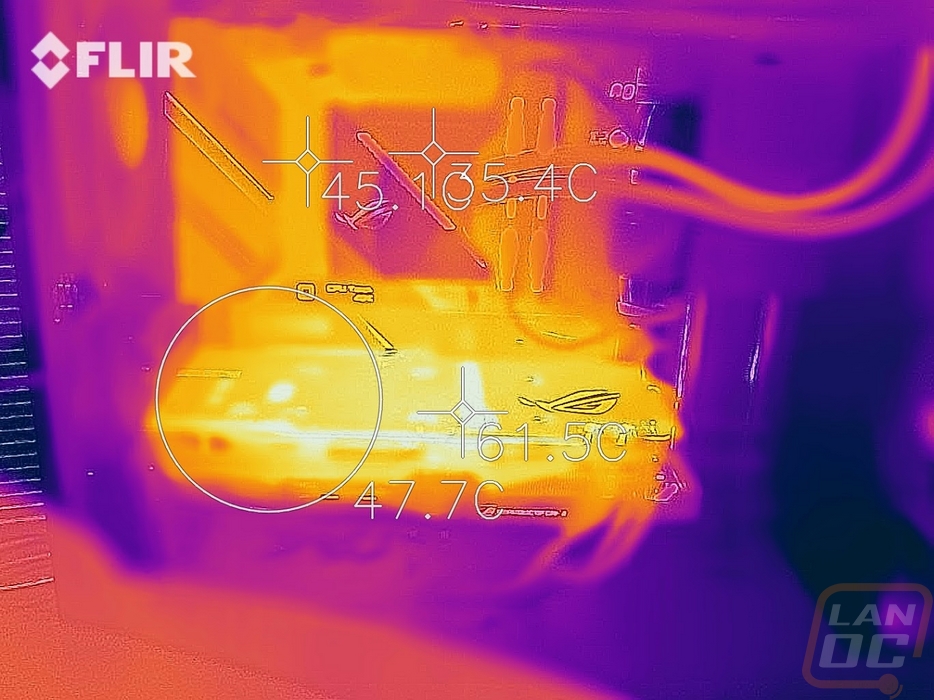
I was also curious about the thermals, for that I ran AIDA64’s Stress Test with the CPU set to FPU and the GPU both running at the same time for an hour and a half. The GPU ended up running at 66c while the CPU package was at 60 and the CPU itself was 49.
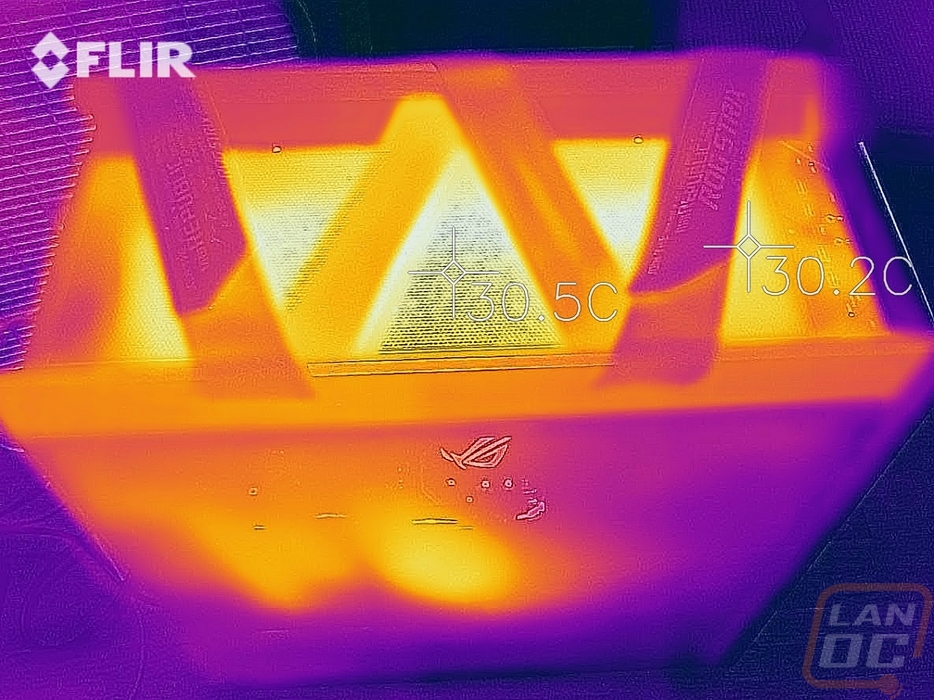
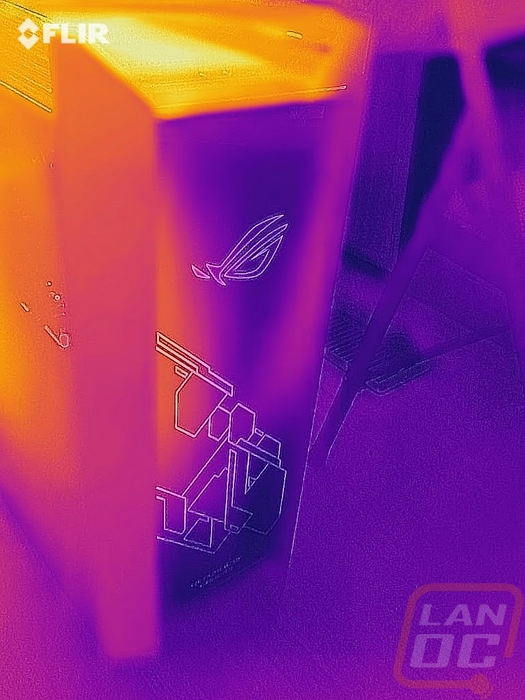
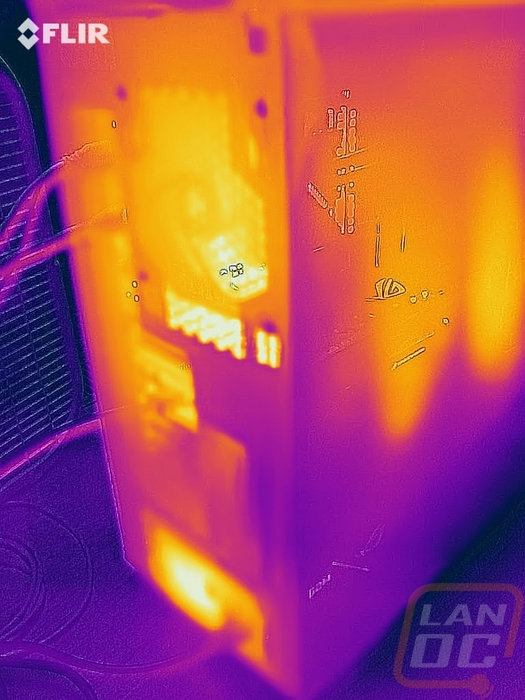
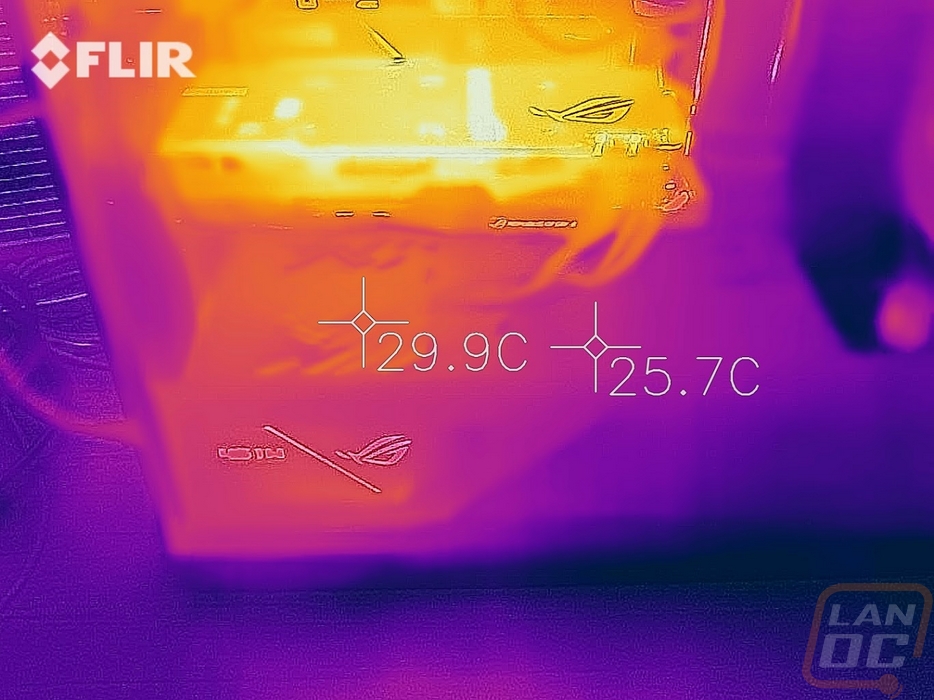
I took thermal images of the setup after the extended testing as well. I was especially curious to see if the carry strap at the top of the case would be a big issue for the AIO cooling mounted at the top and you can see that the straps did get warm over time. Beyond that the GPU cold still use better airflow, even a fan just mounted right in the PSU shroud, but there weren’t any big hot spots. Having to run the PSU flipped upside down to have the power screen visible did mean the PSU shroud does show some heat in it where I think if it was a normal PSU and was flipped that wouldn’t be an issue.
While running the CPU and GPU test I did also keep an eye on the wattage being pulled using the Thor PSU and that leveled out around 462 watts.
Beyond that, for noise testing, I did run a few decibel tests on the entire setup. It came down to the case fans though. When I had them set too high the system tested at 47.6 decibels from 18 inches away. This was while I also had the GPU and CPU tests running. Turning the case fans down to the low setting dropped that down the 41.3 decibels.
The last thing I wanted to check out was the total weight of the system. The Helios case itself was extremely heavy and adding a heavy motherboard, an AIO, and everything else into the mix didn’t help things. The total weight was 54 pounds, which was better than I thought it would be but still a lot more than I would ever want to move around often. This is without a doubt, not a LAN setup. I wouldn’t even want something like this if I rearranged my office often. Thankfully though the carry straps do make moving it easier. I can’t imagine having to move it without them.