PSU and Water cooling
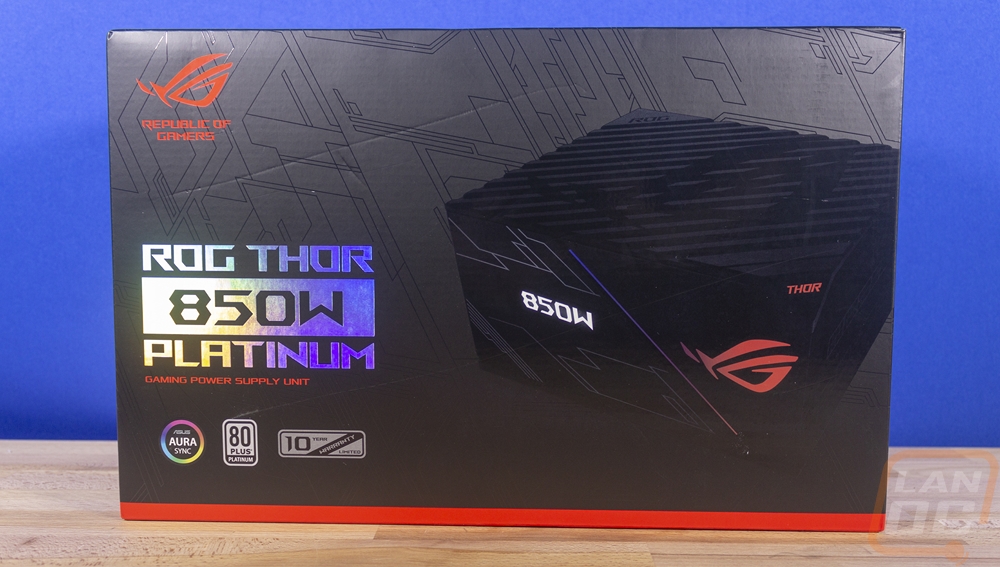
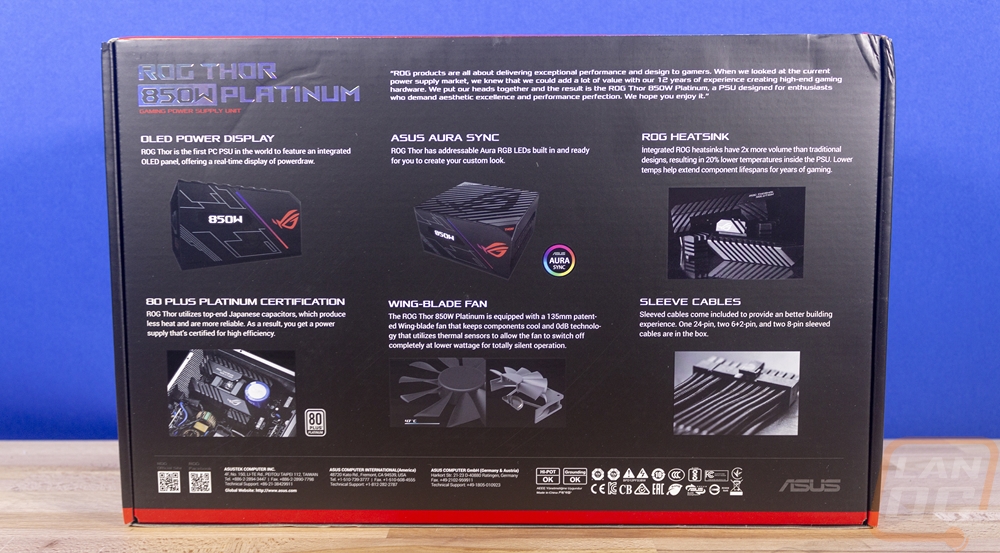
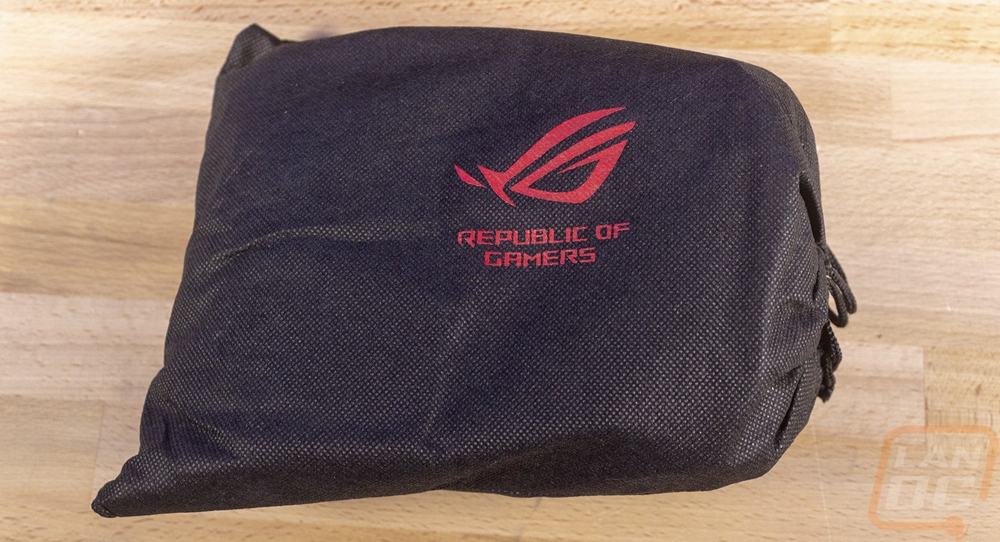
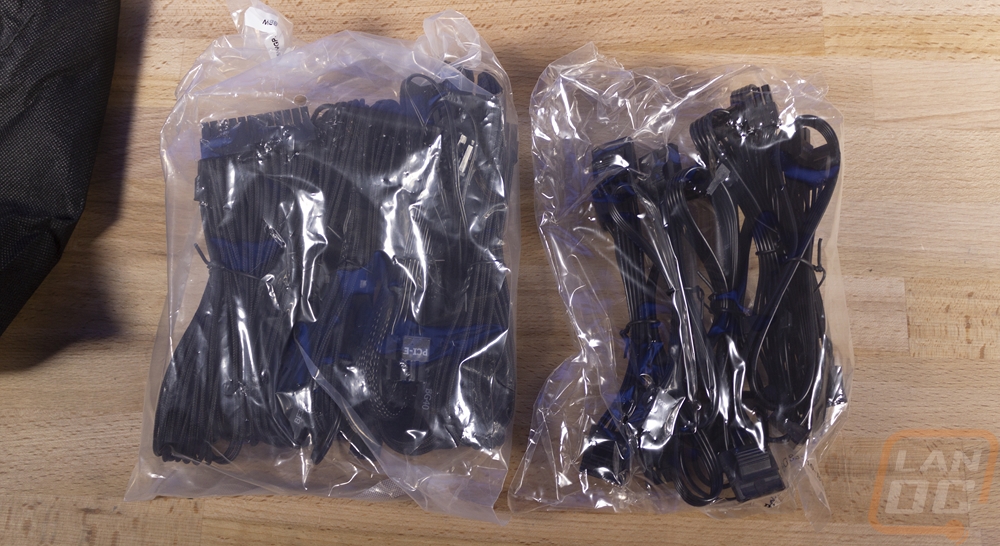
Beyond the case, the other two components that Asus has jumped into in the past few years are power supplies and cooling with water cooling. In fact, I actually took a look at the ROG Thor 850W power supply back in late 2018. I’m not going to dive into everything about the Thor here, be sure to check out my previous coverage HERE. The packaging on the Thor Asus stuck with the normal ROG theme with the red and black but did at least include a picture of the power supply on the front of the box. They touched on some of the key features on the back as well. Then inside you get two boxes, one with the PSU in a foam cocoon and the other has an ROG branded bag inside with all of the cables.
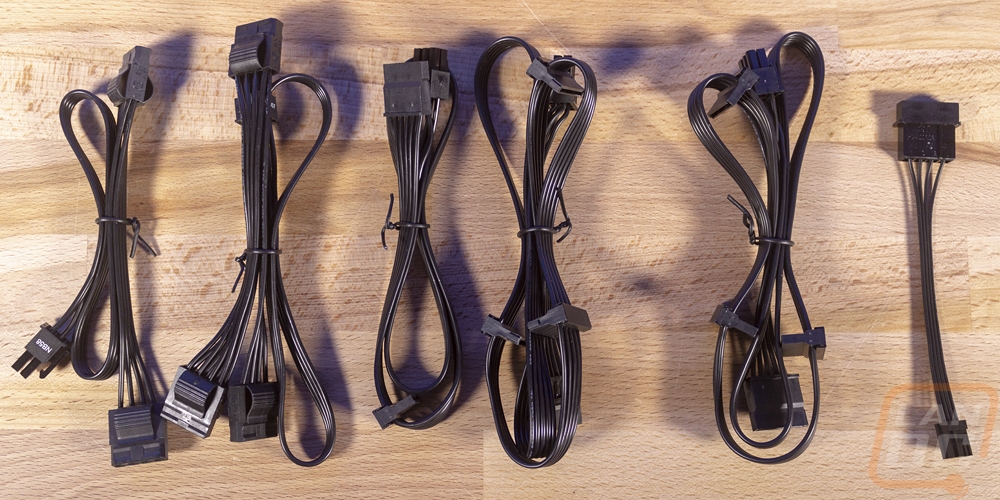
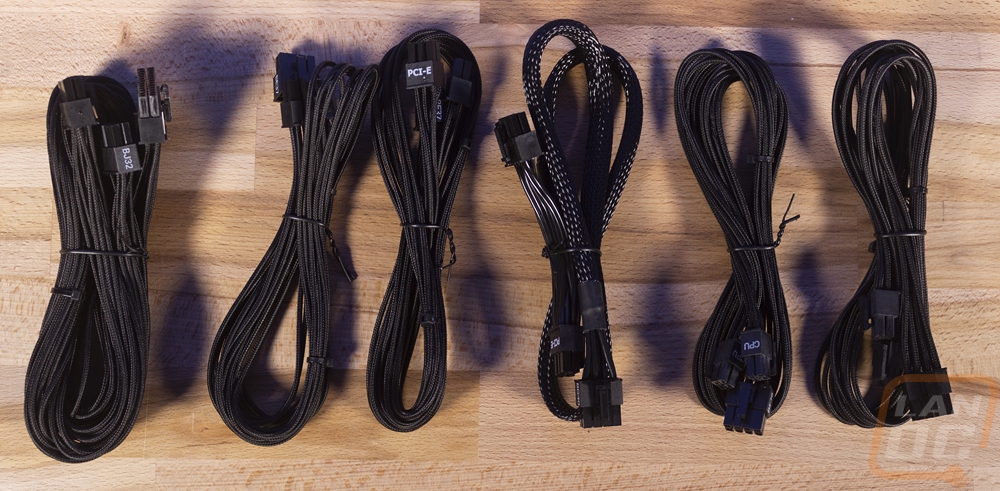
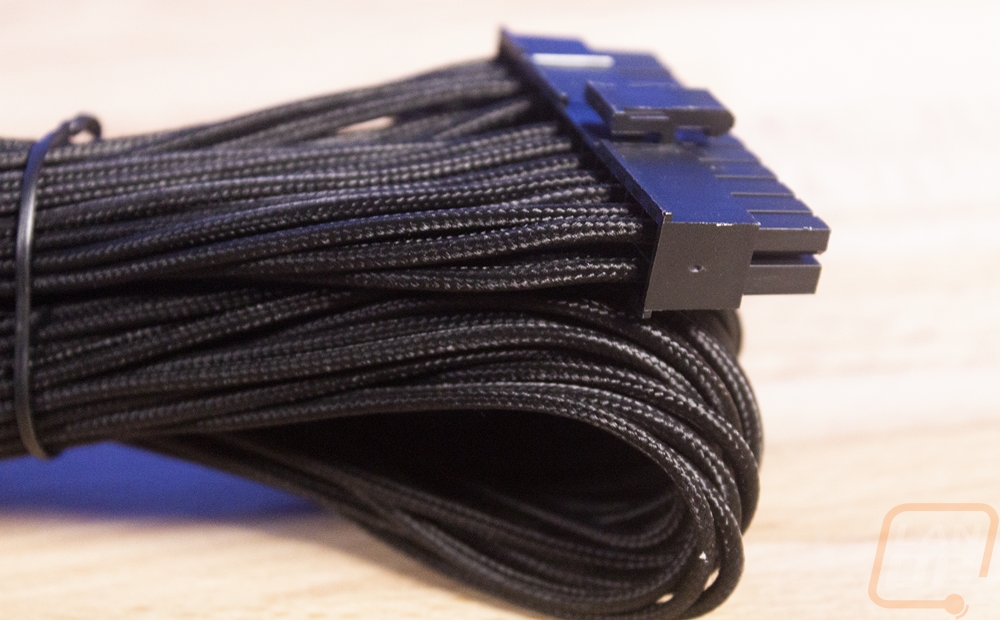
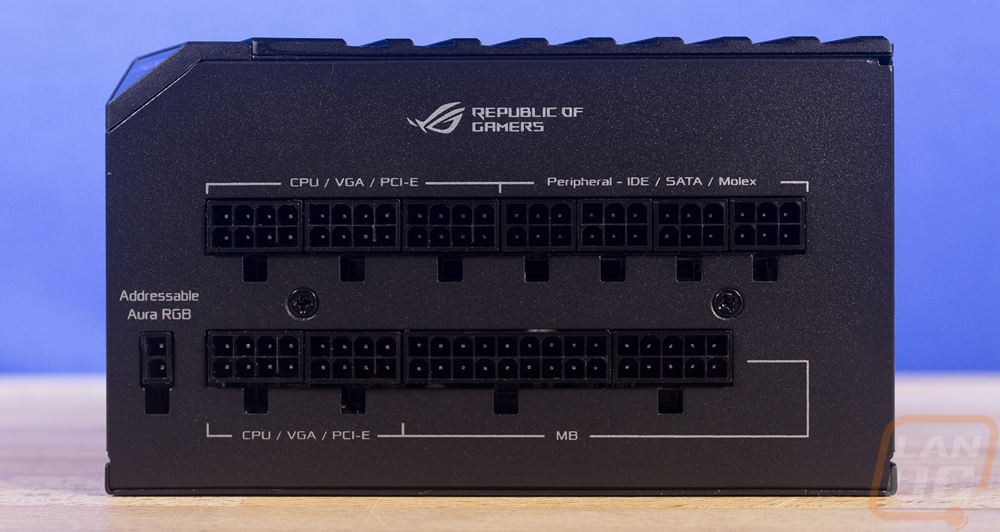
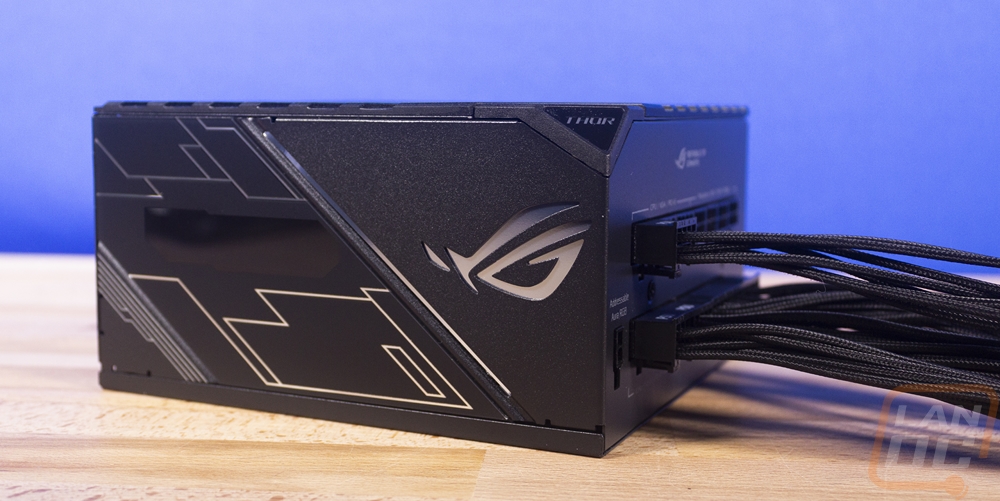
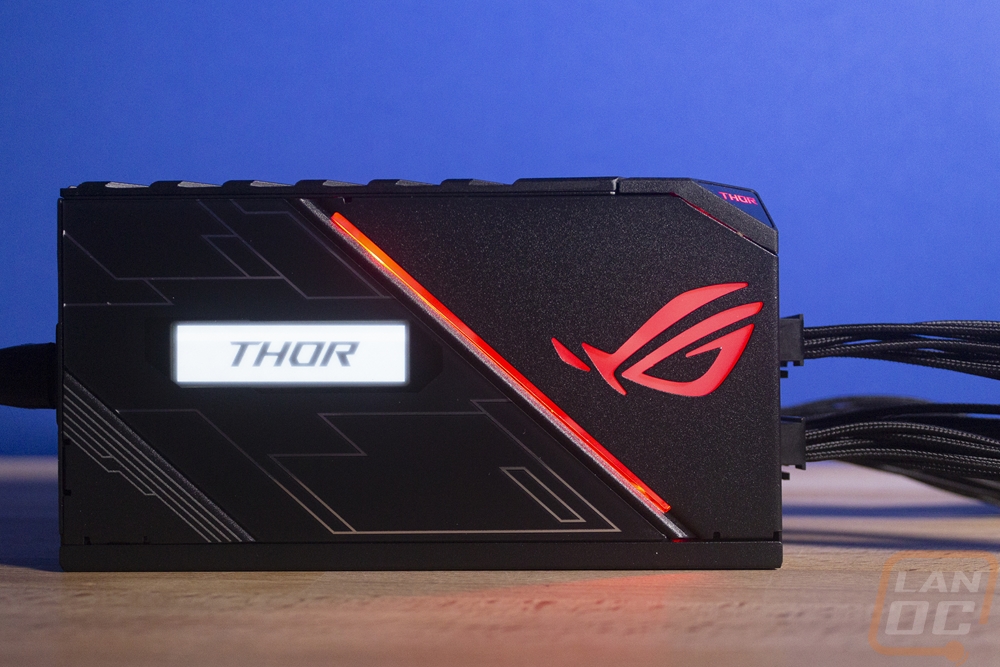
The cables are one of the main areas that the Thor stands out in my opinion. All of the accessory cables are the normal flat cables which are black and very flexible and easy to work with, but those are all going to be hidden. For everything else, they dropped that and went with actual individually sleeved cables with a black sleeving. They also included clear cable combs as well. This adds a lot of value to the power supply, buying a set of sleeved cables like this can be expensive.
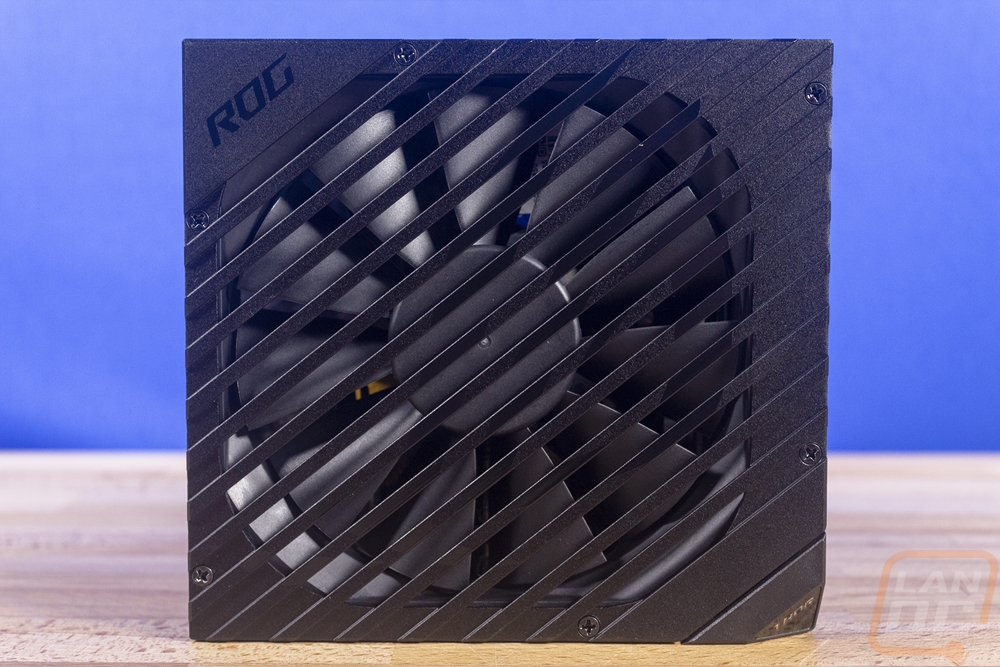
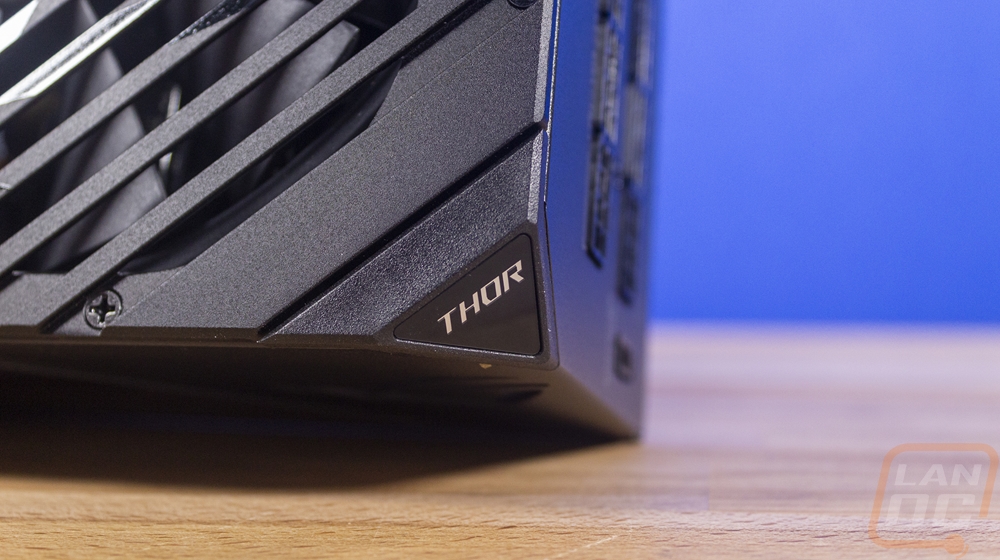
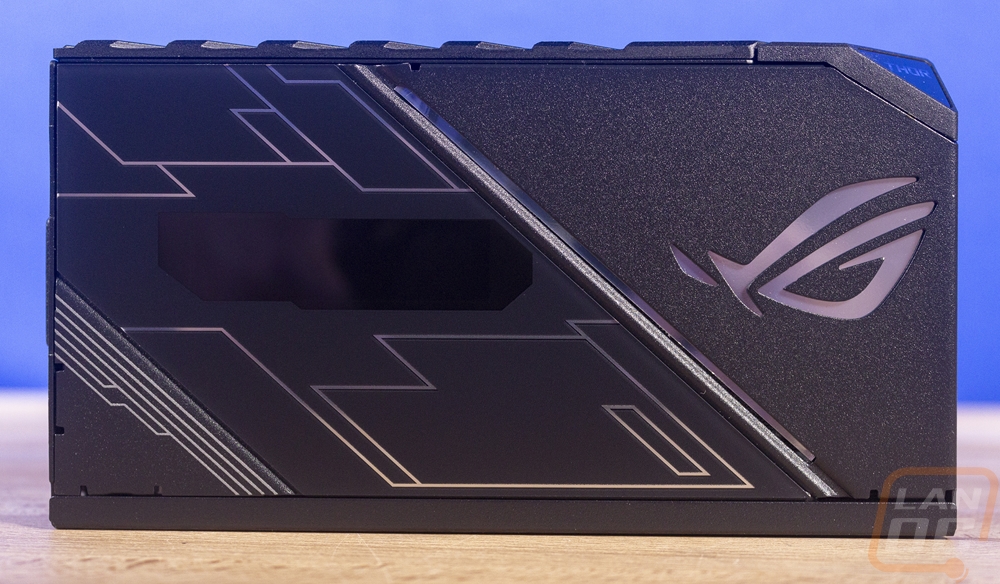
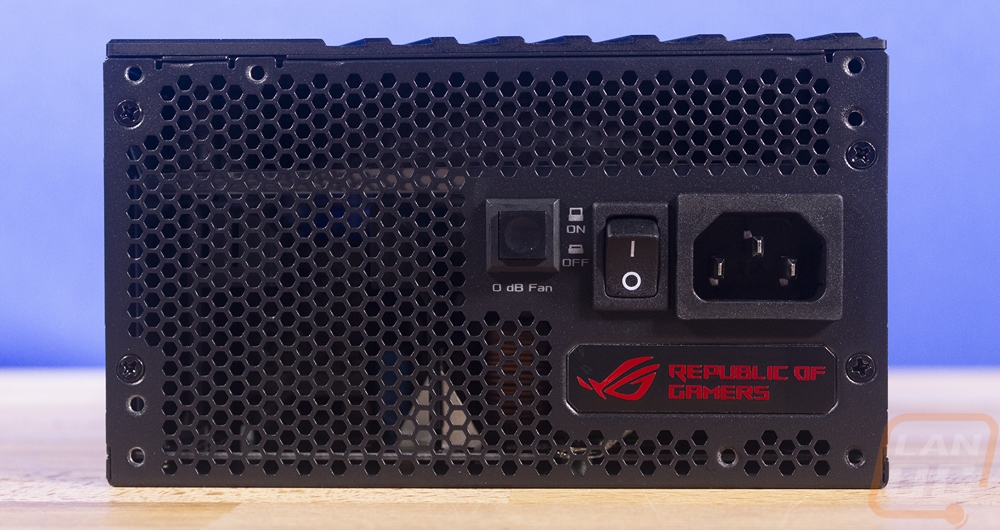
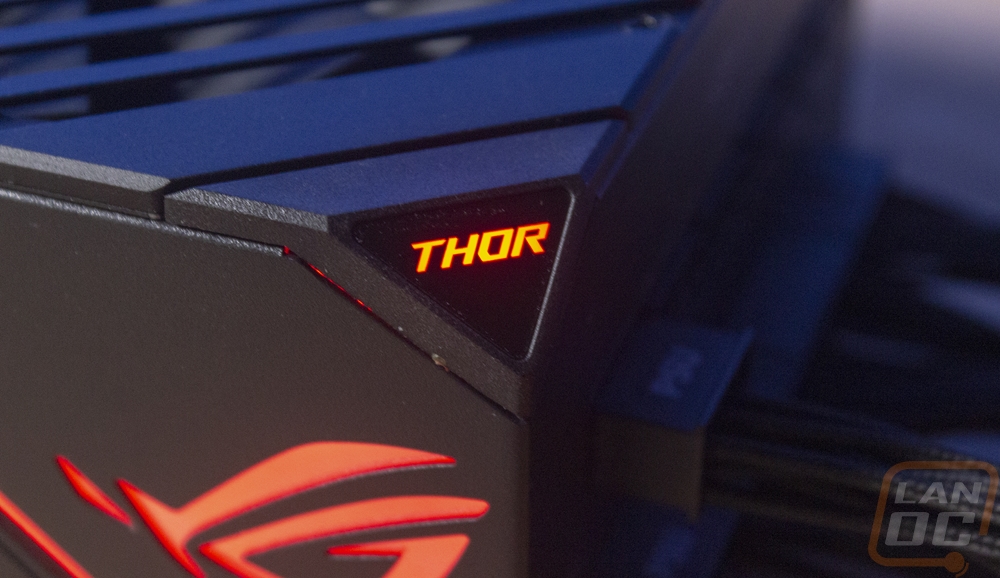
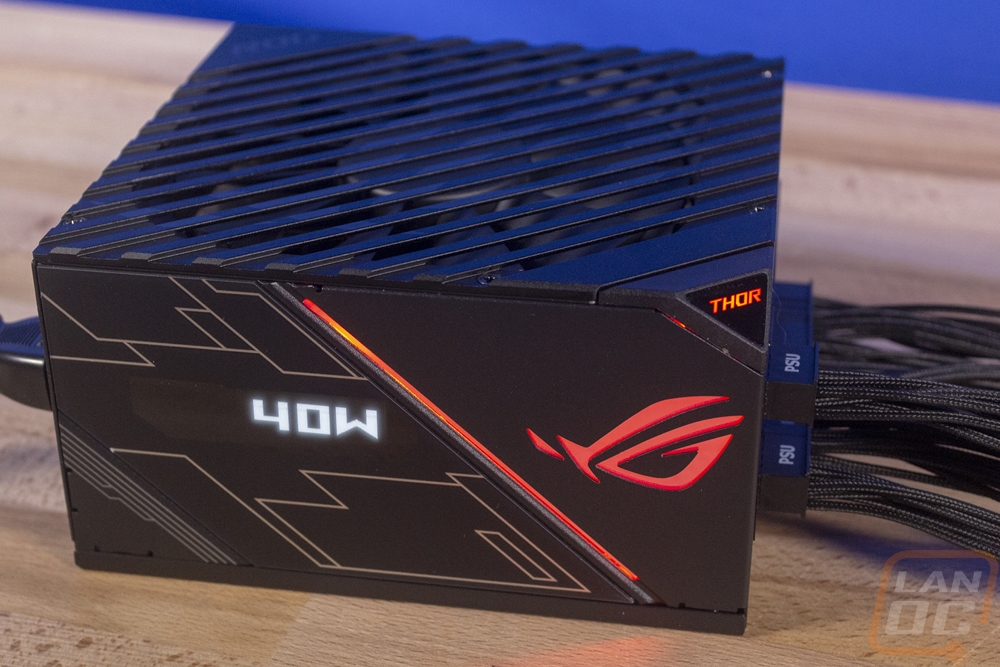
For styling, the housing for the Thor has a cool machined cover for the fan that I’ve never seen anyone else do and they also carved the one corner out to integrate the Thor logo. That corner as well as the side of the power supply have lighting built in that can be tied in with your motherboard or case lighting. It also has a very unique screen built in that shows the Thor logo when first powered up and then shows the wattage being pulled all of the time. Because they couldn’t put this on both sides, it does mean you have to have the fan mounted up to see the screen, because not every case has a bottom vent. Which is one of the big downsides to the PSU, but it is a cool feature. The rest of the PSU has that black powder-coated finish and they made sure to include the ROG branding on every. Single. Side…
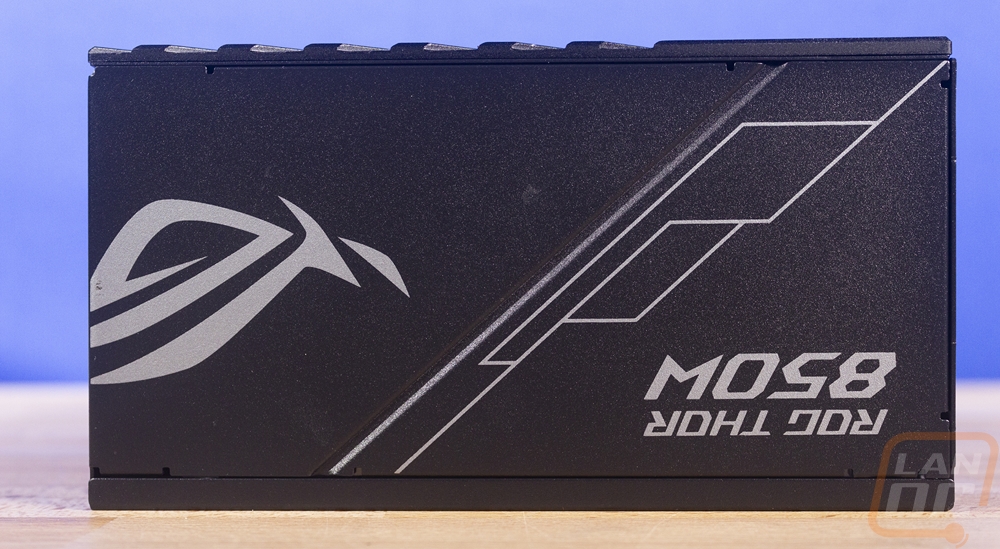
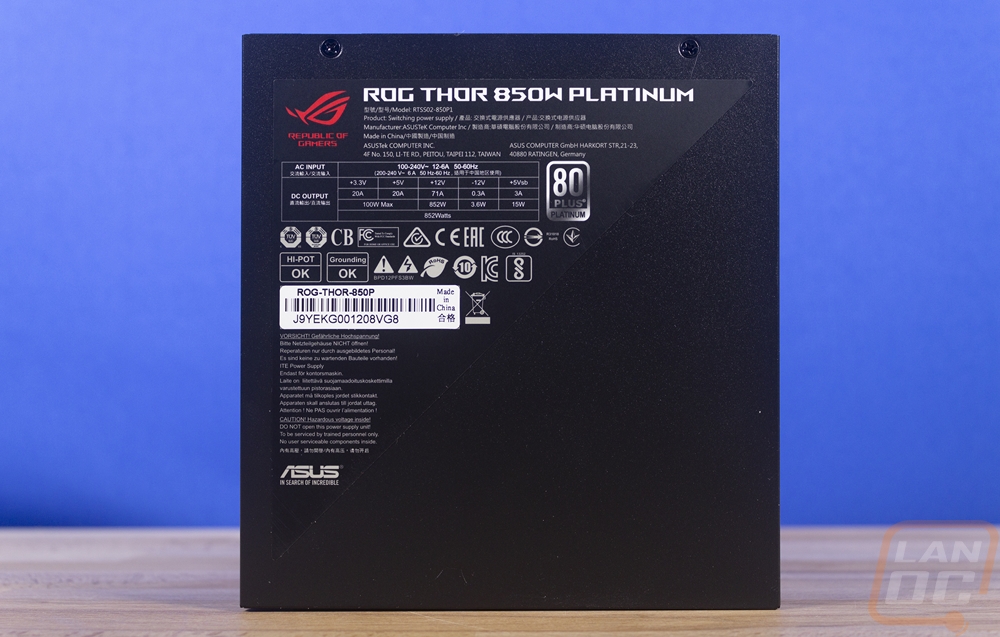
Inside the PSU has an 80 PLUS rating of platinum which is extremely efficient and Asus was smart to work with Seasonic for the PSU, basically creating a Seasonic Prime Ultra Platinum only with Asus’s own cooling design inside. When powered up the lighting is cool, not something that everyone might want but if you were building an all Asus PC, well that would be exactly what you would want with the ROG logo being lit up. Especially with the Helios having a window specifically to see the power supply.

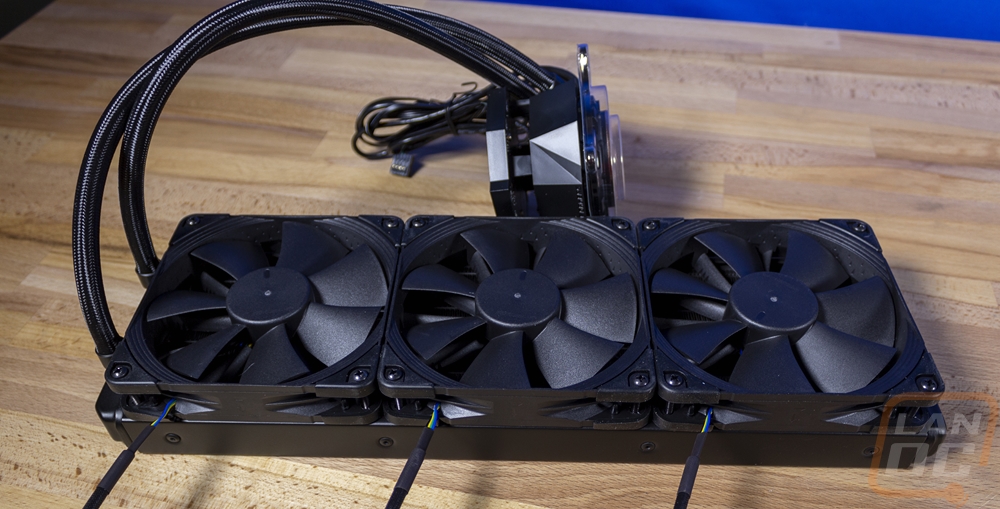
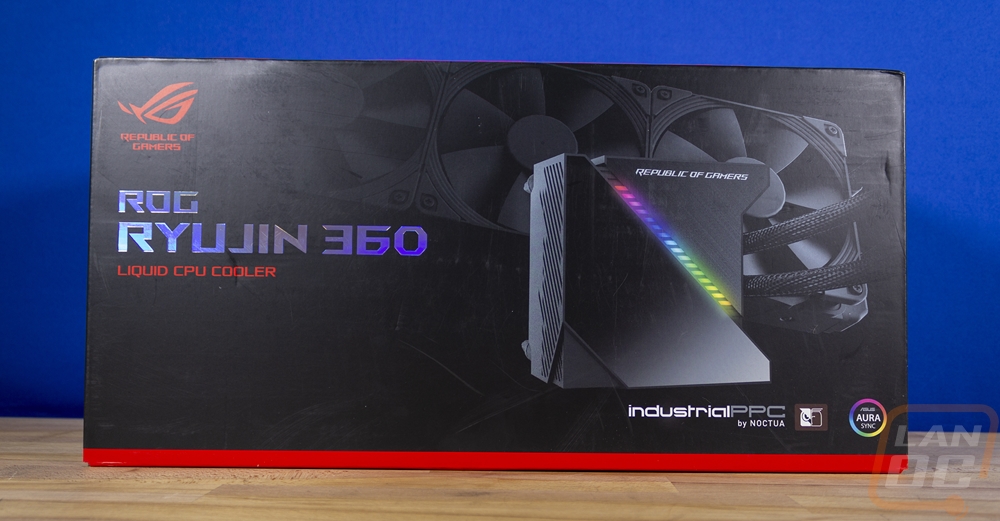
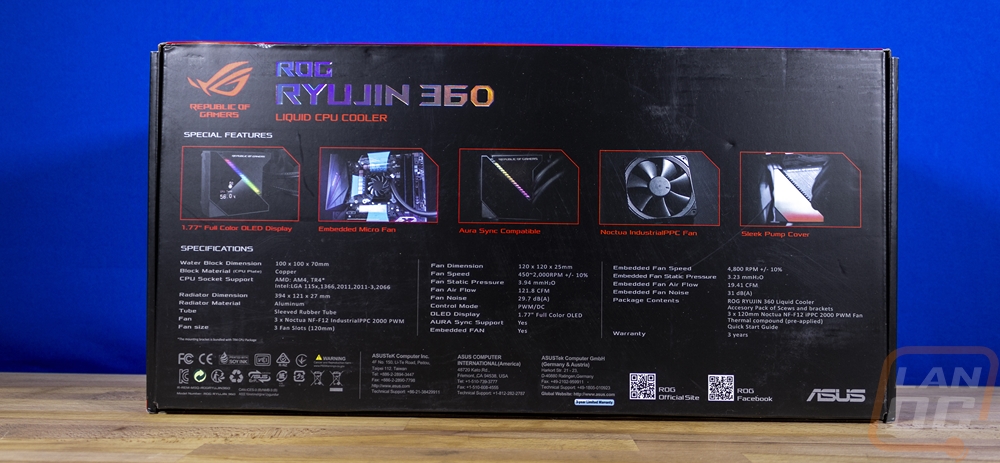
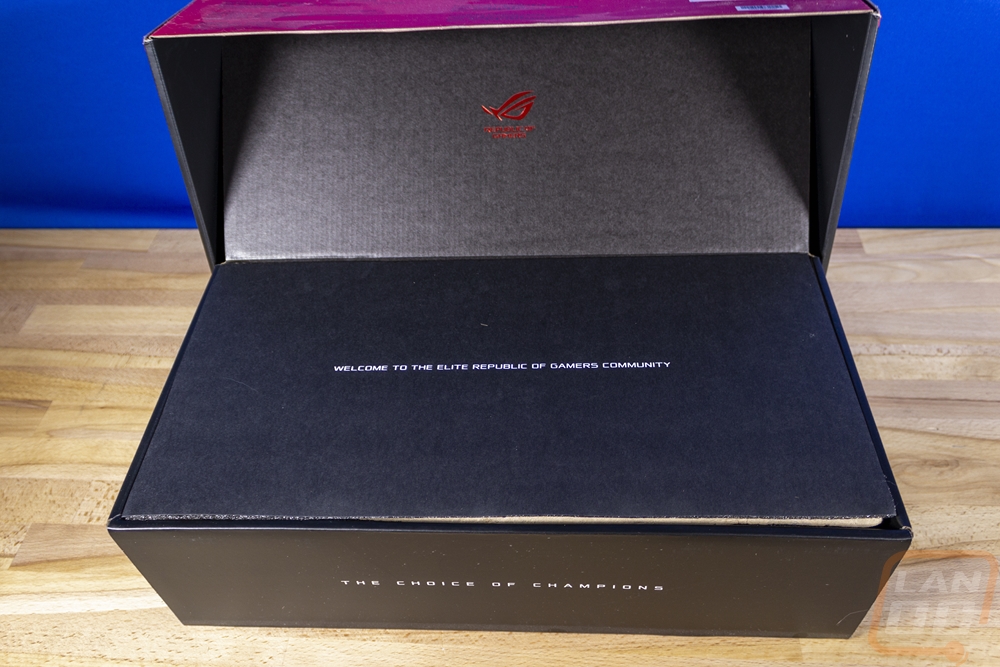
For cooling, Asus has the Ryuo which I reviewed around the same time as the Thor which has a built-in screen but is a standard AIO design including the round pump/block housing and it had Asus branded fans that I wasn’t a fan of. Then they have the ROG Ryujin which also has a screen but integrates a fan into the block/pump area and has upgraded fans from Noctua. They also have a Strix branded model as well which drops the OLED screen altogether and just has lighting in an otherwise standard AIO design. The ROG Ryujin is something I have wanted to check out for a long time and it is also a good match with the other higher-end components so I went with the ROG Ryujin 360. Again, like the others, the ROG theme is there with the packaging with the black and red theme, ROG logo on the front along with the holographic model name. The front has a picture of the pump/block and the fans and radiator in the background. They also have the Noctua Industrial PPC branding right out in the front as well because that is a huge feature. The back bracks down how the cooling fan in the pump housing works, the lighting, as well as the built-in OLED screen. When you open it up they have a thin foam layer that greats you, then inside formed cardboard keeping everything safe just like any other AIO.
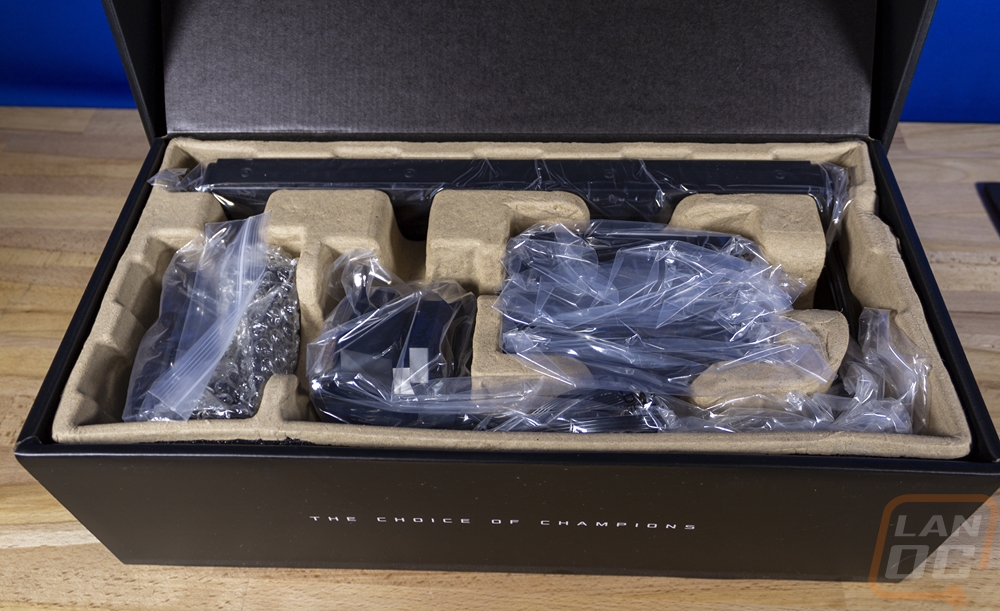
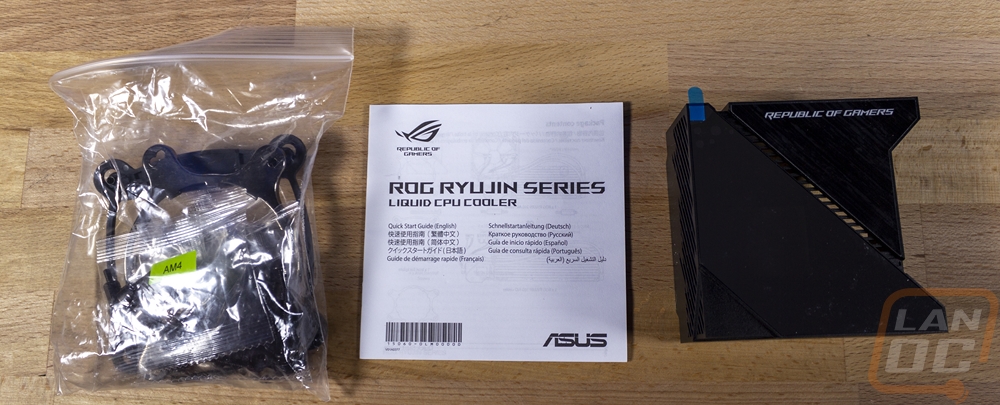
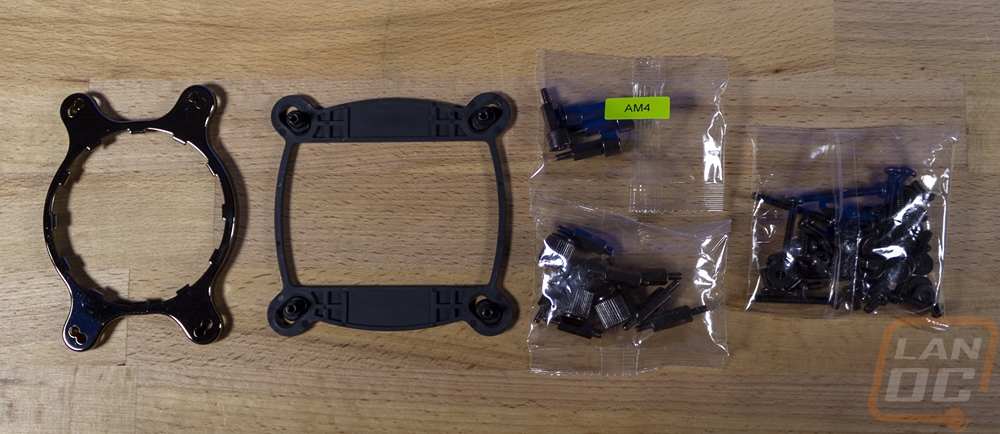
When you get into everything you of course have the pump/block/radiator all together and the fans. Then you get a bag with the AMD mounting, the backplate, and screws for the fans and mounting as well as block installation hardware. It's all blacked out and you get more than enough, in fact, I was surprised you get a washer for every fan and mount screw. Normally you only get enough for one or the other for some reason. There was a small instruction manual of course. Then the square cover for the block comes apart from everything else and it has plastic protection on the tinter/reflective surface where the screen will be.
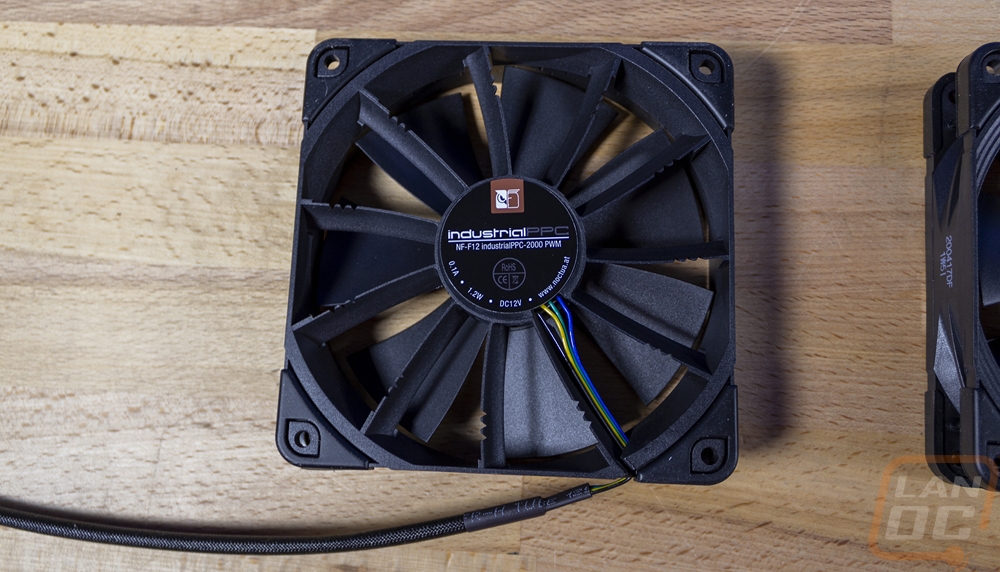
I don’t want to downplay the water cooler itself, but for sure the highlight of this whole kit is the fans. If you don’t already know, Noctua fans are some of the best you can get and they are never included with an AIO. These aren’t even their cheaper Chromax series of fans, these are the Industrial PPC fans which use a stronger fiber infused plastic and are rated for work environments for dust. They also contribute a LOT to the overall cost of this kit. Specifically, they are the NF-F12 industrialPPC-2000 PWM, but they have the black vibration pads, not the dark brown they normally get. Even right now you will have to put down just over $25 for each fan on Amazon to get one and that doesn’t include the Chromax black vibration pads. Which would normally run another $7 for a set, if they were in stock. They run at 2000 RPM and as the name indicates are PWM fans. This is an 80+ upgrade you might look at later when the noise of the cheaper AIO cooler fans get on your nerves, which is why it's cool they are included.
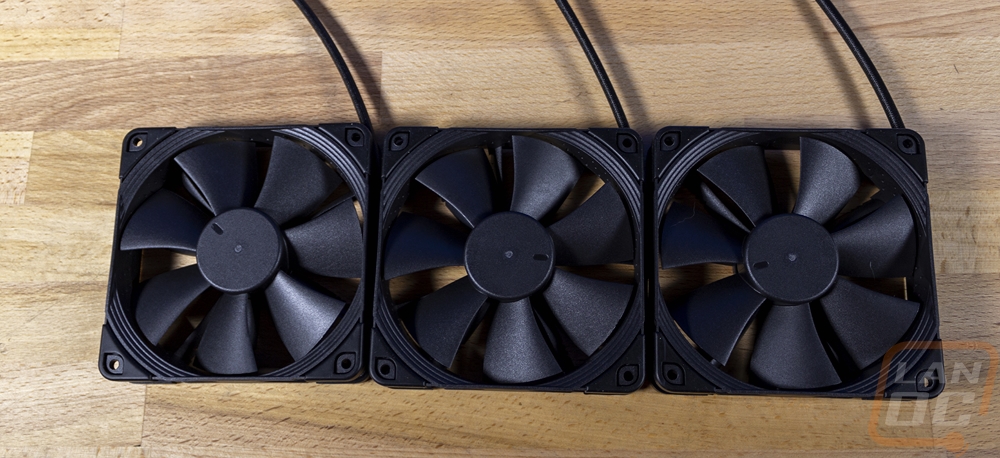
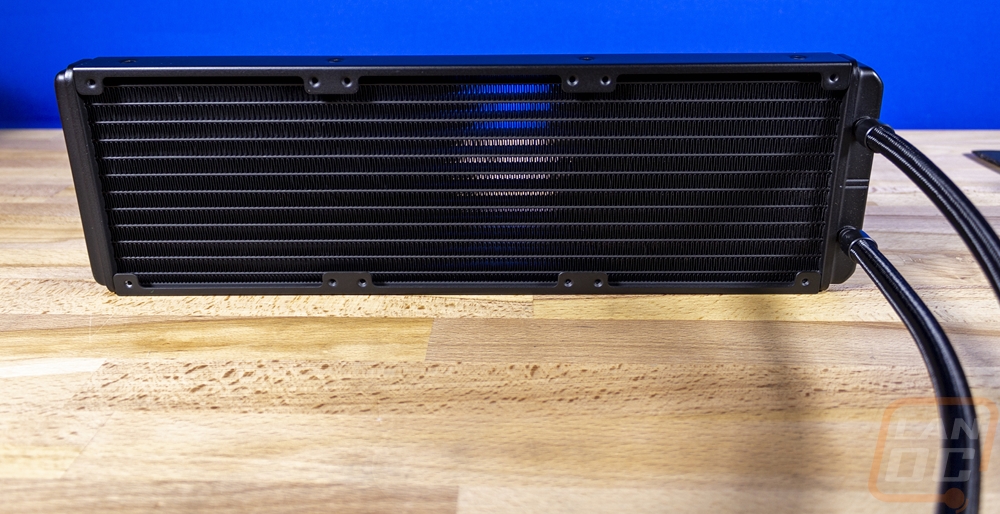
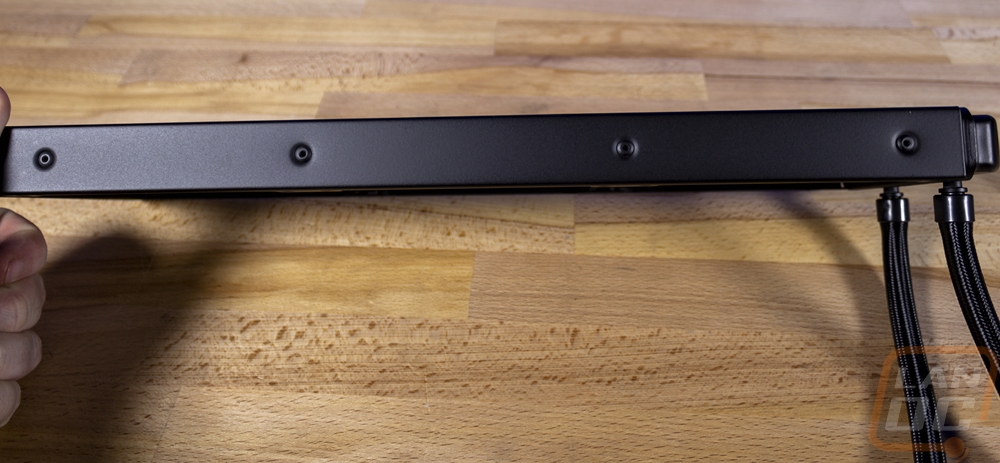
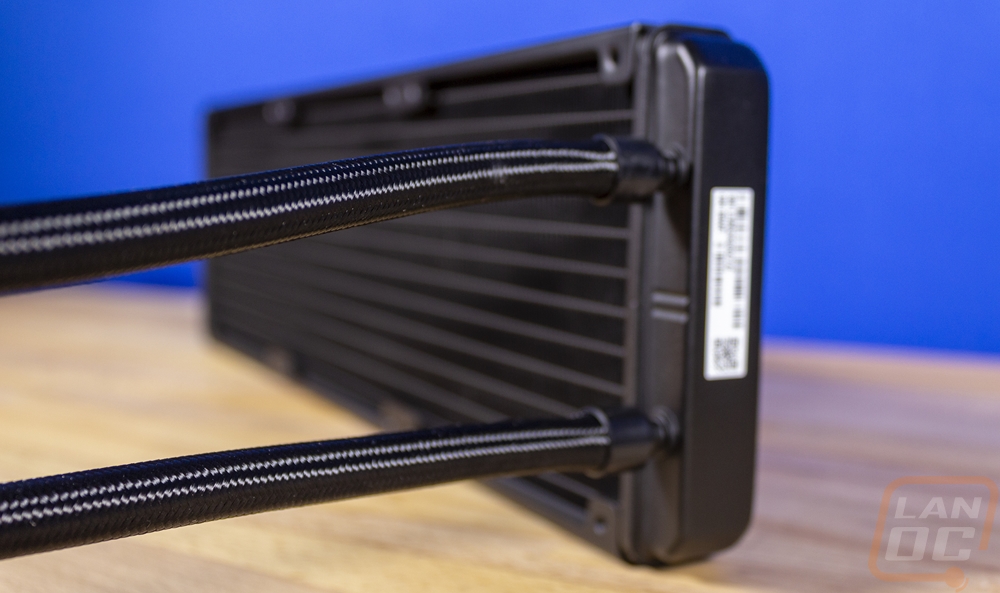
The radiator isn’t any different than your standard AIO. Ours specifically is a 120mm x3 but they also have a 240mm or 120mm x2 AIO as well. The hoses are sleeved in black to match everything, which these days is standard as well.
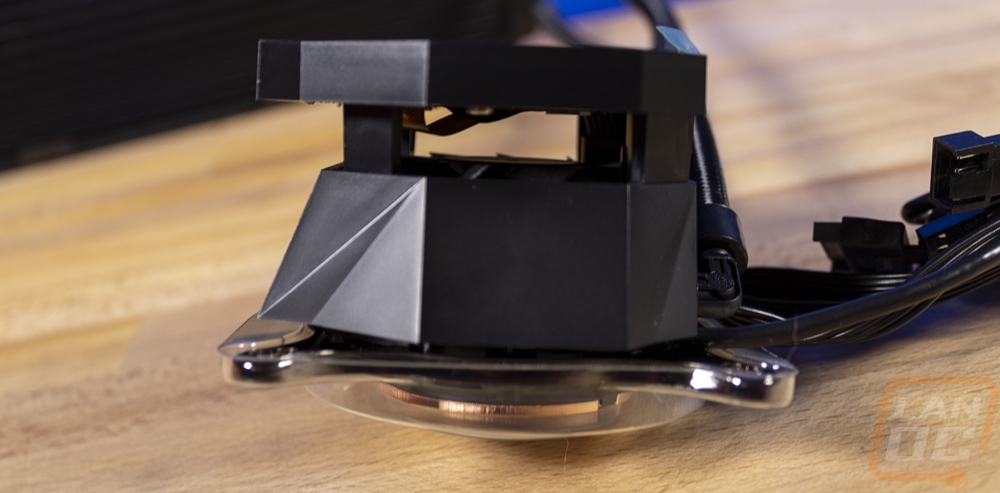
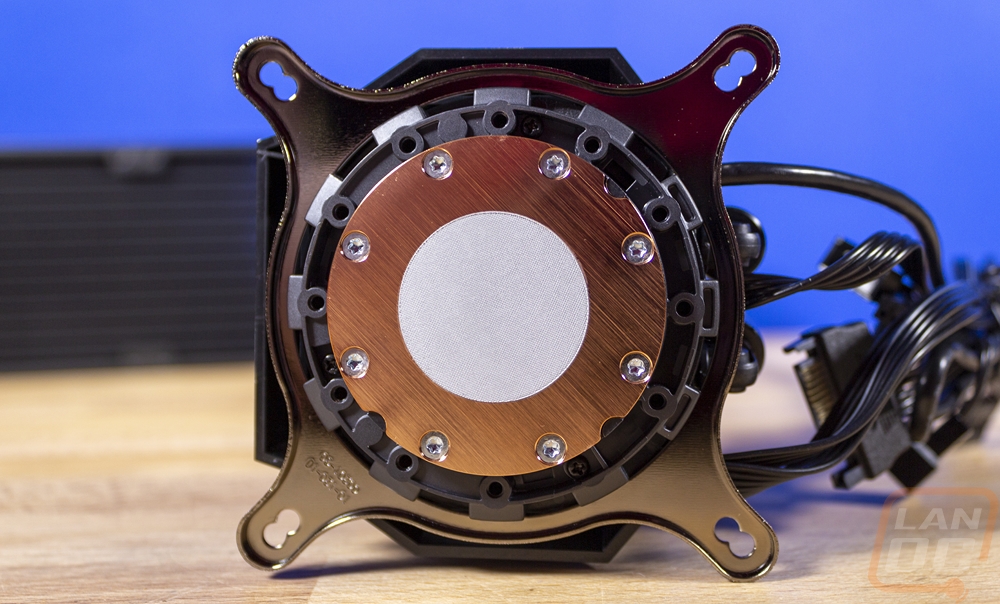
Then we have the pump/block assembly. This is the other big area where Asus made changes. What you are seeing here is the pump without the included cover so it doesn’t have the full squared-off shape, but you can see the integrated OLED screen which when the ROG Ryujin was introduced no one else was doing. A few companies have followed the trend as of now though. The other big design feature here is the integrated fan which might seem a little weird, why would you need a fan here for a water cooling kit. The issue with water cooling, both with custom and AIO kits is that while they pull the heat away from the CPU well there are VRMs around the CPU that require airflow as well as your memory. The integrated fan here makes sure to keep some airflow in that area. Which Asus would know all about given they design the VRM cooling on their boards. This is why this part has a weird shape, they are leaving room for airflow to blow out between this and the square cover. You can see the fan from the side profile. Beyond that though, this is still a standard OEM partnered cooler which you can tell from the round contact surface and the standard Aasetek mounting design.
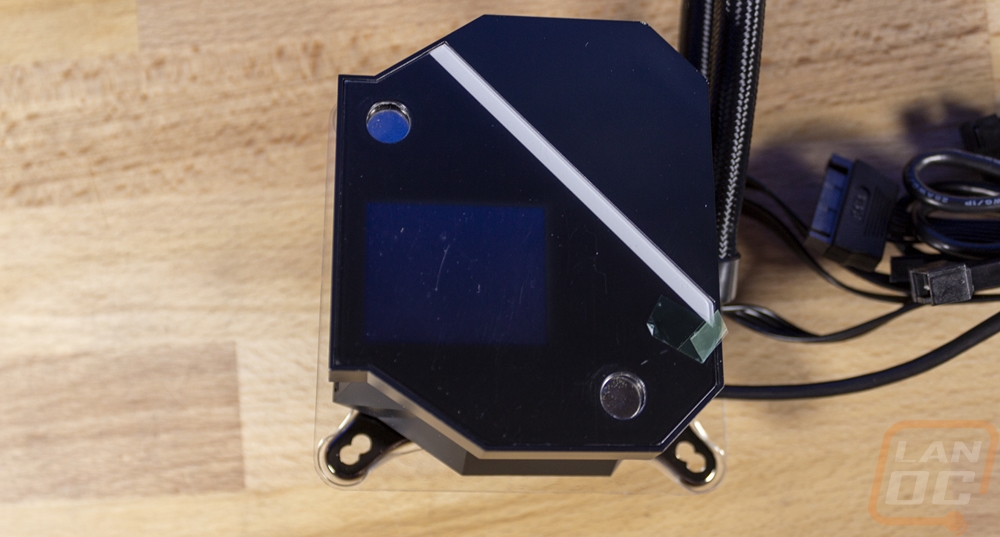
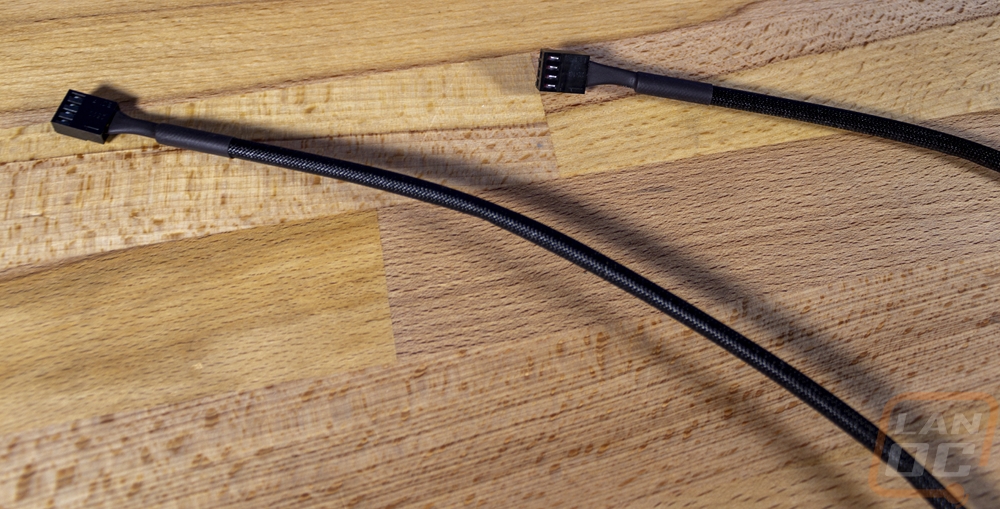
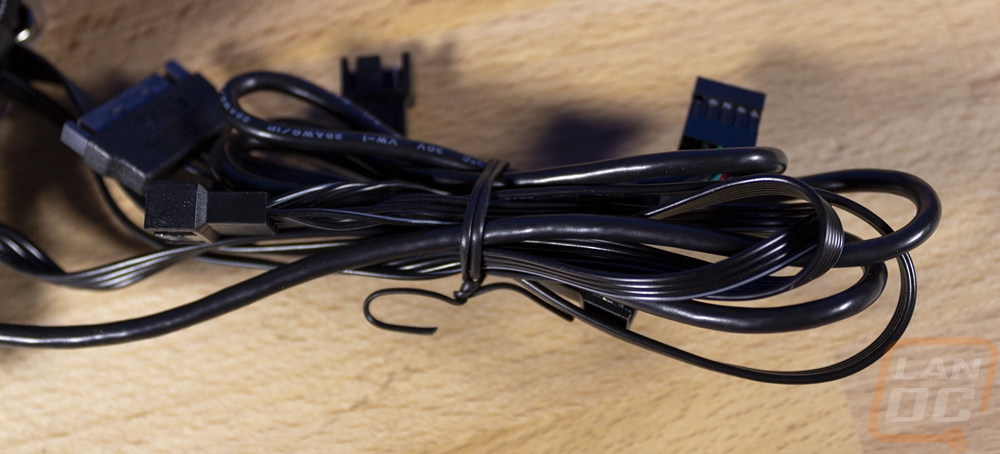
The pump, screen, and all of the controls are all built into the water block. So for wiring, everything comes out of that area. There is a wire for the three fans to plug into, a USB 2.0 plug to allow for the fans, the screen, and the lighting to be controlled. Then for power, there is a SATA power plug. There is also one PWM fan header that plugs into your CPU fan header to relay fan speed to your motherboard so it doesn’t freak out thinking you don’t have any cooling.
With everything together, the Ryujin looks great. The Noctua fans set everything off and I like the ROG blacked-out design. The OLED screen is something I like because you can integrate a logo or PC stats which always gets attention with the Ryuo that I have installed in one of our LAN rigs.