Photos and Features
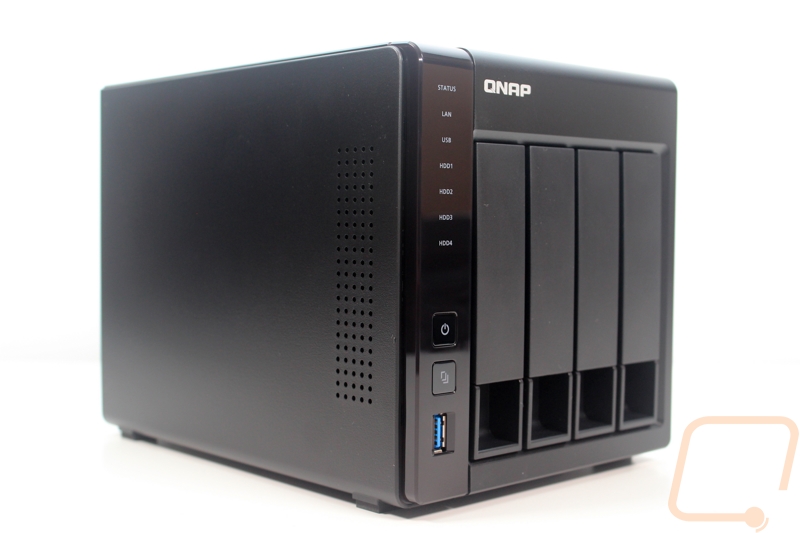
For the most part, from the outside, the TS-451+ doesn’t really look any different than other QNAP network drives. Obviously, the 4 in the name stands for the four drive bays that it comes with. The 51+ is the product series and this is specifically a Home and SOHO meaning small office or home office. While my home office might have the computing power of a much larger office, for the most part, there are only a few people accessing it at any point in time and that would fall into that range. With the exception of the new TS-x51A Series, it is also the quickest home NAS in Qnaps product lineup. You can get a 2 bay model and the 4 bay model I am testing today.
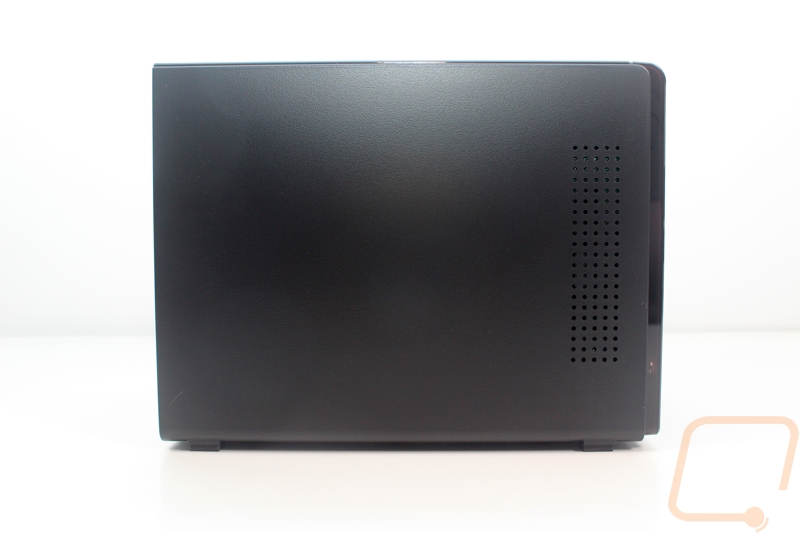
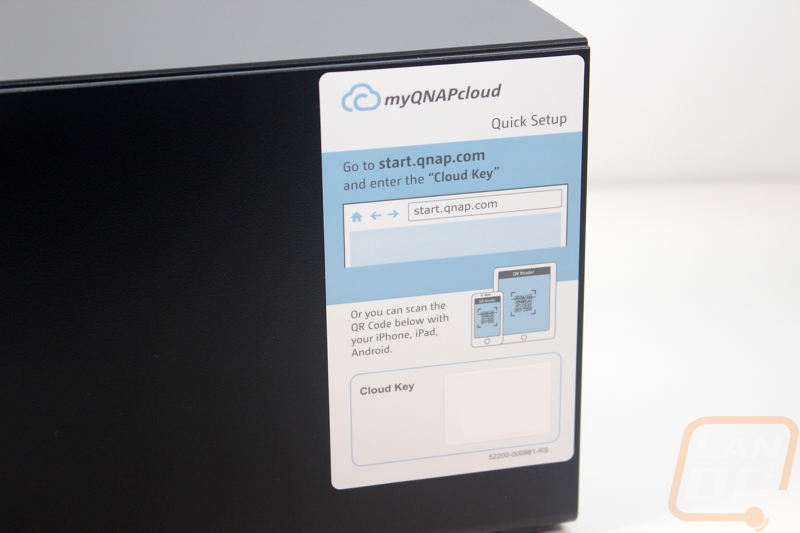
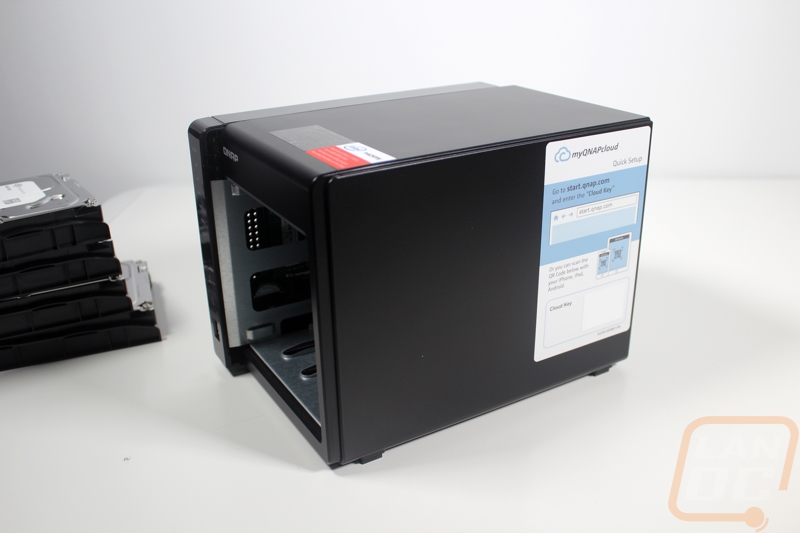
Both sides of the NAS are very simple and just have the small vented area to the front. The right side does, however, come with a sticker on the side that explains myQNAPcloud and gives you a QR code right on the side to get things setup. I removed the code out of the picture for obvious reasons, but you can tell that this is a consumer device when you have big stickers for easy setup if not a lot of people might never know the feature exists.
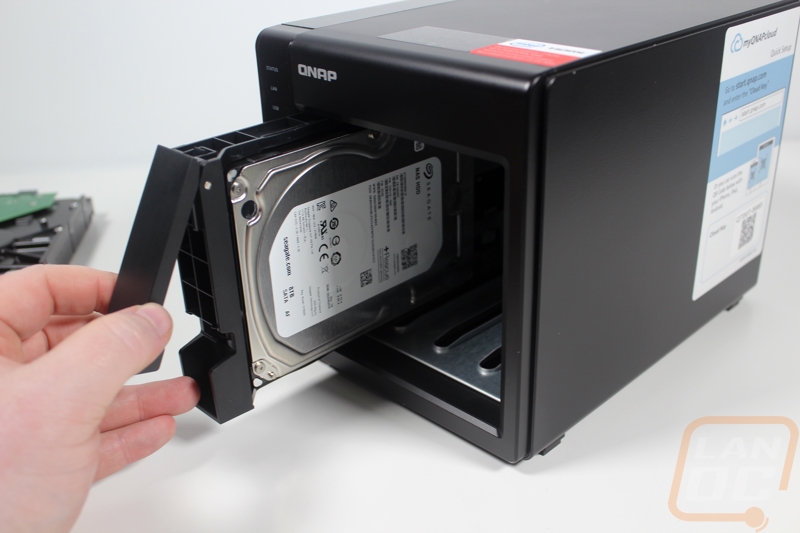
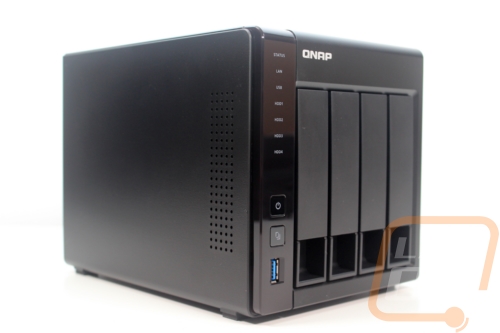
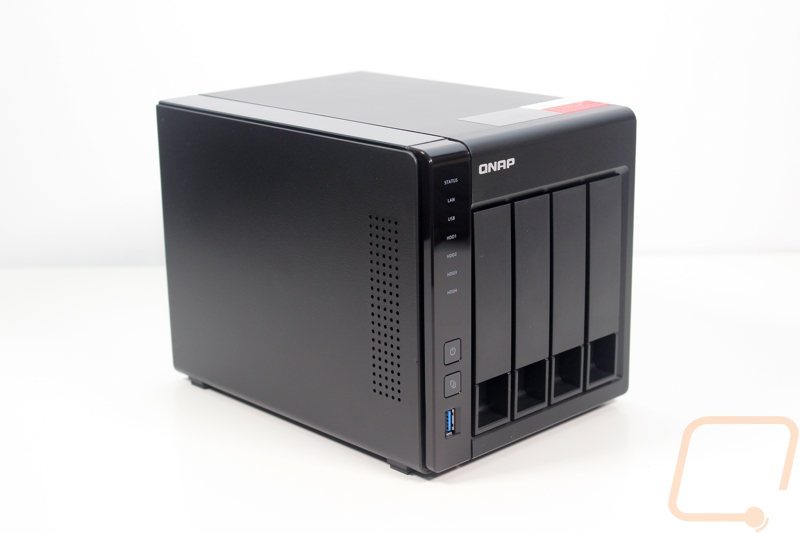
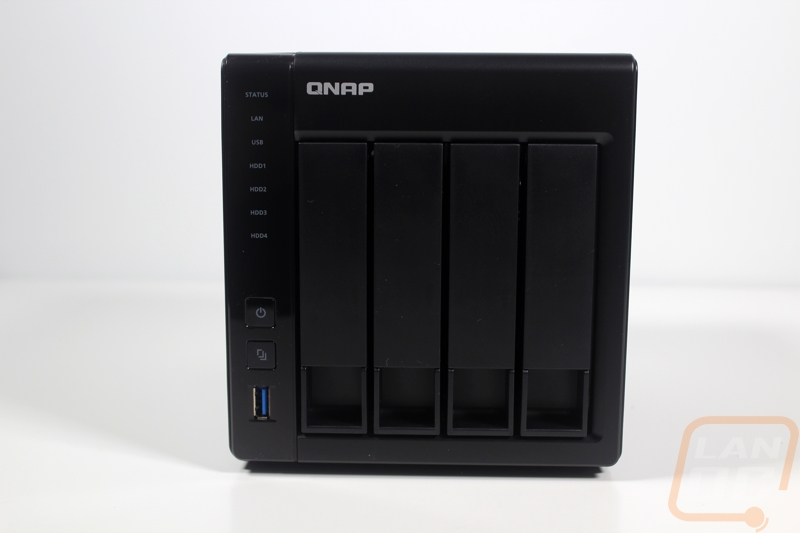
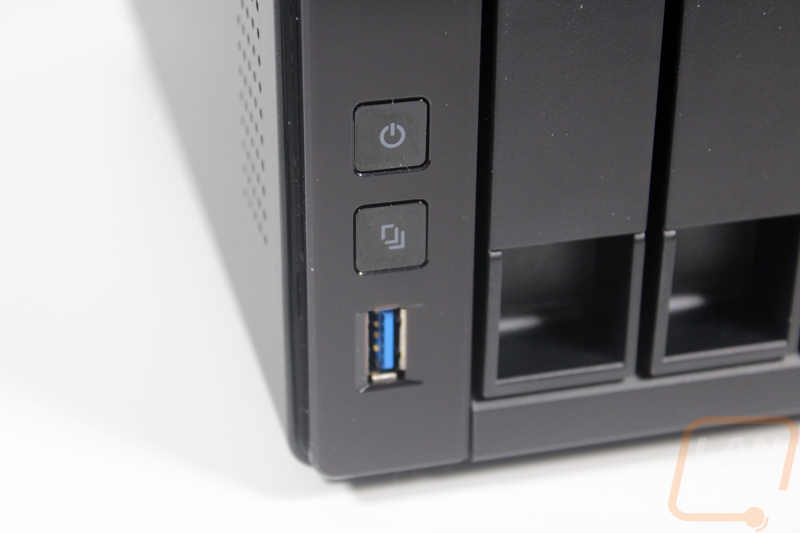
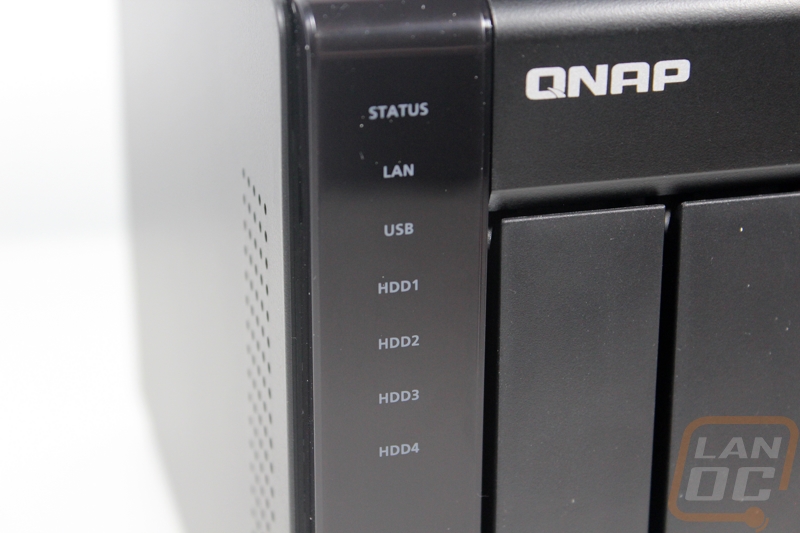
The front of the NAS is where everything is going on. In the past, I have tested a few NAS around this size and they sometimes will have an LCD screen on the front for notifications but QNAP kept things simple with a vertical row of LED status indicators. You get one for each drive bay, one for an overall power indicator, one for LAN traffic, and the one showing when a USB device is active. This is enough to get the job done, especially when most people put a NAS like this up in a closet. Down at the bottom left is the USB 3.0 port and with the button directly above it, you can plug a thumb drive or USB hard drive in and press the button and the NAS will automatically back everything up. Above that button is also a power button. The four drive bays all have access on the bottom, you pull out and the latch will unlock then the tray will slide out.
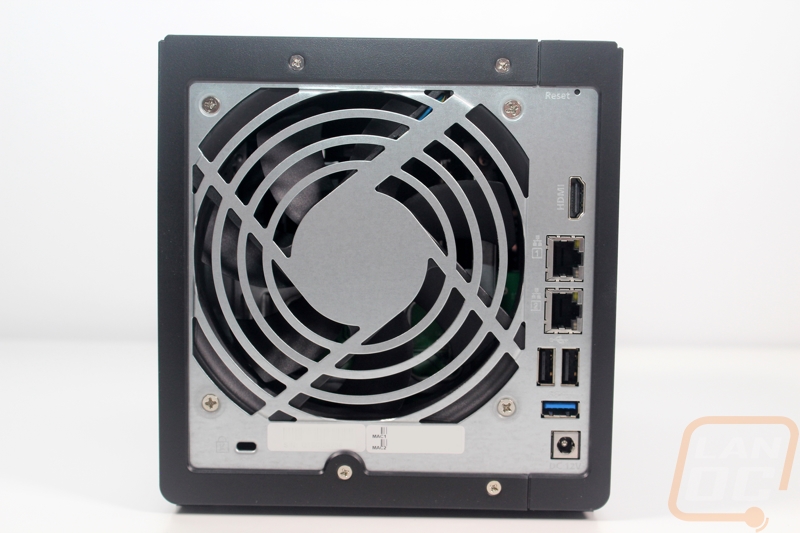
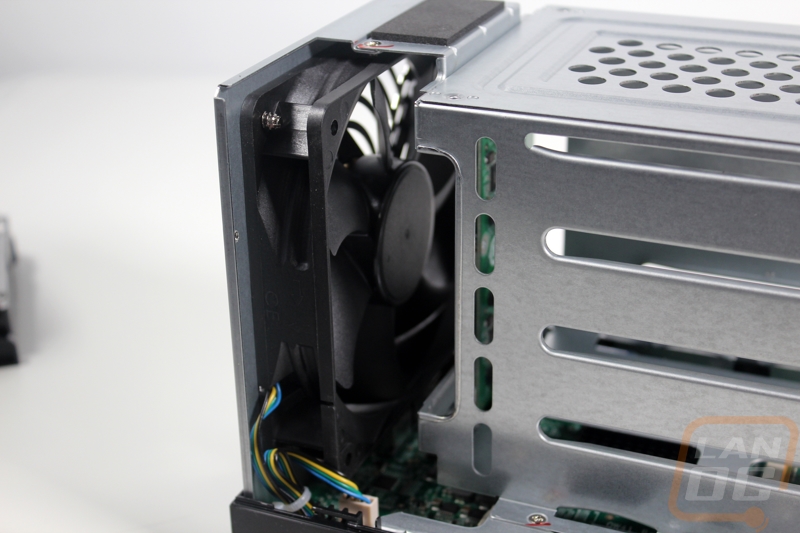
On the back, most of the back is taken up by a large fan that helps keep all four drives cool during heavy use. There are a few plugs, though. The power plugs down at the bottom and the two network interfaces are the normal connections for a NAS. The HDMI and the three USB ports might surprise people, though. QNAP has set the TS-451+ up to run as a media player, taking advantage of the integrated graphics on the Intel CPU.
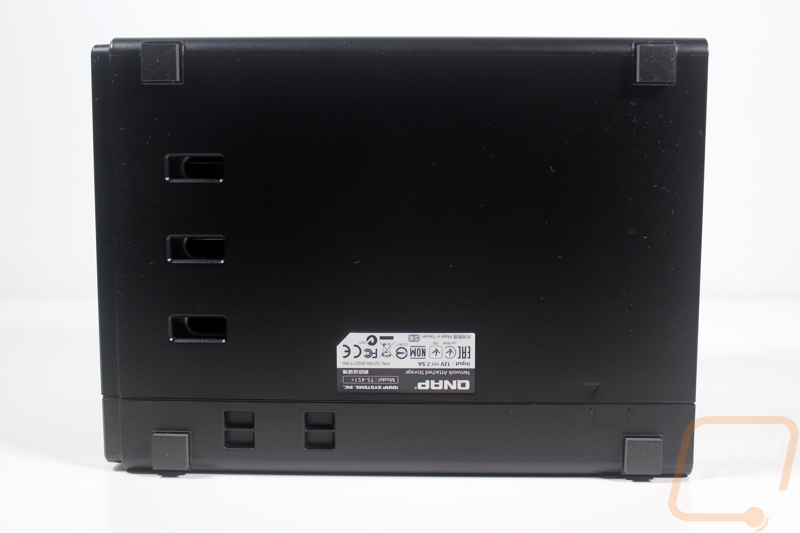
On the bottom is a small sticker with all of the normal regulatory logos and the QNAP model number. The serial number was actually on the back of the NAS to make it easier to get at should you ever need to use it.
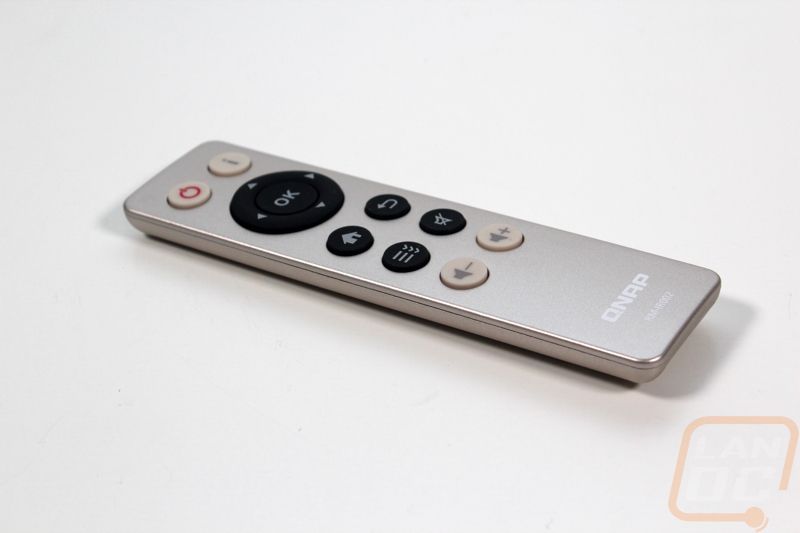
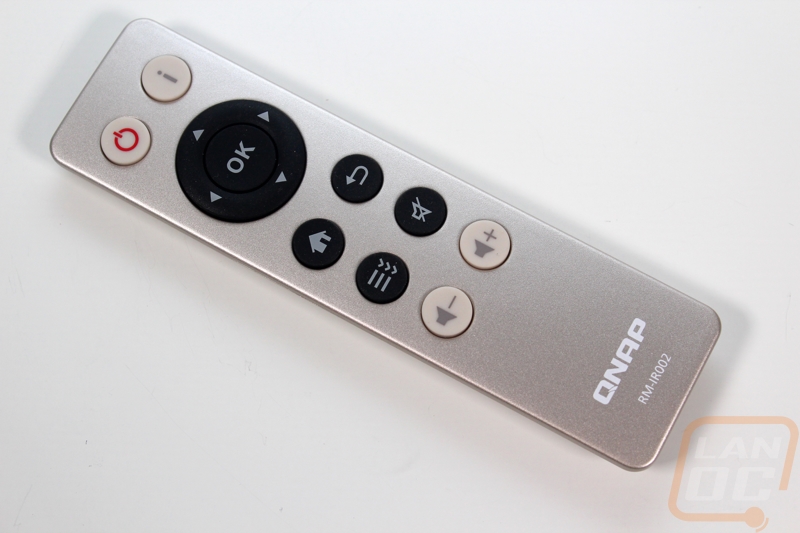
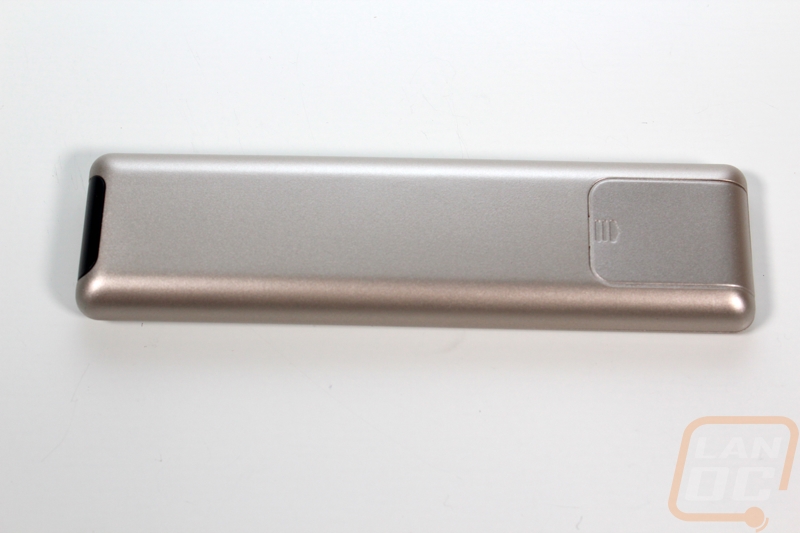
With the integrated HDMI port and the media player, you can use a mouse and keyboard but to make things easier they did integrate an IR receiver on the front of the NAS and include a remote. The remote is really simple with its direction pad, volume controls, menu buttons, and a power button but it is all you need to navigate the media player or some of the other downloadable apps.
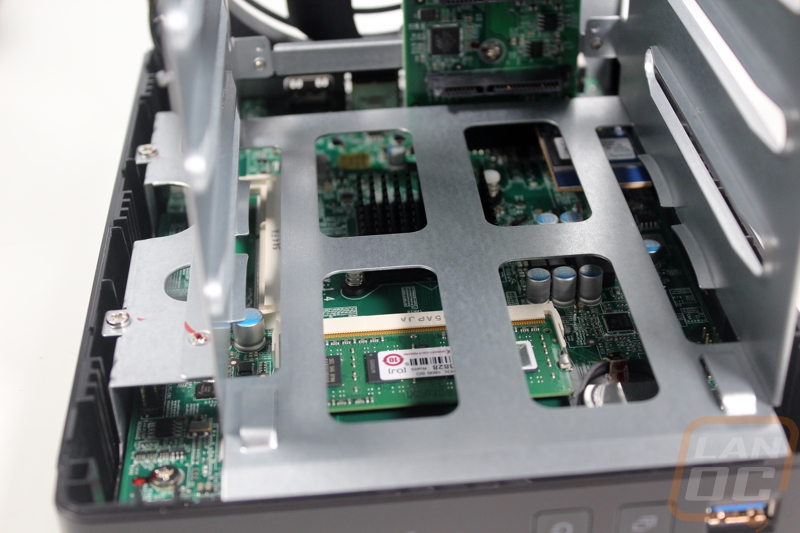
There is no reason to dig into the TS-451+ to get everything setup, but I wanted to get inside anyhow both to see the layout and to also see how easy RAM upgrades would be. To get the casing off you remove the back screws. Pull all of the drives out then you can slide ¾ of the enclosure back about a half an inch like in the photo below. From there it pops right off. The hard drive trays take up most of the room and at the end of them is a PCB with all of the SATA connections. The side of the NAS with the LEDs has the motherboard running the length of the drive.
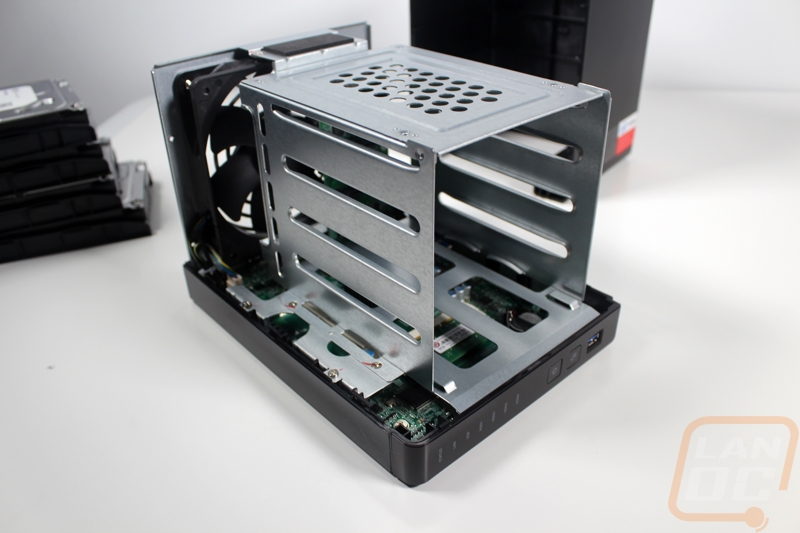
To get access to the RAM you do have to unscrew a few screws and remove the hard drive cage. But from there the two SO-DIMMs are right in front of you. It comes with one 2GB stick so a second in the open slot would double up your RAM should you need it.
The big fan on the back of the TS-451+ is facing out as an exhaust but it pulls air from across all four hard drives as well as down from the motherboard as well.
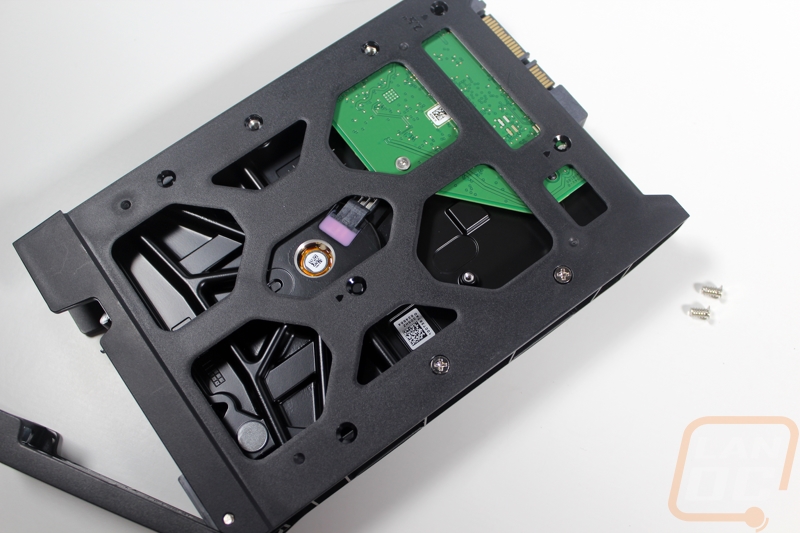
Installing your hard drives is simple. You slide the drive in with the SATA power facing out the back and install the four flush mounted screws into the bottom. From there you slide each tray in and when you pull down on the latch it will help lock the drive in place as well as help slide the drive into the SATA connection at the back of the enclosure. 2.5-inch drives are the same, but you use a different set of holes to make sure they line up the same as a 3.5-inch drive.