Installation and Performance
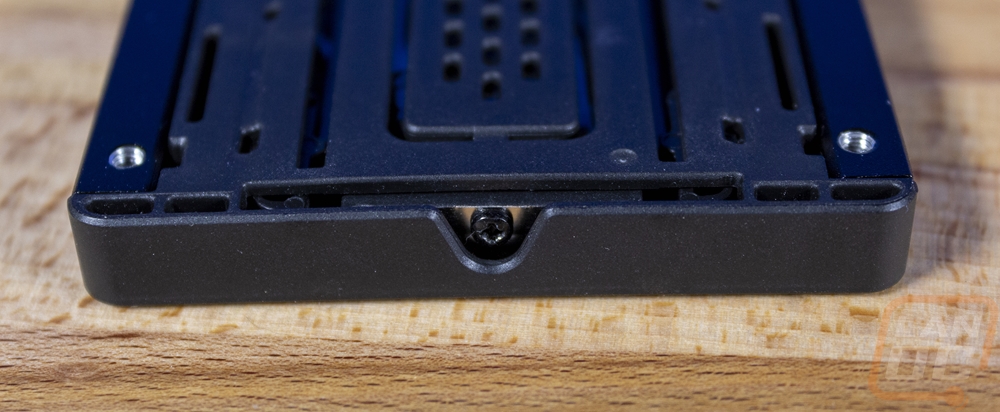
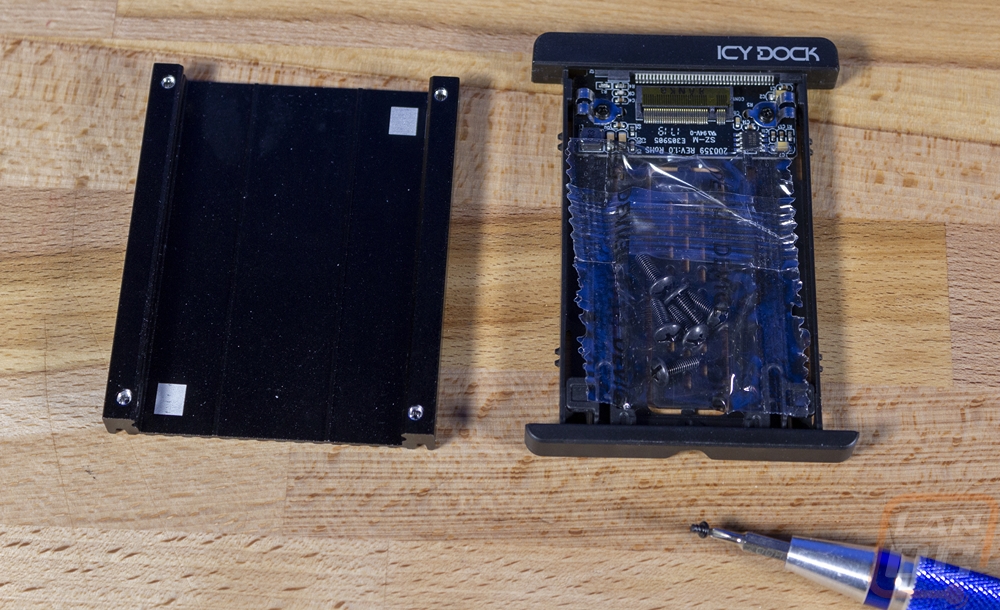
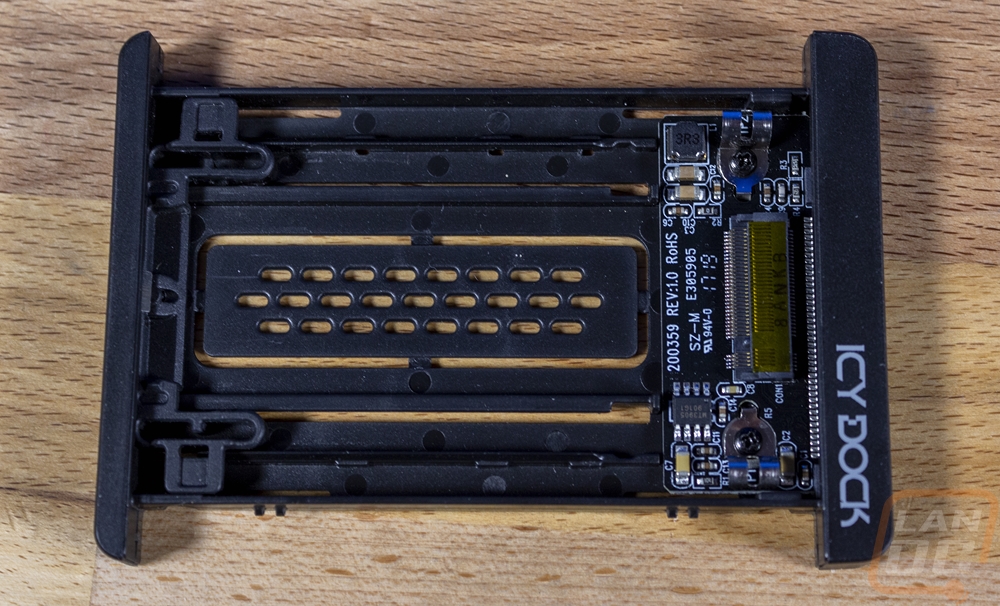
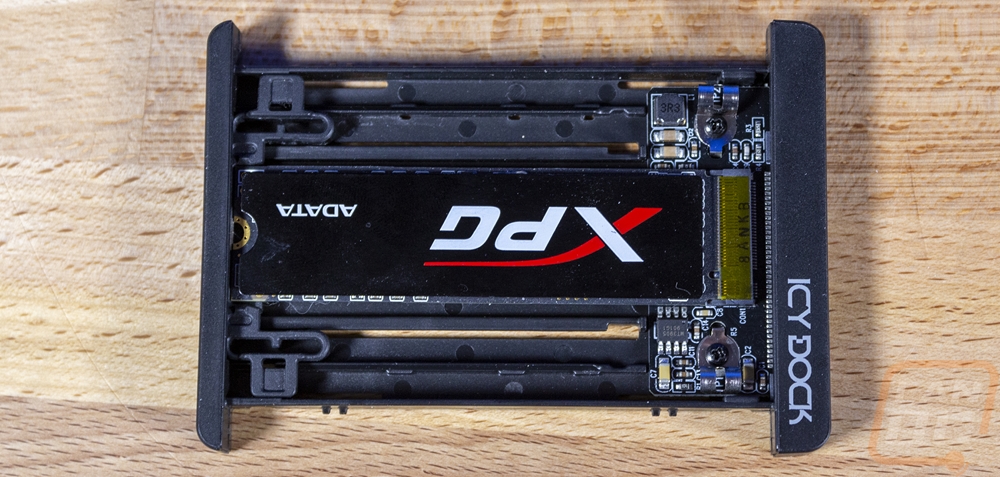
Before testing the MB705M2P-B out I did need to do a few things. For starters, you have to install an M.2 NVMe SSD into it. Icy Dock makes this extremely easy, however. The encloser actually pulls apart completely toolless. I didn’t catch that at first and pulled the screw out of the end that holds the metal clip into place that holds the drive. All you really have to do is pull on the aluminum and it poops off. Inside you can see the M.2 slot and the drive slides in and snaps down into place. The bottom tray does have ventilation and that center part can be removed for even more airflow if needed. Icy Dock lists it as also being removable for heatsinks, but not the heatsinks that come with some M.2 drives. Those face up and this is down.
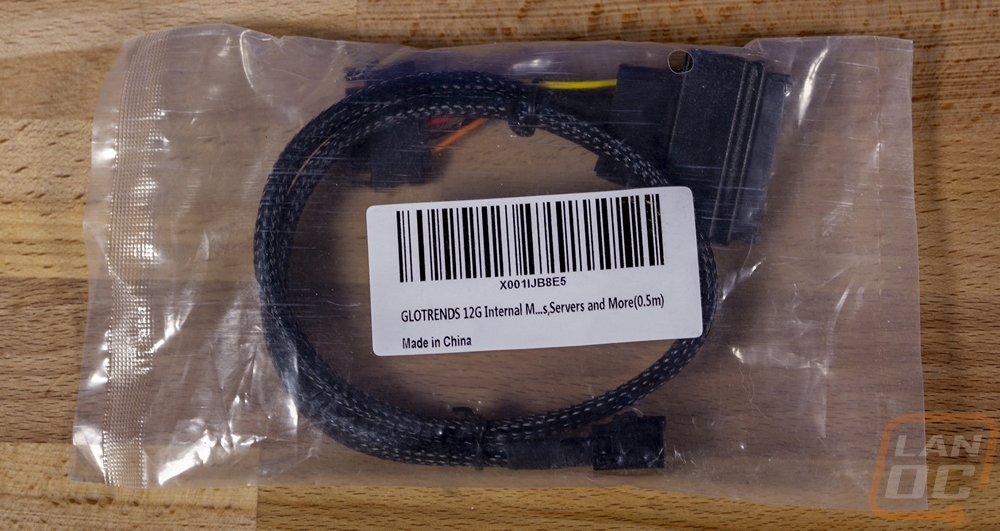
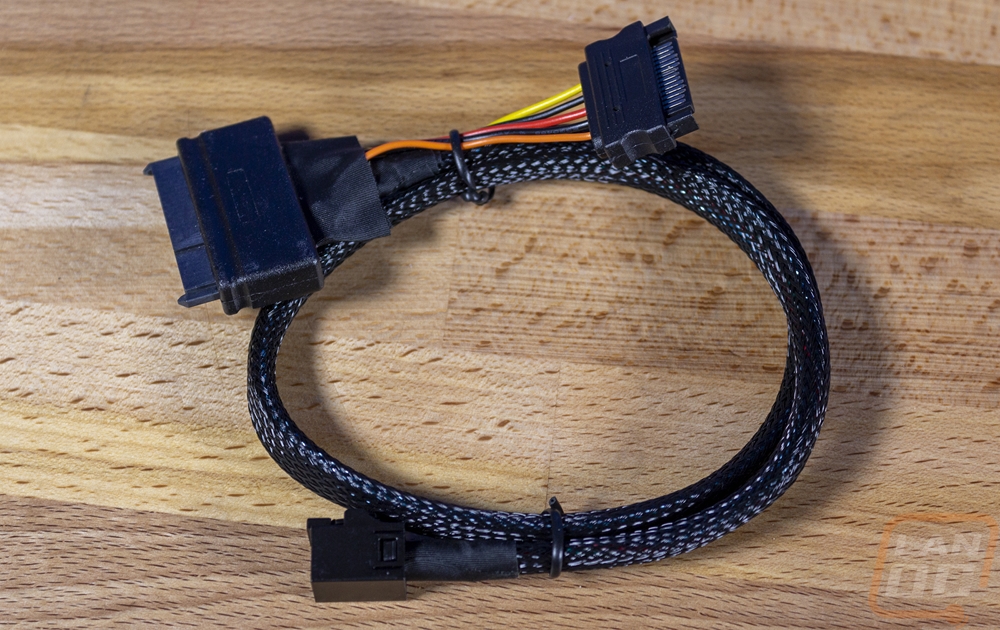
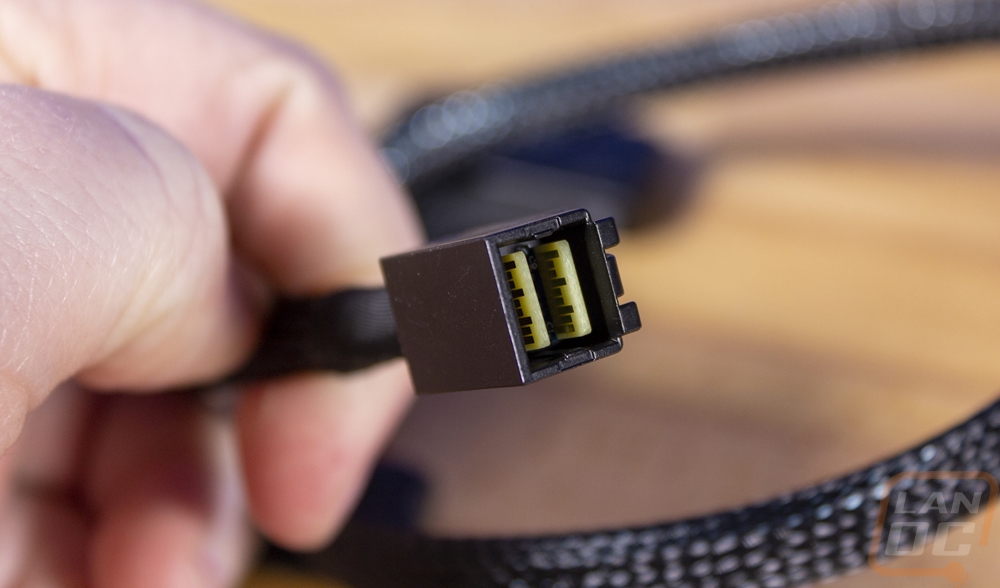
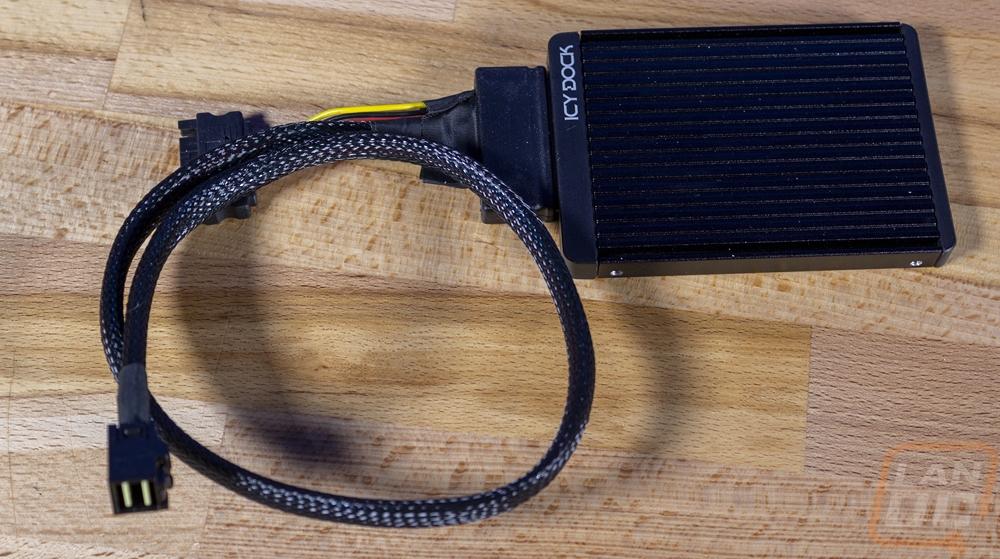
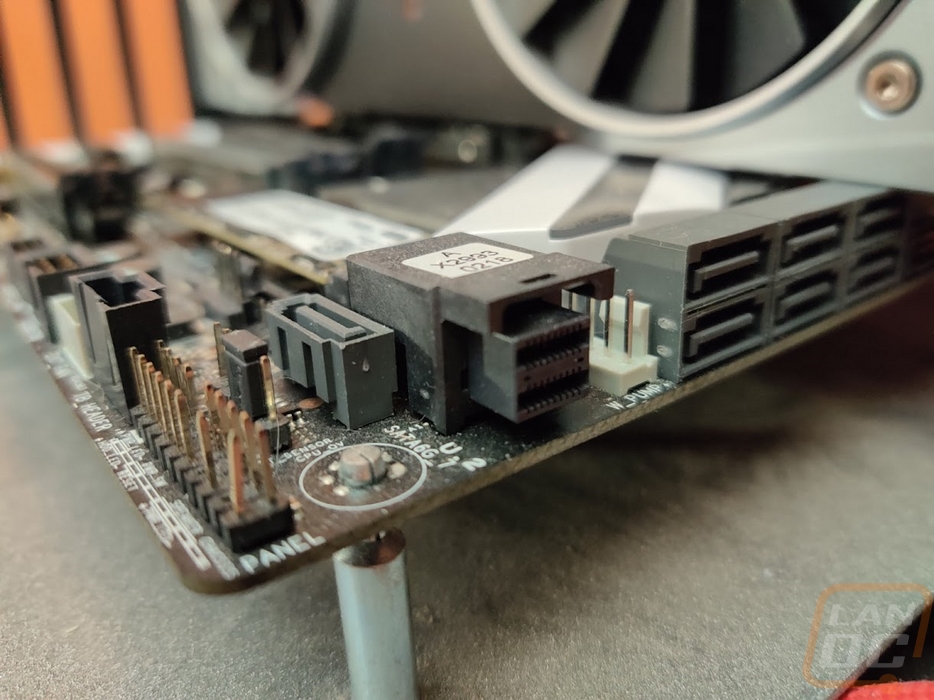
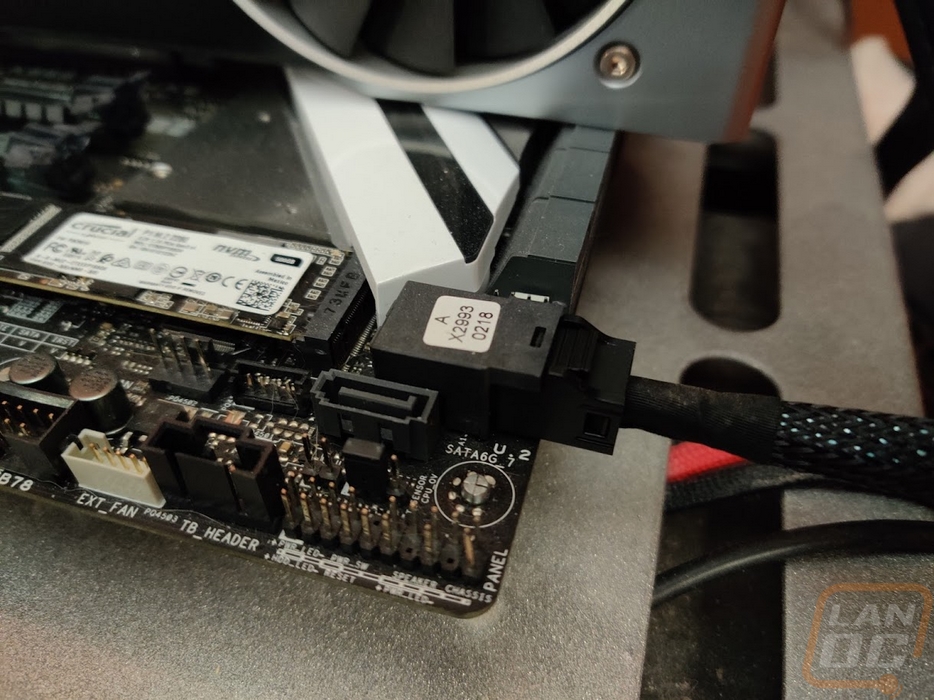
The other hold up to getting your M.2 drive hooked up remotely is that you will need a special cable and it doesn’t come with the EZConnect. Basically what the MB705M2P-B does is convert your M.2 into a U.2 connection, so you still need the U.2 cable. You need an SFF-8643 to U.2 SFF-8639 with 15 Pin SATA Power Connector. HERE is a link to the one I picked up.
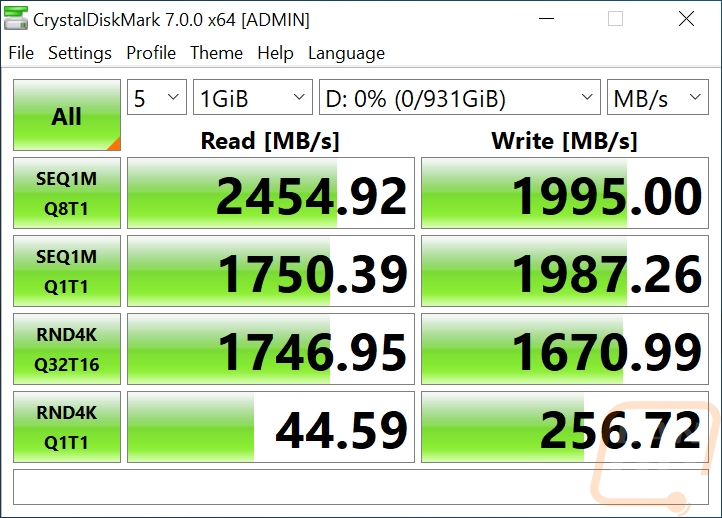
For performance testing, I really wanted to see if the transfer speeds were affected. I initially tested our ADATA XPG SX6000 256GB which I reviewed last year. You can see that in CrystalDiskMark it performed similarly to what it did at that time.
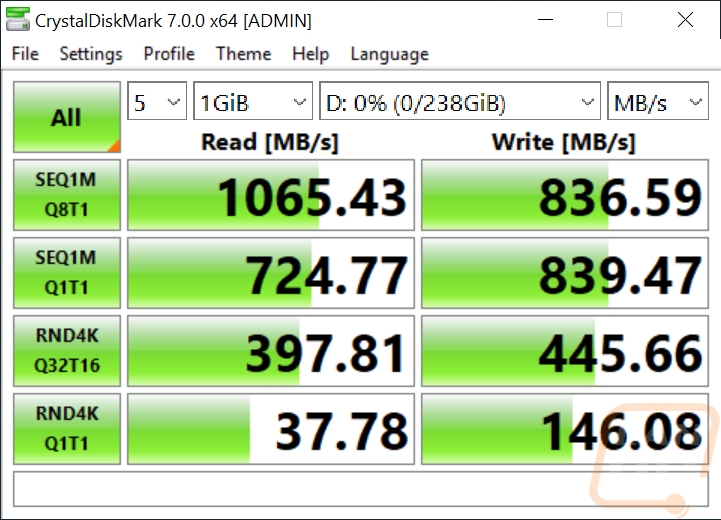
I wasn’t really happy with that though, while the SX6000 is quick I wanted to test a faster drive as well. So I switched over to the WD SN550 Blue 1TB NVMe SSD. Thankfully swapping drives out of the enclosure is extremely easy. The read and write performance here was actually a touch higher than in my review.