Photos and Features
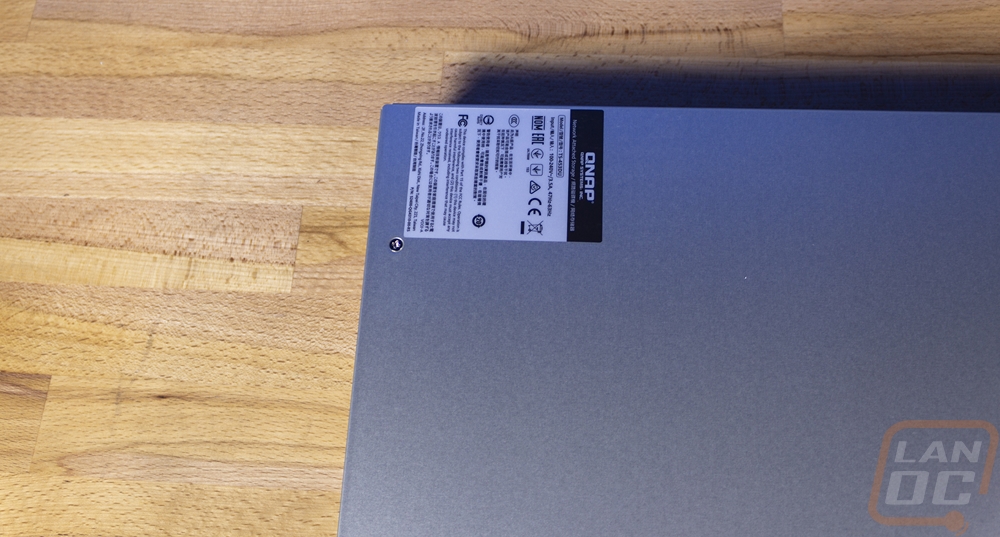
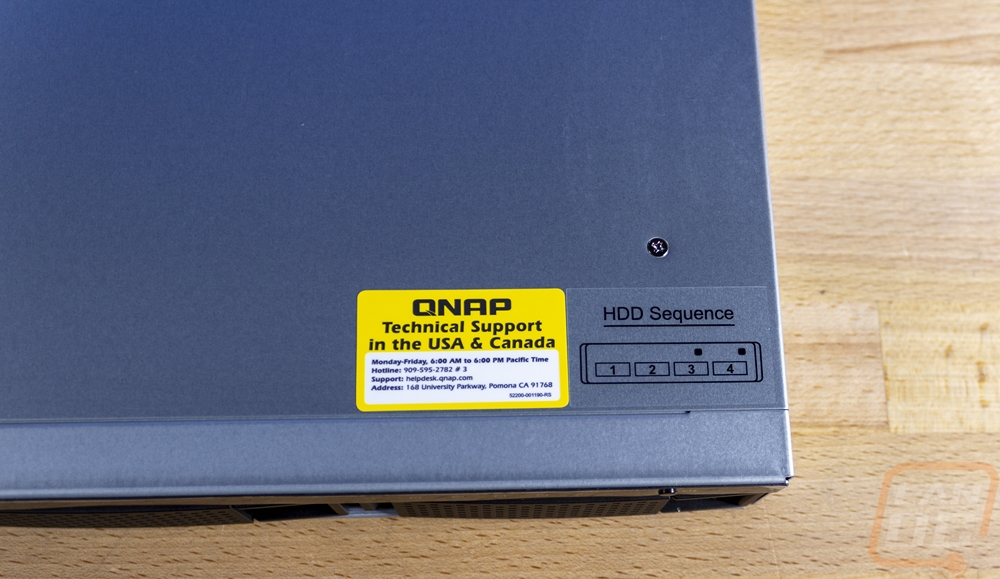
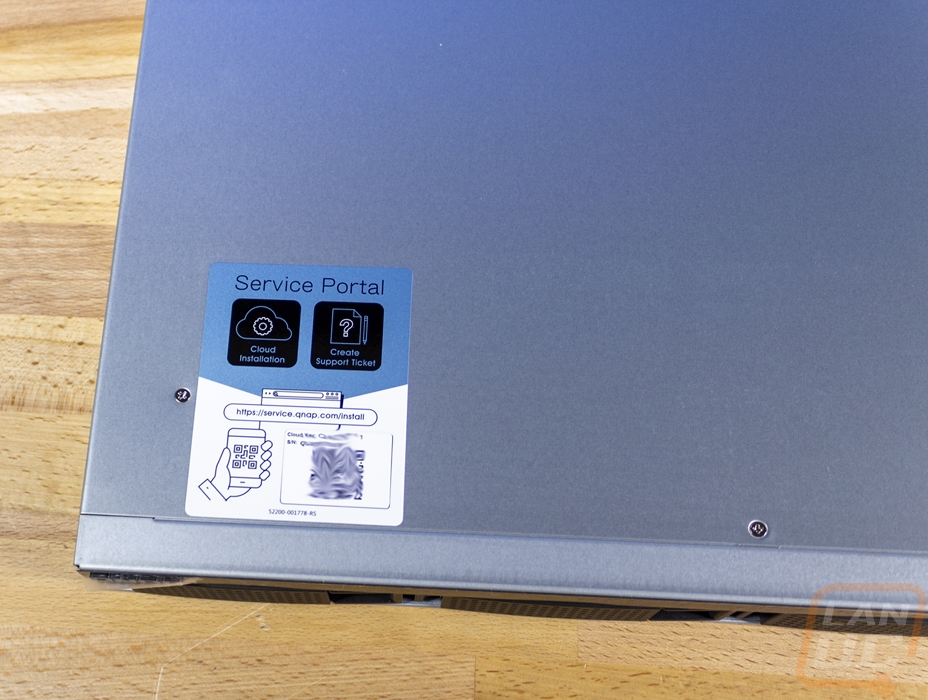
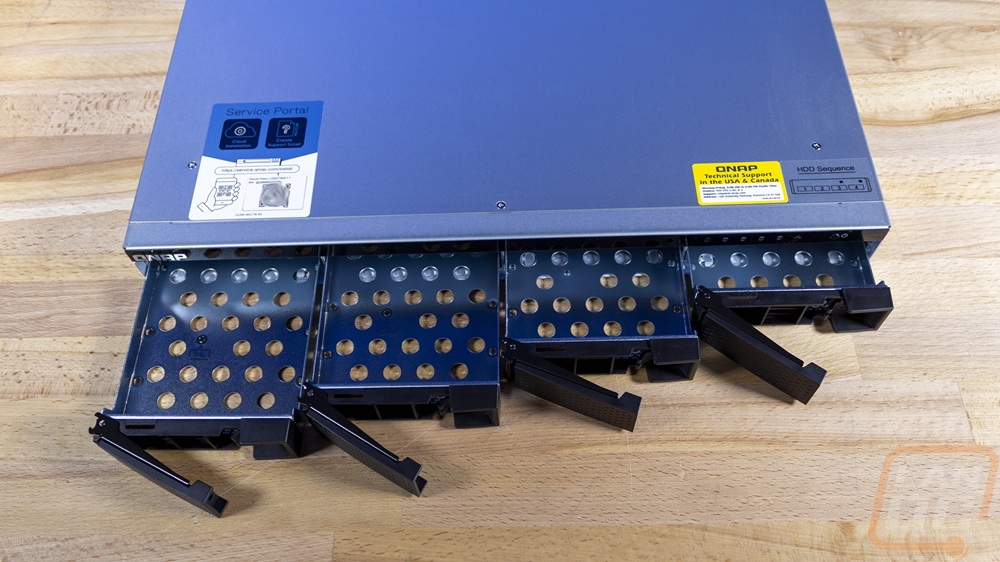
Well normally with a NAS there is a little more to talk about, but with the TS-453DU being rack-mounted a majority of the exterior is exactly what you would expect, a 1U server. So the exterior may be a little short before we get into the inside. But the TS-453DU has a standard rack width of 19 inches and being 1U means it is just 1.7 inches tall but for the depth it is shorter than a lot of full-sized servers at 19.05 inches, nearly matching the overall width. It comes in at 15.55 pounds before any drives are installed due to its all steel housing. The case doesn’t have too much going on except a few stickers. One has model information and all of the certification logos that are required. They have a sticker near the front that shows the hard drive sequence to match the hard drive numbers in the software and with that, there is a support sticker with the support hours, phone number, website, and even address. Then there is another sticker that links where to get your cloud install app and has a QR code to use with the app for a quick setup as well as your serial number.

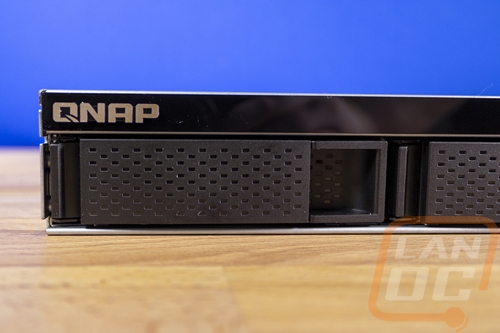
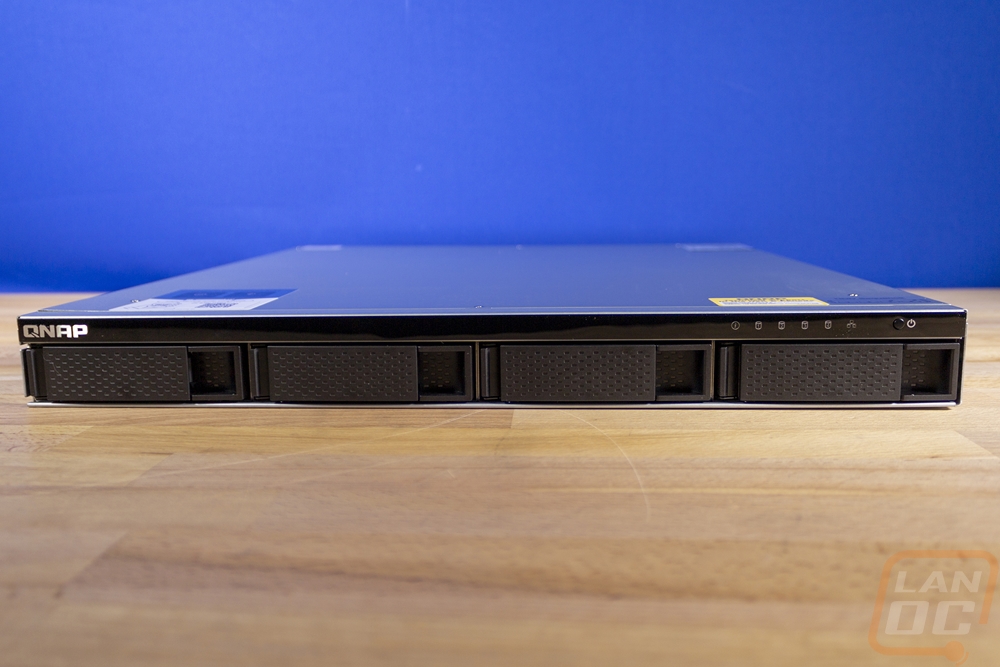
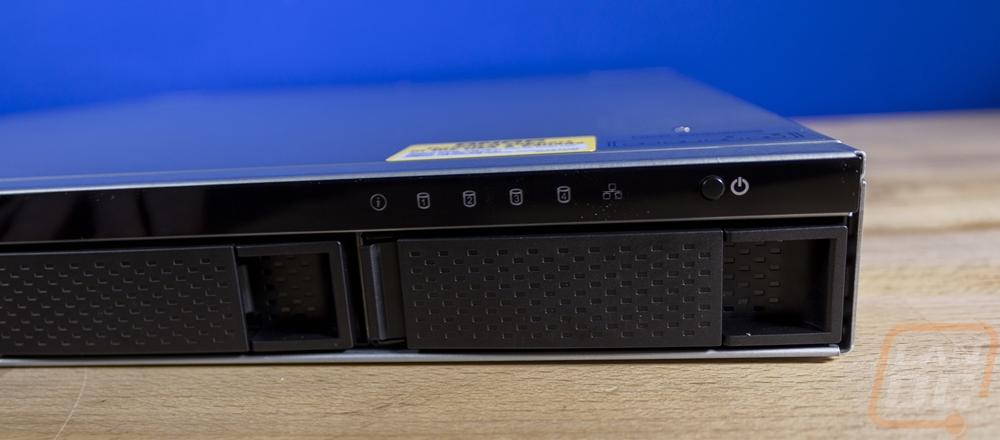
Once the TS-453DU is installed you are only going to see the front edge and this is the only part of the NAS that isn’t sheet metal. It has a glossy strip along the top edge with the QNAP branding on the left and on the far right a power button. Next to the power button are status LEDs to show the status of each of the four hard drive bays, your network, and a power indicator. Then the rest of the front is filled with the four 3.5 inch hard drive bays. Each tray has an area you can put your finger in to pull the large latch. Unlike most of the tower-style NAS, the TS-453DU doesn’t have a key lock but with the latches, you can’t accidentally release a drive and cause problems.
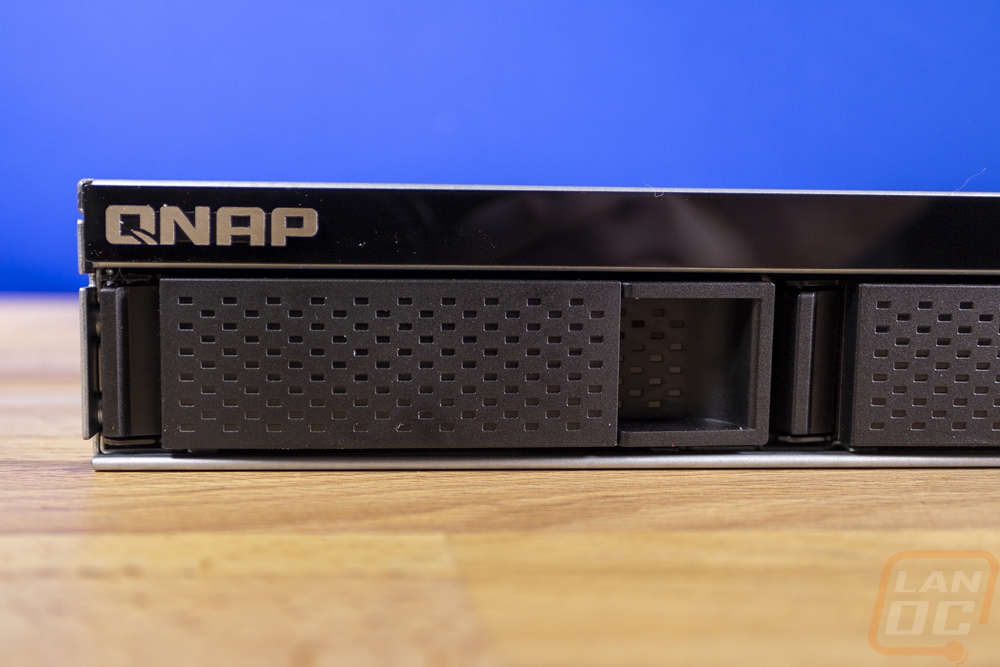
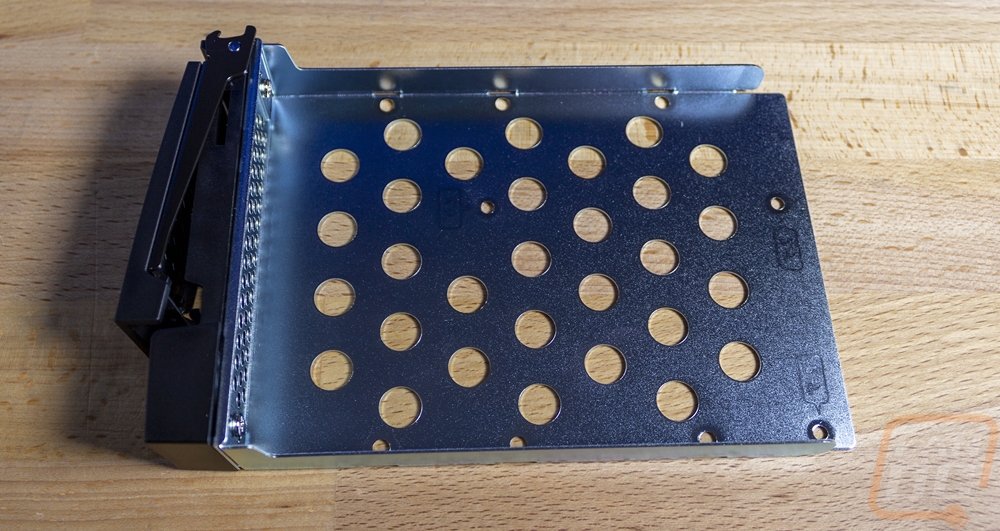
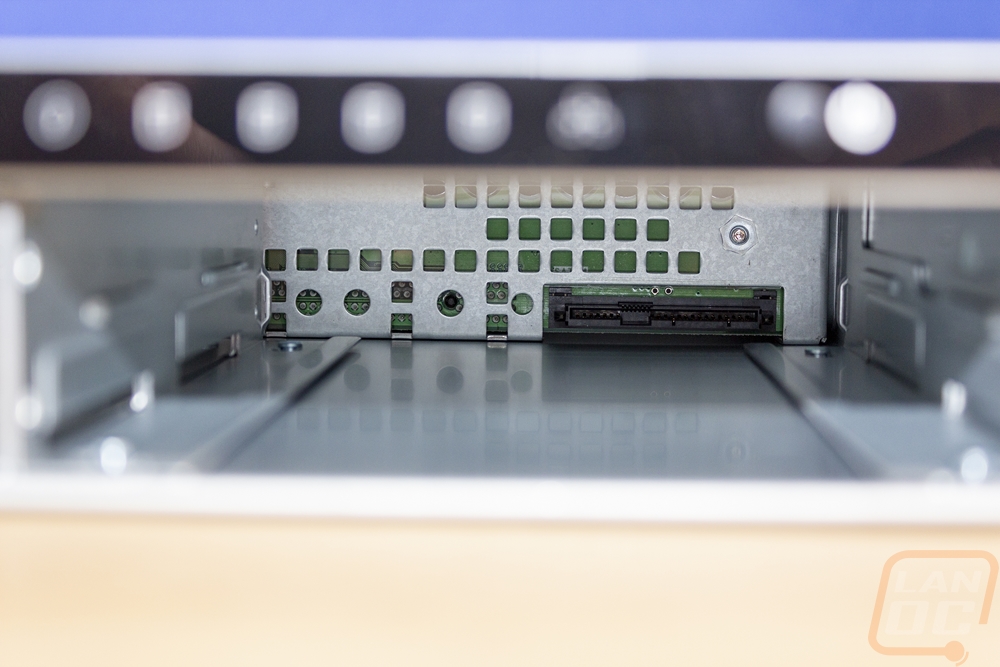
Each of the four drive trays has its black plastic front but is all metal behind that. They have holes all through the bottom to help with ventilation and cooling. Then on the bottom of the tray, they have 9 mounting holes which cover both 3.5 and 2.5 inch hard drives and SSDs. The front of the metal tray also has ventilation holes cut into it which go with the slot vents built behind the front latches. Qnap uses these along with the exhaust fan on the back to pull cool air in and across the hard drives to keep them cool. Inside of the hard drive drawer, you can see the PCB at the back with the SATA plug as well as rails on the bottom and bumpers on the sides to keep the tray in tight.

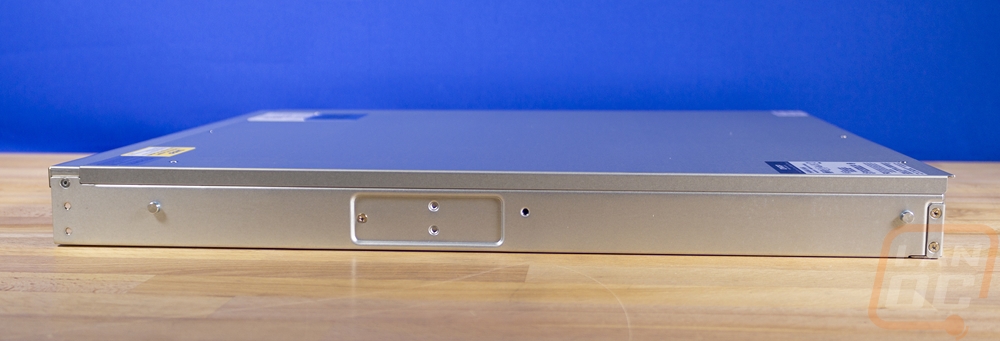
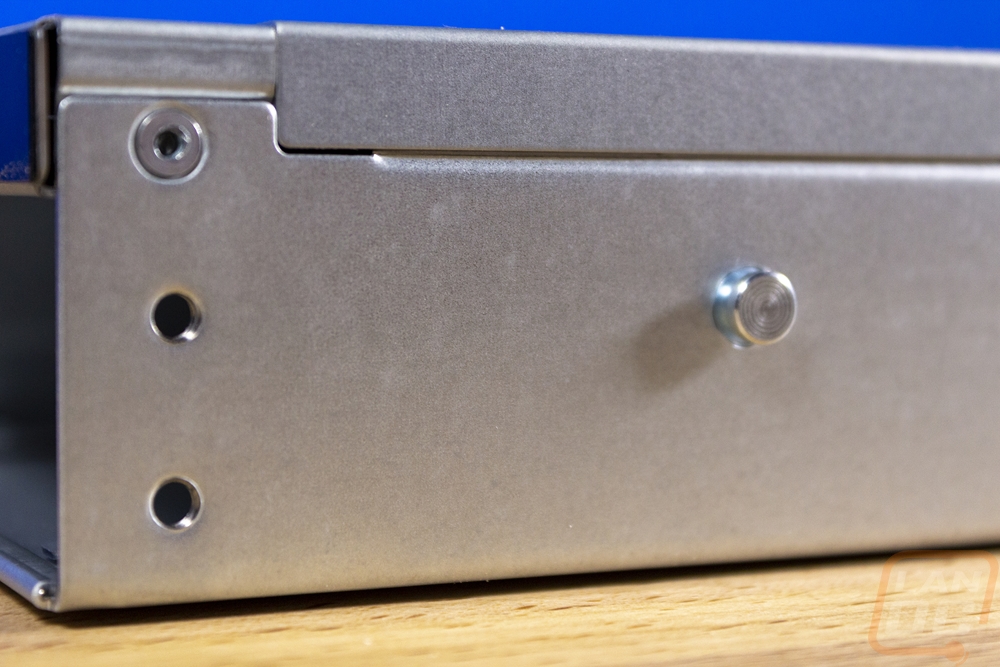
The sides of the TS-453DU have mounting holes near the front for the included “mounting tabs” which are only for securing the NAS not hanging the entire NAS from. You need to use mounting rails and for those, there are a few more mounting holes on the sides and two hooks sticking out on each side to latch into QNAPs rails. If not theirs you will want to look at universal options or a rack shelf that mounts to all four poles.

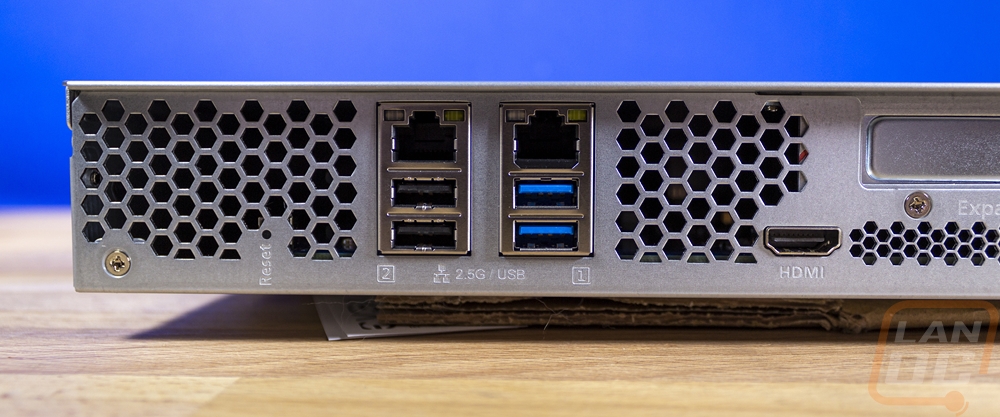
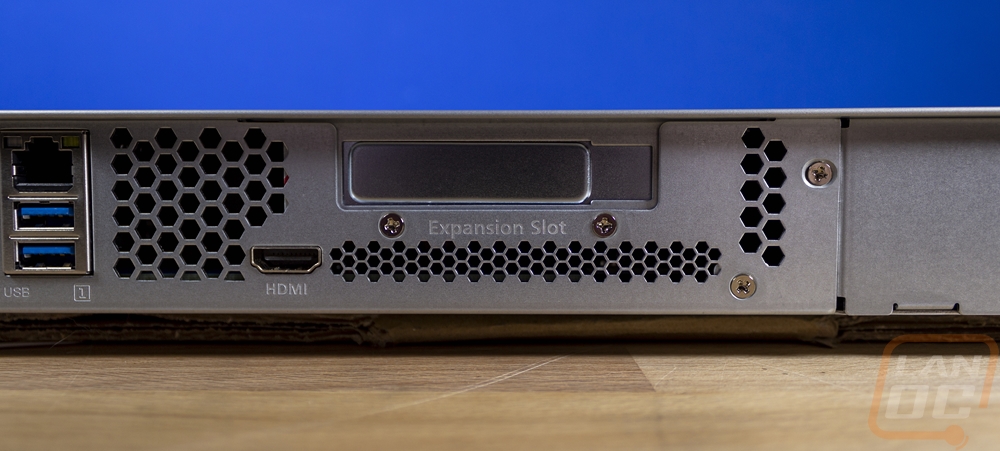
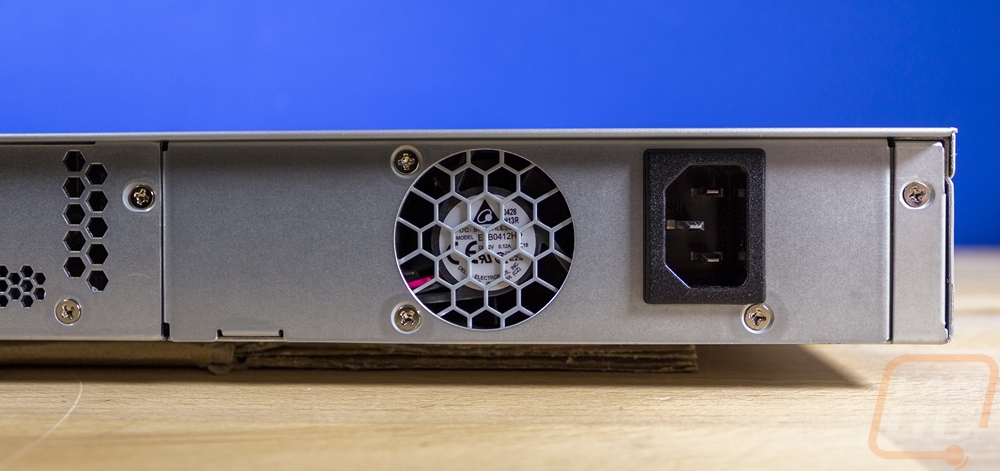
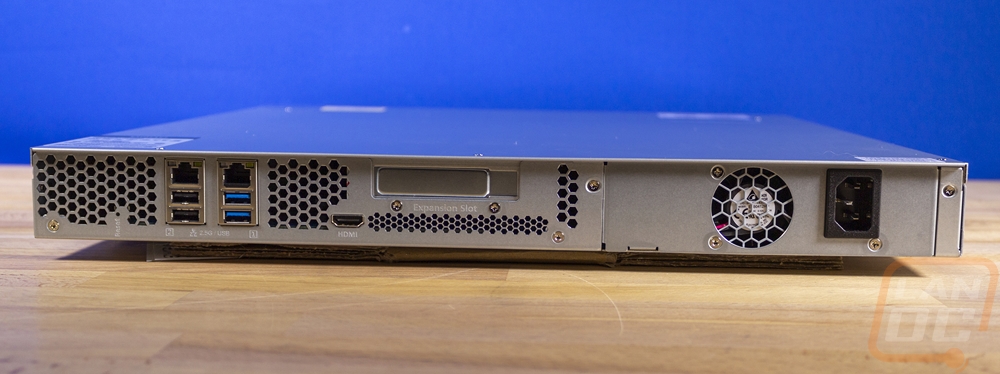
The back of the TS-453DU has a lot going on. This is where the full I/O is. On the left side, there is ventilation with two stacks of USB connections, one has two USB 2.0 and the other has two USB 3.0 ports. Above both are the ethernet plugs which the TS-453DU has dual 2.5G NICs which is a big upgrade over the 1Gb NICs in our past NAS. Qnap does have the NICs labeled which is helpful and if you look closely there is also a small pinhole for the reset button under the vent holes on the left. Then in the middle, there is an HDMI port which may seem weird for a NAS but works with a variety of apps that Qnap has that I will go into later. The expansion slot is half-height and Qnap has a long list of products to use there these days which range from M.2 add-in cards, network cards including going up to 10G, and even wireless adapters. Then down at the end, there is one exhaust fan and the power plug for the power supply.
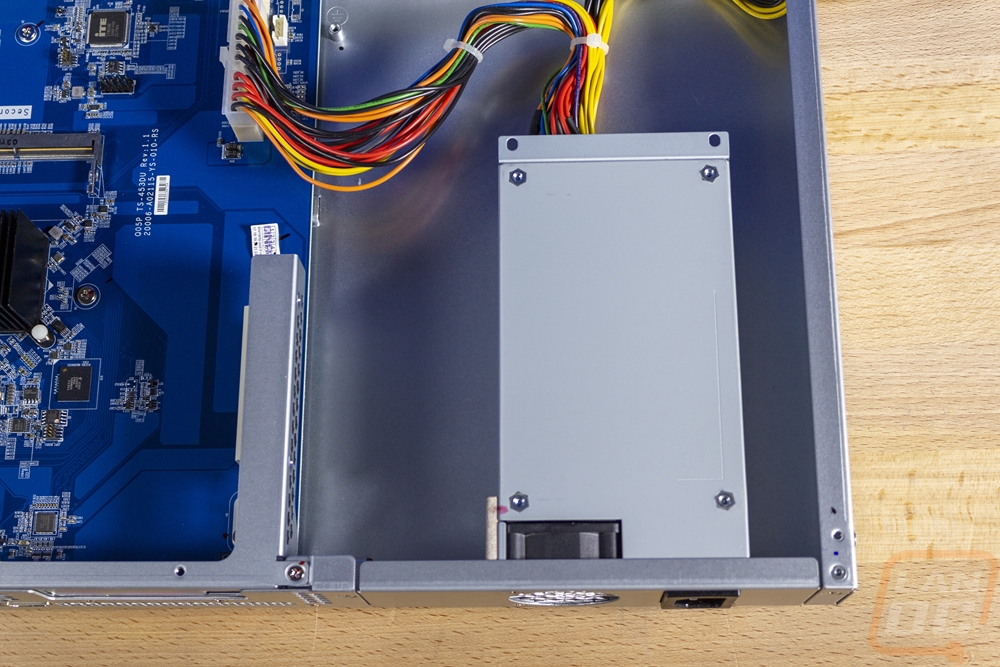
Taking the top panel off required removing six screws from the top of the NAS and then it lifted right up. Inside was surprisingly simple looking. The hard drive bays are up front of course with the PCB right at the back of them. Just behind that is a plate that splits the front and back up and has fans mounted to help pull air across the hard drives into the back section. The back has the motherboard on the left and the PSU on the right. This is the TS-453DU, not the upgraded TS-453DU RP which stands for redundant power supply. That means our model has just one power supply. But you can see that there is room enough for two next to each other if the back panel was configured for it. This is a 240-watt power supply and it has just two bundles of cables. One goes to the motherboard with a proprietary connection and the other to the hard drive backplane with another proprietary plug. This is also an area where the TS-453DU stands out compared to the tower-style TS-453D and some other tower Qnap models (but not all, some do have internal PSUs.
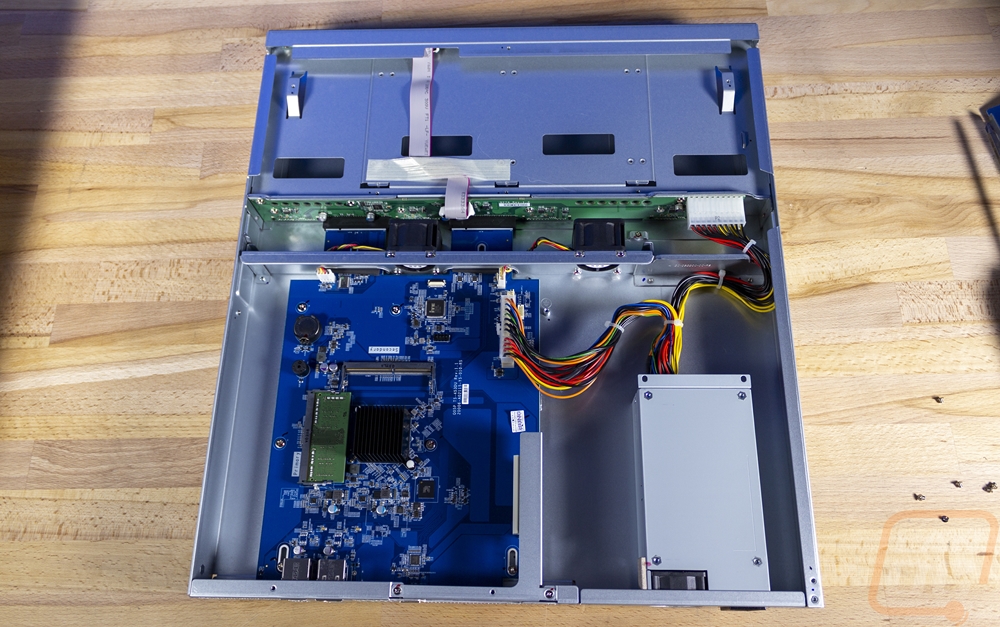
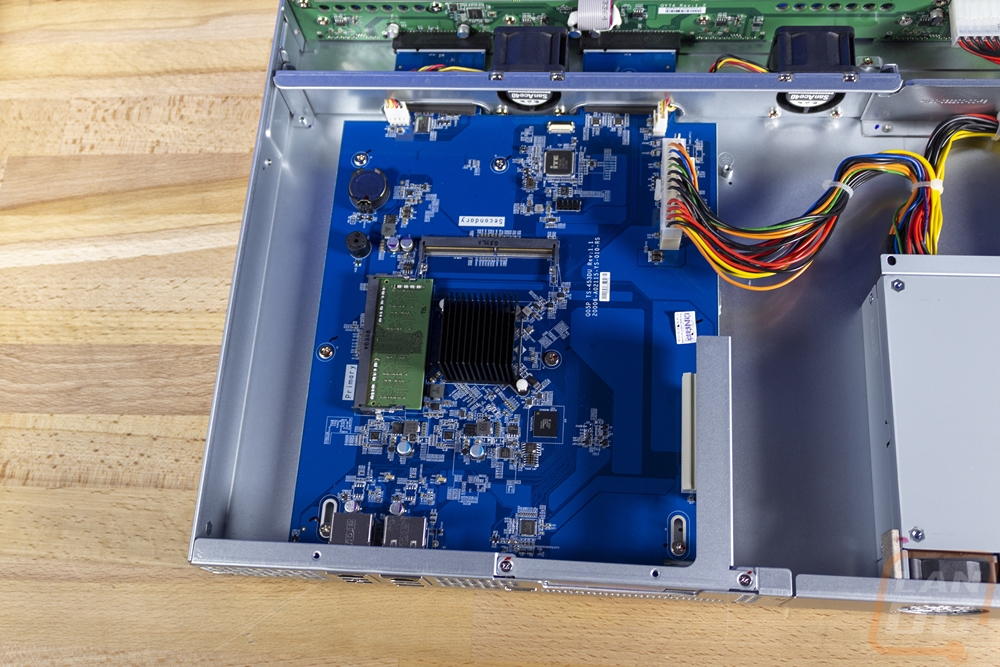
Considering the motherboard is where the “action” happens, I was surprised at how little was going on with it. The PCB is relatively sparse and looks like if it didn’t need to be in this form factor it could be much smaller. This is especially true on the right side where the PCIe expansion slot is and towards the front of the NAS near the fans. It doesn’t help that the CPU cooler is small and not what I’m used to seeing in a server. But the Intel Celeron J4125 isn’t a hot CPU, it only has a TDP of 10 watts. It has four cores with a base frequency of 2.0 GHz and a burst frequency of up to 2.7 GHz. For graphics, it does have Intel HD Graphics 600 which is Intel’s mobile graphics from a few years ago (launched in 2017). They have kept the memory extremely close to the CPU which is good for latency with two slots around the small black passive heatsink. These are DDR4 SO-DIMMs aka laptop memory and the TS-453DU comes with one dim filled with one 4GB stick of memory. The TS-453DU supports up to 8GB of memory when using both slots.

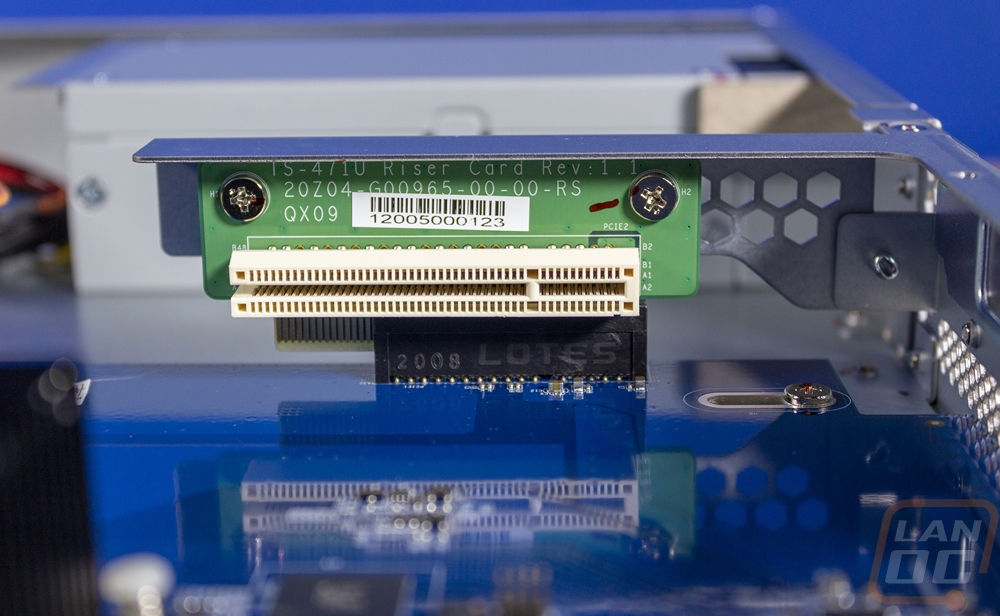
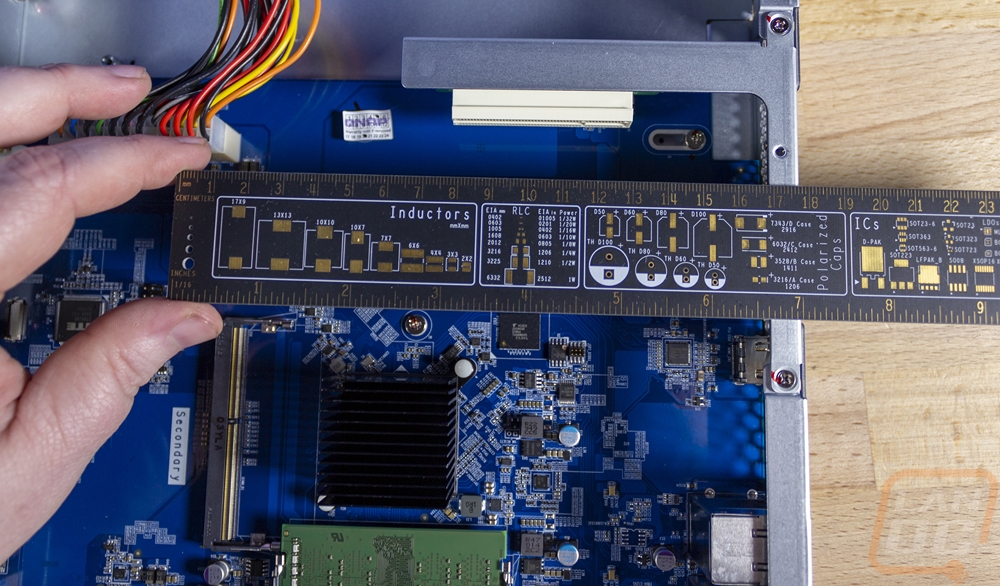
The motherboard does have one raised break out board which is for a PCIe x4 slot on the far right side. The case has a metal support bracket that the right-angled adapter mounts to. Officially the PCIe slot is x4 but it is open ended and could support a longer PCIe x8/x16 card assuming it will fit in the NAS and is supported by the software. The back PCI slot is half-height and you are limited in length by the power plug for the motherboard which is around 170mm away.
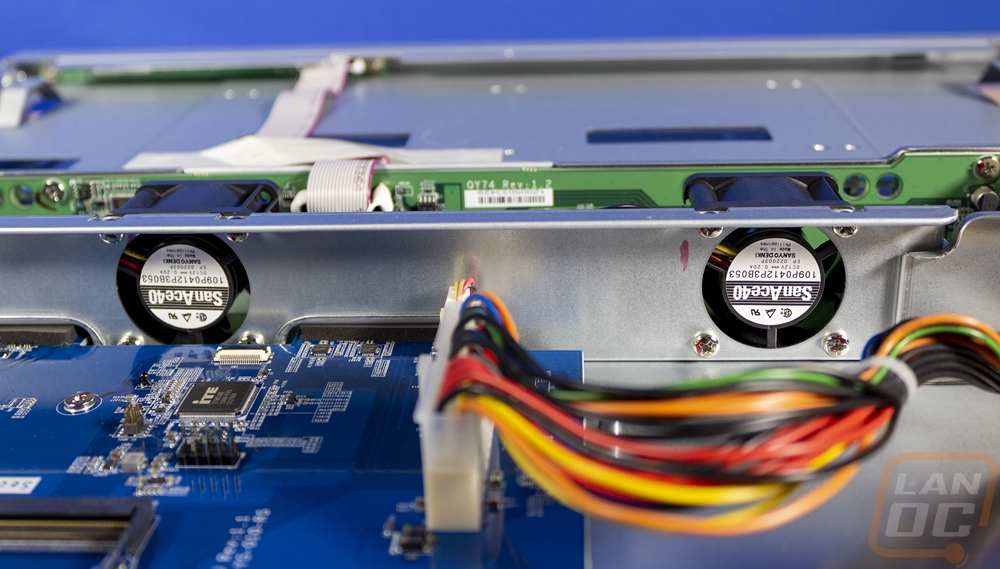
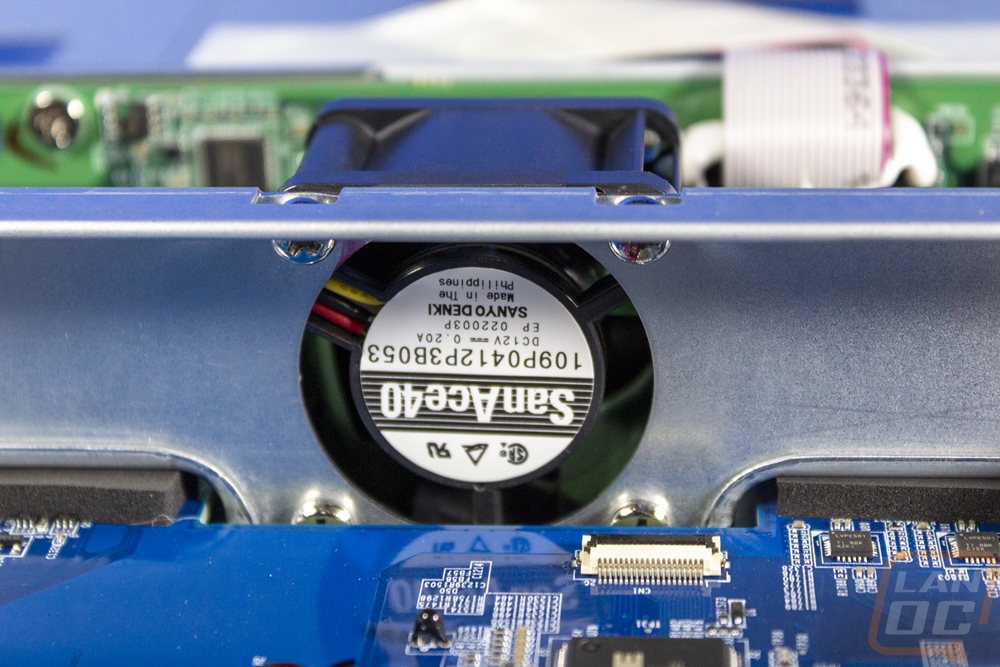
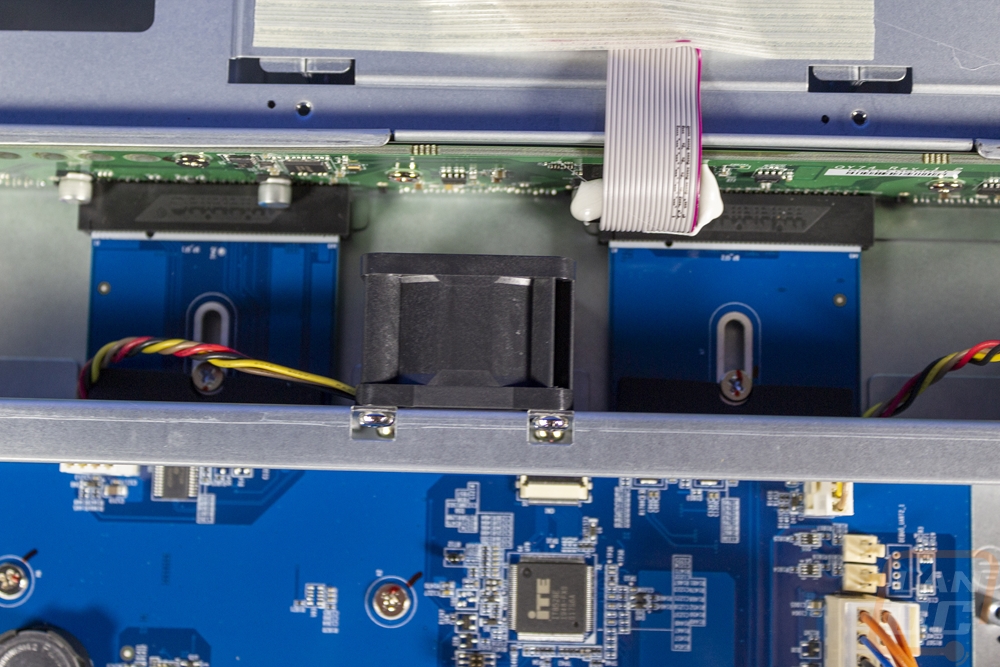
The split design between the front and back half of the NAS is interesting. But it does function as a place to mount the two fans. There are FanAce40 40mm fans with the model number 109P0412P3B053. The motherboard has two unique extensions that run under the divider and plug into the hard drive backplane for the four SATA ports. The front panel LEDs and power button also have small cables running off the backplane PCB to the front. All of the power is then pulled from that proprietary power plug on the far right. The PCB does have holes in it at each of the hard drive bays to control the airflow intakes for the two 40mm fans.