Photos and Features
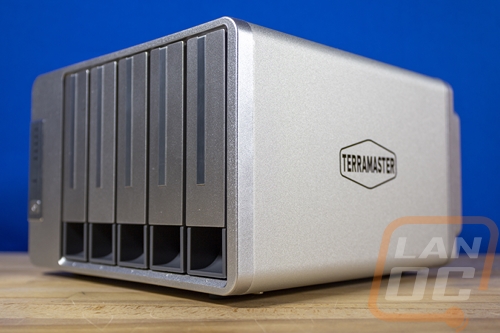
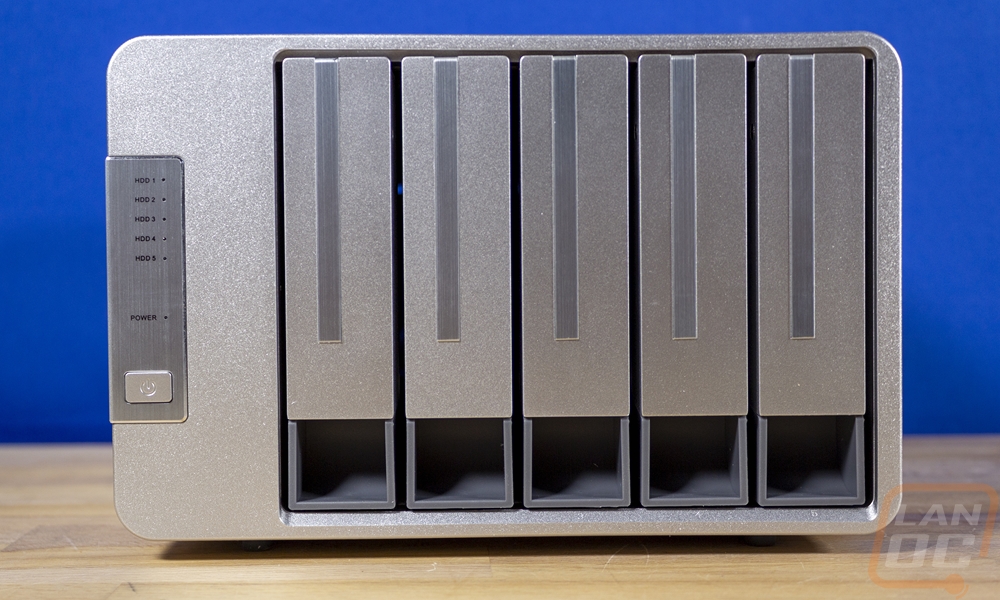
The D5-300 shares the same styling as the F2-422 and TD2 from TerraMaster that I previously took a look at. Only the D5-300 is wider and supports 5 drives and those were both 2 drive devices. That styling is a silver aluminum housing that wraps around the top, bottom, and sides and then plastic panels painted in silver to match on the front and back of the D5-300. This is what gives the rounded corners on the aluminum housing and the sharper edges on the front. Then the drive trays also have the same silver finish as well. I would personally prefer black, but with this being attached storage the silver may look better up on your desk. Especially if you have it hooked up to a Mac which it also supports. For overall size, it is 8 inches wide and 5 and a ¼ inches tall. As for its depth, it is about 8 ½ deep when you don’t include the fans on the back that stick out.
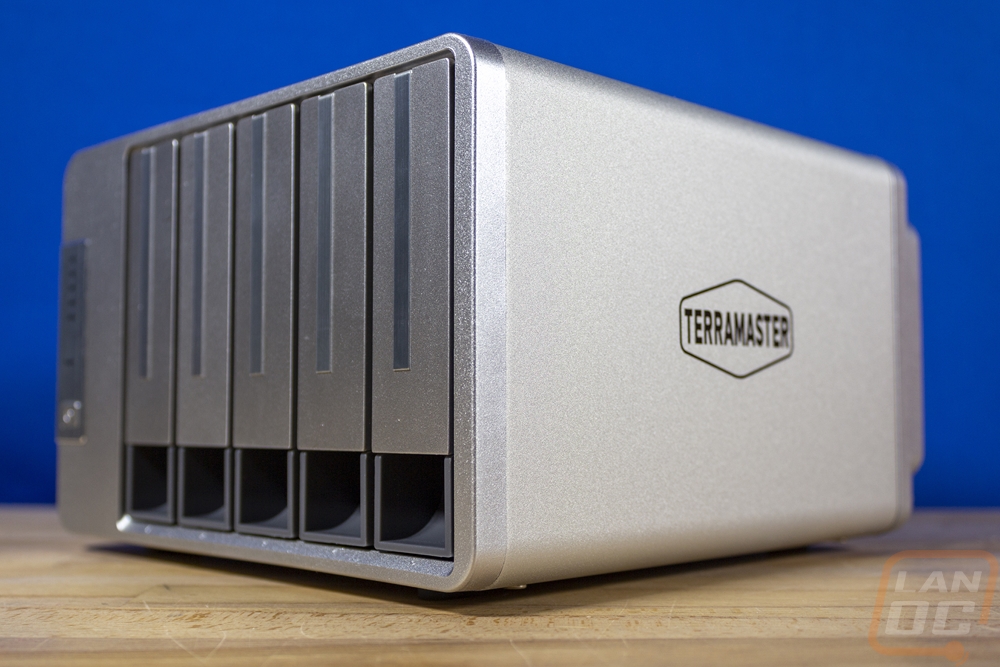
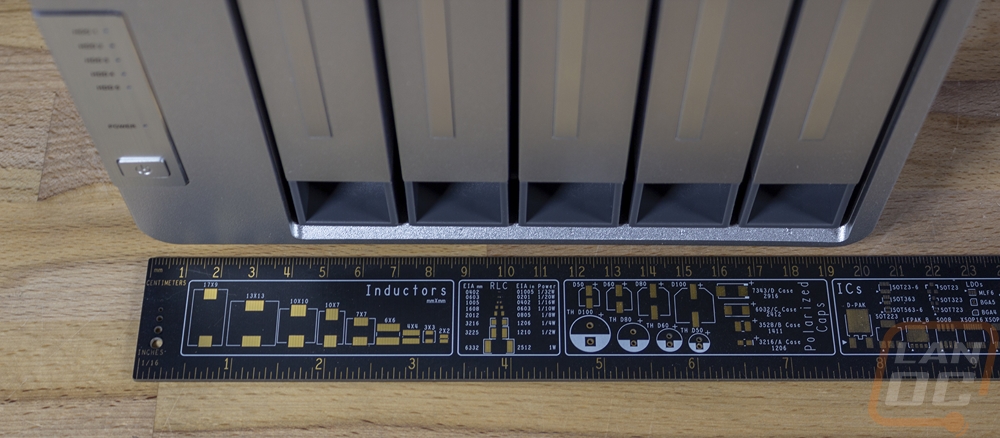
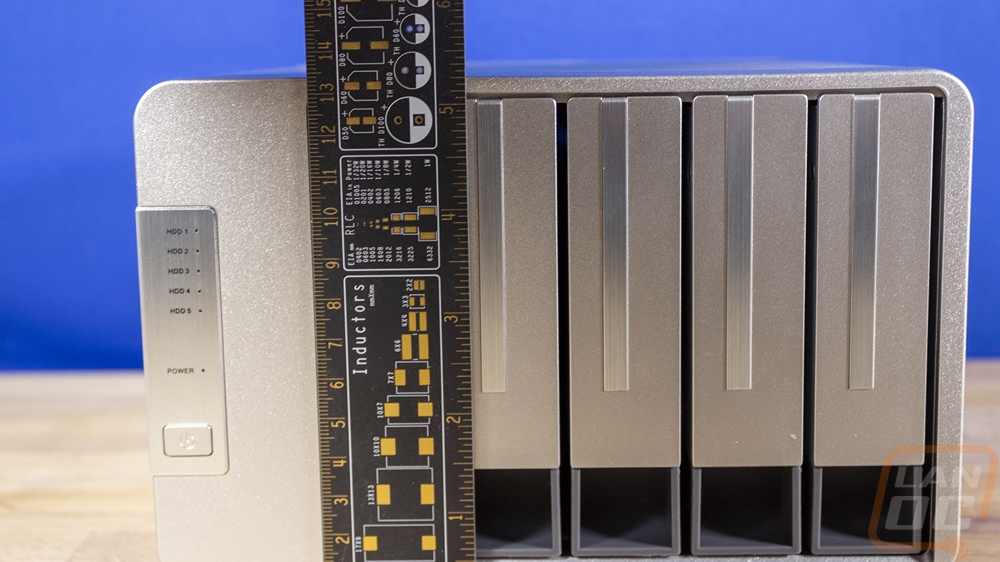
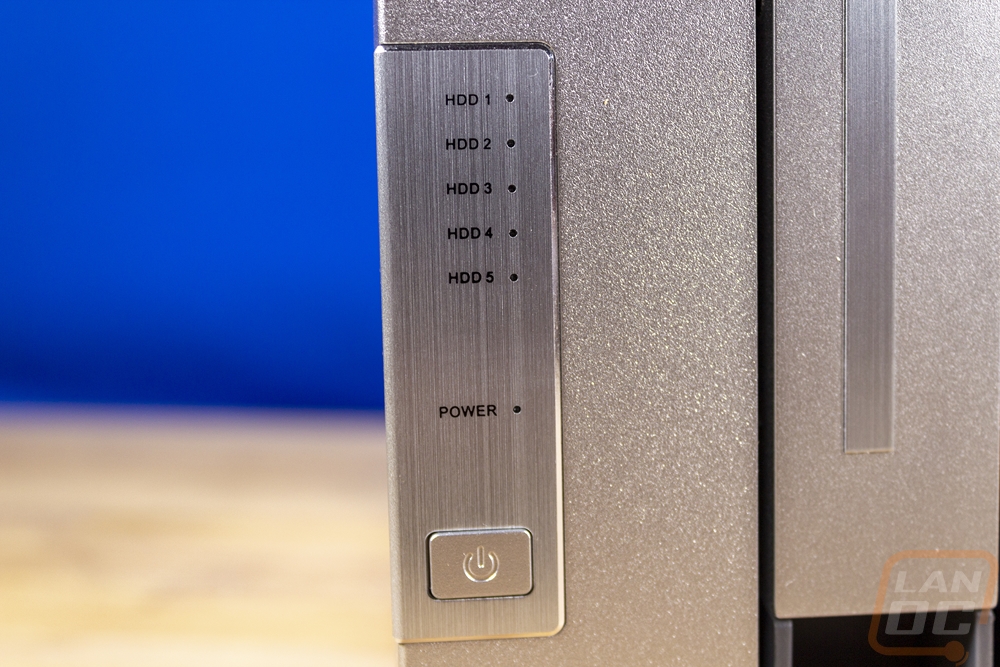
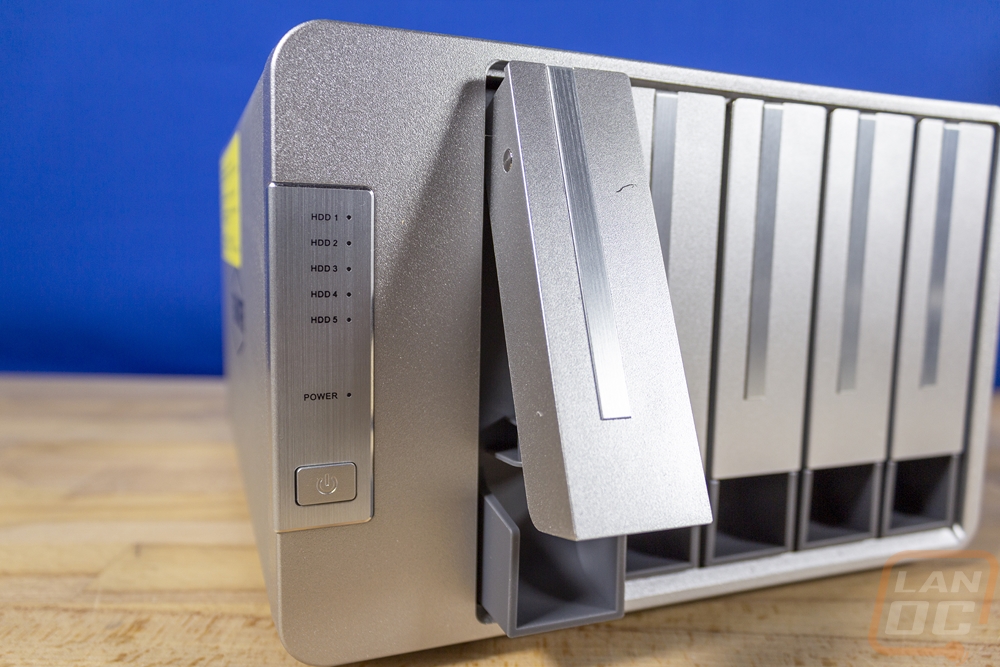
The front of the D5-300 like I said before has a plastic front panel with the silver finish. Each of the five drive trays have the same finish painted on the front handles and then for an accent, each has a stripe of silver brushed finish. This is the same finish over on the left of the front where the power button and the status LEDs are located. There is one pinhole status LED for the powered up status then up above that there are five more, one for each hard drive with each LED having a label next to it so you know which is which. The drive trays down at the bottom have a hole for you to be able to put a finger in and pull the front latch, this section surprisingly doesn’t have a painted finish. It has a medium grey plastic color. Below that, on the front panel, each bad does have small numbers to label each drive bay.
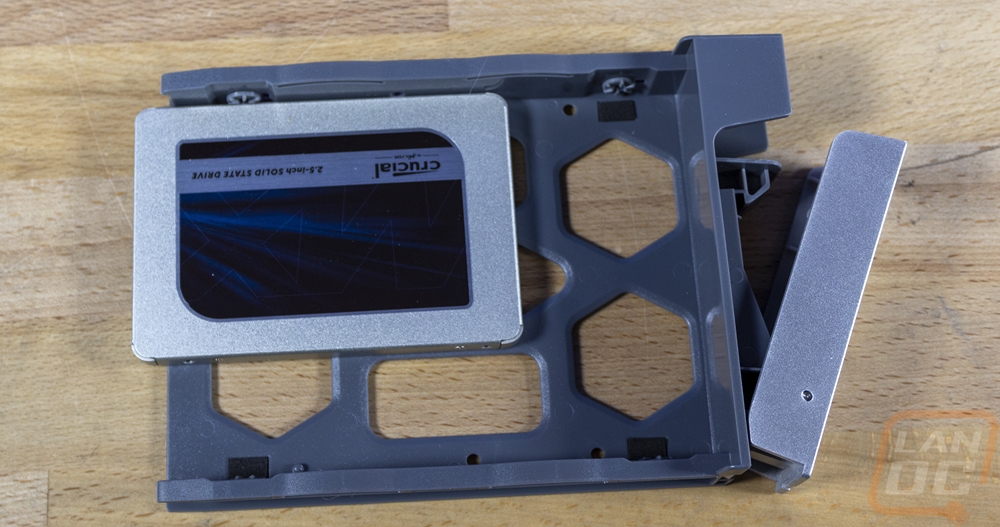
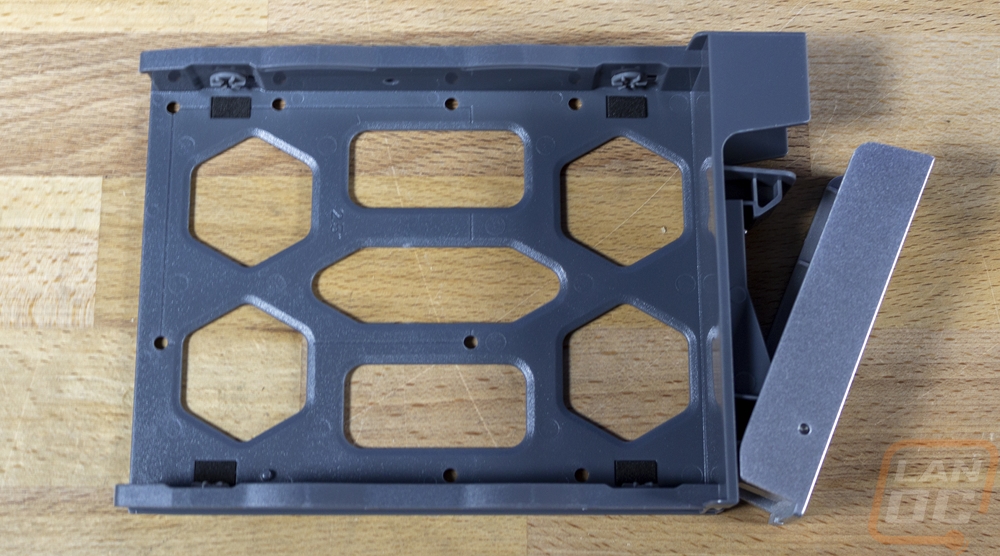
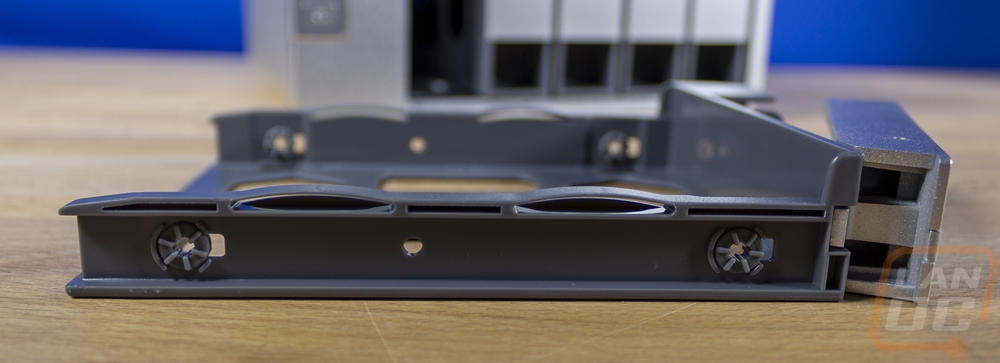
Pulling the drive trays out on the D5-300 is simple, you pull out on the front and it unlocks the tray so you can pull it out. Each drive tray has that medium grey plastic finish. The trays have multiple mounting locations. You can use the side mounts for 3.5-inch drives which have the rubber vibration pads already in the holes. For smaller drives, the bottom of the tray has two sets of holes. For 2.5 inch SSDs there is a line in the plastic with the 2.5 labeling in the middle but only 3 holes will line up here because one of the 3.5-inch drive holes gets in the way. Then for full-sized drives if you need to use the bottom mounts they do have holes for those are all. With the trays out looking down into the D5-300 there is a PCB backplane with each having the standard SATA power/data connection.
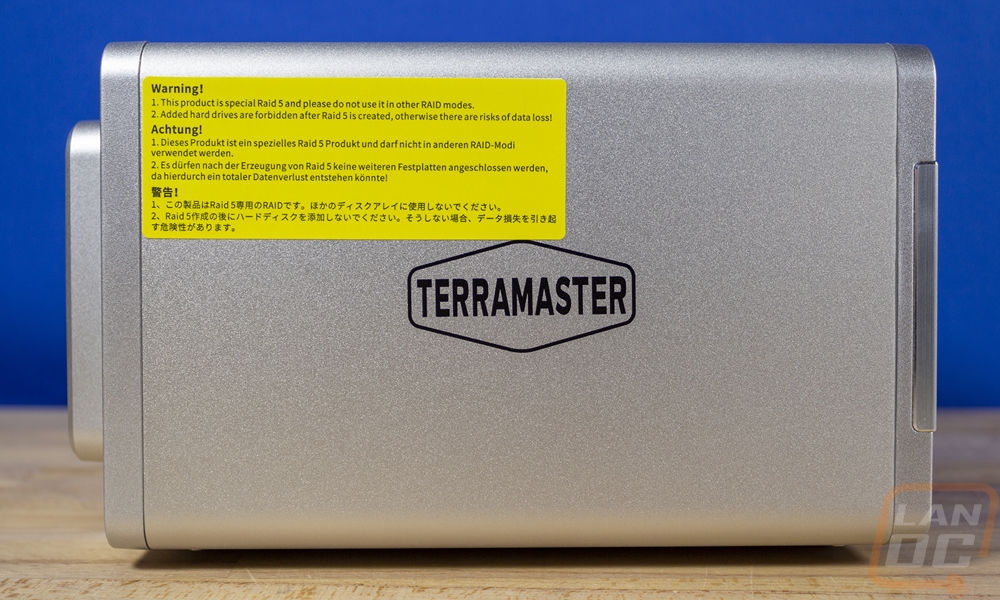
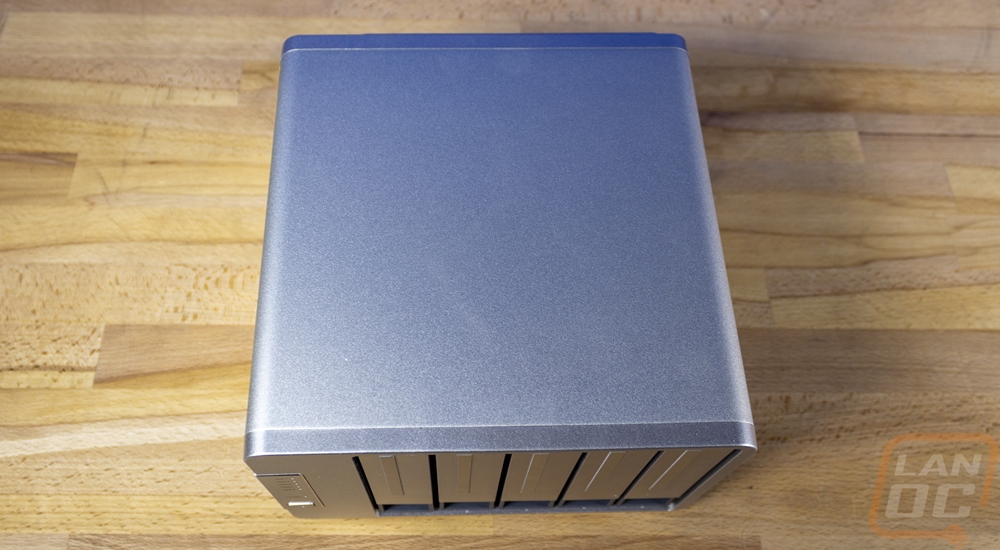
The sides of the D5-300 both have the TerraMaster logo in the center but beyond that, there isn’t anything else going on. There is a bright yellow warning sticker installed on the side as well that warns not to add hard drives when running in RAID 5 or you will get data loss. The top also doesn’t have anything going on as well.
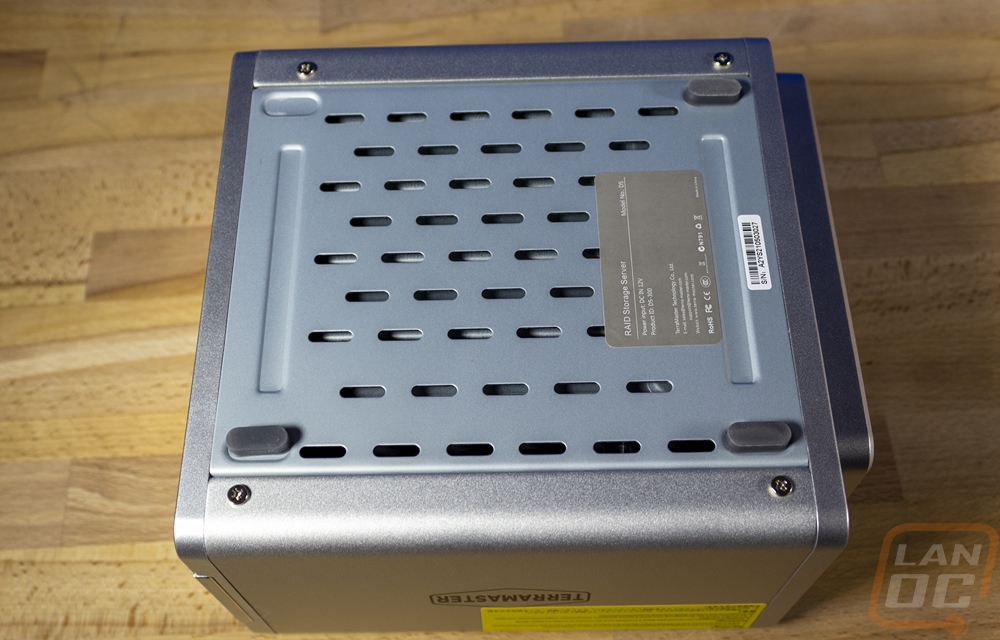
So the bottom of the D5-300 doesn’t have the same aluminum housing as the sides and top. This has a more traditional steel plate which is the foundation of everything with the aluminum housing attached to it. The bottom does have ventilation holes cut in all across it, which is important because hard drives do create heat and there is only so much airflow going through the hard drive trays. The bottom also has the model information on a sticker and a second sticker with your serial number on it. To keep everything up off of the ground then it has four inch long silicone feet. I mentioned earlier that the D5-300 came with two extra feet, this did come in handy because as you can see ours was missing a foot from the start.
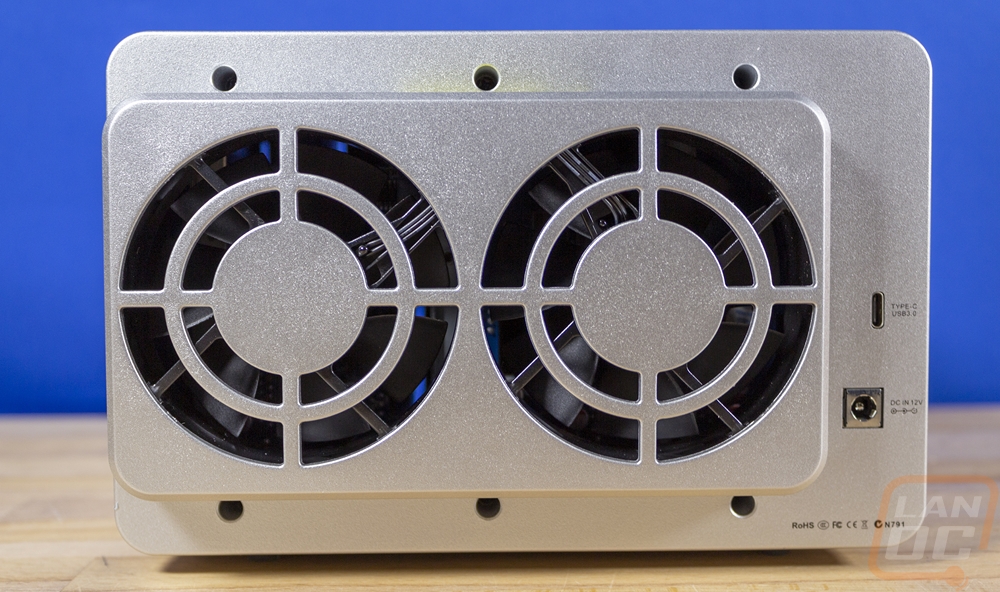
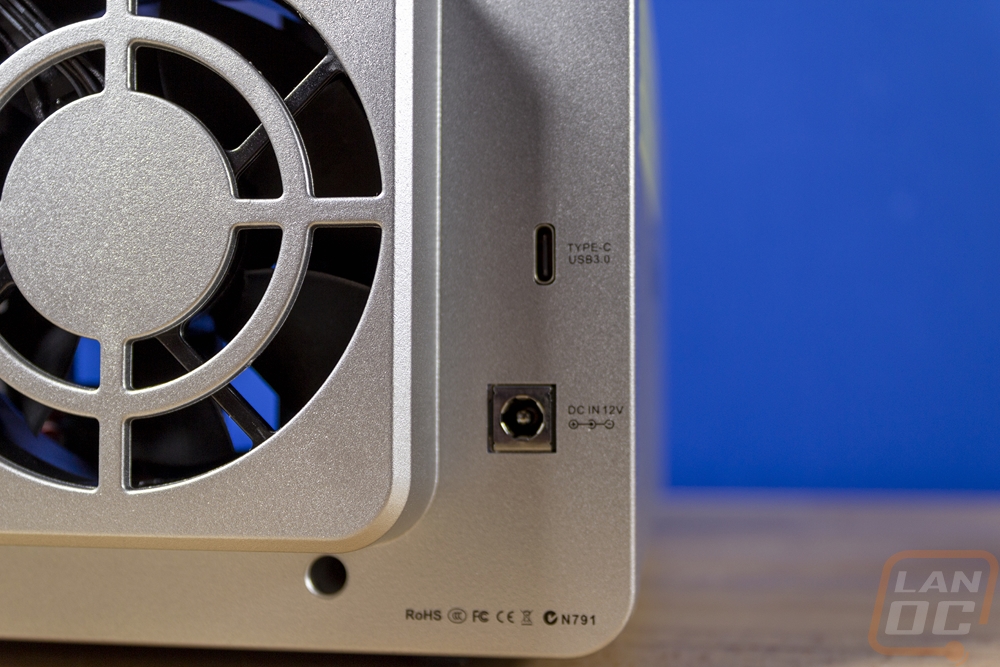
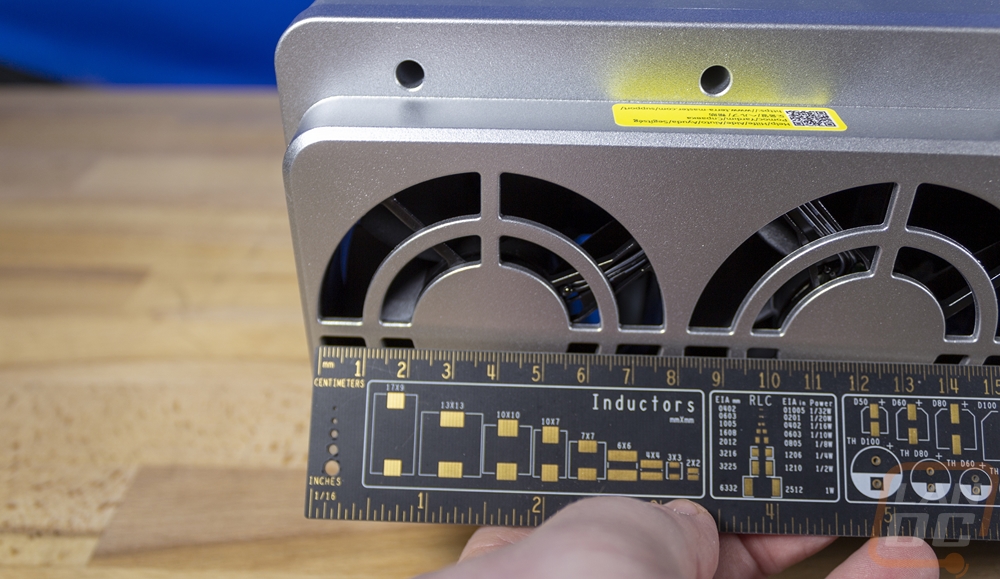
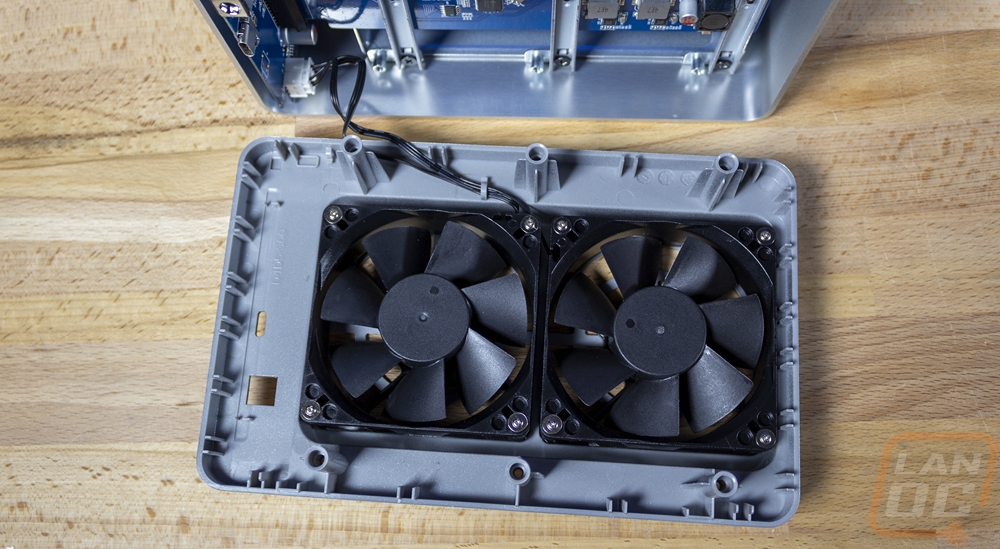
The back design of the D5-300 was similar to the dual drive models from TerraMaster that I took a look at previously, only with the extra width of the five drive bays they went with a wider fan kick out with two fans, not one. Each fan is 80mm and both are set to blow air out which should pull air from the holes in the bottom and the holes in the drive trays as well to pull air across everything. Beyond that, the back of the D5-300 has two connections down in the bottom right corner. One is the DC power plug connection and then above that, it has a USB 3.0 Type-C connection. This isn’t one of the ultra high-speed USB 3.2 or 3.2 Gen 2 connections.
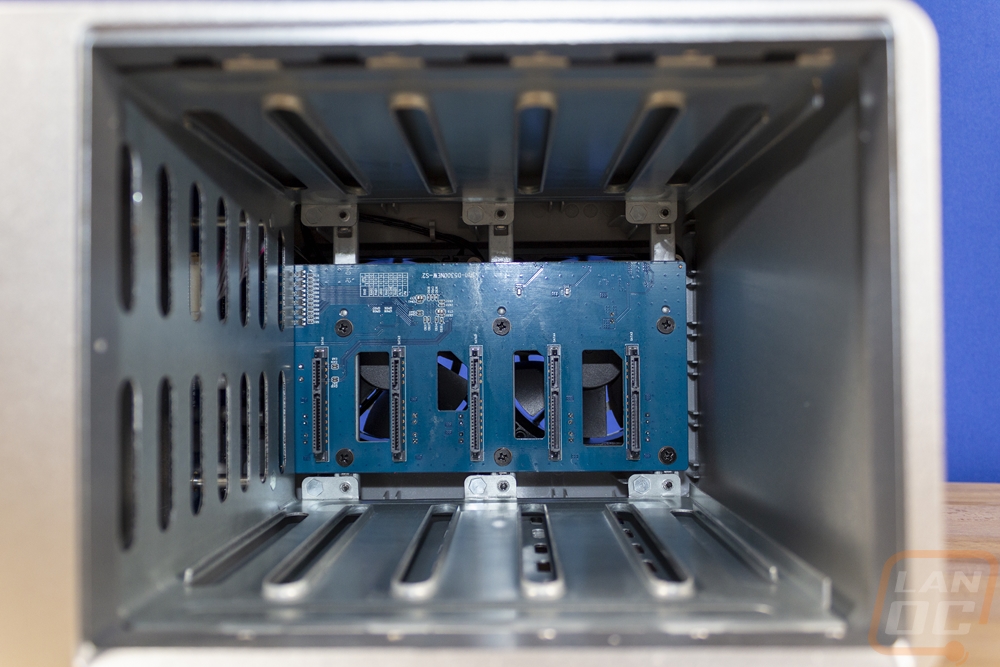
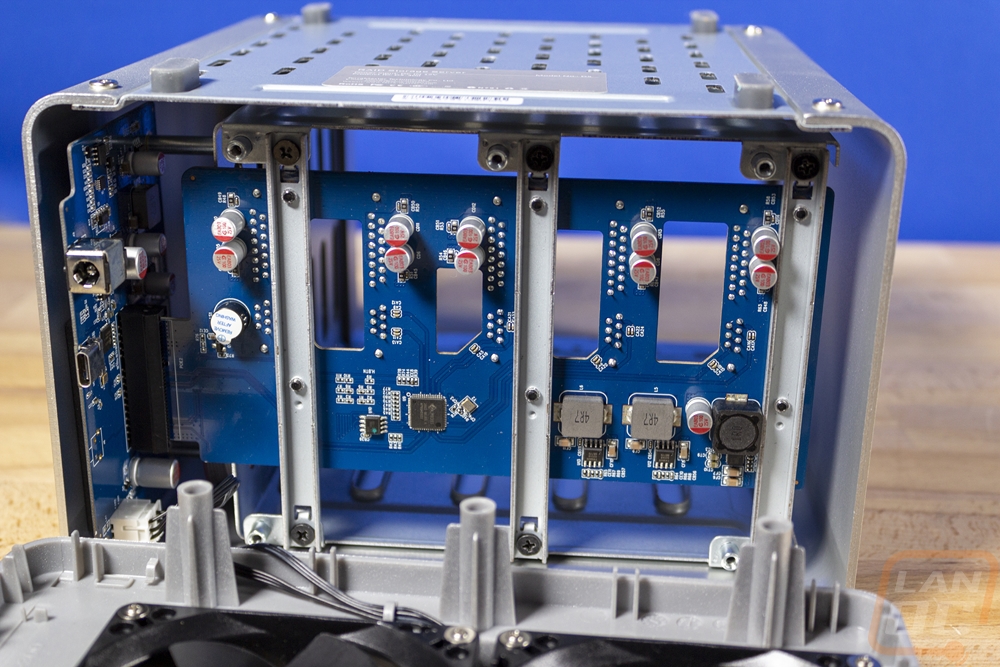
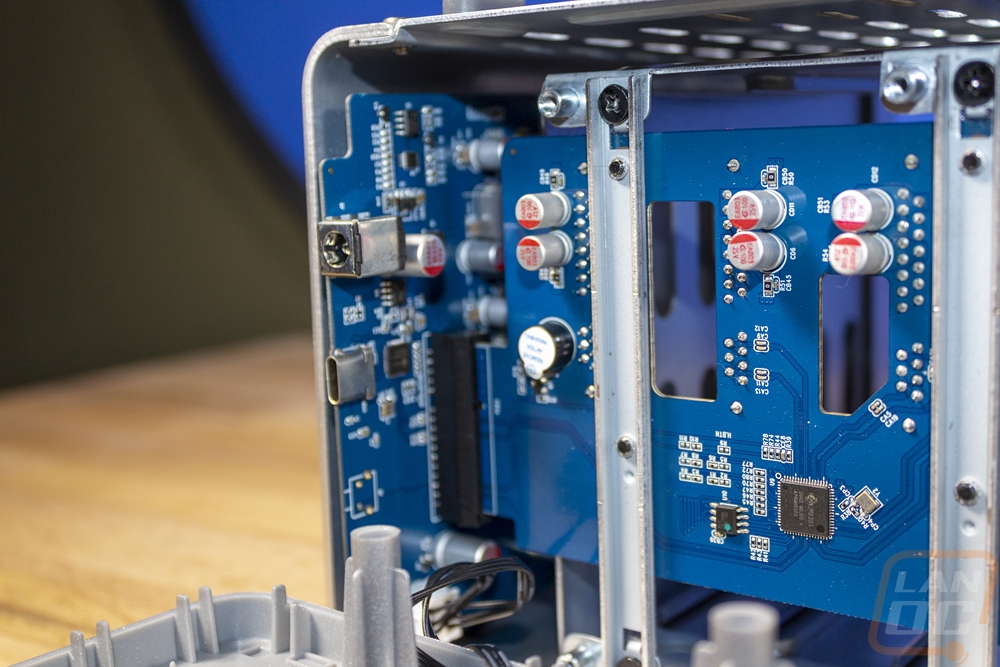
Before getting into testing I did want to take a look inside the D5-300 to see what was making it tick. Getting inside is very easy, you just need to remove the four screws that hold the back panel on and it will come off and the rest slides apart from there. With this just being an external enclosure there wasn’t too much inside. You have the PCB backplate for the hard drive connections. Which plugs into a PCIe x1 like slot on the mainboard. That just has the fan header, the power and USB connection on it, and 1 VRM. For comparison, the TerraMaster F2-422 10GbE had a board the full length of the NAS and the Terra Master TD2 Thunderbolt3 Plus was about half the length of the NAS but still more than twice as big as the board here in the D5-300.
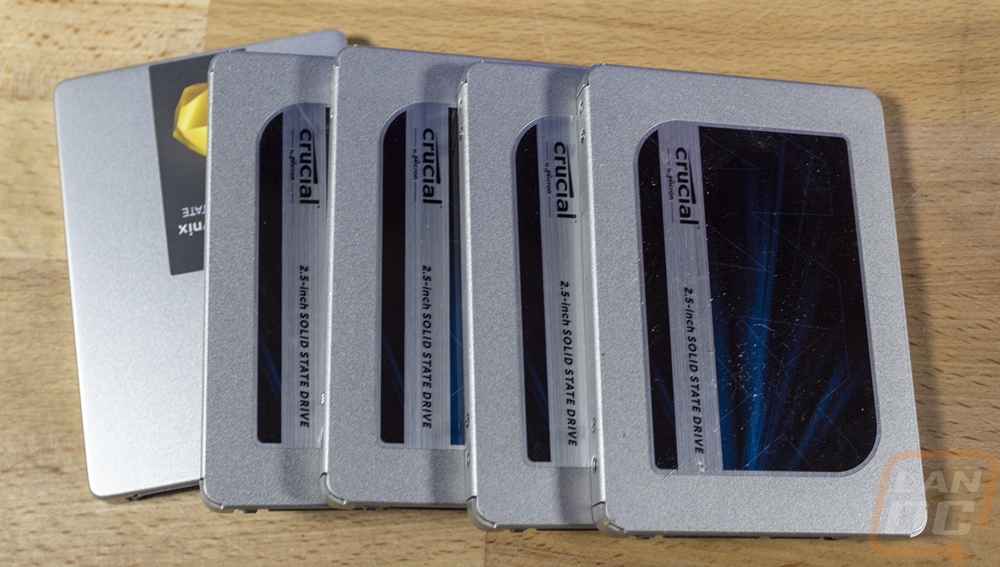
With the D5-300 back together, I did still need to install our test drives. I would recommend using hard drives, but for testing to get the best possible speeds we have a set of SATA SSDs for testing. With this being a 5 bay device I did have to add in one additional drive as well. We have the four Crucial MX5 SSDs and then one SK Hynix Gold S31 drive. The Crucial drives are all 500GB each and the S31 is a 1TB drive. Installing them in the drive trays was easy, but do keep in mind only 3 screw holes will line up for SSDs. This is more than enough to keep them in place when there aren’t any moving parts.