Card Layout and Photos
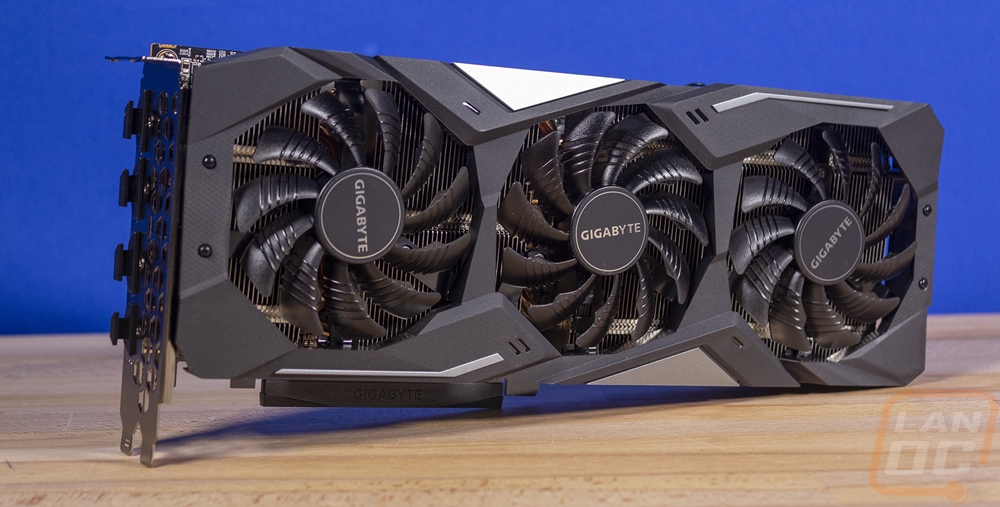
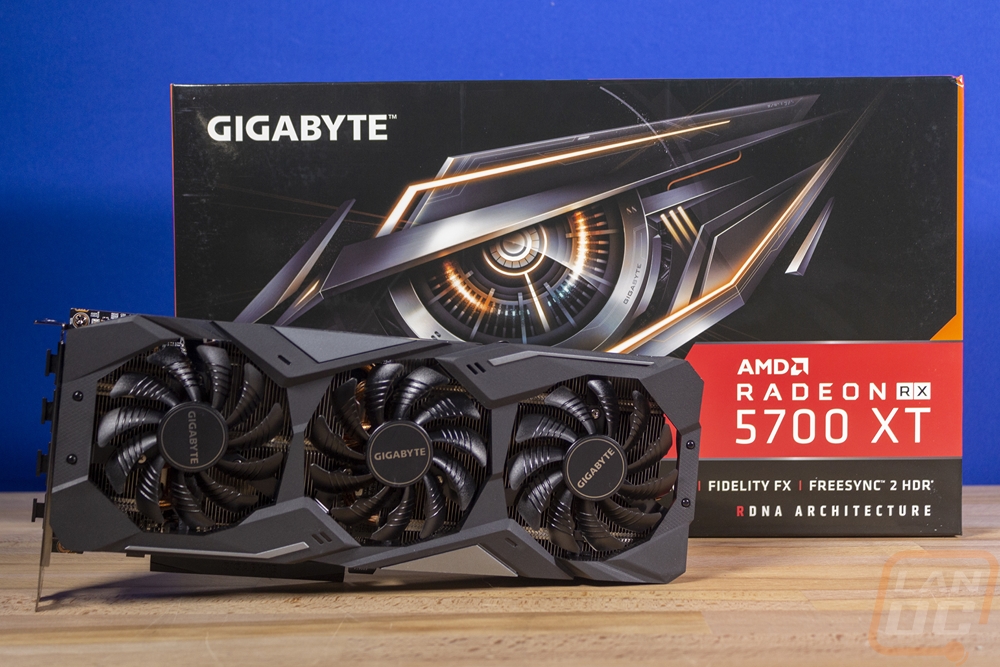
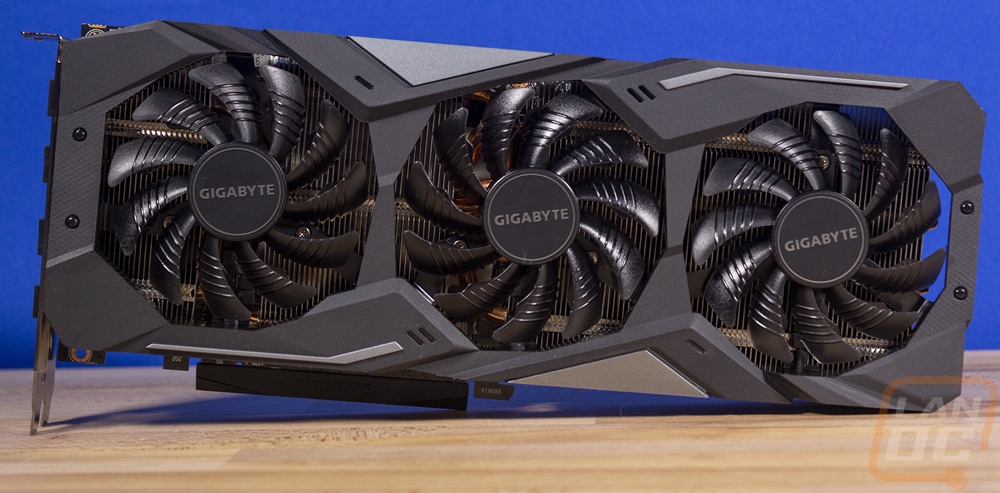
Now just this year I’ve had a whole stack of different Gigabyte Gaming OC’s come into the office, the RTX 2060 SUPER, 2070 Super, and now the RX 5700 XT Gaming OC and they all stick with the exact same styling and look. In fact, if you put them next to each other it would be hard to tell them apart. Gigabyte isn’t the only company who picks a look for a generation or two, Asus has had the same look for a long time now. SO the RX 5700 XT Gaming OC has that same simple and color-neutral look whether you like it or not. The big thing with this card is you will notice that it sticks right with the standard PCI height, you can tell by seeing that the PCB and the cooler just barely reach up past the top of the back bracket. The card is a little long at 279mm long, but it still manages to be shorter than the XFX Thicc II which was 293mm long, not to mention taller AND wider. The Gaming OC is 49.55mm wide which is still larger than a standard dual-slot card which would be 40mm, but this isn’t enough for me to call it a 2.5 slot card as well. Anyhow the cooler is a 3 fan design with all three fans being the same size and the shroud has an angular design and is plastic with silver accents at the top between fan 1 and fan 2 and the bottom between fan 2 and fan 3.
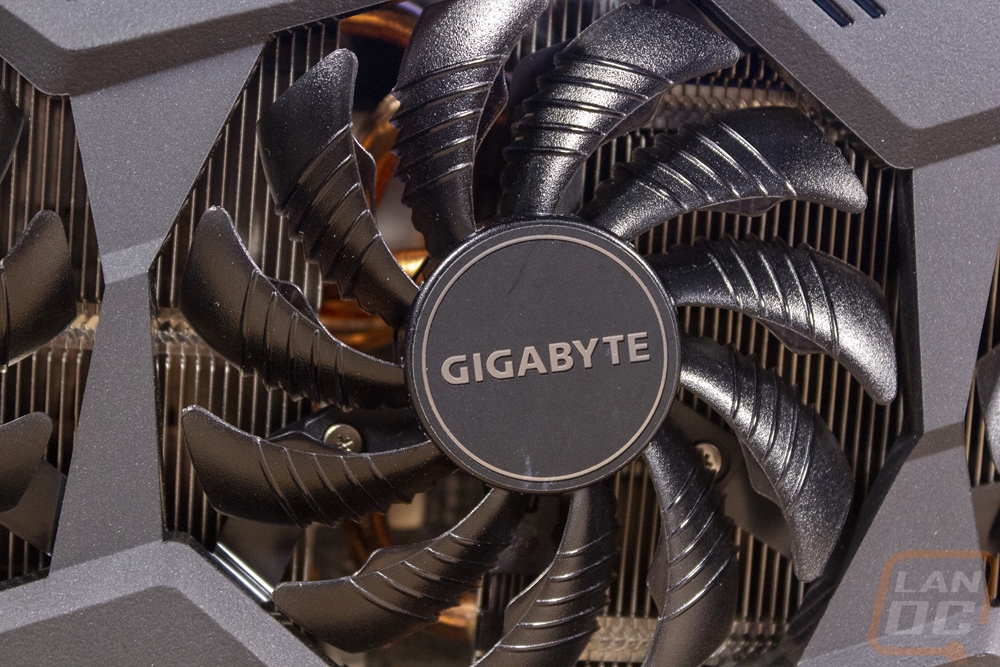
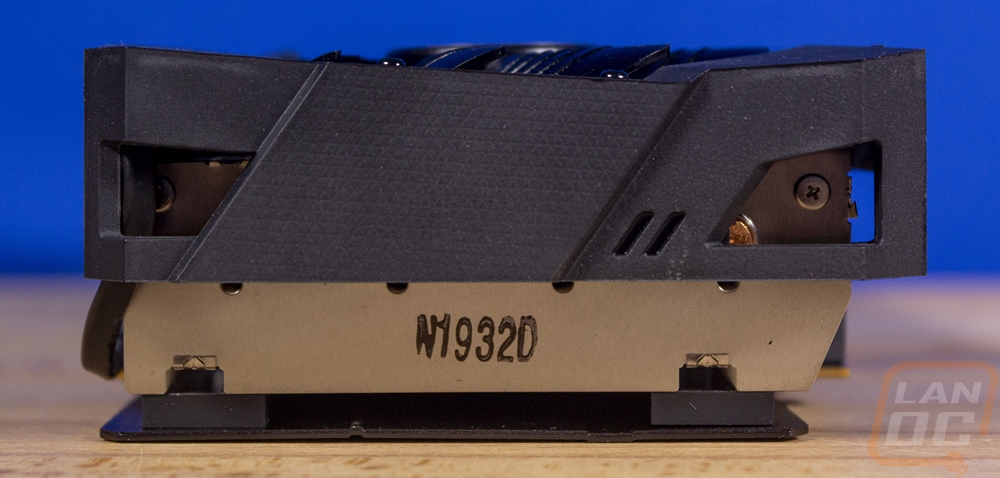
The side profile look at the Gaming OC is a good way to see the difference in the fans on the WindForce cooler. All three fans are the same size, but they aren’t the same fans. Specifically the middle fan is unique. You can see that the blades curve the opposite direction and the fan also spins in a different direction. The idea behind this is the main design point of Windforce. Gigabyte is able to put the fans close together because the fans that are next to each other have the air blowing off the edges going the same direction. Between fan 1 and fan 2 you can see how the air will be going up, between fan 2 and 3 it points down. This prevents turbulence and also helps keep noise down. This view also lets us see a lot of the cooler behind the fans and I like that there aren’t any large gaps, Gigabyte packed the area full. You can also see the four heatpipes that run the length of the card and run over top of the GPU there in the middle as they transition between the two heatsinks.
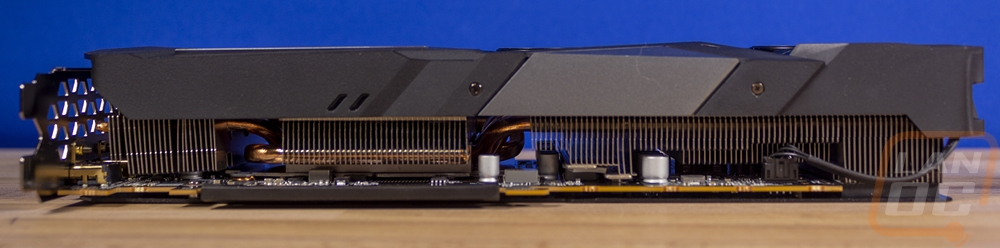
Looking through the top, bottom, and ends of the card we can also get a little more information on the heatsink and how it fits the PCB. For one I was surprised at just how banged up ours looked in a few areas. I don’t know if this sample was put together by hand or pulled apart previously, but normally I never see bend heatsink fins and this card has a lot! They do hug the card really well though with gaps only to the left and right of the GPU itself where the heatpipes were moving up higher. The fan shroud covers about half of the heatsink but still leaves a good amount of room for airflow as well. This is important because with how the axial fans blow down through the cooler you want that airflow at the PCB, not like how XFX went about things. The heatsink fins are also laid out vertical which is good, there are a few aftermarket designs that try to run horizontal but the long-distance requires a lot of air pressure to go the length of the card and that is better suited to blower fans.
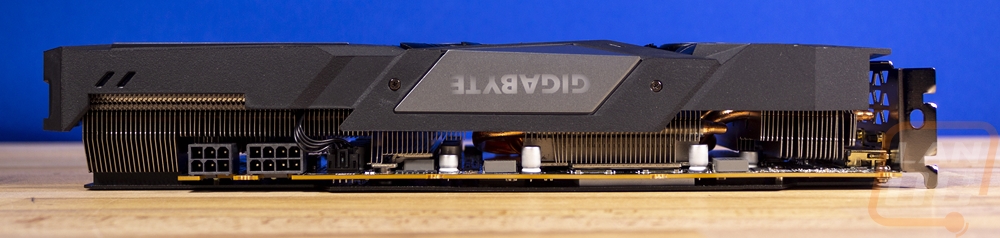
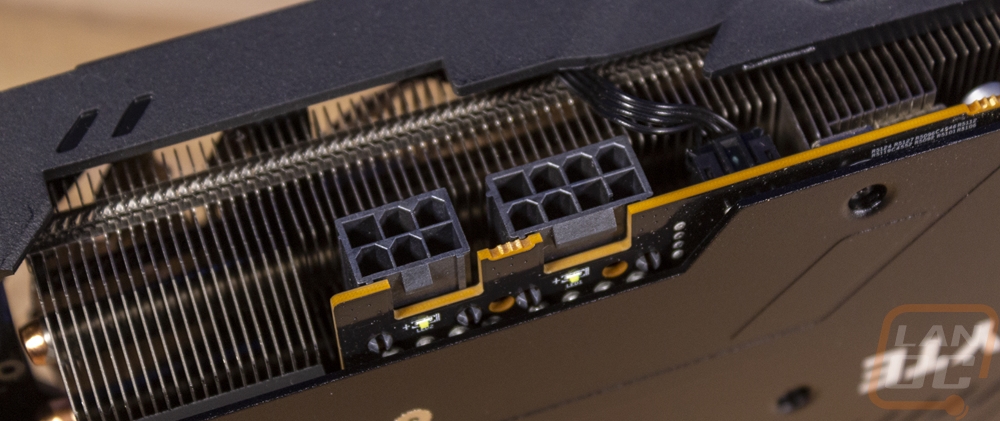
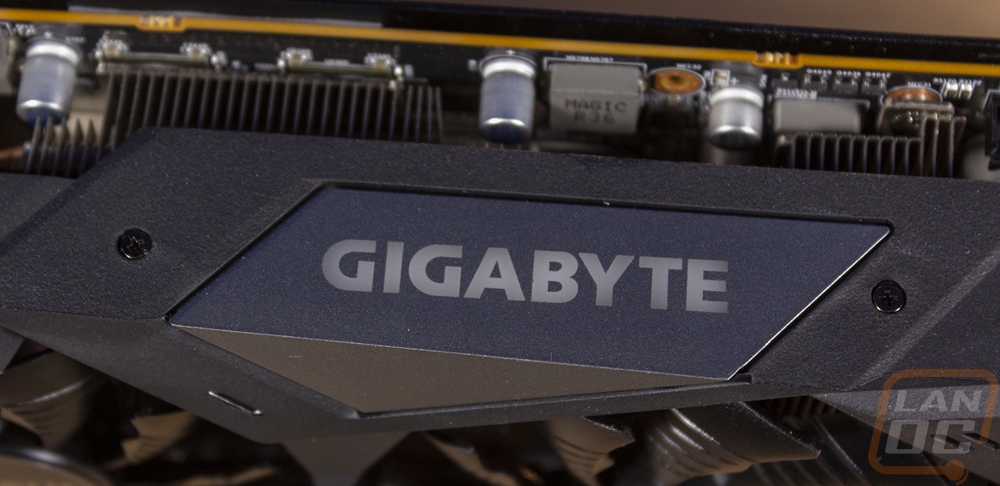
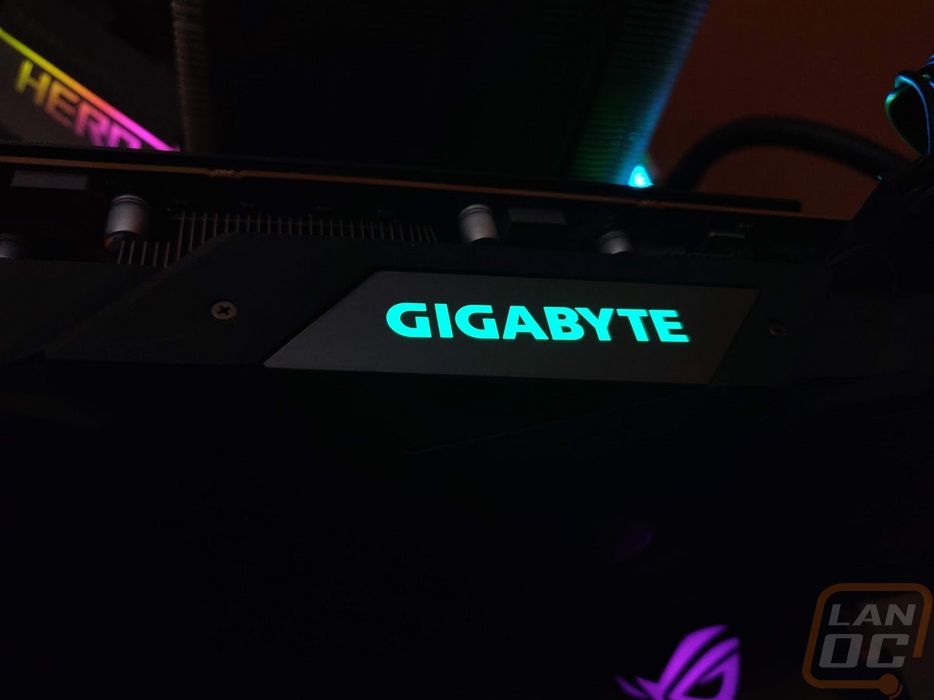
Up on the top edge of the card, there are a few things going on. For starters you have the power connections. They are flipped around with the clip towards the PCB and the PCB is then notched to fit that. This allowed Gigabyte to pack the heatsink tight up against the plugs without issue. Also up on the top edge they have the Fusion RGB 2.0 lighting which was used on the Gigabyte logo. I’ve talked a lot about backlit branding this year, I’m just completely done with my PC being times square for PC hardware. I love the RGB, but would like to see it used on accents or something similar, also this card could use a little more or less. That might sound weird, but if you are going to have RGB, a little more would be ideal or stick with the simple design and drop it altogether. I should also point out how the silver accent in this lighting actually looks dark. I’ve also included a picture of the logo lit up, it does look good and the lighting is even, its just the advertising that I don’t care much for anymore.
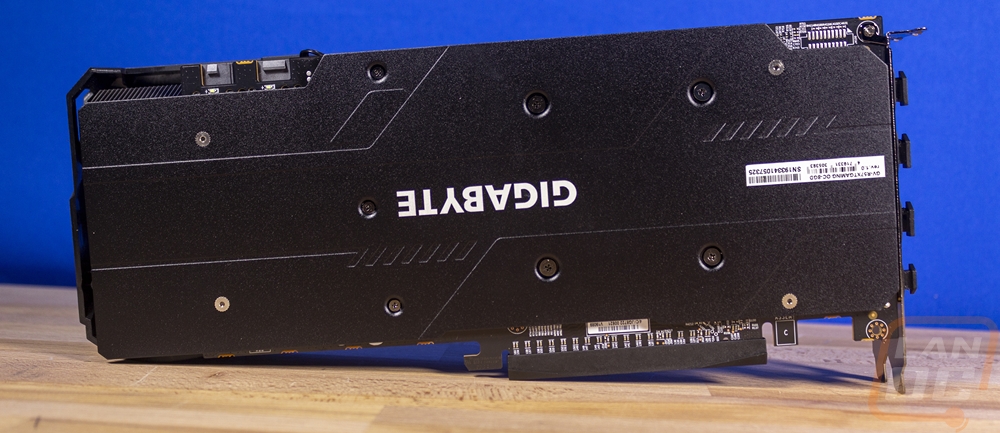
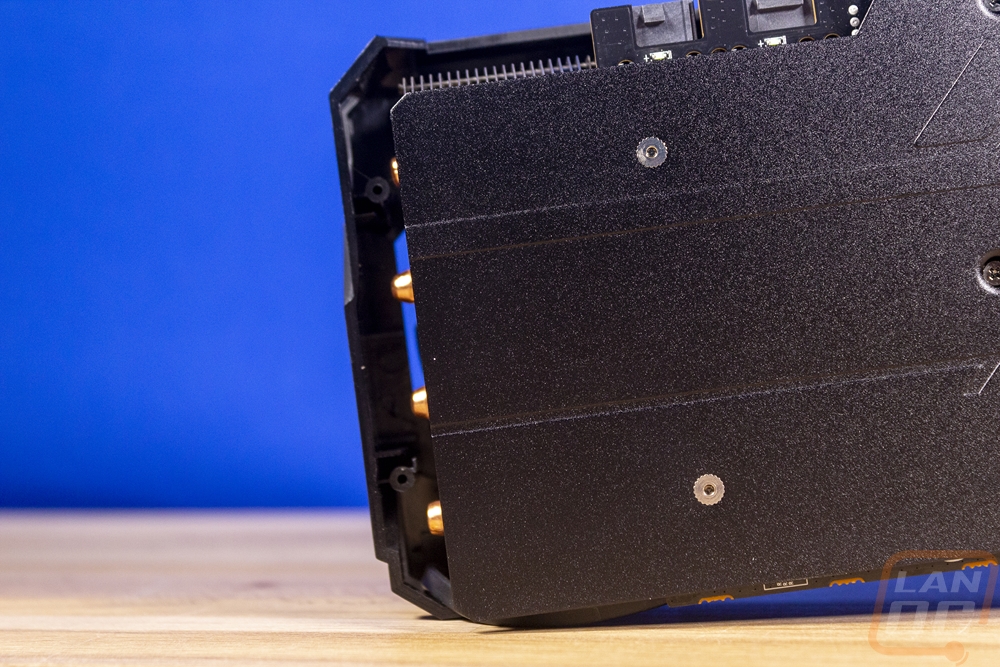
The RX5700 XT Gaming OC does come with a backplate and it is the standard backplate that Gigabyte likes to use on their Gaming OC cards. It is a sheet metal design that has a few angled accents stamped into it along with a bent edge around it to add to strength. I would prefer a thicker aluminum design with machined accents, but this design does the job as far as protecting the PCB from damage and giving a cleaner look. It has a textured finish that has a slight gloss to it. Then in the center, the Gigabyte logo is printed in white, upside down for when the card is installed in a normal case. There is also a small sticker with the model information and a serial number barcode as well. At the end you can see how the cooler extends out beyond the PCB but the backplate is longer to match as well. The shroud does hand out a touch past that, but not enough to say that the card is wasting space, although if this card didn’t fit you could gain at least 10 mm if it was trimmed, not that I recommend cutting up your card!
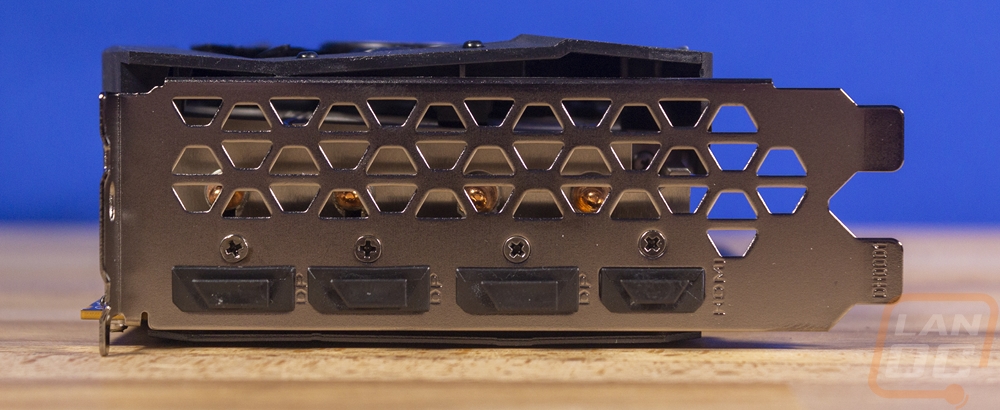
For connection options, the Gaming OC has what is now the standard layout. That gets you three DisplayPort connections and one HDMI. I do like that Gigabyte doesn’t make things harder by mixing the HDMI in the middle of the DisplayPorts, they moved it down to the bottom where it should be. The PCI bracket would look better painted black IMO. It also has some ventilation in the second slot area even though the cooler design isn’t going to be blowing much that direction.