I think just about everyone who builds their own PC eventually gets comfortable with a few different brands. They have a good experience along with having friends or family have similar experiences and then you start to favor a few brands over others when given the choice. I know in my builds there are a few that I tend to go with, it's almost like a superstition. For the most part, though, your PC is going to have components from a variety of companies, but recently a few of the brands have been branching out a lot to the point where you can nearly build an entire PC using just their components. Asus being one of those companies has in the last few years gotten into the PSU market, water cooling, and cases as well. I thought it might be fun to put together an all Asus build using the ROG Strix Helios, so let's see how it goes!
Article Name: All Asus ROG Build
Review Samples Provided by: Asus
Written by: Wes Compton
Amazon Affiliate Link: HERE
ROG Strix Helios
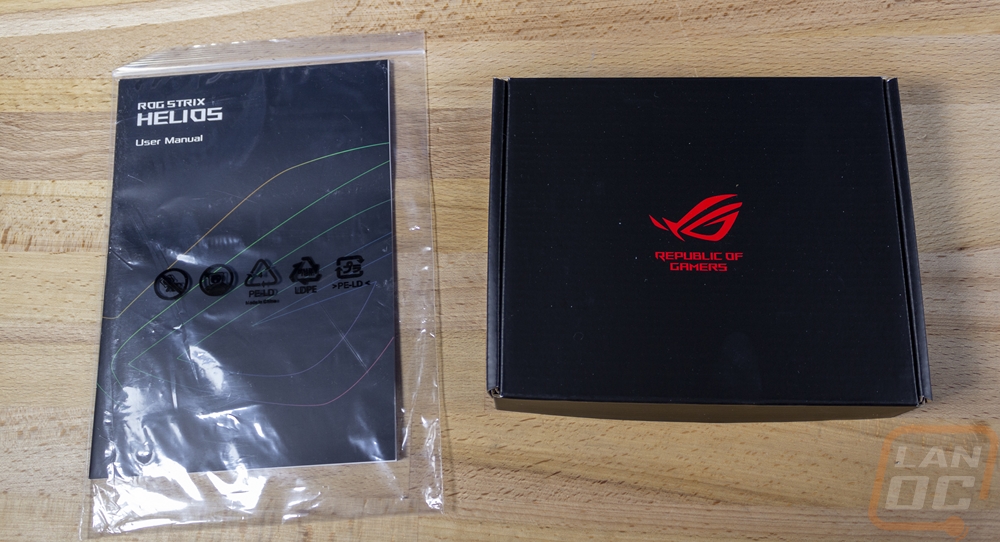
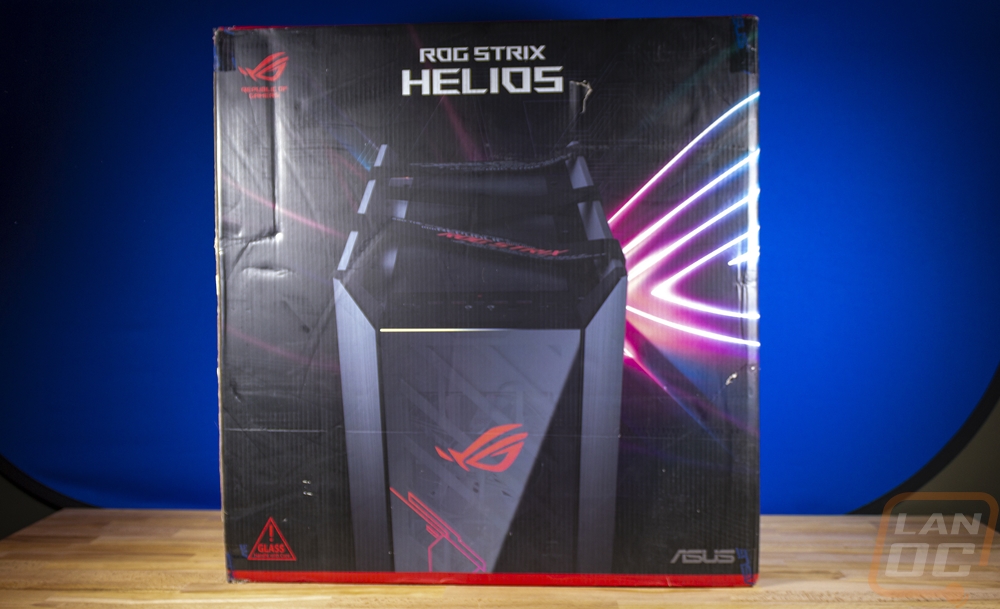
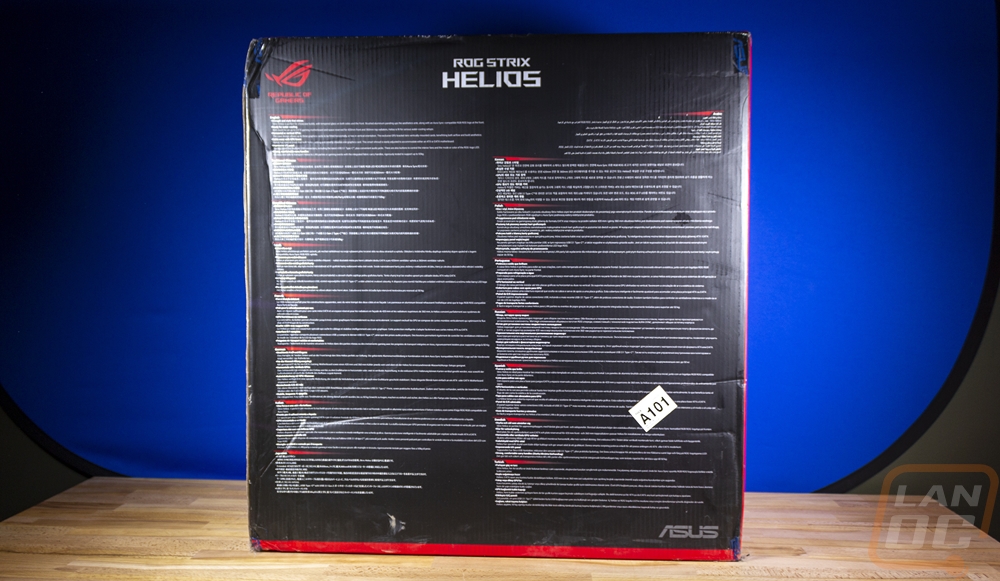
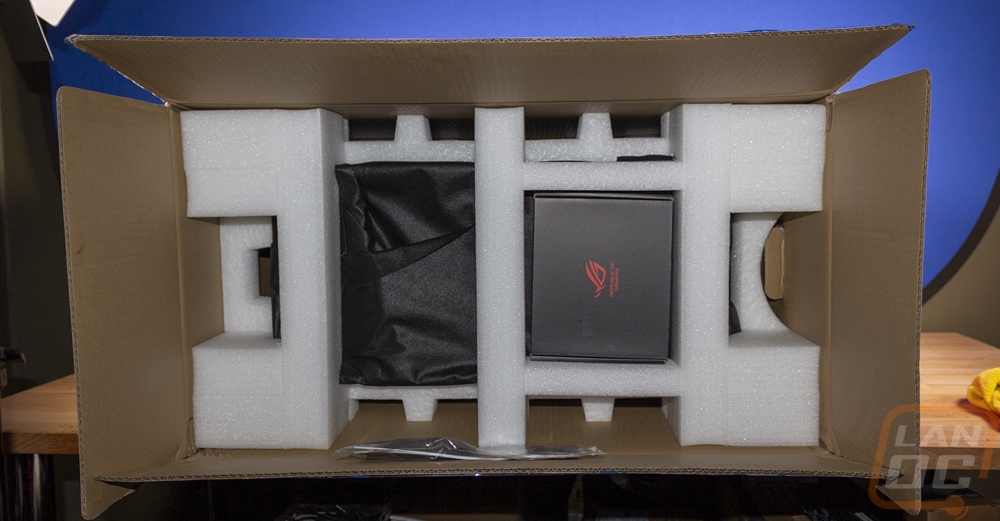
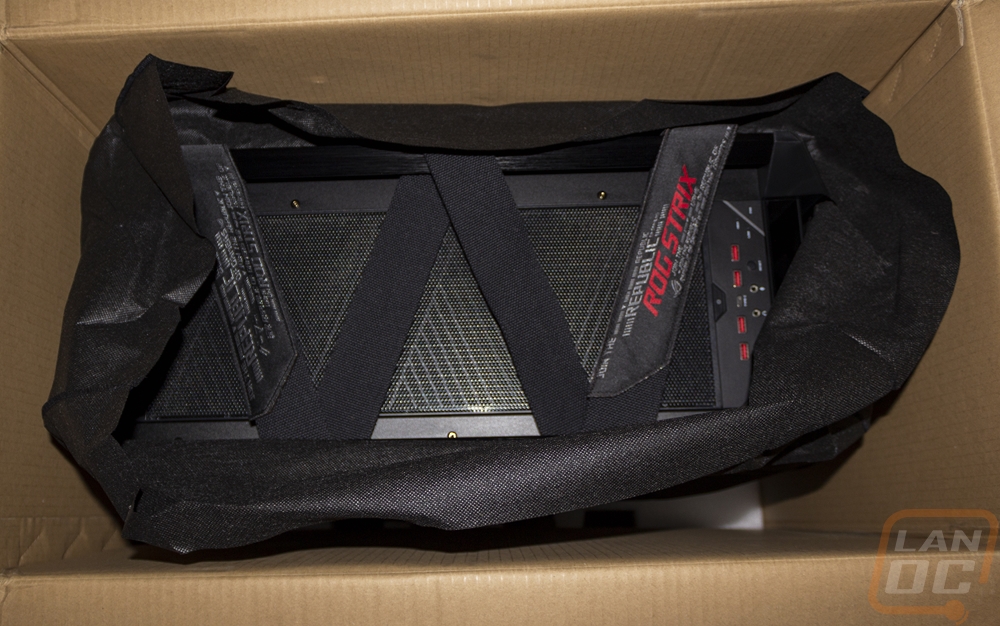
So lots of companies make cases, it isn’t like Asus it breaking new ground by making them as well. But they do tend to take a different look at things and design from a different angle. So going in I was really curious what Asus might do differently with the ROG Strix Helios so today I’m not doing a full review though I did take enough pictures for one. There just isn’t enough room here to cover every detail so I’m going to try to run through what the Helios has going on. First off, even just the box gives a few things away. For one the Helios is a big case and it is hhhheeeavvy. I hated moving it around even just for the pictures. That said the box is all color with a picture of the top half of the case on the front with the Strix ROG logo in the background. On the back, they talk about some of the features, but there aren’t photos of the cool features just a wall of text that most people will most likely ignore. When you open it up there is nice foam keeping the case safe and on top, there is a small box of accessories as well as the instructions. I like that Asus didn’t bury those. The case also comes wrapped up in a microfiber bag. They were at least nice enough to leave the open end at the top so you can open it up and use the built-in top carrying straps to pull the case out of the box to get started.
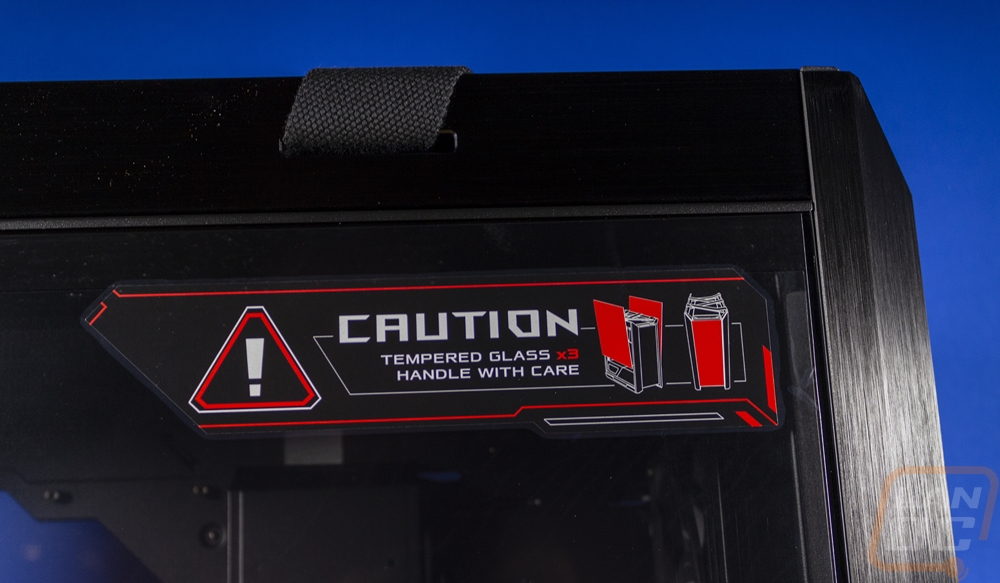
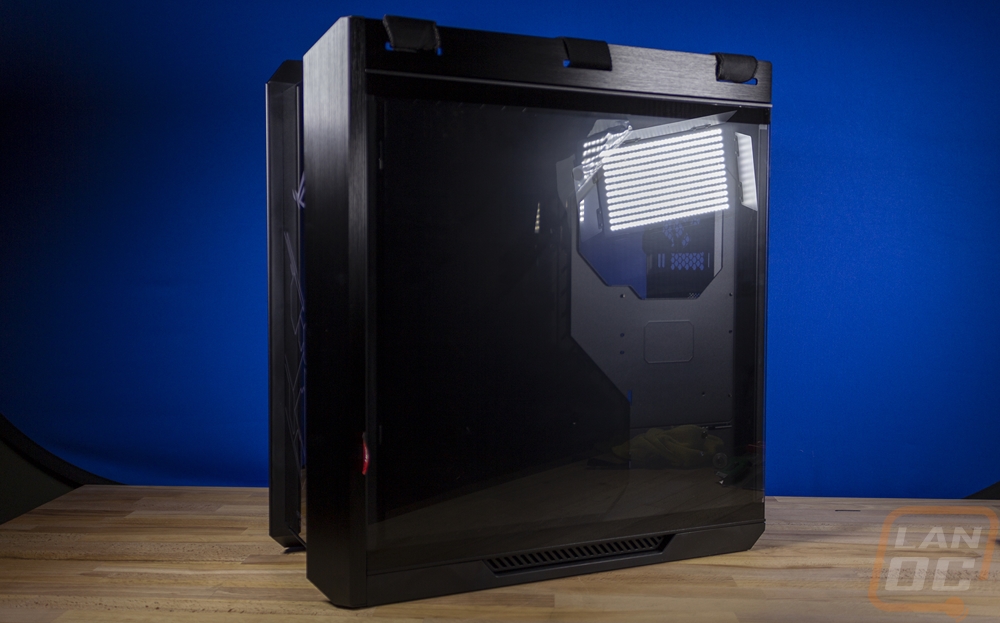
So the Helios comes in at 250 x 565 x 591 mm or for those of you here in the states that is 9.84 inches wide, 22.2 front to back, and 23.3 inches tall which isn’t exactly small but not exactly Cosmos II sized or like my Case Labs TH10. But because the design features large tempered glass panels on three sides and Asus build the frame to be solid it comes in at 40 pounds before you even put anything inside of it. It supports E-ATX as well as the old XL-ATX form factor and even server sizes like SSI EEB and CEB which include dual CPU motherboards so you don’t have to worry about anything not fitting in it. Those who love pealing plastic are going to love it as well because each panel has it on both the inside and outside, but I wish they would have put that glass warning sticker on the outside of the plastic because it is a nightmare to remove.
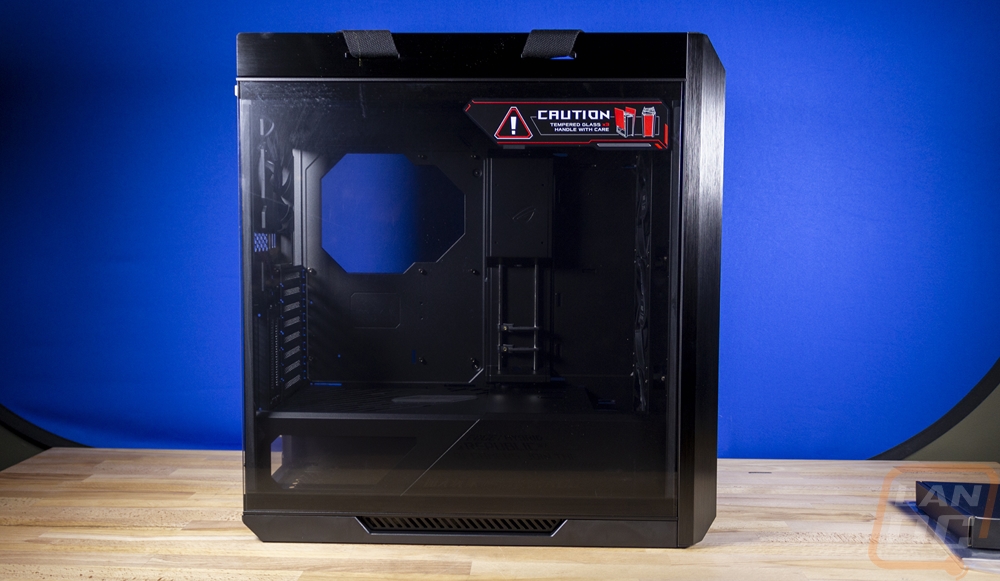
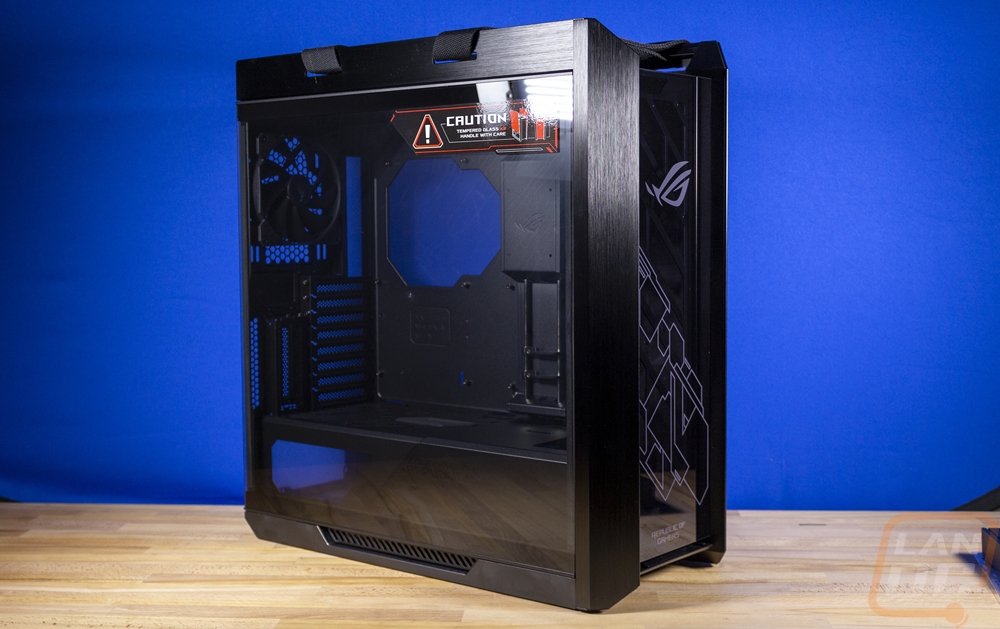
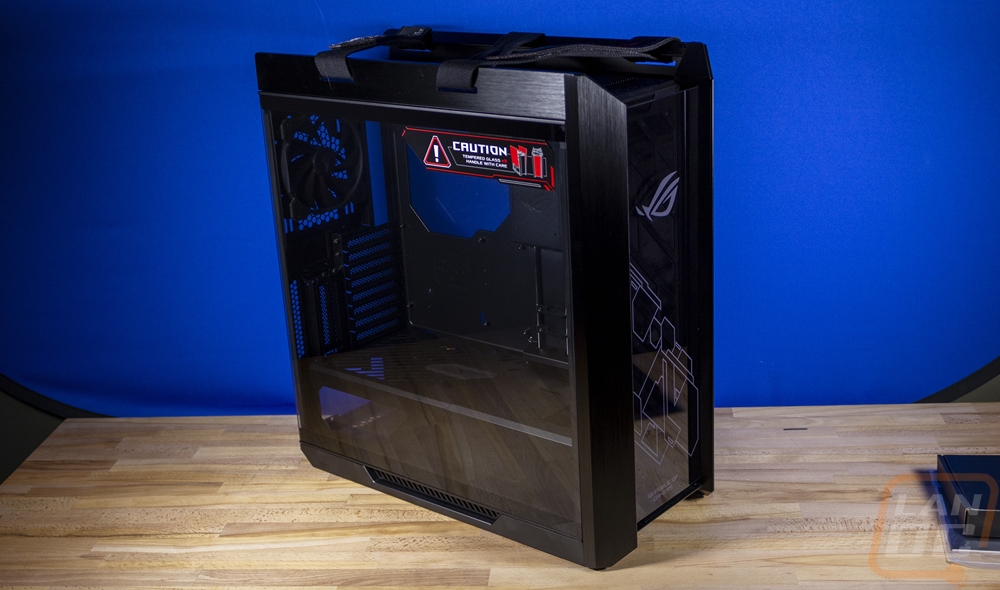
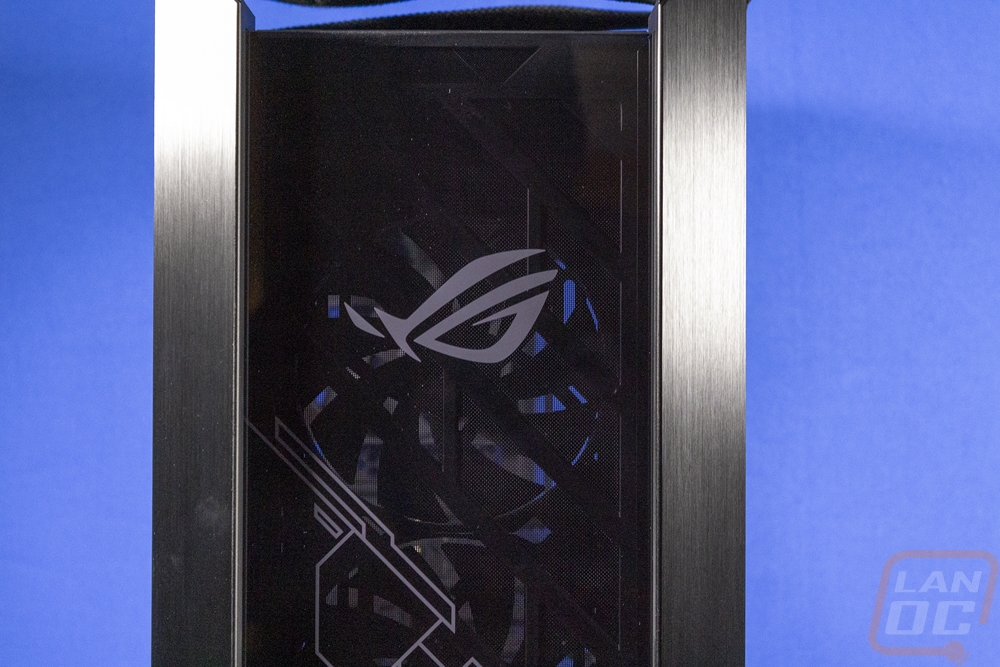
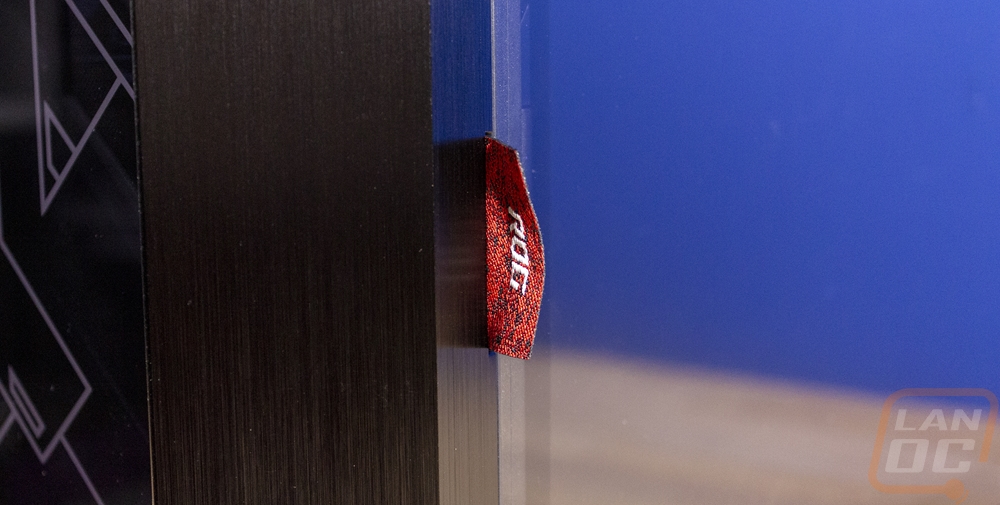
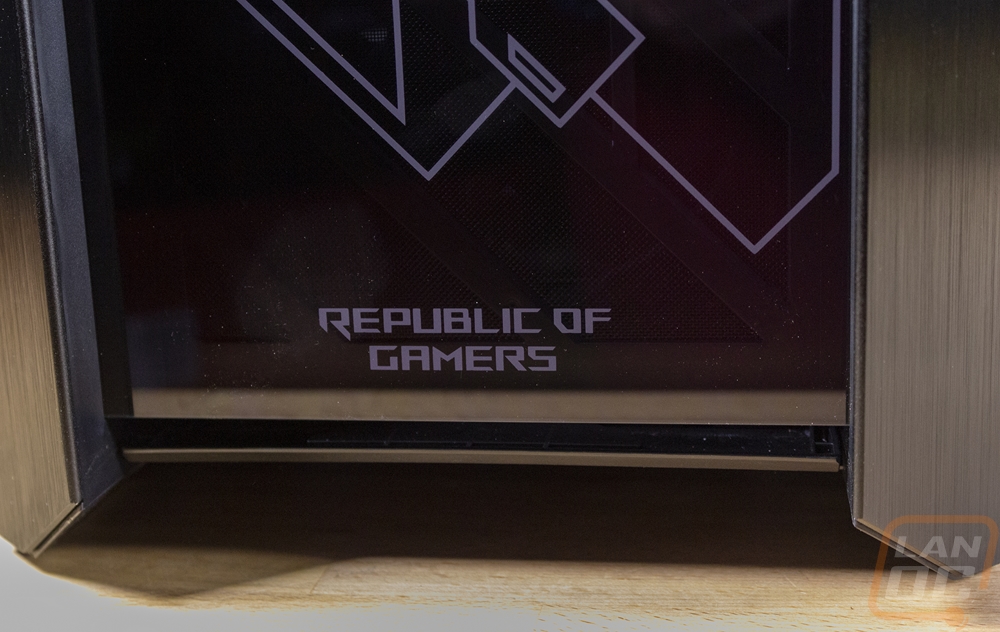
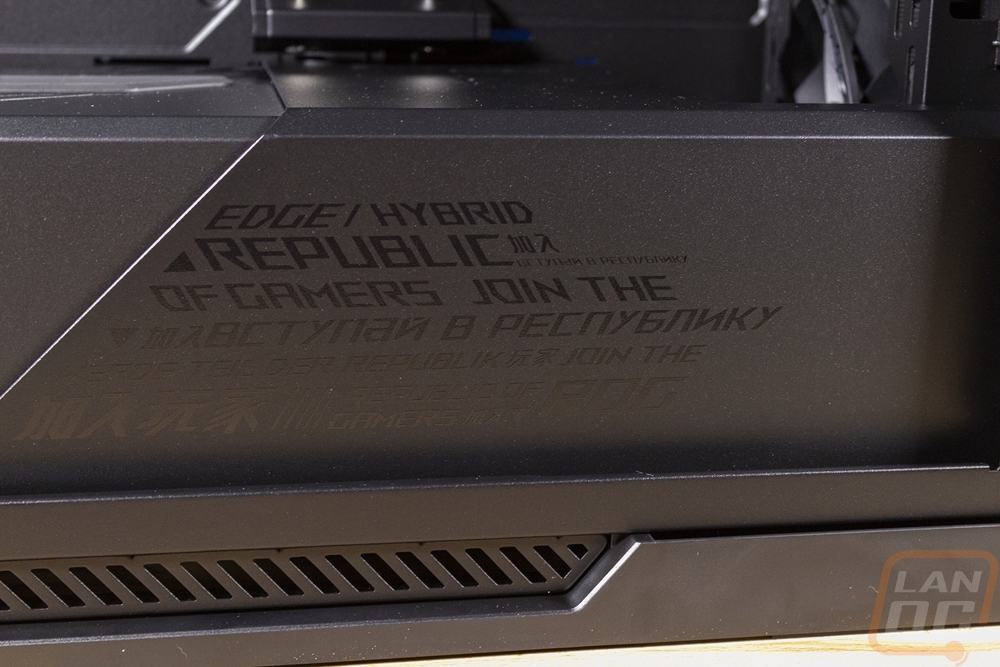
The front of the Helix has two aluminum pillars on the sides that stick out and the tinted tempered glass behind that. The glass is backlit with RGB so the ROG logos and the design on the front here light up with their addressable lighting. I never would have expected a case to have a tag like a pair of Levi’s jeans, but the Helios does on the side of the front with the ROG branding on it.
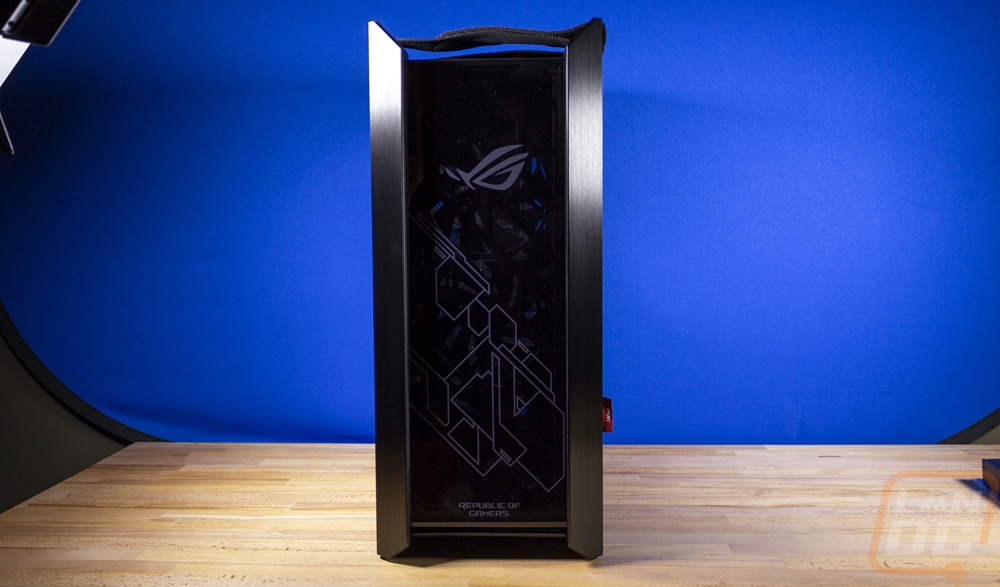
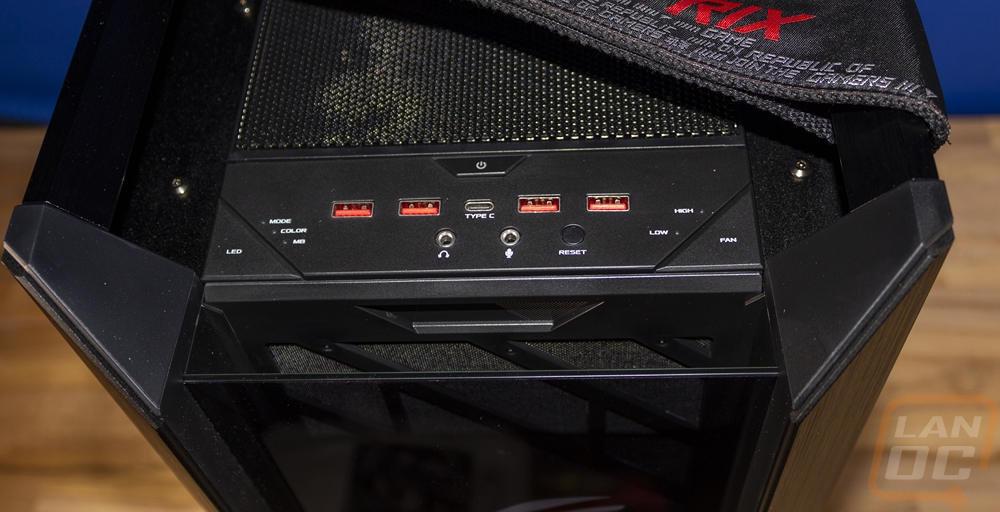
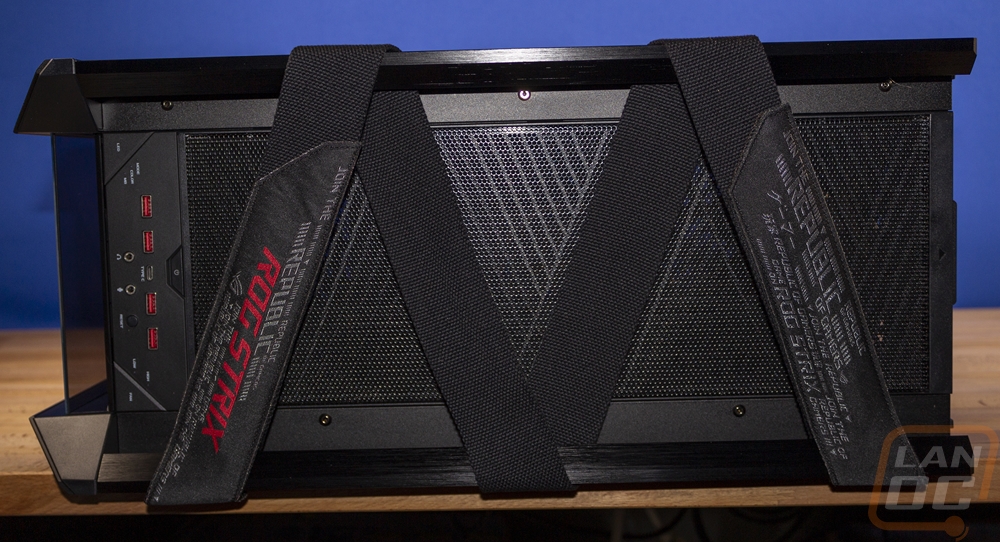
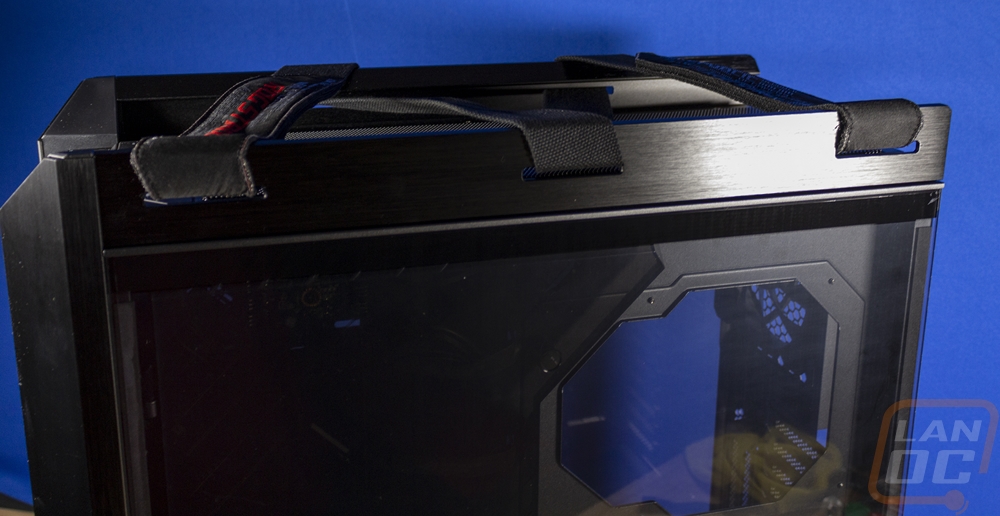
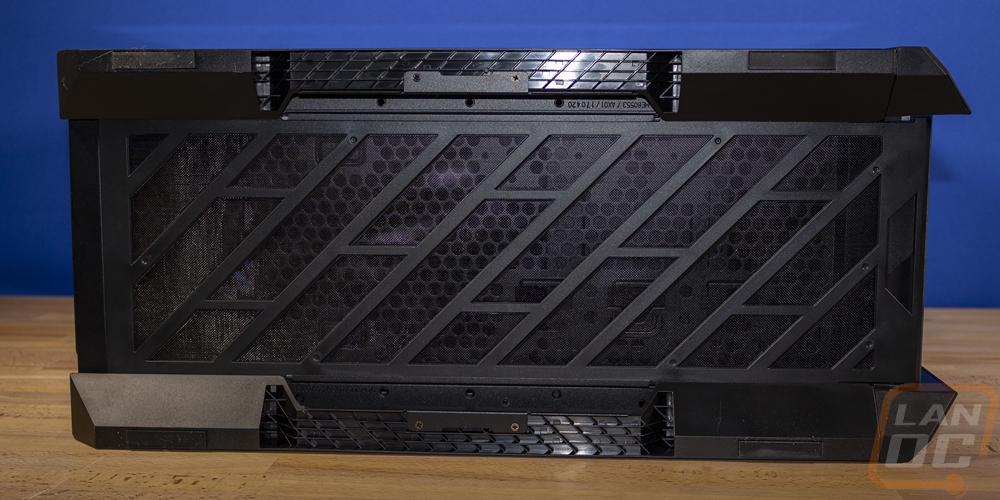
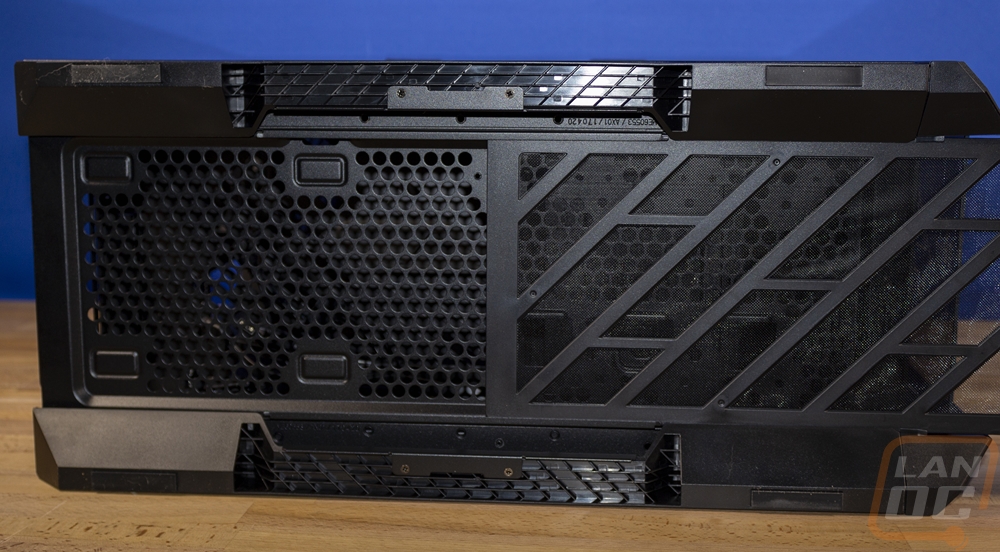
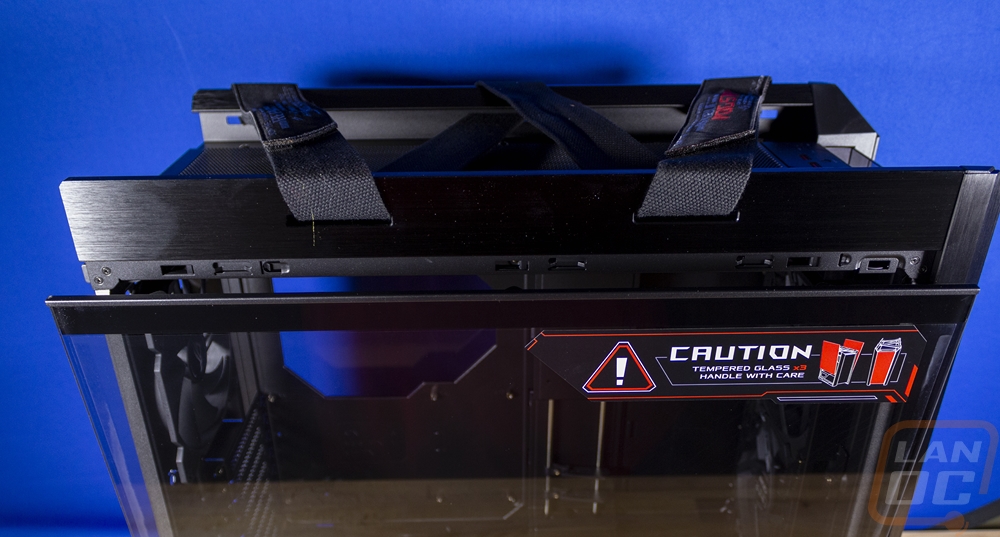
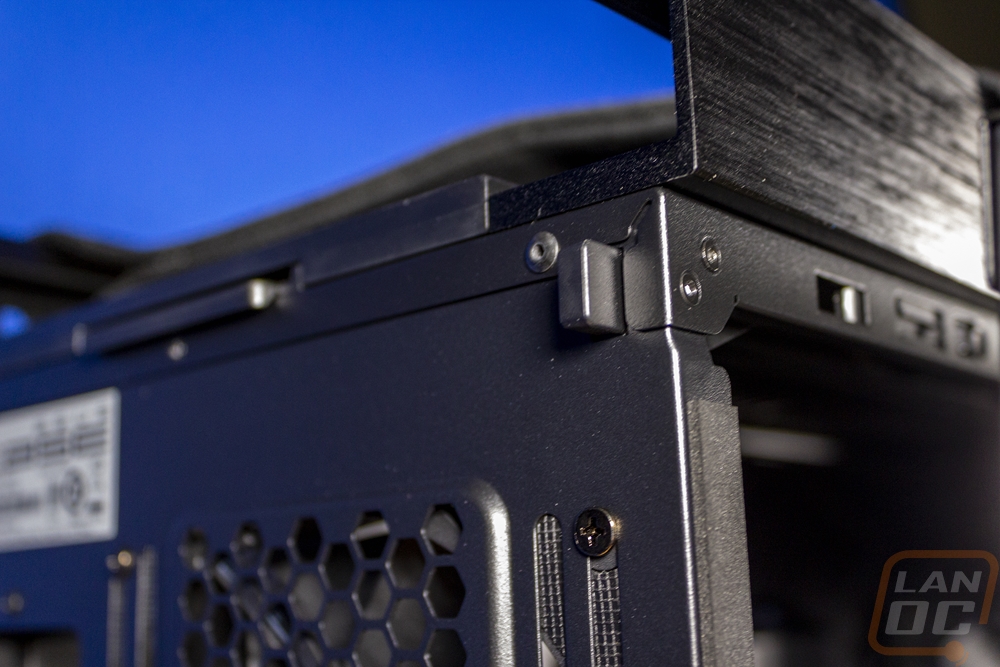
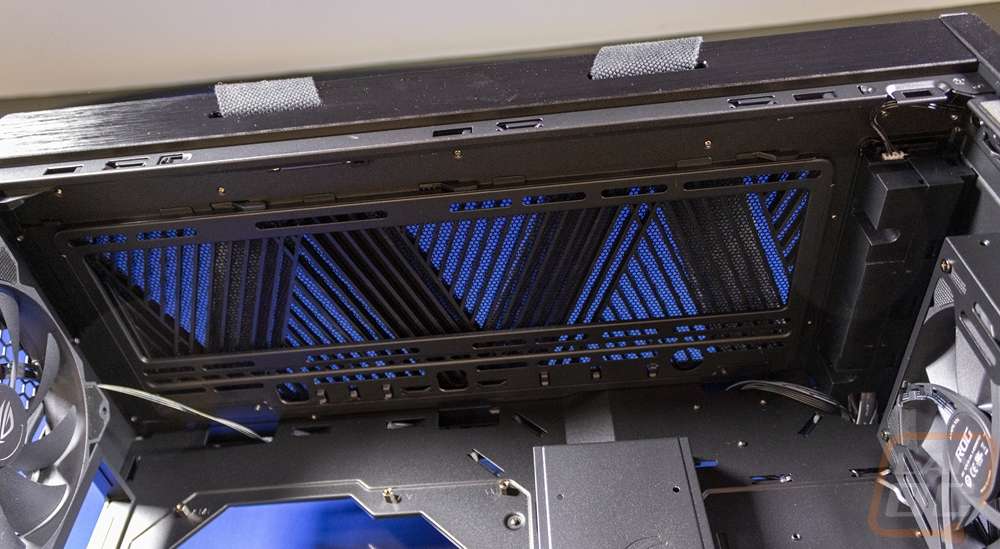
Up on top, you can see that the front panel glass does have an inch gap between it and the front fans for the case. There is a pull out filter here that comes out the top which is easy. Then the entire front I/O is all right here. There are four USB 3.0 USB plugs which is twice as much as you would see on most cases and then they also included a Type-C connection as well in the center. Front panel headphone and microphone jacks are there of course. Then there are a few buttons. In the center is a power button and they also have a reset which is tucked in under the USB ports. Then both the bottom left and right corners have buttons with status LEDs next to them. The left is for the case LED lighting, you can hold the button to switch between colors, mode, and MB. MB is motherboard, meaning you have the lighting plugged into your motherboard and are bypassing this control. Then you can switch the lighting colors or the effect modes which include a Strix rainbow effect then the typical breathing and solid. On the right, you can control the included case fans with low and high fan speeds. The top of the Helios also has a full-length metal grill with a dust filter in it that can be removed for cleaning. But the main feature here and for the entire case is the carrying strap that crisscrosses the top for carrying. It is two inches wide and heavy-duty with Velcro holding it together on the ends. It loops through holes in the main frame rails and for a case this heavy is very needed.
The right side of the Helios is the same as the left, a full glass panel with the metal frame up top and a vented frame down at the bottom.
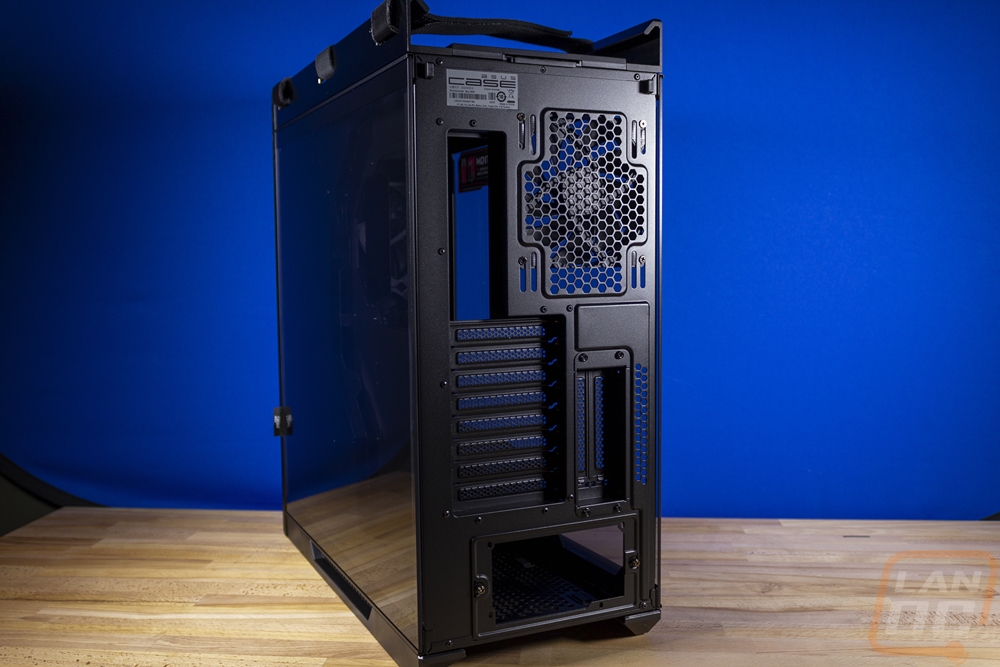
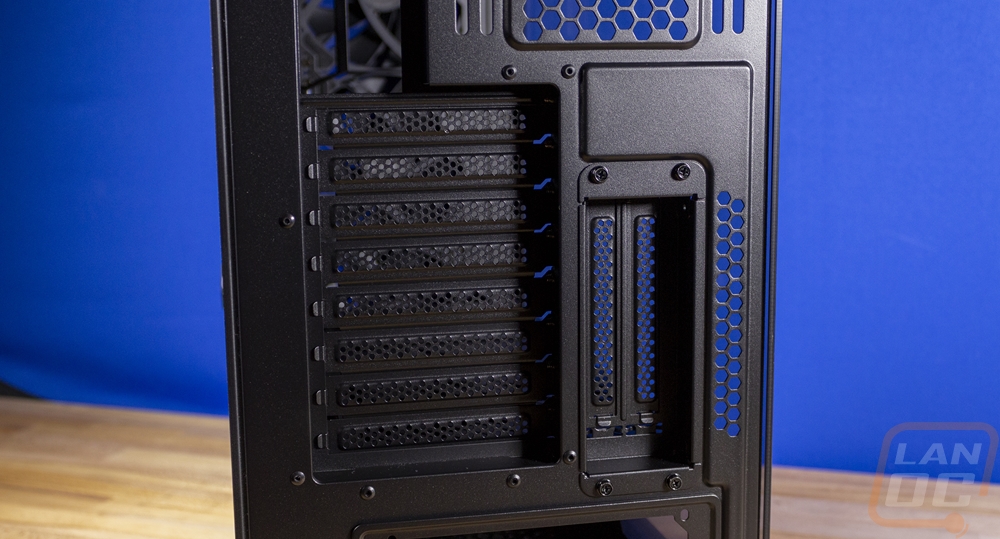
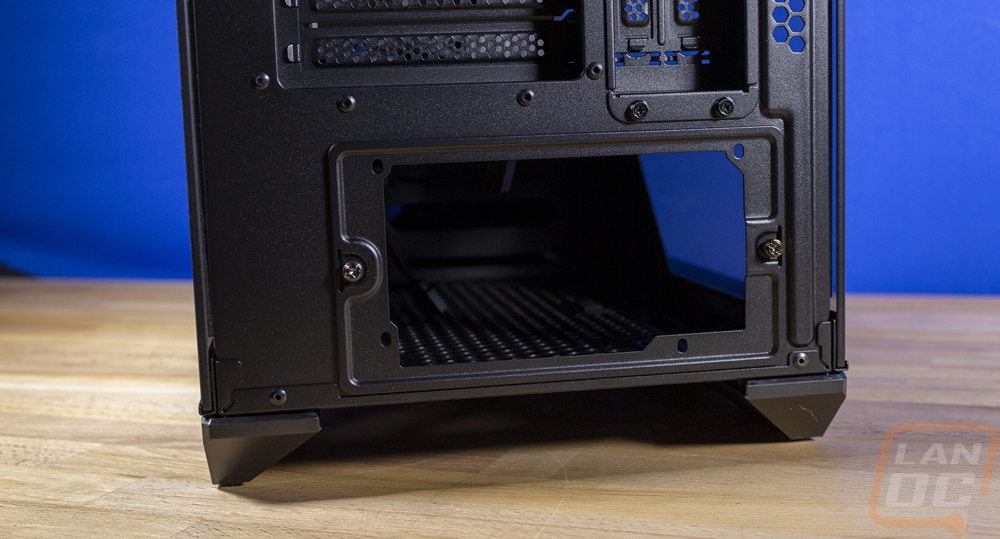
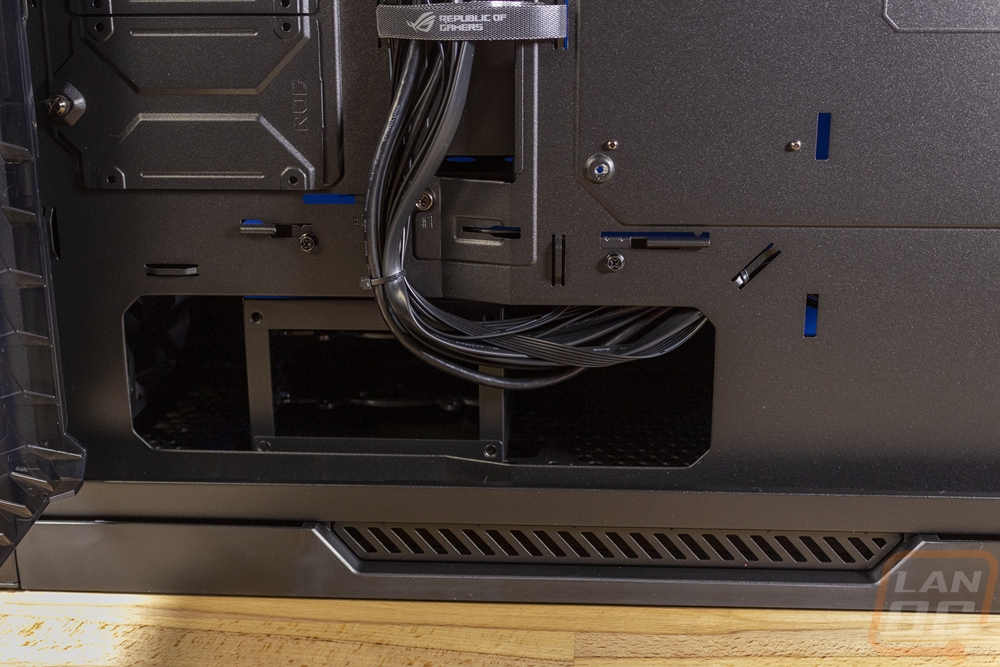
Then at the back, you have a steel panel in all black. There is a 120 or 140mm fan mount above the rear I/O that can be slid up and down. Then 8 PCI brackets which are all vented in the normal orientation then two more with a vertical video card layout. Then down at the bottom is the full ATX power supply location which has dual thumbscrews that can be removed to take the bracket off entirely to mount to the PSU outside of the case. This also makes hooking wires up easier as well if you don’t want to remove the PSU shroud which I will talk about later.

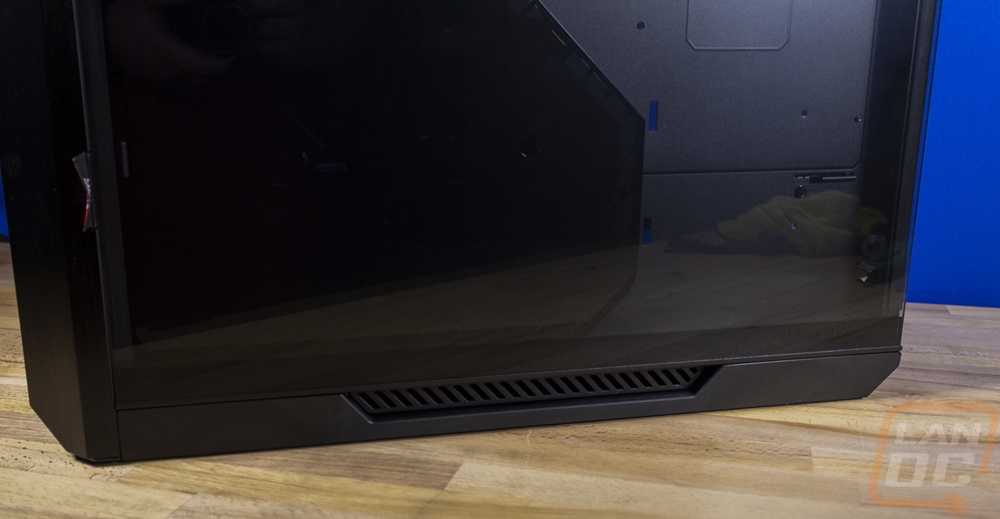
The bottom of the Helios has another full-length dust filter. Then for feet, it has two long plastic rails with large inch wide and 4 plus inches long rubber feet in each corner to keep this beast from moving around.
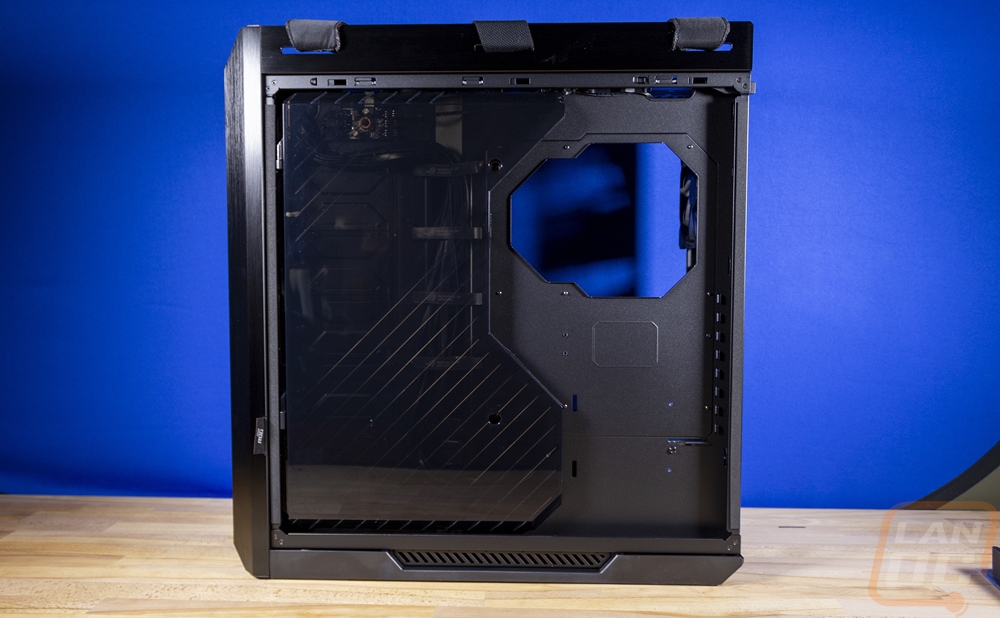
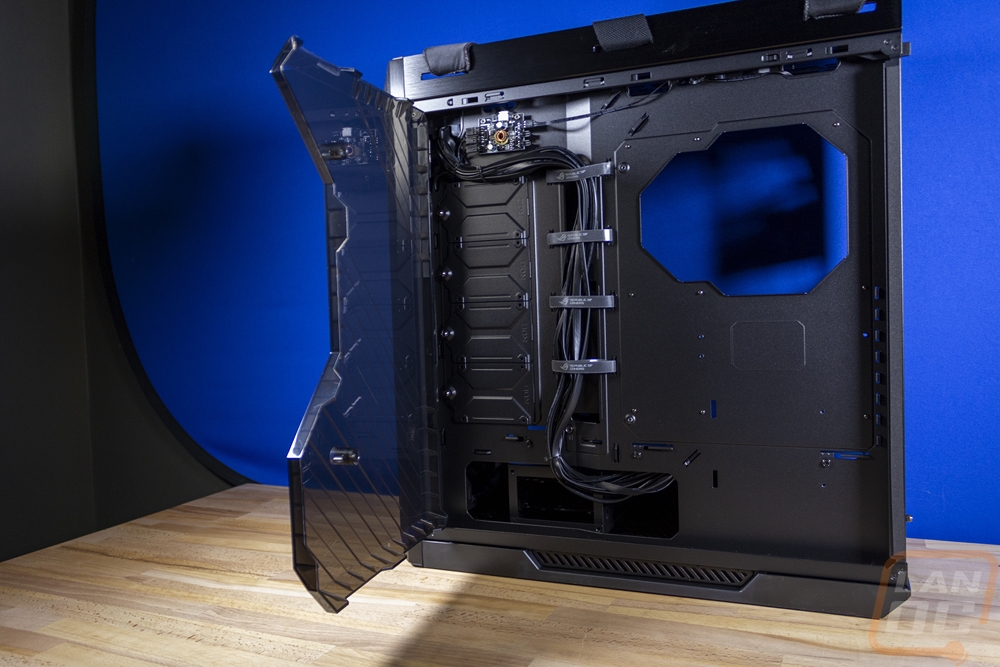
So like I mentioned before, the side panels are box tempered glass with a steel frame. Asus used the steel frame for the mounting on the top and bottom. The bottom of the panels just latches in by sitting it down then at the top there are three hooks. These work with the button on the back of the case, one for each side panel to push to open the side up.
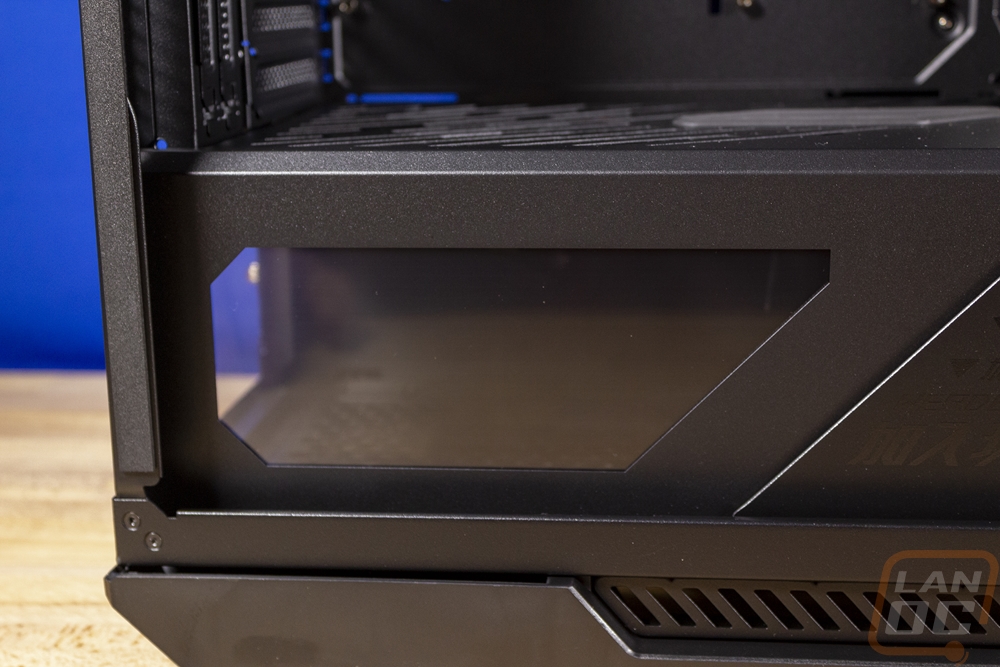
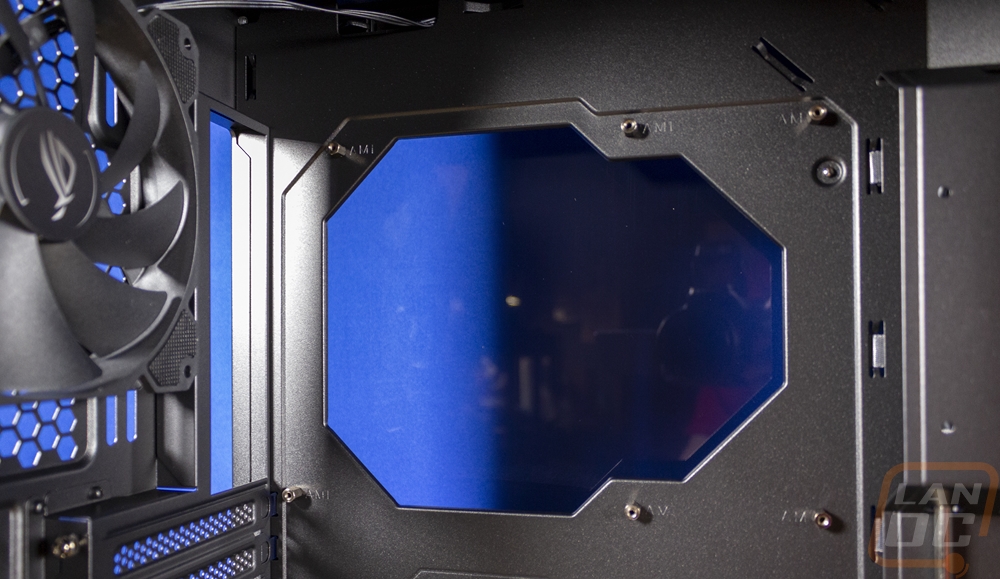
Once you get the side off the case may be big, but the layout is what you would expect. The bottom portion of the case has been completely split off to hide wiring and to keep the PSU in its own thermal zone. That does have a window, which is unique to Asus. But it just so happens they are the one company that also sells a PSU with a screen on the side. The rest of the interior is all black, just like my hea.. um just like the rest of the case. ROG specifically loves everything being blacked out now that they use RGB to add color back in.
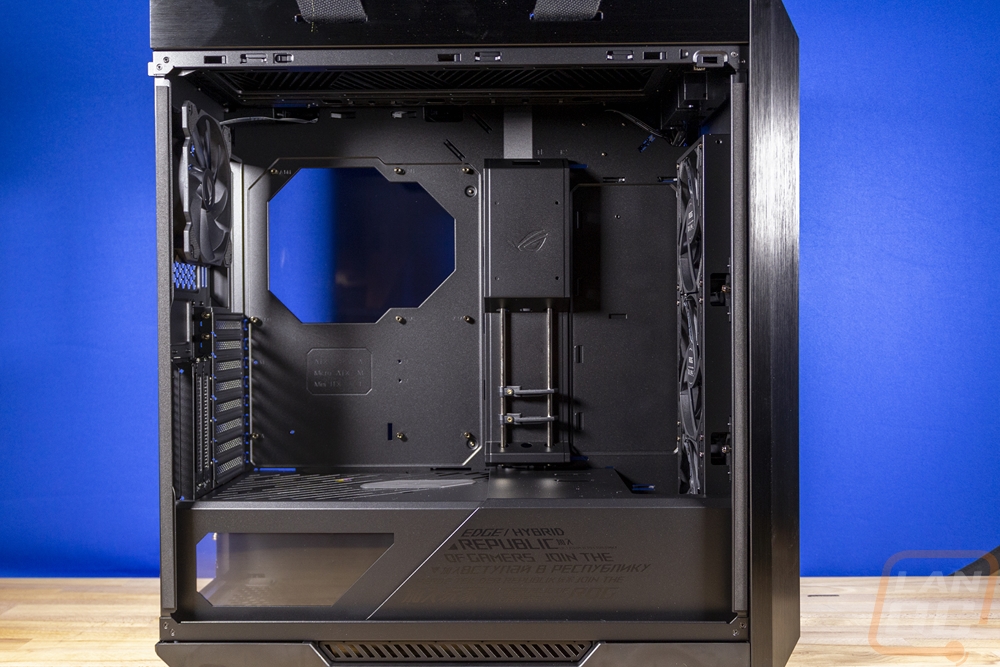
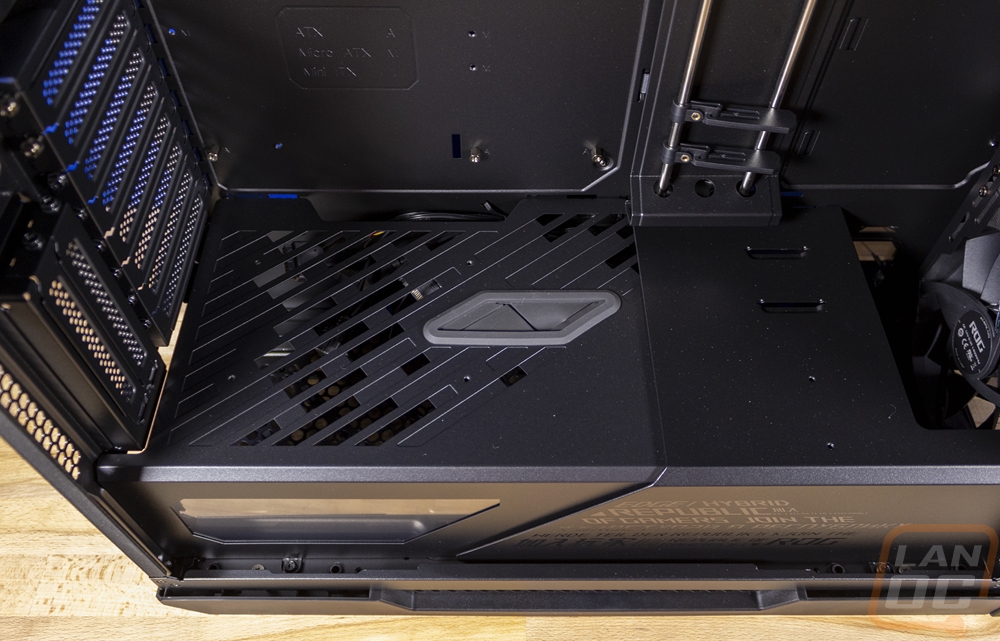
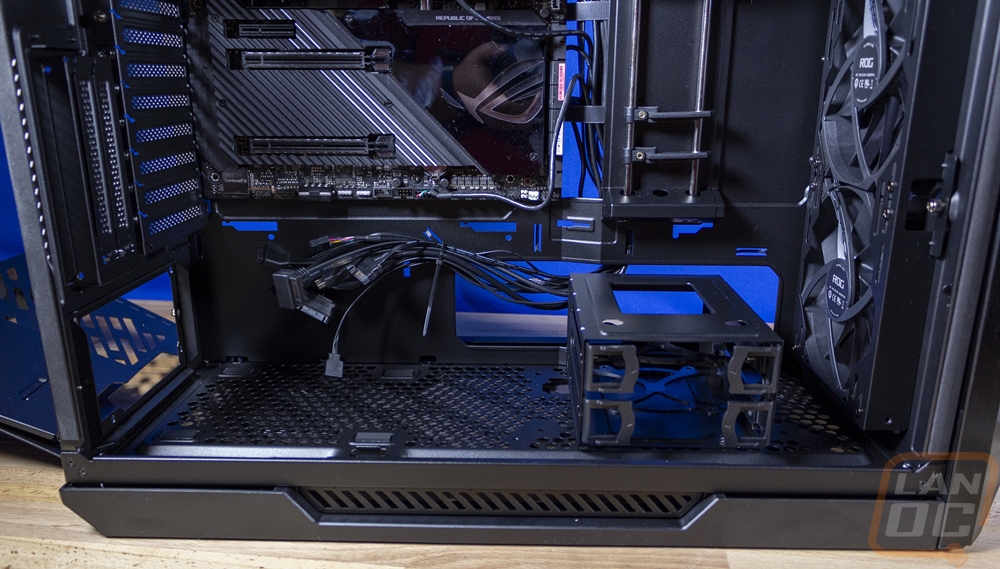
Up in the main compartment, it's cool that Asus built in a GPU anti-sag setup which has two adjustable mounts for two devices. This setup also can slide to the side more if you are running a wider motherboard. Then at the front, you can see the three preinstalled 140mm fans. These have an inside mount that can be removed if you want to install your own and you have support for 120 or 1440mm. More importantly though behind that at the bottom, the PSU shroud has left room for a radiator if you want to mount one here.
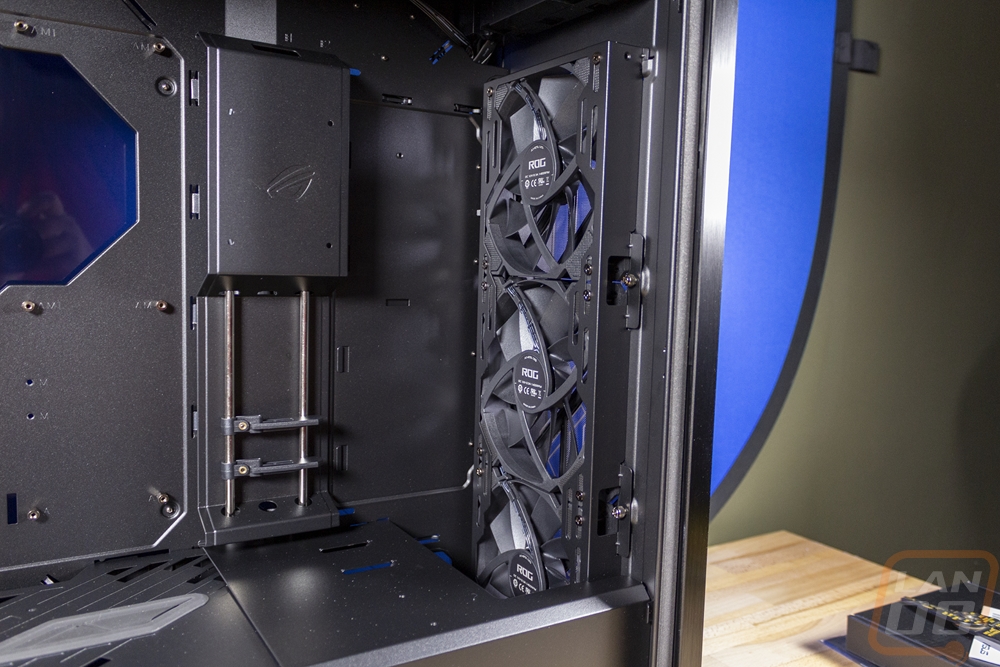
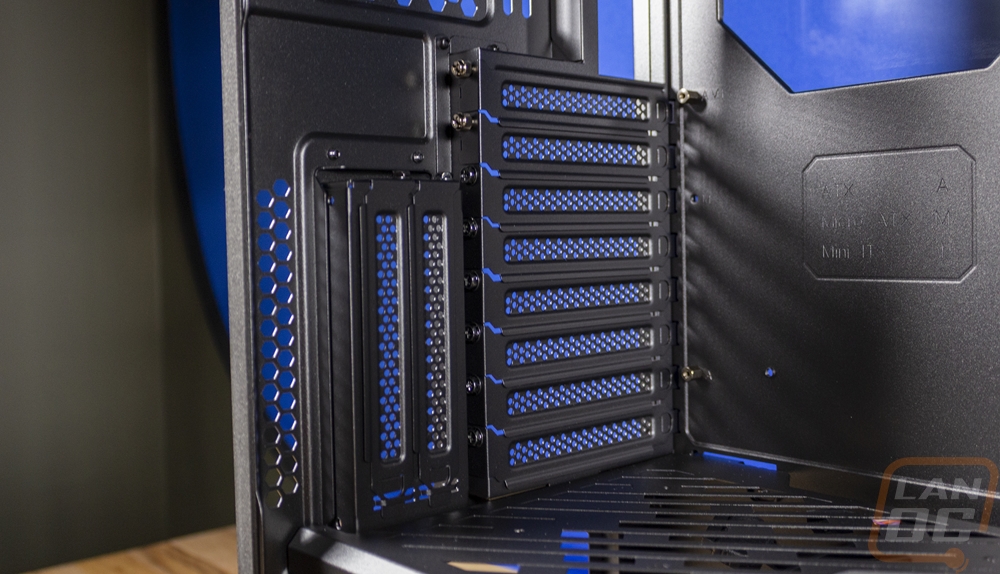
The PCI bracket area is interesting because of the dual layouts as well as just how many PCI brackets you have in the normal layout. The top two come with thumbscrews but the rest all have normal screws due to the space between the vertical bracket and the top of the PCI brackets. In fact to do anything with all of these you need to remove that vertical bracket which has four screws on the back of the case. Up above all of that is the rear I/O hole and that sliding 120/140mm fan mount that I mentioned. That one comes with the case's fourth Asus 140mm fan as well which is prewired to the controller. Then just to the right of that is a large CPU access hole in the motherboard tray which is larger than normal. Most don’t go wider than the ITX mounting posts, I don’t know if the extra room is there for the server motherboards or what.
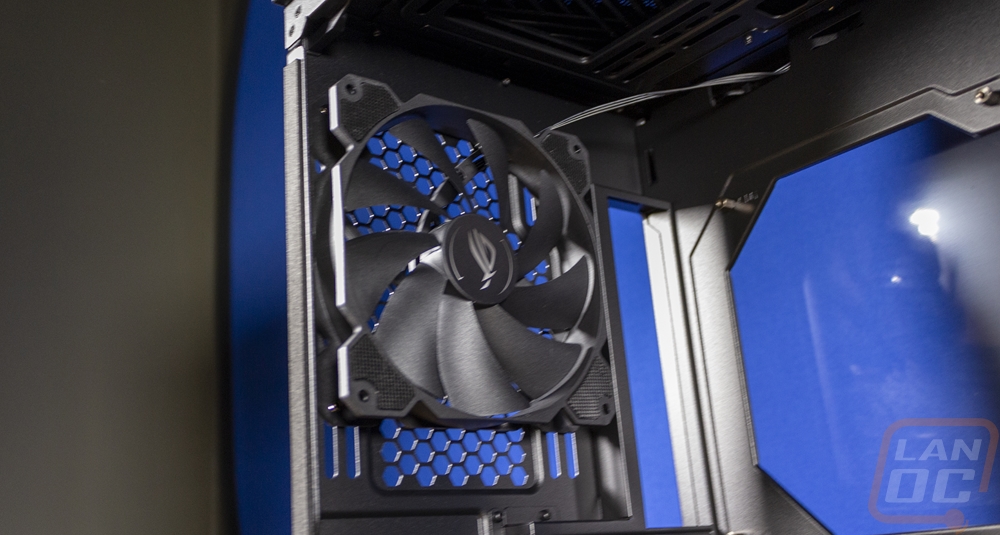
Then up top, there is yet another fan and radiator mount. This one supports 120mm and 140mm again but doesn’t come with any fans.
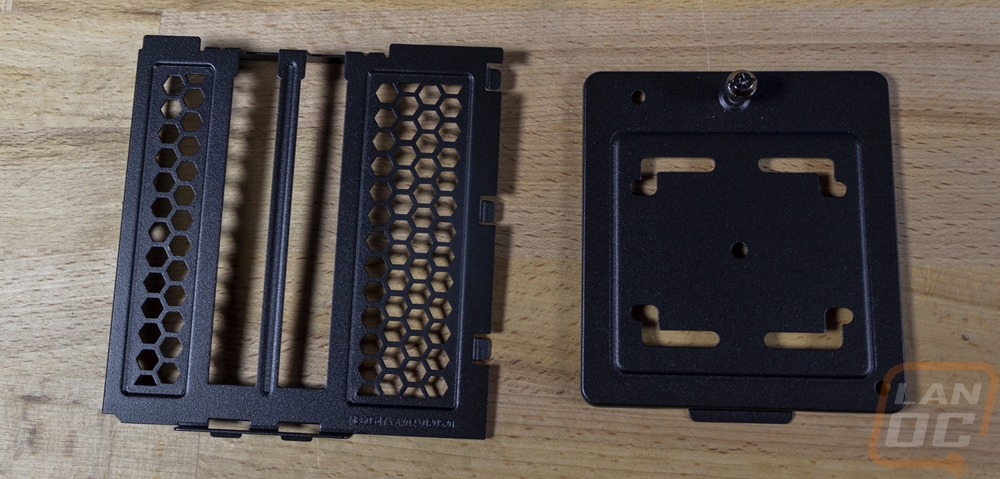
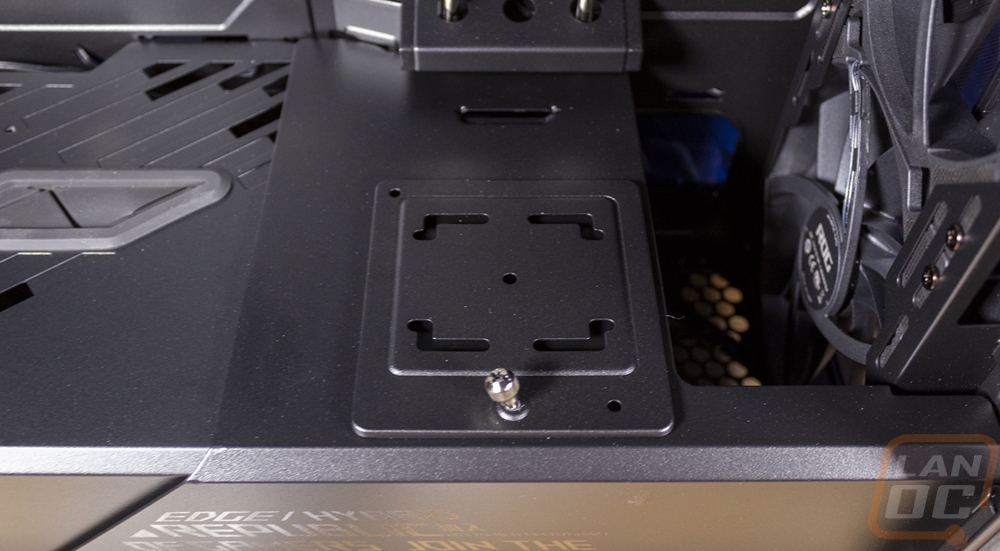
Before jumping to the back I did want to point out two accessories that come with the Helios that work in the front. On the left is another vertical GPU mount, this one mounts in place of the normal PCI brackets putting it closer to your motherboard. Which can potentially open up vertical SLI or using one for something like a capture or audio card or even the new WD Black AN1500 which has RGB. Then the other bracket is a water pump/reservoir mount. That mounts behind the front fans and has two different mounting locations. It slides into one of the two tabs and then attaches with one thumbscrew keeping it easy to use.
Okay around on the back side or the right side of the case once you have the side panel off there is something interesting. Asus has another door. This isn’t one of those lion door tricks or a Christmas prank where you just keep opening up box after box. With the back being exposed with the glass they have a plastic door here to hide all of your wiring. It is held in with two screws then can be lifted off when working.
The space behind the motherboard tray isn’t bad, you get around 23mm directly behind the tray. Then on the left, it steps in and you have a deeper section which is around 35mm. The deep section opens up to the PSU section a the bottom as well.
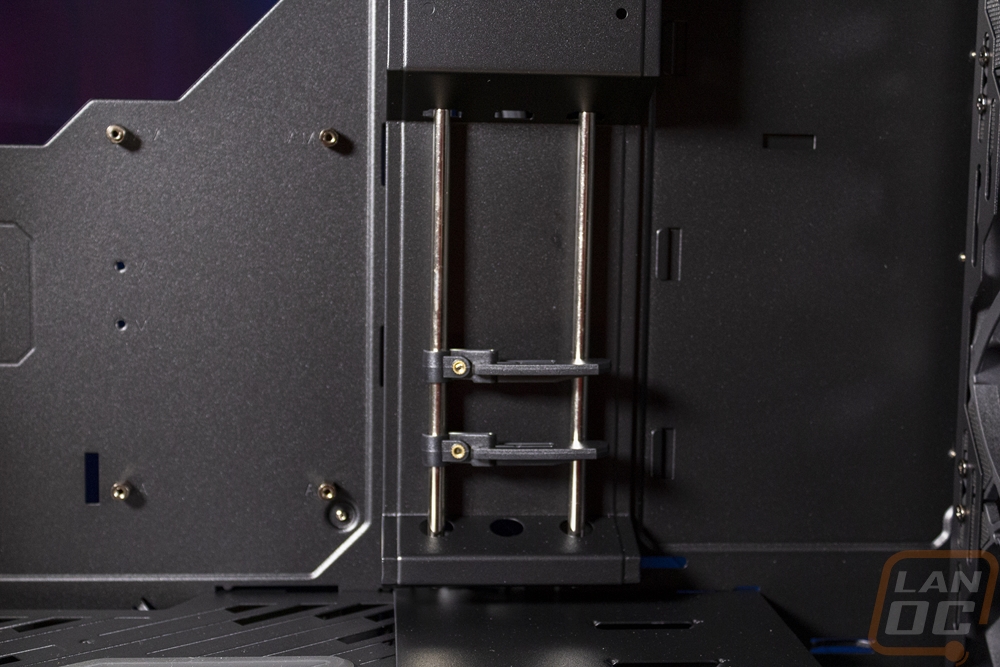
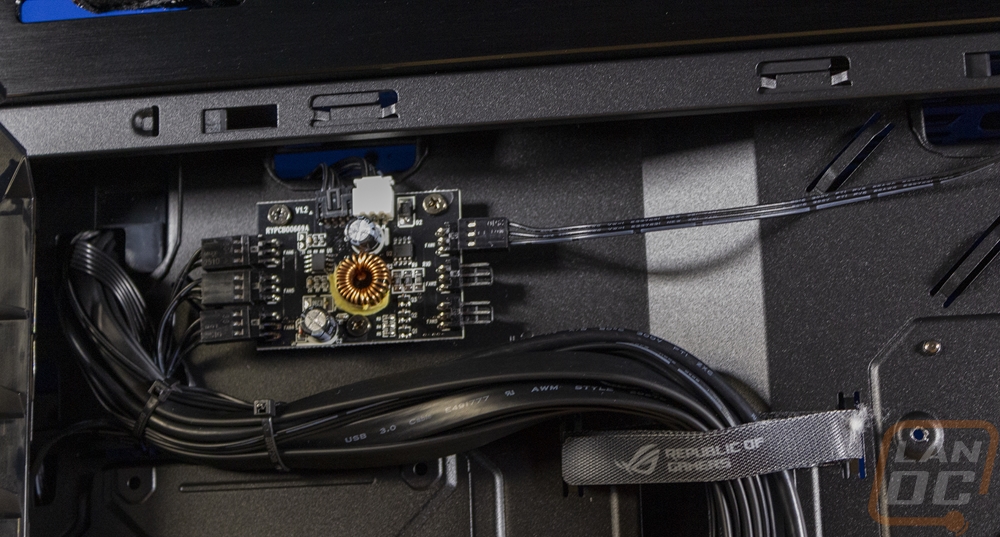
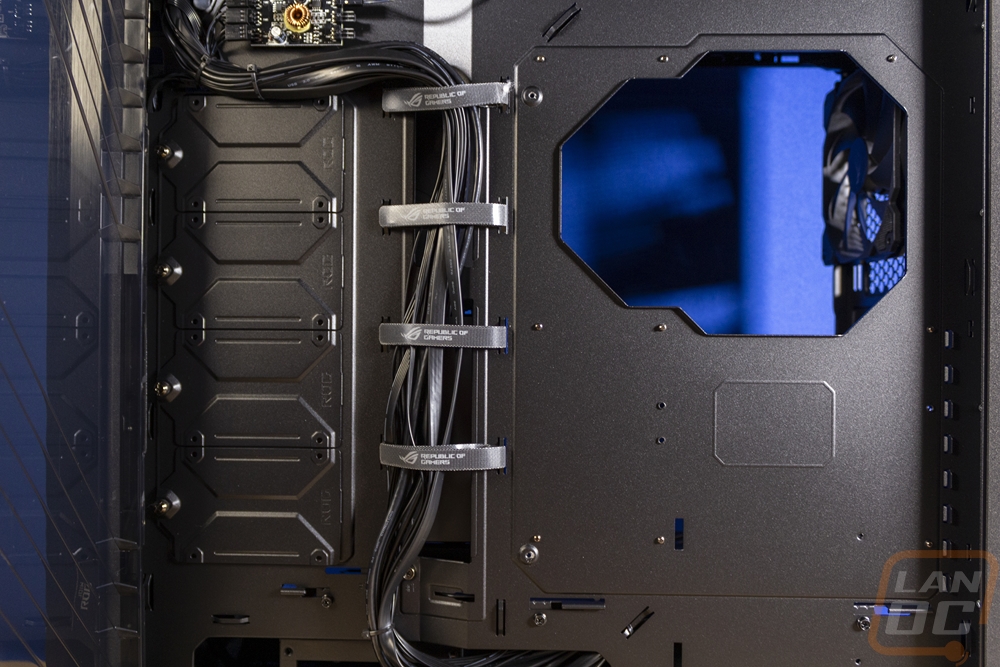
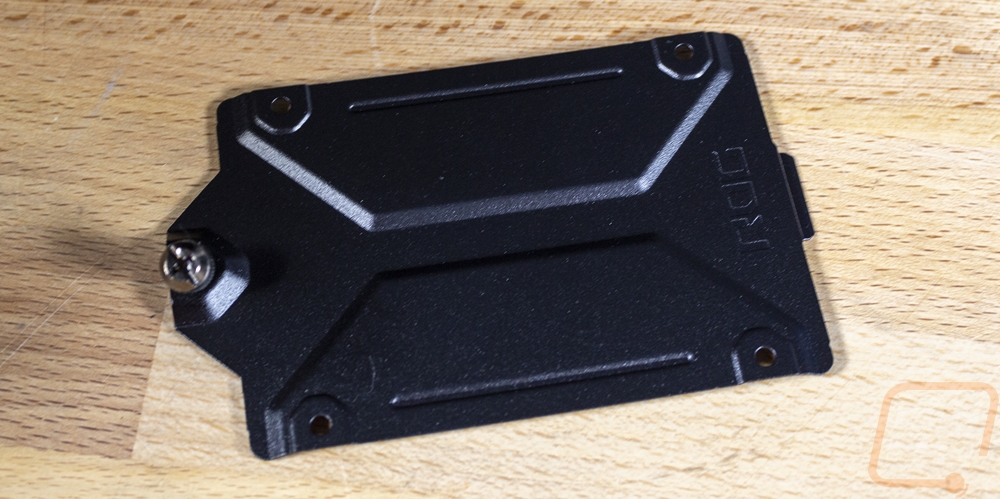
So the Helios comes with all of its wires pre-ran down the back under the ROG branded Velcro straps. Then up top is a small PCB that controls the four fans with two more hookups if needed. All of the wiring is all blacked out. I somehow don’t have a photo, but you get your normal front panel audio, a new Type-C internal wire, the front panel power/LED cables, and two USB 3.2 cables. One of those is a weird right-angle design that I will talk about later. Then there are also two SATA power plugs, one for the fans and another for the lighting. The back of the case gives you access to the four 2.5 inch drive bays. These all have a single thumbscrew mount and all line up under the tinted door within a door. There is also a double 3.5 inch hard drive mount inside of the PSU shroud area that can be seen here but is best accessed from the other side after removing the shroud panels.
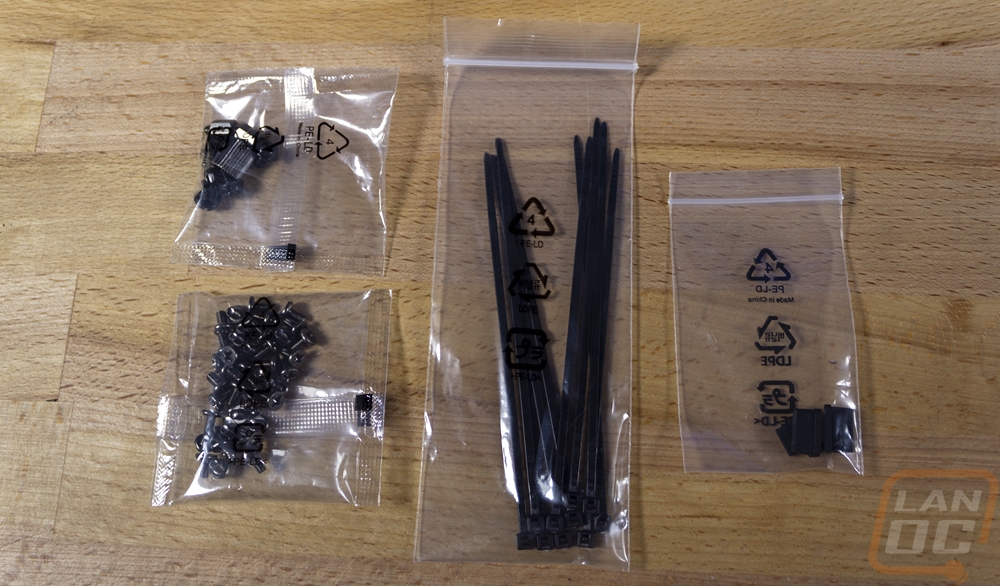
I can’t forget the rest of what you get in the accessories box as well. Asus includes a generous amount of black zip ties, a bag filled with black screws of a few different threads, and then a bag of motherboard standoffs as well as a standoff tool. I wish however that the screws were sorted and labeled and that the bags themselves were reclosable. What are you doing with all of the extras after you are done with these one time use bags? I guess you have to use the zip tie bag lol.