Installation and Performance
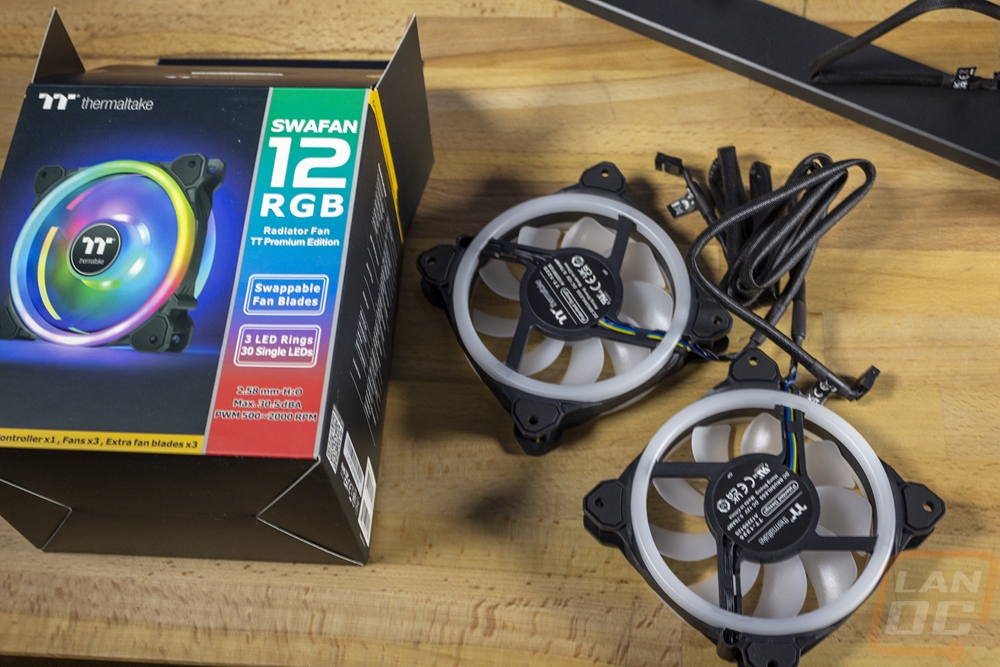
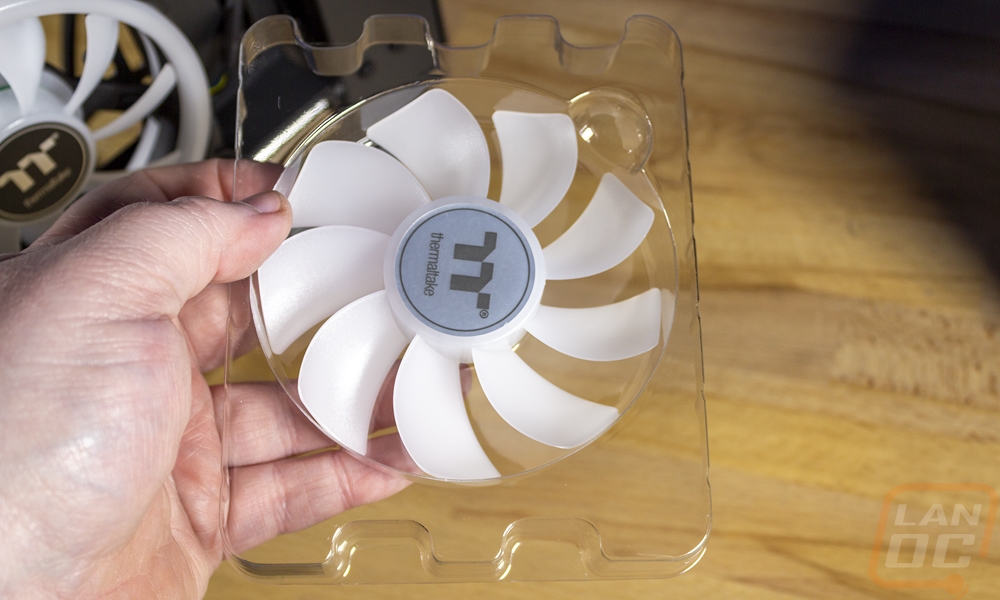
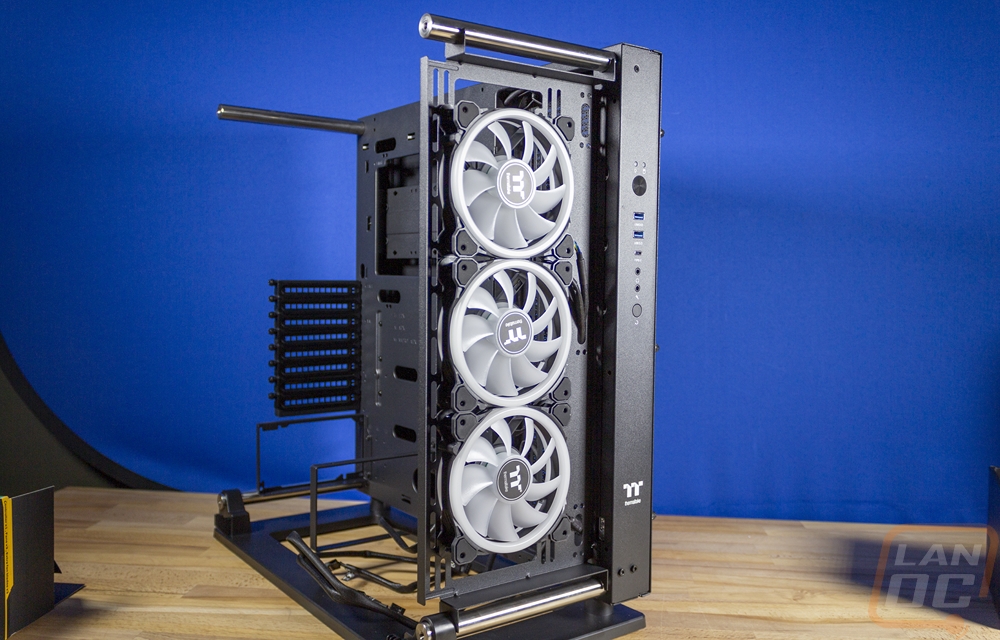
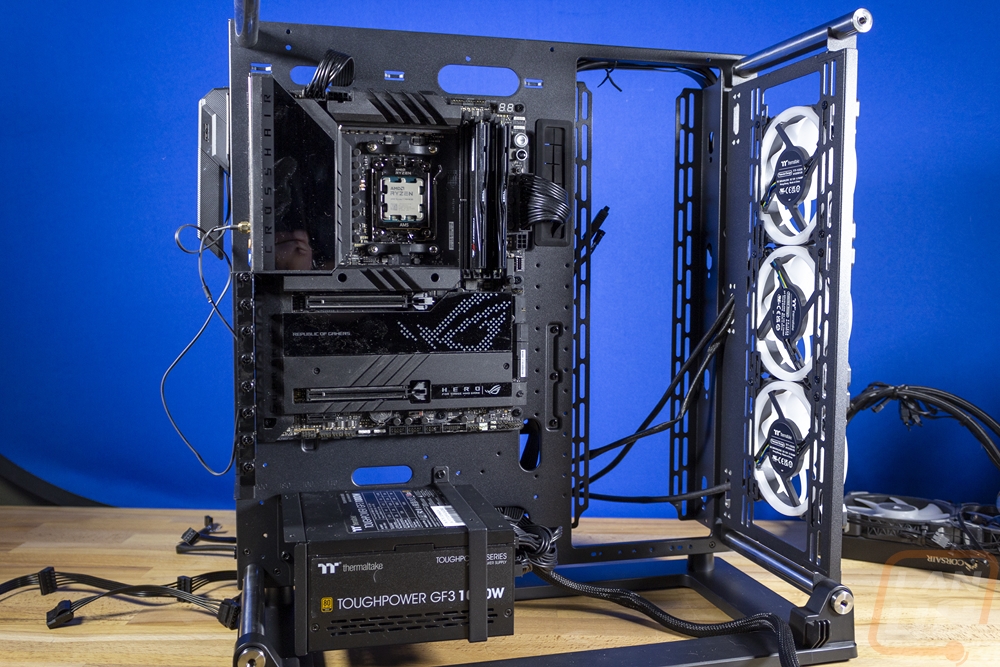
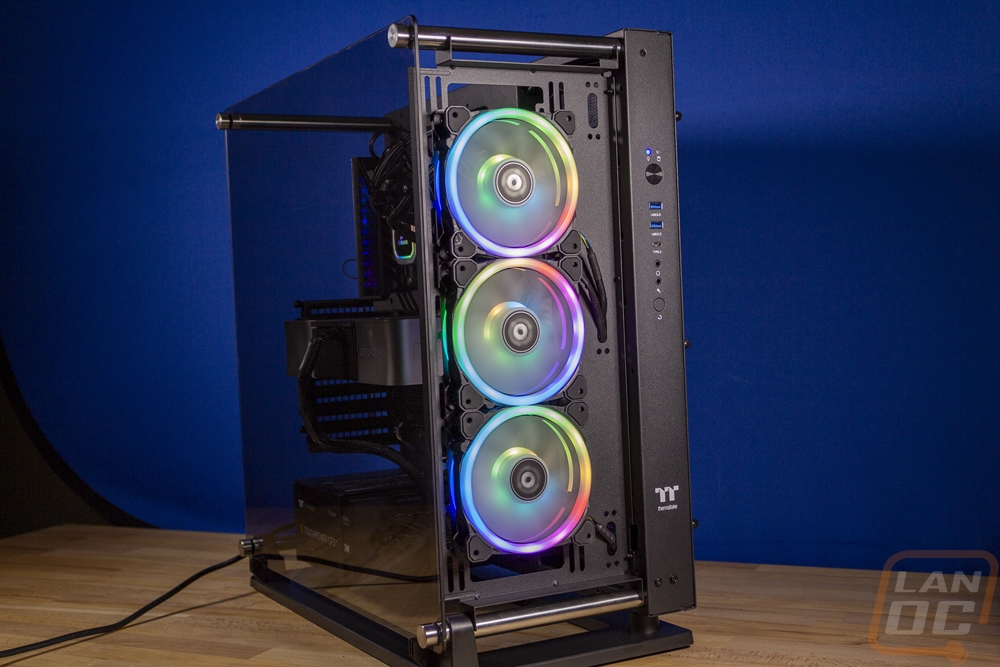
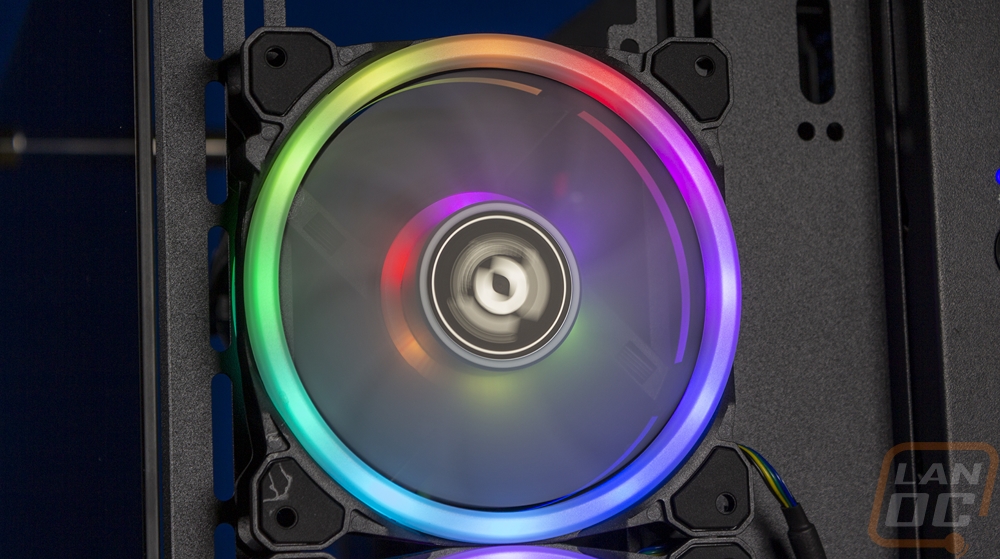
After getting the Core P3 TG Pro together to a standard case level and checking it out, I did still need to get a system built into it before we could do any testing. Thermaltake did send a few components over to go with the case including their Swafan 12 RGB radiator fans. The Swa in the Swafan name is because these have swappable fan blades. The idea here is to be able to swap the blades depending on if you want a push or pull configuration. That way you don’t have to have the fan flipped around and have the ugly back brackets showing. This also means in a case like the Core P3 TG Pro where you have front or top fans as well as on the radiator all of your fans will match no matter if they are push or pull. For our situations, though I wanted to see what these looked like in the front of the Core P3 TG Pro so I mounted all three there. The front panel has multiple small holes in it where you can slip the fan wires in to get into the case and you just use standard fan screws for this configuration. Three larger 140mm fans would fill out the front of the case a little better, you can see gaps at the top and bottom and you do have the option to slide these up to the top or bottom or leave space in between each fan if you prefer that look.
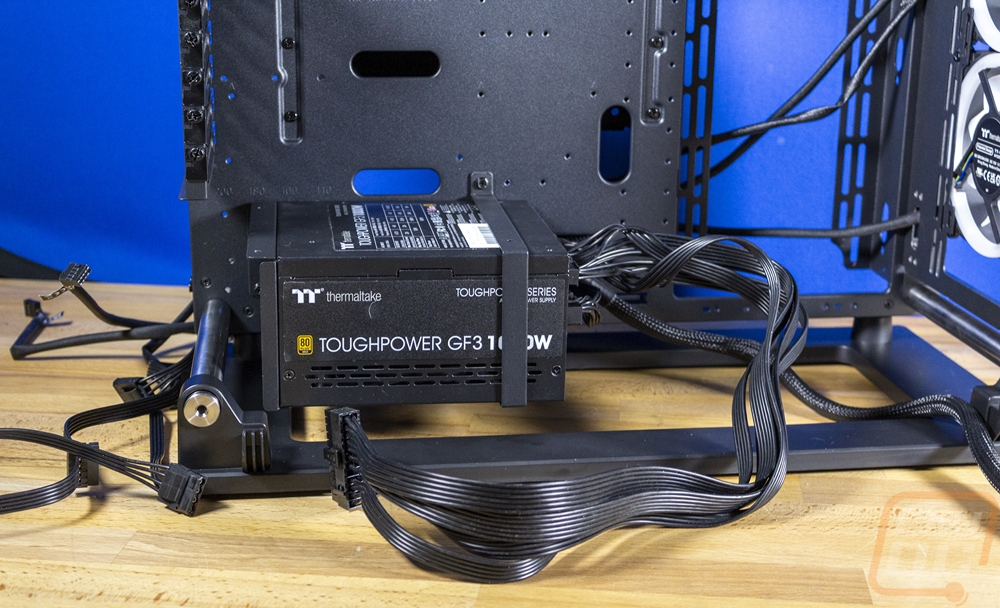
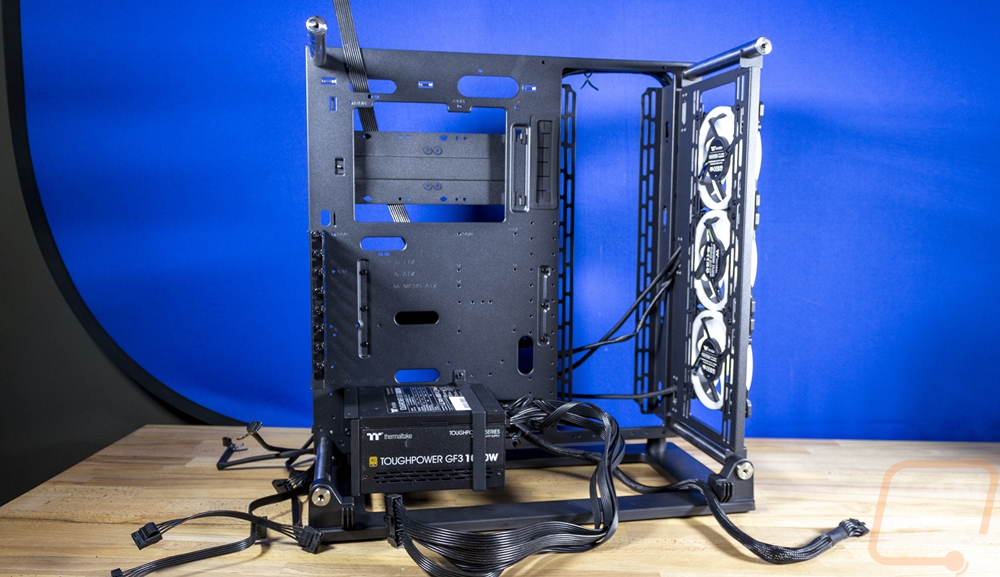
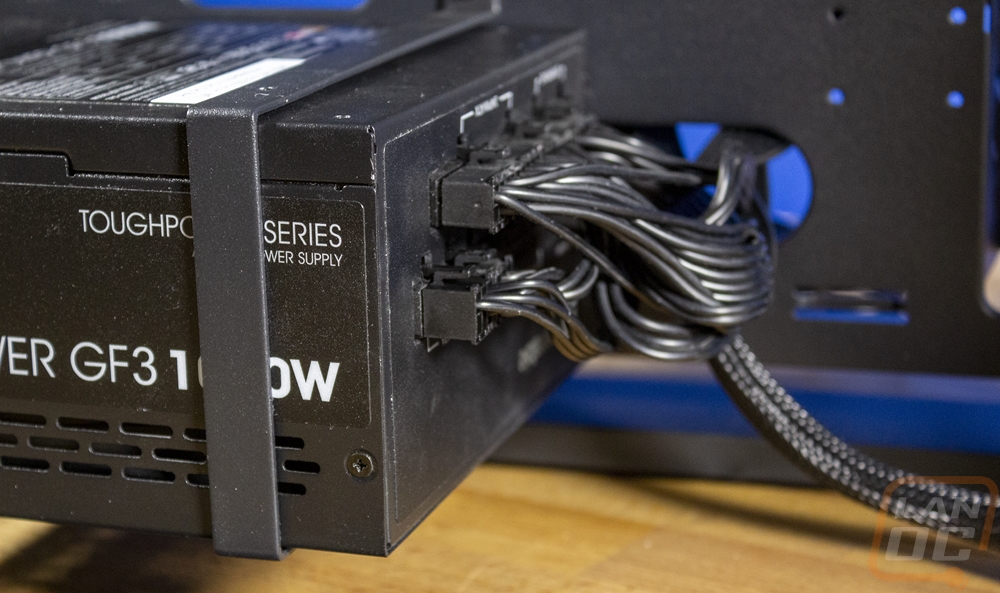
Thermaltake also sent over a power supply as well and I’ve gotten some extra use out of this one leading up to this review using it in our test bench temporarily so we could have a power supply with a dedicated 12VHPWR cable. The Toughpower GF3 1000 watt is an 80 Plus Gold rated ATX 3.0 power supply and while a little high in the wattage is spot on where I would be looking for a full build in the Core P3 TG Pro, especially once you start getting into custom water cooling having room for an overclocked CPU and a high-end GPU. As far as installing everything I went through the wires and got together everything we would need for our build which includes one SATA power and one Molex, I do wish that the Toughpower GF3 had a few of the peripheral cables with both SATA and Molex on them like I have been seeing from some other models which helps cut down on the number of cables needed in situations like this. With the wires hooked up to the power supply, I figured out that our power supply mounting brackets were installed backward. I fixed those then slid the power supply in. I also pushed all of the wires in through the hole to the back of the case except for the 12VHPWR which wouldn’t go out that way. This also helped get the wiring out of the way for now.

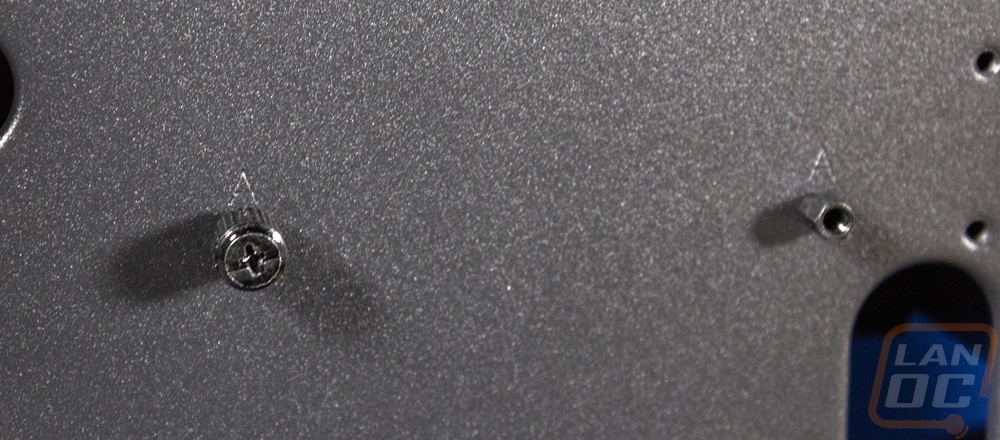
Next up I wanted to get our motherboard installed. This is our AMD CPU test bench so I already had the ram, M.2 SSD, and CPU installed in the motherboard and I also keep a water cooler with it as well. Getting all of those things installed before putting the board in the case makes things easier and when it comes to your cooling it is sometimes easier to get any brackets installed for that as well, especially with the Core P3 TG Pro having an SSD bracket covering the back of the CPU bracket access hole. In our case though I didn’t need to install a bracket. I did however have to install motherboard standoffs. Often some of these will come preinstalled and you just need to install the standoffs depending on your case size but because the Core P3 TG Pro was flat packed you need to put them all in. They have each labeled with an A for ATX, an I for ITX, and M for micro ATX, and even a legend to help make sure you know which is which. There is also a Phillips-headed thumbscrew-like socket to help install the standoffs which makes things a lot easier as well. With those installed, you don’t need to put in a rear I/O panel at all so you just have to start putting the screws in for the motherboard. Once done with that I went ahead and ran the 24-pin motherboard power and 8-pin CPU power up as well just to get those out of the way.
For cooling a triple 120mm or 140mm cooler would be best in the Core P3 TG Pro but our test setup was already paired up with a Corsair cooler so I stuck with that, installing the radiator and fans in the blow-through section to the right of the motherboard. Like with the front/top panel, this section has slotted fan mounts all the way up to the top so you do have some flexibility on where to mount everything including in this case where I mounted it a little lower than the top.
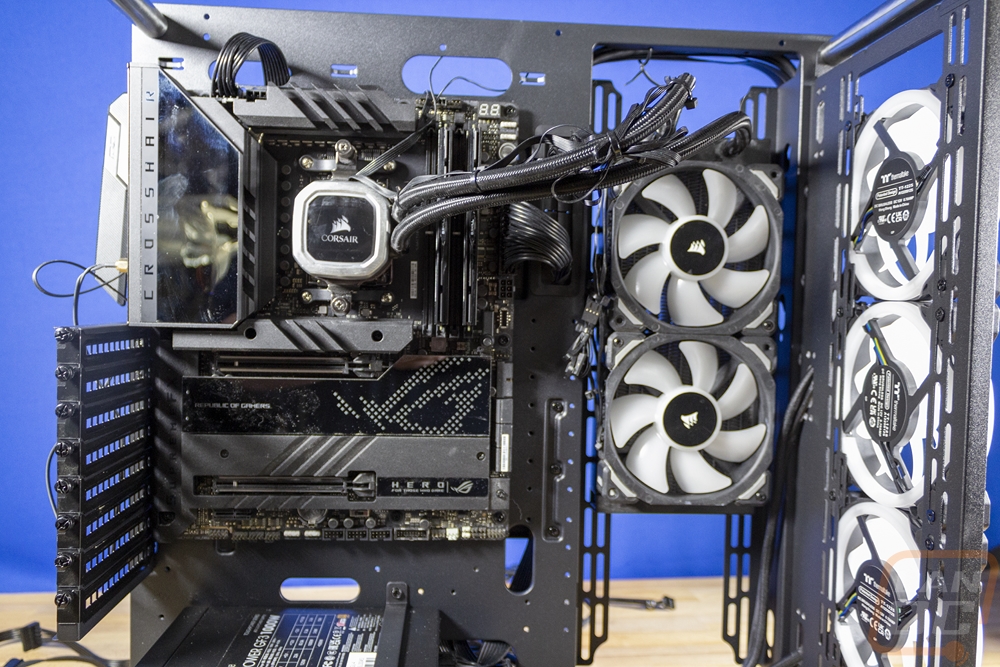
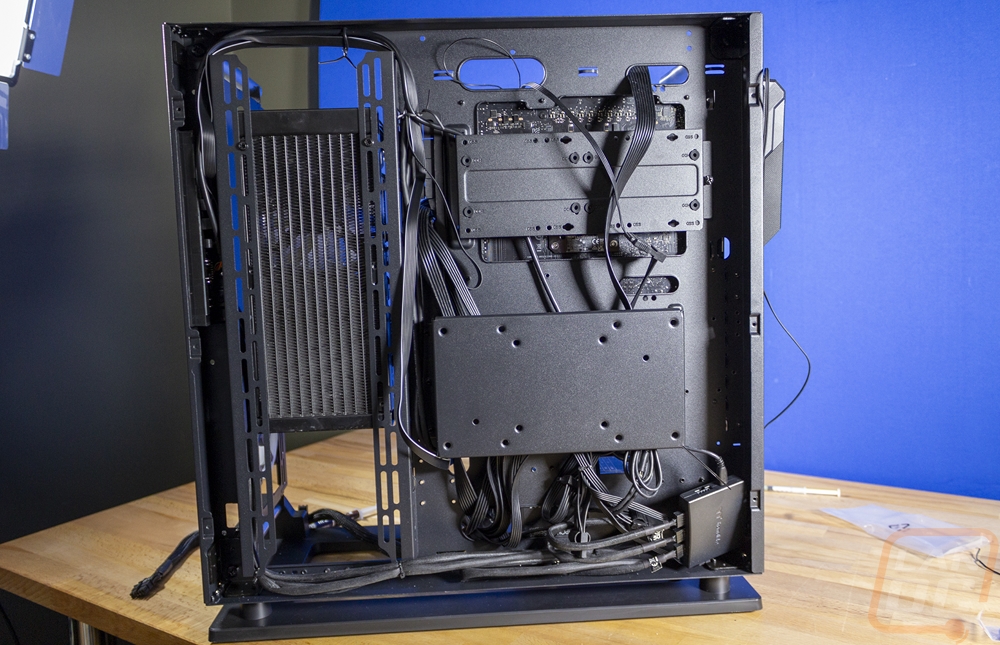
With the main components installed other than the video card I just needed to get everything wired up. The Thermaltake Swafan fans each have a single wire with a connection similar to an internal USB 2.0 plug for each fan. Those all get plugged into the included controller box which has a USB cable that needs to be hooked up as well as a Molex power connection. I had to hook the SATA power up to the Corsair AIO and then I started running the front panel connections out to their locations on our Asus motherboard. The front panel wires come routed up over the top of the radiator recess and for some builds it might be more helpful to move that to along the bottom but I was able to get each of them to reach. The wall mount inside of the Core P3 TG Pro made for a good place to tuck away a few of the extra power cables and the gap between the motherboard and the back panel here offers plenty of space for wiring, even in our case I didn’t do too much to clean things up other than around the radiator recess where wires could be visible from the front.
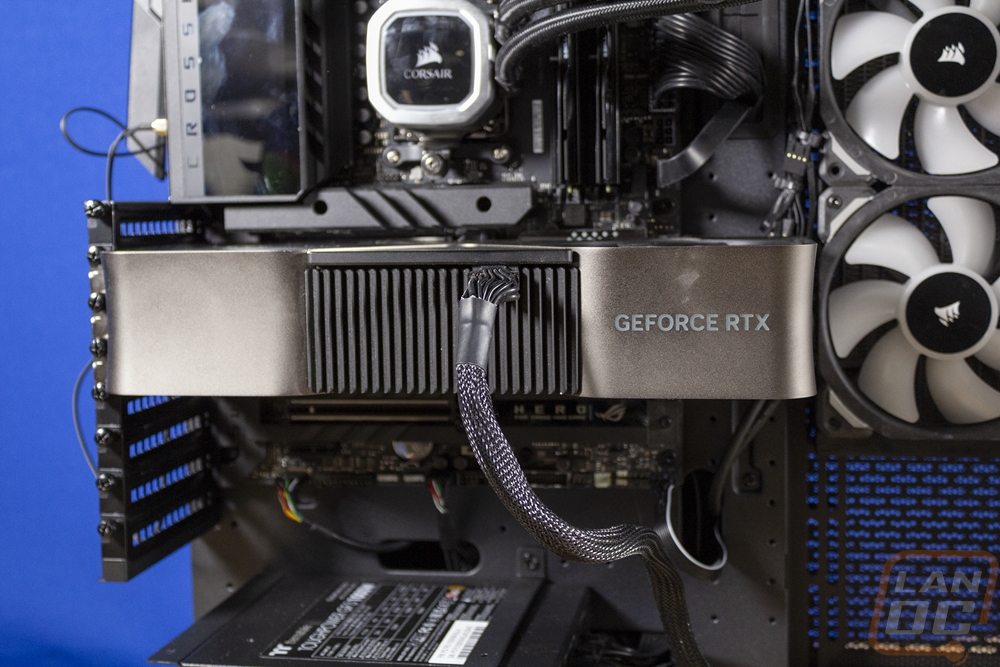
Last up I installed the RTX 4090 Founders Edition with the 12VHPWR power cable on the Toughpower GF3. That is the one cable that wouldn’t reach back into the back of the case and back out without being tight, a few wire ties would help a lot to keep that looking clean and out of the way without straining the connection.
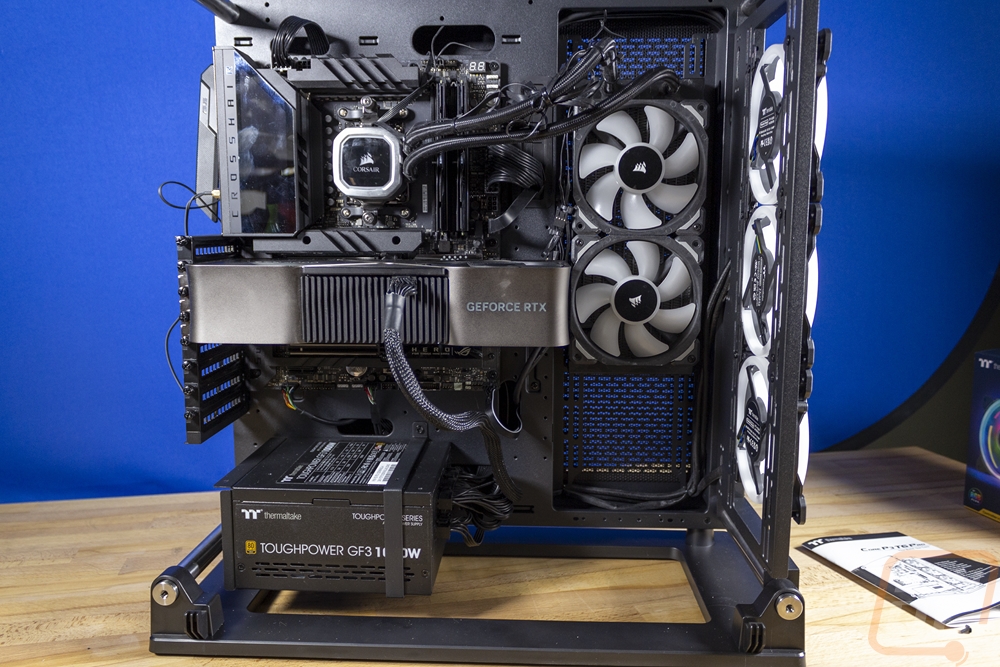
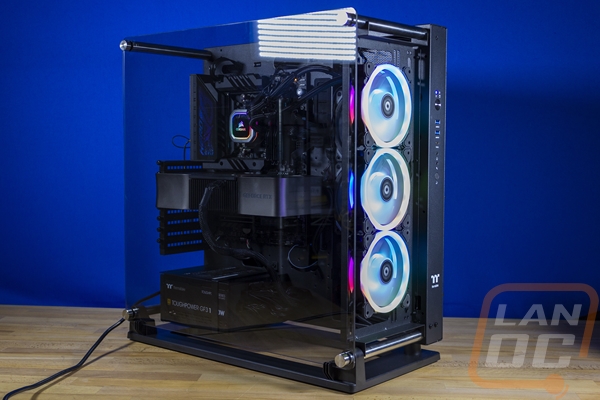
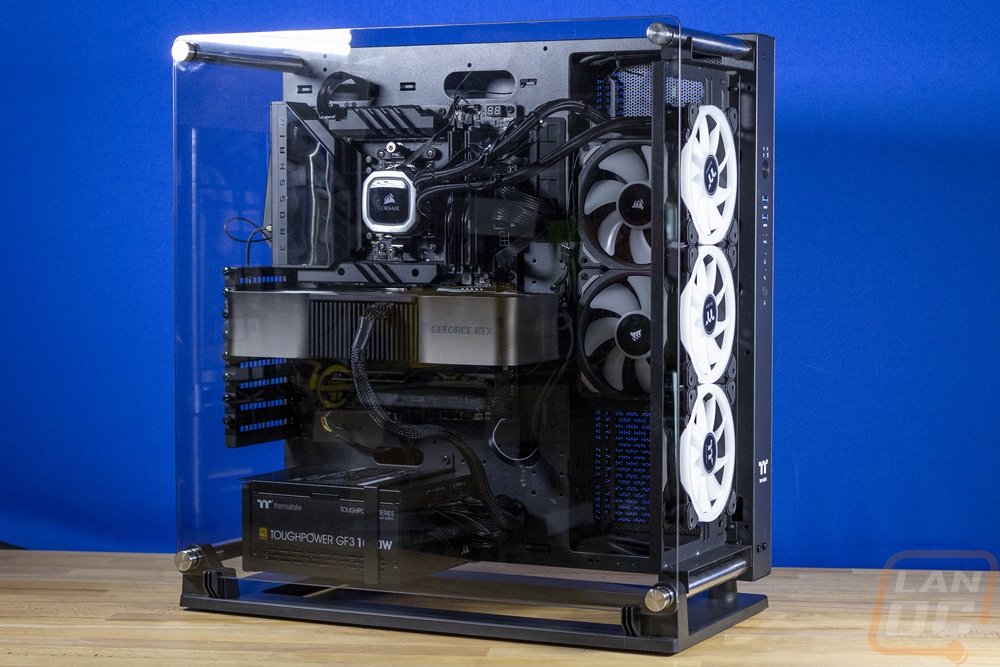
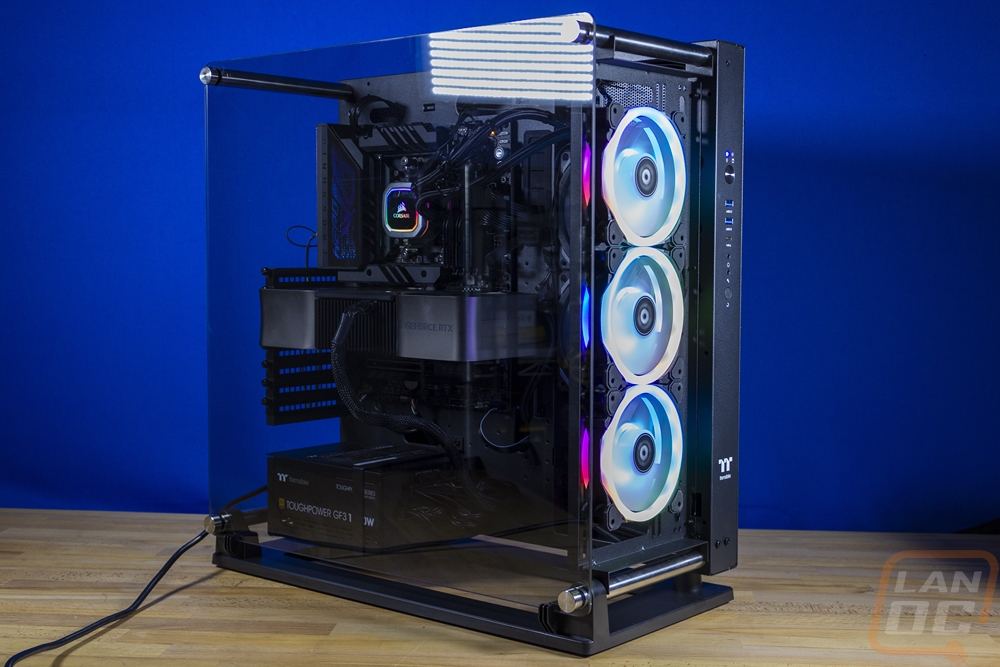
With everything together and up and running I installed the tempered glass side panel and the Core P3 TG Pro fully built and looks good, especially when running with the Thermaltake Swafans in the front running. Having a matching set inside on the radiator would go a long way as well. Swapping things to the vertical GPU mount would also make a big difference in aesthetics, but as mentioned earlier the Core P3 TG Pro doesn’t come with the riser cable needed to do that so I didn’t do it for our test configuration.
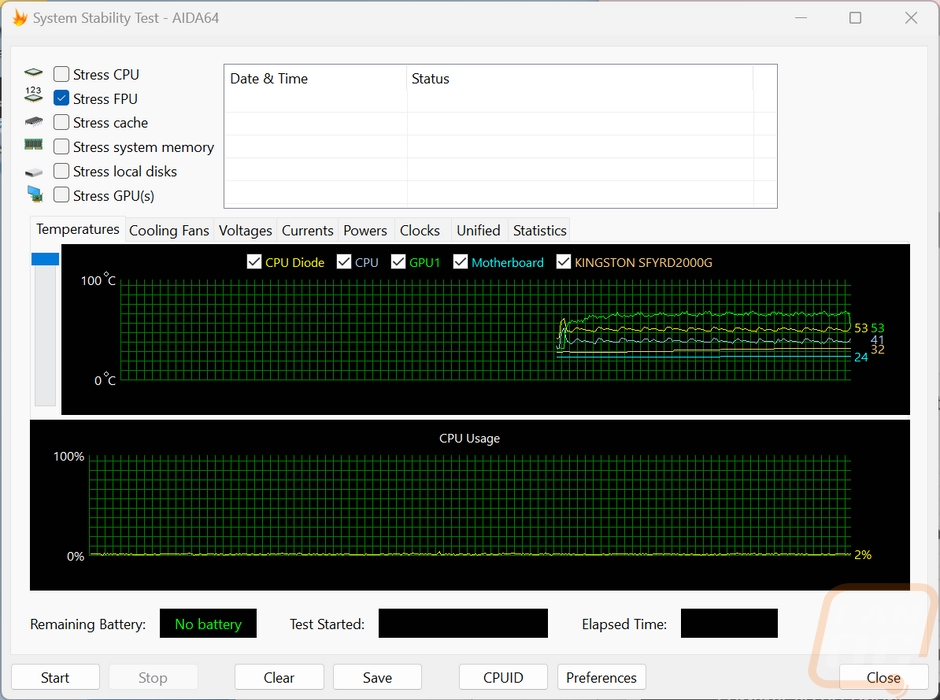
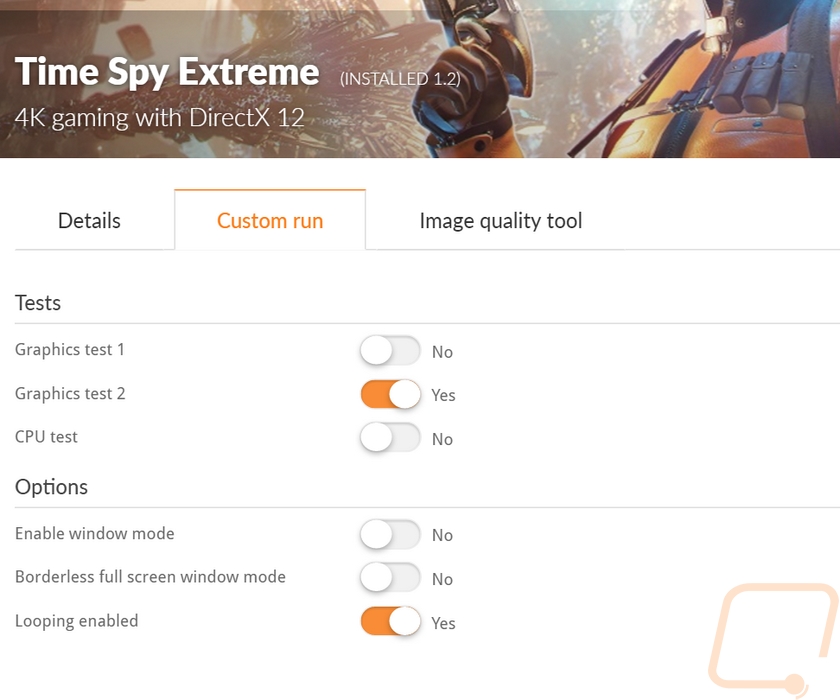
The Core P3 TG Pro is an open-air case combined with the fans in the front and AIO fans as well, so I’m not expecting there to be too many hotspots, especially with the RTX 4090 in this configuration where the blow-through fan will blow the air right up and away. To heat things up and get a look I used 3D Mark Time Spy Extreme on a loop and used AIDA64 just to graph out the temperatures over time. The RTX 4090 stayed right around 70c with it going up and down consistently at the test looped. The AMD Ryzen 7800X3D that I used in the system on the other hand ran at 53c for the CPU diode and 40c for the other CPU reading. Neither showed any signed up the temps rising after the first two loops ran. The motherboard and M.2 readings on the other hand did slowly rise up a few more degrees over the 45 minutes of testing but both were still extremely low at 24c for the motherboard and 32c for the SSD at the end of testing.
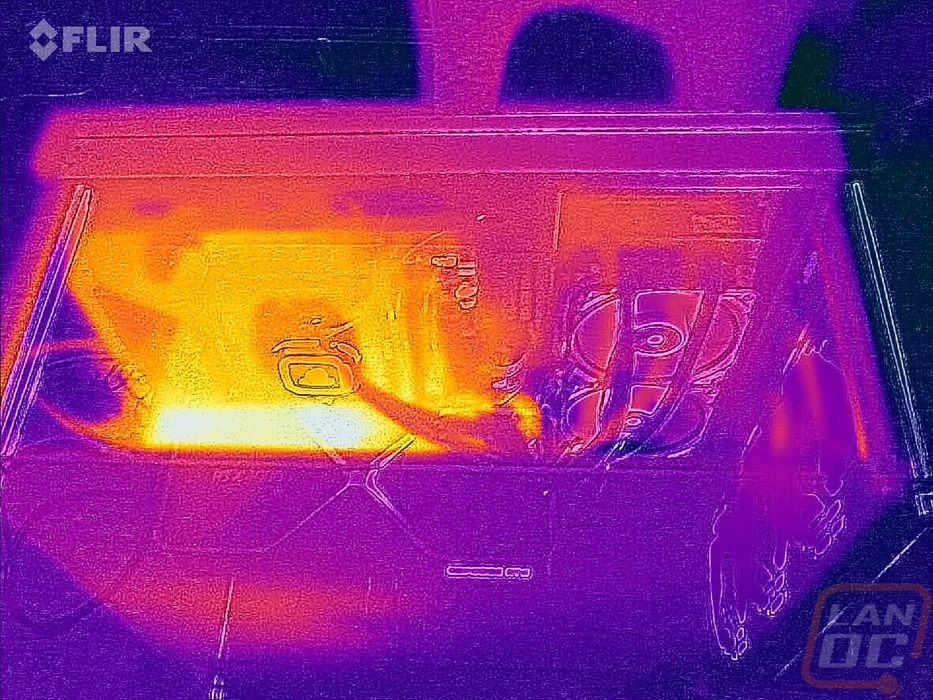
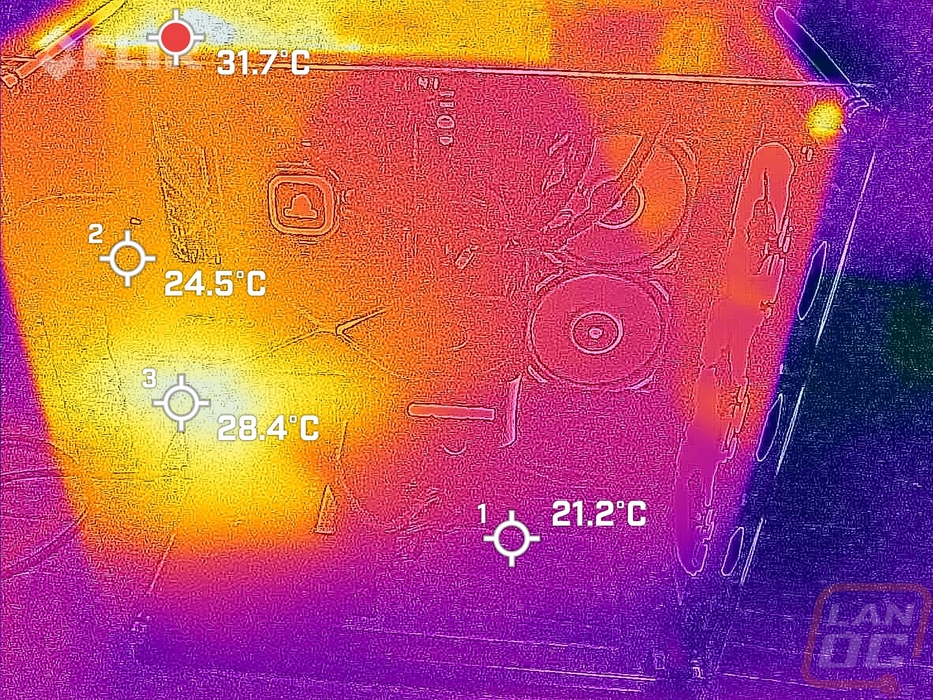
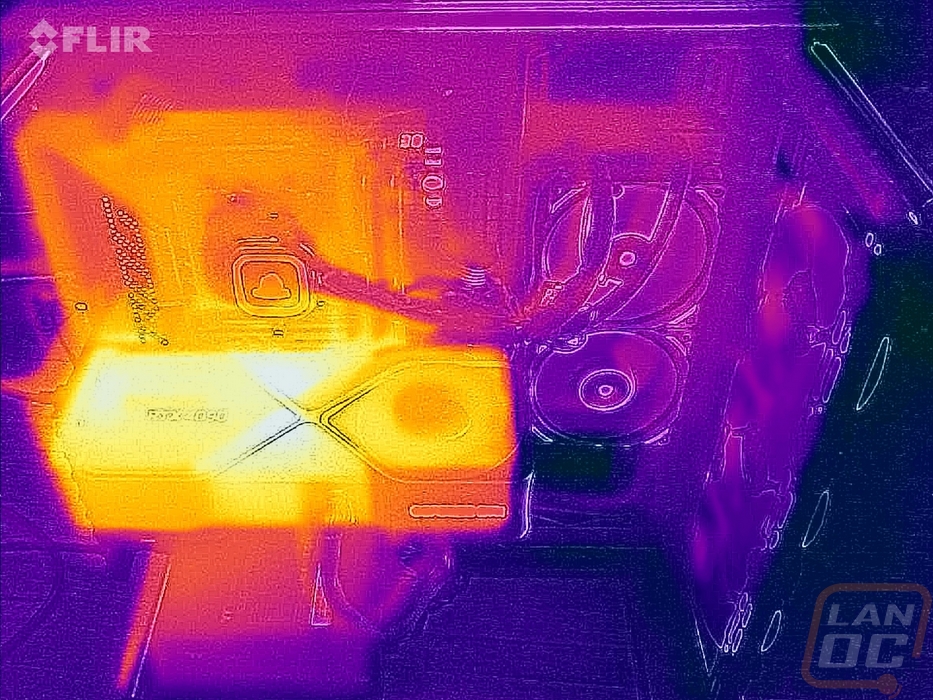
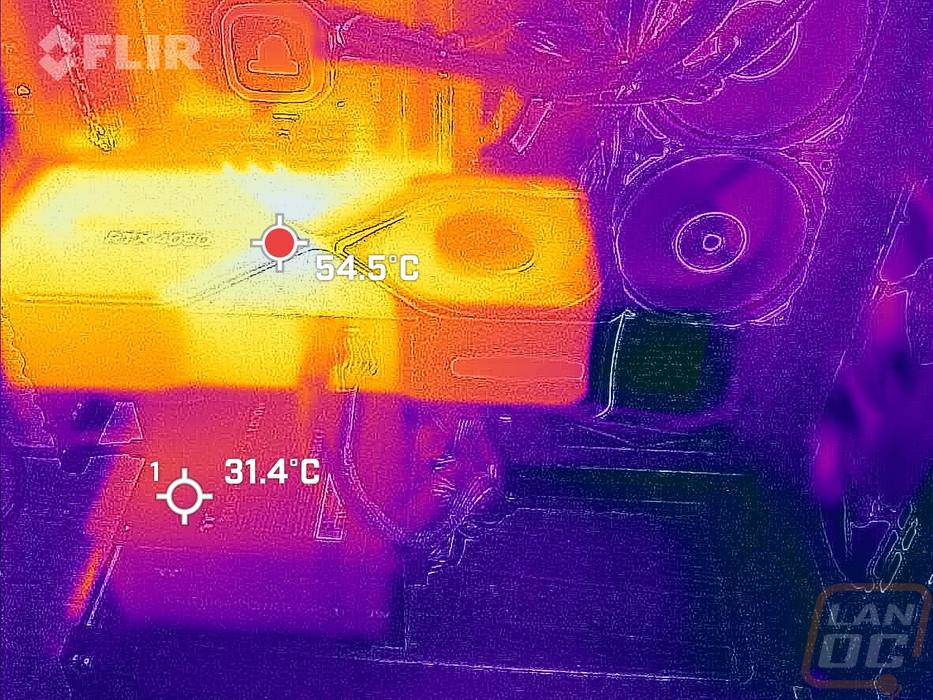
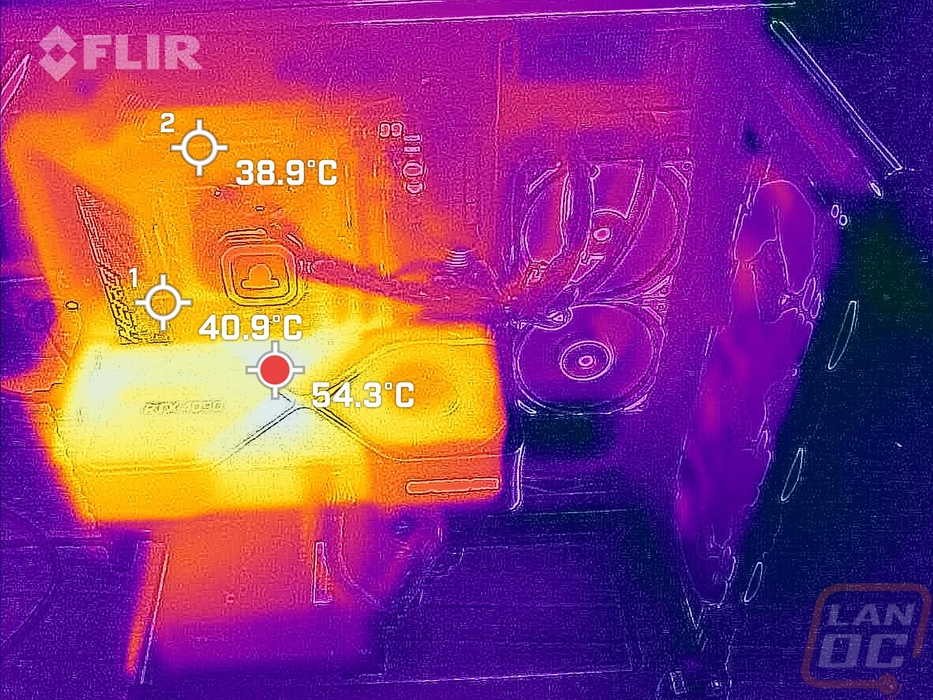
While things were warmed up running the Time Spy Extreme test on loop I did also get a few thermal pictures of the Core P3 TG Pro. Two were with the tempered glass side panel still on and with those you can see that the glass near the GPU had absorbed some heat but the hottest area was the exposed motherboard up at the top edge of the picture. With the side panel off the GPU was the hottest, no surprise there as that is what is getting the most load in Time Spy Extreme.
The Core P3 TG Pro doesn’t come with any fans itself so noise testing didn’t apply but if you haven’t had an open-air case before you should keep in mind that when a few components like your GPU heat up and the fans spin up higher than normal you are going to notice them more than in an enclosed case. You also have to worry about cleaning up dust and hair more, but at the same time, it is easier to get to it as well. The biggest thing I noticed when my wife's PC was in the P1 is that dust collects on the front and back of the tempered glass. If you have kids or cats the exposed components and especially fans can be dangerous. Especially with this configuration with the front or top fan panel, in that situation, you may want to at least get grill guards for your fans, but this isn’t the case for people with kids that may want to stick fingers in things. Overall though the design works and the new base design is more stable. The front/top fan panel also addresses issues where you can get hot spots and the combination of that and the recessed radiator mount next to the motherboard sets the Core P3 TG Pro to be perfect for a custom water cooling loop. Thermaltake has thought of that and includes the pump/reservoir mount even.
