Installation
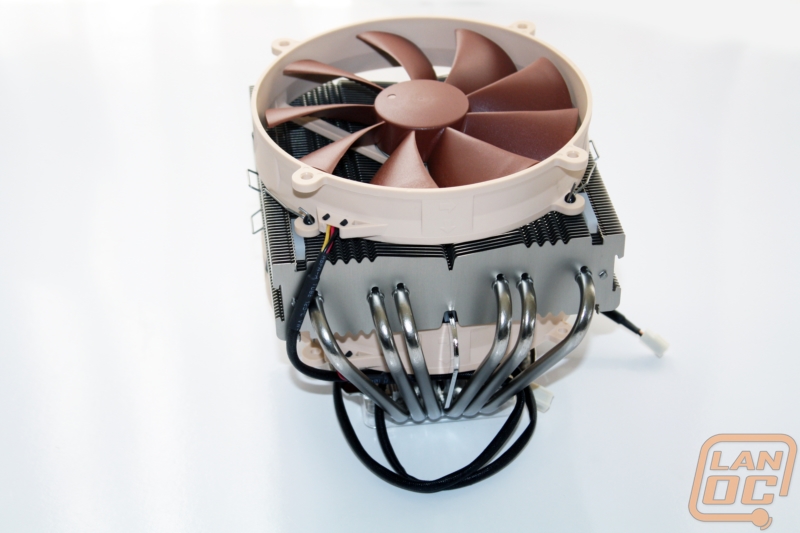
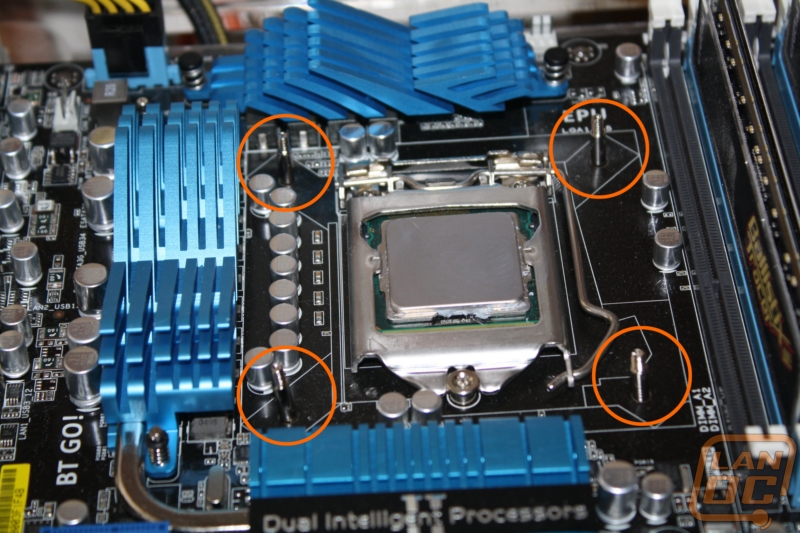
We have always preferred Noctua’s mounting brackets over most of the competition; installation is always easy and quick. There is a reason we have been using this on our test bench obviously. Installing the NH-C14 onto our 1155 socket bench requires sliding the four studs through the baseplate. Next you Slide the baseplate with studs through the push pin holes on your motherboard.
Next you are going to drop the plastic spacers on the studs. On top of the spacers you mount two small brackets to the studs with thumbscrews. Tightening everything down gives you a base to mount and unmounts the NH-C14 quickly.
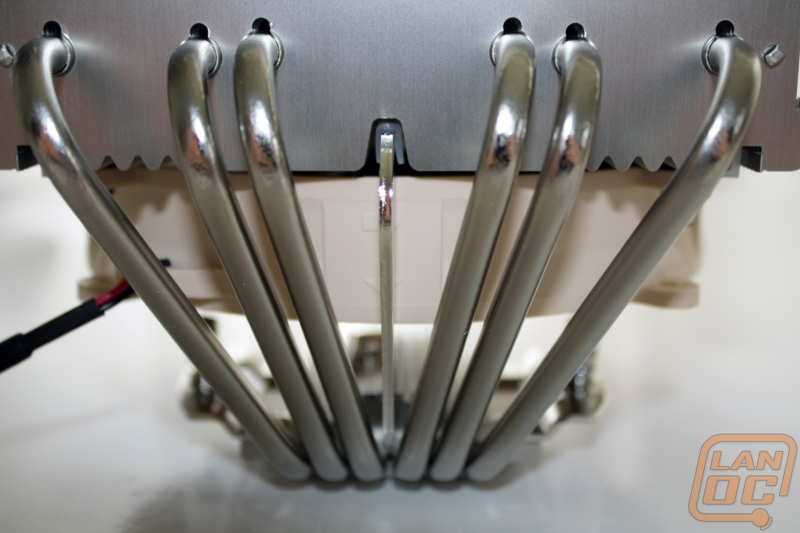
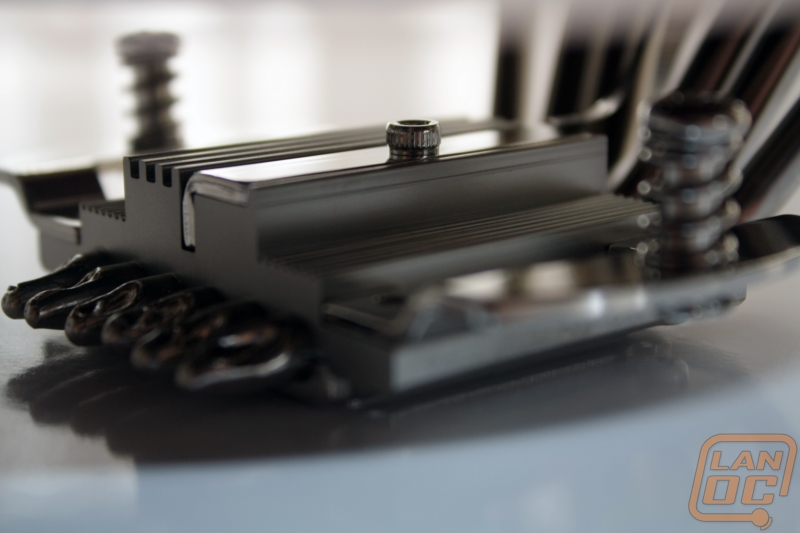
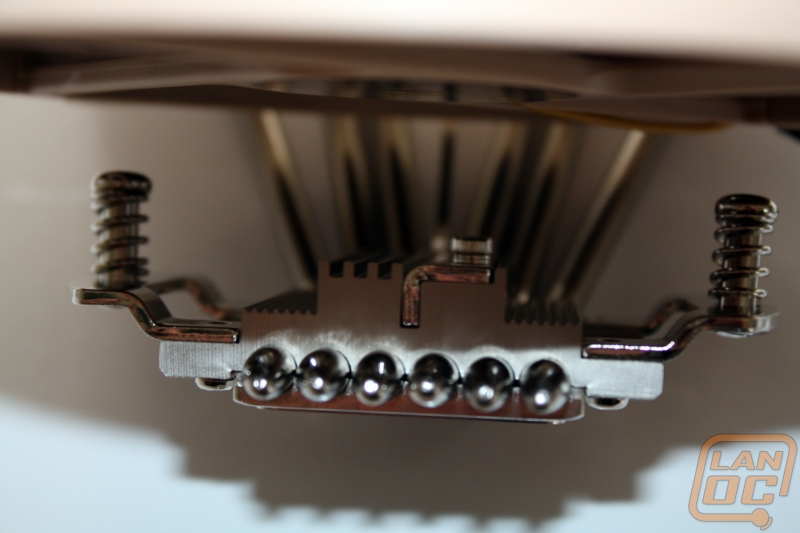
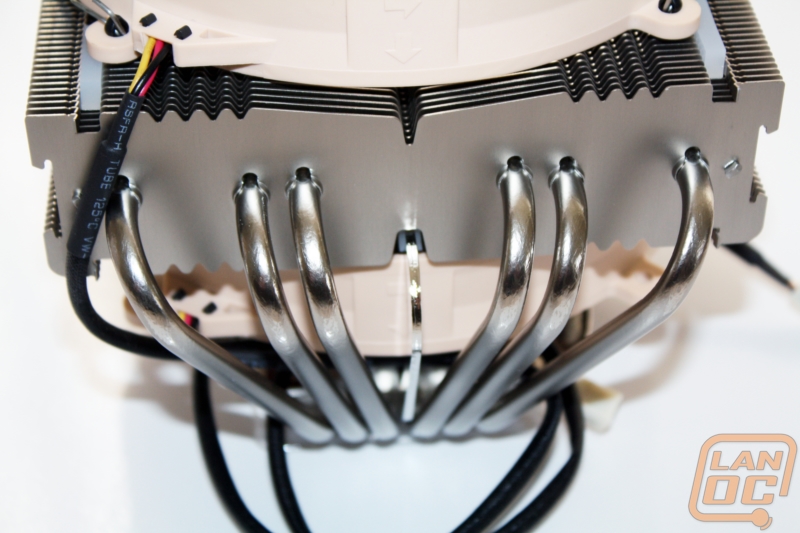
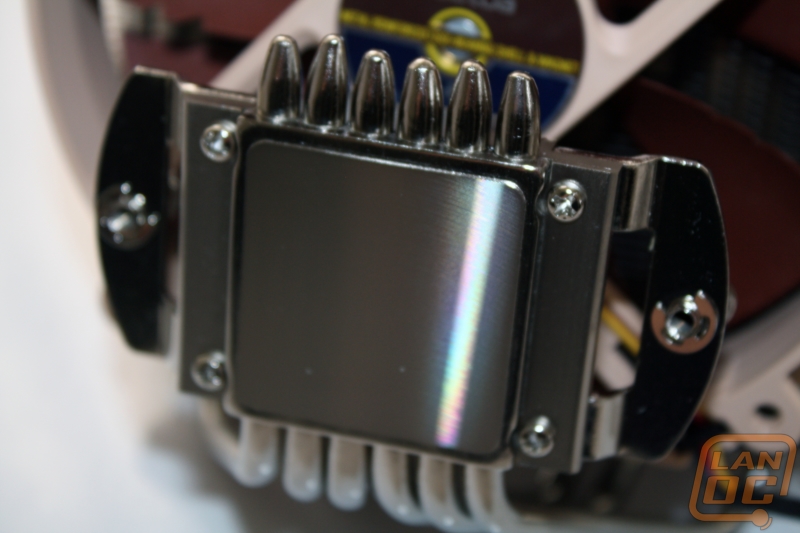
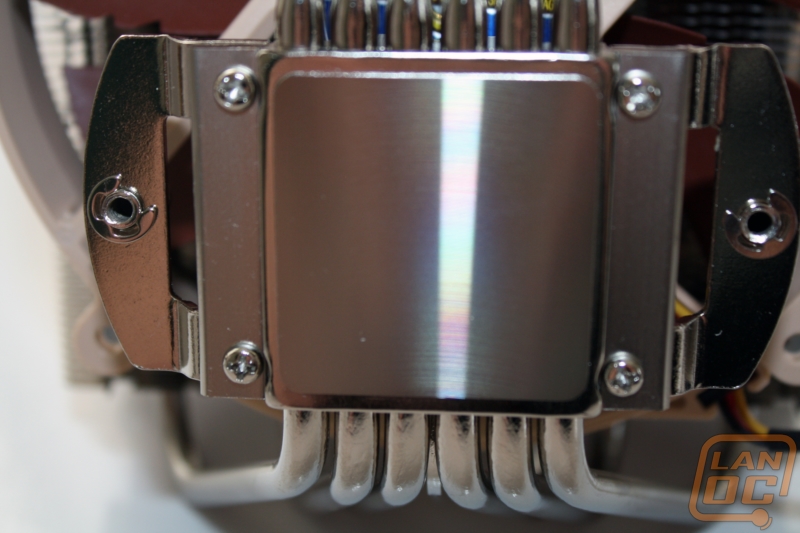
After adding thermal paste we are ready to mount the NH-C14 to our motherboard. To make things as easy as possible Noctua has clipped the mounting screws directly to the heatsink mount. This means you don’t have to try to hold them in place or make sure they are lined up. This is especially important on a design like this where you can’t reach the screws other than through the small access holes in the heatsink. To tighten everything down we use the included screwdriver down through each of the two holes and tighten the screws to the mounting base. All in all this is much easier than a lot of other designs. The design also has the added benefit of easy removal and reinstallation when you aren’t changing motherboards because of the two simple mounting points between the bracket and the heatsink. This design is the best we have seen on any heatsink, but it’s not without its faults. I found the last two screws hard to line up at times.