Performance
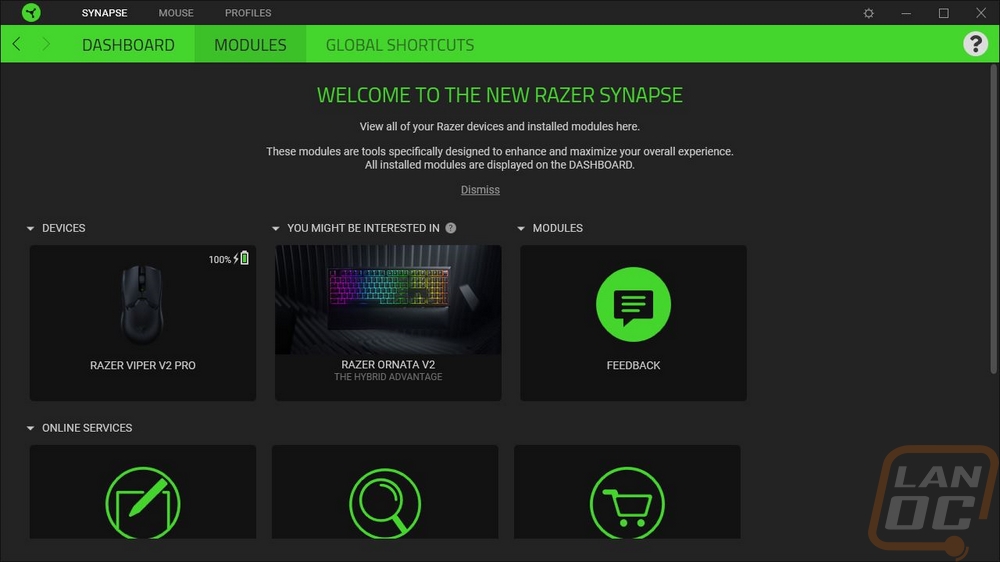
To start the performance testing out I wanted to check out the software side of things. Razer is still using their Synapse software which ties together all of their products so finding and downloading the software is easy. Once installed Synapse picked the Viper V2 Pro up right away and it will show it and any other Razer hardware you are running on the main page with a picture of the device.
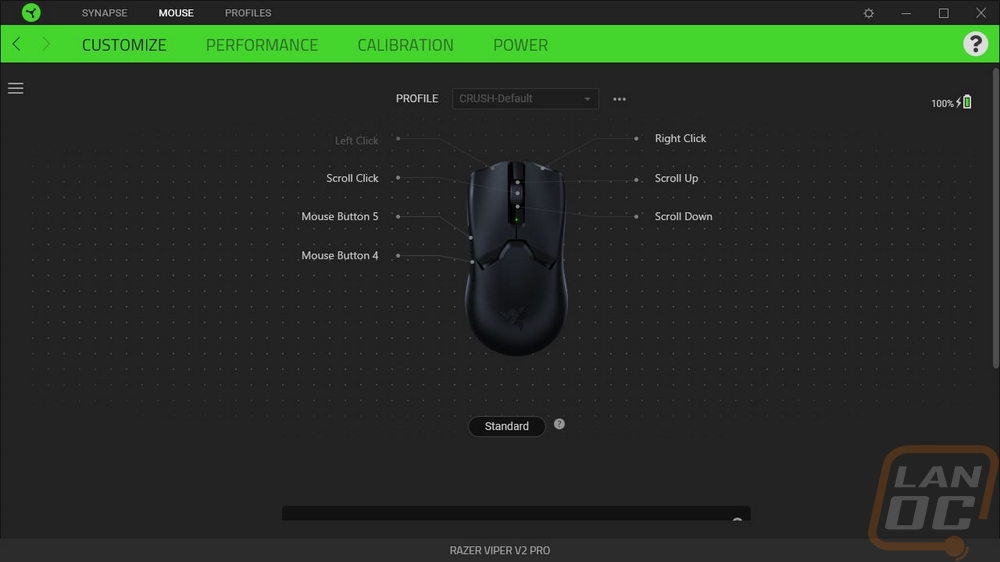
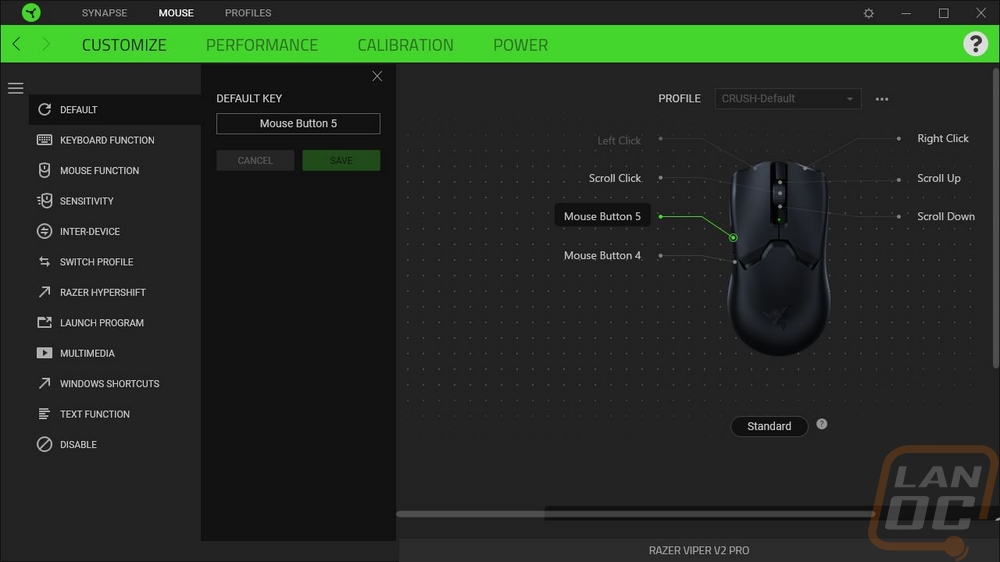
Once you click on the Viper V2 Pro you start off on the “Customize” page which has a picture of the mouse in the center with all of the buttons with lines drawn to them and it shows what each button does. You can click on any of the buttons and a menu will pop out from the left showing all of the options that you can program to it which include any keyboard key, mouse function, launching programs, shortcuts, text, and music or video files. You can also have any of them change your DPI settings or can function as the Hypershift button. Hypershift is similar to a function layer or your shift key on your keyboard, holding it will change all of the buttons to a second layer of functions which is a great way to double up on the number of button functions if you need them.
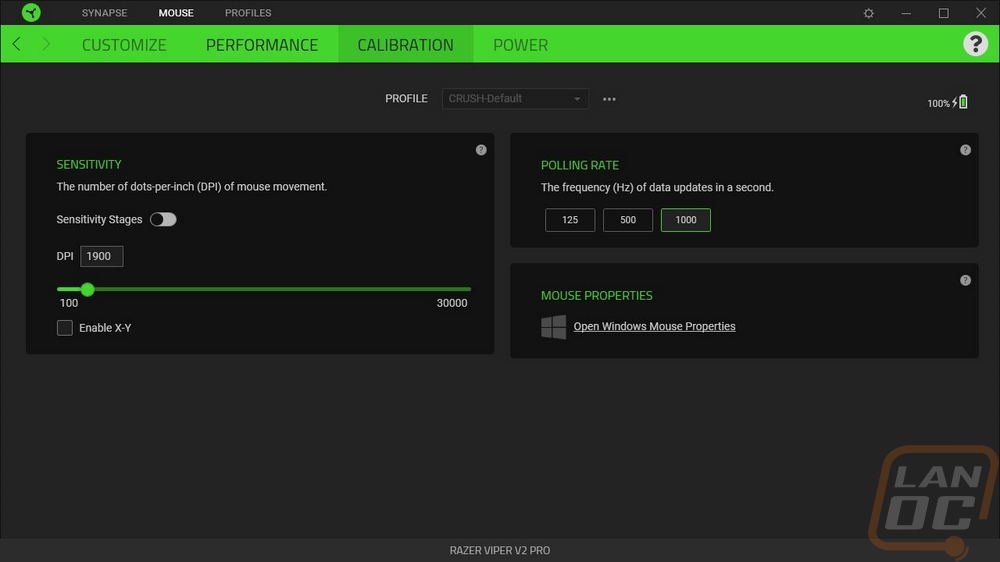
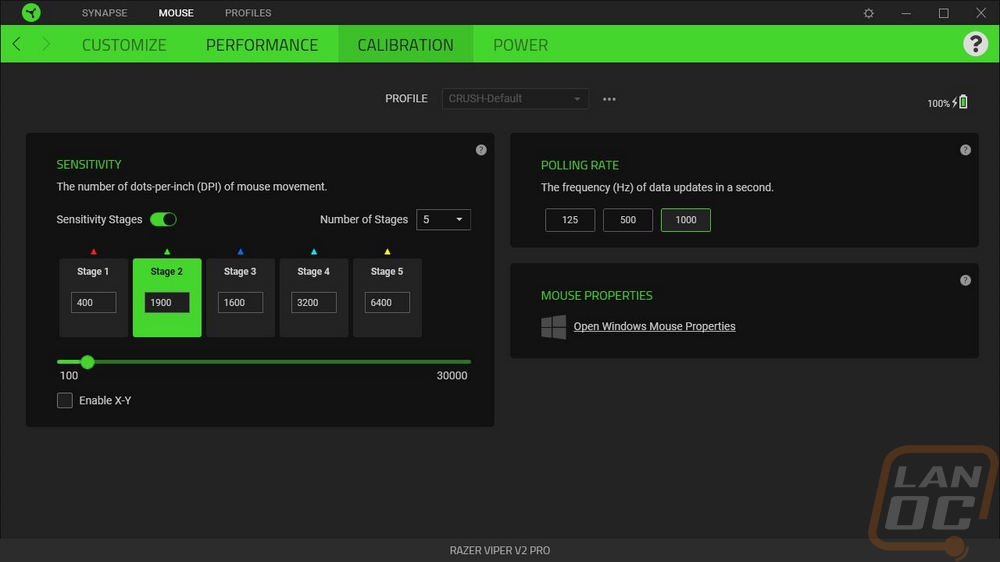
The next tab is the performance section. This is where you can get into your DPI settings which by default allow you to program 5 different DPIs to flip through using the button on the bottom of the Viper V2 Pro. Razer has also made it easier for people like me who just want one DPI with the option to turn the sensitivity stages completely off. You can pick between three different polling rates up to 1000 Hz. They also include a link to open up the windows mouse properties as well if you need to readjust the sensitivity setting in there as well.
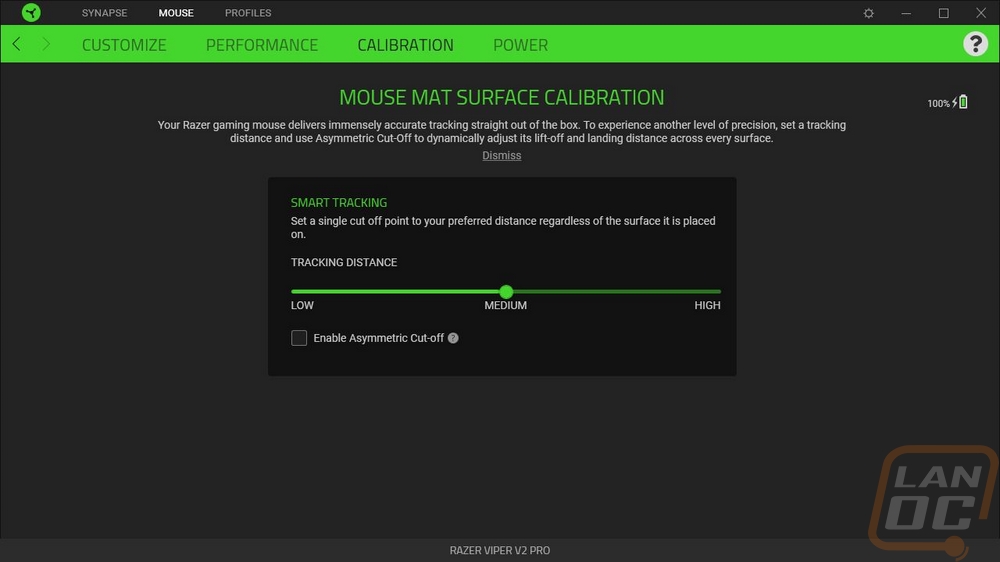
The Calibration tab is exactly that, just the option to calibrate to your mouse pad. Specifically, this adjusts liftoff distance which can change depending on the surface.
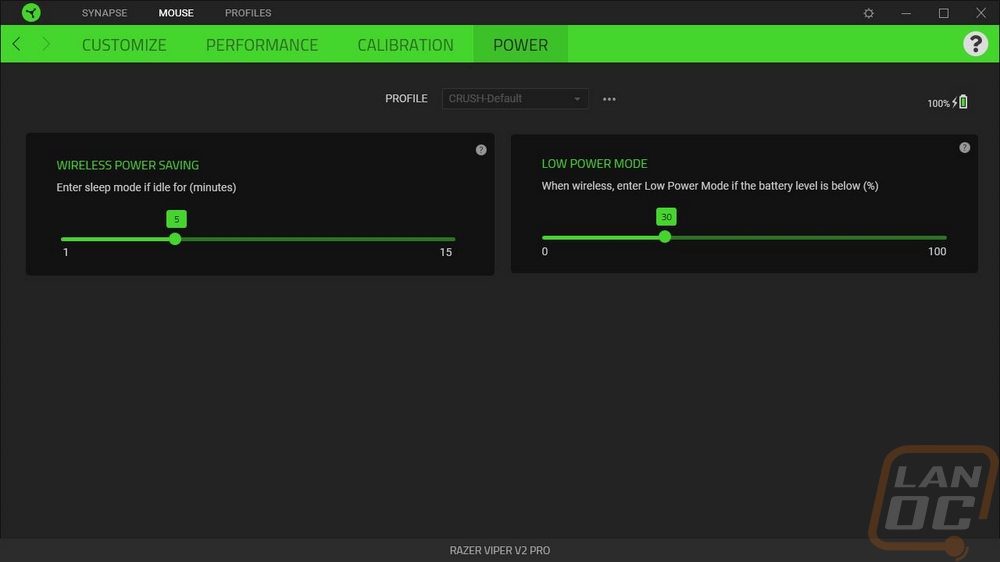
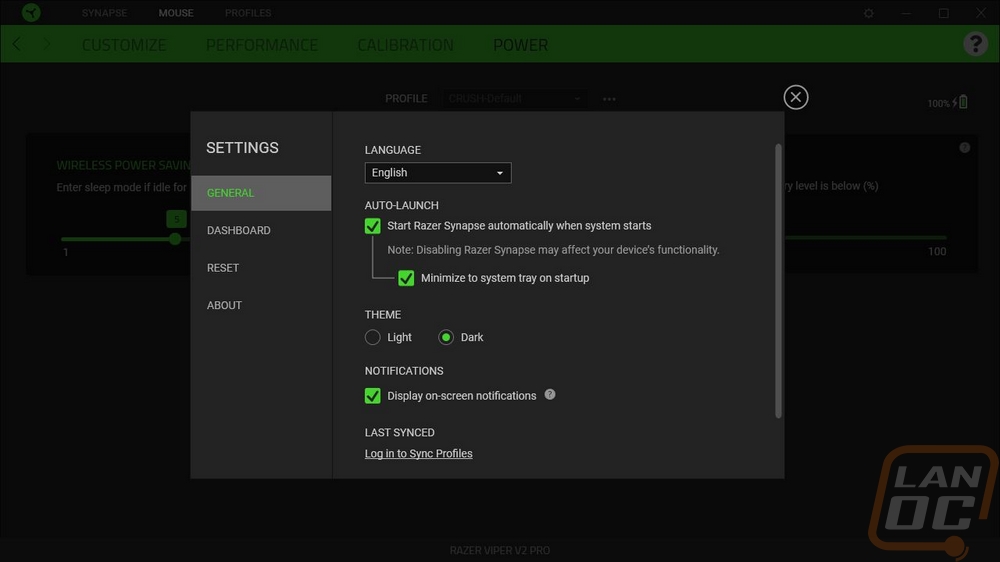
The Power tab is the last tab and this is specific to the Viper V2 Pro being a wireless mouse. You can adjust the idle time needed for sleep mode which by default is set to 5 minutes. The other option is the low power mode which is where you set the battery level to drop into low power mode. Low power mode lowers sensor tracking speed and acceleration to get you a little more battery life. Speaking of battery life, all of the Viper V2 Pro settings tabs do have the battery indicator up in the top right corner as well.
The Synapse settings page lets you select from light or dark modes which is nice. You can pick if you want the software to boot at startup and turn off on-screen notifications if you want.
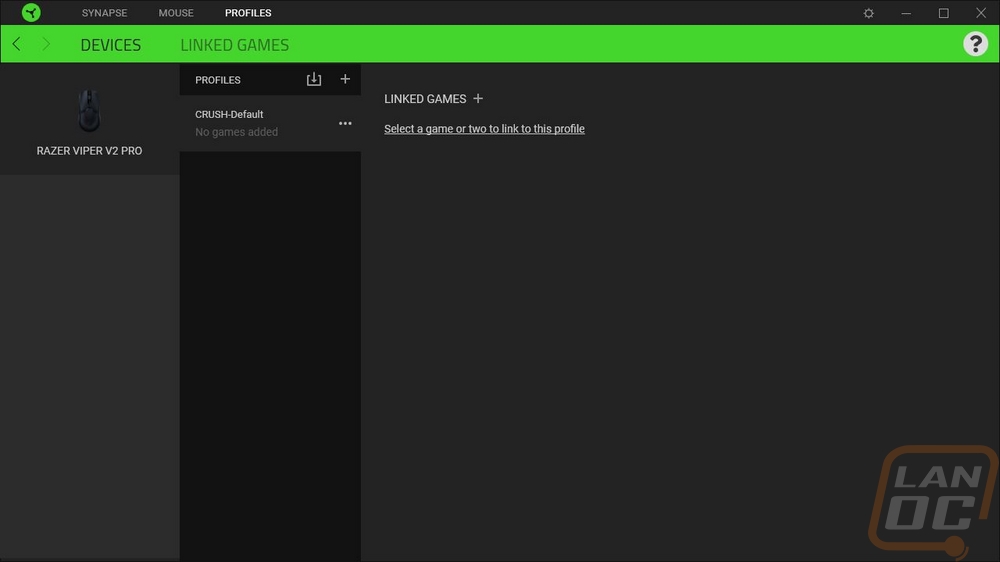
Synapse also has the option to link games and run different profiles depending on the game. This could be very useful if you like a different DPI depending on the game, specifically, sometimes you might want that for a shooting game compared to an RTS. It also helps if you have macros or anything game-specific setup for your keybinds as well.
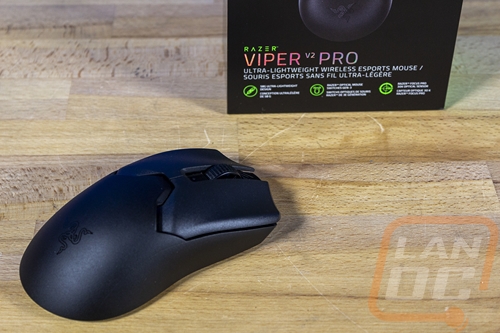
For the rest of my testing, I have been using the Viper V2 Pro as my main mouse to get a feel for things and I’m coming from the Logitech Superlight which is the direct competition to the Viper V2 Pro. My initial impressions when switching between the two were three main areas. The shape of the Viper V2 Pro is very similar when it comes to my grip but you can tell that the Viper has a lower profile. The other big difference is in the texture of the two mice. Both have a plastic exterior finish without any other grips (without installing the included grips for the Viper) but the Logitech has a much smoother finish. My Superlight has going on a year and a half of use so where I hold it the finish is glossy, but even in the untouched areas the texture on the Superlight is minimal at best whereas the Viper V2 Pro has a heavy texture. The last huge noticeable difference was in the weight which surprised me. The Superlight isn’t a heavy mouse at 63 grams and the Viper V2 Pro is only 5 grams less so I was expecting them to feel similar. The extra texture along with the coke bottle shape on the sides of the Viper V2 Pro helped make it easy to grip and pick up when needed even without taking advantage of the included grips. I didn’t have any issues with the shape long-term and it didn’t take too long to adjust to the lower profile as well.
Part of the lightweight feel of the Viper V2 Pro is, of course, the PTFE glides which are fresh compared to the Logitech stock glides which are a little thin to start with and have a year of heavy use. The Viper’s glides do a good job of keeping the sensor at the needed height without any dragging and the liftoff distance of the Focus Pro 30K Optical Sensor was right on point with the Logitech even without calibration. The 30k DPI for the new PAW3950-based sensor wasn’t needed at all but so far in my use, the tracking has been perfect and without any flaws, angle snapping, or other issues.
The quick refresh rate and the 750 IPS help with quick reactions as does the HyperSpeed wireless which runs at 2.4 GHz and has no latency or issues. I do run using the charging cable and the dongle up on my desk because in my experience this eliminates the possibility of interference issues. Not to mention it keeps the charging cable up close to where you will need it. The only wireless downside for me personally compared to the Superlight is that wireless charging isn’t a possibility and frankly as much as I love wireless devices I am the worst at remembering to charge them. Thankfully you can use the Viper V2 pro when it is charging and the extra soft charging cable came in handy with that. I didn’t feel a difference between it and wireless. Razer has this model rated at 80 hours of continuous use when running at 1000 Hz which means you won’t need to charge it very often at least. In my testing so far I had to charge it part of the way in because it only came half charged and I’m still running on that charge right now two weeks in but it will depend very much on how much you are using the mouse and you can save battery power by running at a lower frequency as well.
The side buttons in my testing were right where I needed them while also doing a good job of not being right where I would grip and pick the mouse up so I haven’t had any miss clicks so far. The triggers are solid as well and because I have been comparing things between the Viper V2 Pro and the G Pro Superlight, the triggers and the side buttons both have very distinct sounds and feel compared to the Logitech. The triggers on the Viper are louder with an even more defined click and the sound is a touch higher pitched. Funny enough for the side buttons the Viper's side buttons have a deeper sound than the Superlights which have a more traditional mouse button click for its side buttons. The scroll wheel button on the Viper is just like the side buttons as well and the scroll action for the wheel is good but does have a tiny bit of rattle when you scroll it quickly. The rubber grip on the wheel with the dots grips well even with my greasy hands.
