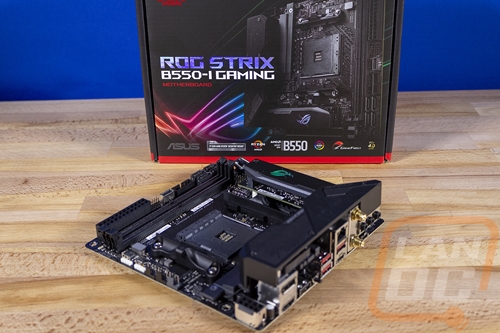
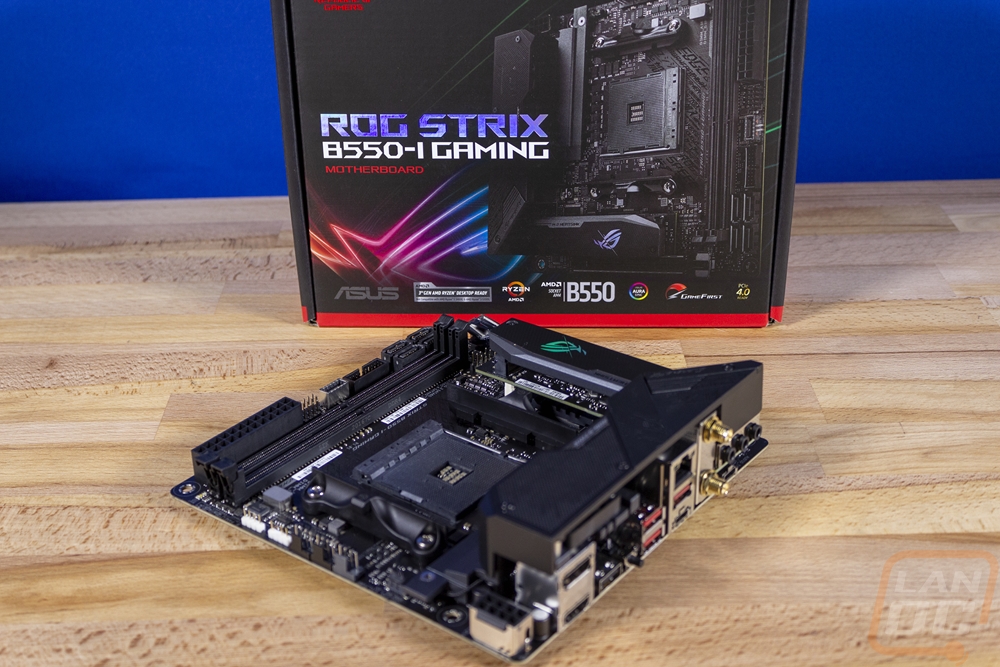
AMD launched their new Ryzen 3 CPUs last May along with details on their latest chipset, the B550. It wasn’t without drama but it is finally time where we can check out some of the new boards. To start things off I have the Asus ROG Strix B550-I which the I, like with past Asus boards, indicates it is an ITX form factor. With the X570 boards from AMD and Z490 boards from Intel all being on the expensive side. I’m really curious to see what AMD’s mid-range ITX option which will support the most recent generation of Ryzen and future Zen 3 CPUs will have to offer. So today I’m going to check out the board and what Asus has given it for features then test it out a little before we see how it fits in the market for pricing.
Product Name: Asus ROG Strix B550-I Gaming
Review Sample Provided by: Asus
Written by: Wes Compton
Amazon Affiliate Link: HERE
|
Specifications |
|
|
CPU |
AMD AM4 Socket 3rd Gen AMD Ryzen™ Processors |
|
Chipset |
AMD B550 |
|
Memory |
3rd Gen AMD Ryzen™ Processors |
|
Graphic |
1 x HDMI 2.1(4K@60HZ) * 1 x DisplayPort 1.4 * *Graphics specifications may vary between CPU types. |
|
Expansion Slots |
3rd Gen AMD Ryzen™ Processors |
|
Storage |
Total supports 2 x M.2 slots and 4 x SATA 6Gb/s ports |
|
LAN |
Intel® I225-V 2.5Gb Ethernet ASUS LANGuard |
|
Wireless Data Network |
Intel® Wi-Fi 6 AX200 2x2 Wi-Fi 6 (802.11 a/b/g/n/ac/ax) support 1024QAM/OFDMA/MU-MIMO Supports dual band frequency 2.4/5 GHz Supports channel bandwidth: HT20/HT40/HT80/HT160 |
|
Bluetooth |
Bluetooth v5.1* *BT 5.1 function will be ready in Windows 10 build 19041 or later. |
|
Audio |
SupremeFX 7.1 Surround Sound High Definition Audio CODEC S1220A - Dual OP Amplifiers - Impedance sense for front and rear headphone outputs - Supports : Jack-detection, Multi-streaming, Front Panel Jack-retasking - High quality 120 dB SNR stereo playback output and 113 dB SNR recording input - Supports up to 32-Bit/192kHz playback * Audio Feature : - Rear audio USB Type-C® port - LED-illuminated design - Audio Shielding - Premium Japanese audio capacitors |
|
USB Ports |
Rear USB Port ( Total 6 ) 4 x USB 3.2 Gen 2 port(s)(1 x USB Type-C® +3 x Type-A) 1 x USB 2.0 port(s) 1 x USB 2.0 port(s)(1 x audio USB Type-C® ) Front USB Port ( Total 5 ) 1 x USB 3.2 Gen 2 front panel connector port(s)(1 x USB Type-C®) 2 x USB 3.2 Gen 1 port(s) 2 x USB 2.0 port(s) |
|
Software Features |
ROG Exclusive Software - RAMCache III - ROG CPU-Z - GameFirst VI - Sonic Studio III + Sonic Studio Virtual Mixer - Sonic Radar III - DTS® Sound Unbound - Overwolf - Anti-virus software ASUS Exclusive Software Features Armoury Crate - Aura Creator - Aura Sync -AI Noise Cancelling Microphone AI Suite 3: - 5-way Optimization TPU EPU DIGI+ VRM Fan Xpert 4 Turbo APP - EZ update WinRAR UEFI BIOS ASUS EZ DIY - ASUS CrashFree BIOS 3 - ASUS EZ Flash 3 - ASUS UEFI BIOS EZ Mode FlexKey |
|
ASUS Special Features |
Aura Sync - Standard RGB header(s) - Addressable Gen 2 RGB header(s) ASUS Q-Design - ASUS Q-CODE - ASUS Q-DIMM - ASUS Q-LED (DRAM [yellow],CPU [red], VGA [white], Boot Device [yellow green) - ASUS Q-Slot ASUS Thermal Solution - Aluminum M.2 heatsink ASUS EZ DIY -BIOS Flashback™ button -BIOS FlashBack™ LED -Clear CMOS header -Procool -Pre-mounted I/O shield - SafeSlot Rear audio USB Type-C® connector |
|
Back I/O Ports |
1 x Intel® I225-V 2.5Gb Ethernet 1 x DisplayPort 1 x HDMI 4 x USB 3.2 Gen 2 (1 x USB Type-C®+3 x Type-A) 2 x USB 2.0 (one port can be switched to USB BIOS FlashBack™ 1 for audio USB Type-C®) 1 x BIOS FlashBack™ Button(s) 1 x ASUS Wi-Fi Module 3 x LED-illuminated audio jacks |
|
Internal I/O Ports |
1 x CPU Fan connector(s) 1 x Chassis Fan connector(s) 1 x AIO_PUMP connector 1 x Aura RGB Strip Header(s) 1 x Addressable Gen 2 header(s) 1 x USB 3.2 Gen 1 front panel TypeC™ connector 1 x USB 3.2 Gen 1(up to 5Gbps) connector(s) support(s) additional 2 USB 3.2 Gen 1 port(s) 1 x USB 2.0 connector(s) support(s) additional 2 USB 2.0 port(s) 2 x M.2 Socket 3 with M Key design, type 2242/2260/2280 storage devices support (Supports both SATA & PCIE SSD) 4 x SATA 6Gb/s connector(s) 1 x 24-pin EATX Power connector(s) 1 x 8-pin ATX 12V Power connector(s) 1 x Front panel audio connector(s) (AAFP) 1 x Thermal sensor connector(s) 1 x Clear CMOS jumper(s) 1 x System panel connector 1 x Speaker connector 1 x VRM_HS_FAN Header |
|
Accessories |
User's manual I/O Shield 4 x SATA 6Gb/s cable(s) 2 x M.2 Screw Package 1 x Supporting DVD 1 x ROG Strix stickers 1 x M.2 bracket 1 x Cable ties pack(s) 1 x Wi-Fi Antenna(s) 1 x Extension cable for Addressable LED 1 x Panel cable 1 x ROG Thank you card 1 x ROG audio USB Type-C® cable |
|
BIOS |
256 Mb Flash ROM, UEFI AMI BIOS |
|
Manageability |
WOL by PME, PXE |
|
Operating System |
Windows® 10 64-bit |
|
Form Factor |
Mini ITX Form Factor 6.7 inch x 6.7 inch ( 17 cm x 17 cm ) |
Packaging and Accessories
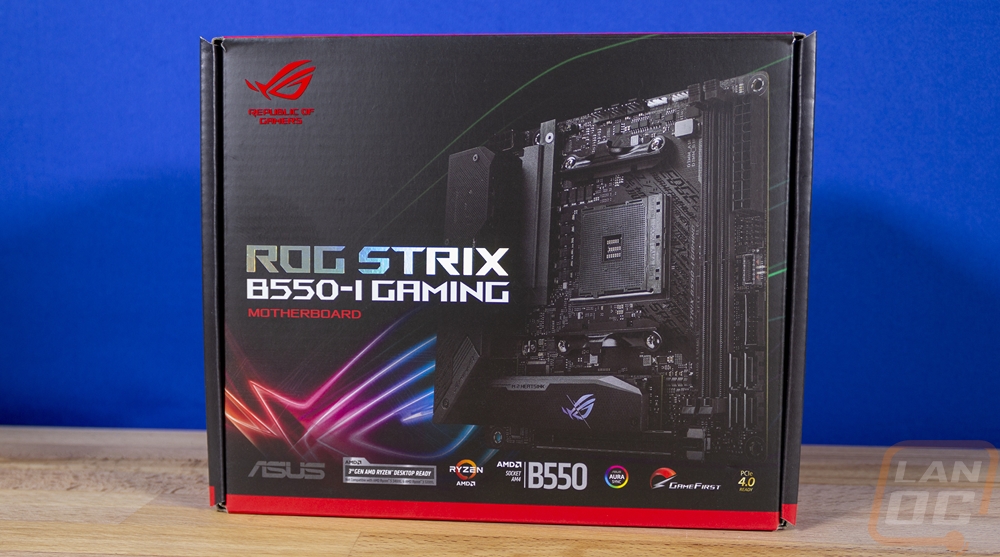
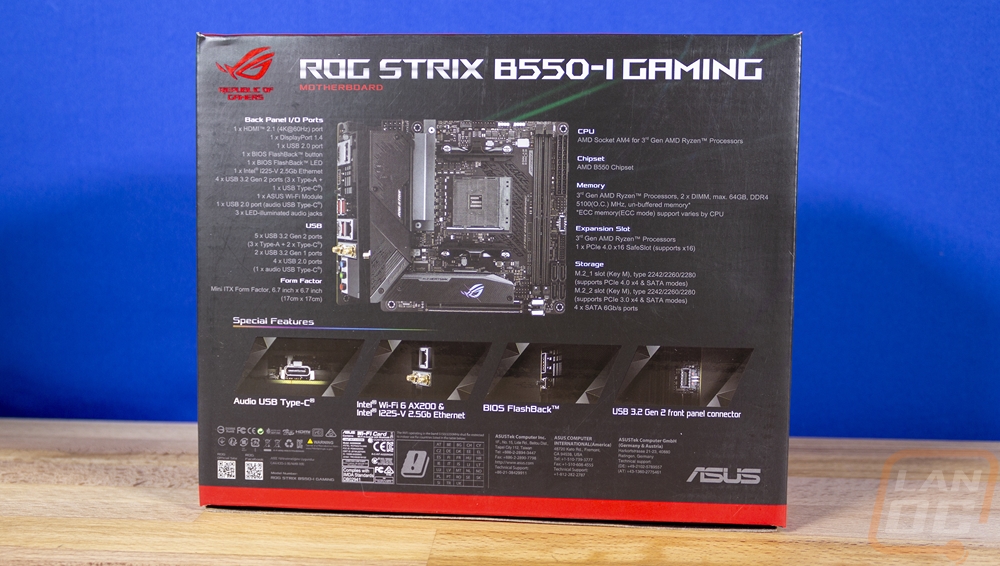
The box for the ROG Strix B550-I Gaming doesn’t really look any different from any of the ROG Strix ITX boards I’ve seen for the last 4 or 5 generations. This includes the black background with the ROG logo with that Strix rainbow effect and then the picture of the board on the front. Beyond that the model name is easy to read, then down along the bottom, you have smaller logos for the chipset, the Ryzen logo, and even one showing the board has PCIe 4.0. Around on the back are more pictures of the B550-I, including a top-down view and a view of the rear I/O which help you see a lot of the board features. Around that, they have a specification listing as well. Then below that Asus included pictures of a few key features with labels on what each is.
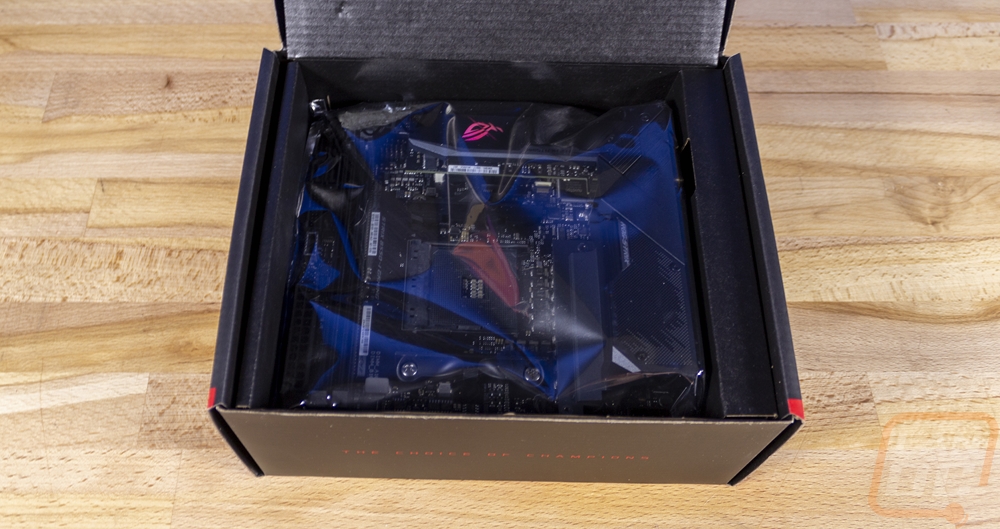
Inside the B550-I comes wrapped up in a static protective bag and in its own cardboard tray that can be pulled out. That tray also has its own lid as well. Then up under that Asus has all of the accessories and documentation.
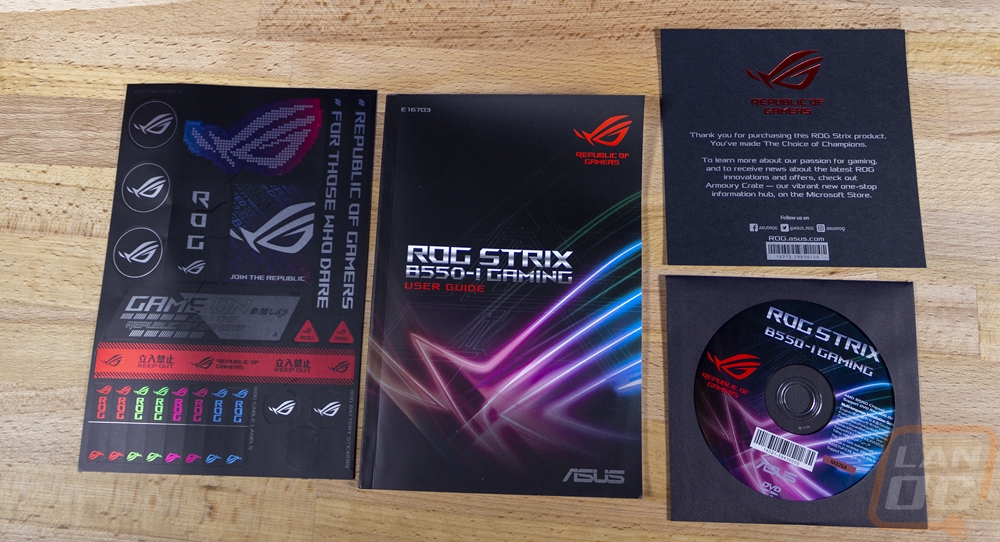
Speaking of documentation, the B550-I comes with a full user guide, and inside Asus slipped the driver/software disk as well as a paper thanking you for the purchase. Along with that they also include a half-page of ROG and Asus stickers which are all on a semi-metallic finish along with the cable labels as well in case you need those.
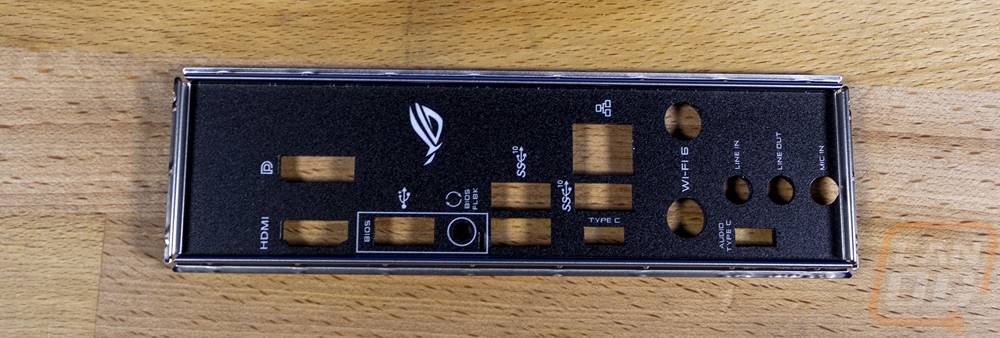
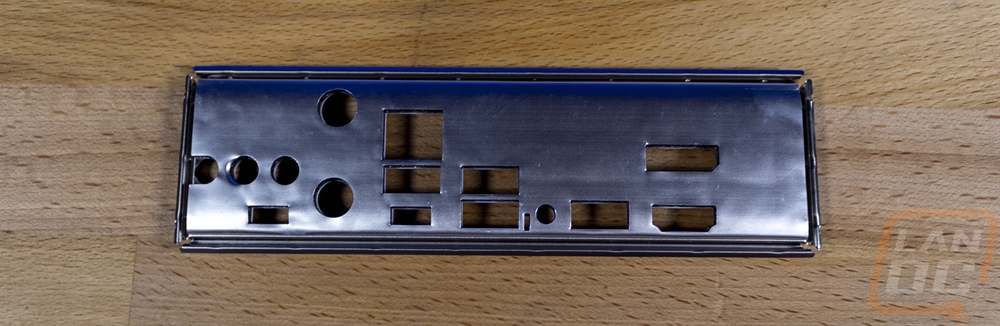
To start off the accessories you do get a rear I/O shield which I was a little surprised about. It feels like most boards recently have had them pre-attached. That said it is all black with white legends and one ROG logo. Then around on the back, it has the foam padding which is a lot nicer than the metal springs that tend to catch inside of plugs and cause you to have to pull a completed build all the way back apart to fix.
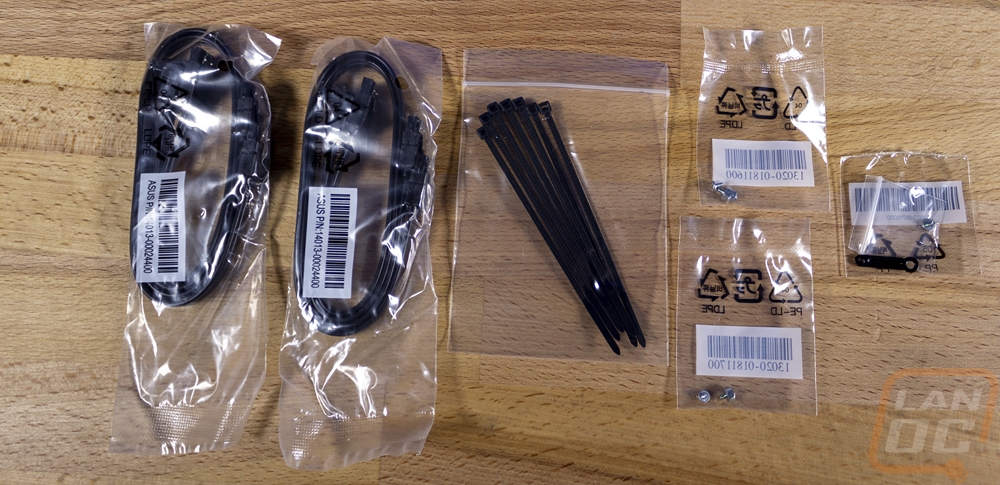
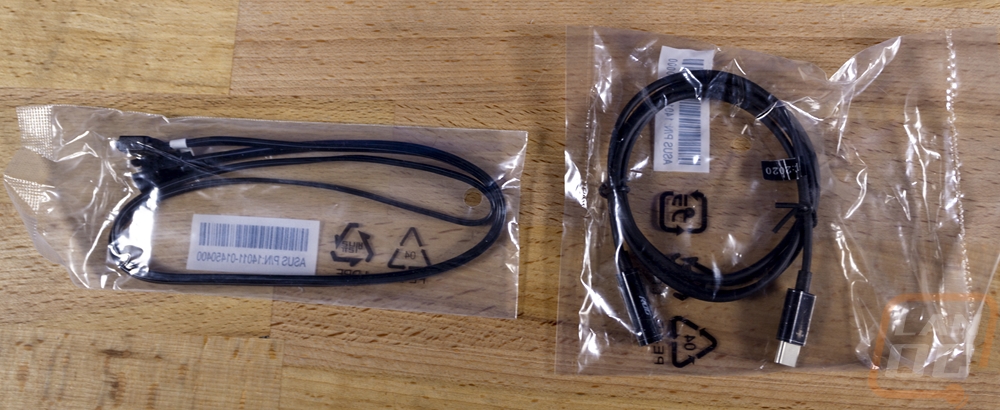
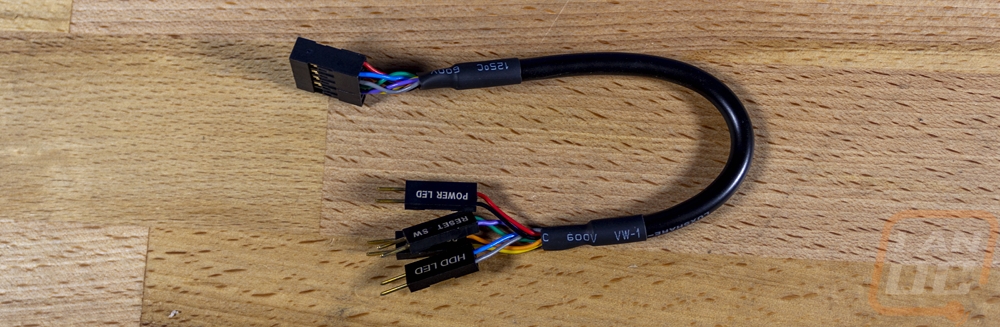
You get four black SATA cables which do give you the option to use a right angle cable or not. Asus also included a small bag of black zip ties, you don’t see these with a lot of motherboards so that is a welcome addition. I’m guessing they want to make sure you tuck the wiring away so the B550-I can breathe a little. There are to sets of M.2 screws which include the standoff as well. There is also a small bracket for M.2 as well. Rather than include their normal Q connector for the front panel connection, they give you a short cable that does the same job but lets you hide the connections away from the motherboard itself. There is then one extension cable for addressable RGB LEDs and then an unusual one, a Type-C to audio adapter cable. I will have to take a closer look at why this is included in the next section. But I can say that the I/O panel does have one of the Type-C connections labeled as the audio one, so make sure you use it on the correct plug.
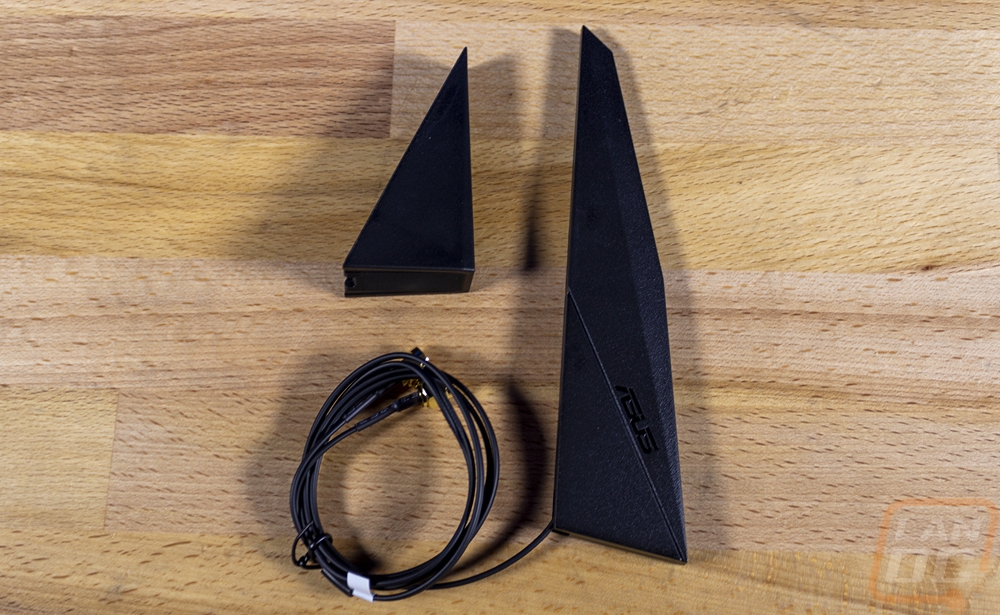
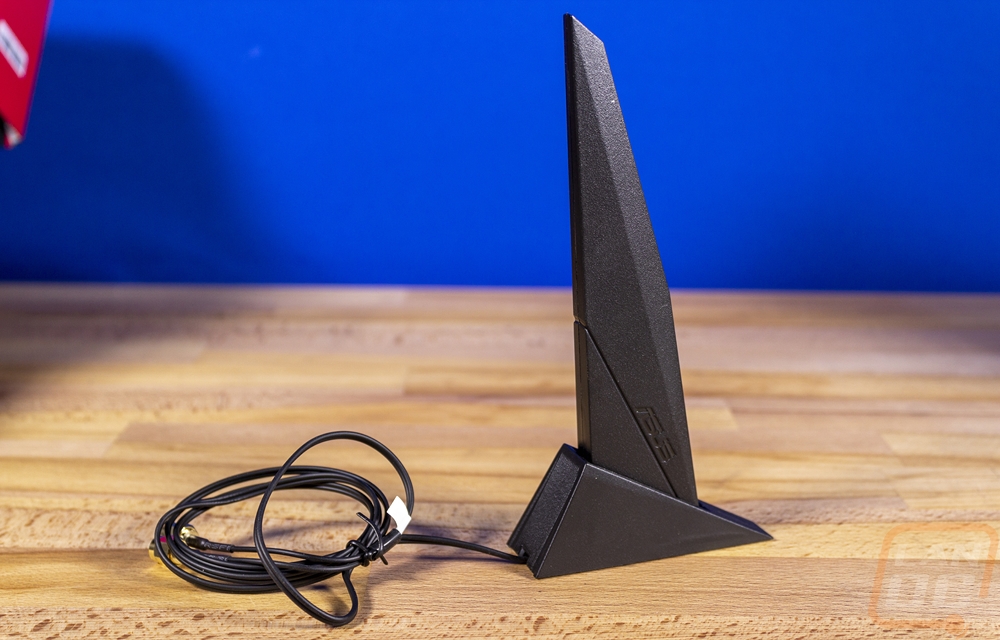
There is also an antenna included for the built-in Wifi 6. This is just the standard Asus antenna. It has magnets in the back edge so you can stick it to the side of your case, but they aren’t very strong. Beyond that I’ve not been a huge fan of this design, the base isn’t wide and they tend to fall over.
Board Layout and Pictures
If it wasn’t clear with the model name, the Asus ROG Strix B550-I Gaming is Asus’s only B550 Mini ITX board. So the B550-Ihas that 6.7 inch by 6.7-inch form factor. Packing features into that small form factor can be a challenge but at this point, Asus has become very good at it. For the B550-I they have integrated one section of breakout boards down above the PCIe slot. Beyond that, they have tried to keep most things still around the outside edge.
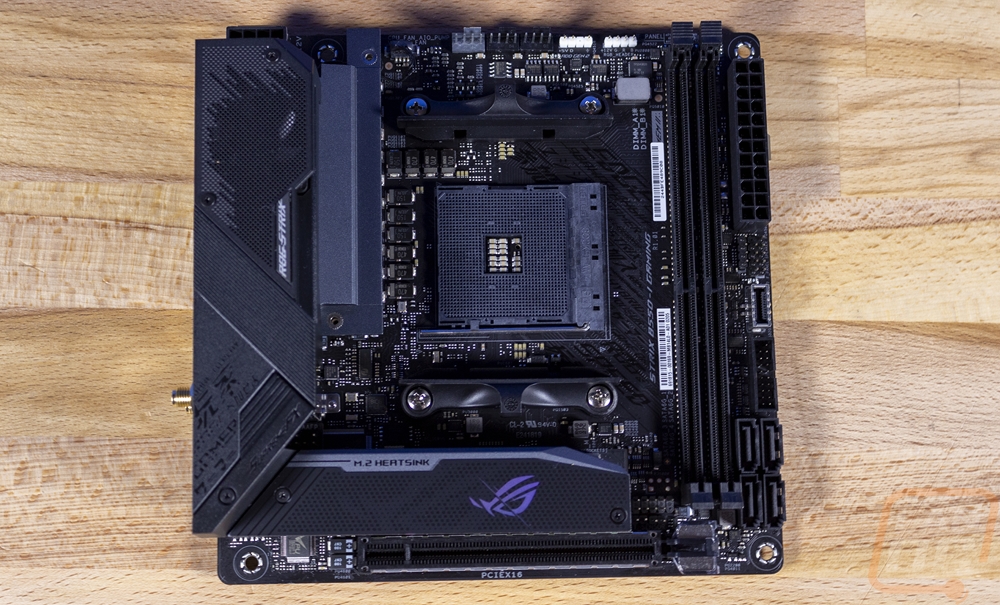
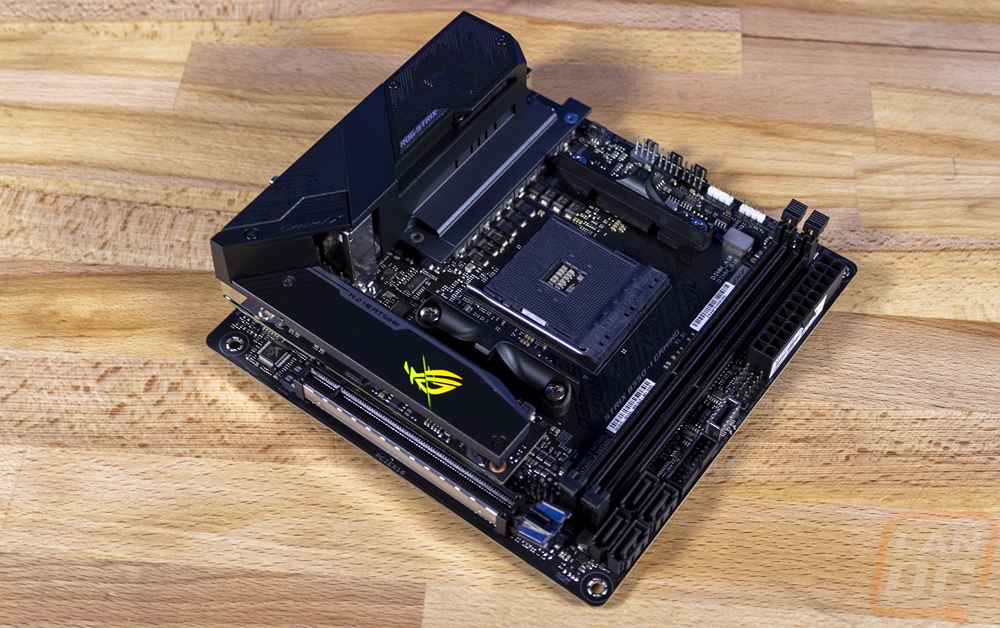
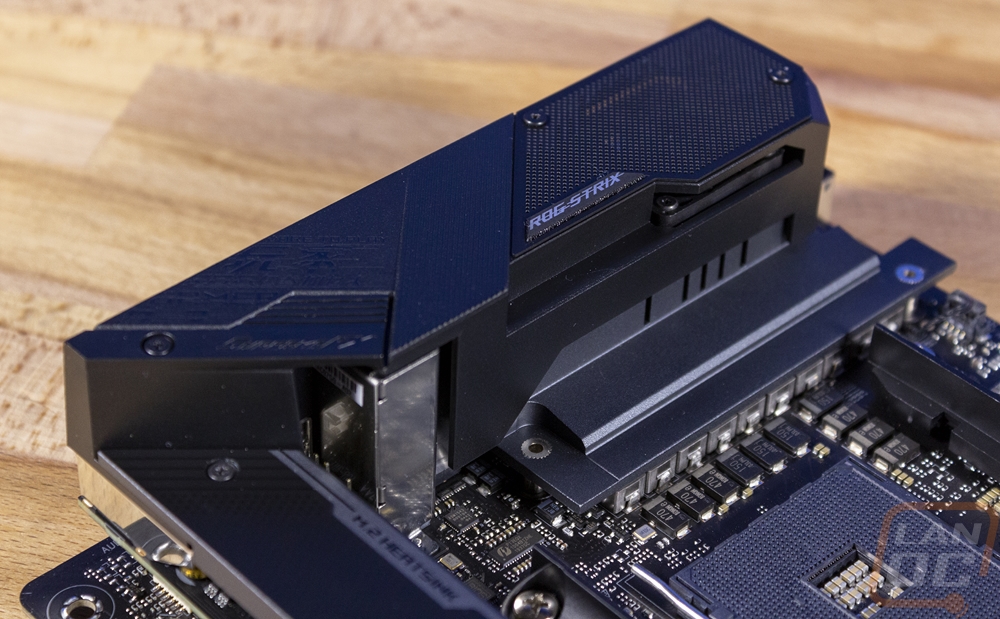
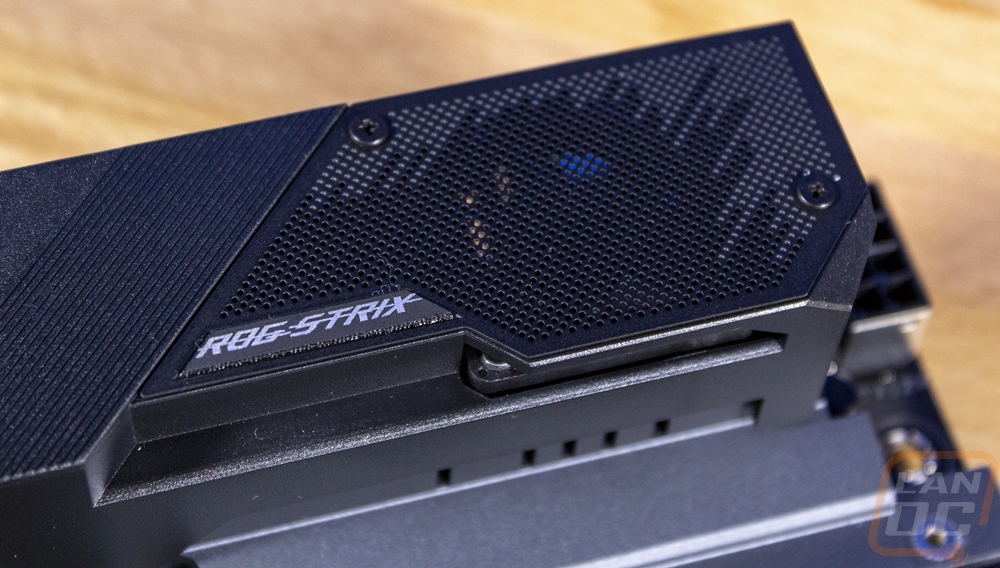
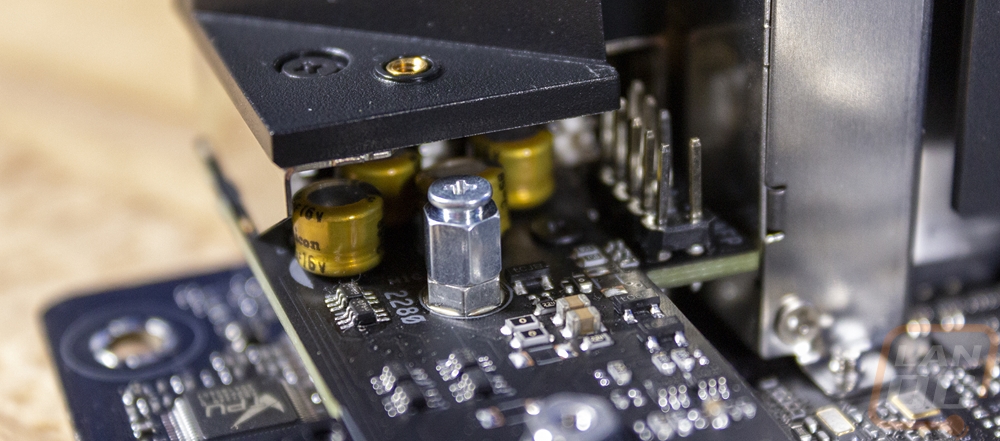
For the VRMs, Asus went with an 8+2 configuration which is all lined up on the left of the CPU socket. This area still looks very open and this is because you don’t see any of the cooling that would normally be around the CPU socket. Because of the tight space, they moved things around to leave room to put things along the top edge of the board and to keep heatsink clearance open as possible. So the 8.2VRMs have a heatsink bolted down on top of them and the heatsink itself is offset and runs up under the rear I/O cover. The I/O cover looks great and is all black with a mesh area on the top half. This is because there is a small fan integrated for the active cooling of the VRMs.

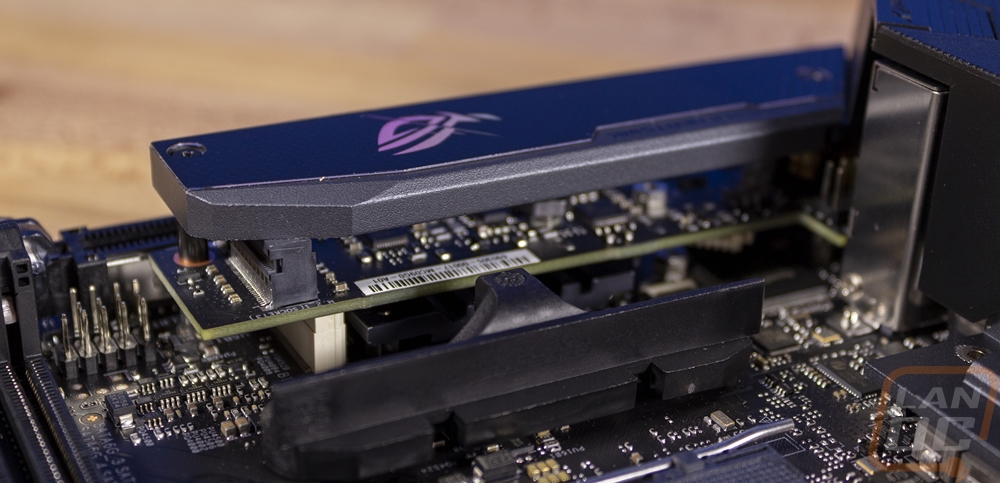
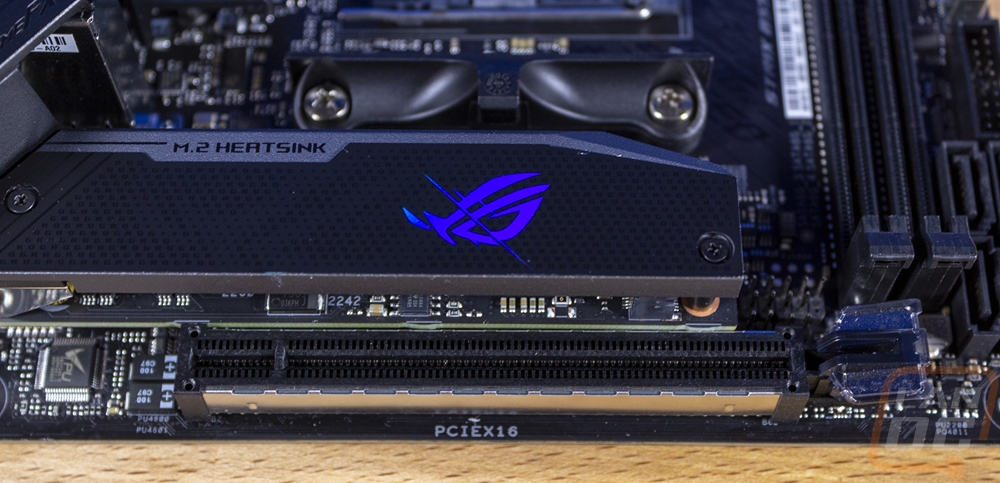
The other half of the cooling is the M.2 heatsink which consists of a thick aluminum panel that goes over top of the M.2 on the top side of the board. It doesn’t have fins but it does use a thermal pad to soak up at least some of the heat generated. This view also gives us a good look at the breakout board that Asus uses which packs in under the CPU socket and above the PCIe slot and fits the M.2 and the onboard audio as well.
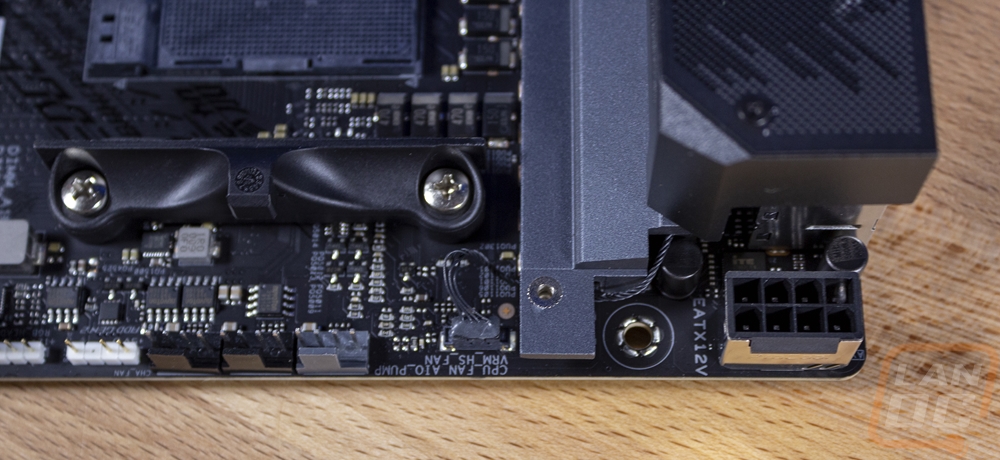
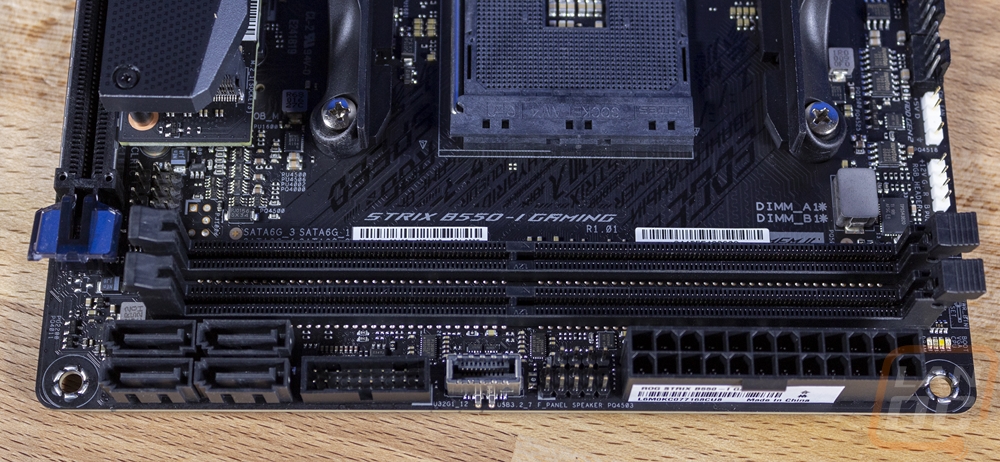
Okay, so I like to work my way around the board to see what features are visible. Starting in the top left corner you can see the 8-pin CPU power in the farthest corner which has a metal cover around it along with thicker pins which is Asus’s ProCool II tech as they call it. You can see the wire and connection for the VRM fan and then next to that there are three 4-pin PWM fan headers. The grey one is for the CPU fan, the middle is labeled for an AIO coolers pump, and then the end plus is for a chassis fan. Ignoring any other fan headers on the board, three is still more than a lot of ITX boards get in total!
In the top right corner, you can see the fan headers I previously mentioned. Then next to those there are two white plugs. Those are both RGB headers. One is a three-pin addressable RGB header and the other is a traditional RGB header with four pins. Next to that, they have used the open space to print the front panel connector layout, which might be confusing for some because that header isn’t in this area, but it is nice it is included at all. Next to that, four small surface mounted LEDs show boot status and help pinpoint boot issues if something fails.
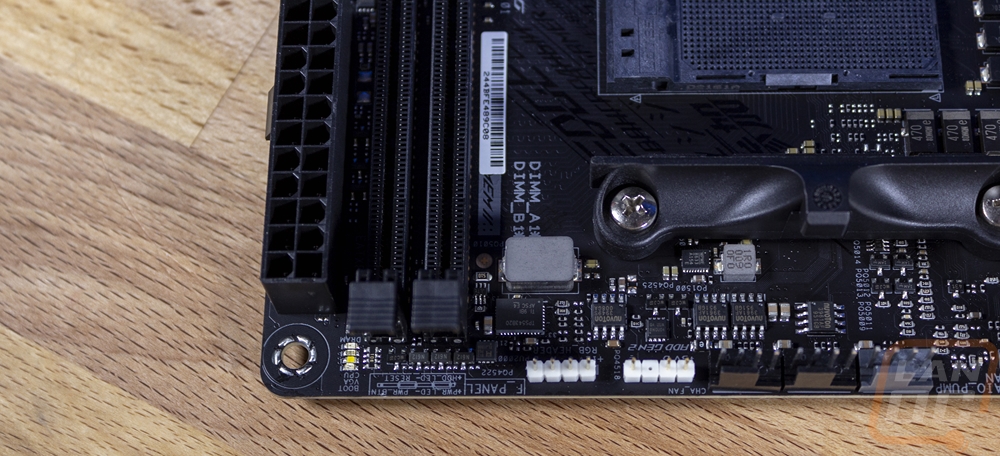
The right edge of the B550-I is the main home for all of the connections and this is nice because you should still be able to get at this area even when installed to a point. The two DDR4 slots run the whole length as well and they have the signature Asus clips on top only. Starting at the top you have the 24-pin motherboard power. Then right below that is the front panel header which we found the labels for up on the top edge. The front speaker is right above that header as well. Then you have a new style USB 3.2 Type-C front panel connection as well as a normal USB 3.2 front panel header. Then down at the bottom, there are four SATA headers as well.
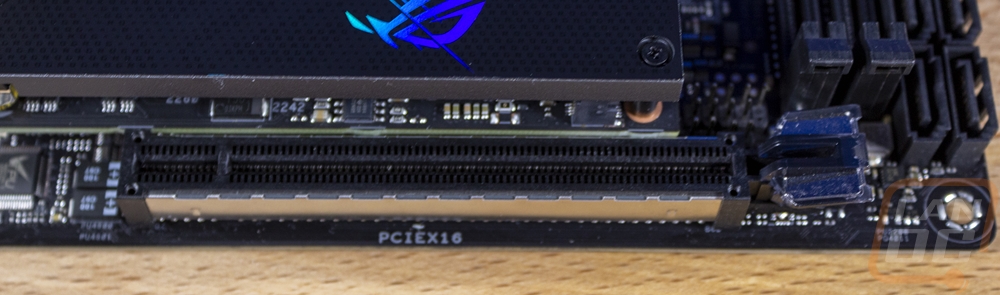
The bottom of the B550-I is dominated by the PCIe slot at the bottom and it has a few things going on. The big one is that this is PCIe 4.0 and being the only slot it gets full x16 bandwidth. The slot has metal shielding around it which is soldered down into the PCB to give it more shear strength to hold your heavy video card. If you look closely you can also see that just above the slot lock Asus also slipped in a USB 2.0 header as well down in this area.
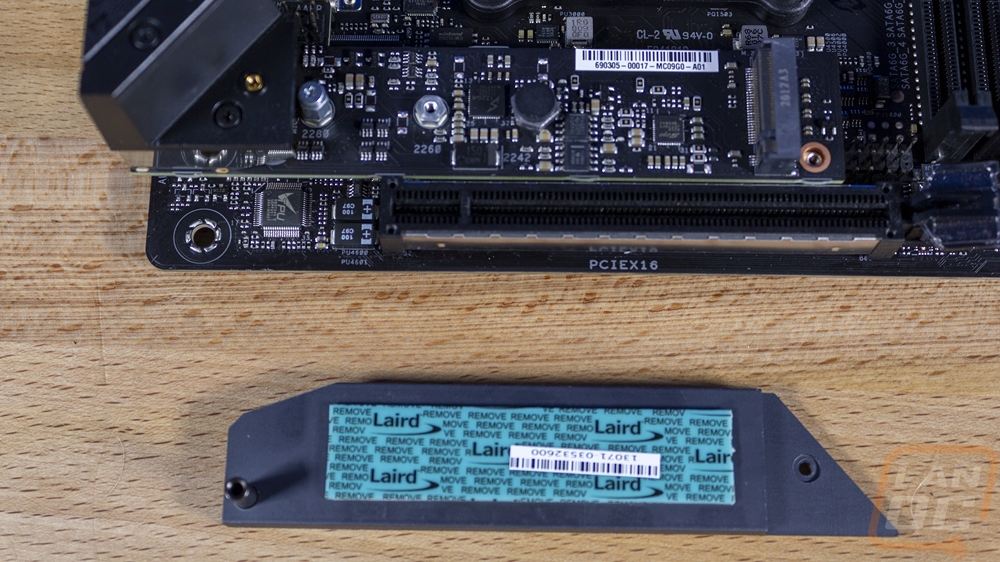
I spoke about the M.2 heatsink previously but here you can get a better look at it with it off. But we can also talk about how the M.2 slot is also a PCIe 4.0 slot and it has x4 bandwidth.
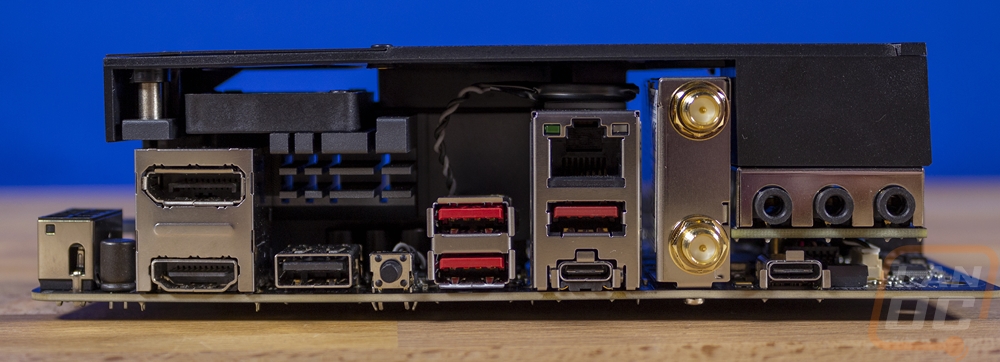
The rear I/O is unique for the B550-I for a few different reasons. I honestly thought that the cover would come pre-installed so that was a bummer. Most other boards have been starting to integrate that and ti makes the installation of the board a little easier. But because of the integrated VRM cooling and fan in the rear I/O area and the riser card, down at the bottom the I/O looks weird. So on the far left, you have DisplayPort and HDMI connections if you are running a CPU with onboard video. Next to that is a traditional USB 2.0 plug that also doubles as the BIOS flashing port. Directly next to that, the tiny button is the button for that. There are then three red USB ports which are all SuperSpeed 10 or USB 3.2 Gen 2. There are a limited number of USB ports in total, but other than the one USB 2 port the others are all high speed. There is also a Gen 2 Type-C port as well. For the LAN Asus went with the always reliable Intel NIC which might seem a little weird on an Asus board. But this is the same I225-V 2.5Gb Ethernet that is included with Z490 chipset board and it gets you a bump in performance over 1G but isn’t as fast as the high-end 10G NICs. There are two antenna plugs for the AX200 WiFi 6 NIC. Then the audio gets weird again with just three audio connections. You have a line in, line out, and microphone in. Then below that, the Type-C is the main audio connection and Asus included an adapter cable for it. You can see how all of those are laid out horizontal because they are on the raised PCB.
Speaking of the raised PCB, if you look closely you can see how Asus tucked the caps up under everything and the front panel audio header is also right next to them. That is going to be a pain to plug in for sure!
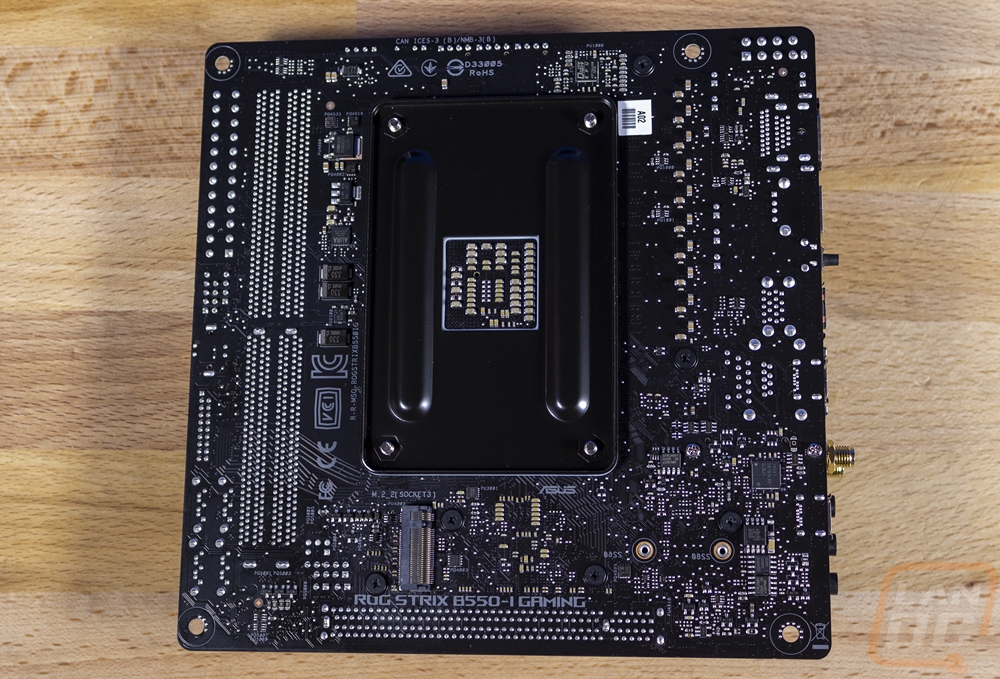
The back of the B550-I mostly just reinforces just how packed everything is on the board with even the back being covered. You can see that they did slip in another M.2 slot down under the CPU socket. This is also PCIe 4.0 and running at x4 which is nice. Both slots support SATA M.2 drives as well so there shouldn’t be any confusion there.
BIOS
We used to get lots of pictures to show some of the BIOS functionality but I’ve found that it is a lot easier just to have a video clicking through all of the options where you can pause and check anything out. I was surprised that the default for a board like this would be the advanced mode when Asus includes the EZ Mode that allows you to see your memory, CPU, and BIOS version running fans, turn on DOCP which is the Asus version of XMP for AMD boards, and to rearrange boot priority by dragging. You can see that at the end of the video. Back at the start, you can see you start off on the main page which just lists off the memory, CPU, and BIOS and board versions and allows you to set the system date. Over on the right on this and every page you can see the CPU voltages, clock speeds, and temperature as well as memory speed and capacity and the voltages coming out of your PSU.
The Ai Tweaker tab is where Asus has hidden away most of the overclocking settings. This includes allowing you to turn on DOCP or jump into things like BCLK frequency right at the top. As you go down you start to get into more detailed options which are mostly broken out on their own page like the precision boost overdrive page where you can turn all of those settings from auto and get into specific settings. The memory timings as the same as are the VRM settings. Voltages themselves are all just down at the bottom of the tweaker page.
The advanced tab is basically where EVERYTHING else is packed into. For that reason, the main page is just basically a list of links to other pages split up into different areas on the board. The main two here are down at the bottom and don’t have the arrows to help you know that they open up and frankly they should be on the Ai Tweaker page because this is where all of AMD's own overclocking settings are all hidden away.
The Monitor tab just lists off every possible sensor on the B550-I which includes voltages, temperatures, fan speeds, and lets you also dive into the settings for Q-Fan. Those have always felt like they should just be in the actual Q-Fan program. But you can go into details like setting fans step up and step down and fan speed minimum limits. The boot tab is exactly what you would expect, you can change things like boot order and any boot related setting.
Last but not least you have the tool tab which is where Asus packed a few of their useful tools. Mainly I use the EZ Flash 3 tool here which is what you use to update the BIOS. But they also include one to securely erase old hard drives. You can setup BIOS profiles here which is nice for overclocking, you can save overclocks that still need work and go back to known good settings. You can also turn off the Armoury Crate here if you don’t want that invading your windows.
Test Rig and Procedures
Test System
CPU: AMD Ryzen 9 3900X- Live Pricing
Cooling: Noctua NH-U12S for cooling - Live Pricing
Noctua NT-H1 Thermal Paste - Live Pricing
Memory: G.Skill 16GB DDR4 Trident Z Royal Gold 3600 MHz - Live Pricing
Storage: Corsair 2TB MP600 PCIe Gen 4 SSD- Live Pricing
Video Card: Nvidia RTX 2080 SUPER FE - Live Pricing
Power Supply: Corsair TX750M - Live Pricing
Case: Dimastech Test Bench - Live Pricing
OS: Windows 10 Pro 64-bit - Live Pricing
Performance
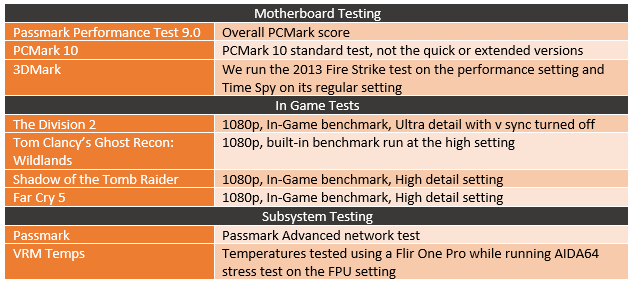
For testing, I have been saying for years that motherboard benchmarks don’t hold much weight because you are still using the same CPU, memory, and GPU and those are what play big roles in how fast your PC is. But I do run a few tests just to make sure everything is running the way it should and it also lets us see what the system can do. In this case, this is our first B550 board but I did want to see how it would compare with an X570 board so I included (and retested) our Crosshair VII Hero. There was some variation in my tests but only in PCMark 10 did I see results showing one faster than the other. The in game benchmarks were close together with both boards coming out ahead in different games. Altogether all of the tests just show how good the 3900X and 2080 SUPER are together.
The main tests that have some potential to have differences are the network tests because the boards are using different NICs. The Hero has the 2.5G Realtek RTL8125-CG and the B550-I has the I225-V 2.5Gb but they both ended up performing similarly. When it came to the wireless however the results had more variation which is ironic because both boards have the same Intel Wi-Fi 6 AX200 wireless NIC. I think the antenna on our Hero is a little weak because I tested multiple times and was unable to get a better result on our WiFi 6 AP.
|
3DMark – Fire Strike |
|||||
|
Motherboard |
Overall Score |
Graphics Score |
Physics Score |
||
|
Asus ROG Crosshair VIII Hero WiFi |
22190 |
25053 |
28892 |
||
|
Asus ROG Strix B550-I |
22163 |
24957 |
28579 |
||
|
3DMark – Time Spy |
|||||
|
Motherboard |
Overall Score |
Graphics Score |
CPU Score |
||
|
Asus ROG Crosshair VIII Hero WiFi |
10262 |
10013 |
11949 |
||
|
Asus ROG Strix B550-I |
10365 |
10161 |
11696 |
||
|
PCMark 10 Score |
|||||
|
|
Overall Score |
Essentials |
Productivity |
Content Creation |
|
|
Asus ROG Crosshair VIII Hero WiFi |
7358 |
10837 |
8355 |
11939 |
|
|
Asus ROG Strix B550-I |
7159 |
10371 |
8401 |
11427 |
|
|
Passmark PerformanceTest 9.0 - Overall Score |
|||||
|
Asus ROG Crosshair VIII Hero WiFi |
6700.8 |
||||
|
Asus ROG Strix B550-I |
6721.0 |
||||
|
Tom Clancy’s Ghost Recon: Wildlands – High Detail - Average FPS |
|||||
|
Asus ROG Crosshair VIII Hero WiFi |
117.17 |
||||
|
Asus ROG Strix B550-I |
119.48 |
||||
|
Shadow of the Tomb Raider – High Detail - Average FPS |
|||||
|
Asus ROG Crosshair VIII Hero WiFi |
129 |
||||
|
Asus ROG Strix B550-I |
125 |
||||
|
Far Cry 5 – High Detail - Average FPS |
|||||
|
Asus ROG Crosshair VIII Hero WiFi |
128 |
||||
|
Asus ROG Strix B550-I |
127 |
||||
|
The Division 2 – High Detail - Average FPS |
|||||
|
Asus ROG Crosshair VIII Hero WiFi |
96 |
||||
|
Asus ROG Strix B550-I |
96 |
||||
|
Average Network Speed – Wired on 10G Network - Mbits/Sec |
|||||
|
Asus ROG Crosshair VIII Hero WiFi - Realtek RTL8125-CG 2.5G LAN |
2365 |
||||
|
Asus ROG Crosshair VIII Hero WiFi - Intel I211-AT |
917.8 |
||||
|
Asus ROG Strix B550-I - I225-V 2.5Gb Ethernet |
2375 |
||||
|
Average Network Speed – WiFi 6 - Mbits/Sec |
|||||
|
Asus ROG Crosshair VIII Hero WiFi - Intel Wi-Fi 6 AX200 |
369.1 |
||||
|
Asus ROG Strix B550-I - Intel Wi-Fi 6 AX200 |
681.7 |
||||
|
VRM Temperatures |
On Heatsink |
On VRM |
|||
|
Asus ROG Crosshair VIII Hero WiFi |
115.6F |
124.4F |
|||
|
Asus ROG Strix B550-I |
109.0F |
146.6F |
|||
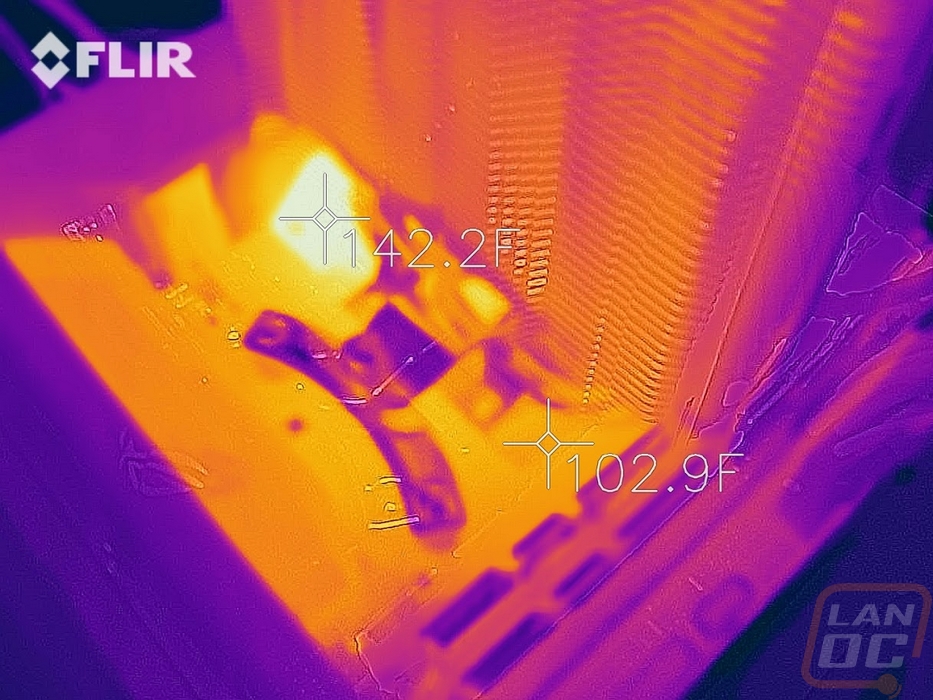
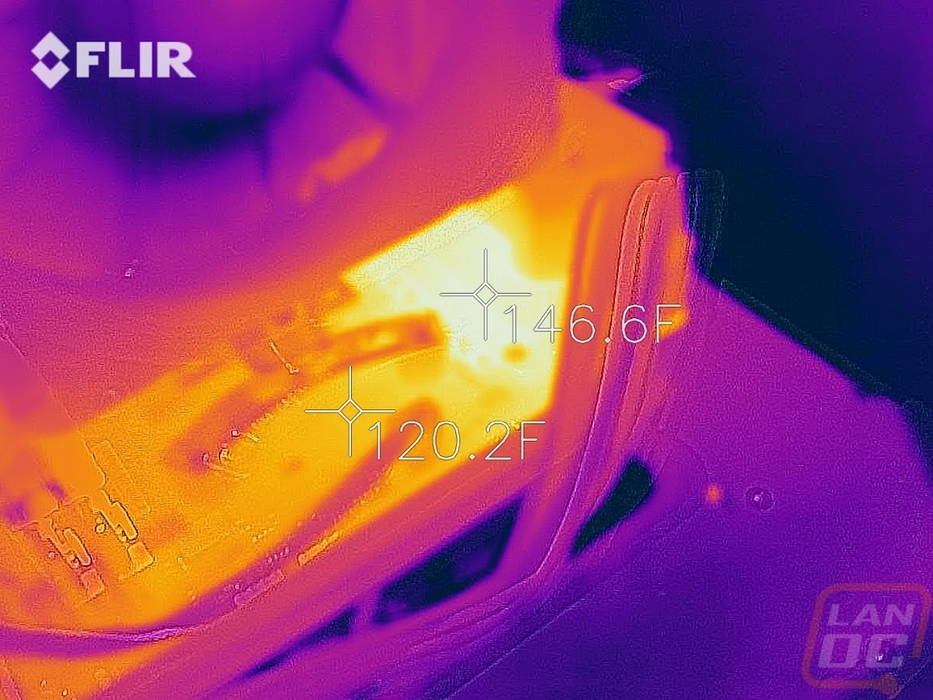
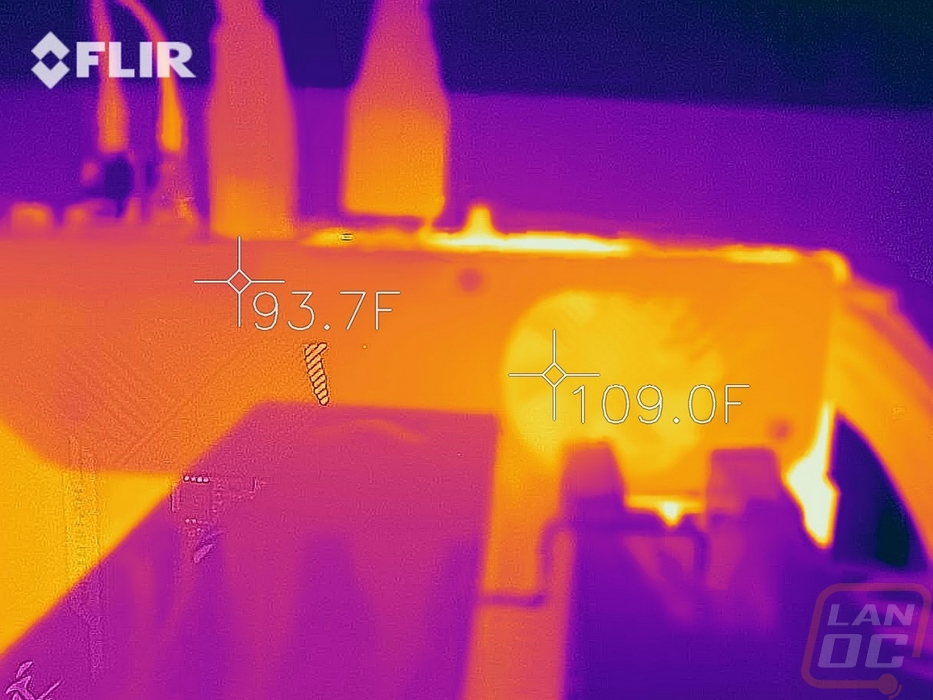
I also took a look at the VRM cooling. For this, I use the AIDA64 FPU stress test to heat things up and our FLIR to look at the thermals. This was a little more difficult with the B550-I because of the hidden heatsink. But I was able to peak in through the fan on top but the results may be a little less reliable because of that. Overall though what I found was the VRMs on the B550-I were running a lot hotter and given the small heatsink, this isn’t a big shock. The active cooling did however do a good job of cooling the heatsink down. If only there was a little more meat up over top of the VRMs to help pull the heat out into the heatsink.
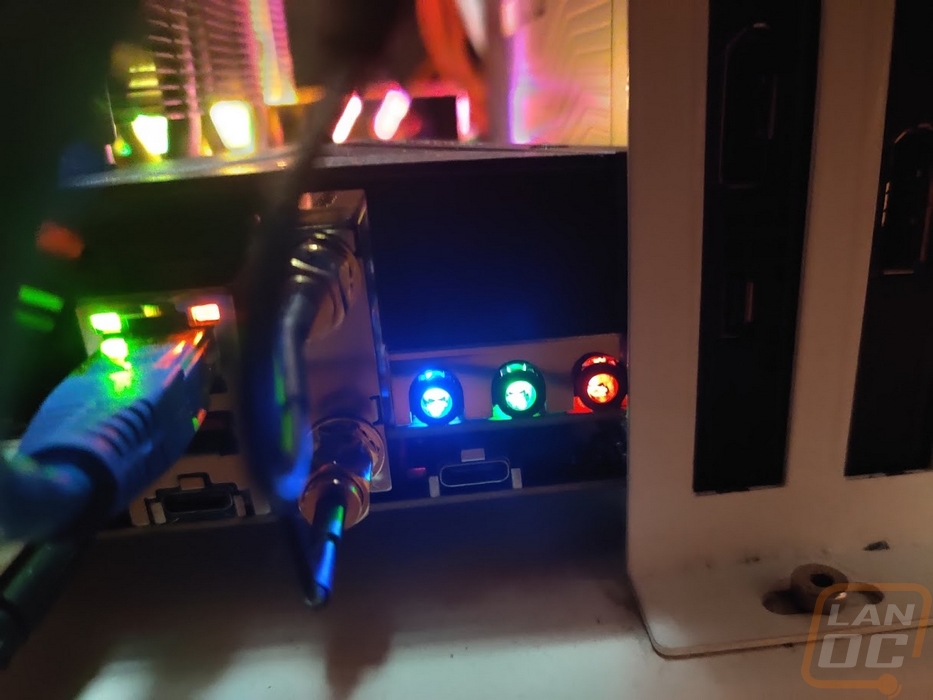
I always take a look around to check out the board lighting as well but the B550-I doesn’t have any beyond the two RGB headers included on the board. There was however lighting inside of the three available audio jacks which makes recognizing where to plug and seeing where they are much easier.
Overall and Final Verdict
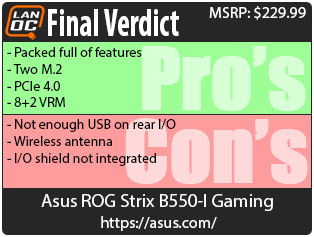
As I mentioned at the beginning, the launch of B550 is big because it can finally offer options for those who want improved VRMs and PCIe 4.0 without having to throw down for X570. The B550-I looks in a lot of ways like a higher-end board. Especially when it comes to having an upgraded VRM, the 8+2 configuration isn’t huge, but for an ITX board, it isn’t bad at all. PCIe 4.0 does mean you don’t have to worry about faster video cards and M.2 drives in the future which is huge. They also packed every inch of space on the ITX board full of headers for things like front panel Type-C without giving up a front USB 2.0 header by integrating a raised breakout board for one of the two M.2’s and the onboard audio. They also packed the VRM cooling into the rear I/O including active cooling. But that also did lead to one of the board's downsides as well. There just aren’t enough USB ports in my opinion. You get four Type-A ports, three of which are USB 3.2 Gen 2. A stack of a few more ports, even if they are just USB 2.0 would be very nice.
It is a small issue but I would have liked to see the rear I/O shield come integrated like most boards have been moving too. I also think that Asus’s wireless antenna could use some improvements given how hard it is to keep it standing up even when using the included base.
Of course, all of this depends on pricing. Asus already has a similar board with the X570-I that has all of the same features and more including having more rear USB ports. The B550-I comes in with an MSRP of $229.99 which is on the higher end for a B550 board. That is normal for ITX boards in general though. The X570-I runs $249.99 when you can find one which makes the B550-I pricing spot on though a little more expensive than the Asrock B550 ITX option which has an MSRP of $199.99. Overall I love the look that Asus has with this board and I like the amount of features you are getting. The USB ports are the only real issue and that will depend on if you think you will need more or not. I know I use more, but some people maybe be good with two or three. You even get a 2.5G NIC which the X570-I doesn’t have. Just like the B450-I, I suspect this is going to be a popular option for ITX builds.

Live Pricing: HERE


