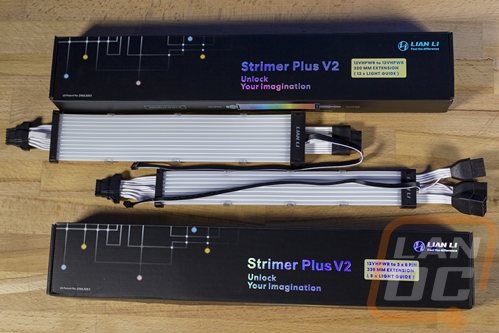
If going completely over the top with lighting in your build is what you are after, one of the biggest go-to’s has to be the Lian Li Strimer lineup. Rather than the standard color-matched individually-sleeved cable extensions, the Strimer lineup offers cable extensions with RGB lighting that run the length of the cable. Lian Li even upgraded the lineup with the Strimer Plus V2 last fall. The one thing missing however are cables to go with the recently introduced 12VHPWR plug that some GPUs have been moving to. To remedy that, they now have three new 12VHPWR Strimer Plus V2 cables and today I’m going to check two of them out.
Product Name: Lian Li Strimer Plus V2 12VHPWR
Review Sample Provided by: Lian Li
Written by: Wes Compton
Amazon Affiliate Link: HERE
|
Specifications |
|
|
Model Names Tested |
PW16-12PV2 12VHPWR to 12VHPWR w/12 Light Guides |
|
Material |
Silicone/TPE |
|
Cable Length |
PW16-12PV2 – 320 mm |
|
Accessories |
Cable Adaptor for Motherboard ARGB 3-Pin Two White Buckles |
|
Warranty |
1-Year |
Photos and Features
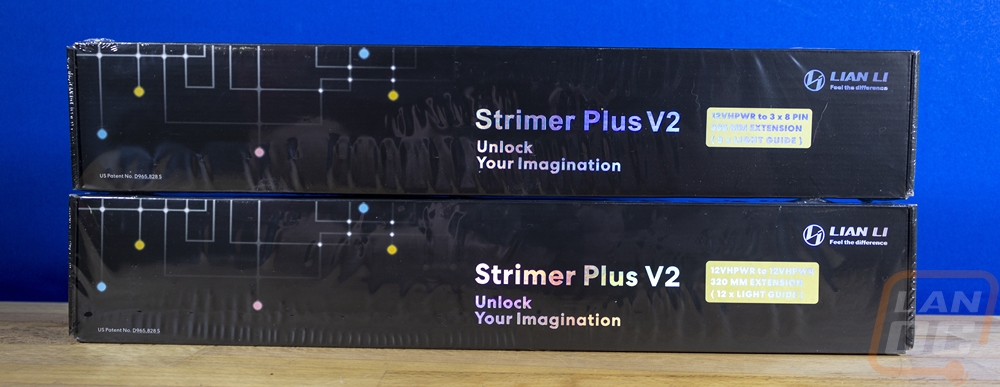
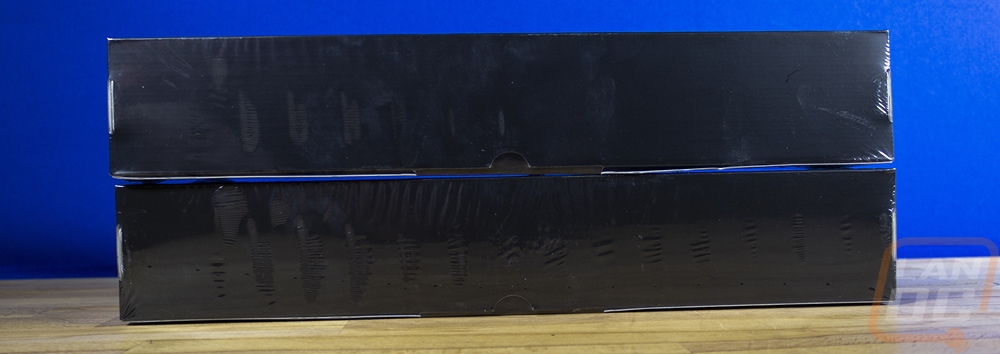
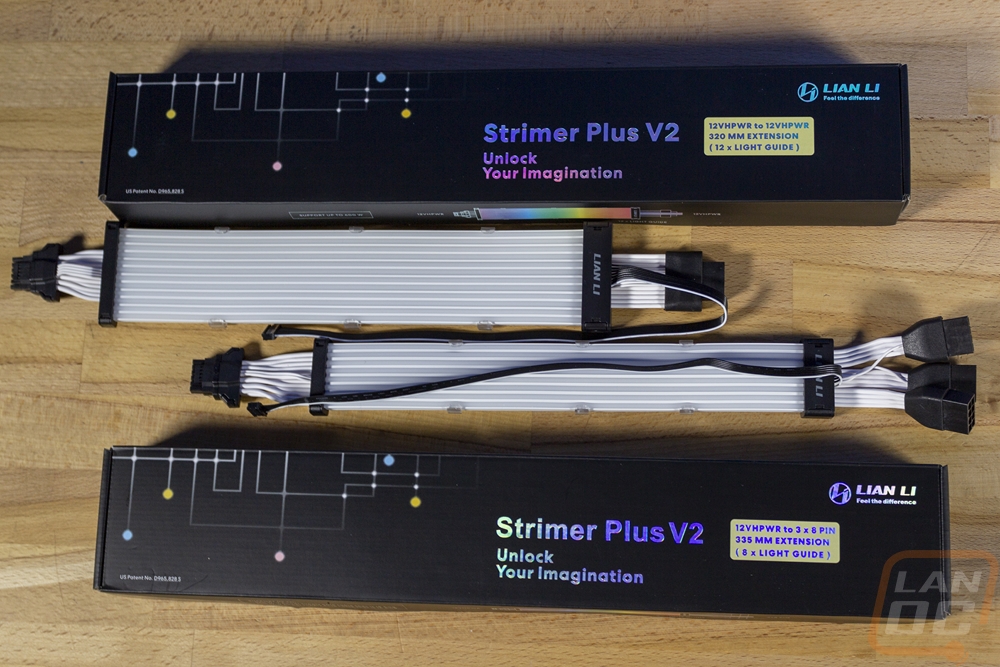
The packaging for the two Lian Li Strimer Plus V2 12VHPWR extensions has the same look as the previous Strimers that I’ve had in the office. They have a long black box with the Strimer Plus V2 branding near the center with a holographic finish. The Lian Li logo is up in the top right corner with the same finish as well. Then each box has a yellow sticker with the actual model information on it with the reflective finish. One is the 335 mm 12VHPWR to 3x8 pin extension with 8 light guides. The one on the bottom is similar but with its 12VHPWR to 12VHPWR 320 mm extension model name. The rest of the box has nothing else going on including the back of both which is just black. Once you remove the plastic wrap on the outside the boxes open up and each component inside has its own plastic bag including the extensions themselves then the documentation is up under everything as well as a thin layer of foam to keep everything from moving around.
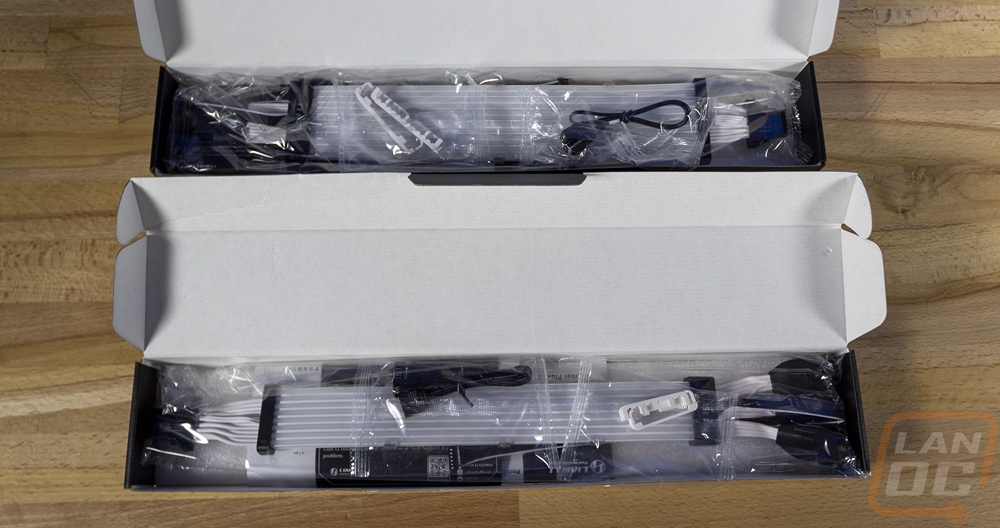
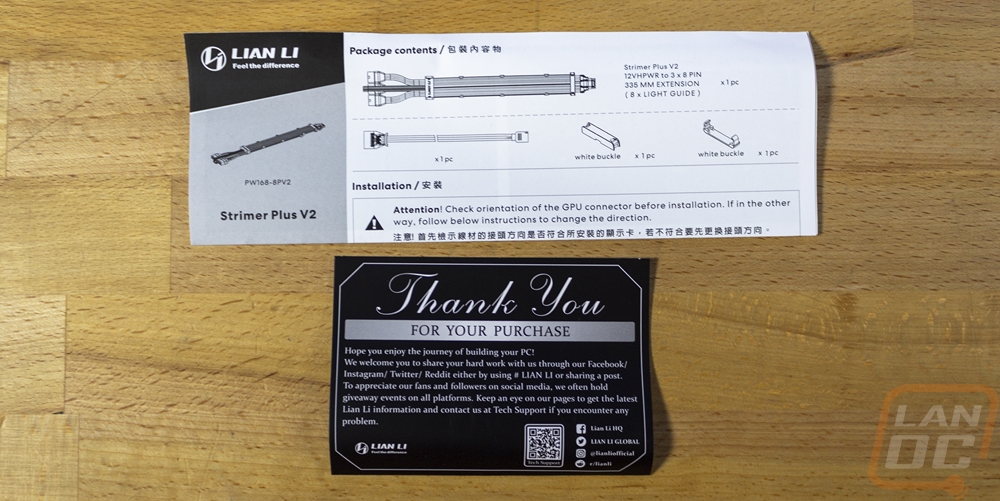
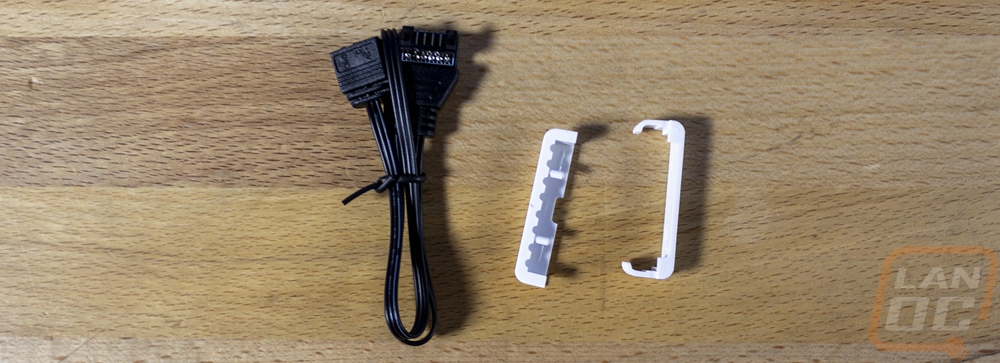
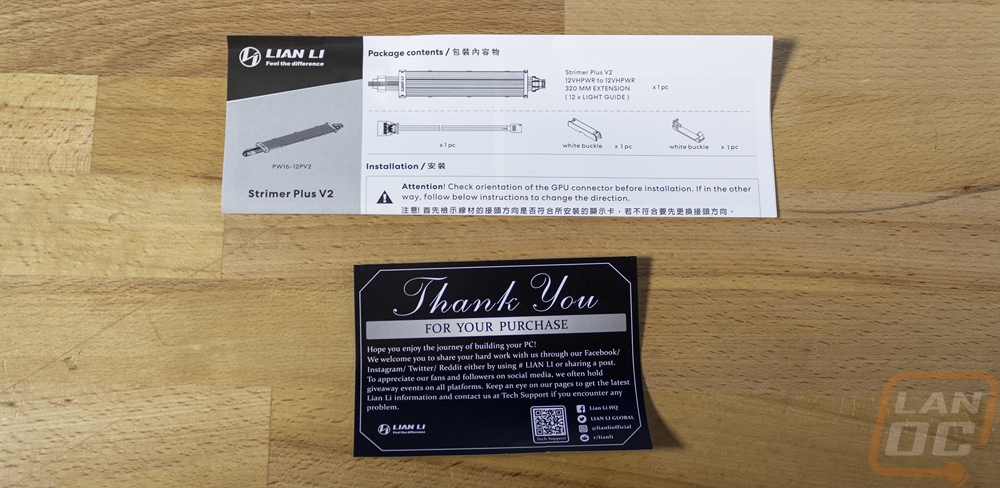
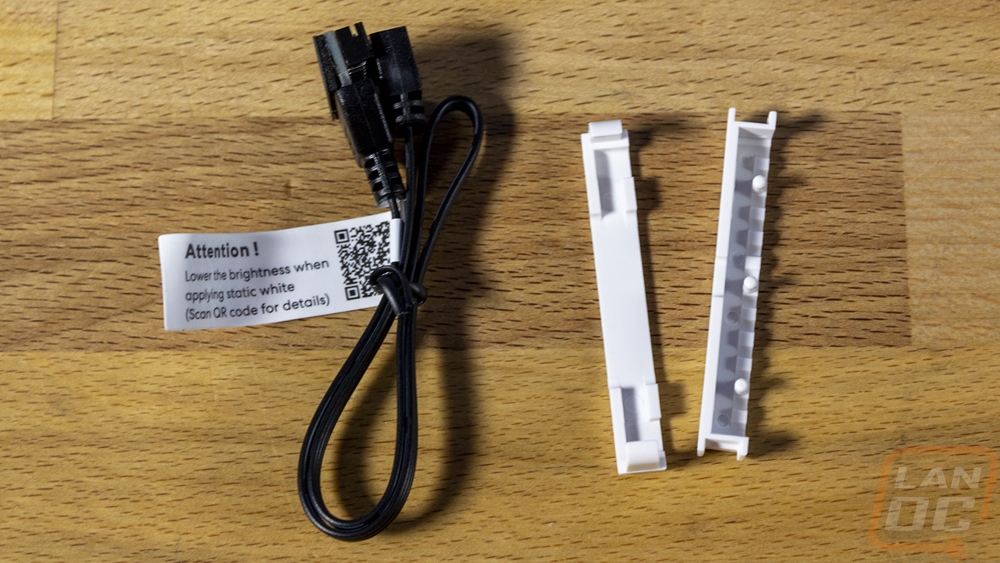
Both cables come with a similar setup for accessories but there are a few differences. For documentation, you get a half page of paper which has pictures of everything that should be in the package and then installation instructions. Each is specific to the cable with the drawings matching the specific cable. Then you also get a smaller black thank you paper. Then for accessories, you get the motherboard RGB connection cable and two replacement white buckles. The RGB cables are specific to each cable with a wider plug for the 3x8-pin cable which has more lighting.
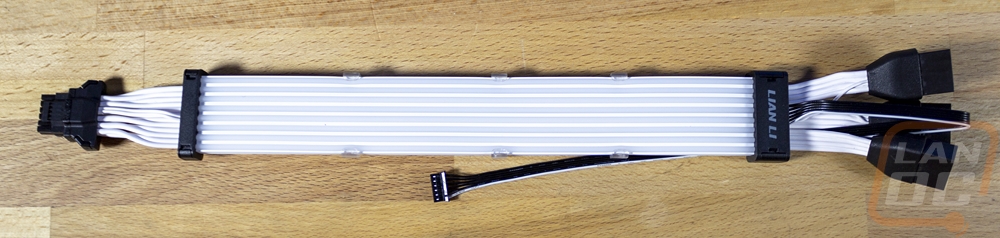
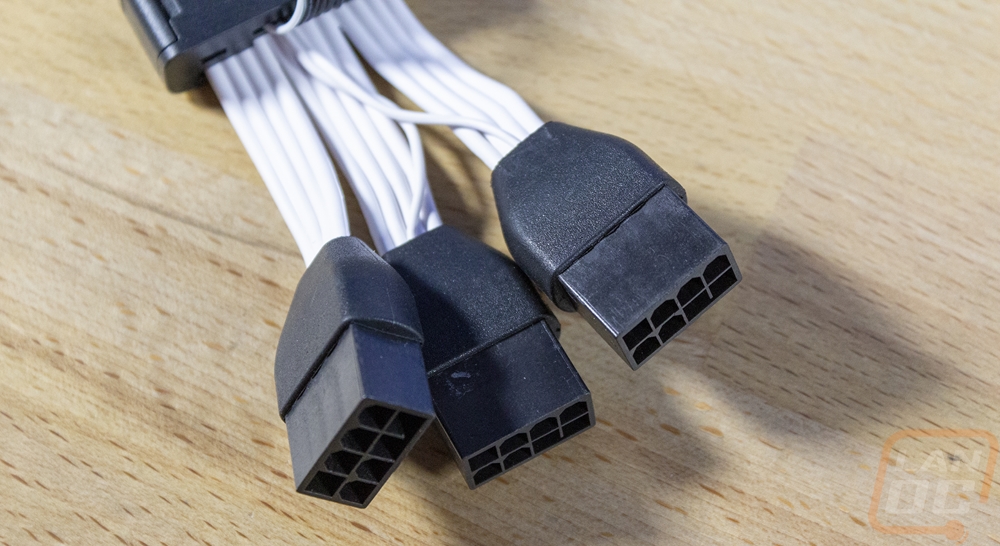
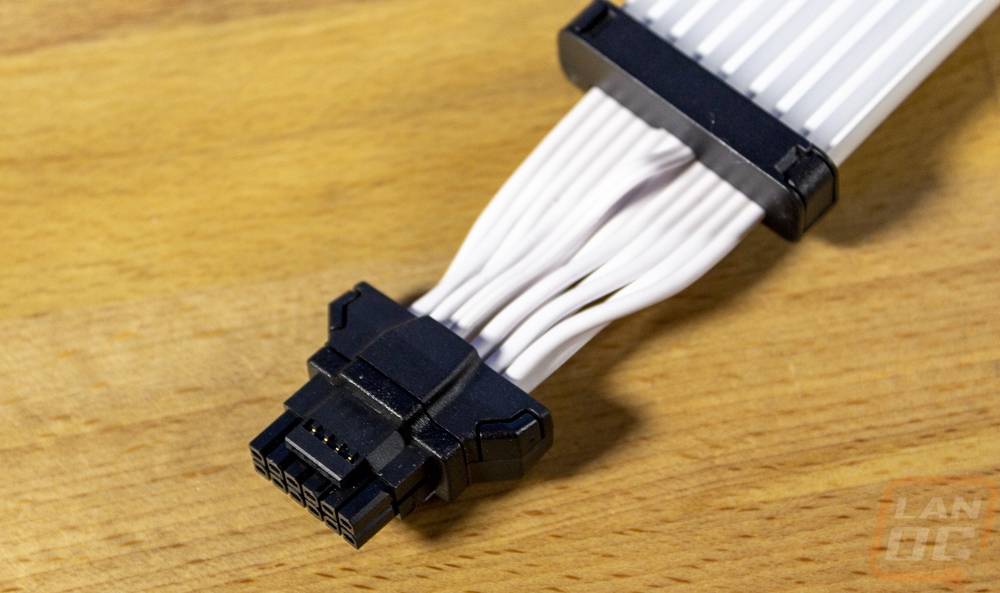
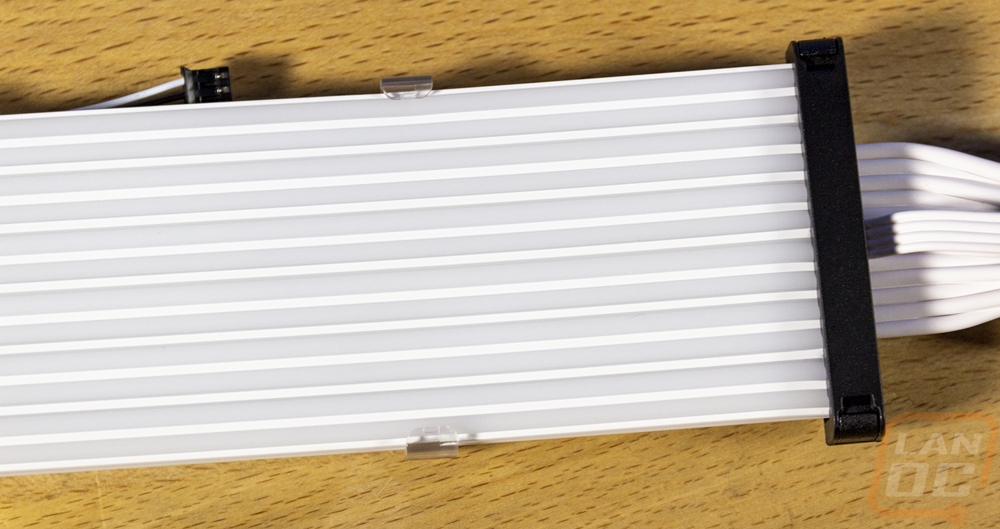
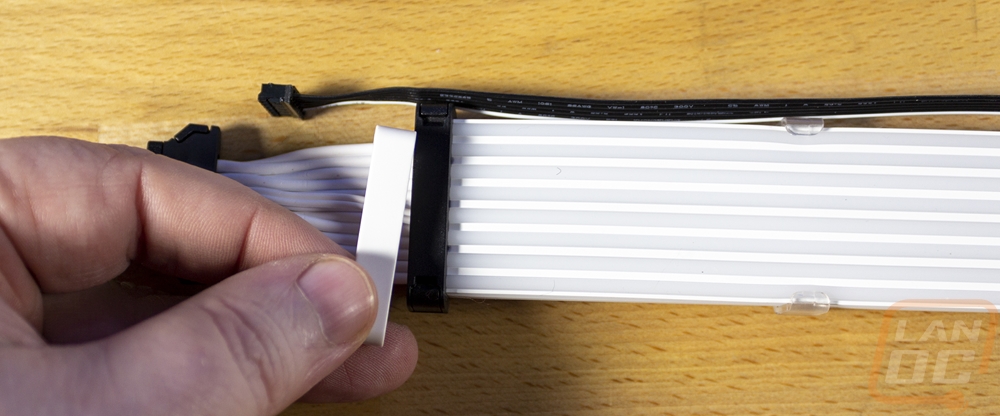
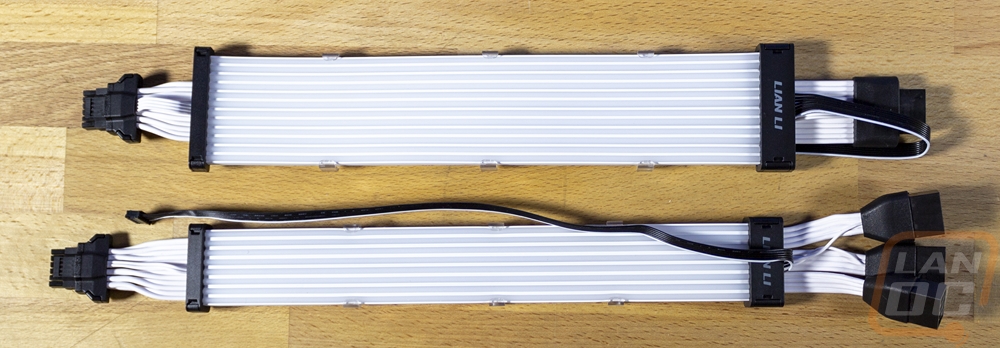
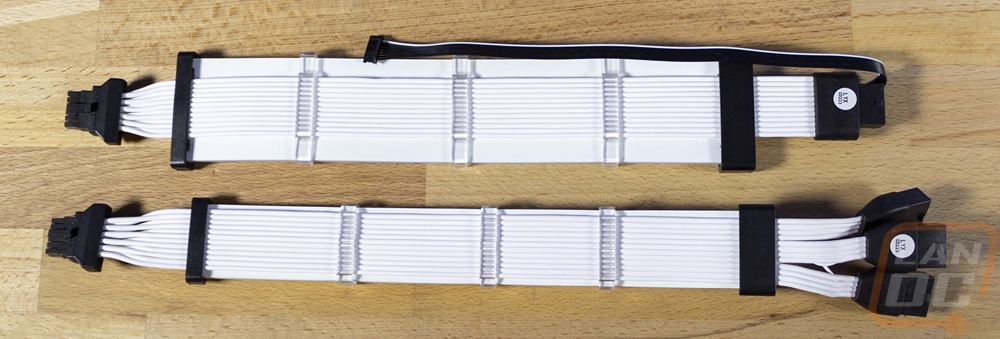
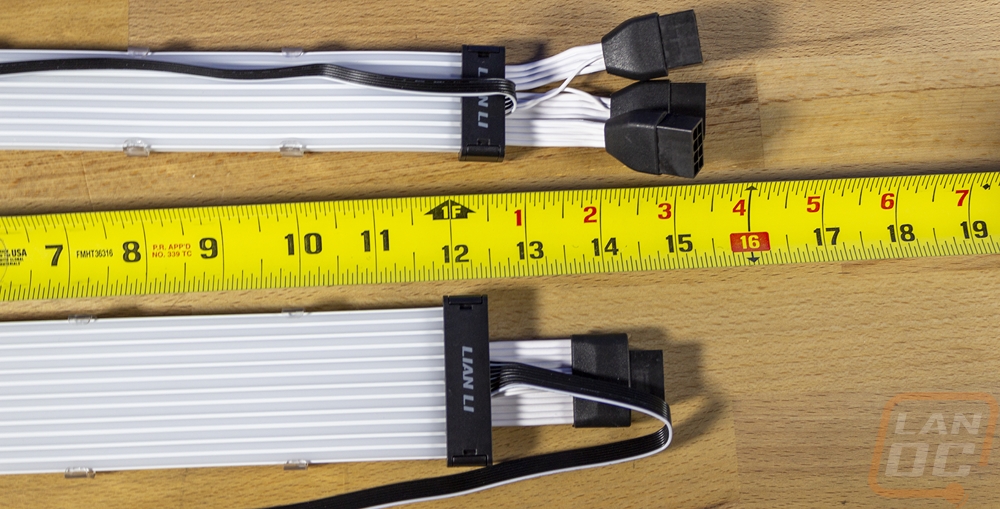
The first cable we have is the 3 x 8-pin to 12VHPWR extension. This cable is 320mm long and has the male 12VHPWR connection on one end and three female 8-pin PCIe plugs on the other end. This is the shorter of the two cables and has fewer light bars as well with eight across the top which is interesting because the cable is larger with the mess that the three 8-pin plugs on the one end. If you haven’t seen the Strimer extensions before the cables have a base white cable which is flat and at least part of the cable is hidden behind the light diffusers which have the RGB LEDs behind them. The main power cables are now more compact and use a cable that closely matches what you would see on most power supplies whereas the older design had individually sleeved cables which just complicated things. Unlike the Strimer Plus kit that I took a look at back in 2020 this design doesn’t have the lighting bar split up at all and is all in one piece, the old design was split up for every two diffusers. The male 12VHPWR connection has a surprisingly large plug behind it which also spreads out near the top. With the drama around the 12VHPWR connection early on I have to wonder if Lian Li beefed this up just to be extra careful. The light strips on the Strimer Plus V2 are a little thinner compared to the original Strimer Plus as well with them being 2.1mm wide to the original 2.8mm. Now I should note that on the 12VHPWR end, you need to set the Strimer cable up to match the orientation of the plug on your video card as well as where you want the cable to come from. For my test setup, it already matched but you can remove the clear clips and black clips to change the lighting to the other side of the cable if needed. They also include the white clips which you can swap out if you want the cable to be all-white to better match all-white builds. The lighting then has one cable with a 6-pin connection for the 3-8-pin to 12VHPWR cable.
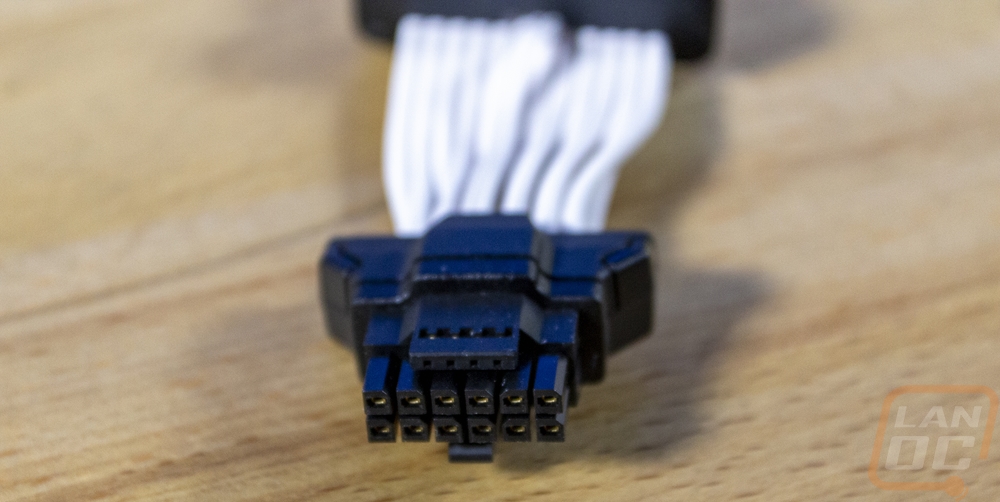
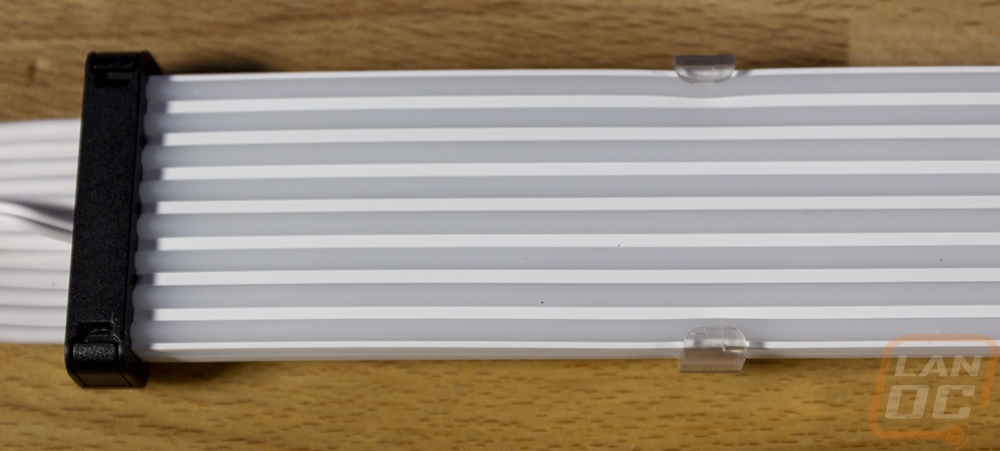
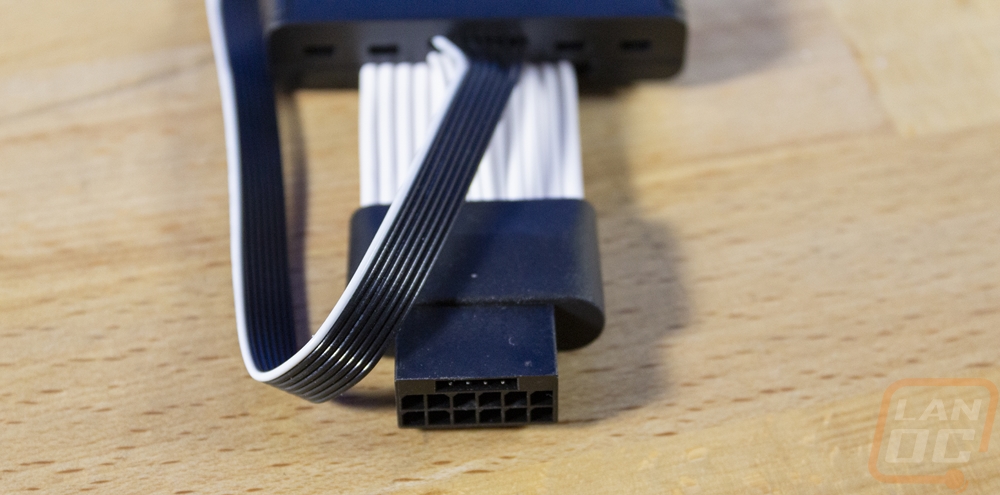
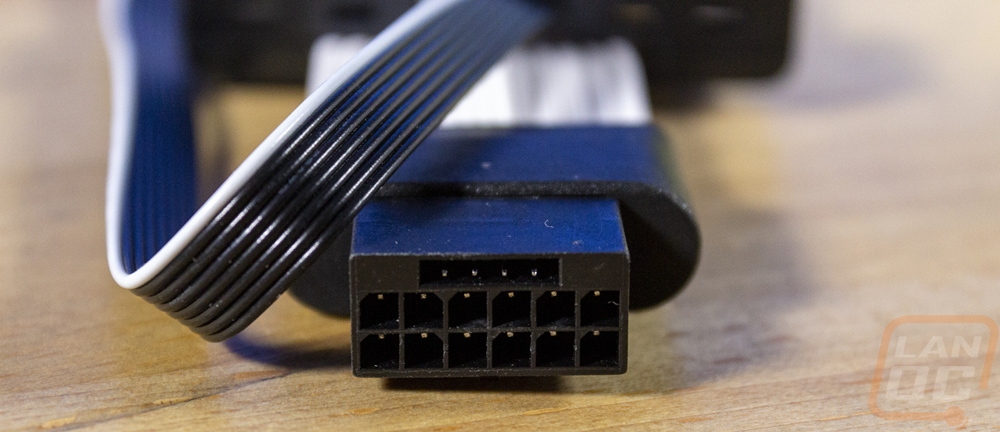
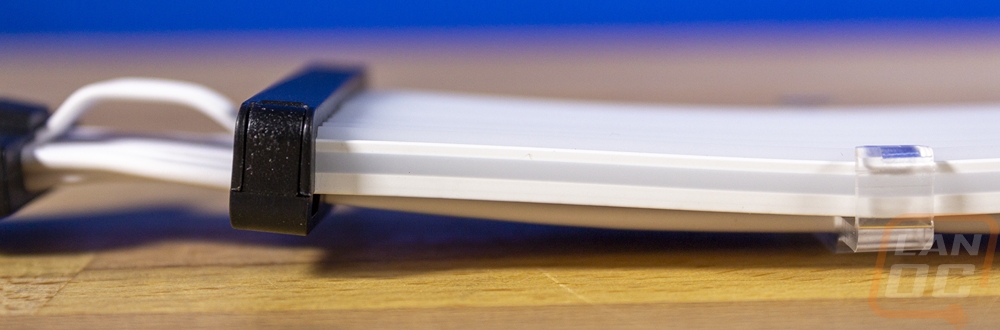
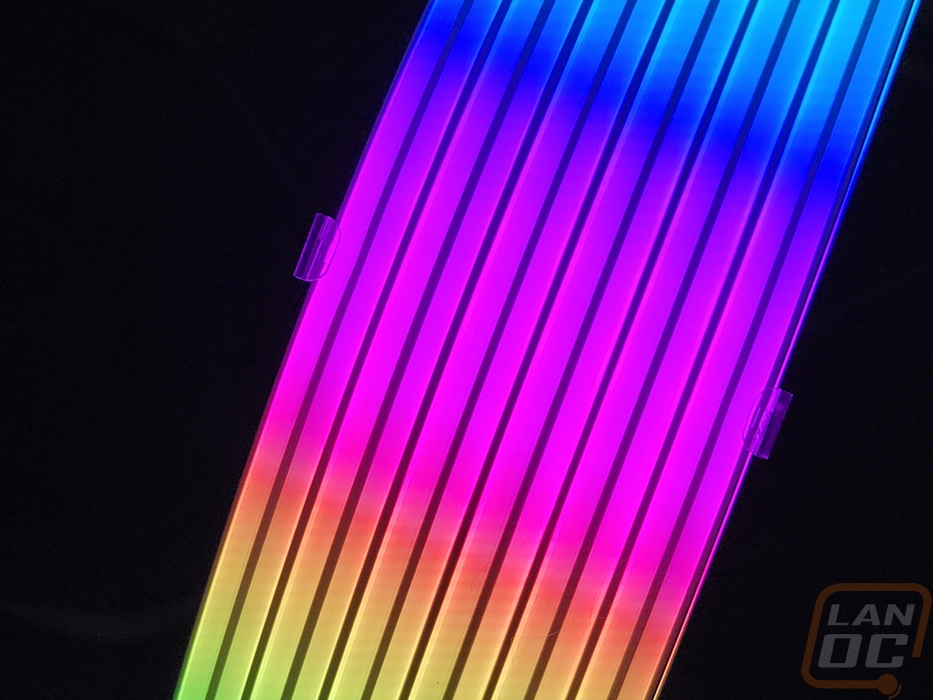
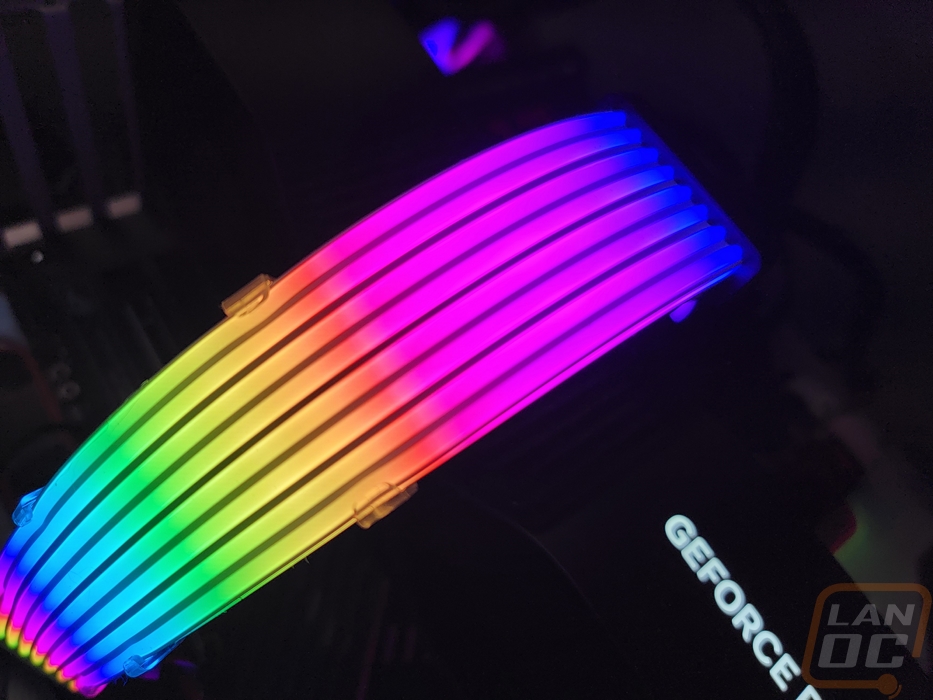
The second cable Lian Li sent over was the 12VHPWR to 12VHPWR cable and this one has the new connection on both ends for people who already have new ATX 3.0 power supplies. They actually have two different 12VHPWR to 12VHPWR cable designs, one with the same 8 bar wide lighting and then this model which has the wider lighting. Most of the features I mentioned from the previous cable all apply here as well but it does have a few quirks. I also have a better picture of the side view of the Strimer Plus V2 which both cables have the lighting showing on the side as well as the top. The wider 12 bar wide lighting on this model stands out the most and honestly, it’s a little too wide if you ask me. Thankfully they do have both options for the 12VHPWR to 12VHPWR cable. This cable is a little longer but the 3-8-pin cable takes up more space with all of the 8-pins on the one end. But have the same 12VHPWR plug and cable at the end though. The additional lighting does mean that the white clips are exclusive to this cable has an 8-wire RGB cable whereas the other cable had 6 wires. The female 12VHPWR is large as well but not as large as the male end
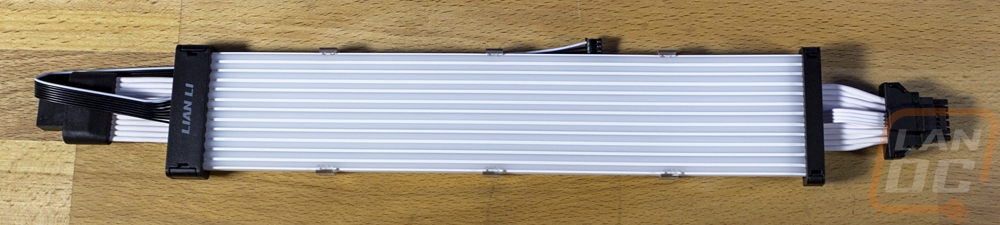

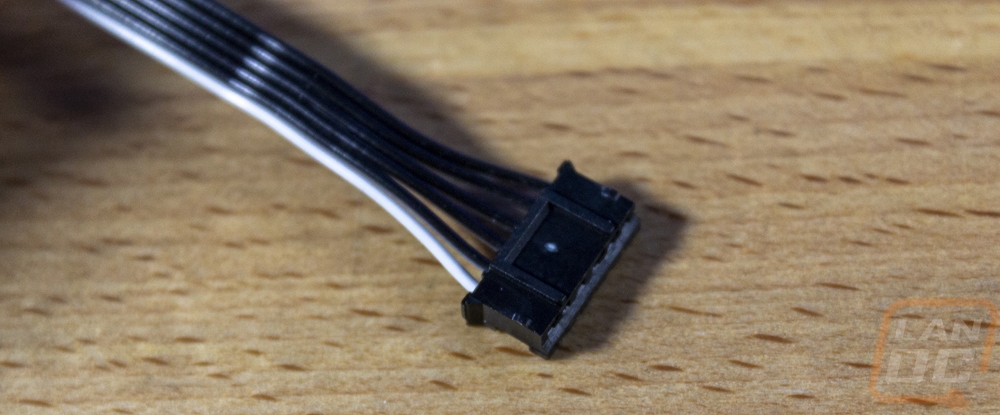
I also have a few pictures of the two cables next to each other as well which show the difference in length as well as the difference in lighting on top. I should also point out that neither cable comes with an L-Connect 3 to control the lighting. The included cables have the standard 3-pin addressable RGB connection on the end that can be tied in with most RGB controllers including the controllers that most motherboards have. Of course, you are most likely going to be going for a full kit and the motherboard 24-pin Strimer Plus V2 does come with the controller.
Performance
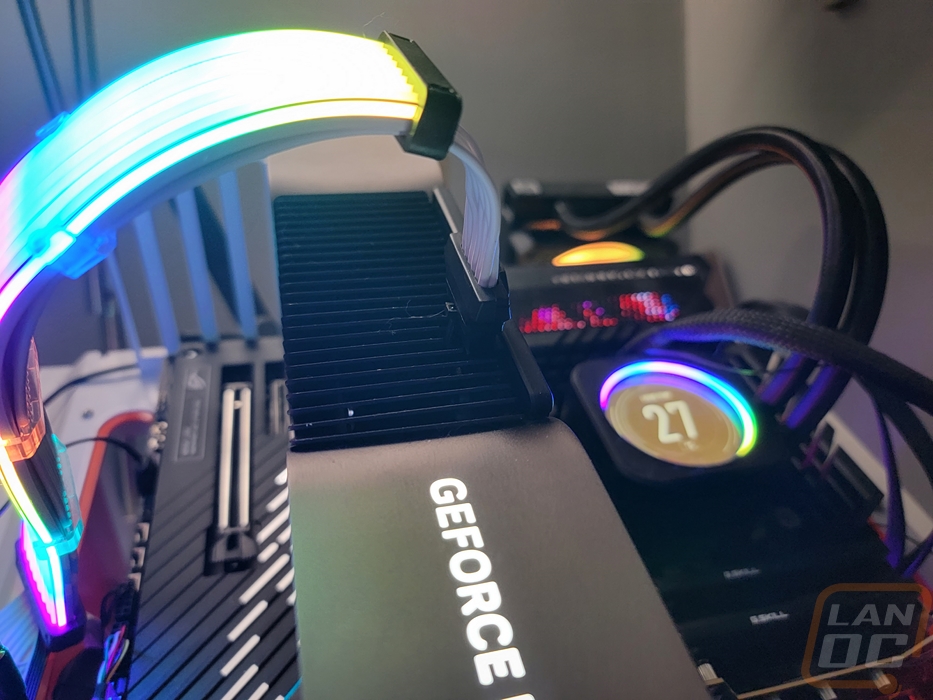
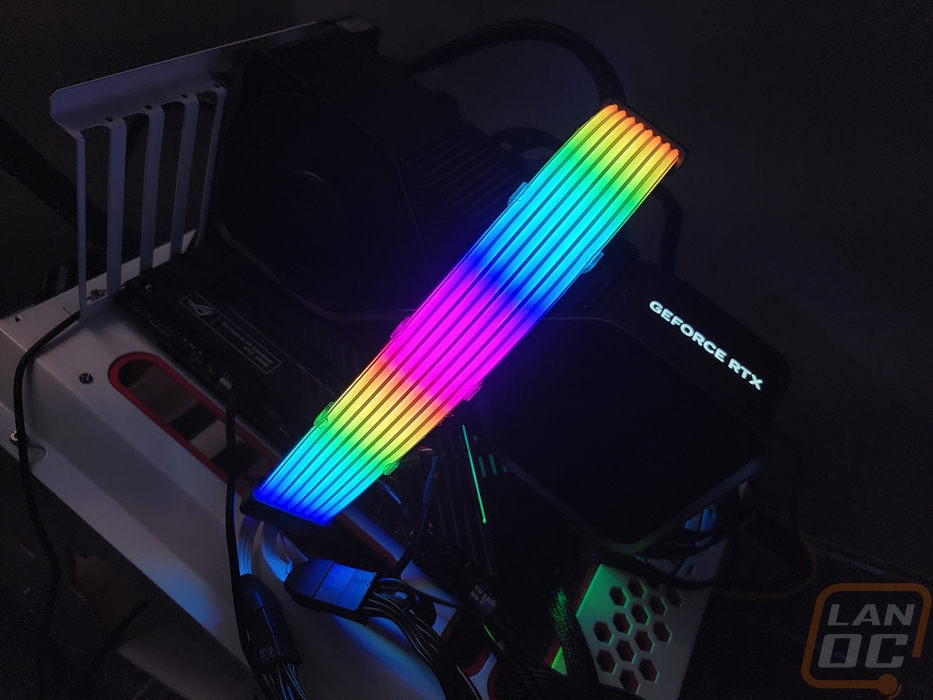
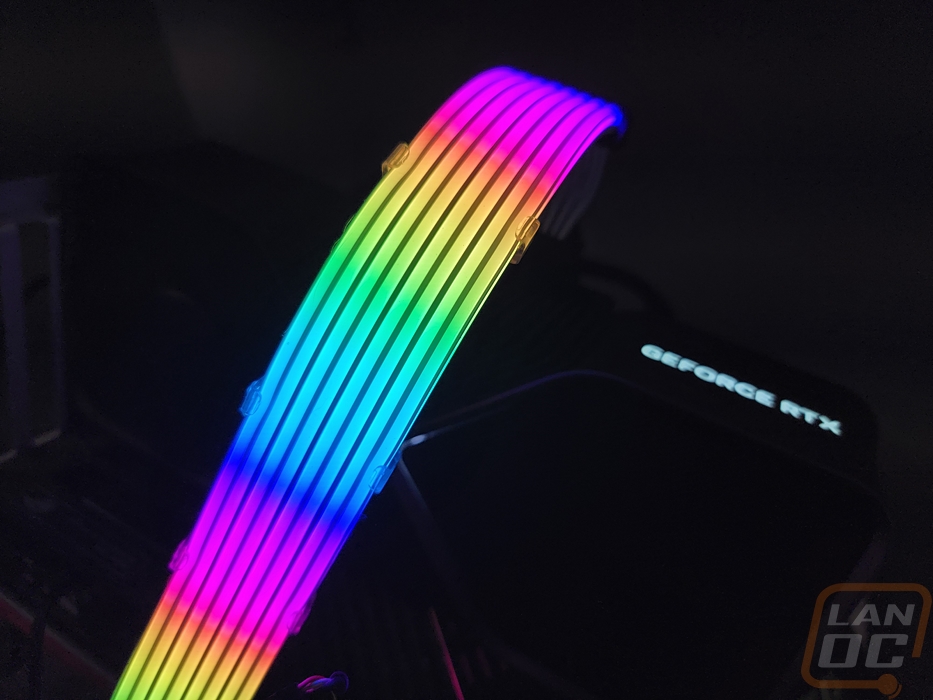
The Strimer Plus V2 extension cables don’t play any part in any actual PC performance, so testing for these is simple. We just need to get them installed and check out the lighting. As I mentioned before for the installation there is one aspect you do have to keep in mind beyond what a standard power cable extension would have. The power connection at your video card can only plug in one way so you need to confirm that the clip lines up with how you want the cable to run, if not you will have to unclick the lighting off of the power cord and flip it around. After that, it is as simple as plugging everything in. Because I wanted to get a look at the lighting from different angles I installed them on our open-air test bench. There was one aspect however that stood out, the distance between the 12VHPWR plug and the lighting does leave a big area without lighting.
Beyond that, though the installation was easy. To get things lit up, because we don’t have the Strimer Plus V2 L Connect I could only run the lighting off of the addressable RGB header on our motherboard. From my experience with past Strimers and Lian Li’s Uni Fan lineup making sure you have the controller is worth it for the effects that it makes possible.
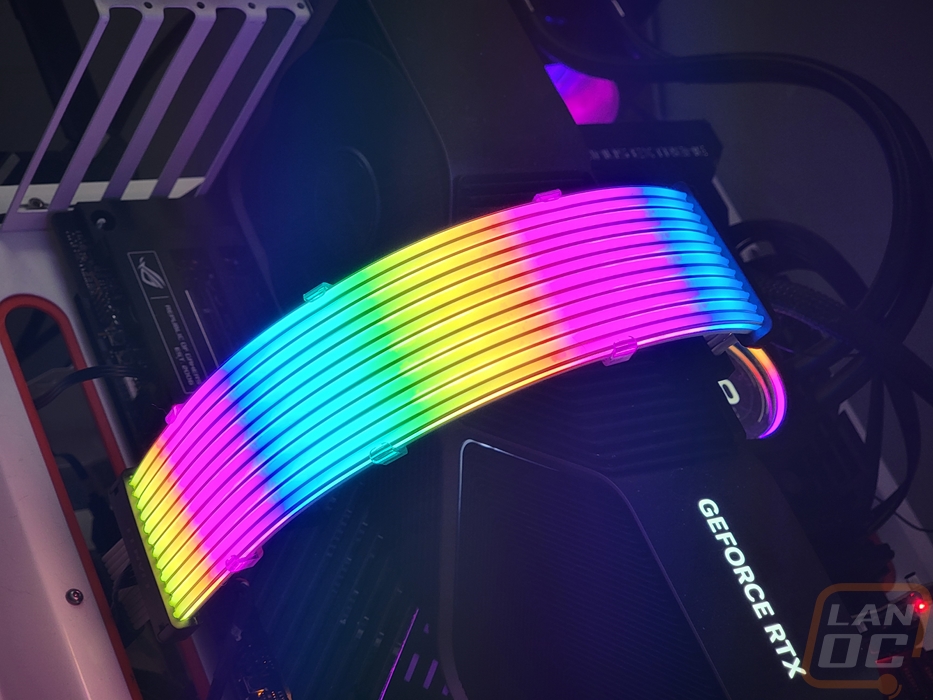
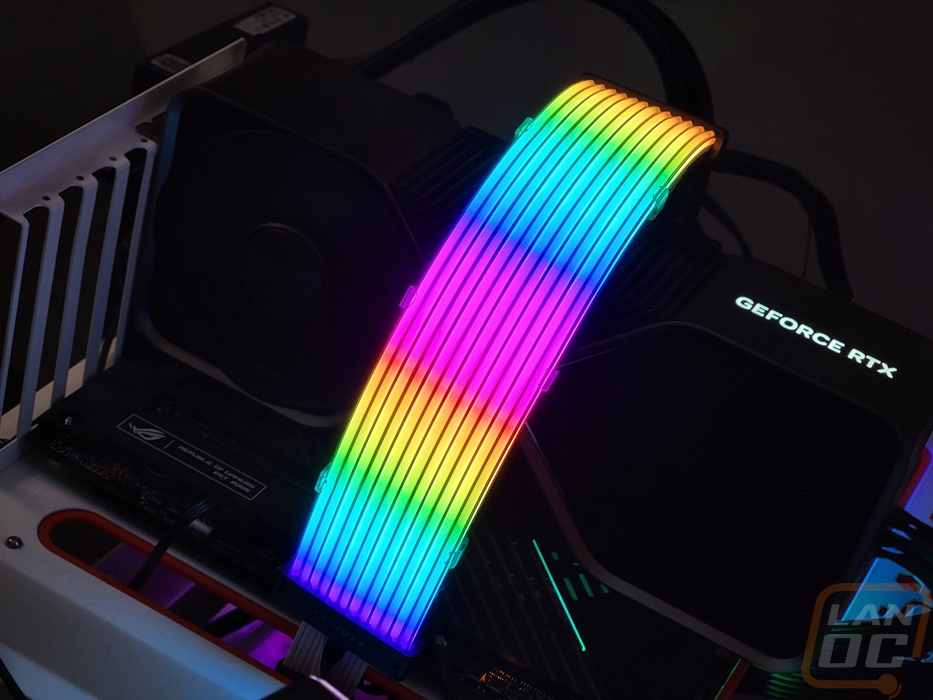
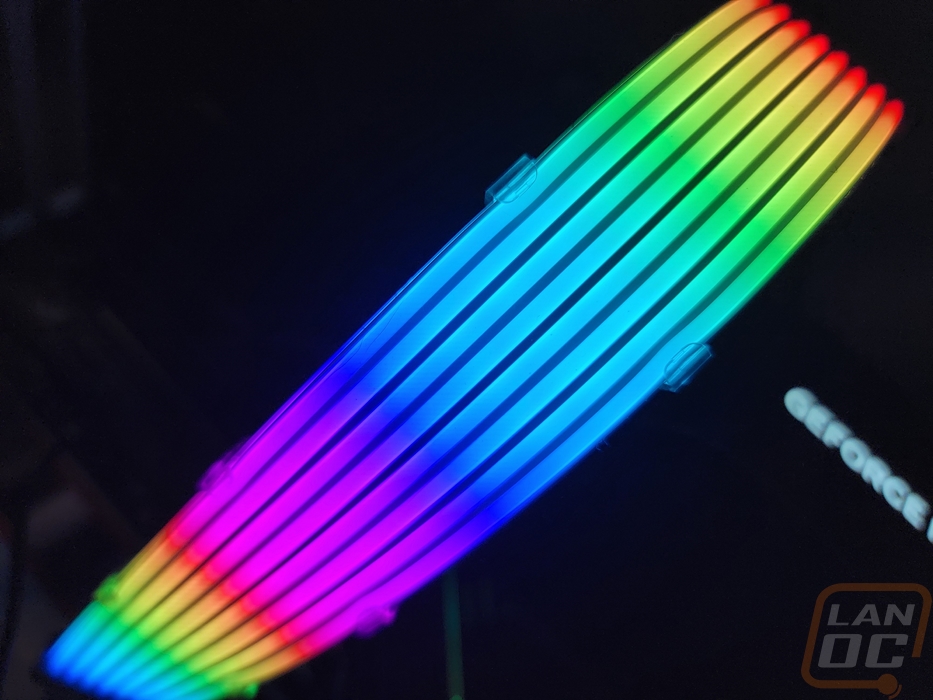
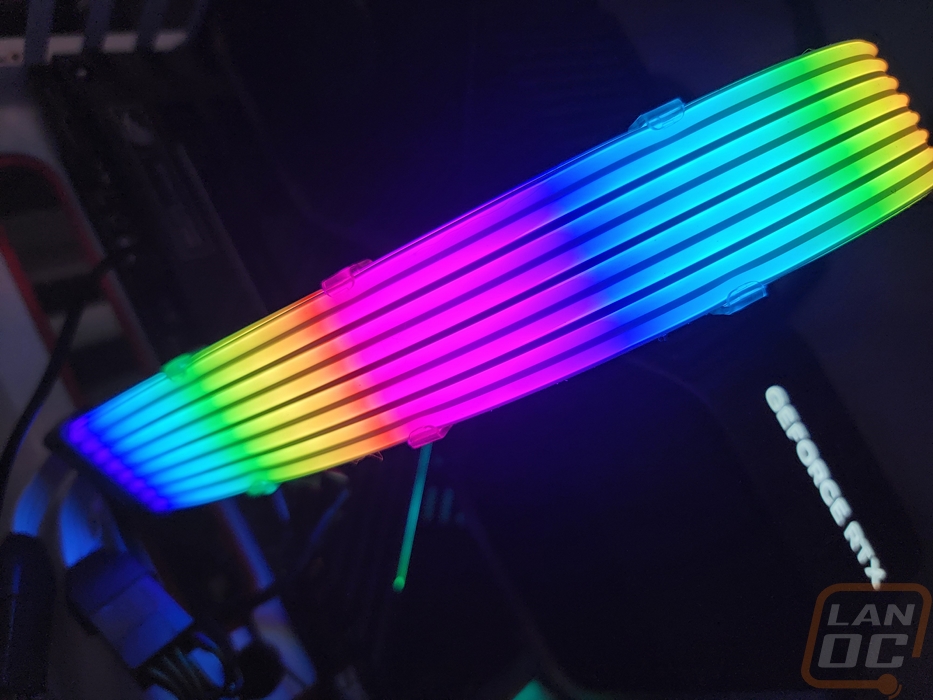
The default effect from the motherboard did look great though. More importantly, the Strimer Plus V2s were bright and looked great day and night. The addition of the side light guide also helps to give lighting even when you aren’t looking right on. My concerns with the larger 12 light guide model being too wide weren’t as bad once things were lit up but the 8 light bar model was still more than enough as well.
Overall and Final Verdict
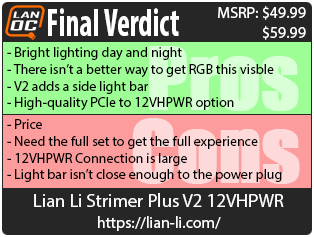
RGB lighting in PCs has always been a polarizing subject, some people don’t want any at all and others would put RGB on their RGB if they could. I myself have always felt there are times for both. I love a crazy build filled with lighting just as much as a murdered-out build. Thankfully there are options for both and for RGB lovers Lian Li’s Strimer cable extensions have always been a must have. The changes with the newer Strimer Plus V2s just add to that and simplify how things work. Considering that a lot of the crazy lighting builds also have a newer higher-end GPU, adding options for the new 12VHPWR connection just makes sense. I was surprised that Lian Li ended up making three different variations though. They have an option that uses three 8-pin connections for anyone with an older power supply and then two that are 12VHPWR to 12VHPWR. One of those has 8 light bars and the second is larger with 12 light bars. Personally, the 8-bar model would be more than enough, but when it comes to crazy lighting people haven’t exactly been known to be reasonable so the option is there at least.
As far as performance goes I like the new side light bars that the V2 lineup brings and the more compact lightbars allow them to fit a little more lighting in the same space. You do however have to invest in the entire extension set to get the full effect. That goes two ways because without the 24-pin you don’t have the L Connect controller which helps get a wider variety of lighting. It would also look a little weird with just the video card extension without the others. The new 12VHPWR connector that they went with isn’t exactly small, but I suspect that Lian Li was being extra careful after the initial launch issues. I wouldn’t mind also seeing the lightbars start closer to that plug as well.
For pricing, the two 8-light guide models have an MSRP of 49.99 and the 12-light guide model is $10 more at $59.99. That isn’t exactly cheap and that is before you have to pick up the 24-pin for $75.99 to complete the set. But I do think that you are getting more lighting and more lighting where it is visible than with a lot of other RGB options so if that is what you are aiming for then this is still going to be the option for you.
Live Pricing: HERE


