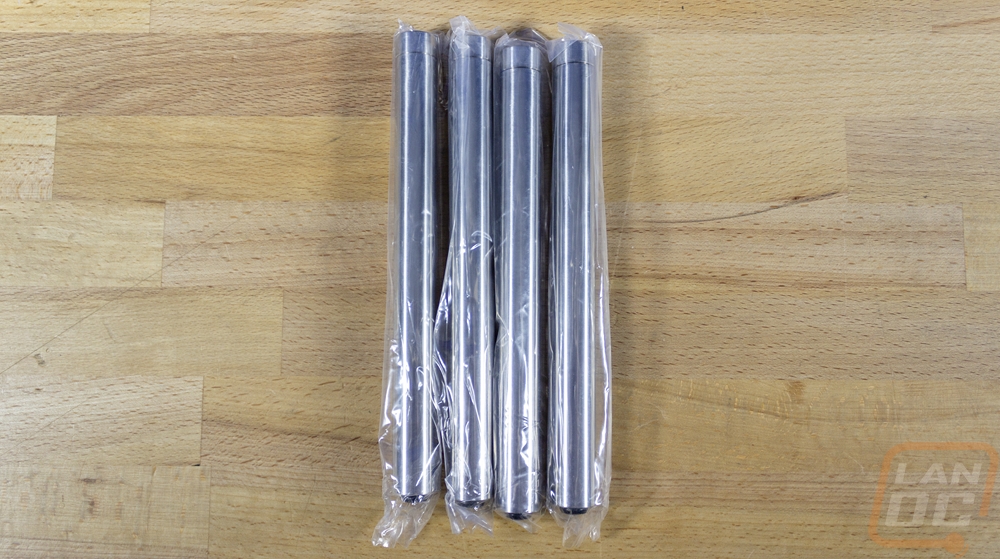
Photos and Features
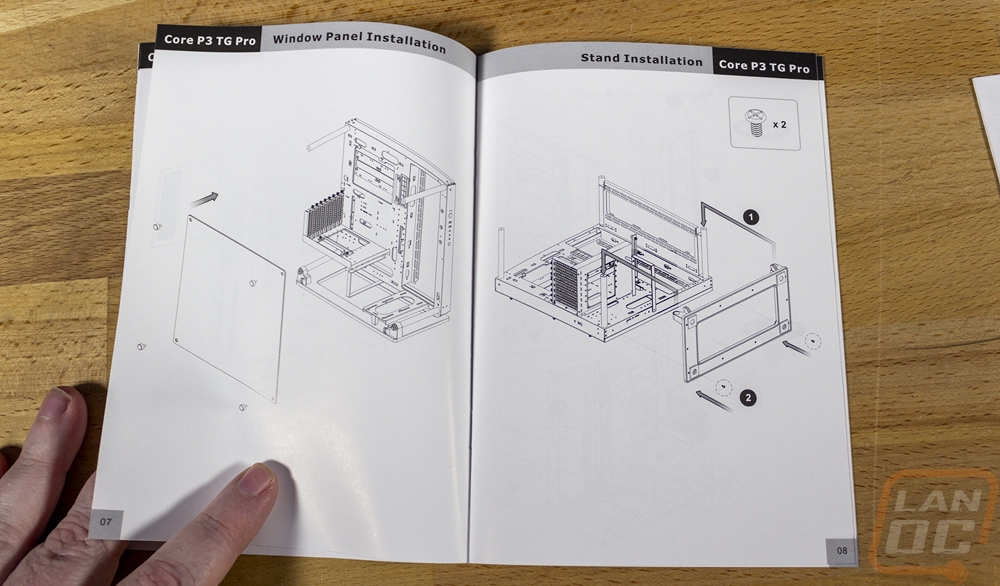
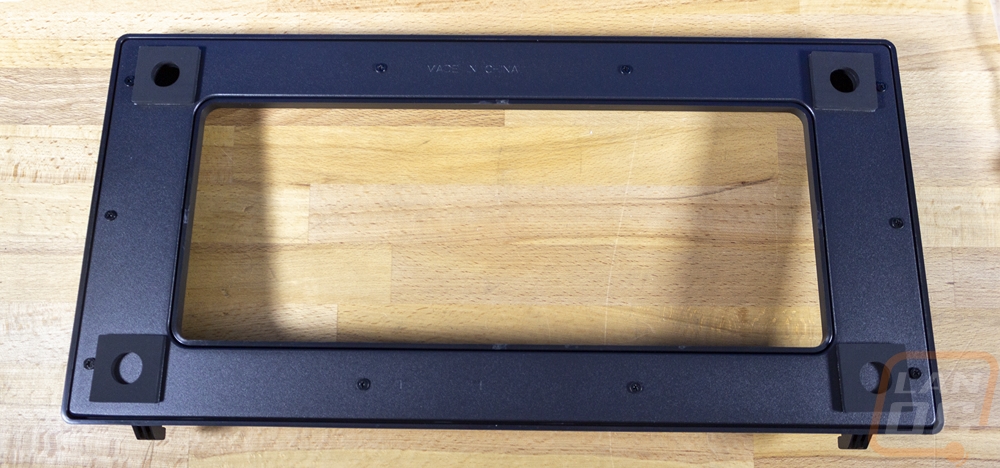
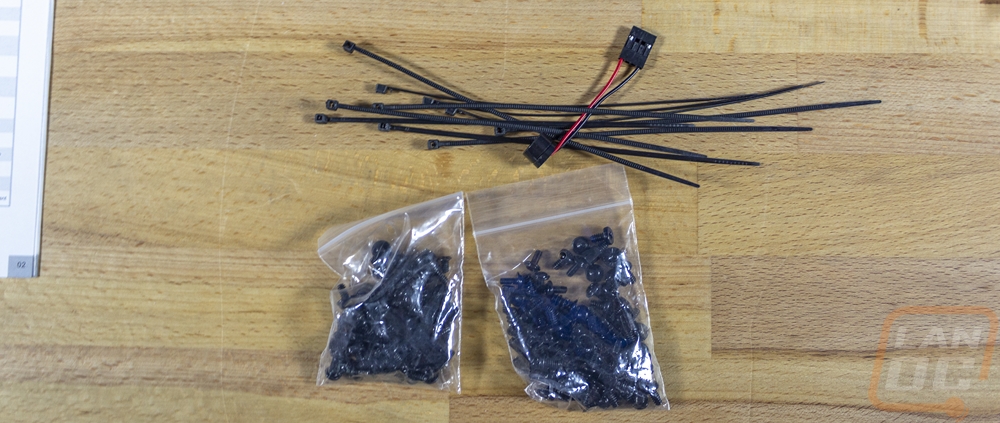
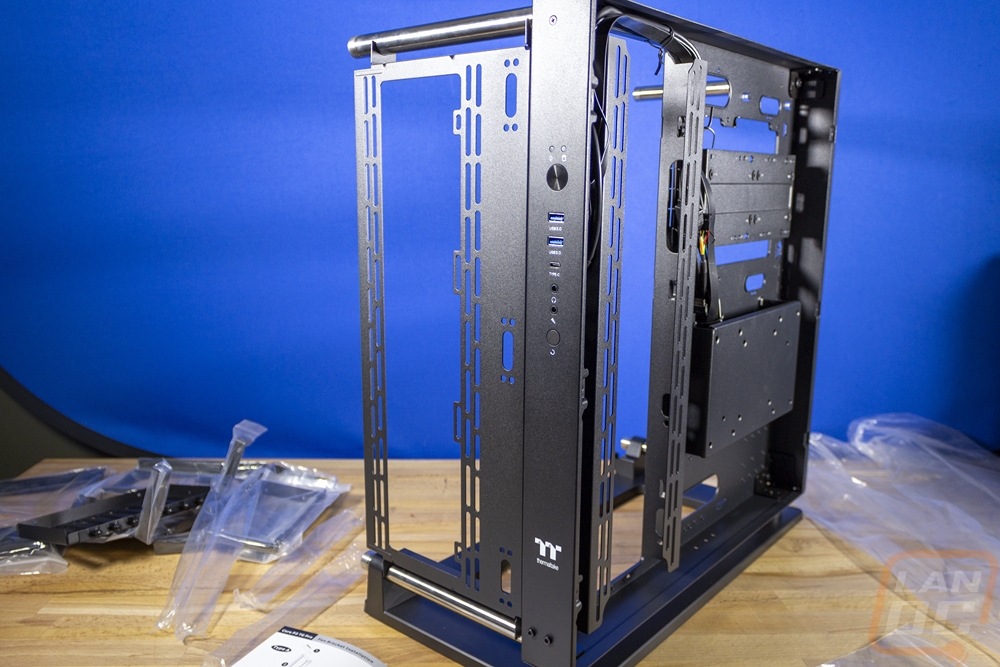
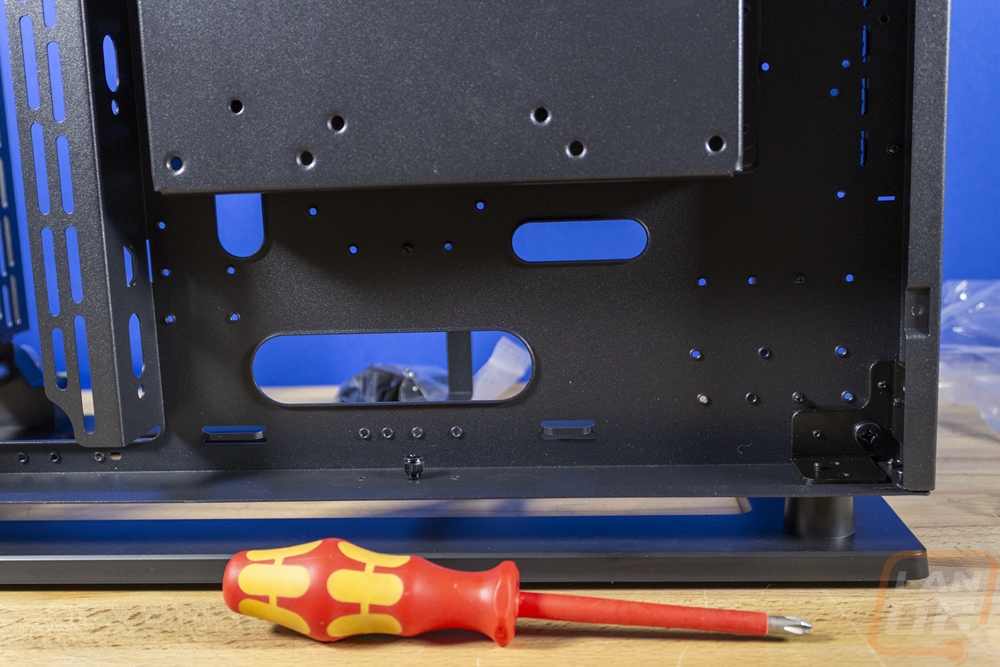
Because the Core P3 TG Pro is an open-air case there isn’t any reason to have the inside and outside case pictures split up like we normally do so this time around I have everything in one section. In addition to that, with the Core P3 TG Pro coming in flat packed it also means that we do need to put the case together before I can even dive into some of the features. So Let’s start out by deciding the configuration we will be building. The Core P3 TG Pro is designed to be wall hangable, to stand vertically, and to lay on its back. So the first thing is we need to pick which of those layouts to go with. The vertical or horizontal layouts will depend on where you plan on using the case, for me though I wanted to build it in the say vertical layout as I did with my wife's Core P1 build. With that, I got the main housing out and unpacked the four large standoffs that hold the tempered glass panel. You will also need the newly added bottom panel which has the feet on it. The glass standoffs install just like they did previously, they come with a large screw preinstalled that you need to remove. Once you take the back panel off of the main housing you can slide the screw in each corner and tighten the standoff down. The bottom foot however uses the bottom standoffs for part of its stability so you need to put those on at the same time. Then there are two smaller screws needed that run up from the bottom to finish attaching the base. Finding those screws is a huge pain though, there are a lot of different screws included with the Core P3 TG Pro and Thermaltake only has them divided up between two bags with no labels. You have to go off of the pictures in the instructions but the screws are all very similar, these were longer but the drawings didn’t indicate that so I just had to sort through and find a screw type that there were only two of.

With the feet installed, I then had to make a few other decisions with the configuration. For starters, you can install your PCI slots to mount your video card traditionally or vertically so the fans are visible through the glass. Aesthetically I would prefer vertical, but the Core P3 TG Pro doesn’t come with a PCIe riser cable, you will need to buy that to run that configuration. The P1 that I tested previously is the only Core P case that comes with it, it does add to the cost but I do wish it was included. So with that in mind, we know that our PCI brackets will get a traditional mount, so the large bracket for vertical mounting isn’t needed. Then from there, you can horizontally or vertically mount the power supply which goes down at the bottom. You also have a few options when it comes to power supply length as well. The main mount supports either configuration but there are two different support straps depending on which you go with. Funny enough I still managed to install both of these wrong and only figured that out later when installing components. There is also a support bracket for your GPU if you do a traditional horizontal mount that you can use if you are concerned about sagging. Then last up is deciding if you want the fan/second radiator mount and if so if you want it installed at the top or front of the case. This supports a triple fan setup with 120mm or 140mm fans and it was extremely easy to install. I put it on the front of the case. You remove one of the glass panel standoffs and reinstall it with this panel, which holds it in place. You then just have a few screws from the back that will hold it in place to keep it from moving.

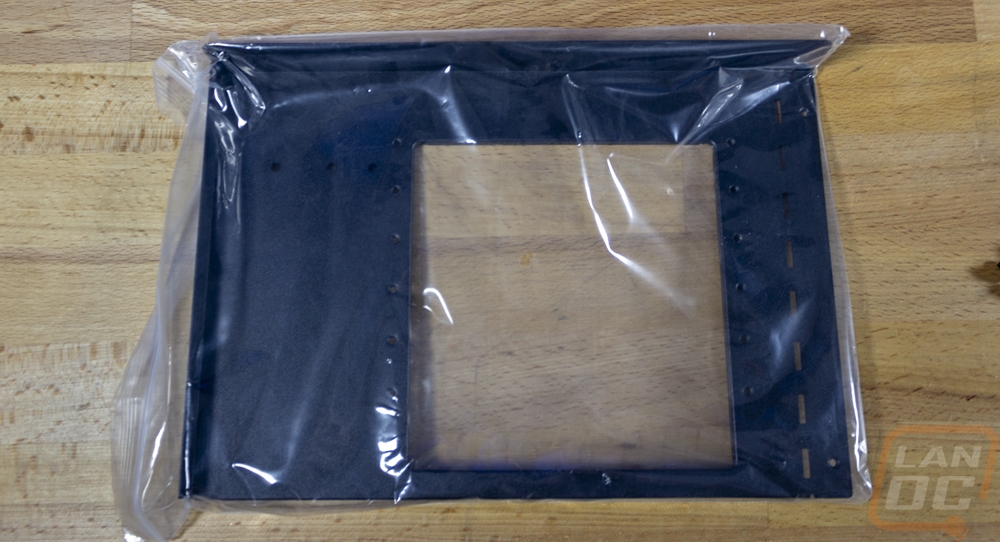
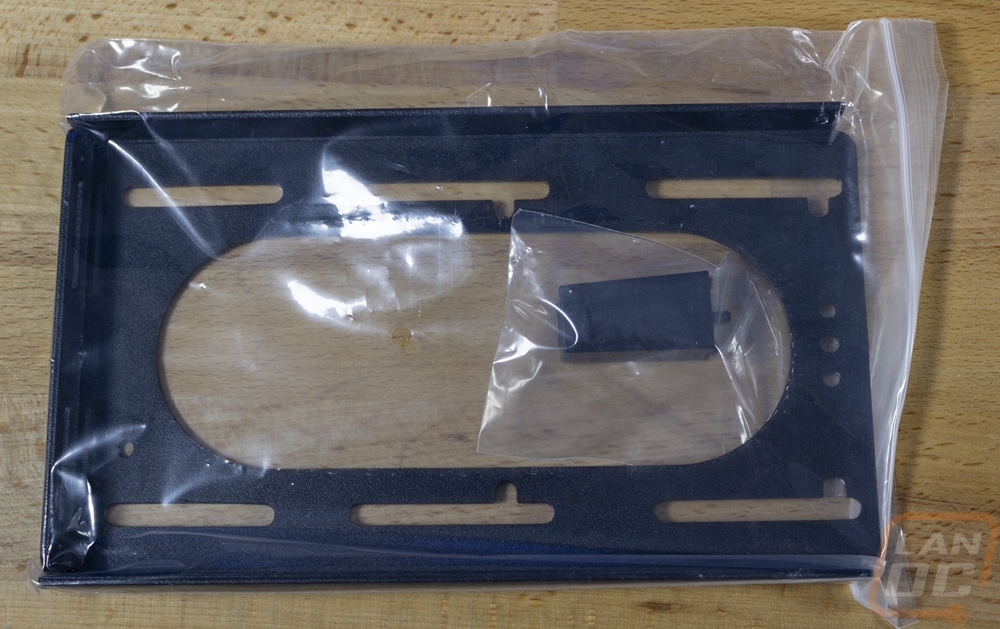
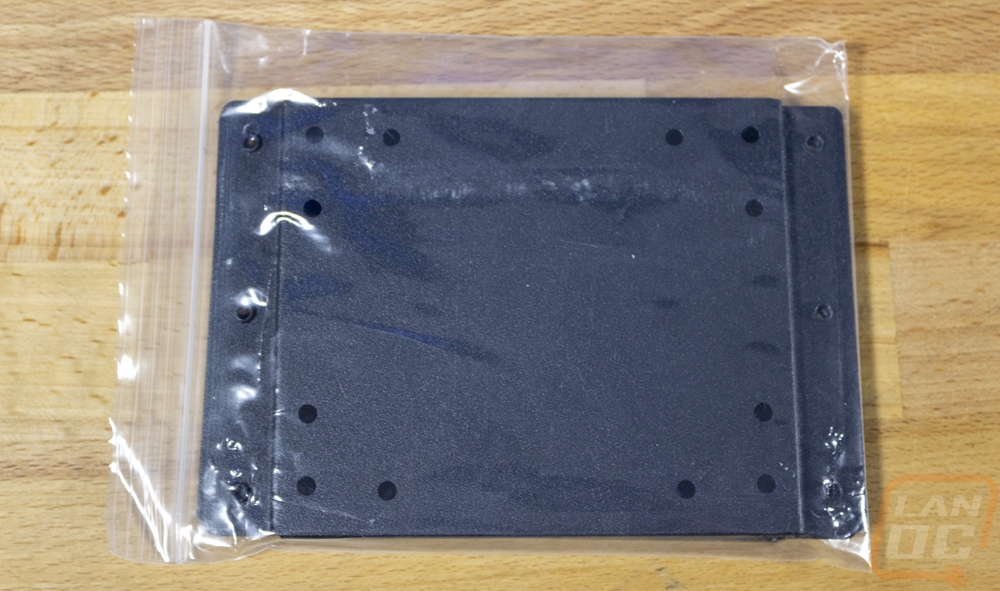
There were two other brackets included that we also didn’t use that I should point out. One has an oval cut out in it and then slots that support mounting a variety of water-cooling pumps and reservoirs. With an open case like the Core P3 TG Pro, custom water cooling is one of the best things you can show off and Thermaltake has these brackets to make setting that up as easy as it can be. There are also two solid mounting brackets that can be installed in the main or top/front fan brackets. These can be used to mount additional SSDs or hard drives or are perfect as a custom mounting point for anything as well.
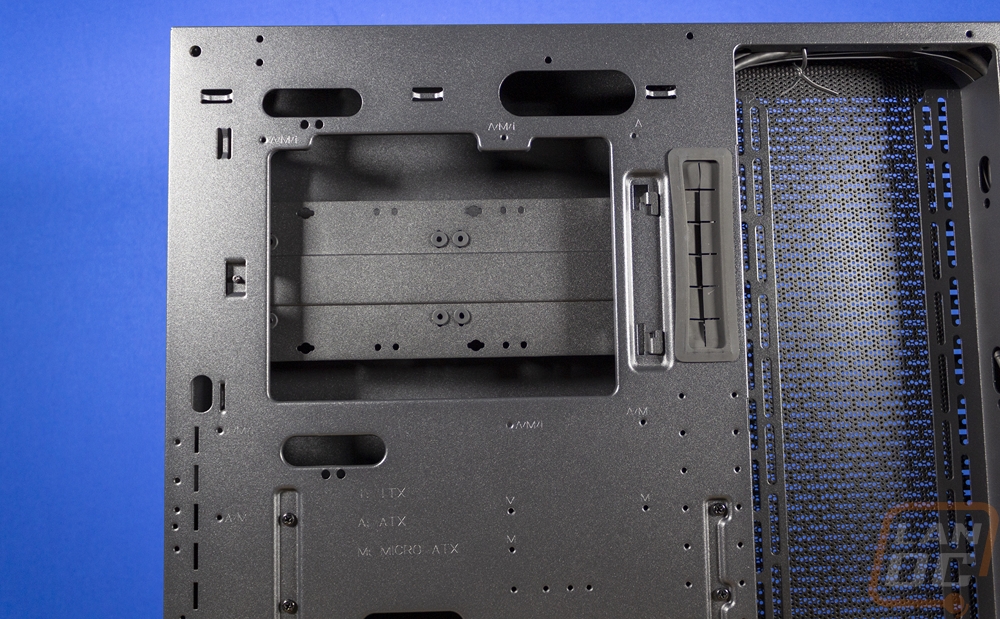
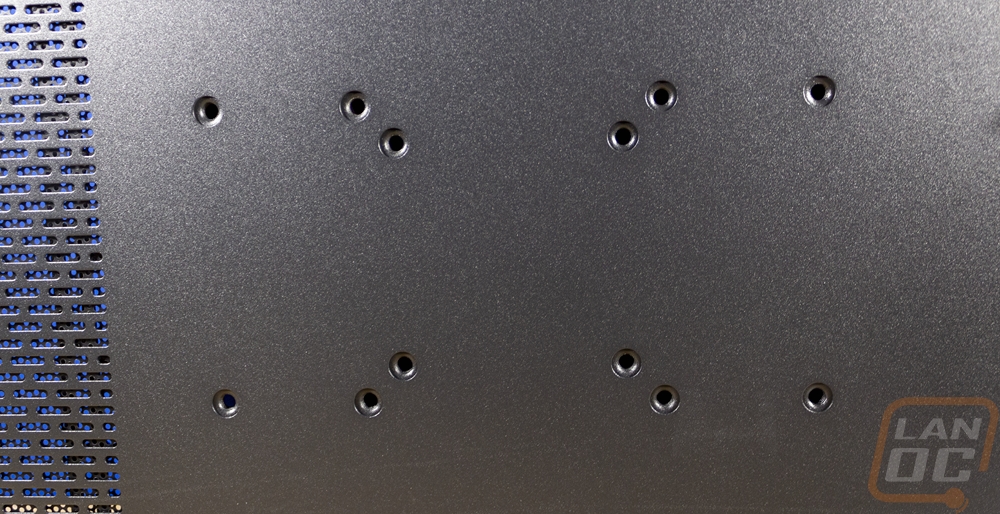
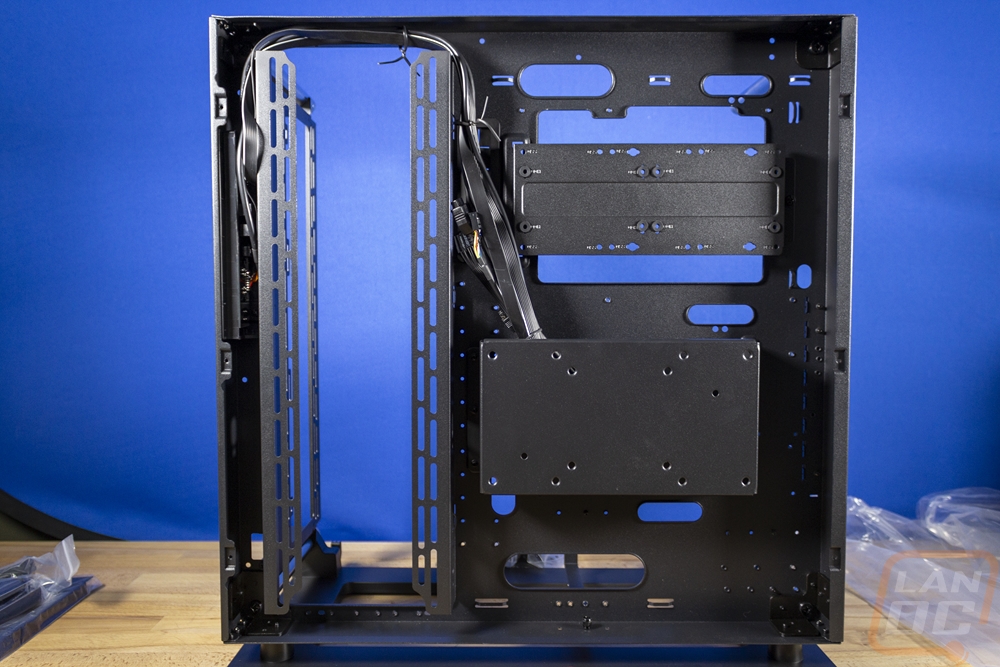
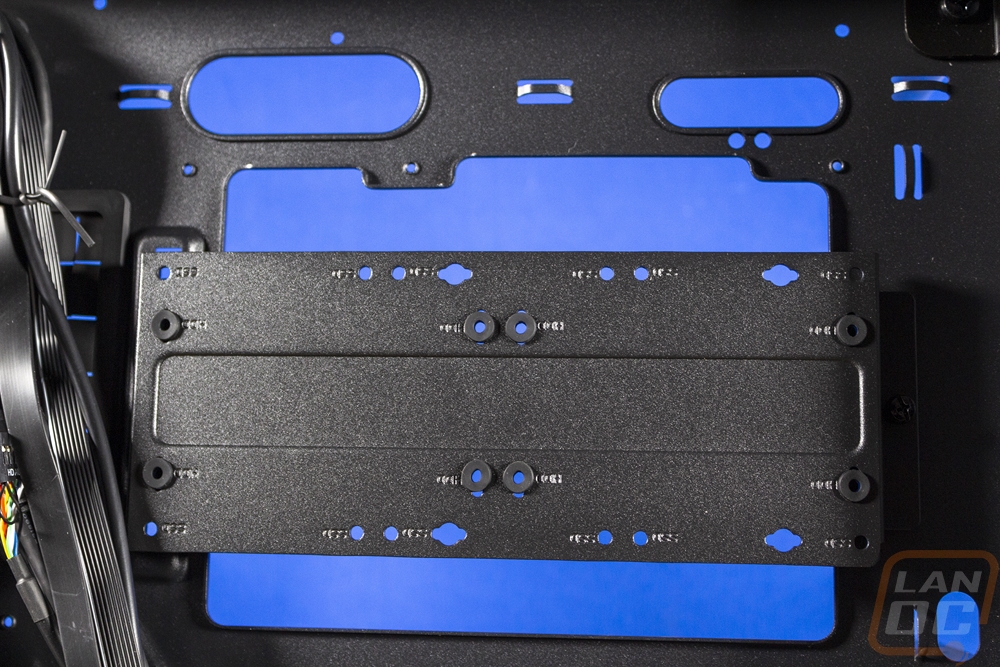
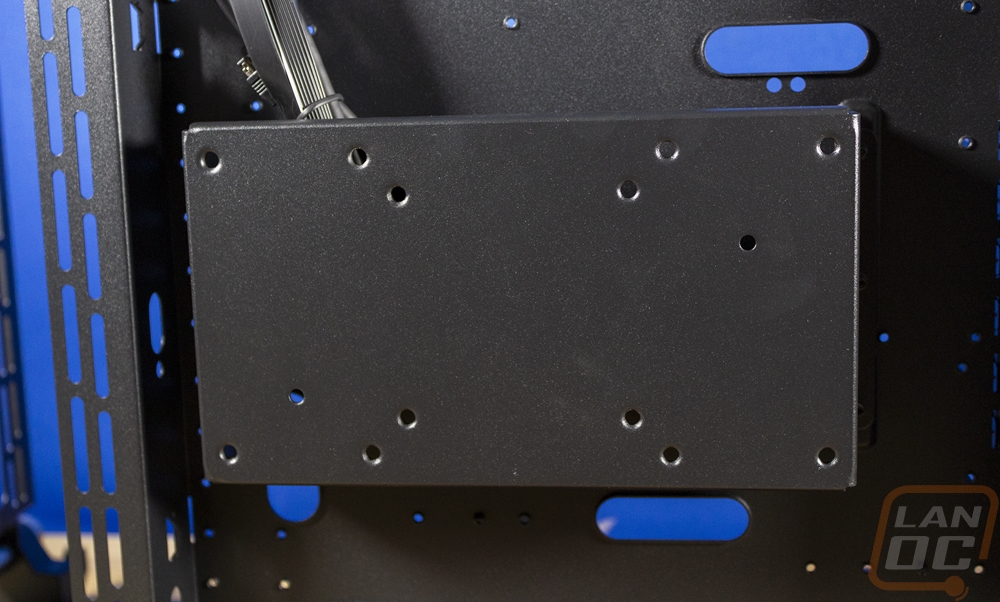
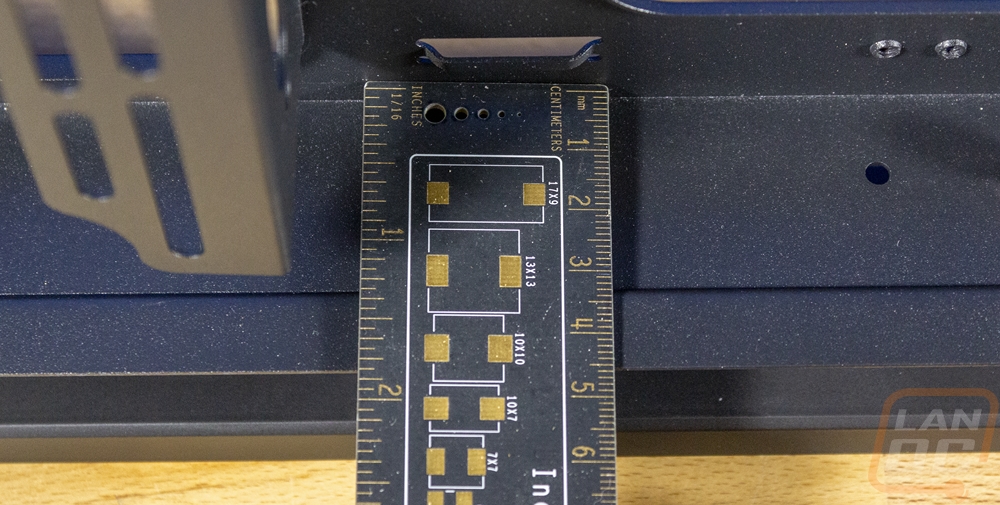
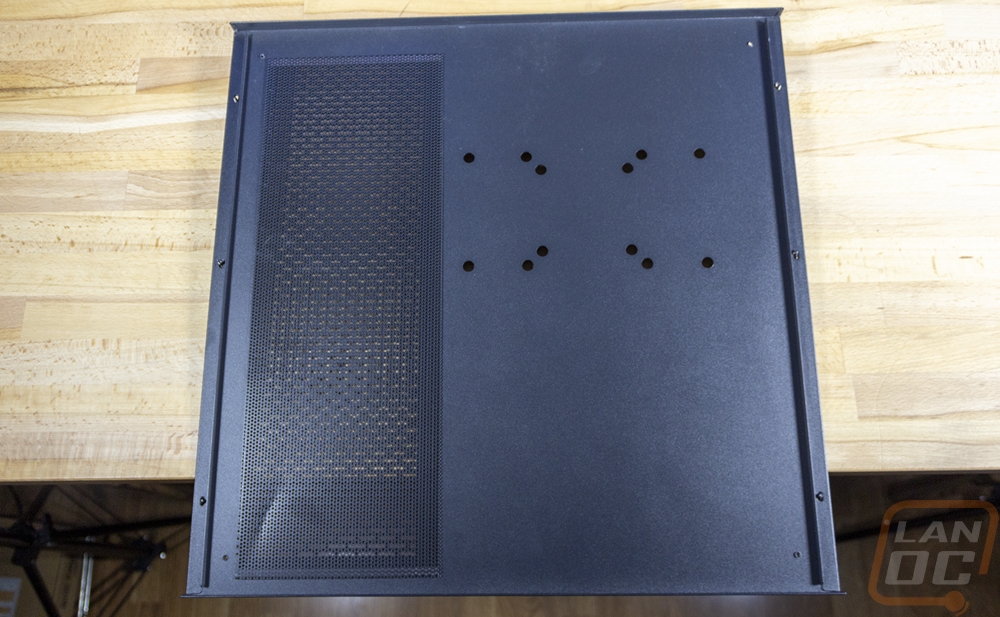
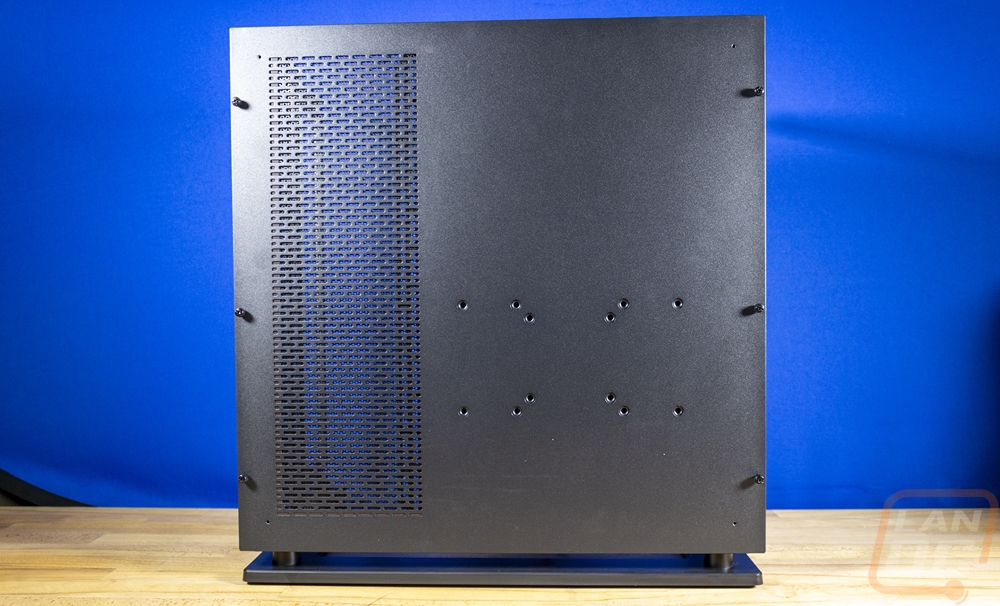
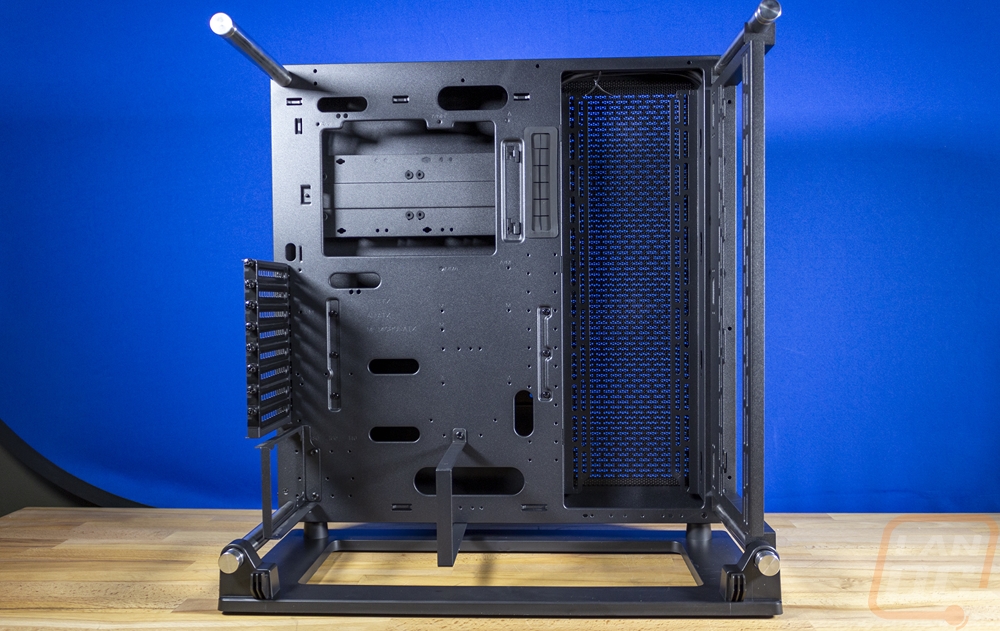
Before putting the back panel and glass on why not dive into the “interior” of the Core P3 TG Pro and there is only one part of the case that is truly inside. That would be the main housing that sits behind the motherboard which has a large panel that covers the back to hide wiring and mount SSDs. For how thin it looks it is thicker than I expected with 45mm of depth across most of the back. The exception to that would be the SSD bracket which goes over top of the back of the CPU access hole and just below that with the wall mount bracket. The hard drive or SSD bracket can support three 2.5-inch drives or two 3.5-inch hard drives. The wall mount bracket is interesting and is also the strongest part of the case. The back panel has holes in it to give direct access to the mounting holes here that support a variety of mounting layouts including the standard VESA mounts. The radiator mount that sits next to the motherboard is recessed into the back as well taking up space. But there is room to run cables above, below, and to the side of it as well as most of the space to the right of that. The front panel connections are right next to the radiator mount and come preran up across the top and down but depending on your configuration you can move those to run down at to the bottom. Multiple oval holes give room to run wires out to the front of the case but surprisingly only one is grommeted and that is the largest of all of the holes.
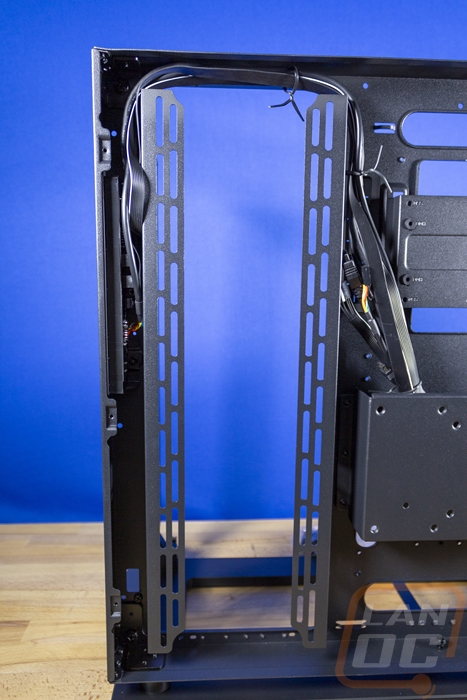
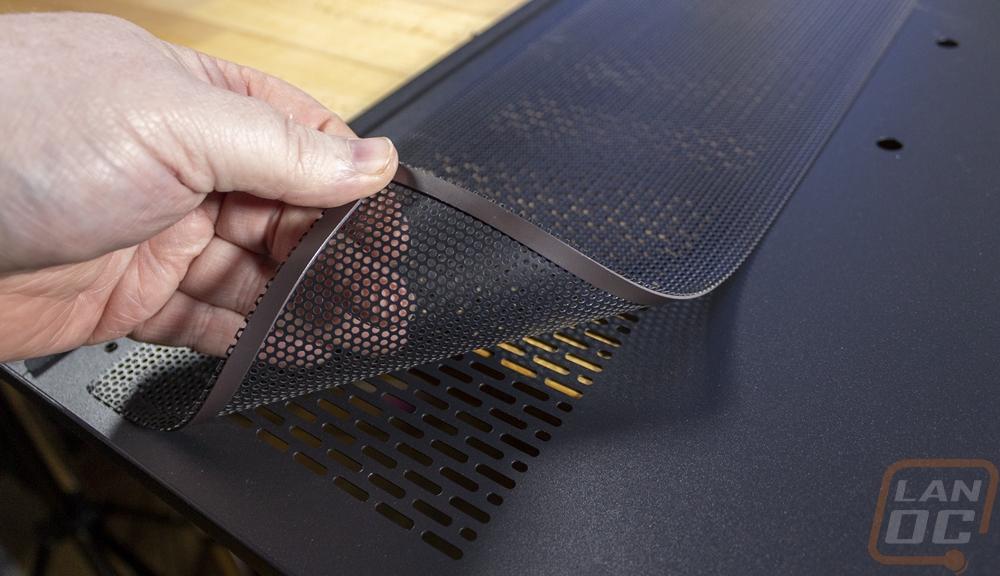
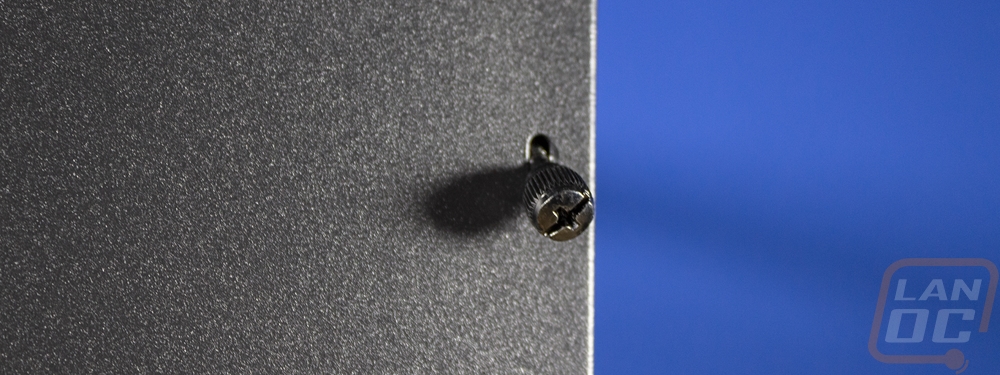
The back panel has a textured black finish on the inside and outside, unless you have the Snow Edition, then it would be bright white. You can see all of the pass-through holes for the wall mount configuration and the radiator area also has blow-through ventilation here as well. That even has magnetic dust filters which goes on the inside of the panel in case you are using the radiator to pull air from the backside. The back door panel then mounts with six thumbscrews which come installed on the panel and can’t be lost.
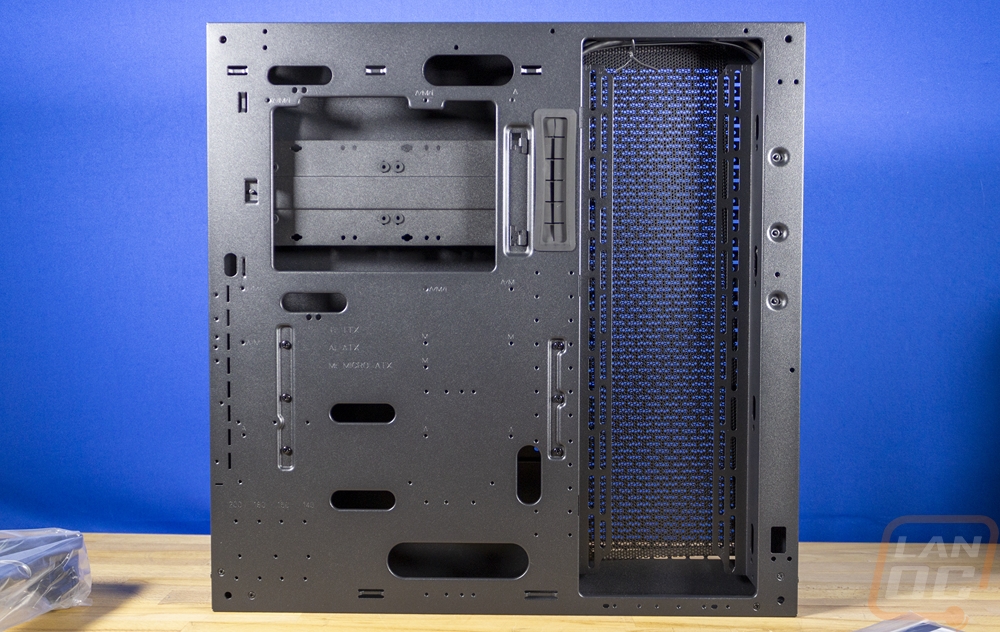
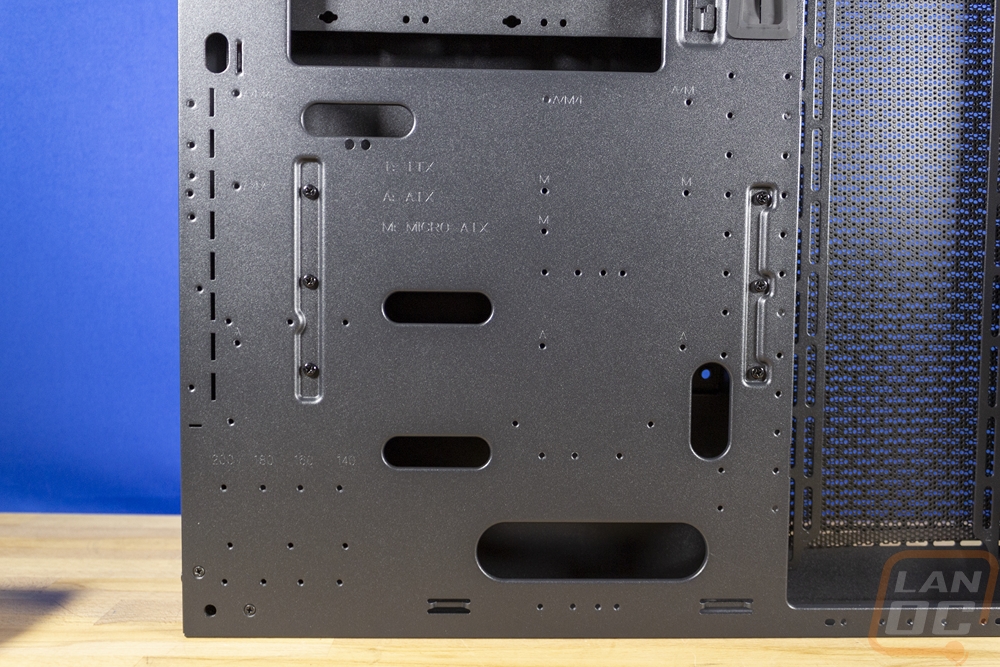
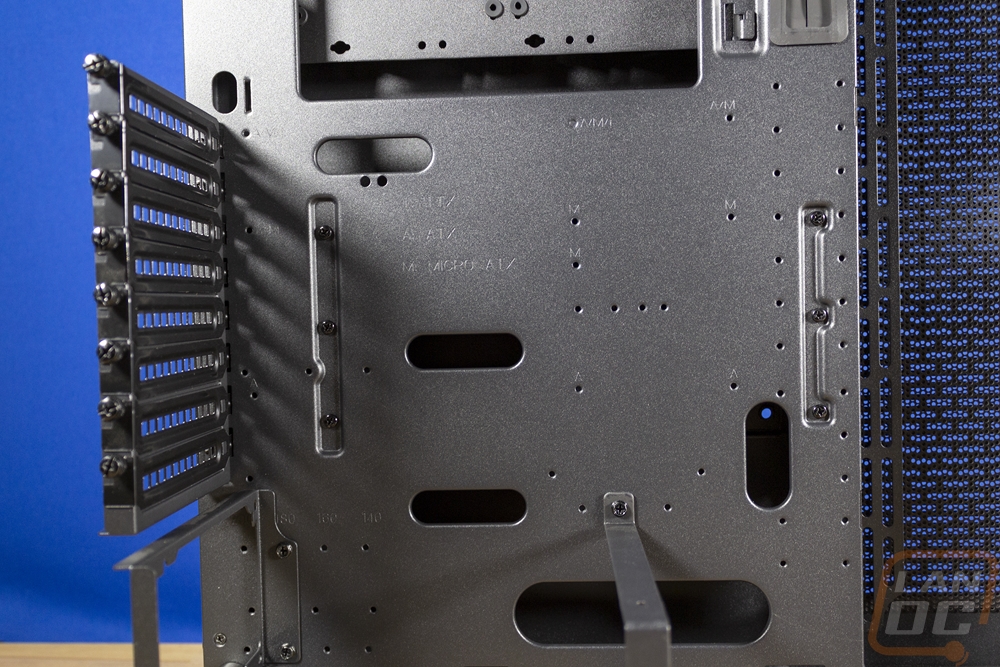
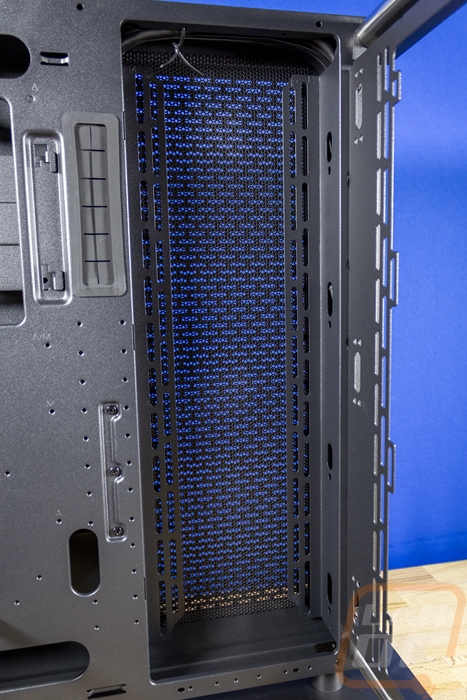
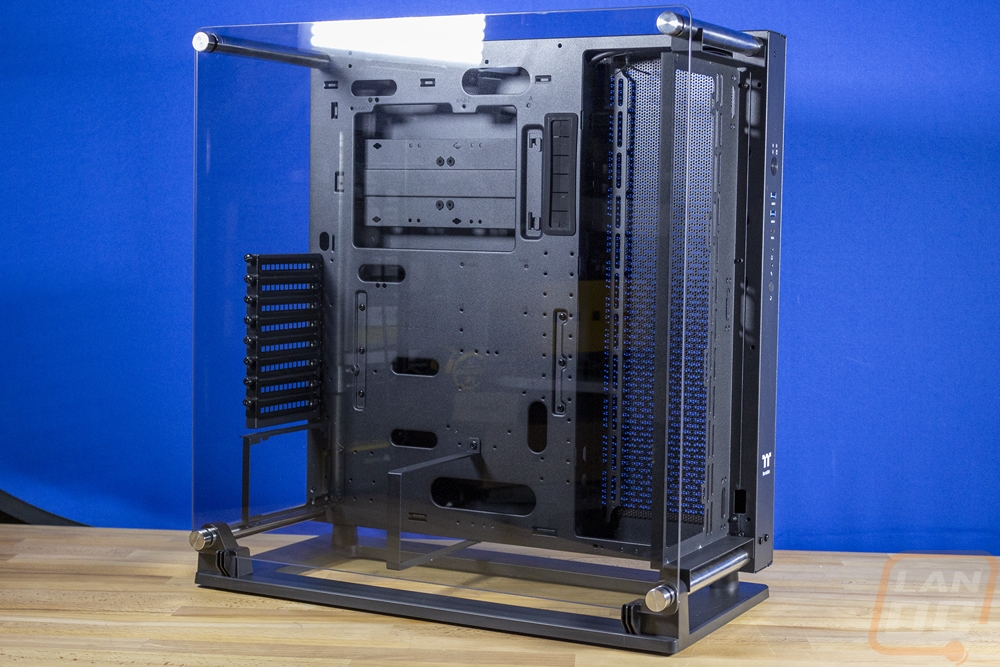
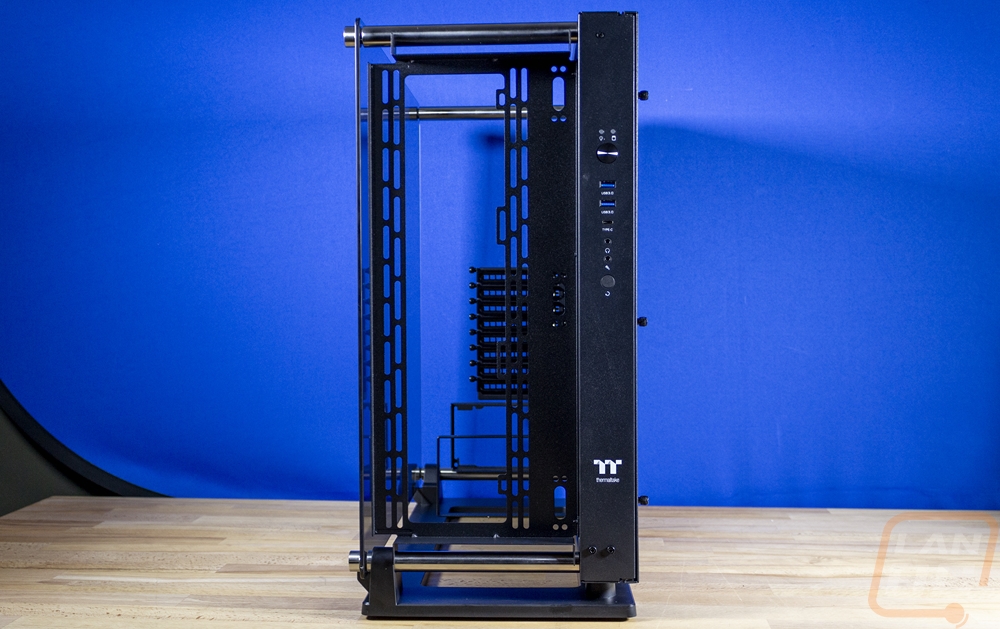
The traditional “interior” is of course almost completely open on the Core P3 TG Pro, just like all of the Core cases. The Core P3 TG Pro supports a full ATX motherboard which sits over on the left side. There is a large access hole to get to the back of the CPU socket there and then along the top two oval-shaped wire management holes as well as the larger rectangle hole on the right side designed for your 24-pin motherboard power. There is a small oval below the CPU backplate access hole for ITX motherboards and one lower than that for MATX motherboard as well then two down lower for full ATX. Then one last larger hole down at the bottom, that is for the power supply wires. The PCI brackets can be mounted traditionally, like I have here, or vertically with a shelf-like bracket if you have a PCIe riser cable to use with your video card. Then the power supply which is in the bottom left can be mounted horizontally or vertically as well and also has four different length mounting spots for the main bracket depending on the length of your power supply which supports up to 200mm in total PSU length. The support bracket has a few options as well. Over on the right side, it has a recessed radiator/fan mount that runs the full height of the case which by the way is 535 x 268 x 500 mm or 21.06 inches tall, 10.55 inches deep, and 19.69 inches wide. The radiator support blows through the back or can pull air from that direction and supports up to three 120 mm or 140 mm fans. The blow-through design and the positioning make this ideal for installing your CPU cooling if you are using an AIO or custom water cooling. Speaking of cooling, if you go with air cooling, with the side window installed you have up to 180mm of height. Then for your video card, you can fit up to 330 mm if you are running a water cooling reservoir or 450mm if you have the full length open.

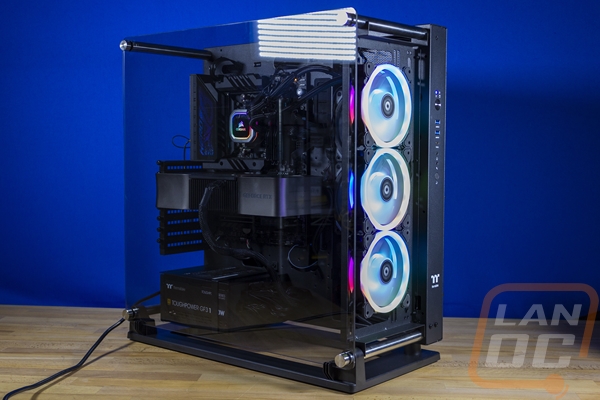
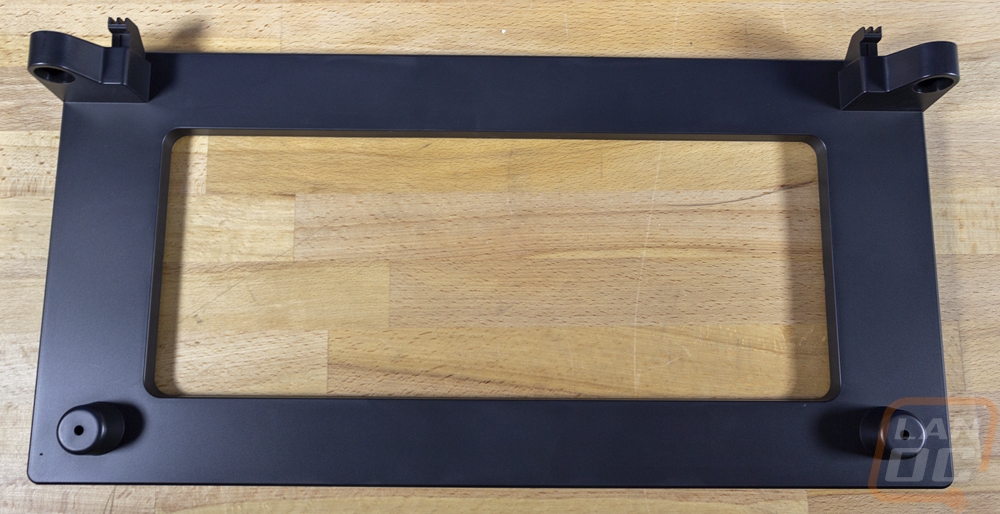
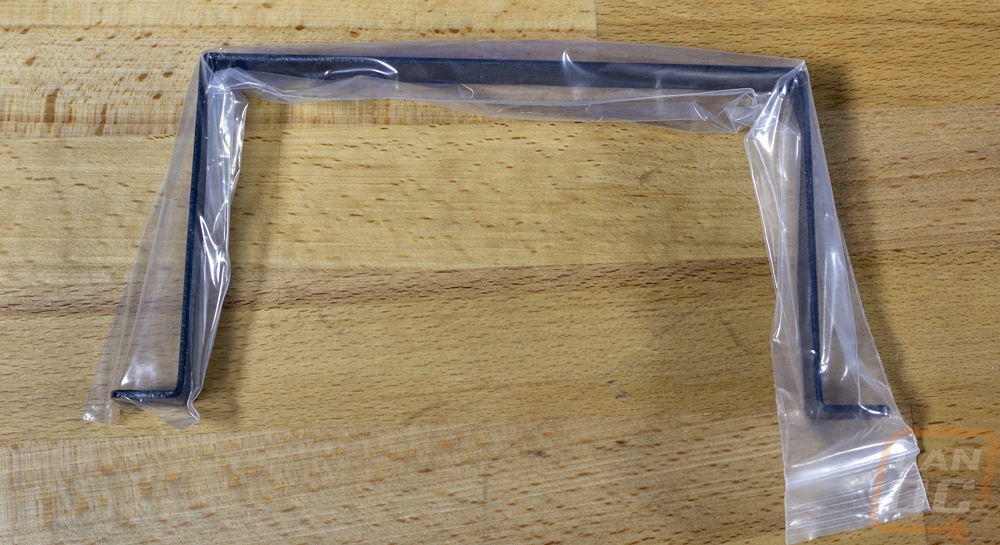
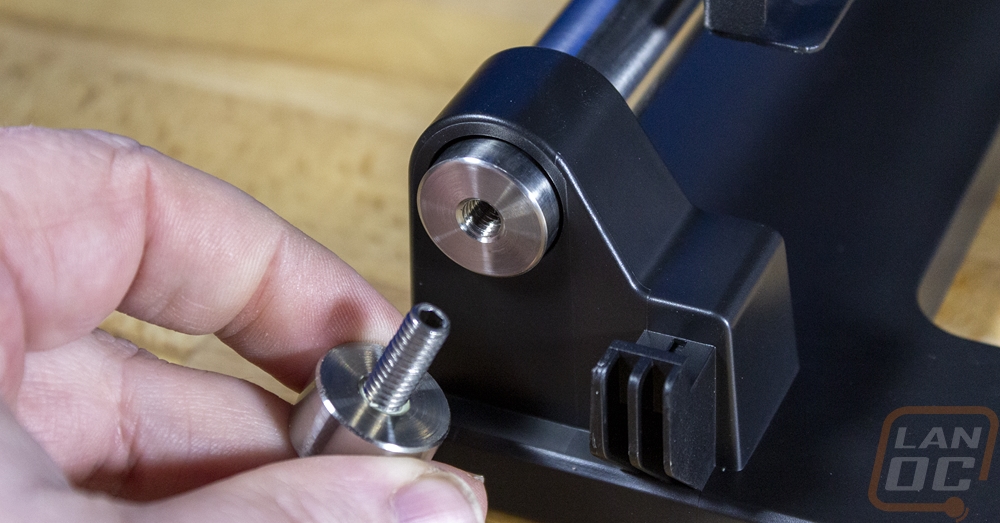
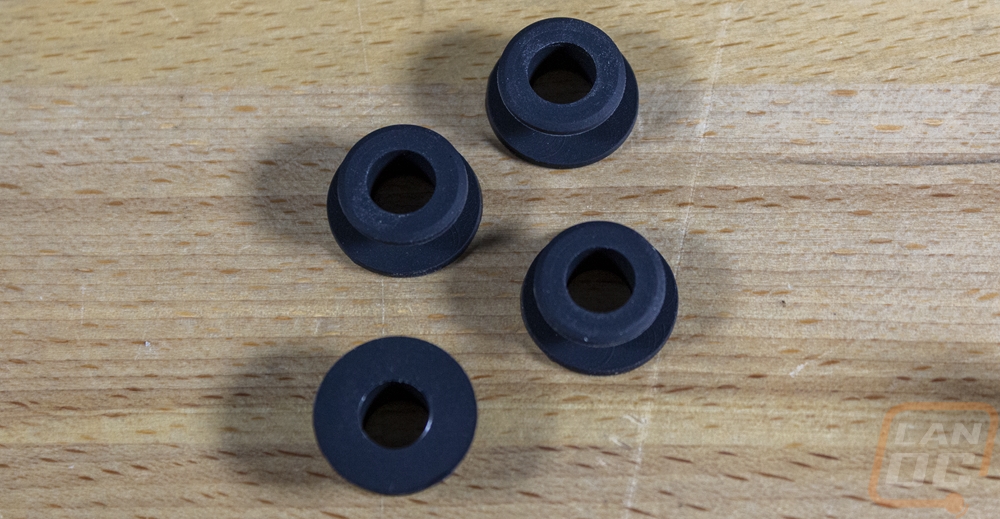
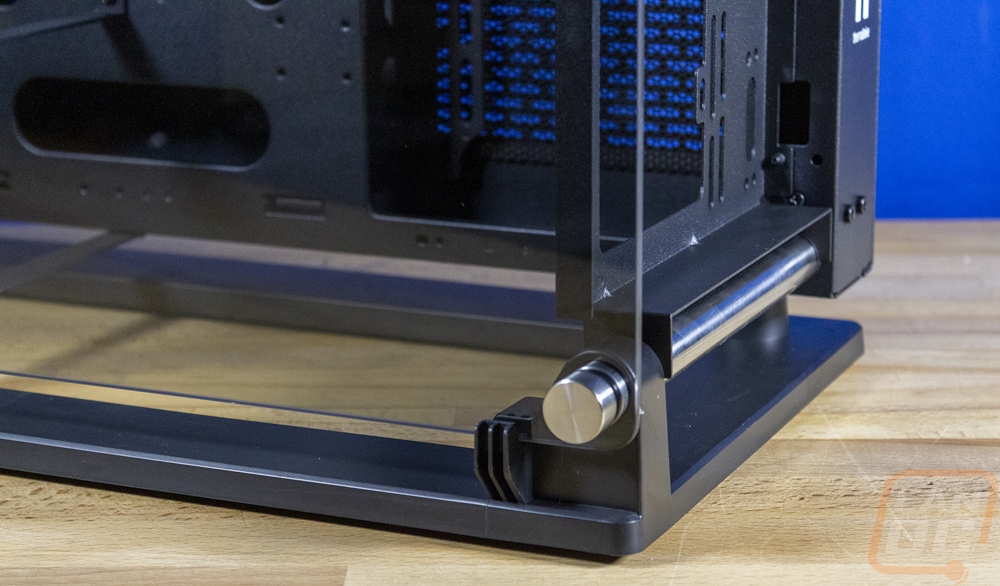
With all of that out of the way, I was finally able to put the included tempered glass side panel window on. I was surprised that they didn’t install the rubber grommets on the glass, I understand that flat packing saves space but I can see some people not reading instructions and not even realizing you need the grommets and then being surprised when the tempered glass side panel breaks. I don’t think I have talked about it much but the standoffs used for the glass side panel are solid metal and so are the matching screw-on caps that hold the glass. The glass itself does have a slight tint to it, but it is hardly even noticeable when the panel is installed. Also to note the new bottom foot panel has two little hooks integrated to help you install the front glass. You can sit in those hooks and just worry about getting one of the top screws in before it drops. In the past, you have to line each one up and try to support the glass completely. Our case does still have one standoff that I had to pull on a little to get things to line up, but otherwise, it all went together easily.
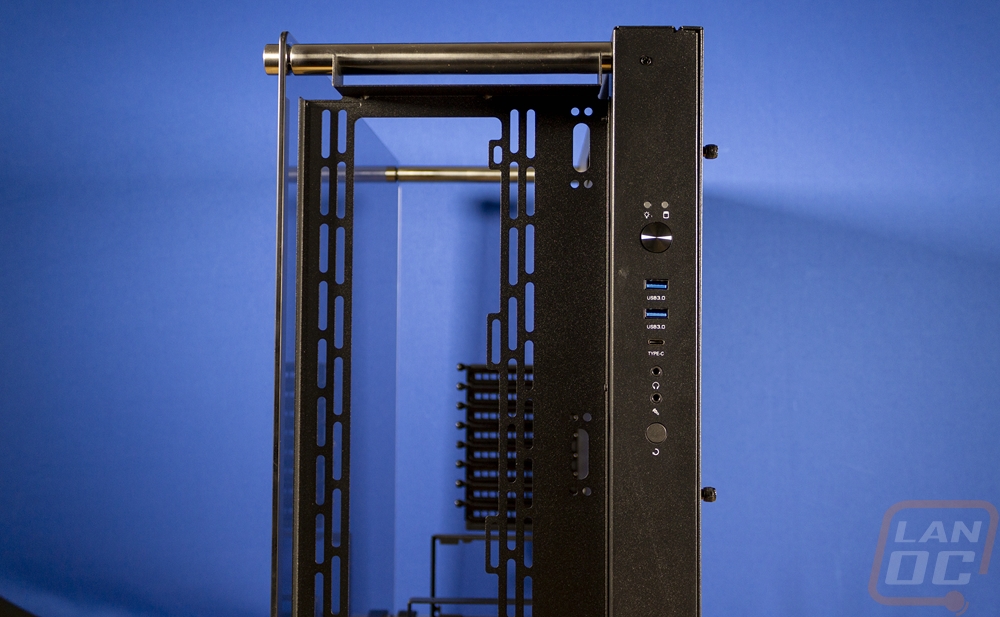
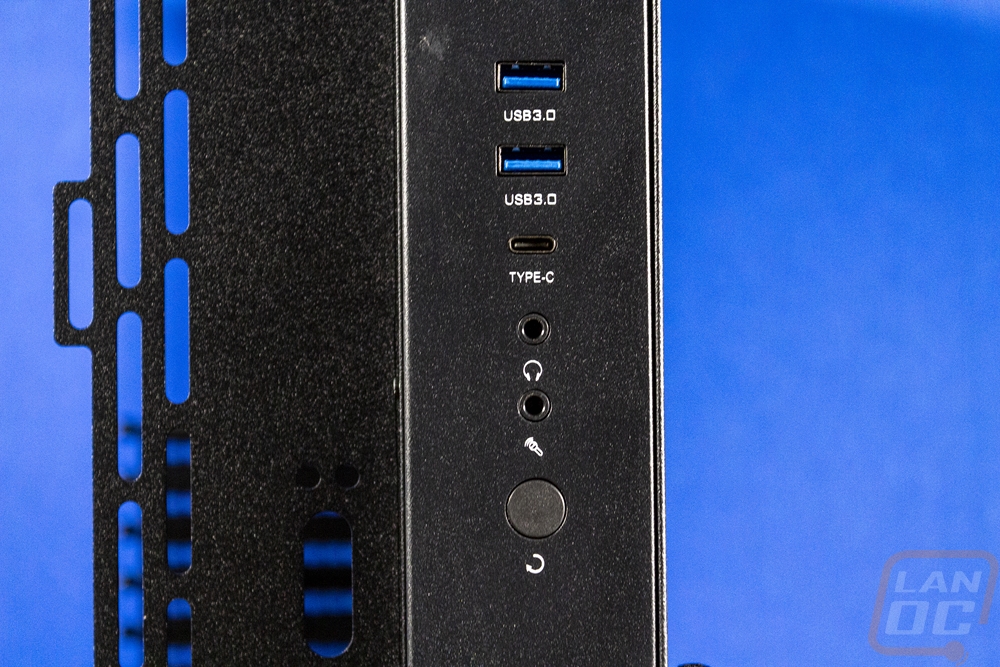
The front in our layout of the Core P3 TG Pro does integrate that fan panel that extends the entire length of the case to support triple 120 or 140 fans which if you use RGB fans should like things up. The power button is a large almost inch wide aluminum button that has power and hard drive status LEDs just above it. Then below that you have two USB 3.0 Type-A USB connections and one Type-C connection as well. Then for front panel audio, the Core P3 TG Pro does have dedicated jacks for both the headphone and microphone with a smaller result button below that to finish up the front I/O. Down at the bottom, there is also a bright white Thermaltake Logo which is the only visible branding on the entire Core P3 TG Pro which is always good to see.

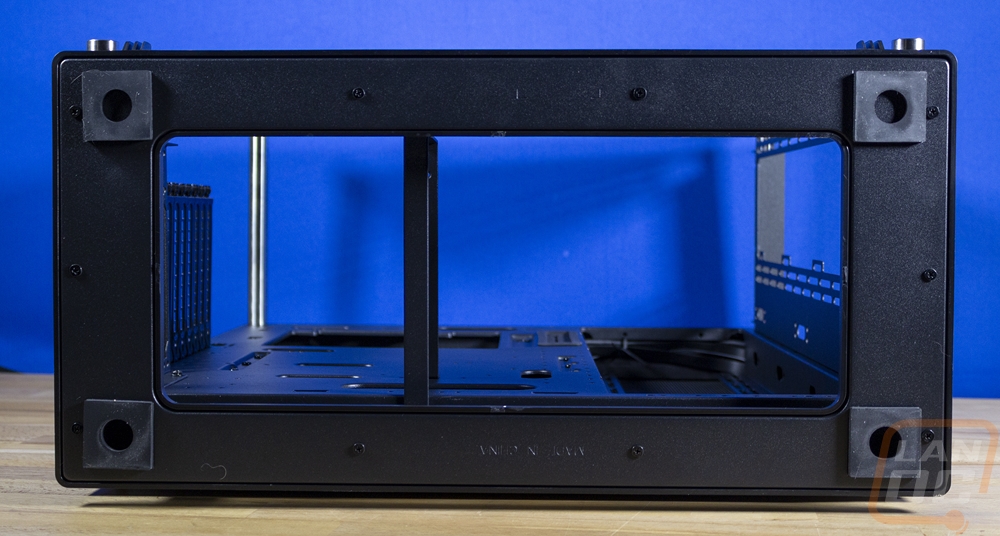
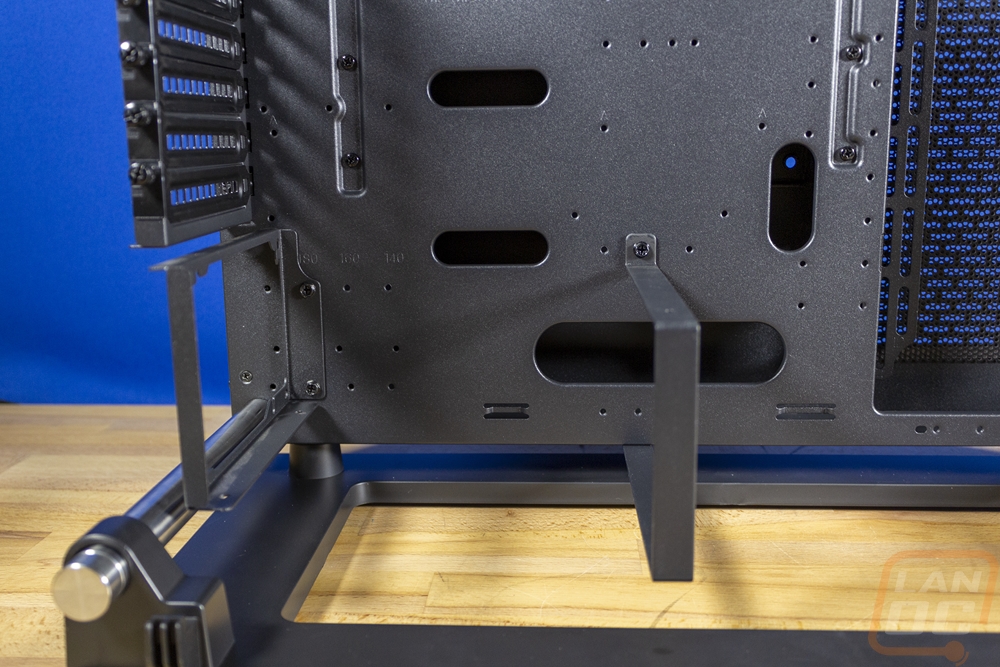
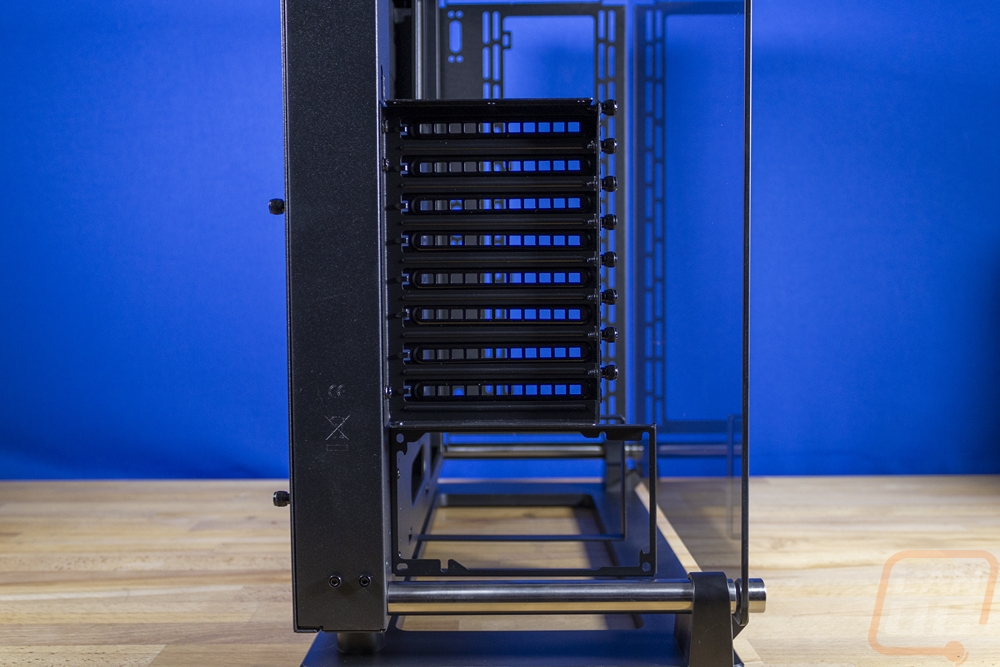
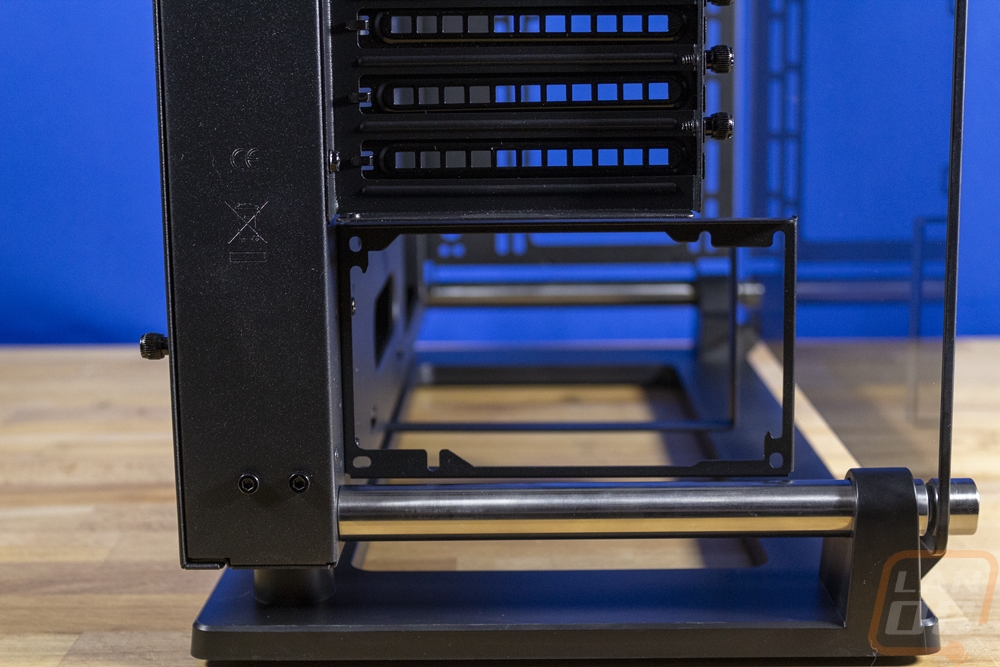
With our traditional PCI bracket layout and the horizontal power supply layout, all of that bumps up together on the back side of the Core P3 TG Pro but it feels like just about any case. The flexibility that the P3 does offer is being able to switch either one of those around if you want though, it might also be cool to be able to put the power supply up top or even better if the feet and I/O could be moved around to point the rear of your case, to the top or bottom or flip so you can put it on the other side of your desk. The leg design could be modular enough to do that, it would just be a matter of allowing the front I/O as well. You get 8 PCI brackets in total and it is all blacked out to match the case and they do have vent slots cut into them, not that it is a concern in this case.
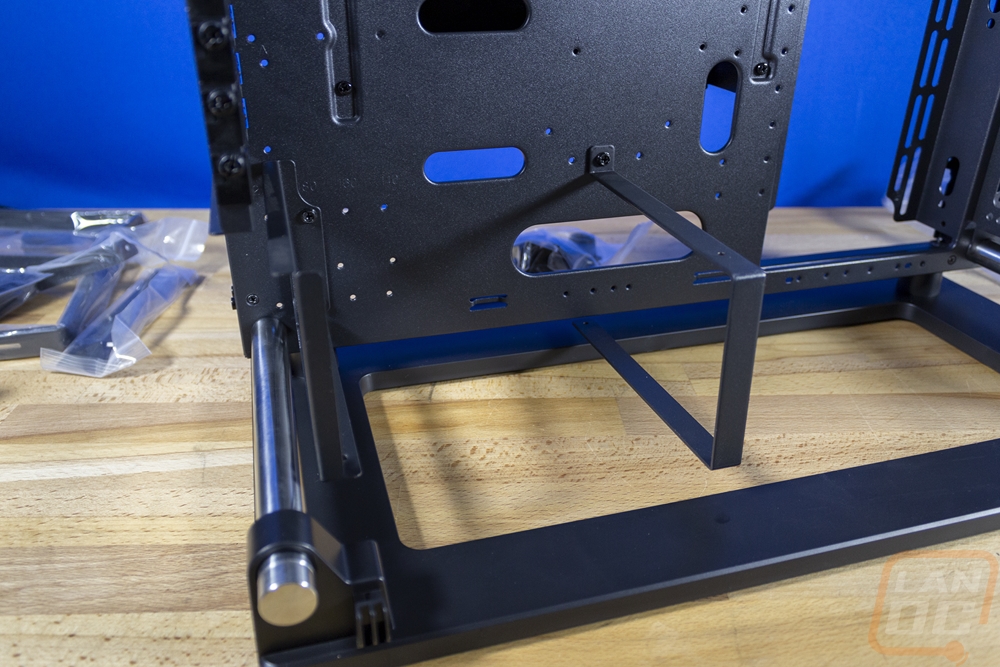
The new base design for the Core P3 TG Pro does still have a large open area in the middle of it as well. Then on each corner, it has rubber pads for feet to keep the case from sliding around at all. This design does seem a little more durable and fitting compared to the design that they had before. But I would still love to see metal legs that just integrate into the front pegs. Transitioning from the floating open-air case to your desk is always going to be the hardest part of the case to figure out. This is an improvement but there is still room for changes in the future.