Photos and Features
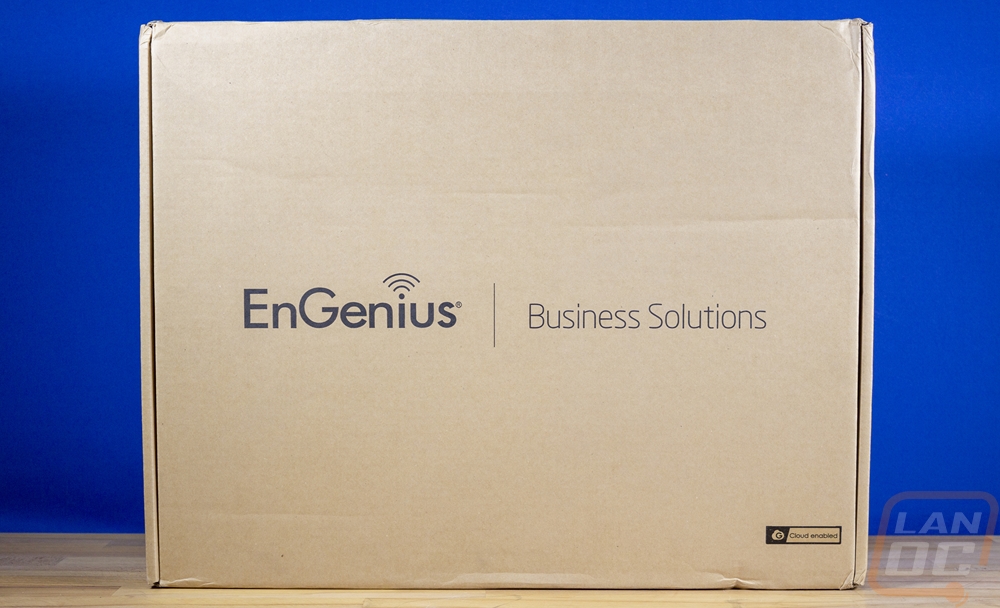
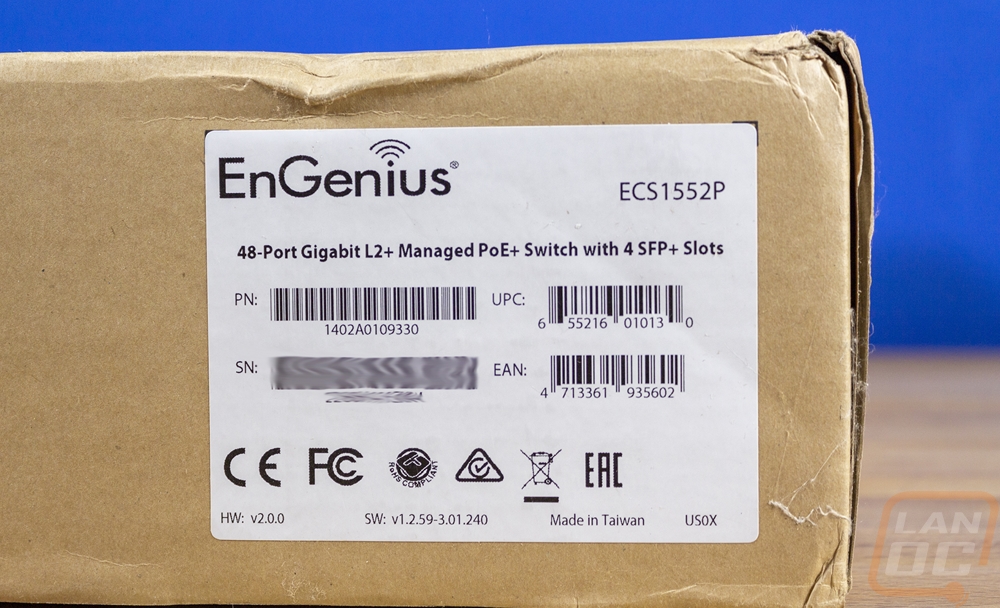
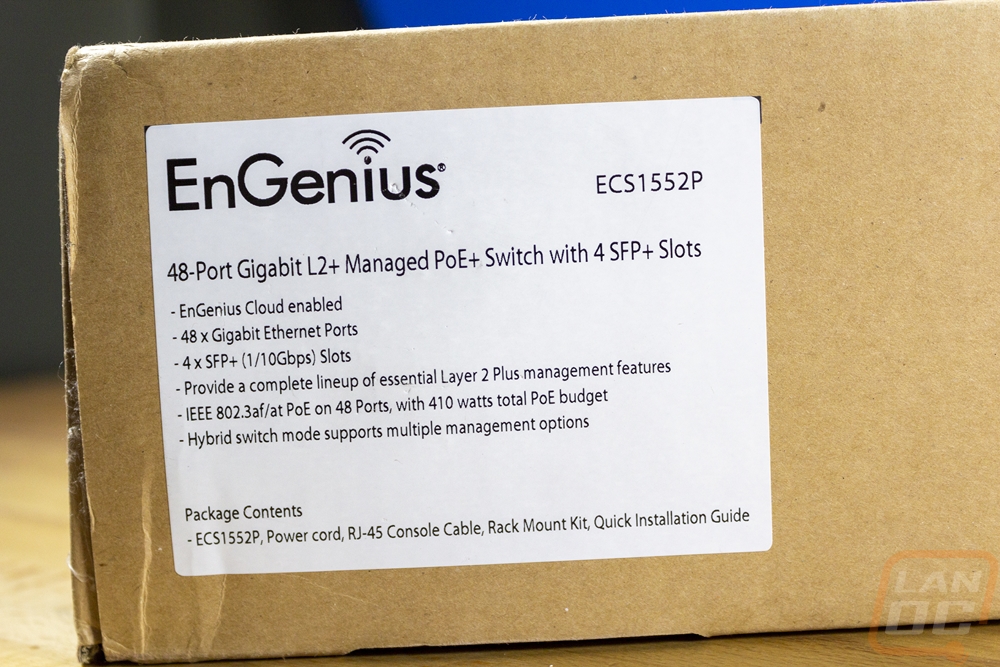
Like with EnGenius’s other products, the ECS1552P Cloud 48-Port 4x10Gb 410W PoE+ Switch comes in a brown box, only this one is larger than the other EnGenius boxes that have come in. Across the top, it has the EnGenius branding and lets you know this is one of the business solutions products. There is also a small sticker that indicates this is cloud-enabled. Beyond that there isn’t anything else printed on the box, they just have two white stickers on the box, one on the front edge and the other on the right side edge. This allows the box to be used for multiple models which makes sense. The front edge sticker has the EnGenius branding up top as well as the ECS1552P model name, below that they have the full description which better shows what model this is. This is their 48-point Gigabyte layer 2+ managed PoE+ switch with 4 SFP+ Slots. They have barcodes for the part number, UPC, EAN, and serial number as well. Down at the bottom, the sticker has the certification logos and it also lists the hardware revision number and software version number. The side sticker has the branding, model number, and model description but below that they have listed its main features. This sticker also lists what you will find in the box.
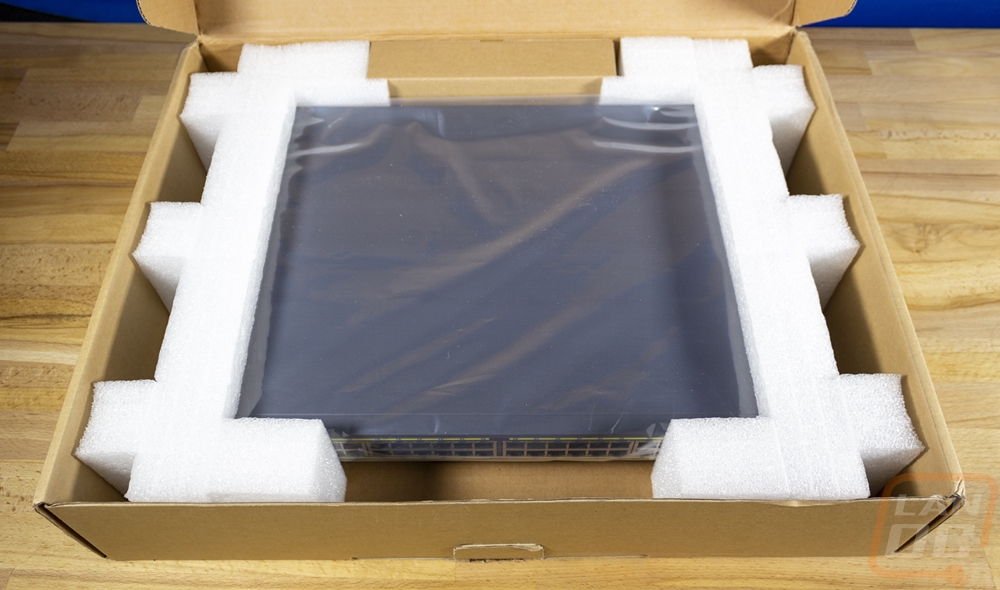
When you open the box up the ECS1552P comes wrapped in a thick plastic to keep it safe from any scuffs and then both ends have foam wrapped around them to keep the switch centered in the box and away from any potential damage. Then at the back, they do have one small brown box which has the accessories inside.
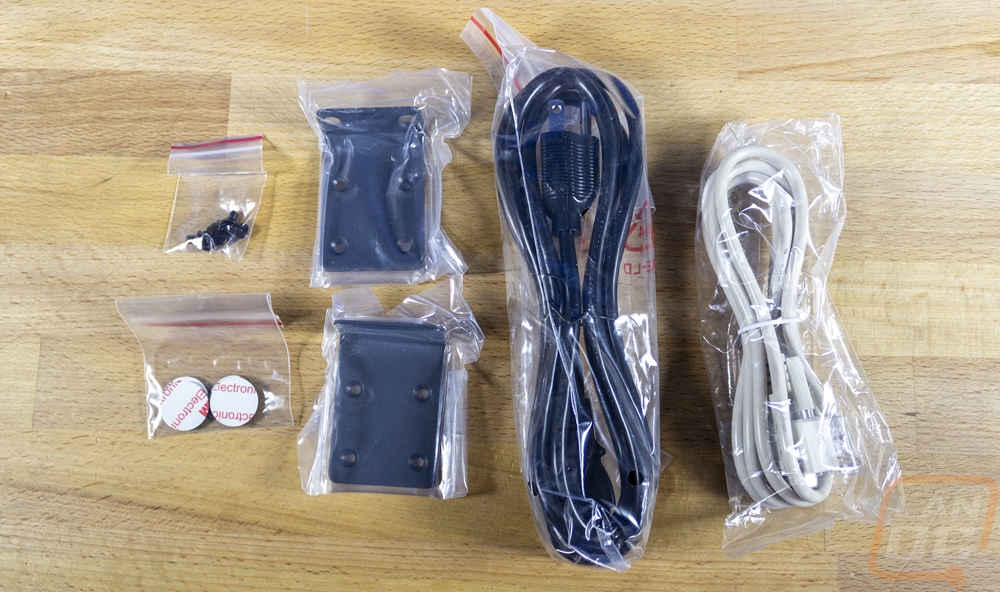
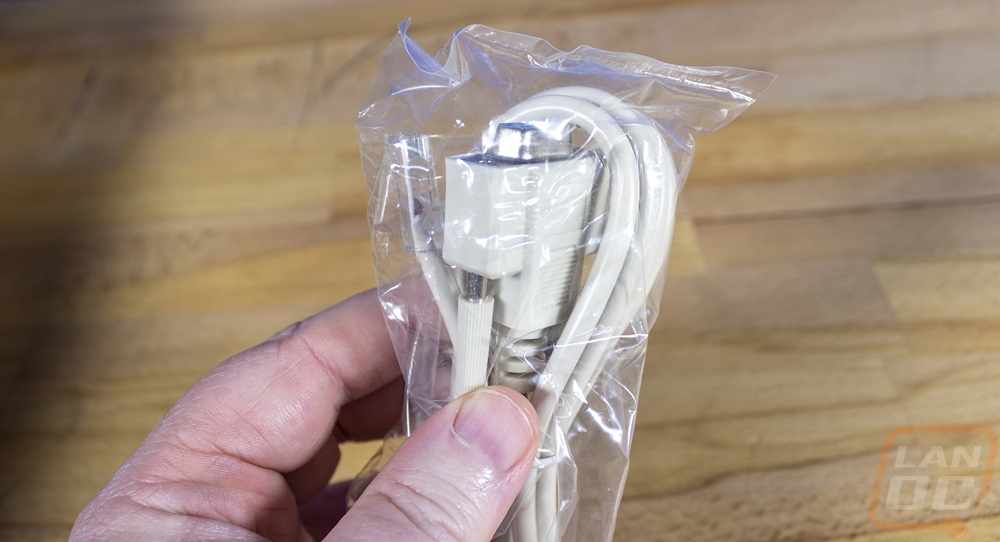
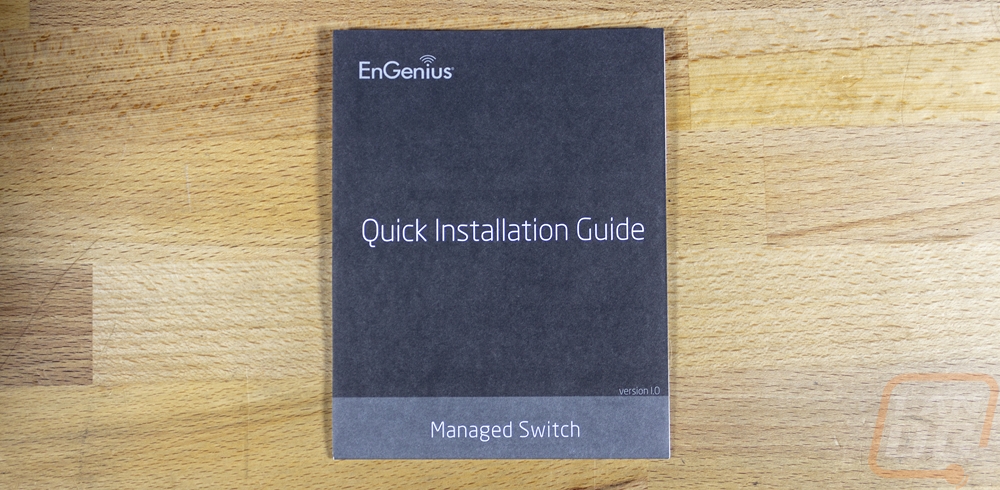
The ECS1552P is the main component, but EnGenius does include a few things alongside it. The accessories box comes with two cables inside. You have a standard NEMA 5-15P to C13 cable, which handles power for US users. Then you have a beige console cable which has a RJ-45 plug on one end and a serial connection on the other end. There are two rack ears which both come individually bagged and a small baggie with screws to mount them. Then there are four small rubber feet that you can install if you are planning on using the ECS1552P sitting on top of something. EnGenius also includes their quick installation guide which is specific to a managed switch but not specific to the ECS1552P.
The ECS1552P comes in at 17.32” or 440 mm wide, 10.23” or 260 mm deep, and 1.73” or 44 mm thick. That is your standard 1U configuration but this is larger than some of the other EnGenius switches we have had in the office. It is heavy as well at 13.66 lbs, but that is partially because it has an all-steel housing which has been powder coated a dark grey which does have a hint of blue in it but our photo area with the blue background gives the switch a little more blue in these pictures.
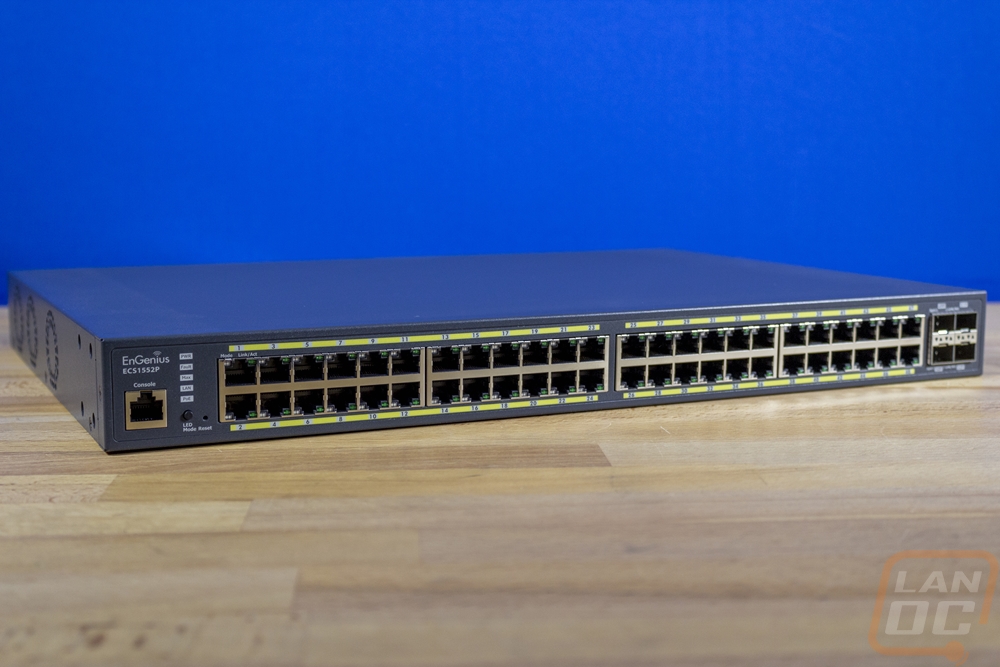
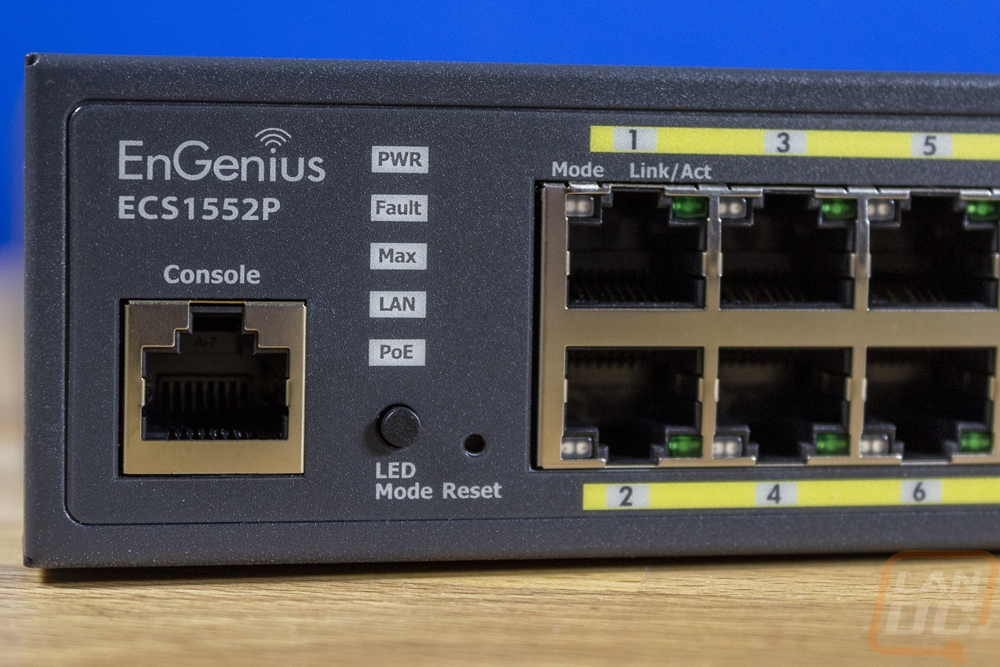
Zoomed in a little closer on the far left of the ECS1552P we can see the EnGenius branding and the model name are in the top left. Below that they have the RJ-45 Console connection for when you need to directly connect to the switch. The five white boxes next to that are backlit and are the status indicators for the switch. Up top, you have power which will light up green flashes before the system boot and is solid on when powered on, the fault indicator lights up amber when there is a fault and is off when there isn’t. The Max LED is also amber but will light up solid when the PoE power is at its max budget and will be off when there isn’t an issue. The LAN indicator can be green, amber, or off depending on the speed that you have the LAN status lights to, green will indicate they show 1000 Mbps, amber would be 100 Mbps, and off shows 10 Mbps. You use the LED mode button at the bottom to switch between these modes. Then the PoE LED lights up when you have any PoE activity. There is also a tiny pinhole reset button should you need to hard reset the ECS1552P.
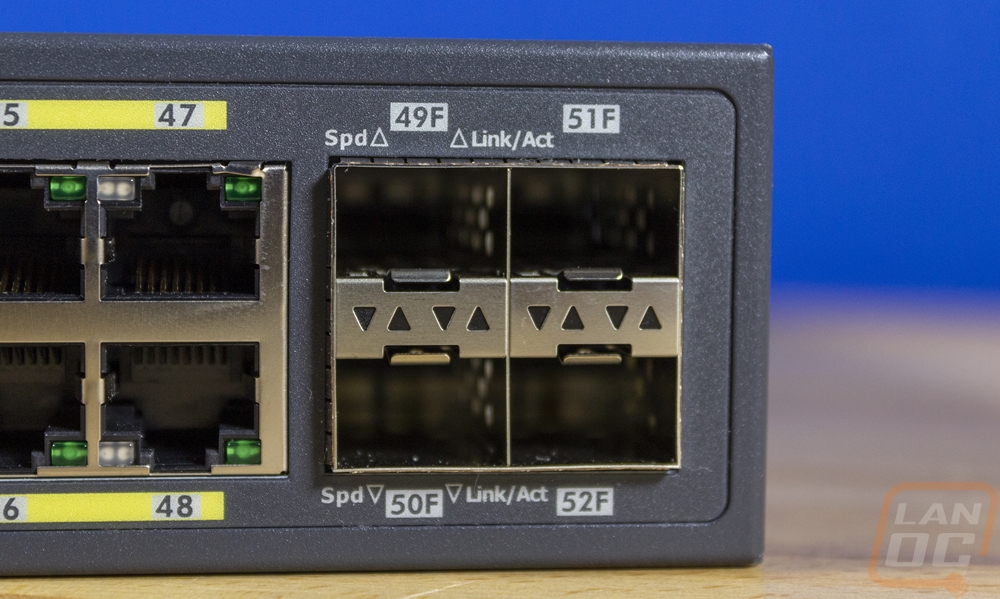
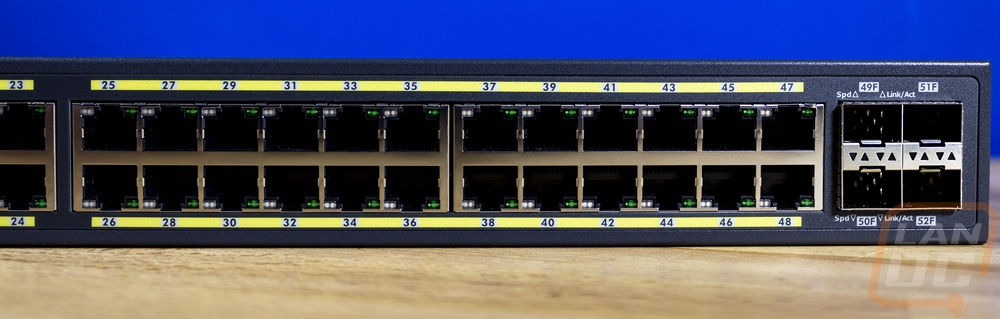
On the far right end of the ECS1552P, it has four SFP+ ports. SFP+ stands for enhanced small form-factor pluggable and they have a potential speed of up to 10 Gbit/s depending on what you have connected to it. They are a modular slot that you can use different transceivers in to link your hardware together. You can link things together with fiber or copper and there are transceivers for RJ-45 to get 10G connections which I use a few for 10G connections to specific PCs. I personally like using Passive DAC Cables which have the SFP+ connection at the end of each cable to eliminate any other potential issues when it comes to switch to switch or server to switch. But the idea here is that you have some versatility. These are numbered like the other ports on the ECS1552P but these have F at the end of each number. They also have small status LEDs which are in the middle inside of the up and down arrows. The up arrow show the connection speed and link for the top port and the down arrows show the bottom ports.
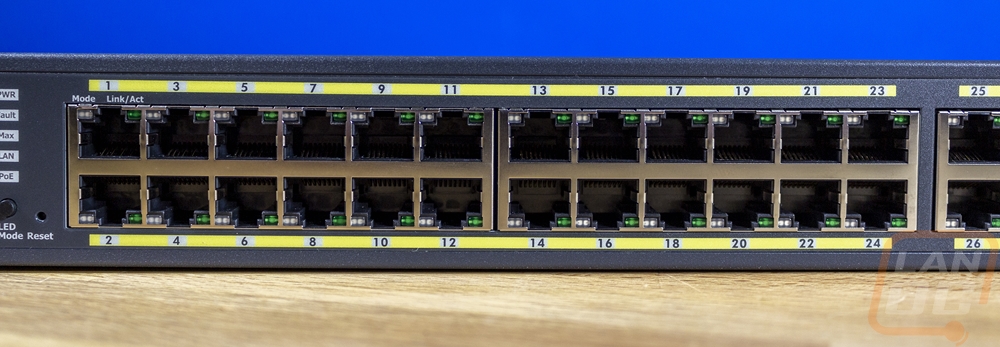
Then of course the ECS1552P has all of the RJ-45 connections through the middle across the front. The ports are split up into four sections as shown by the metal shields but those are then paired up with a gap between the middle two. Each group has 12 ports giving us a total of 48 ports. They are all labeled with the odd numbers up top and even on the bottom and the yellow bar that goes with the label is how EnGenius indicates on their switches that these are PoE ports. The ECS1552P supports PoE on all of its 48 RJ-47 jacks. Each port has its own status LEDs with the connection mode on the left and a status LED on the right. The right will flash with activity and the left will change color depending on the status of the connection. Solid on the left will show that it is a 1000 Mbps connection and the color changes to amber when PoE is being used. All of the ports can run at 10/100/1000 Base-T and for PoE, they support 802.3 at/af PoE+ with the switch as a whole supporting up to 410 watts for the total PoE budget. That is 8.5 watts per port. They also have the ECS1552FP which is the same setup but with 740 watts of PoE+ power for someone who needs more power. That still wouldn’t allow the max 30 watts of PoE+ power for all 48 ports, but most devices use a very small portion of that. For our situation where we have a mix of PoE cameras and outlets around the house, 410 watts is way more than enough. Just having it available on every port is going to be nice. The ECS1552P does also support PoE Extended Mode which you can turn on when deploying PoE devices at longer cord lengths with support up to 250 meters. The ECS1552P has a total switching capacity of 176Gbps which is more than enough to handle the 40 Gbps of the four SFP+ ports leaving 146 Gbps for the 48 ports which is 2.8 per port, so there is lots of headroom even if you are completely slamming the switch.
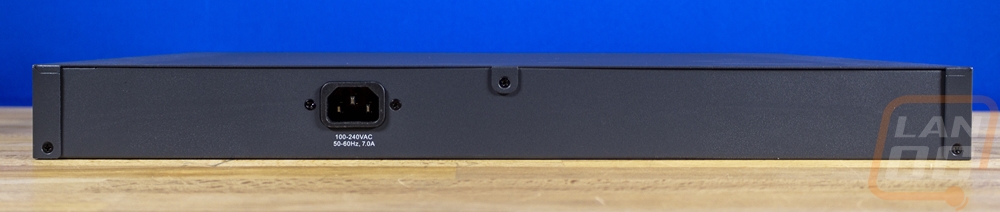
There isn’t too much going on at the back of the ECS1552P like there was at the front. The back has just one power plug which is offset to the left of the center. It has a C14 power connection which is the standard PC female plug and it supports 100 to 240 volts and 50-60 Hz at 7 amps. The rest of the back of the ECS1552P is blank with screws at both ends and one at the center top where a tab from the top is held in place.
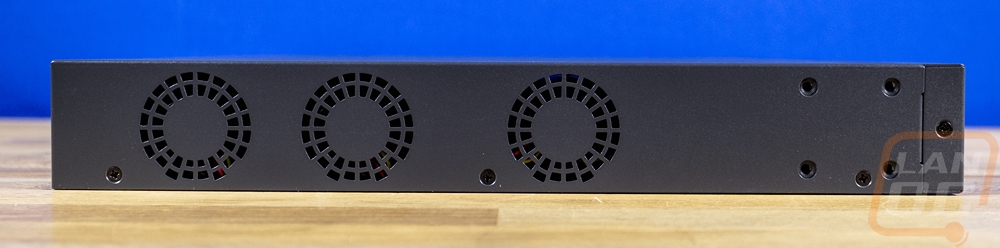
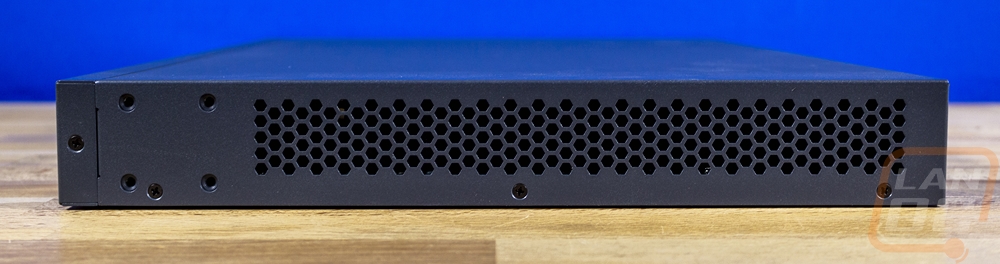
The sides of the ECS1552P, like with all rack mountable switches are where you will find all of the airflow solutions to keep things cool. The left side of the ECS1552P has three small round vents for fan intakes. This side also has the four screw holes up at the front for the rack mount ears and the housing itself has four screws on this side holding the housing on. The right side of the ECS1552P then has hexagon-shaped vent holes running the length of the switch for airflow exhausted out from the fans on the left side. This side also has four screw holes for the rack mount ears and four screws holding the ECS1552P together.
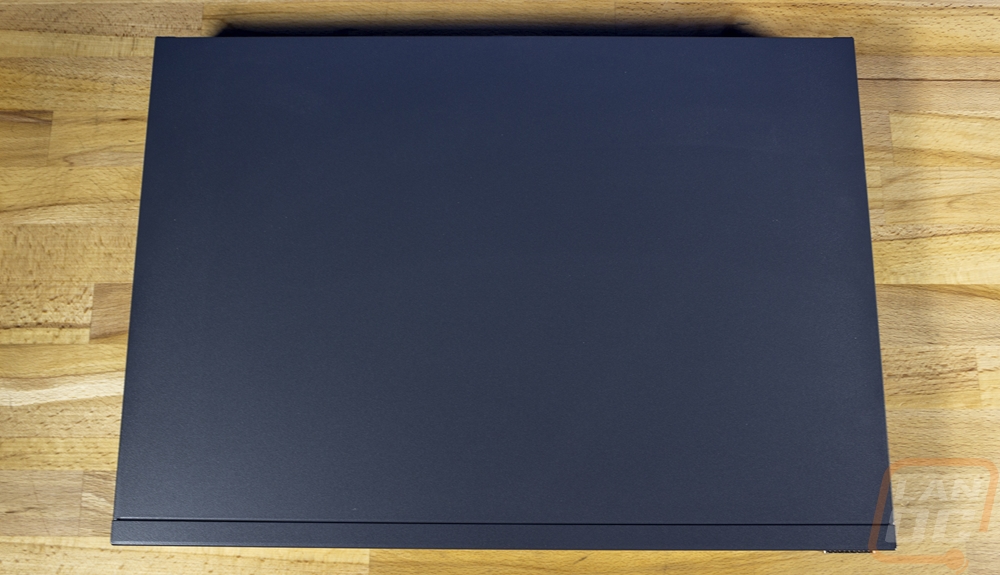
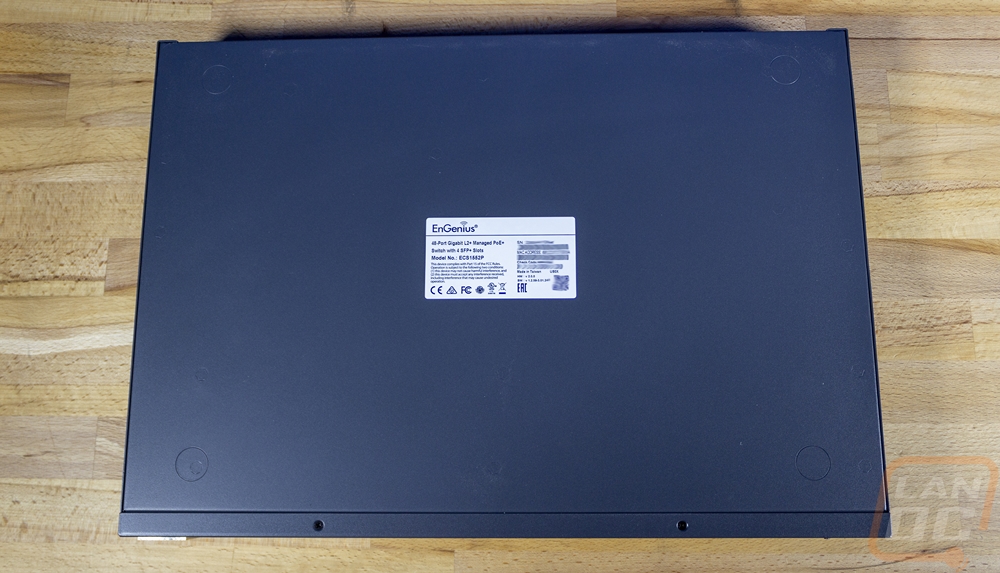
The top of the ECS1552P gives us a better look at that powder coat finish, but beyond that, there isn’t anything going on here. The bottom on the other hand has a few things going on. For starters, you can see the small circles they have on the bottom to show you where to install the included rubber feet. Then in the center, you have a white sticker. This has the model number and description once again. This also has the Mac address listed out and in a bar code as well as your serial number. You also have a small QR code, this is for attaching the ECS1552P to the EnGenius Cloud app on your phone, you can manually type it in or scan the QR code to speed things up.
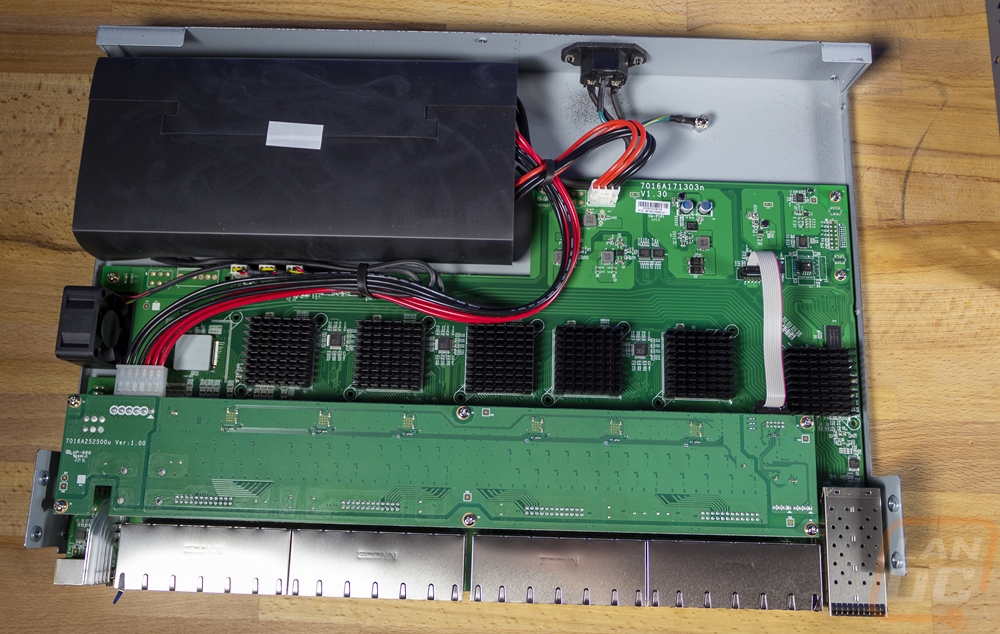
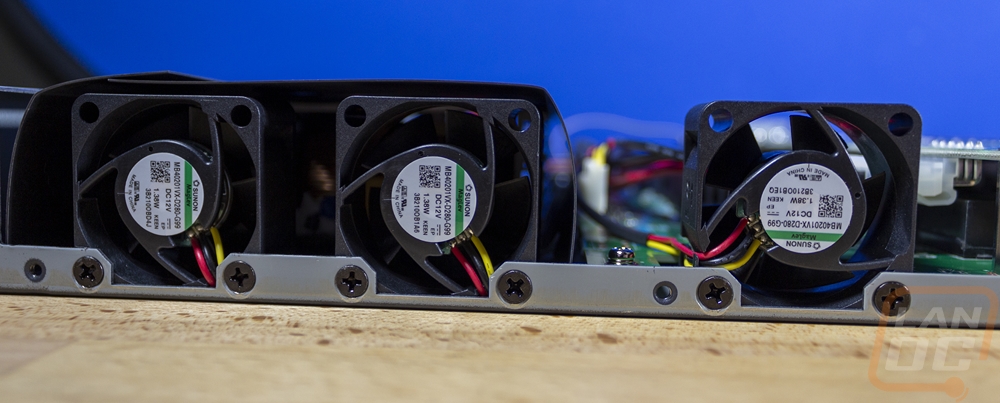
I did open the ECS1552P up as well to take a look inside. The housing is all held together with standard Phillips head screws and there aren’t any “warranty is void” stickers which at least in the US aren’t valid anyhow. So the ECS1552P is easy to get inside if you should need to do any repairs. Engeius does warranty the switch for two years so at least in that time you shouldn’t need to do anything inside. But once inside a few things are going on. Up front all of the network connections all have metal shielding around them to help cut down interference no surprises there. The stratus LEDs on the far left are actually down on the main PCB and have light bars bringing that up to the front. Then for the switch, you have a top and bottom PCB with the bottom being the main interface. They have 6 heatsinks with five lined up and one offset. All of those are in front of the first fan on the left. There is one ribbon cable connecting the two PCBs. The power supply is at the back close to the power input and it has been covered by a thin cover, this combined with the two fans at the end help funnel the airflow from those two fans across the power supply before blowing out into the rest of the housing. The power supply has one power cable that does to the main PCB at the rear and then its main power cables all run up to the secondary PCB at the front which from the look of it handles the PoE. For the fans each of the three fans are all the same Sunon-branded MagLev fans with the model number MB40201VX-D280-G99 and they are 40 x 40 x 20 mm fans. They push 10.8 CFM each and run at up to 8200 RPM with a wattage of 1.38. You can see that they are connected to the main board with 3-pin connections and this should make them easy to replace. You can even find them on Amazon with prime delivery but the price on there is twice what they are on other websites, once you include shipping though it isn’t bad. The MB40201VX-D280-G99 is listed as obsolete on Mouser though so by the time you have to worry about replacing them, you may have to find something comparable.
Once I had the ECS1552P back together I could finally install the ears for installing the switch in a rack which is how we will be using the switch. You have eight screws in total, four for each side and as you tighten them down they are self-centering so they will position the ears perfectly.