Photos and Features
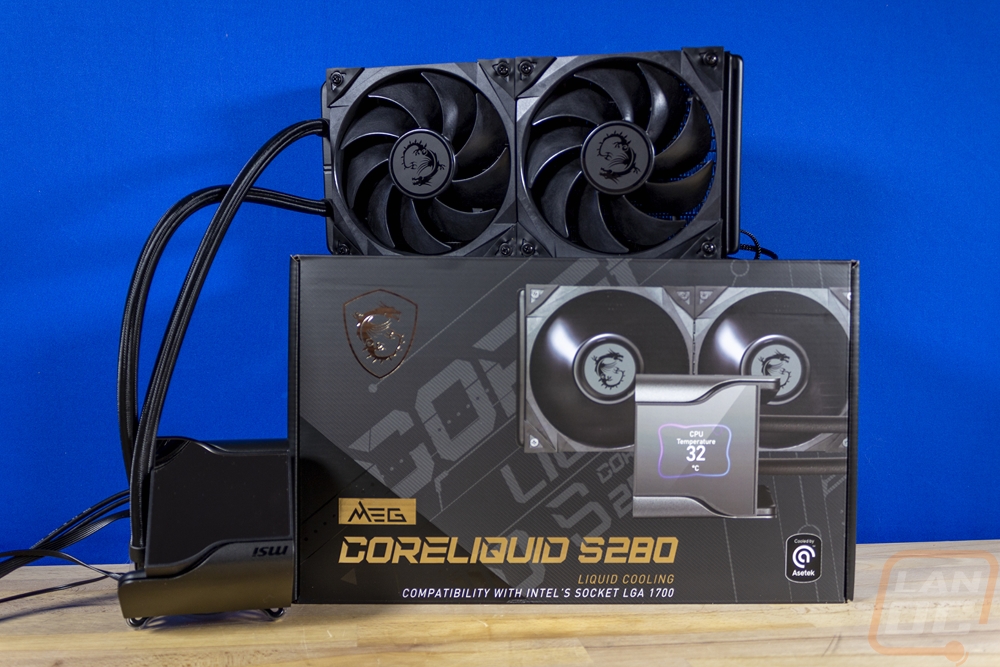
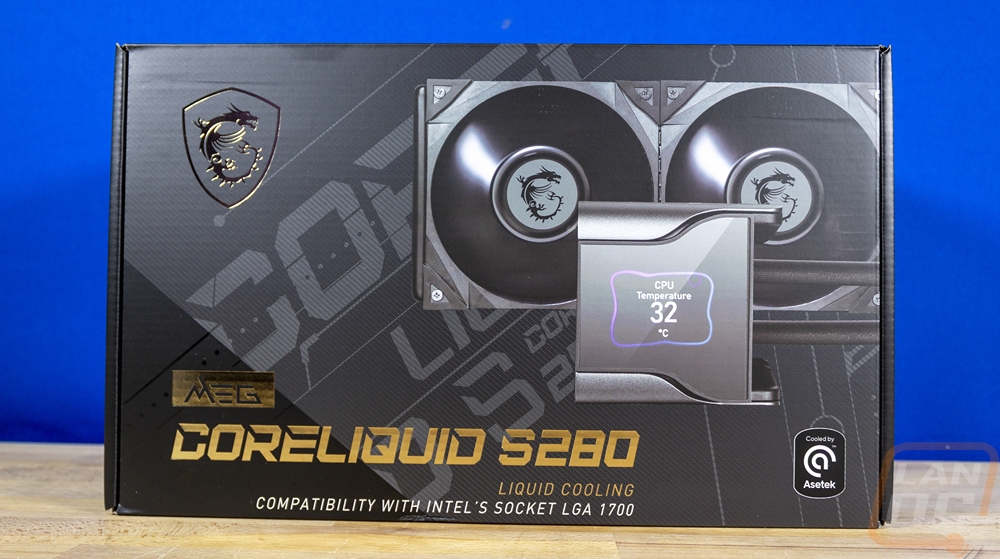
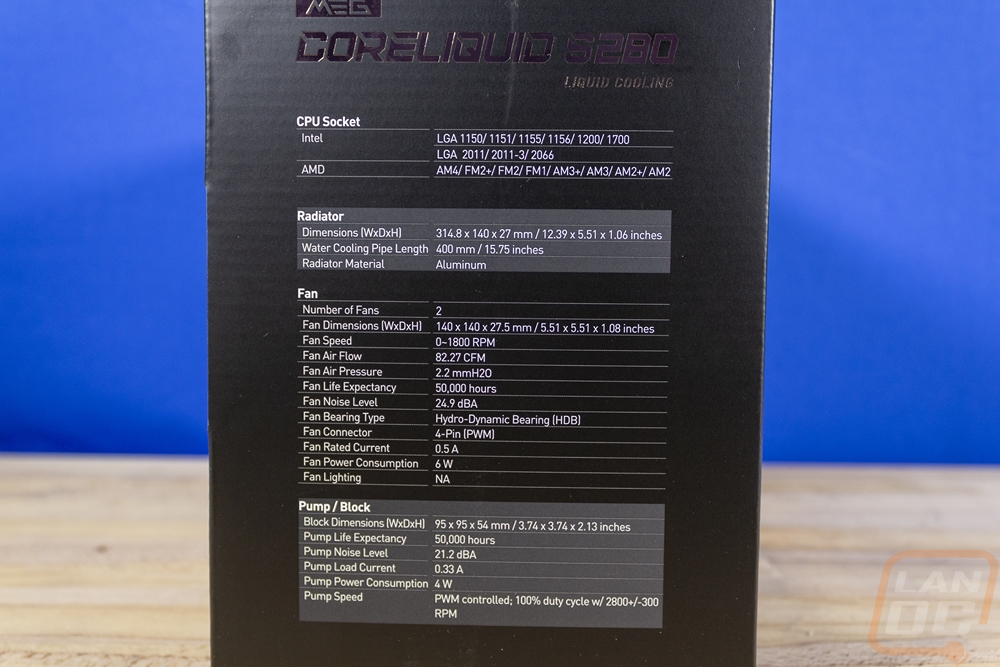
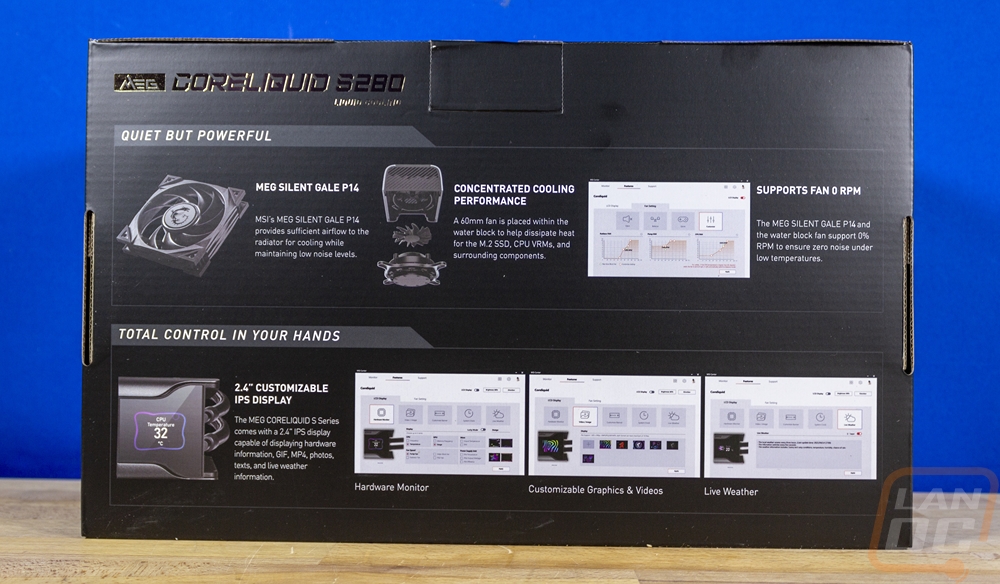
The packaging for the CoreLiquid S280 is blacked out with a flat black/dark grey background for most of the box and a darker black area in the bottom left corner which is where the branding starts. They have the MEG CoreLiquid S280 branding in a large font with a gold reflective finish and below that they make sure to point out that the new LGA 1700 socket is supported. The box front has the MSI gaming logo also with that same gold finish and then a large photo of the cooler including the built-in screen that takes up most of the front. The side of the box has a specification listing on it which is awesome and can be helpful if you are trying to figure out if the cooler will fit in your case in a retail store. Then around on the back, they highlight a few of the main features. They touch on the MEG Silent Gale P14 fans, the fan built into the pump housing, the display, the software, and the ability for the fans to run at 0 RPM. Each has pictures to go along with a description to help educate on each feature.
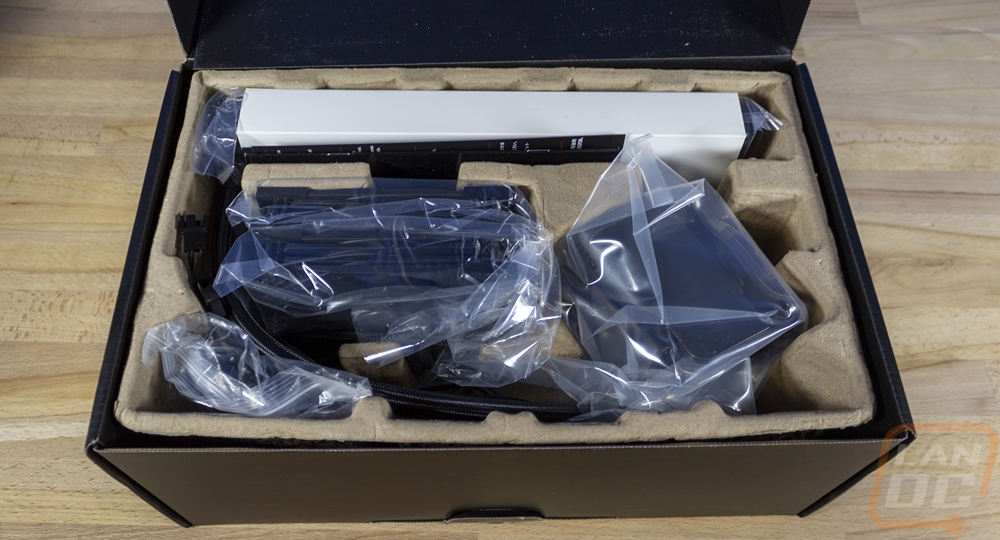
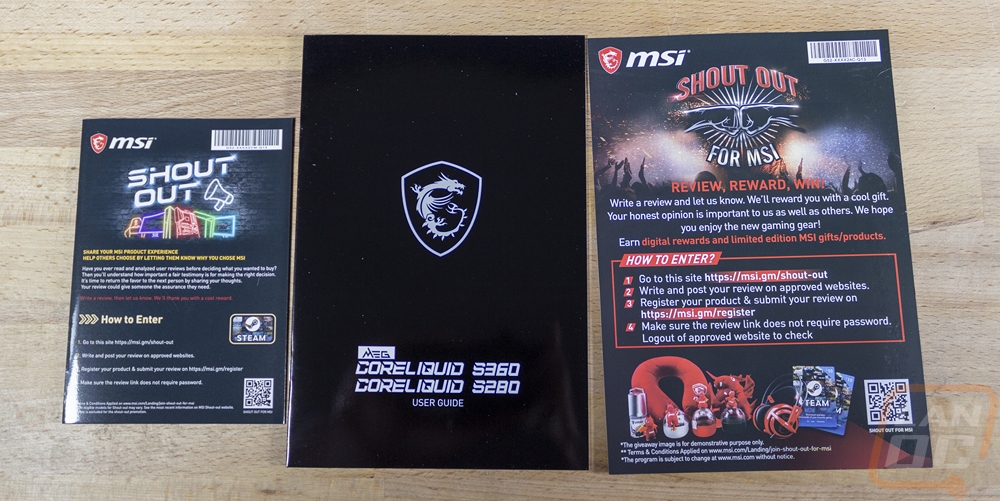
Once you get the box opened up, inside there is a formed cardboard tray that is formed around each of the components and with a pouch for all of the hardware. The documentation is tucked in with the radiator and each part of the cooler comes in its own plastic bag with the radiator getting extra protection for its fins with a slide-on cardboard protector. For the documentation, the CoreLiquid S280 comes with a user guide and then two different cards with information on a contest that MSI is running to give away swag and steam gift cards for reviews of your experience with their products.
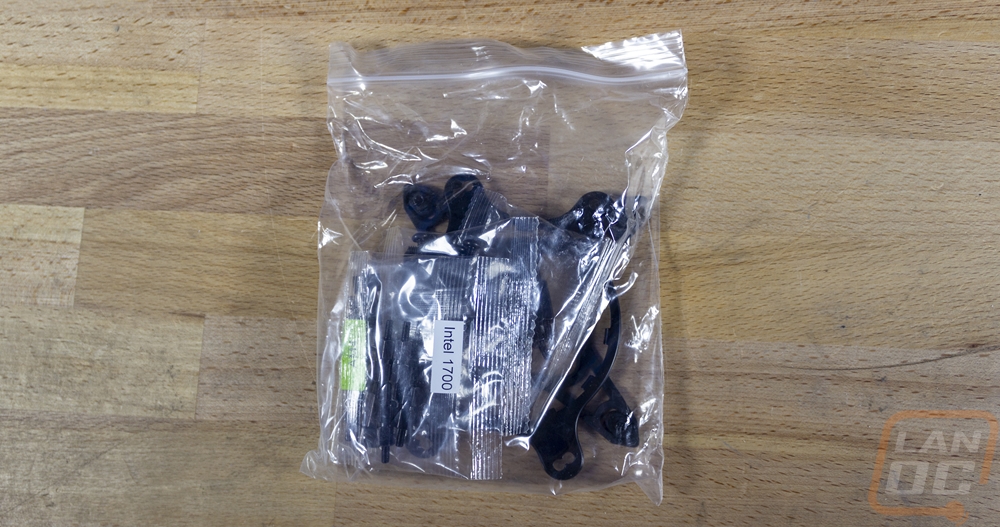
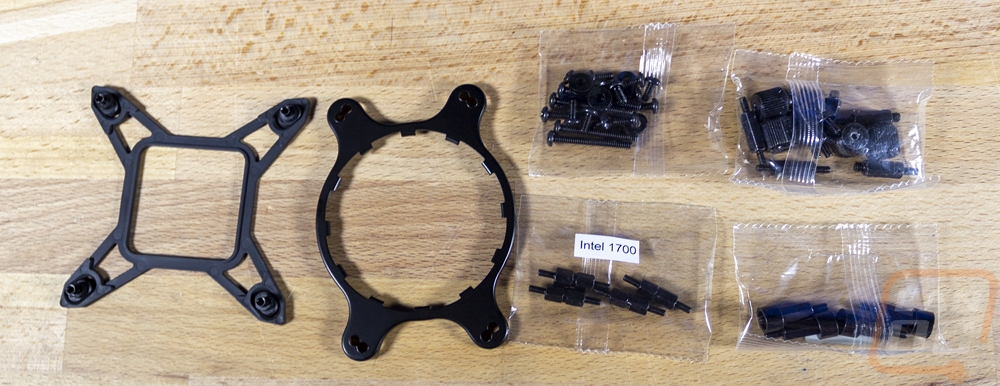
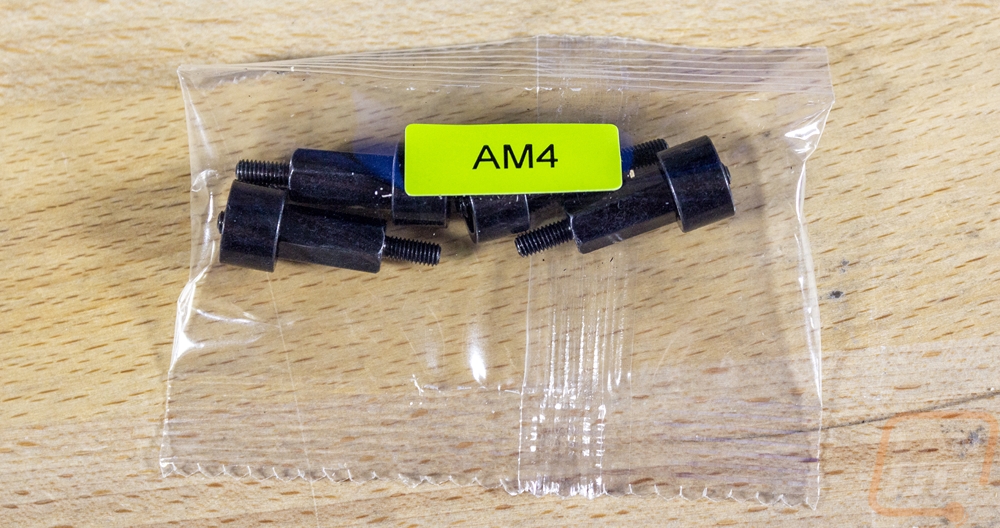
The rest of the hardware all comes in one large reclosable bag. Inside you have an AMD bracket for the pump housing and a backplate for Intel. There are four small baggies which are all one use only that have all of the mounting hardware. All of it is blacked out which is cool and for the Intel 1700 and AM4 hardware, they have those labeled specifically. One has the screws for mounting the radiator and the fans then the biggest bag has the normal mounting hardware including the thumbnuts that you will need if you end up using the AM4 or LGA 1700 mounts. That bag also has the hardware for the older sockets like Intel’s 2011 or the LGA 115* as well as the older AM3 and below mounts as well. I like that the two newest mounts are labeled but I almost would prefer if they had five bags that split up the older hardware as well and at least one being a reusable bag would be nice to store the unused hardware you will end up having from the fan and the general bag. For now, you have to toss all of those in the big bag that everything came from.
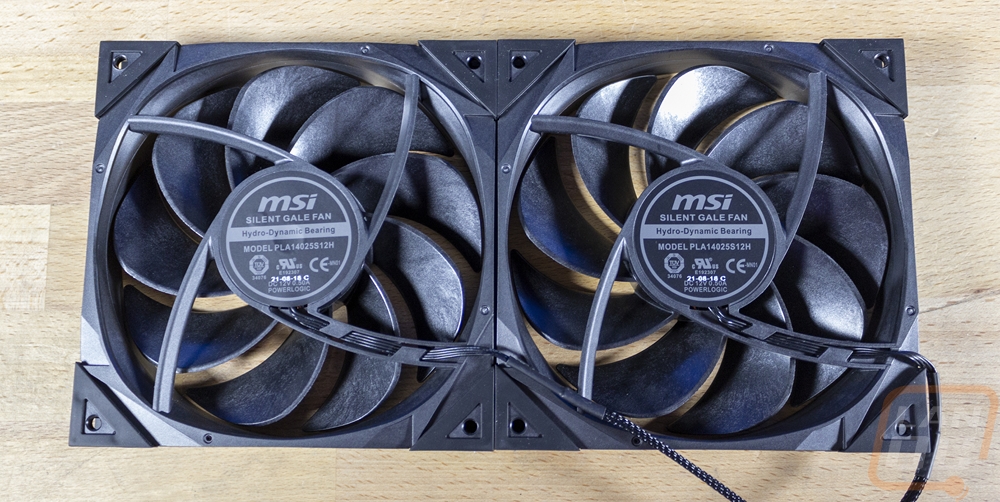
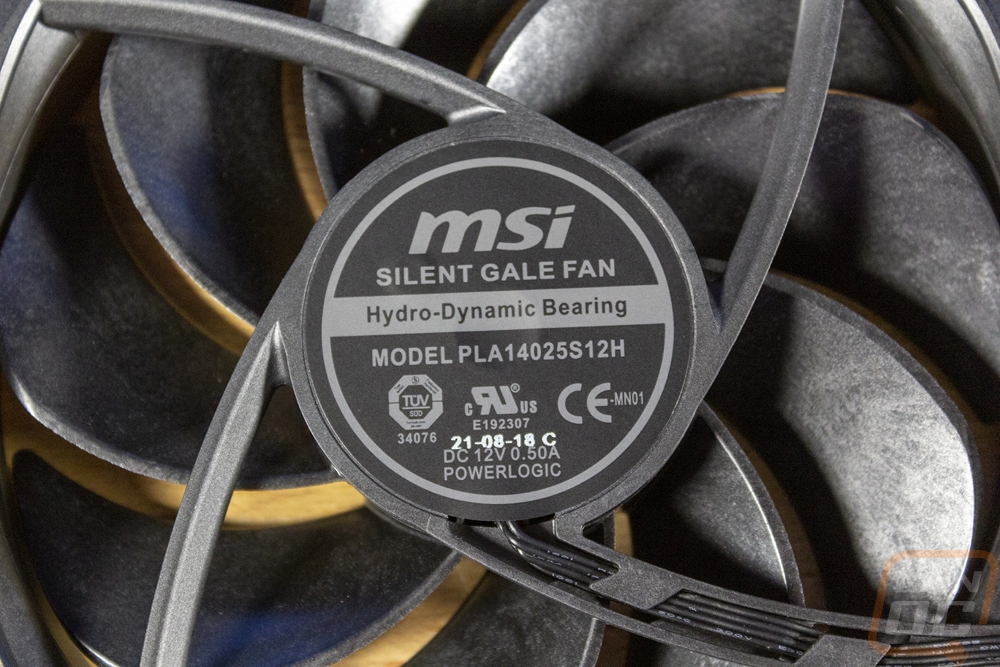
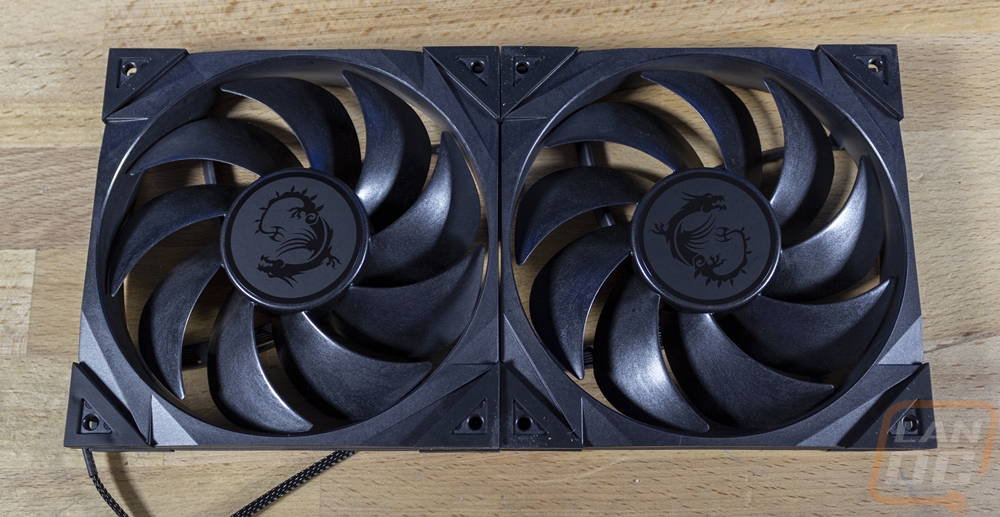
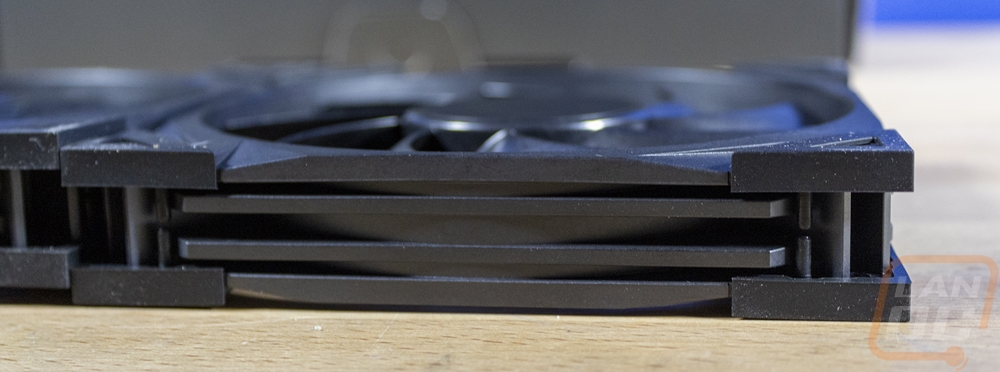
The CoreLiquid S280 as the numbers in the name might indicate is a dual 140mm radiator setup and with that, it comes with dual 140mm fans. I’ve never previously seen the fans included here but they are noticeably much better quality than the previous MSI AIO that I tested. They are MSI Silent Gale fans with the model number PLA14025S12H. They have a hydro-dynamic bearing and unlike just about every other higher-end AIO cooler these aren’t RGB or LED at all. They are all blacked out and the plastic is a liquid crystal polymer which is the same material Noctua uses on their newer A12x25. It’s clear that MSI is aiming for a similar caliber fan here. The blades have 9 blades with a twist to their shape and in the center, on the front, they have the MSI Gaming Dragon logo which when upside down still looks like a sad face and I just can’t unsee it. The housings have thick rubber anti-vibration mounts on the corners and the housing itself has a little bit of an angular shape cut into it in a few places. The vibration mounts have the sharpest edges that I’ve ever seen on a fan, normally these are rounded off so the sharp edges look distinct. Then from the side view, the housing has extra reinforcements that run along them. Everything including the 4 pin PWM fan wire is black. The fans are rated by MSI at 2.2 H2O which isn’t bad for static pressure, they have an airflow of 82.27 CFM, and according to them, they should run at 24.9 dBA. The hydro-dynamic bearing gives the fan a life expectancy of 50,000 hours.
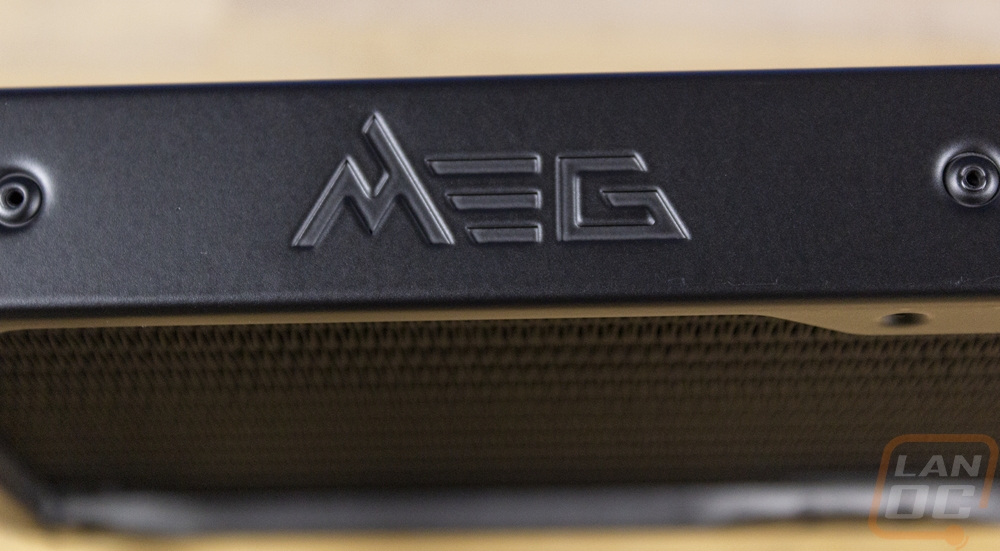
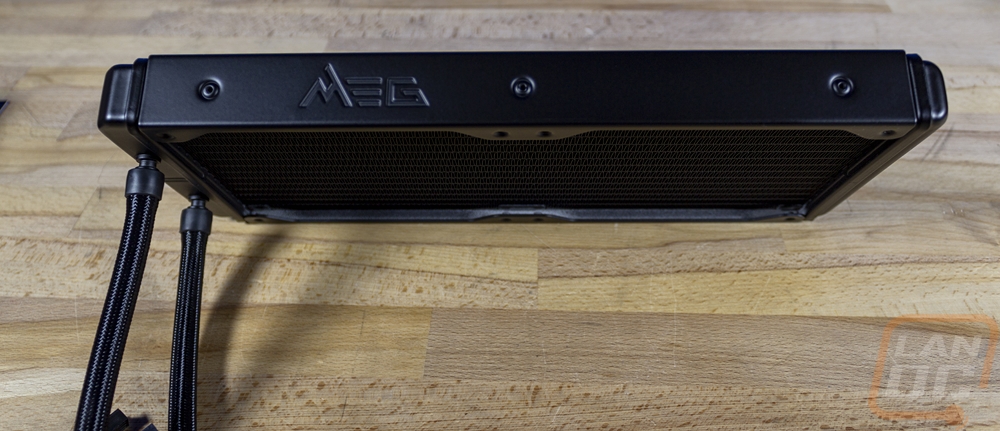
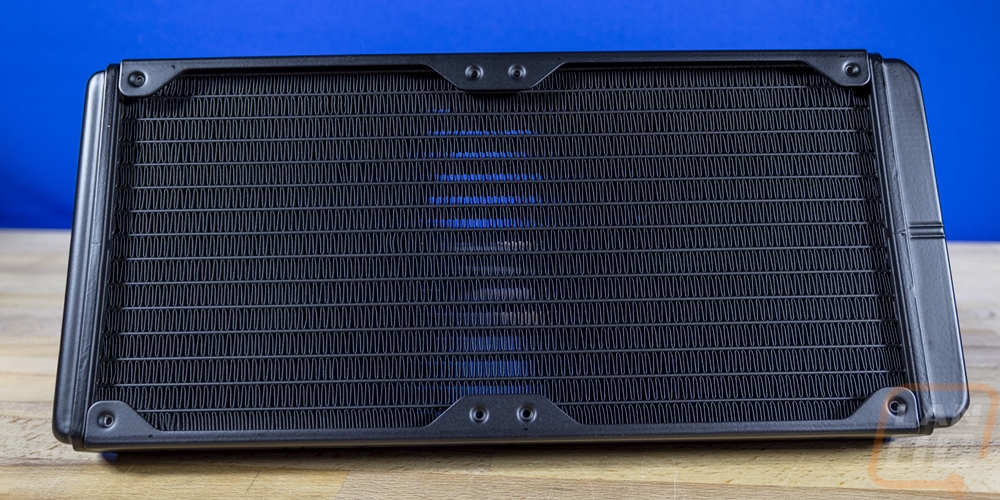
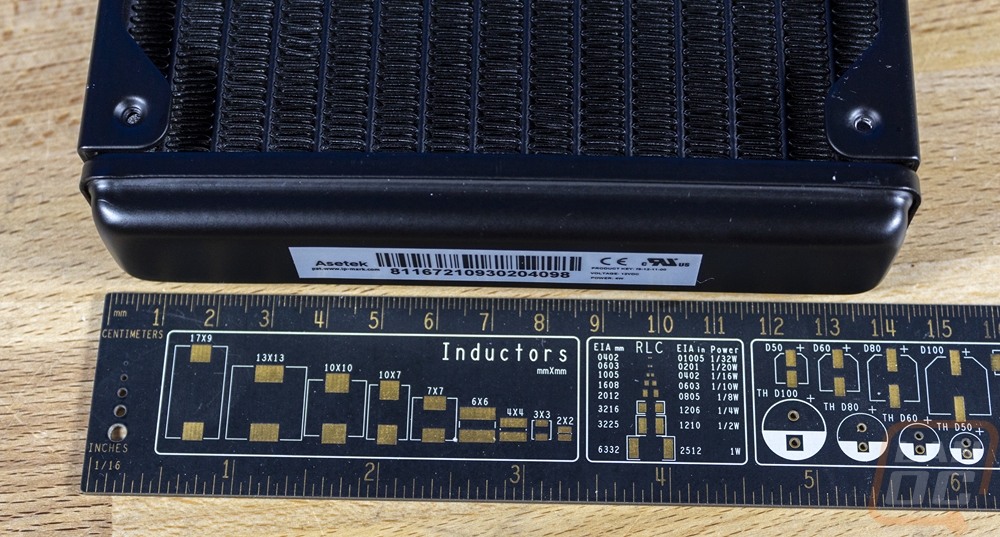
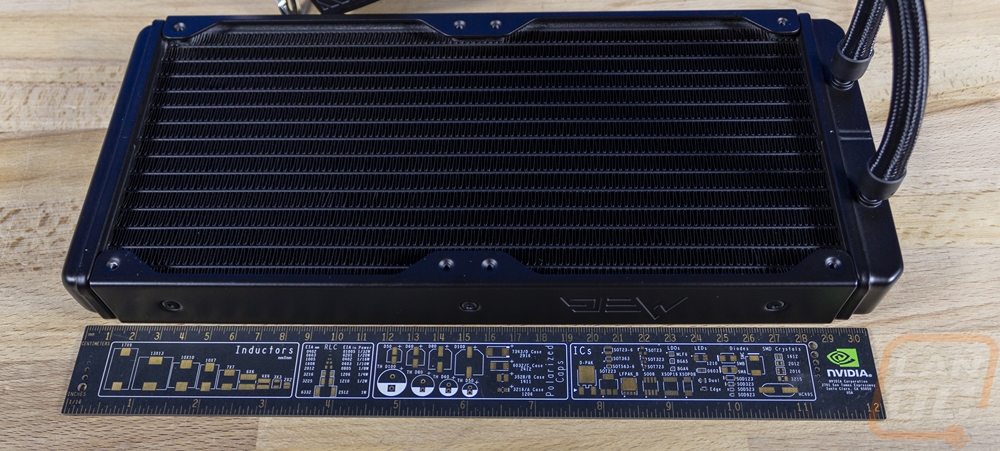
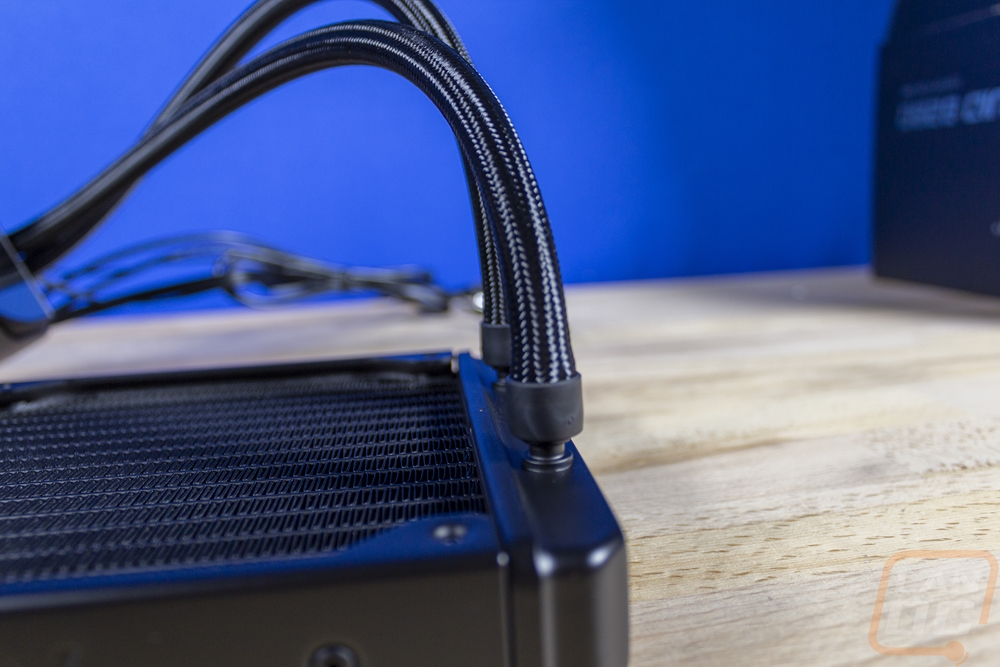
The radiator for the CoreLiquid S280 in most ways looks to be a standard AIO radiator. It is a hair over 27mm which is the standard thickness. Being a dual 140mm setup the radiator is 140mm wide and 314.8mm long. It also has the older style rounded ends when a lot of kits have been moving to the squared-off boxy style that looks a little cleaner. MSI did however have the MEG branding stamped into the sides which gives it a little style. Down on the end, there is a white sticker that has your kit’s serial number and the Asetek branding which tells us that Asetek is the OEM for the CoreLiquid S280, not that the mounting style didn’t already give that away. For the tubing, the CoreLiquid S280 has a standard-sized hose with a black sleeving over top.

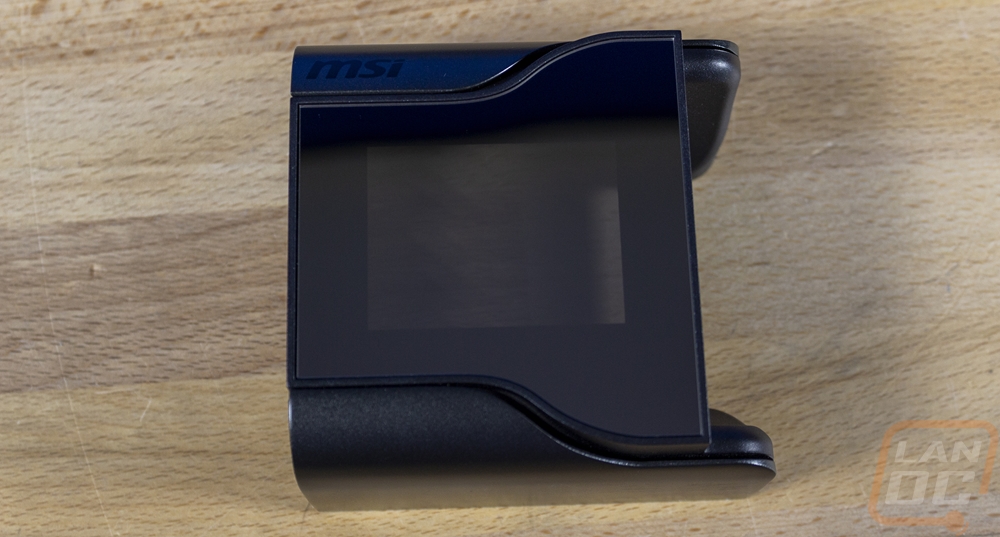
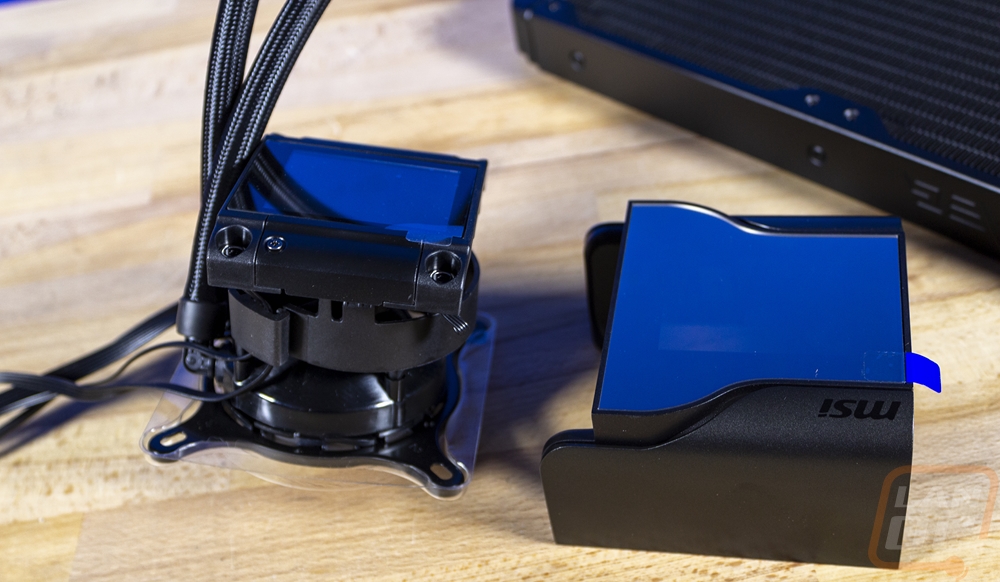
The pump/block assembly for the CoreLiquid S280 is a lot more complicated than your standard AIO setup. We already know that this is an Asetek OEM design can that can be seen with the twist-lock design that attaches the mounting bracket to the pump. But on top of the standard design, the CoreLiquid S280 has two more things. It has a fan integrated into it and then the screen on top. All of that is then covered up by a big cover. The cover is attached with magnets so it can be pulled on and off at any time. This is helpful because it does cover up all of the mounting.
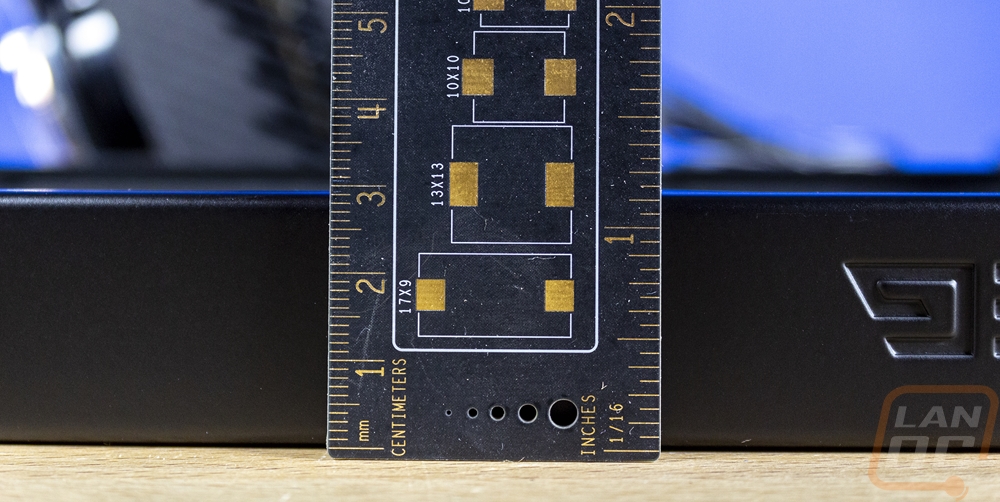
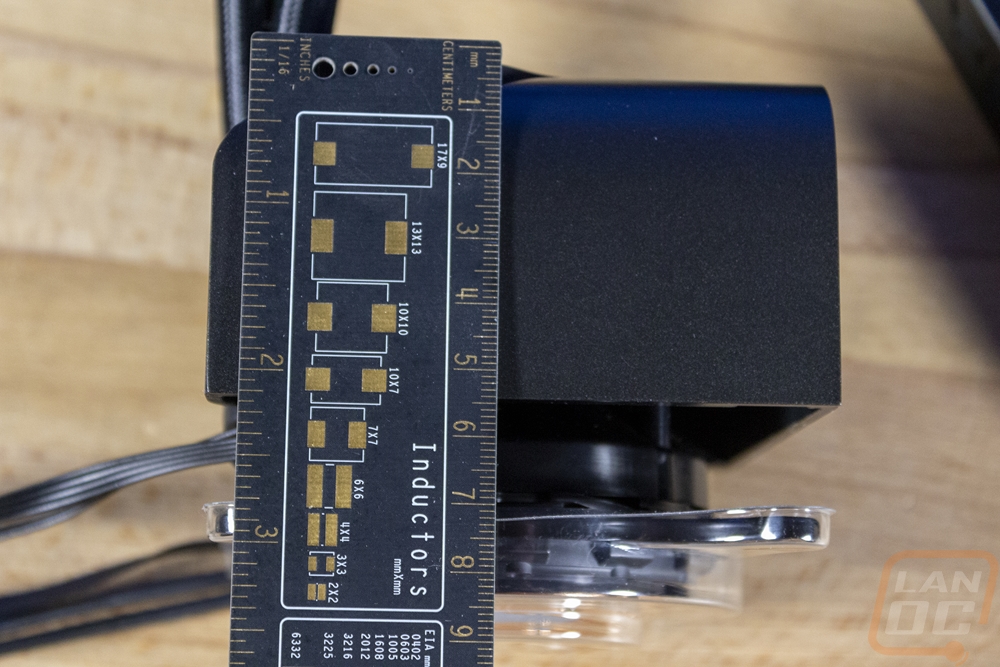
The CoreLiquid S280 is 83.53mm tall and with the housing is 95m95mm square. This is taller than the Corsair iCue Elite models due to the CoreLiquid S280 also having the integrated fan and it is a little wider as well.
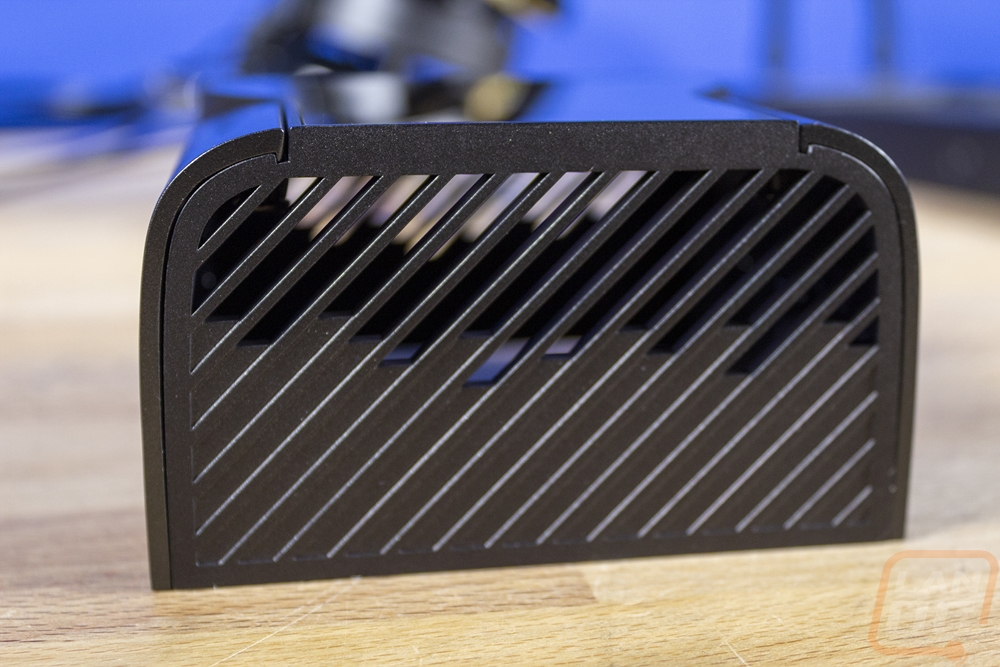
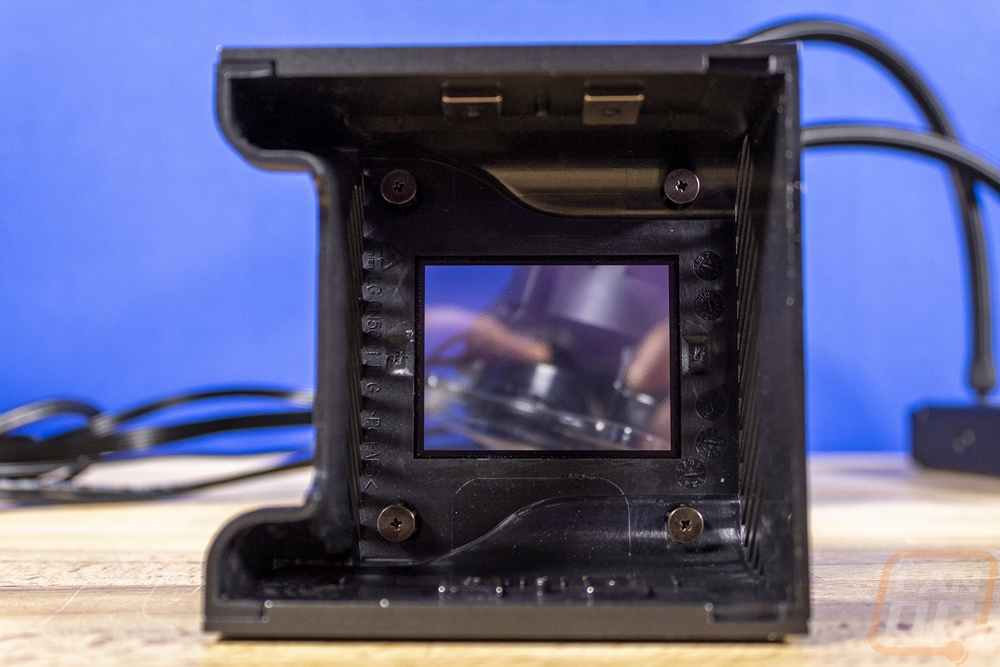
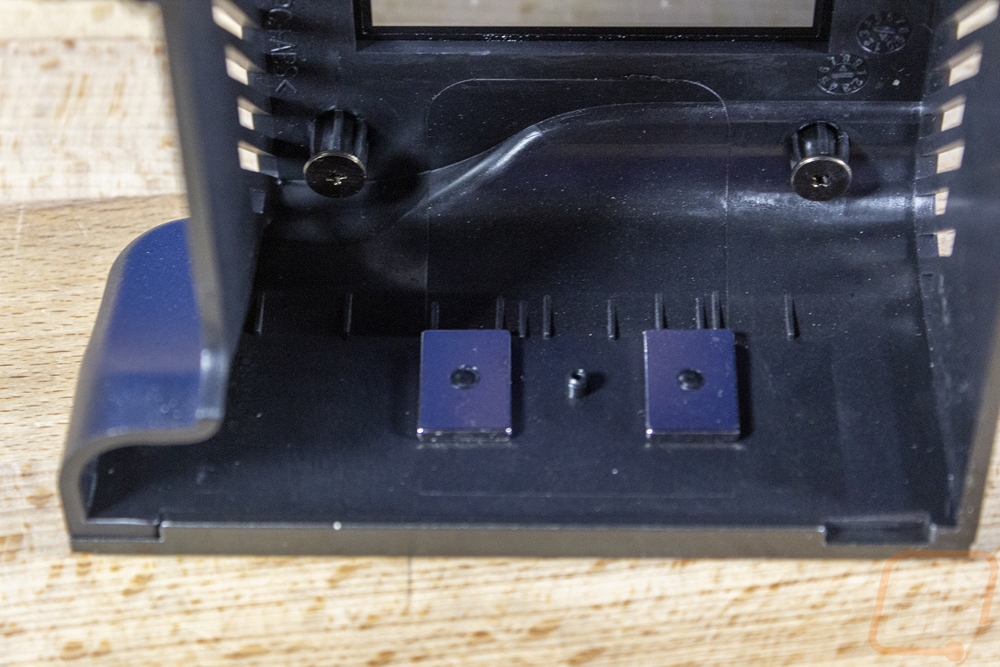
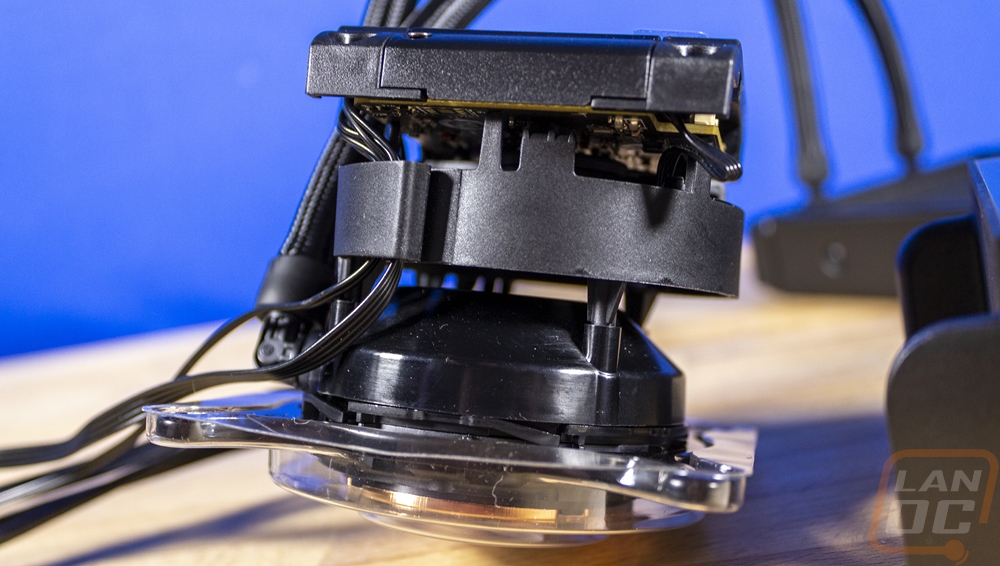
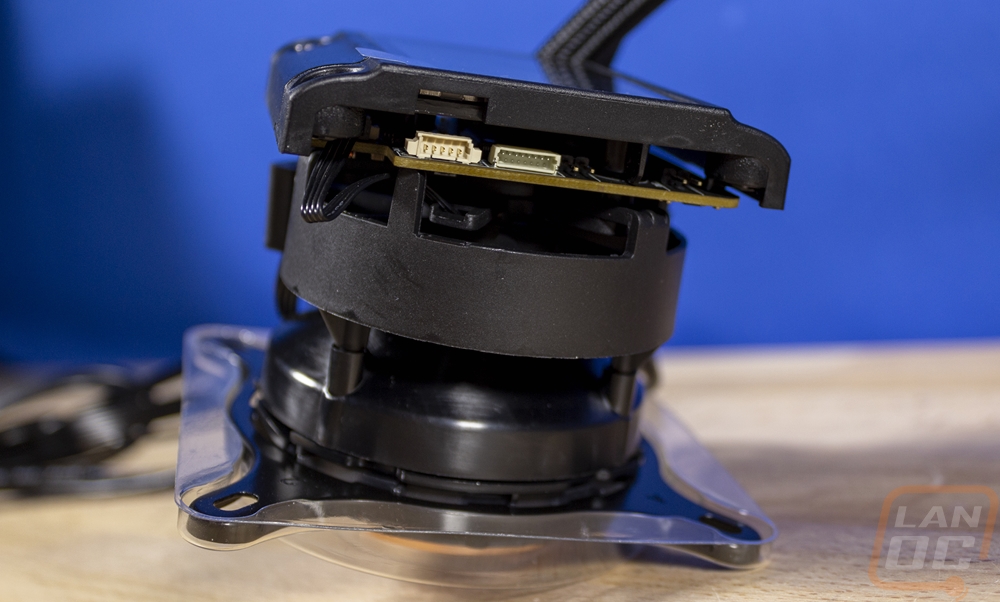
Both the cover and the screen below it have plastic installed on them that you will need to remove before using but I would highly recommend waiting until you have everything installed before doing that because they get dust and fingerprints very easily. The side view of the pump assembly really helps put the overall package in perspective. You can see the water block and pump down at the bottom which is compact. They are using the Asetek 7th gen pump design and if you haven’t seen the twist-lock mount design you can see it here where you can twitch to attach or remove the metal mounting bracket depending on what CPU socket you are installing on. Above that is the fan which has openings below and above the fan to pull air in and blow it out. The idea with this is to push air into the VRM around your CPU as well as your ram. With water cooling in general the airflow in those areas can get bad. Then up on top is the 2.4-inch screen. The one side of the screen down has additional plugs on it which is interesting but they aren’t used in this setup. I don’t know if maybe that PCB is designed to be used in other ways as well.
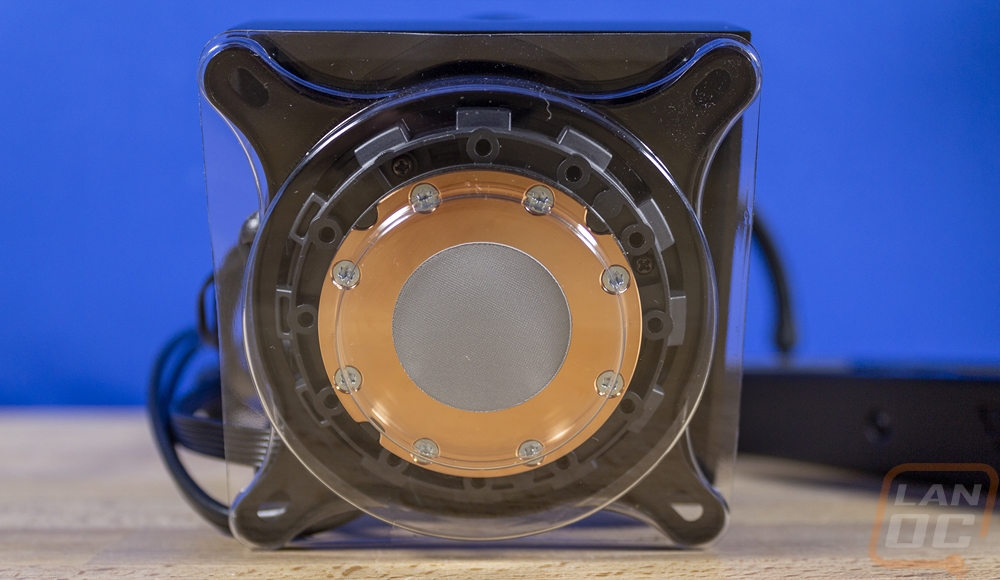
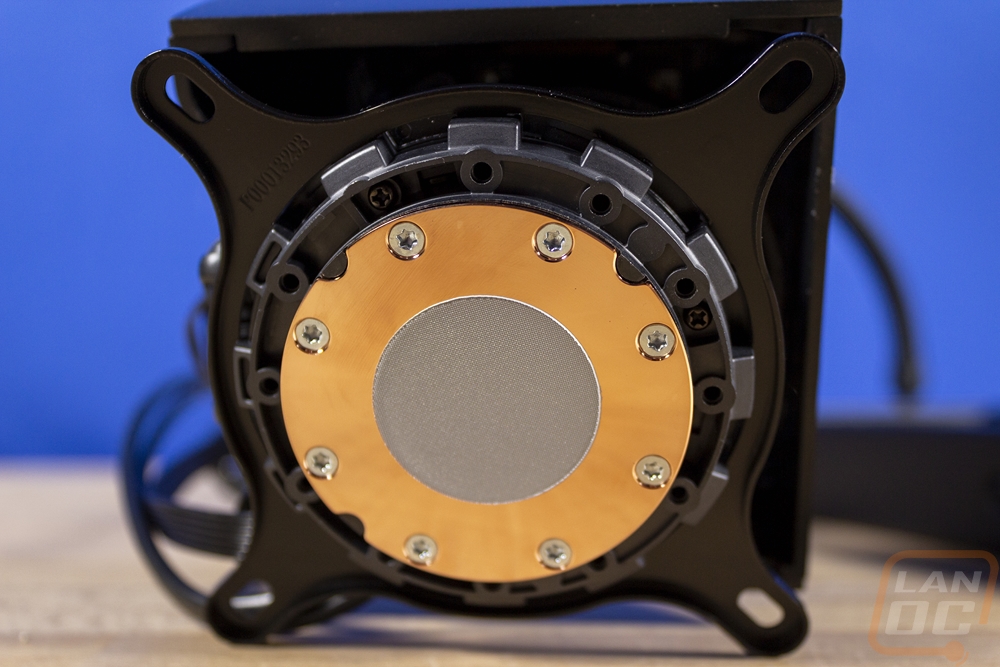
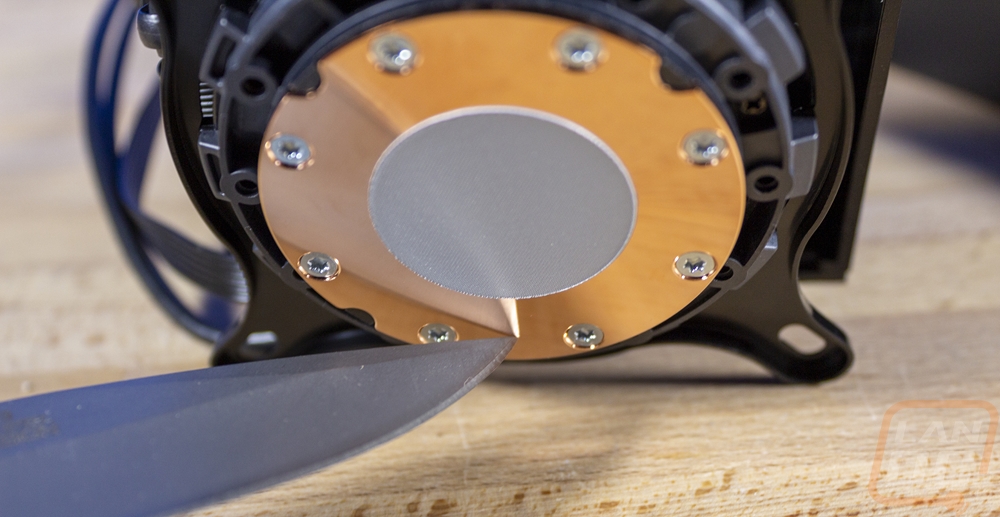
The bottom of the CoreLiquid S280 water block has the typical round Asetek contact surface. This gives a better look at the twist-lock mounting system. You can also see that it does come preinstalled with thermal paste which is why the CoreLiquid S280 doesn’t come with any extra paste. The overall finish of the contact surface isn’t too bad, it is smooth enough that we have a good reflection up close but it does get fuzzy farther away.
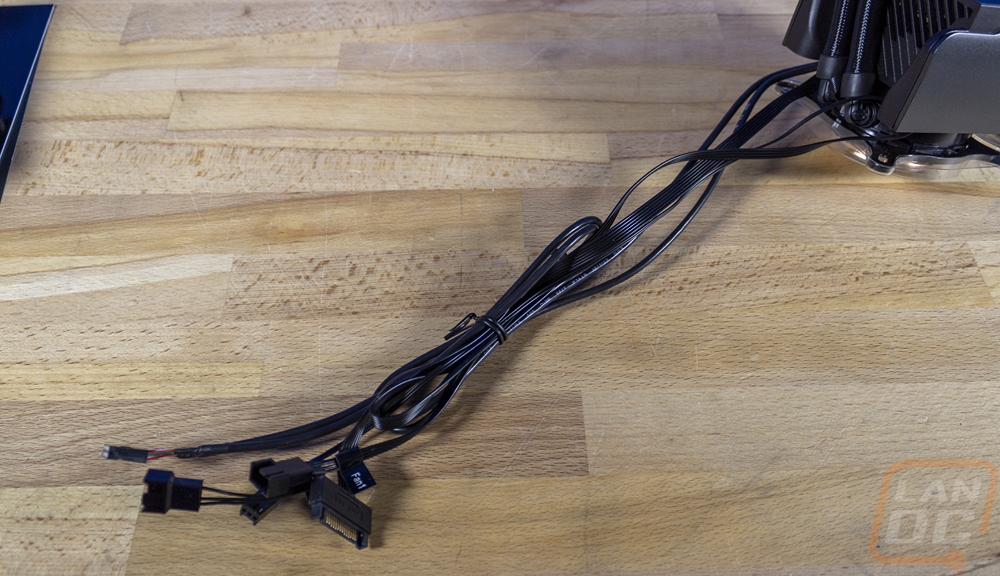
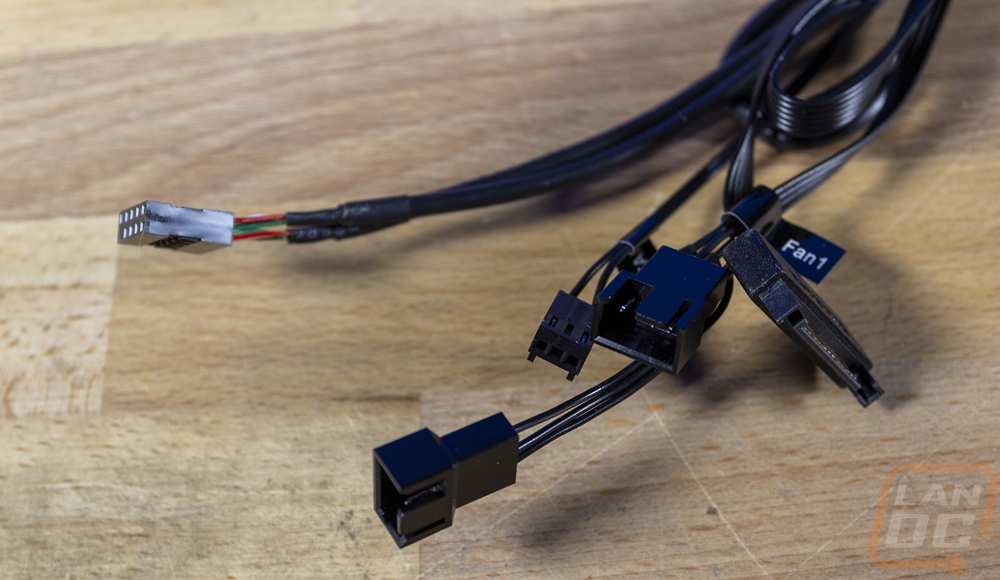
With so much integrated all into the pump housing, it does end up with a mess of cables. I do wish some of these designs would use one cable and let you split all of this up behind the motherboard tray for a cleaner look. They are all black but just keeping all of these out of the way right in the middle of your case is hard to do. There are two 4-pin PWM fan connections to hook the radiator fans up. There is a 3 pin fan connection to hook to your motherboard so that it doesn’t think your CPU isn’t being cooled. Then you have a USB cable for the data connection and a SATA power cable to power all of this.
The Silent Gale 140mm fans look good installed on the radiator, especially with all of the blacked-out mounting hardware.