Photos and Features
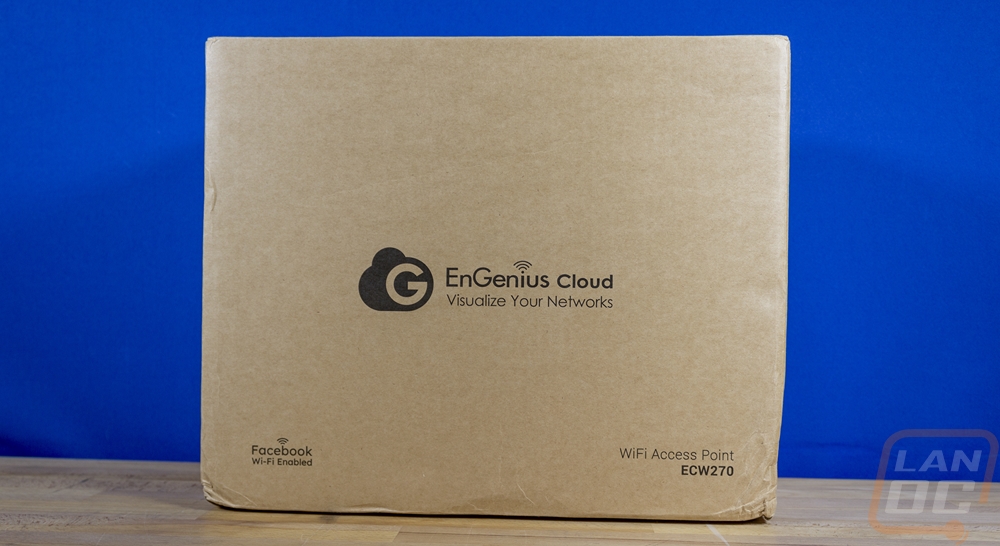
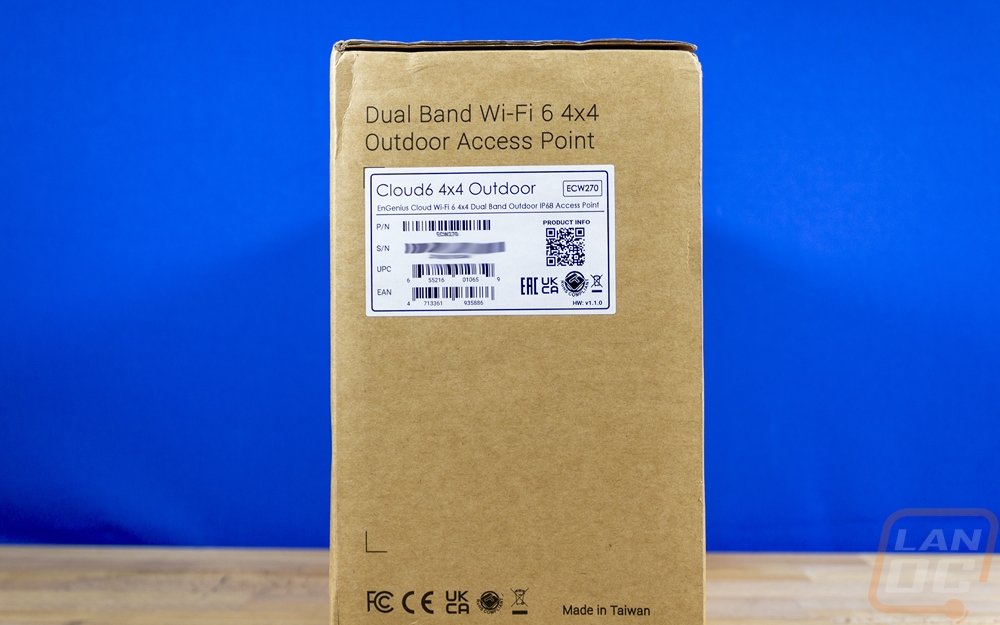
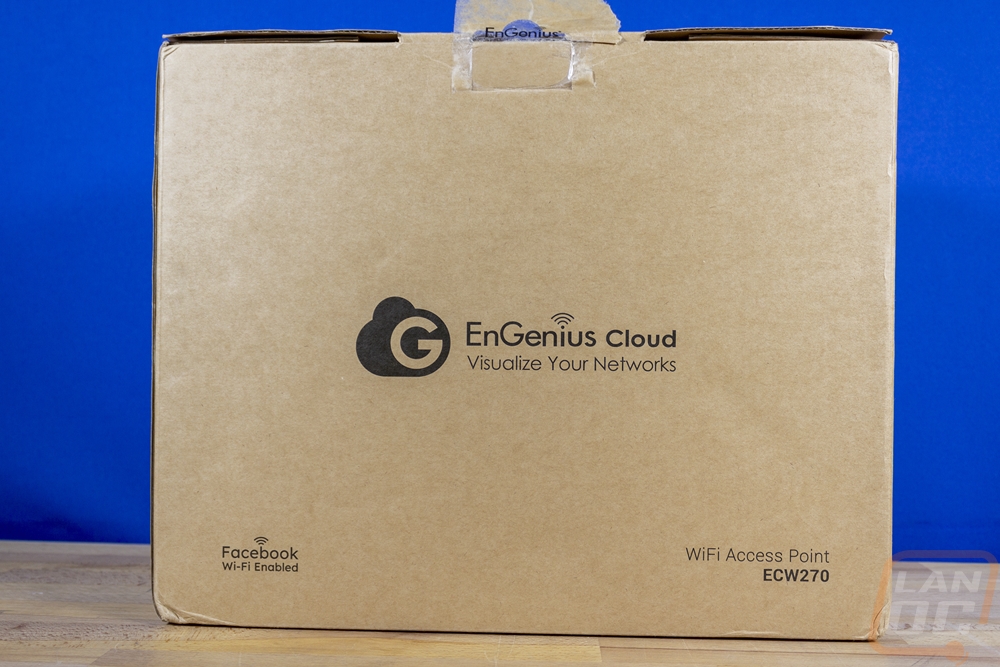
No surprise that the packaging for the EnGenius ECW270 comes in a brown box, this is what EnGenius has done for all of their enterprise products as well as their newer Fit lineup as well. The box for the ECW270 is big, a lot bigger than I expected. Both the front and back have the EnGenius Cloud branding on them. They also have “Facebook Wi-Fi Enabled” and in the bottom right corner, they do have the model name on them as well which some of the boxes don’t get because they can be reused. I guess because of the unique size there isn’t any worry that another product will also use the same box. Then on the side, they have a longer description that lets you know this is a dual-band WiFi 6 4x4 outdoor access point. They also have a white sticker on the side. This has the UPC and part number as well as your serial number. It also has a QR code that will take you to the product info as well.
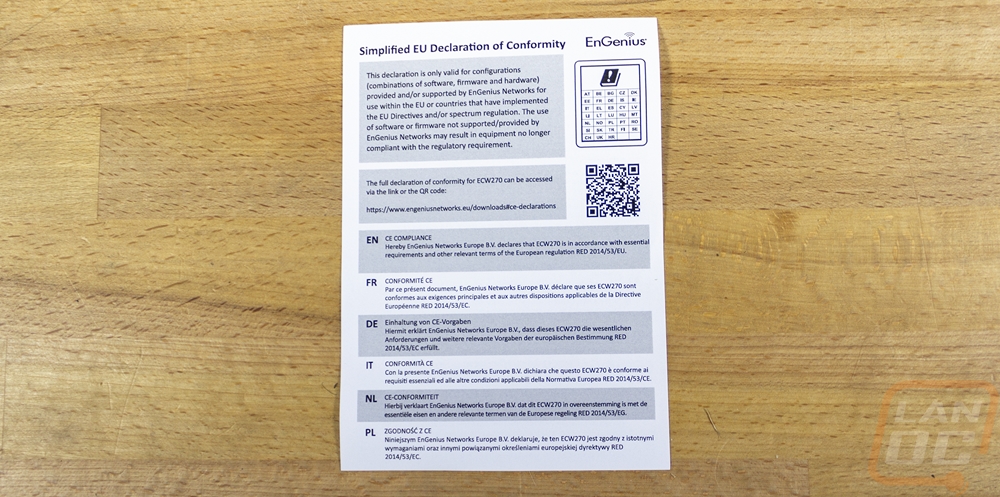
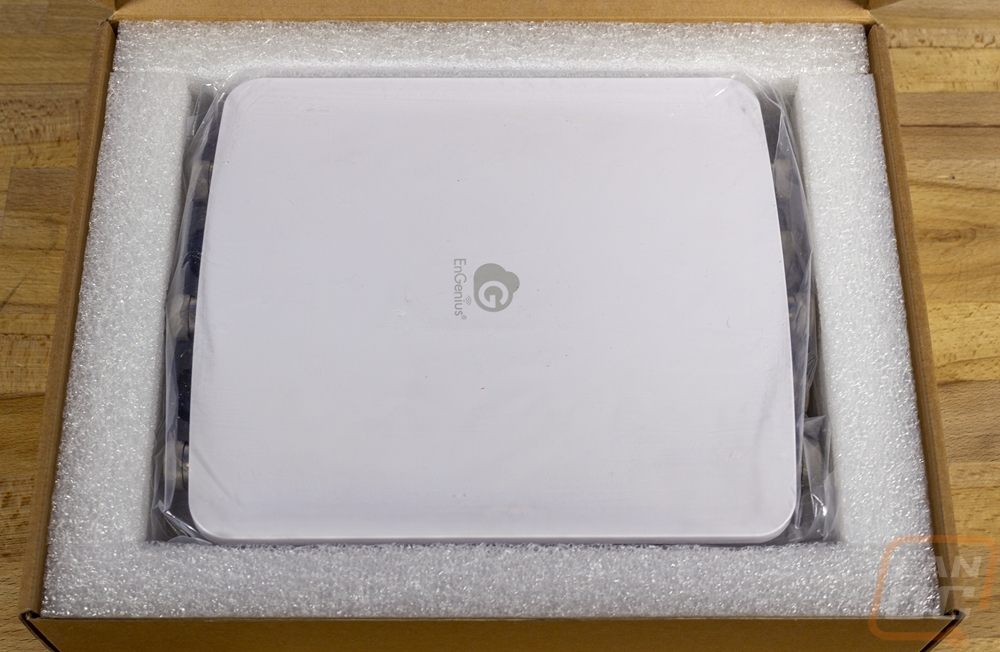
Once inside I was surprised to see two more boxes, EnGenius has one box with the ECW270 inside which is lined with foam for protection. Then the second box is packed full of all of the mounting hardware and the external antennas. I did notice that our sample has been opened up and tested which isn’t a big deal but should be noted as it does lower the chance that we run into any hardware issues out of the box. The accessory box has all of the antennas on the right side, each wrapped in plastic. There is an insert which has a quick start and mobile app QR codes on it and the model information. They also have a paper with the EU conformity paperwork. Then from there, the main mount covers up the screws, ground wire, and there is a second mount up under the cardboard as well.

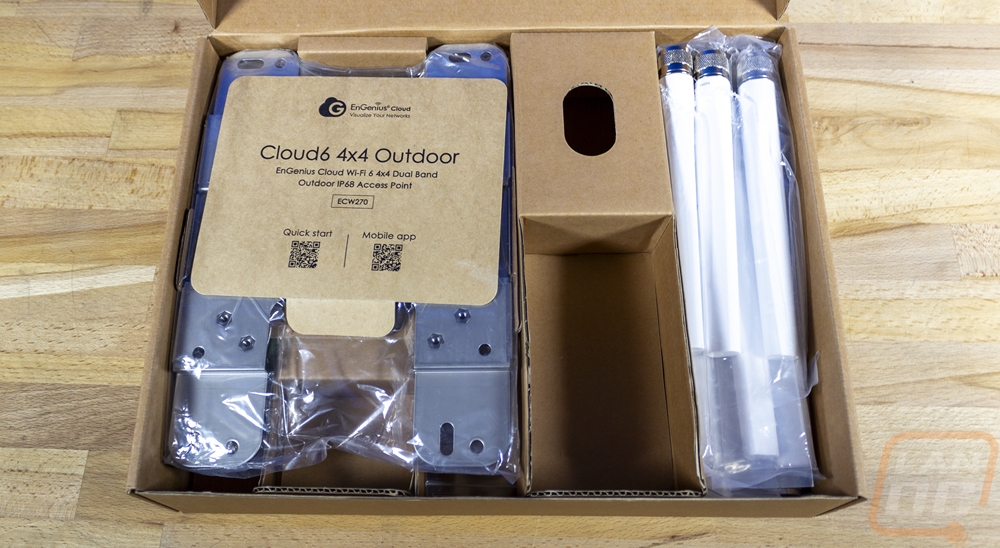
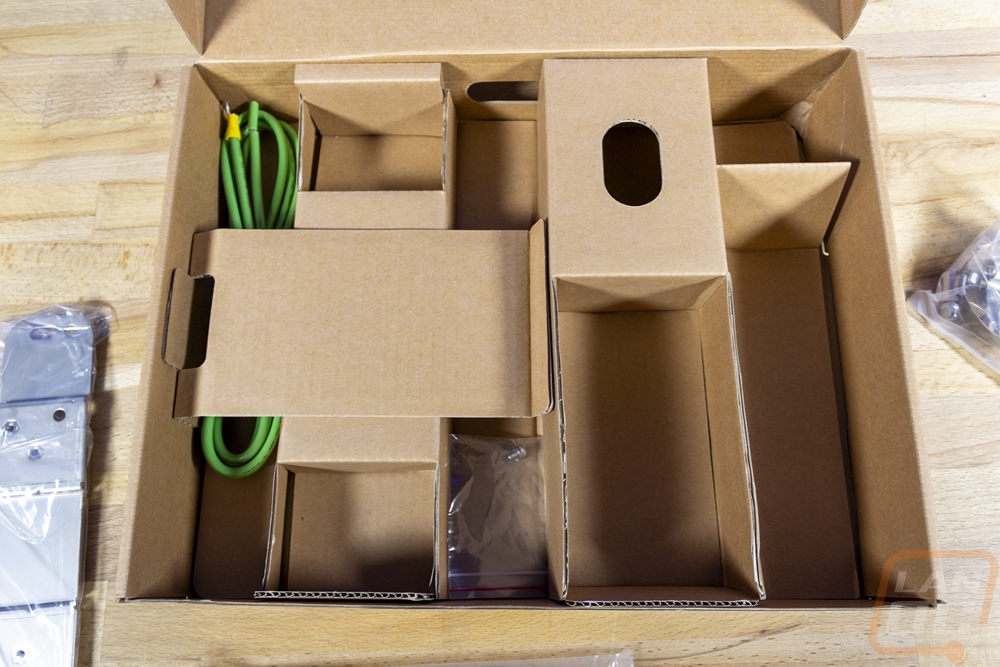
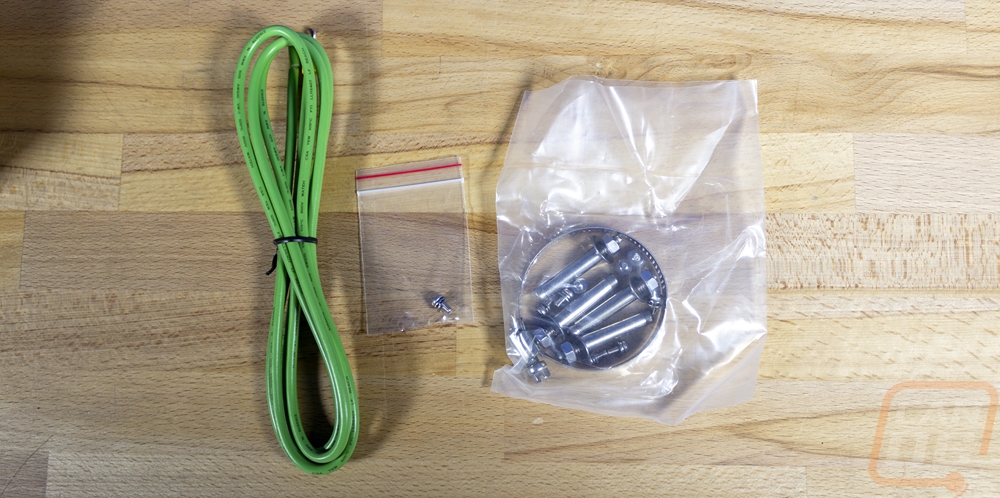
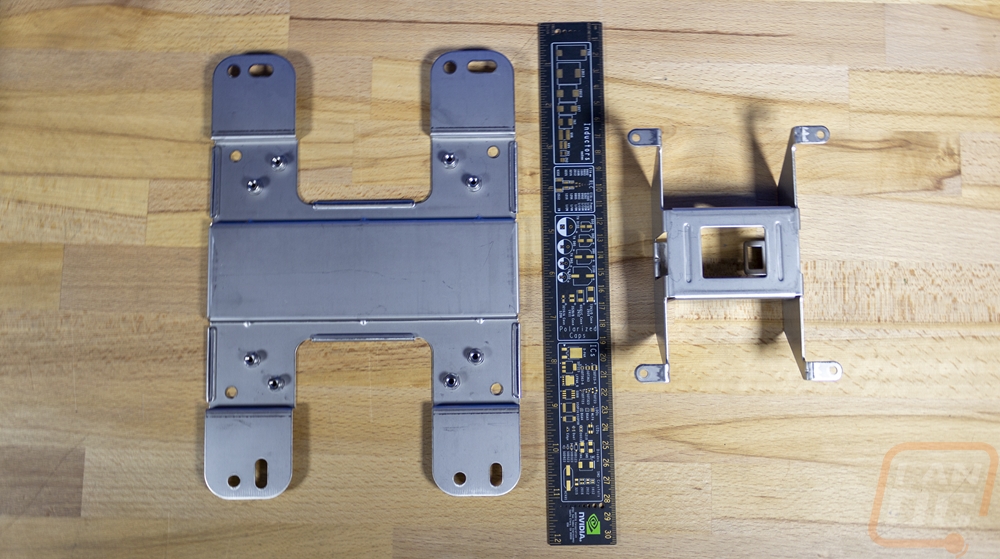
Like our previous look at the ECW260 2x2 Outdoor Access Point, the ECW270 comes with a thick green wire as a ground wire and a small mounting screw to attach it to the access point. Then there is another bag with a few mounting options. There are 8 screws with lock washers and standard washers already installed, those are for mounting the ECW270 to the mount and for mounting the secondary pole mount to the main mount. There are four wedge anchors which have a bolt on the end, the ECW270 is heavier than the ECW260 and you can see that with the much larger mount that are typically used in concrete. When you tighten the bolt they lock in place. There is also a metal hose clamp for pole mounting. For the mounts the mount for the ECW270 is huge, a big change from the one-piece design that they used on the ECW260. This looks a lot more like a TV wall mount and is 10 inches long on the long side with four slot mounting holes or four round holes that you can use for mounting it. Then on the inside, there are 8 mounting holes for mounting the pole mount giving you the option to install it in both directions. Then four holes where you install the ECW270 directly to the mount. The ECW260 had a mount with pegs where you could install the mount and then slide and lock the AP to the mount after, this design doesn’t allow for that at all. It also means that the mounting points will all be visible where the old design hid the mount completely.

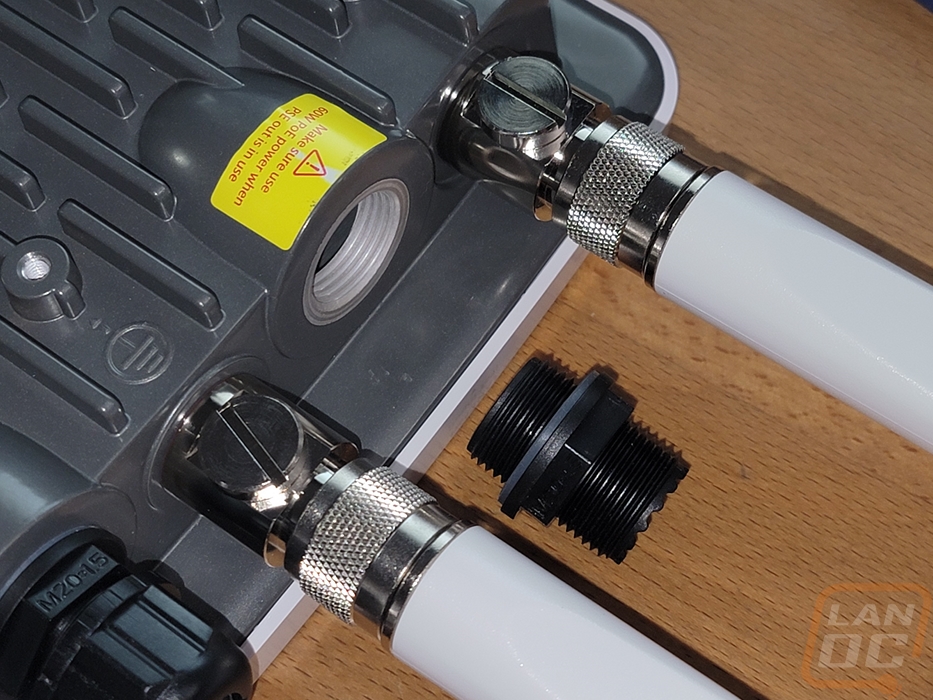
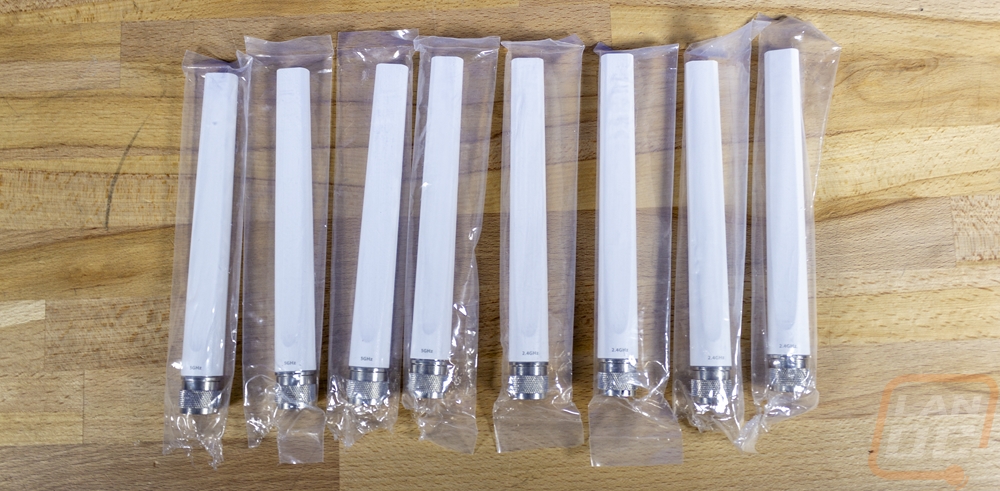
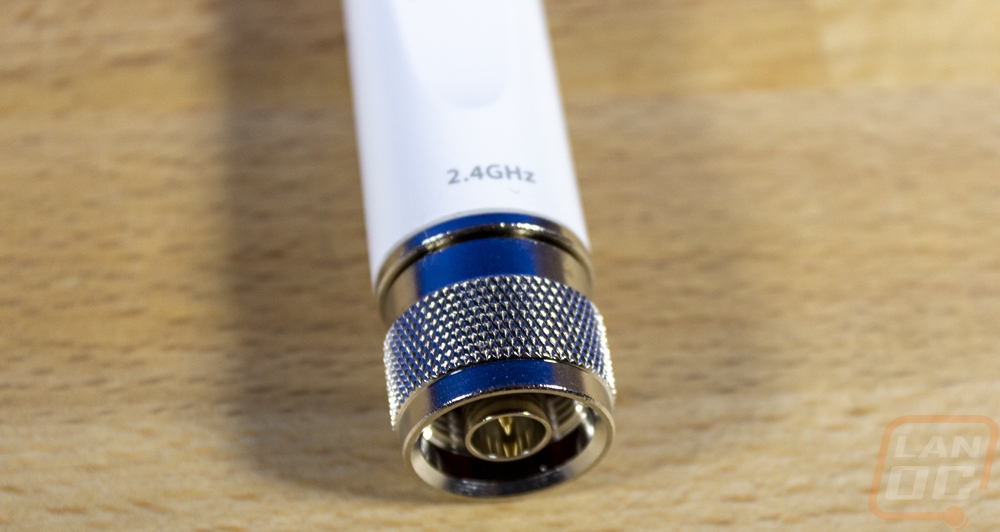
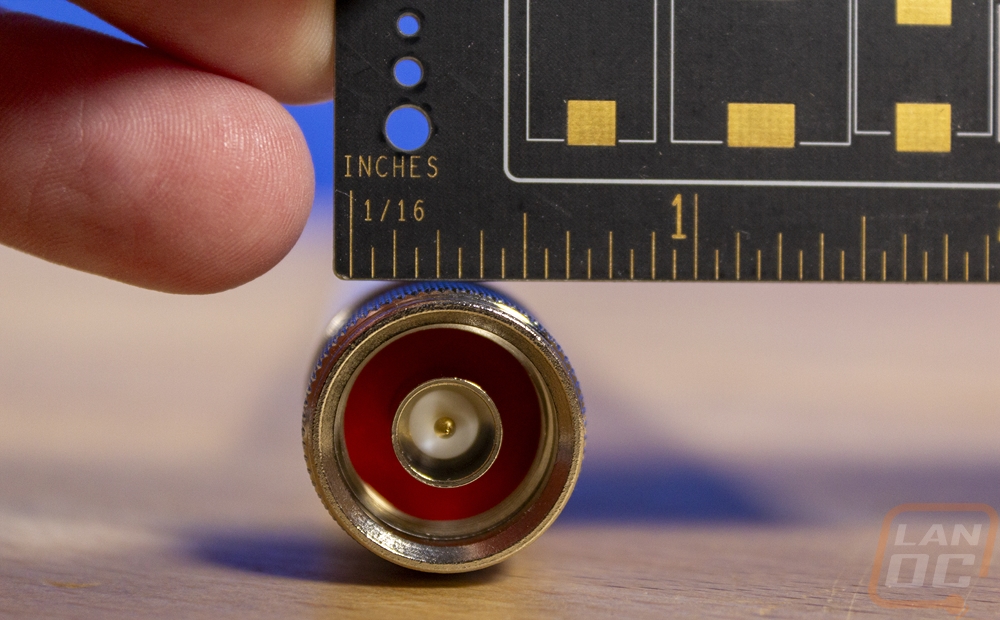
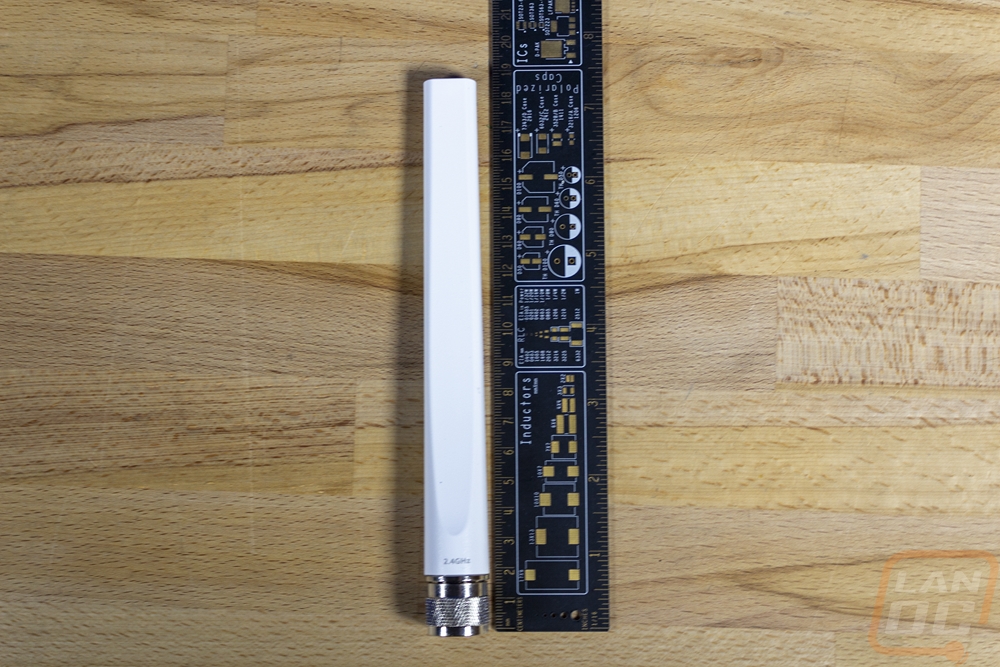
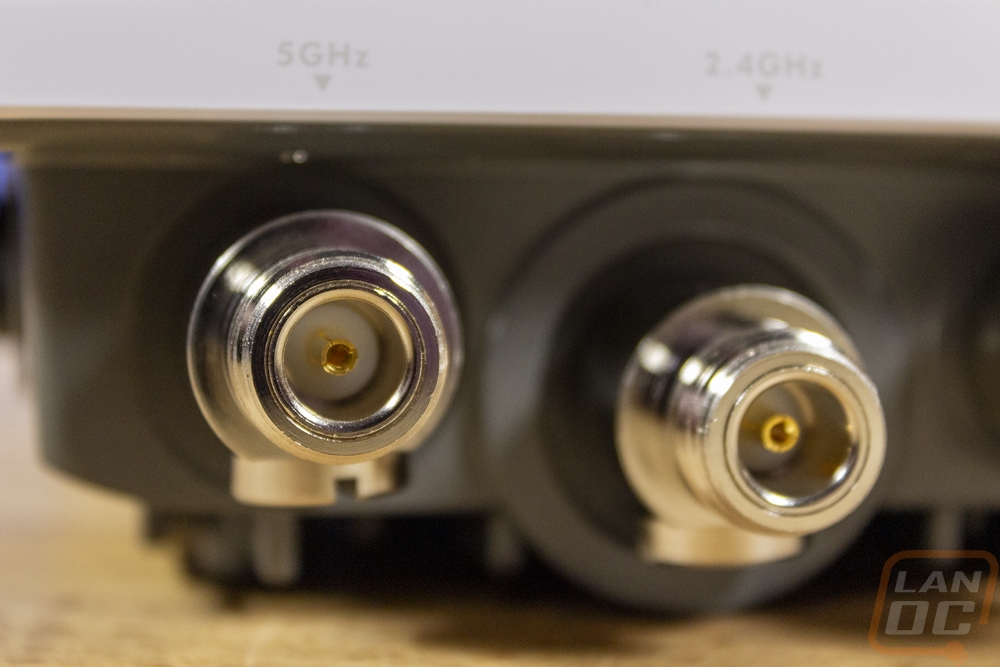
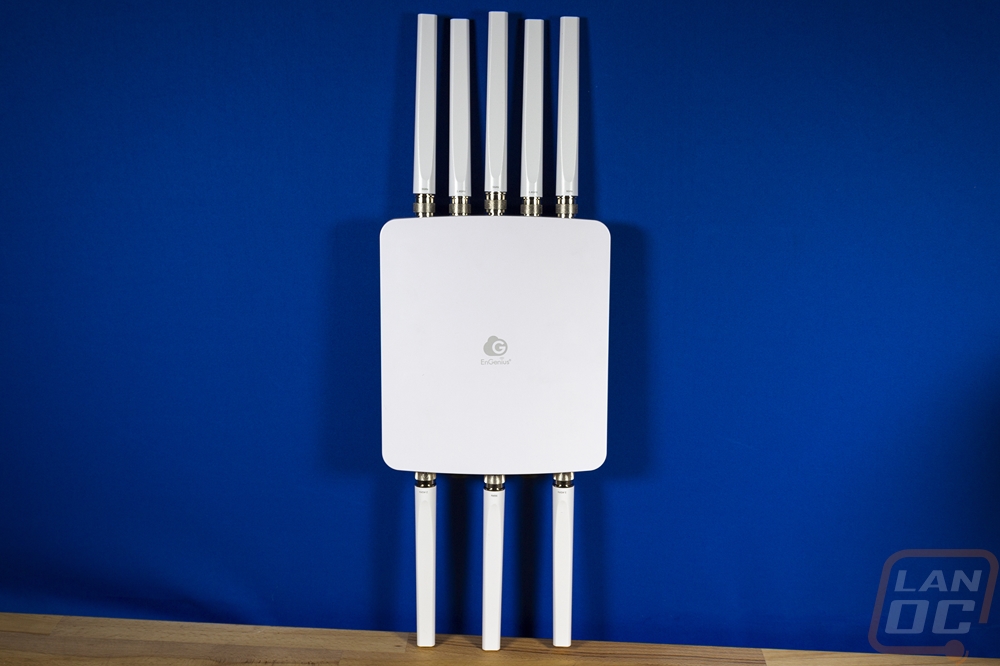
By doubling up on radios it also means there has to be twice as many antennas as well but what surprised me was that these are significantly larger than the design on the ECW260. These are 7 and a half inches long and almost ¾ of an inch thick as well. They are frequency specific and EnGenius has labeled them for 5Ghz and 2.4Ghz use and the larger design also has full metal connections on the ends with knurled texture on them. Inside the connection is in the center then there is a thick red ring insulator to keep things dry.
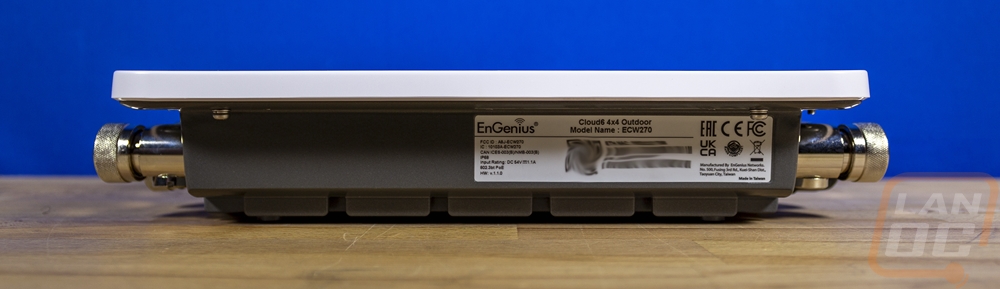
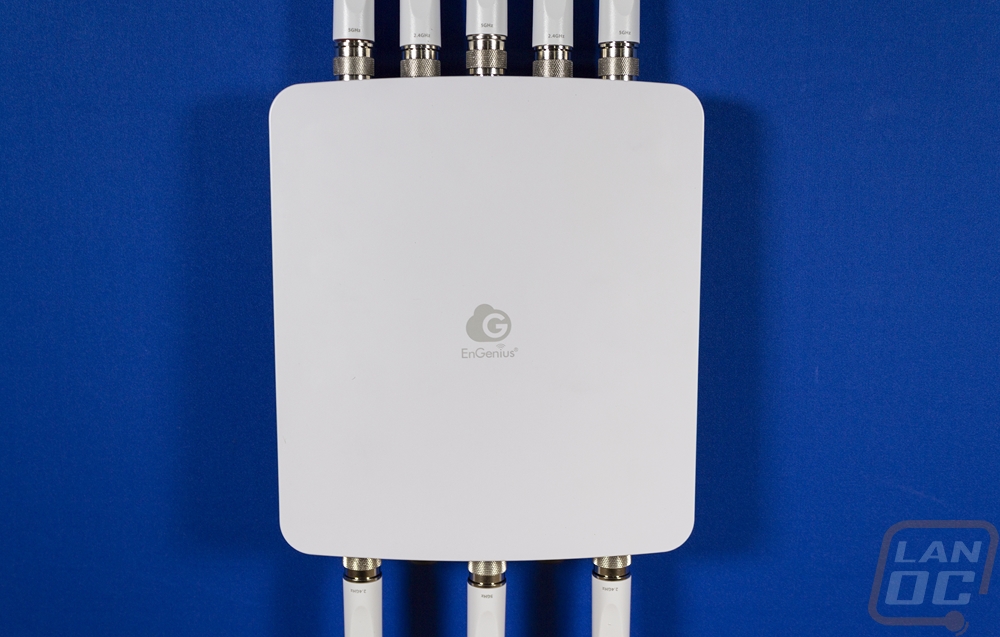
The access point itself is 4.12 pounds which is more than twice that of the ECW260 which was 1.54 pounds. It is 8.58 inches wide and 11.22 inches tall. For comparison with the ECW260, it was 7.48 inches tall and 4.07 inches wide. The ECW260 was 2.07 inches thick and the ECW270 isn’t too far off there at 2.18 inches. The base portion of the ECW270 before you install the antennas has a bright white finish with the EnGenius logo in a grey in the center and while larger than their inside access points does have a similar shape with the rounded corners.
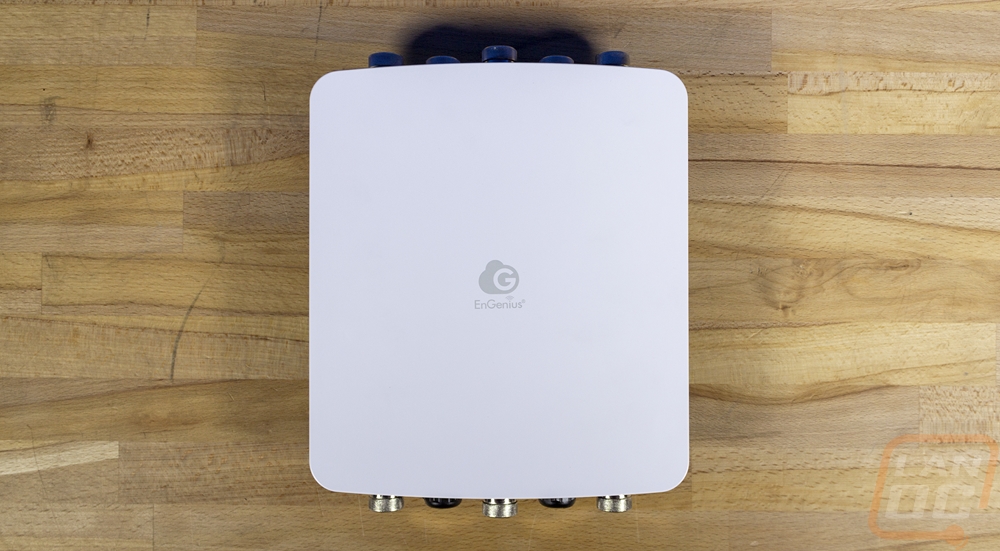
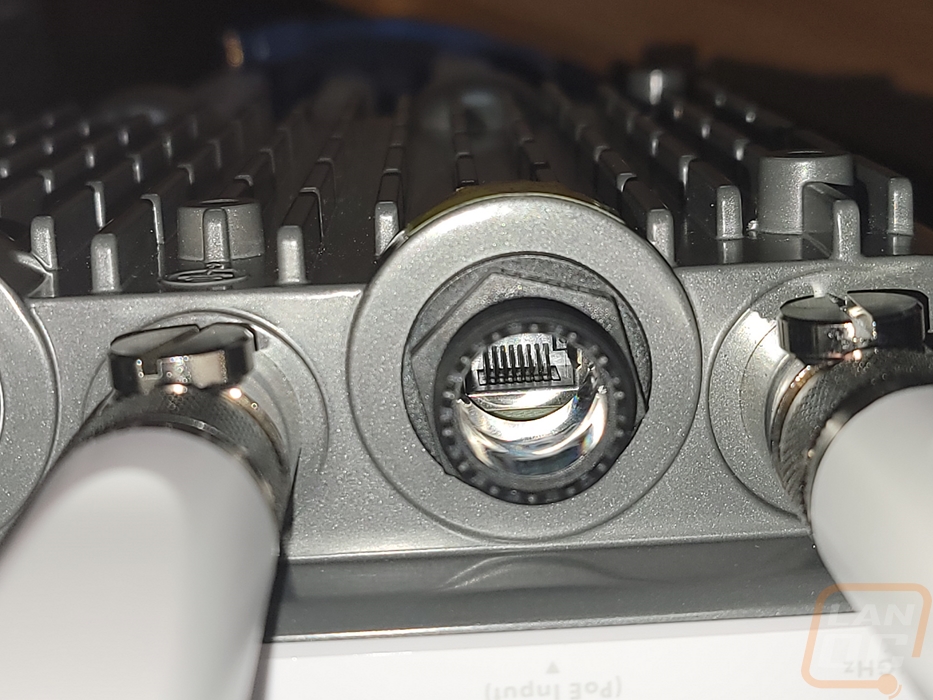
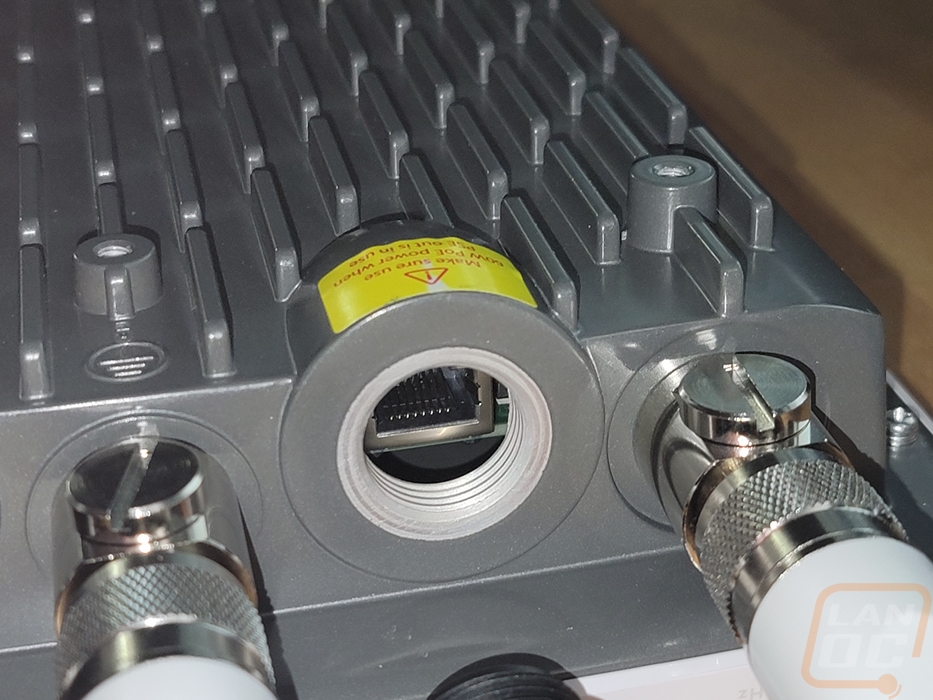
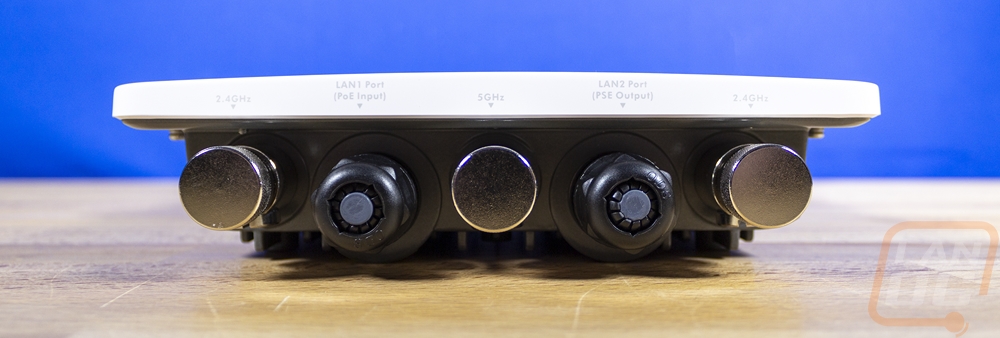
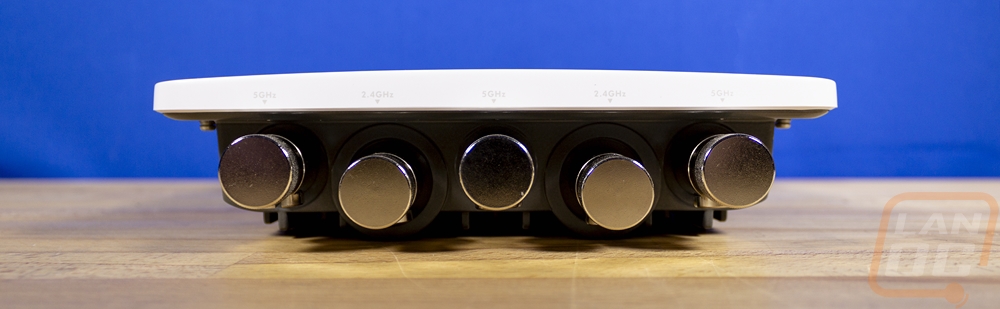
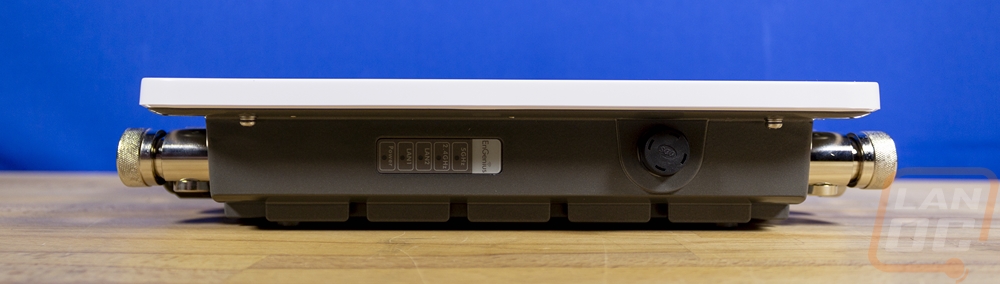
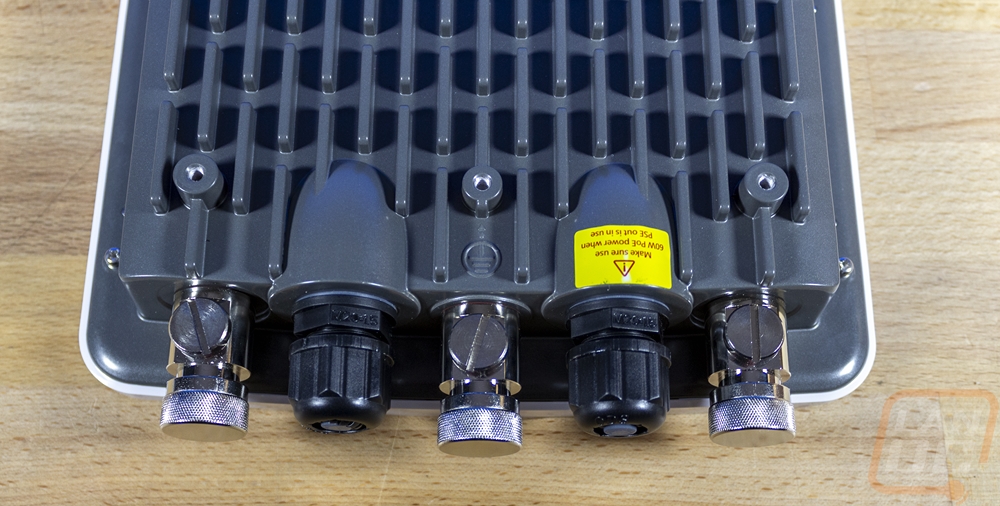
Once we start looking at the sides we can see that the white plastic cover wraps around a little less than a half inch and there is a slight curve to the front shape so it is thicker in the center than the outside edges. The top and bottom have all of the antenna connections. There are five in total on top and then three on the bottom, which makes room for the two waterproof ethernet connections on the bottom. The new larger antenna connections also come with metal caps installed on each one, the ECW260 with its smaller connections did come with plastic caps but the metal here seems a little excessive. Each of the antennas and LAN jacks is labeled on the plastic housing with an arrow. This helps make sure you get the 5Hz and 2.4 GHz antennas in the correct spots. Then for the LAN connections, this is important now that there are two. This lets you know that the left one is for the input connection whereas the right one is an output. The input is a 2.5 Gigabit connection and the output is 1 Gig but it does also pass through PoE making it a great way to also mount a PoE camera nearby without having to run an extra run for it.
The left side has a white sticker on it, this has all of your model information, serial, and Mac address as well. It also has a QR code for quickly adding the ECW270 to your EnGenius Cloud account for a quick setup. For security though I do wish that this was on the back of the ECW270 like they did with the ECW260. Obviously, if you are close enough to be able to read this you could have physical access to the wired connection, but giving quick access to the Mac address still isn’t ideal as it makes it even easier for someone to clone and bypass security measures. The right side then has a stack of small LEDs with labels for each. You have power down at the bottom, status indicators for each of the LAN ports, and the same for both wireless frequencies.

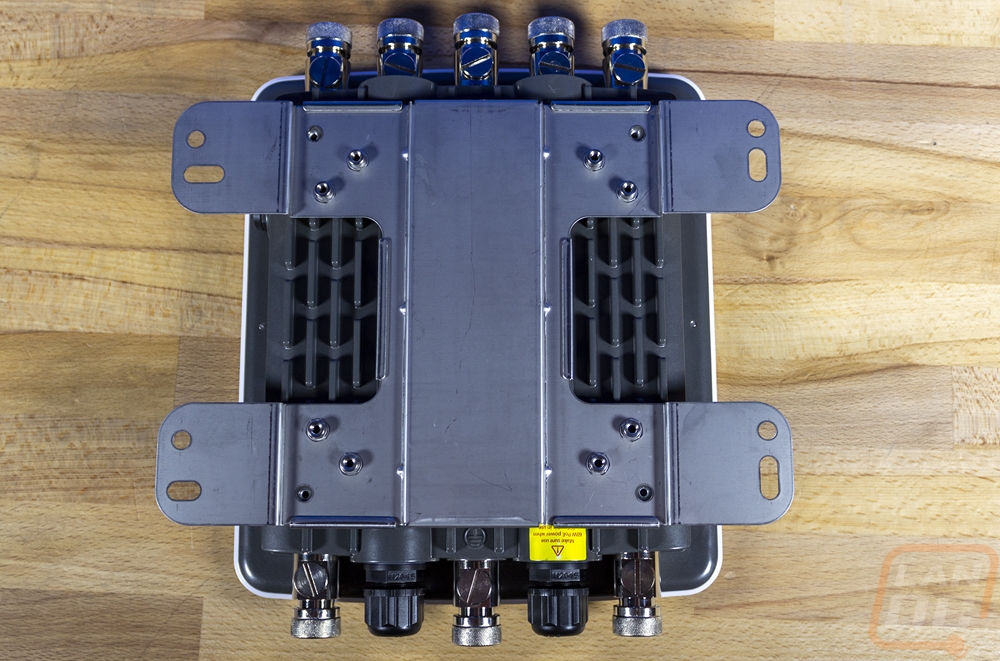
The back of the ECW270 has a thick aluminum housing and this along with the all-metal antenna connections are where a lot of the extra weight is found. The aluminum back housing has a thick heatsink designed into the entire back. Its weather resistance has been upgraded from IP67 on the ECW260 up to IP68. The 6 means complete dust protection. The upgrade from 7 to 8 is on the water intrusion rating. IP67 is protection from immersion between 15 centimeters and 1 meter in depth whereas IP68 meets the same rating but is rated for a larger depth but EnGenius doesn’t specify the depth in the specifications. With the heatsink, the temperature rating does from -4º~149ºF which is a little higher than on the ECW260, and has a humidity of up to 90%. Being in northern Ohio we do see lower the -4 degrees most winters, so that is something to keep an eye out on. The back has four mounting holes for attaching the included mount and the fifth threaded hole is for the included ground strap.

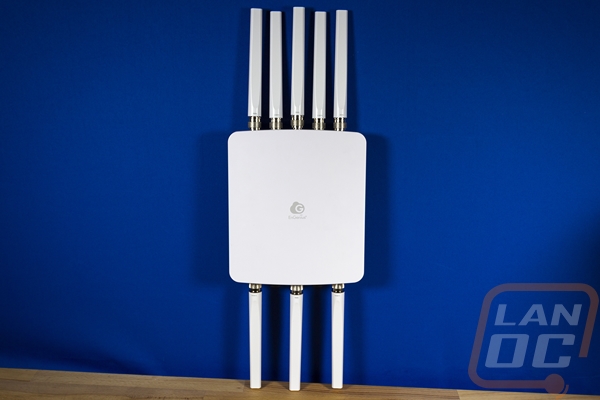
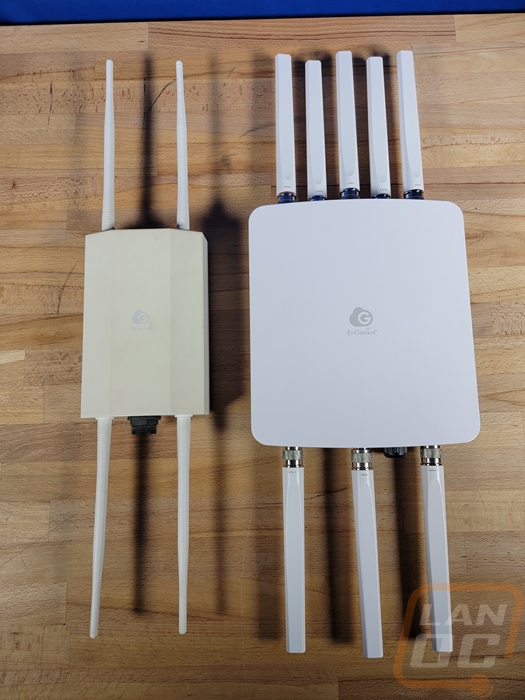
Here is a look at the ECW270 with all of the eight antennas installed and it isn’t much taller than the ECW260 which can be seen in the comparison shot between the two. That look does show just how much our ECW260 has yellowed in the two years that we have been running it.
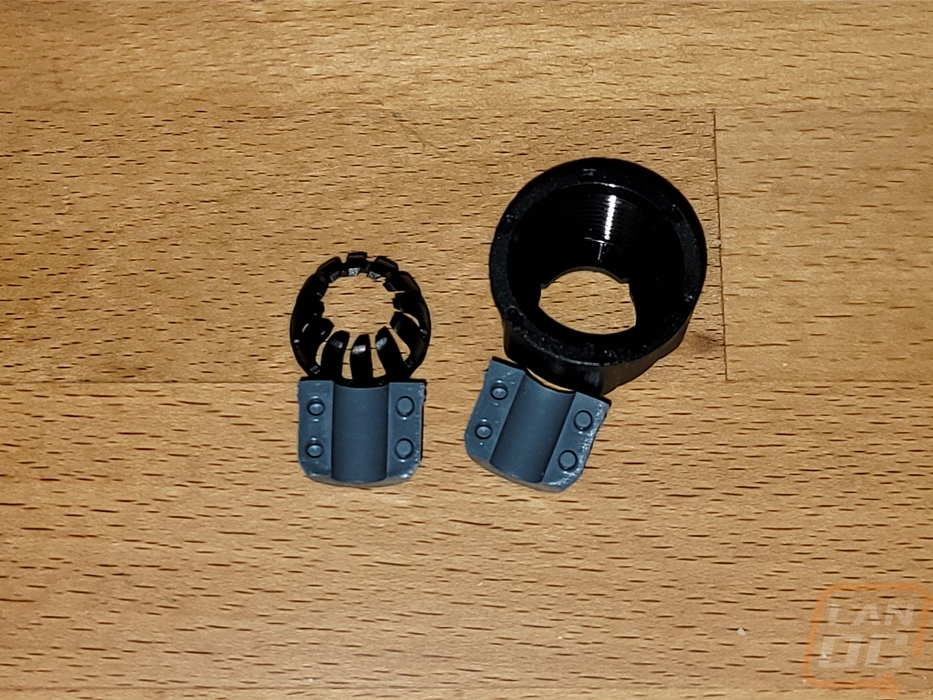
The LAN ports on the bottom have a relatively standard waterproof design which has a rubber insert that goes around your ethernet, a plastic insert to help it keep shape, then the cap that tightens things down, which will shrink the insert down around the cable. But like on the ECW260, I do have to point out that the ethernet connection itself is way up inside of the ECW270. Because of that unhooking, the connection is a huge pain and also means you can't run any strain relief on the end of your cable which might help make it easier to unplug. The design does work with already terminated cables which is good, the insert splits in half, and the cap is notched to fit the squared-off plug through it.