Performance
For testing on the Nebula Capsule 3 Laser, I have been using it for the last few weeks around the house. Some of my testing has just been projecting right in the office next to my desk which is onto a grey wall with lights on and the curtains open. That isn’t the ideal situation for the Capsule 3 Laser, but it did give me time to get things up and running, up to date, set up the apps I wanted to use, and also to start to get a feel for things. When diving into picture quality testing however I tried it in another room with white walls and again also in our basement on an Elite Screens ezCinema Plus 100” projector screen. With the Capsule 3 Laser having a 300 ANSI Lumens rating for its brightness it isn’t designed for a high light environment and projecting on the grey wall doesn’t help either.
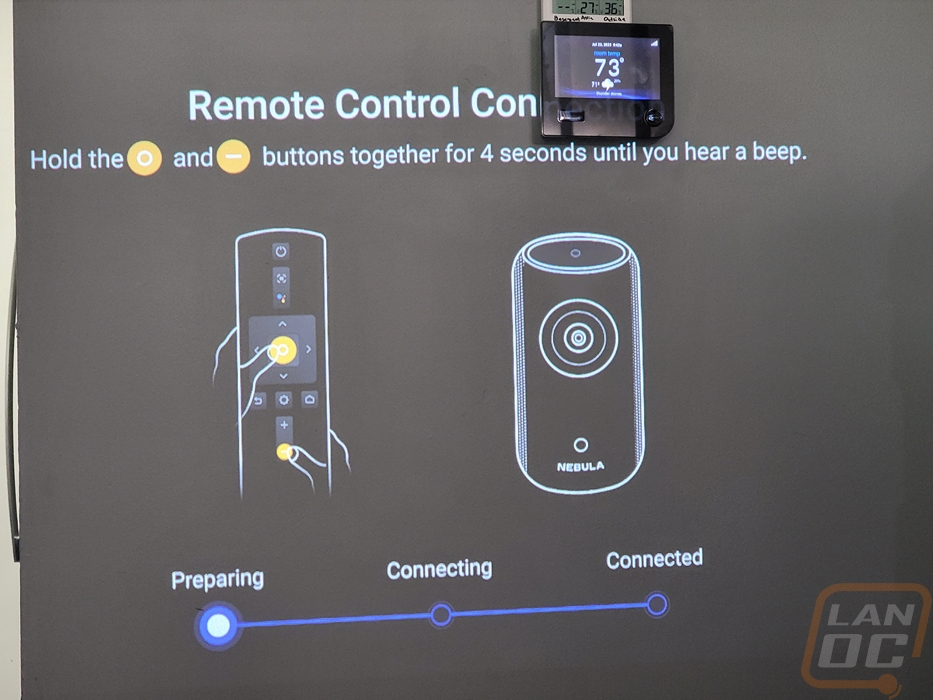
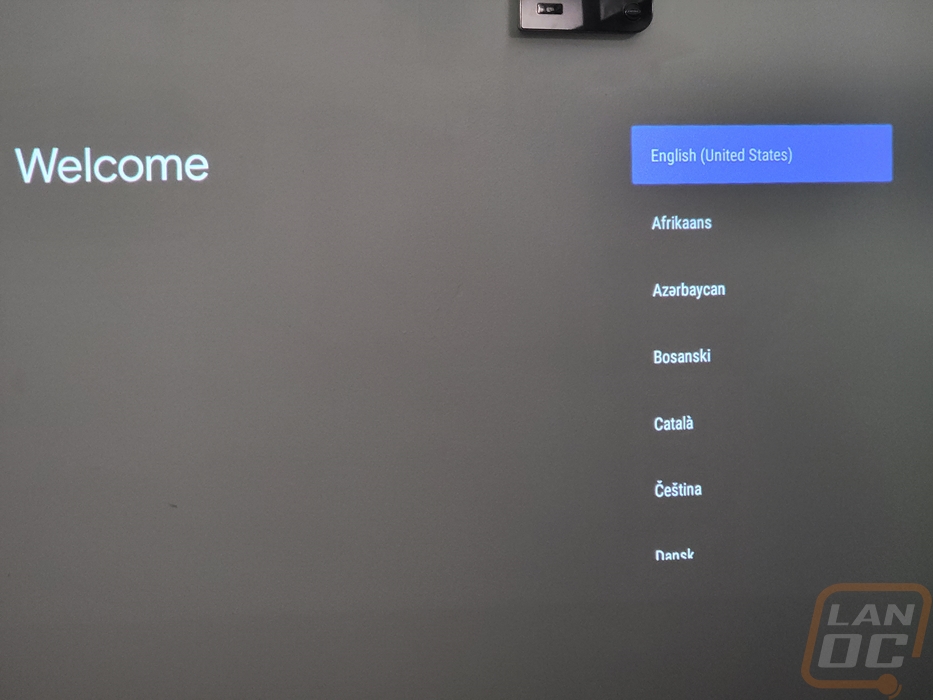
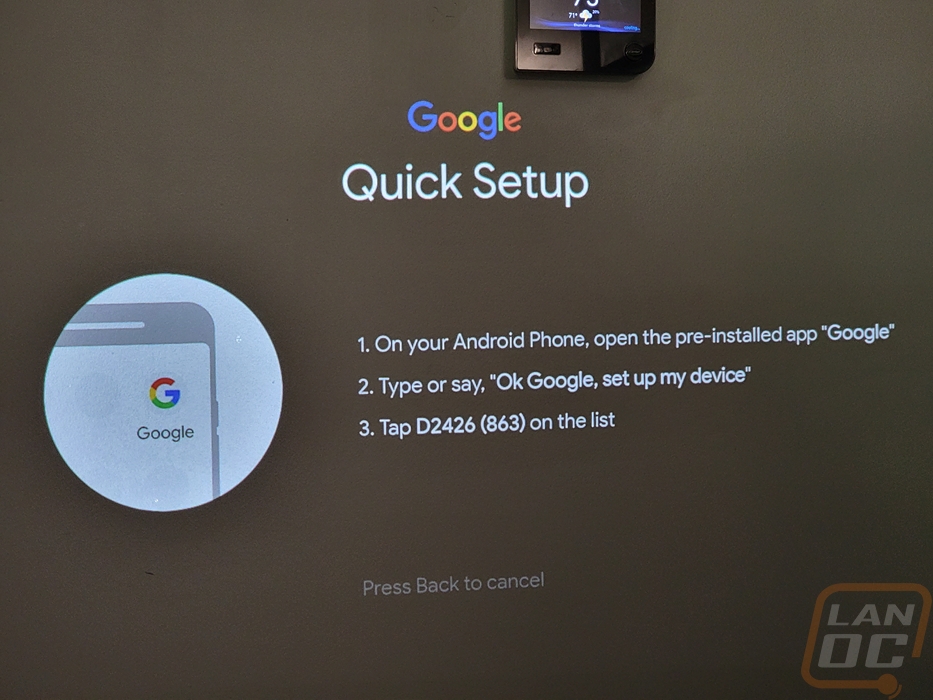
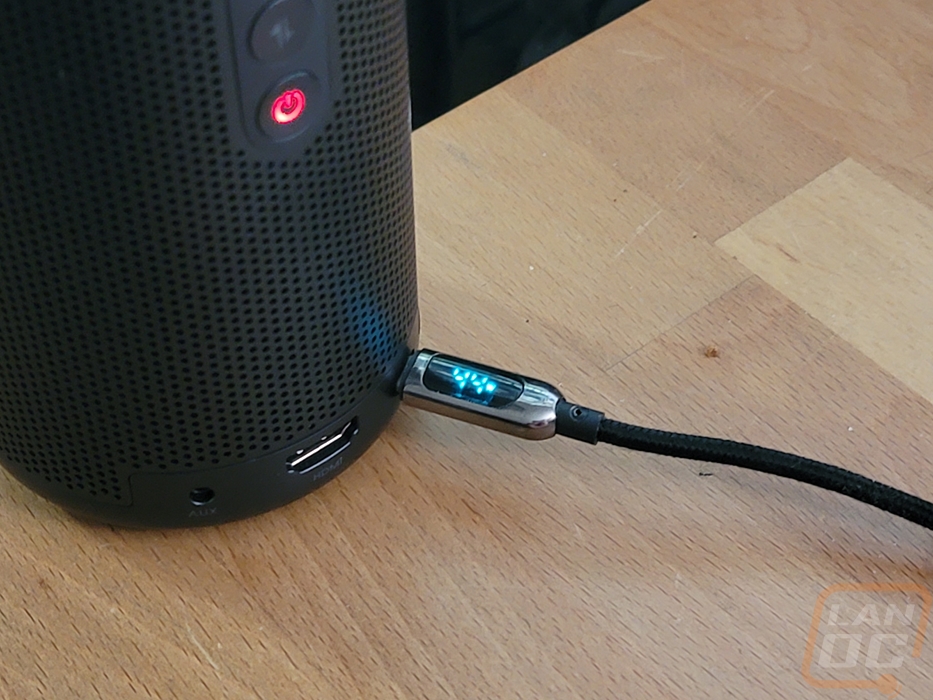
So for setup, once you power the Capsule 3 Laser up it will prompt you to sync the included remote control. While it does have top buttons, not everything is on top so you will need the remote to get things going. This is easy and they do project the instructions as well as drawings of what to do. Once you have control with the remote it will then go through the Android setup steps including asking you to pick your language and linking your Google account. For that, you can go through the slow process of typing everything out with the remote with the onscreen keyboard or if you have an Android device you can do a quick setup which makes things easier. This also brings over things like your wireless settings. Anything to avoid slowly typing things in with the onscreen keyboard is always going to make things simpler.
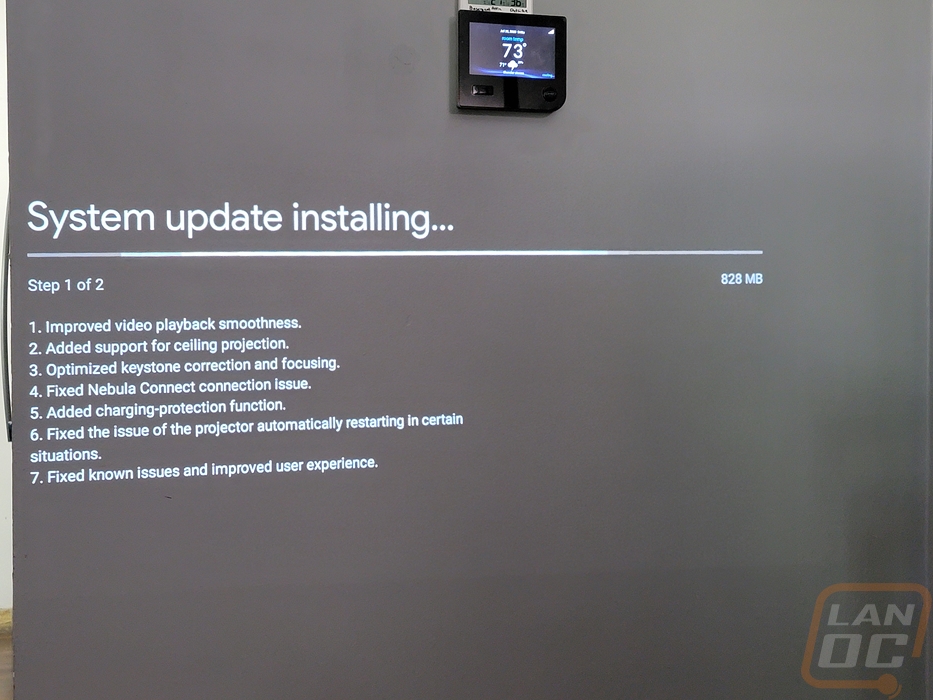
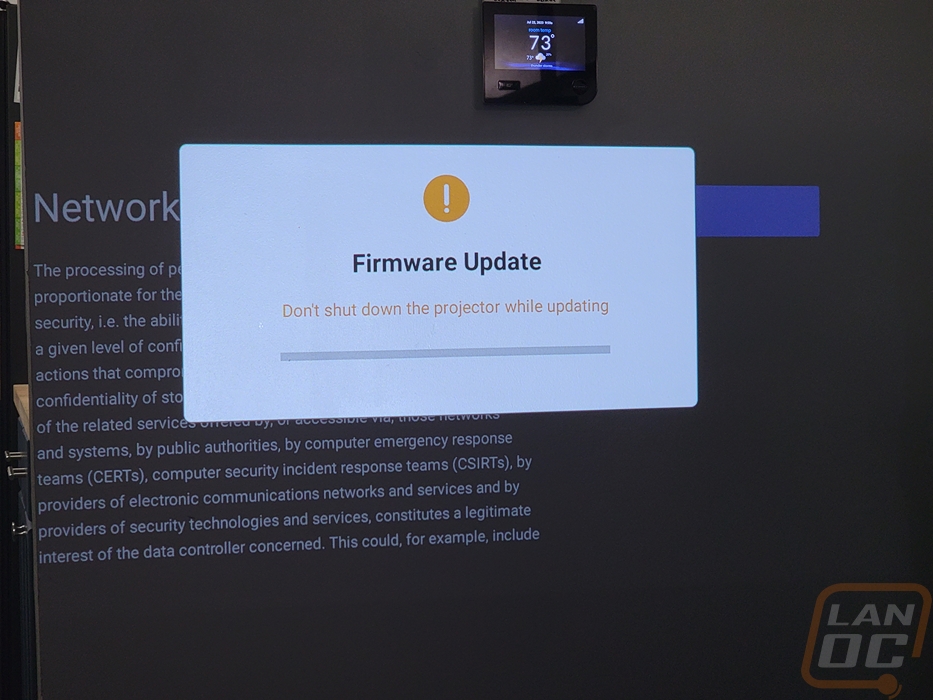
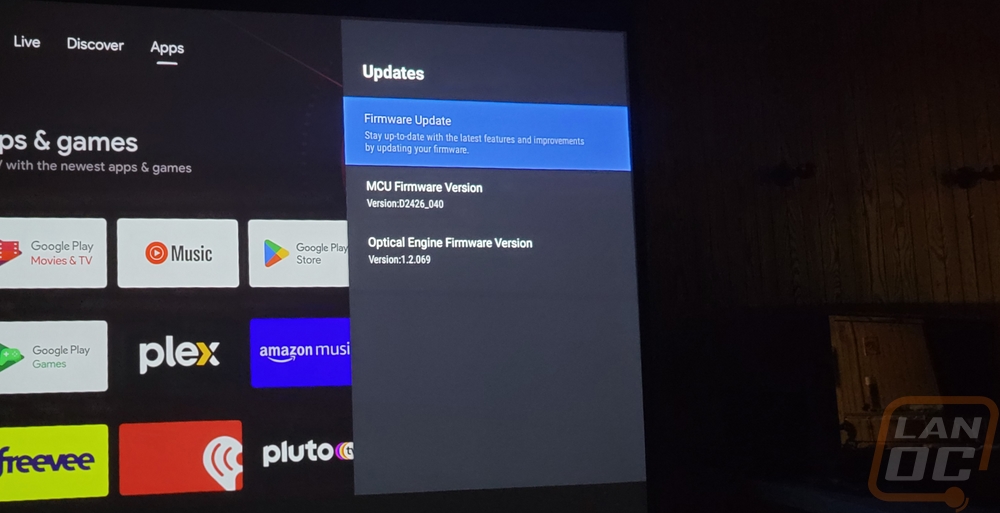
Once signed in and online it checked right away for updates which it had one. I also have to point out that for the first time with an Anker product, the update lists out proper changes, not just “bug fixes” which we see with a lot of their products. Listing out update changes are always helpful to know if the issue you have been having was addressed. That said at the bottom of the list they do still have “fixed known issues” which doesn’t tell us much. After the update, there was also a firmware update as well.
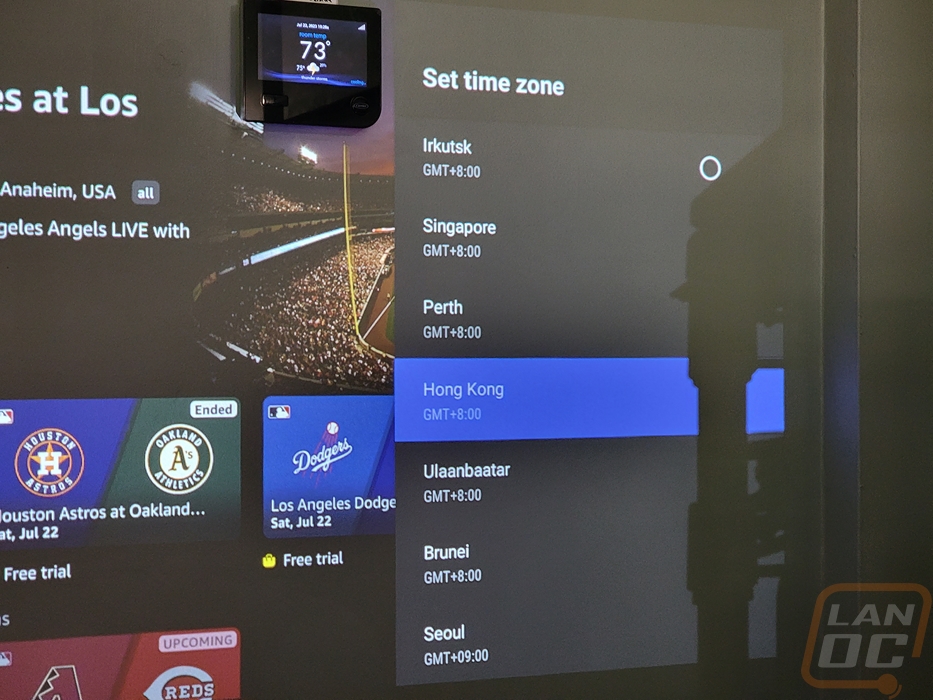
When starting to set things up I did notice that for some reason the Capsule 3 Laser came by default set to the Hong Kong time zone. I wouldn’t have even noticed but it was messing with the times in the apps themselves.
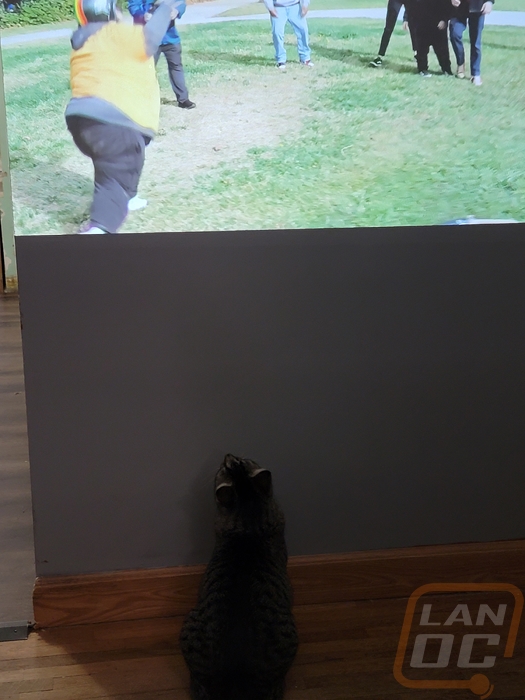
Other than not having enough room to project on the wall next to my desk, with the lights on and the window on the wall opposite of this shining light in I was still surprised that the Capsule 3 Laser was still bright enough to be watchable on the wall. So much so that the cats started to get involved and attack things.
With the projector running and charging the battery up slightly I saw a peak of 44 watts which is in line with the output of the included power adapter, running a higher wattage adapter isn’t going to get you any extra charging speed. With the projector off and just charging the battery the charging rate was significantly lower at 9 watts. The 52Wh battery is listed to take 3 hours to charge. For battery life, you get around 2 and a half hours when projecting and up to 10 hours when using the Bluetooth speaker mode. I didn’t test the speaker modes battery life but I was able to watch a full movie and more on the battery without any issues so the 2 and a half hours listed in the specifications is possible.
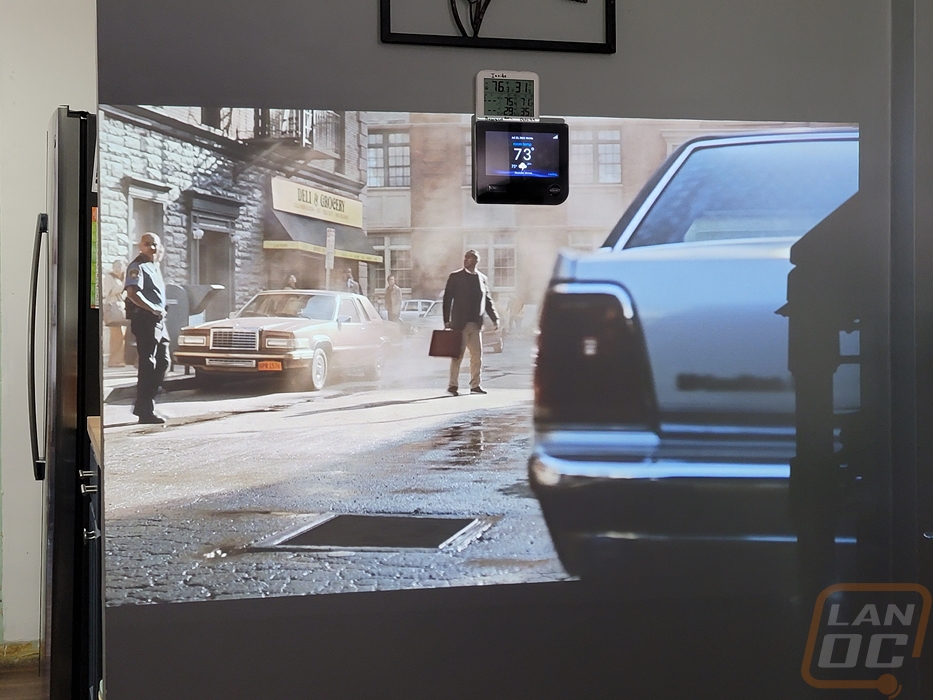
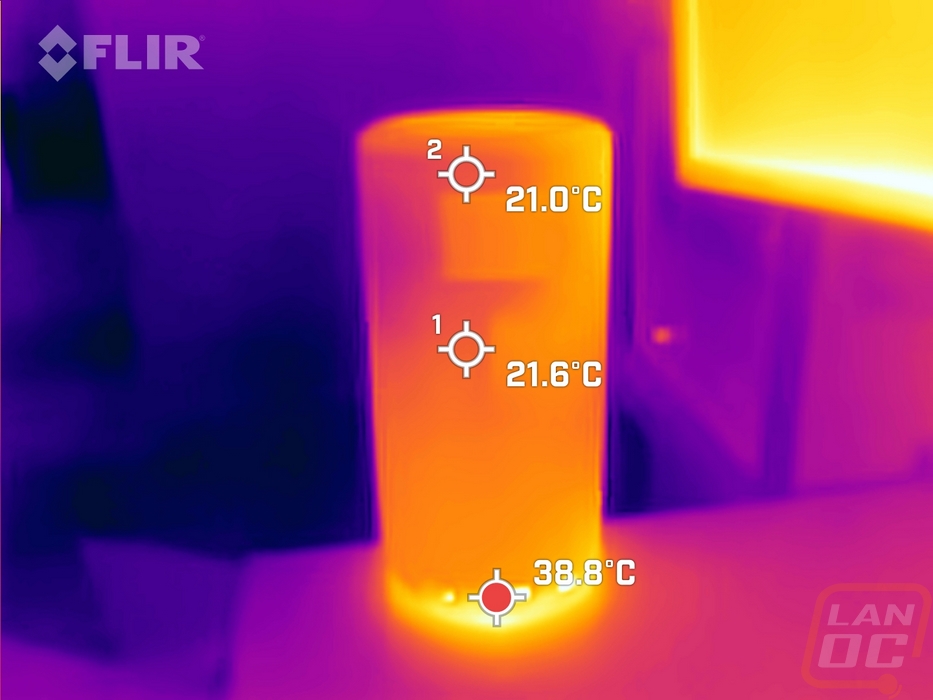
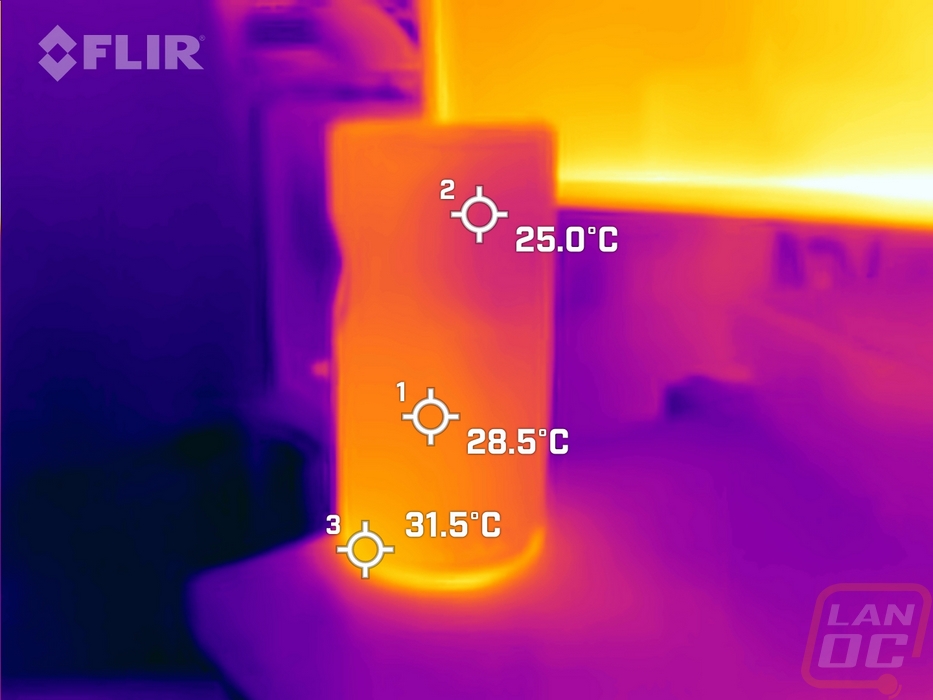
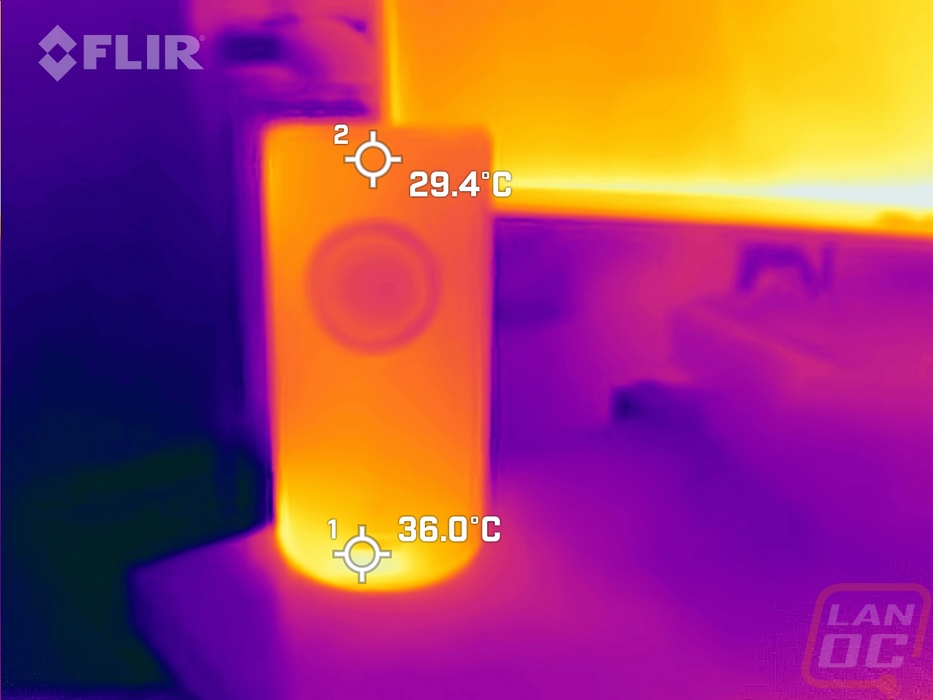
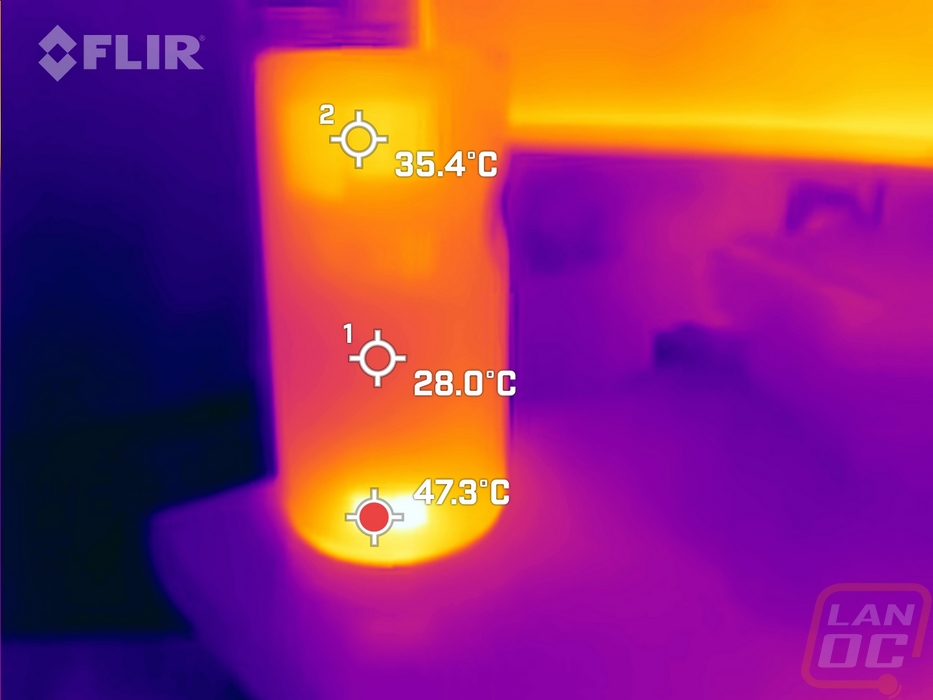
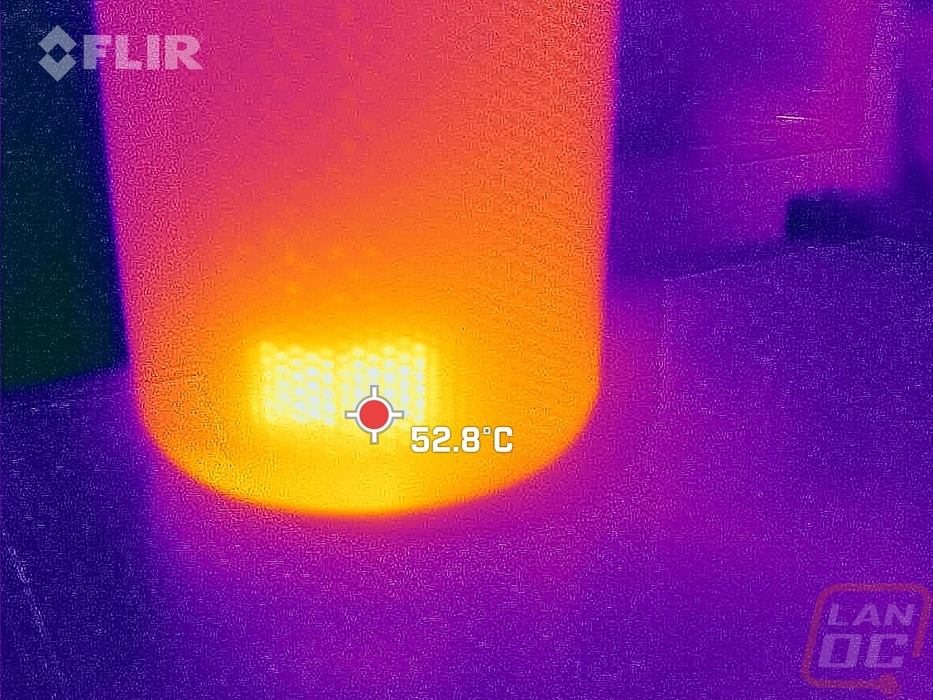
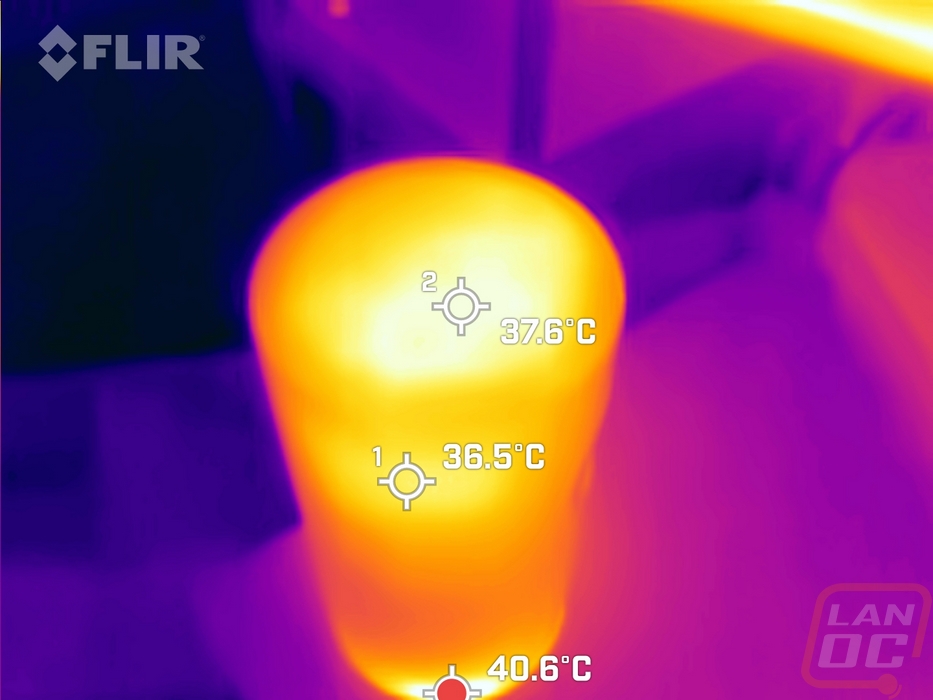
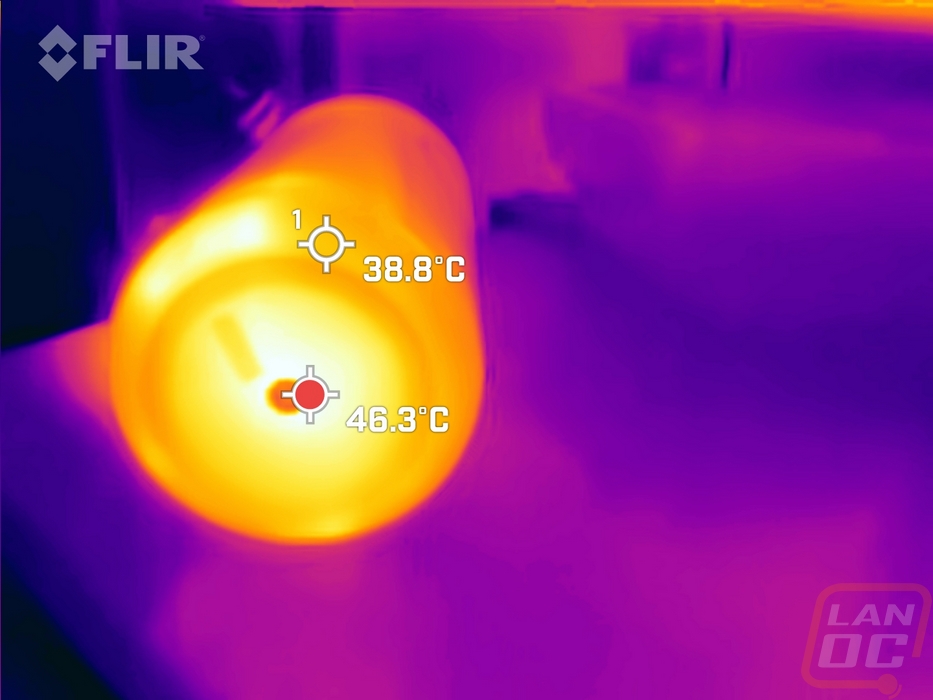
After watching a full movie and doing all of our setups I also put the Capsule 3 Laser in front of the Flir thermal camera to see what temperatures were looking like. Projectors run hot but laser projectors do cut down on the heat and that was noticeable even before looking at the thermals. The original Capsule would kick a fan on any time the projector was in use and the Capsule 3 does look to have a fan but it isn’t noticeable at all like the older model. The thermal images do give us a peek behind the aluminum housing with the vents being exposed. The hottest is the lower vent on the left side which was up to 52.8c after running for 3+ hours. The housing itself in that area however was only 40c and the rest of the Capsule was running cooler than that at around 36-37c or around 95-96 Fahrenheit.
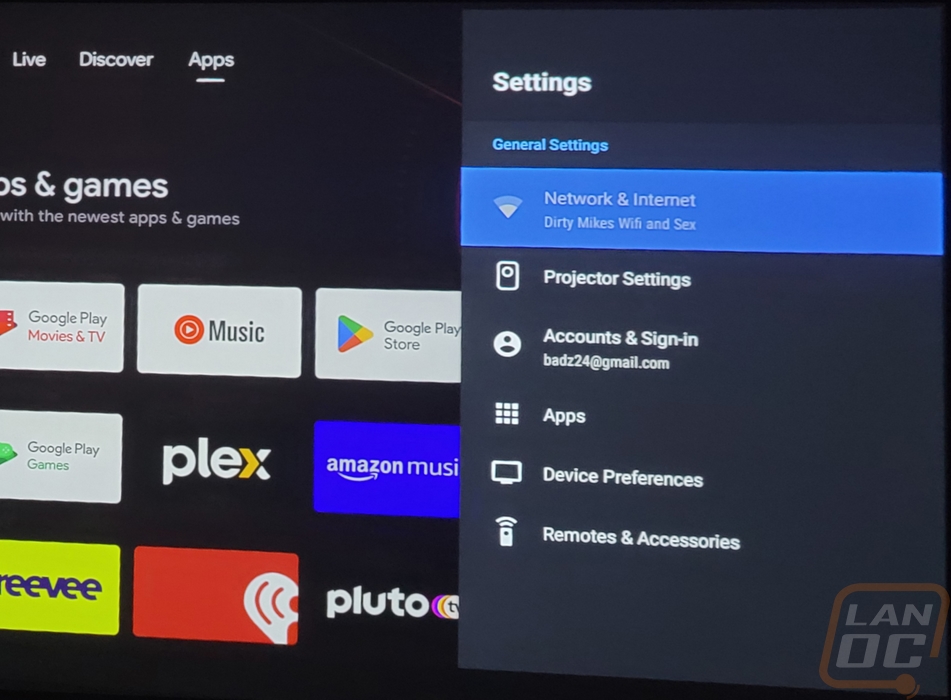
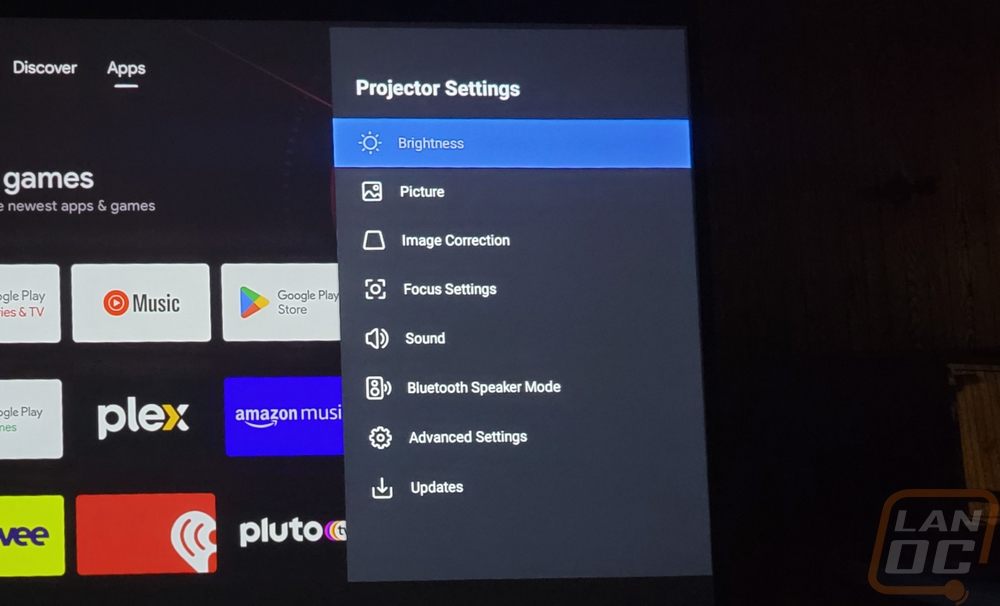
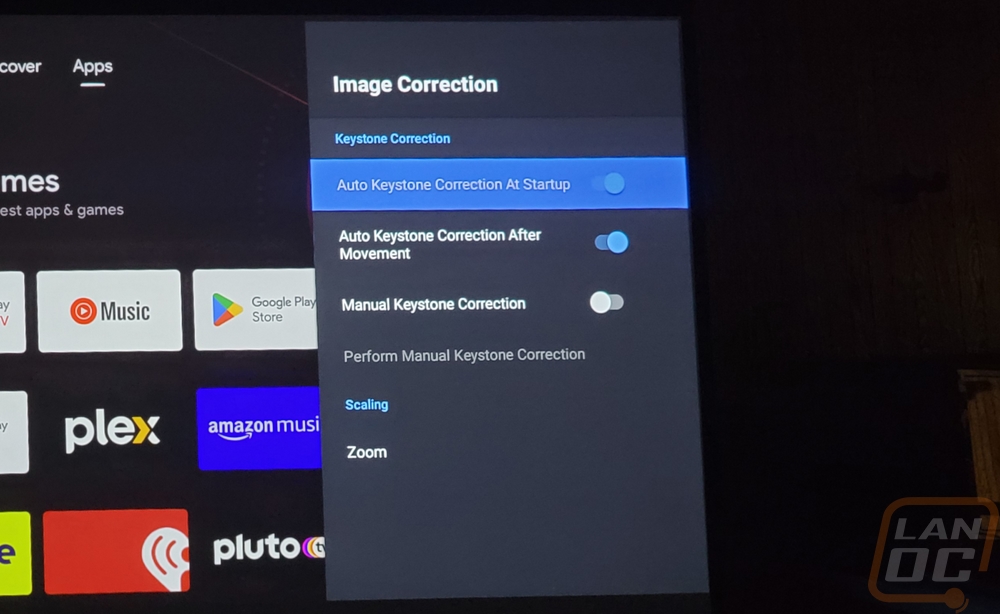
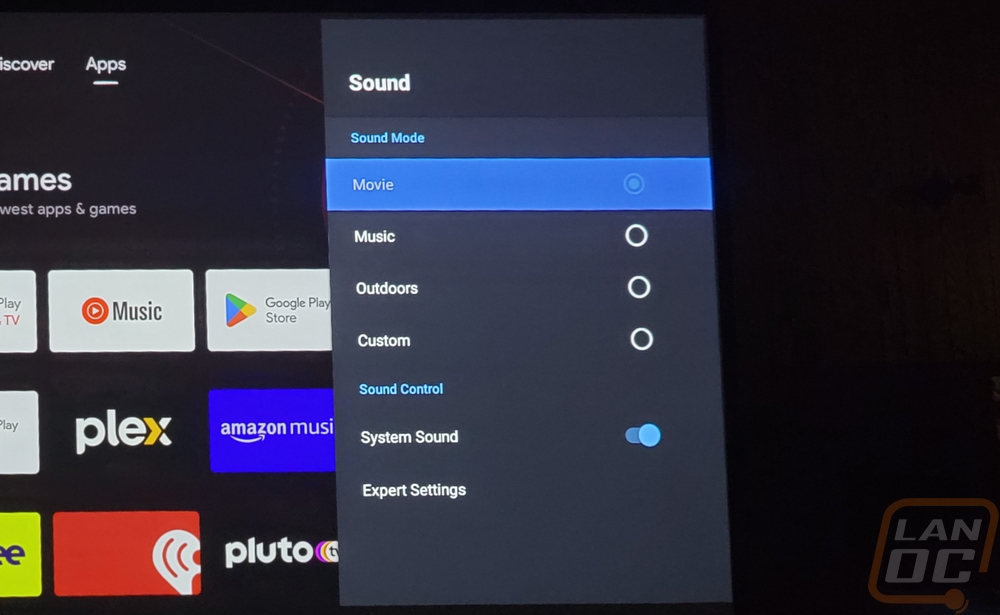
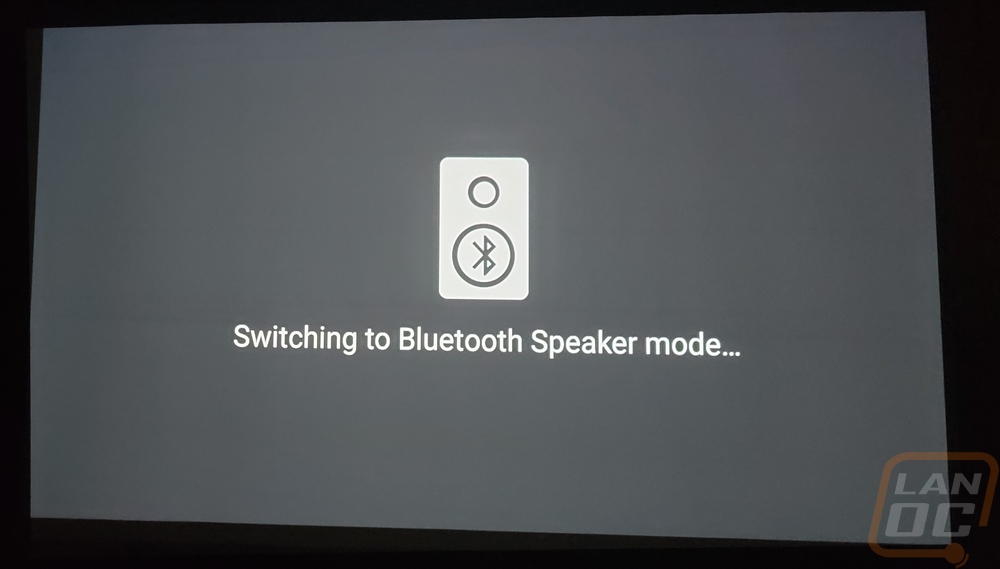
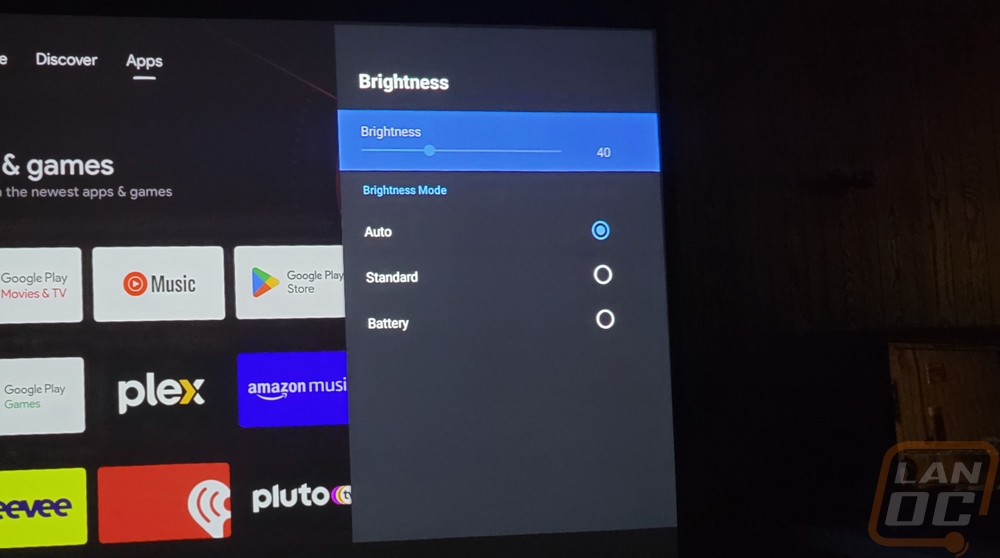
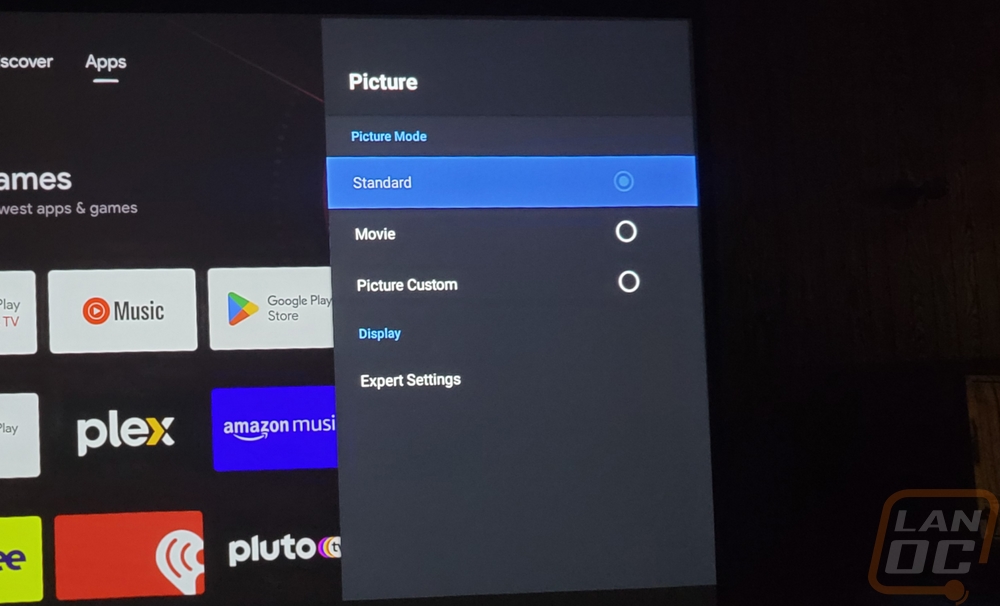
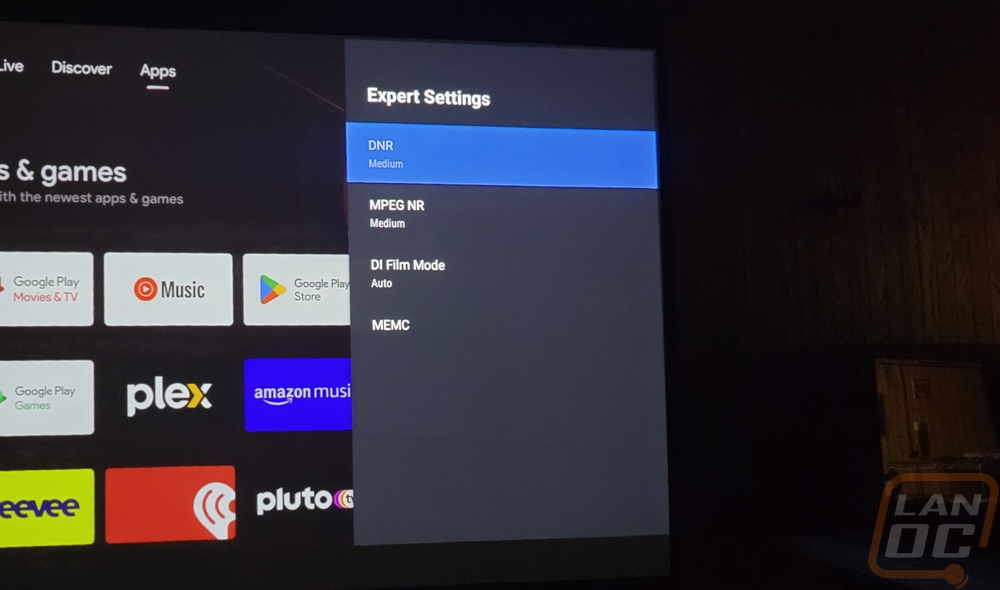
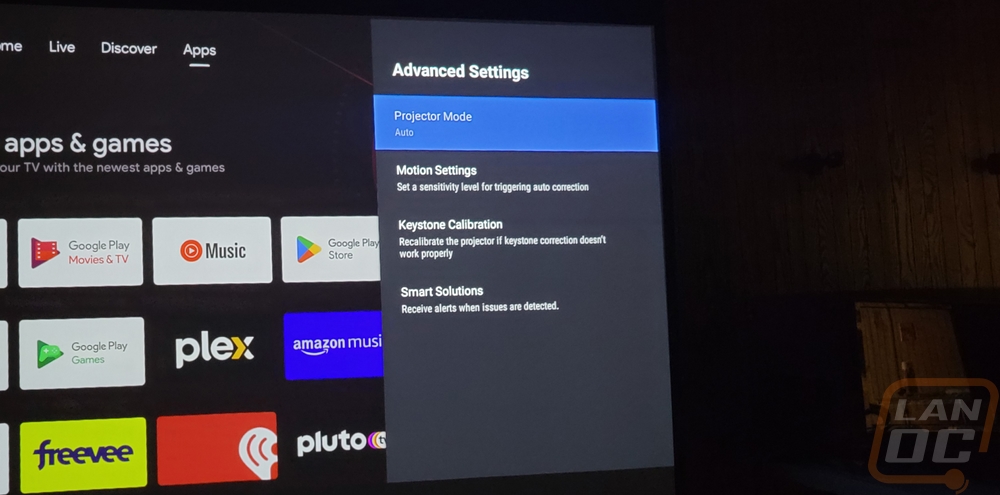
If you have used an AndroidTV project before the menu system isn’t going to be too unusual. Opening up the menu slides the menu out from the right side. Up at the top you start with the network connection which in this case the Capsule 3 Laser supports 802.11a/b/g/n/ac with both 2.4 and 5GHz, the newer WiFi 6 and Wifi 6e aren’t supported. WPA3-Personal however is supported and it works with hidden networks which both help with network security. Far too many devices don’t support either. Then below the network settings are the projector-specific settings. This is where all of the Cpasule settings can be found. This opens up a new menu page with different settings. You have brightness and picture settings and image correction and focus settings. This is where you can change if you want it to autofocus and auto keystone at startup or after movement. You can also set the zoom if you need that. The sound menu has four different sound modes including a custom mode. Then you can also switch to Bluetooth speaker mode here in the menu as well as with the button on the back of the projector.

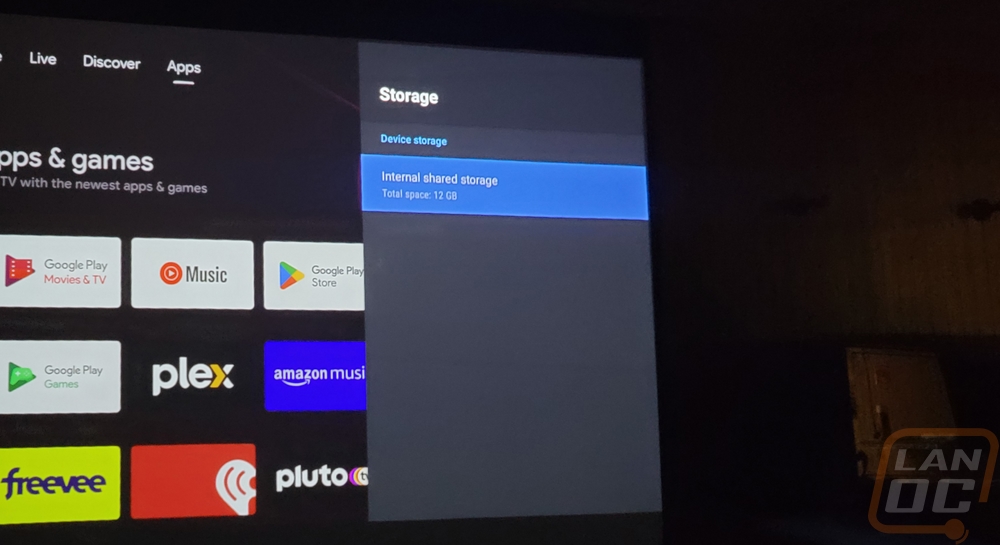
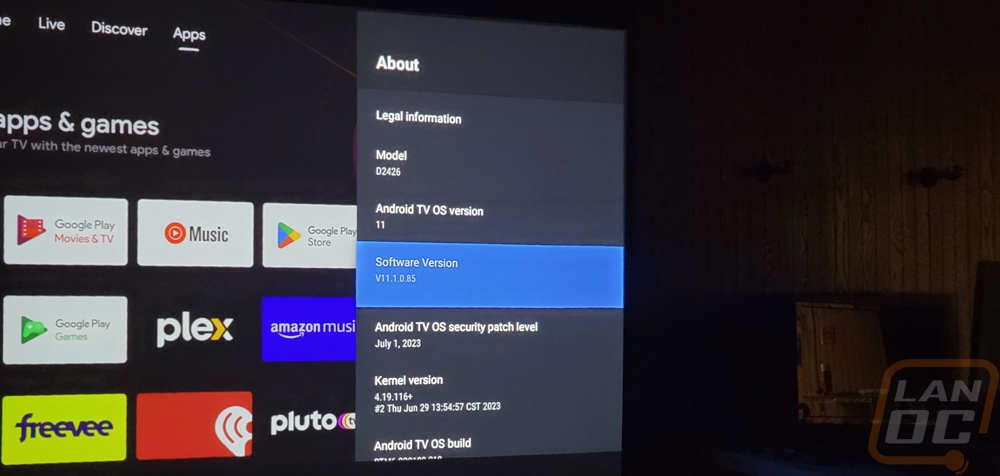
The Capsule 3 Laser is running Android 11 which is a big upgrade from the original which was running Android 7.1. This is still a little behind however with the current version Android 13 which came out in 2022, Android 11 came out in 2020. Feature wise I don’t care what version it is running on, but Google does tend to stop releasing security updates for their OS after around 3 to 3 and a half years which would put that moment for Android 11 to be at the end of this year. I’m curious if Nebula may be able to update to 12 or 13 in the future. As for the hardware it comes with 16 GB eMMC for storage but we can see that after the OS we have 12 GB of total storage space. That is more than enough to function, but you may need to use an external drive to load up video content if you are planning on being far away from the internet. The Capsule 3 Laser has a Quad-Core ARM Cortex-A55 CPU and an ARM Mali-G52 MP2 GPU. This was a mid-range GPu in 2020 which fits the Android 11 OS and it has 2GB of DDR for ram.
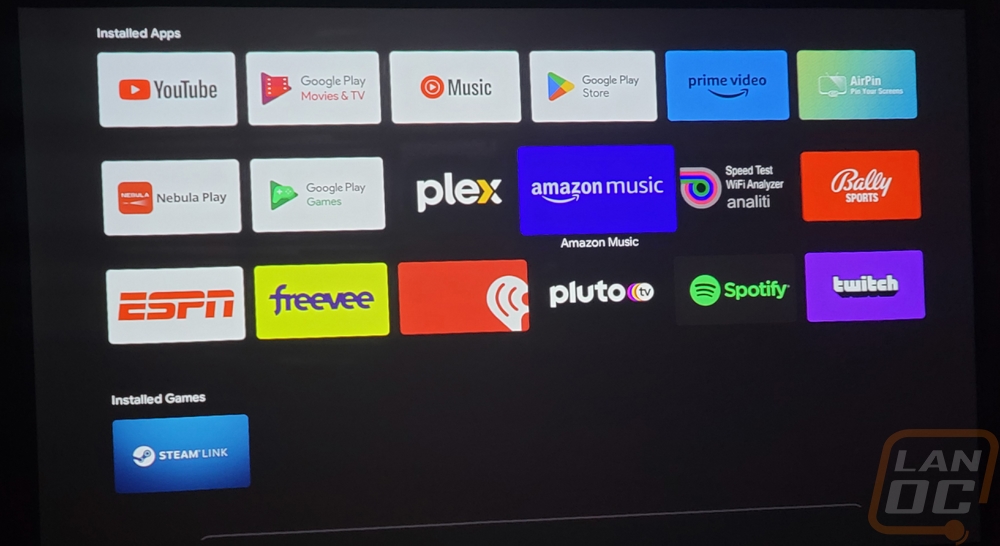
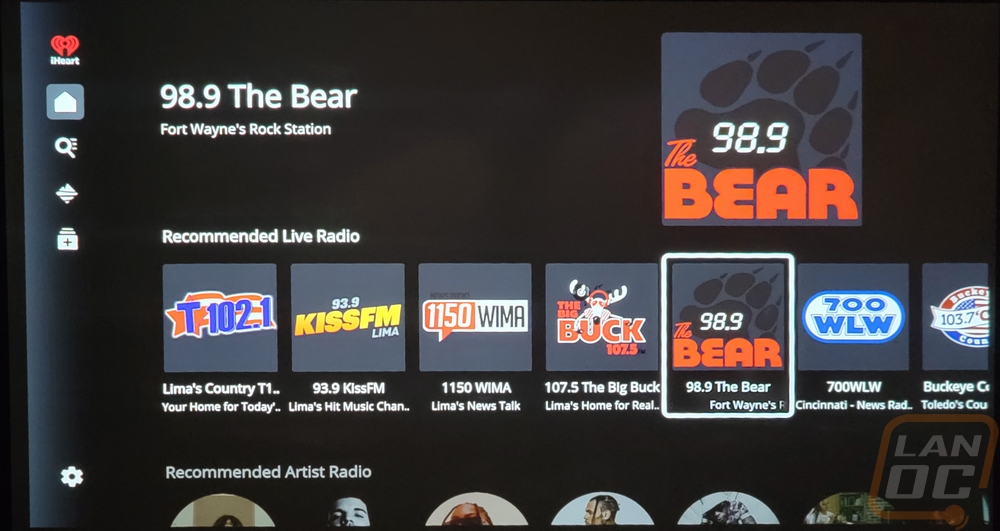
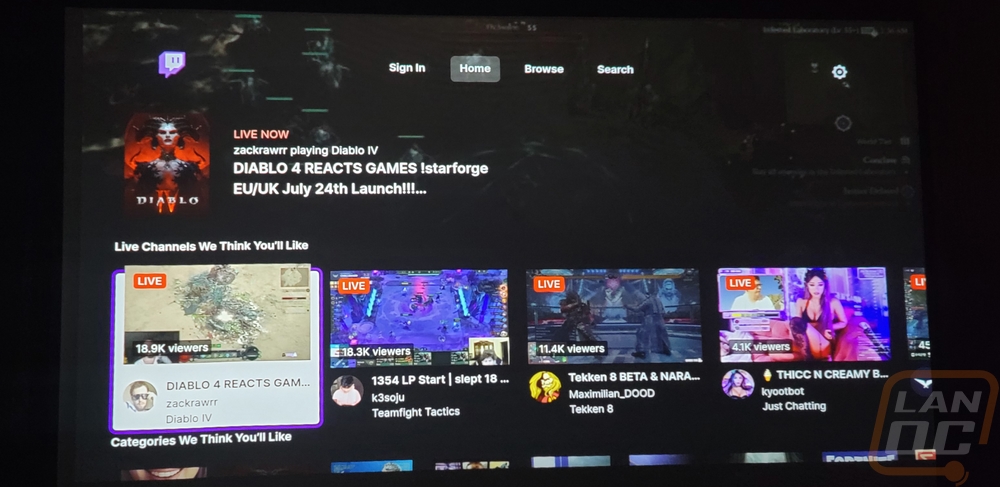
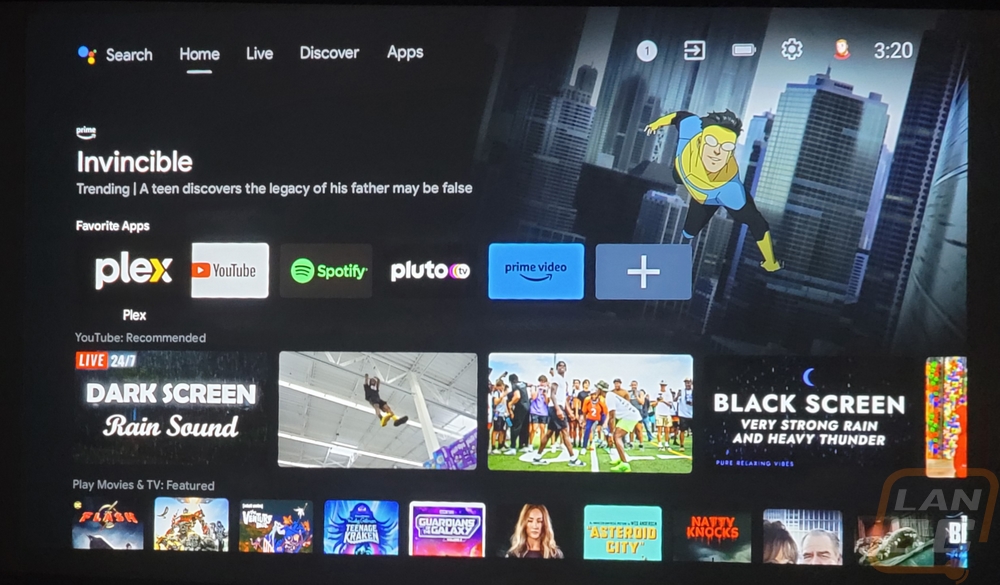
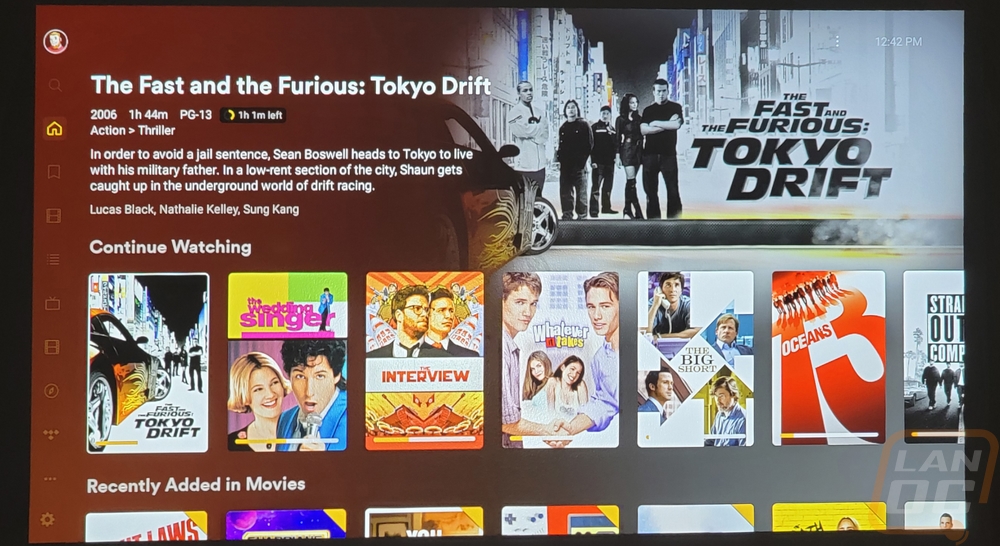
Unlike the original Capsule, the Capsule 3 Laser has full Google Play Store support right out of the box and that can make or break the functionality. With the original model, I had to dig out an old Plex update and sideload it to get things running which took a LONG time to figure out exactly which software revision worked and which didn’t. Here we just go into the play store and you can download just about anything your heart desires. There are a variety of AndroidTV-supported games you can install and with a controller, you could put them to use but for me, it is all about the different entertainment options and you have everything. For music, all of the normal options are there from Spotify, Pandora, Android Music, and even live channels being streamed on the iHeartRadio app. You have Twitch for game streams as well as Youtube of course. The countless video services are all there including most of the apps for your cable and satellite providers. There are on-network video players like VLC and of course Plex.
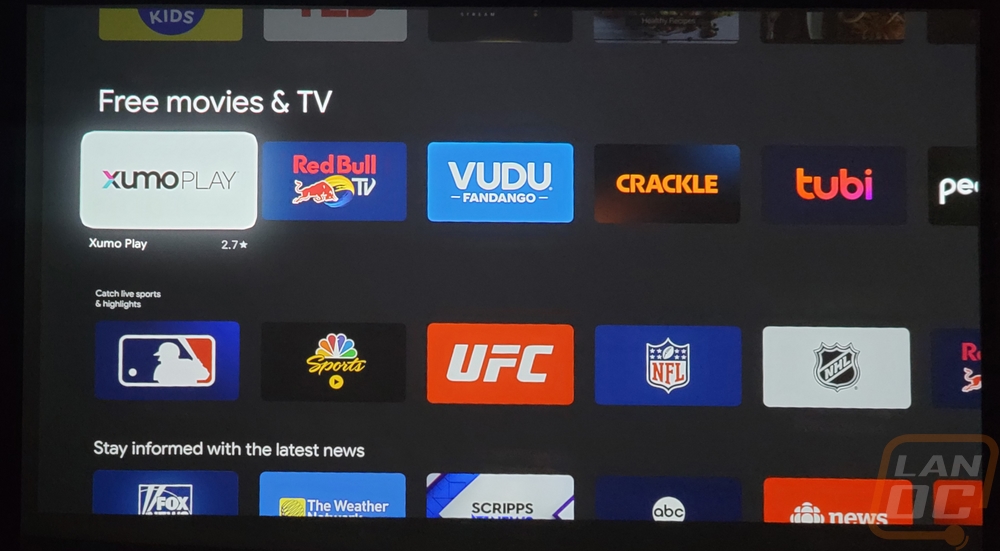
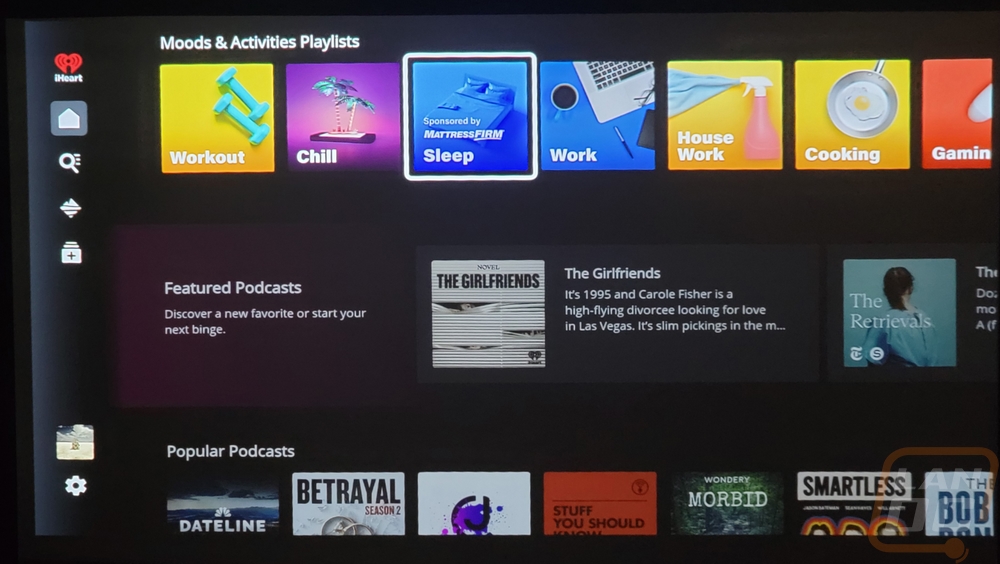

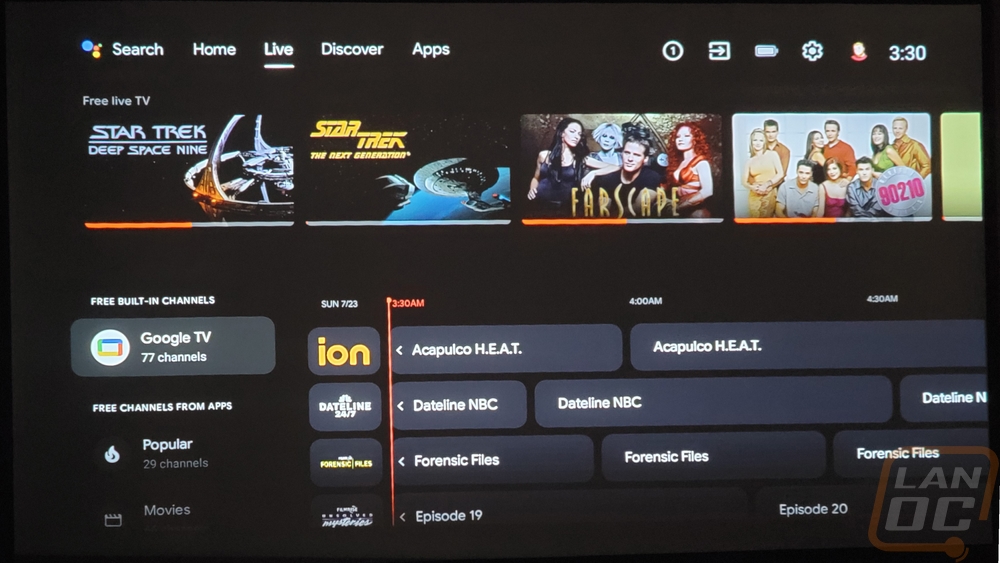
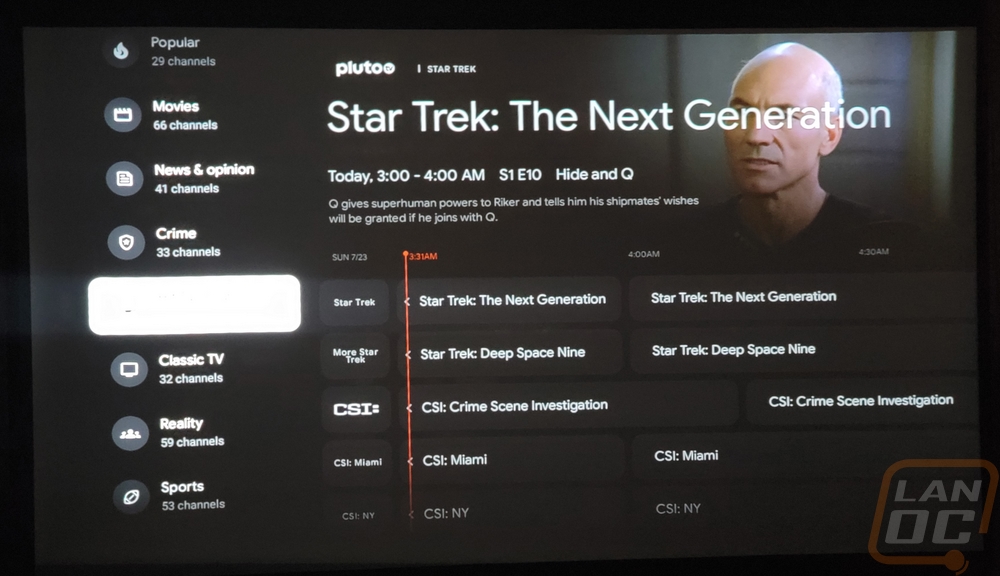
AndroidTV itself tries to bring everything together with its Discover and Live tabs up top. The Discover page will show you new or upcoming content across everything but it is the Live tab that is the most interesting. This starts out with 77 live channels provided by Google TV and then from there it splits things up by category and shows live channels available from all of the different apps. You don’t have your local channels but there is a whole section with local news streams. But just about anyone could find channels that they would be okay with watching here. There are a LOT of channels that are specific to just one show like the Star Trek and CSI examples in the picture below and that hardly scratches the surface.
Of course, Plex itself has its own live channel listing which you can also add a tuner and pick up local channels, and any backups of the TV shows and movies that you have can be all put together there.
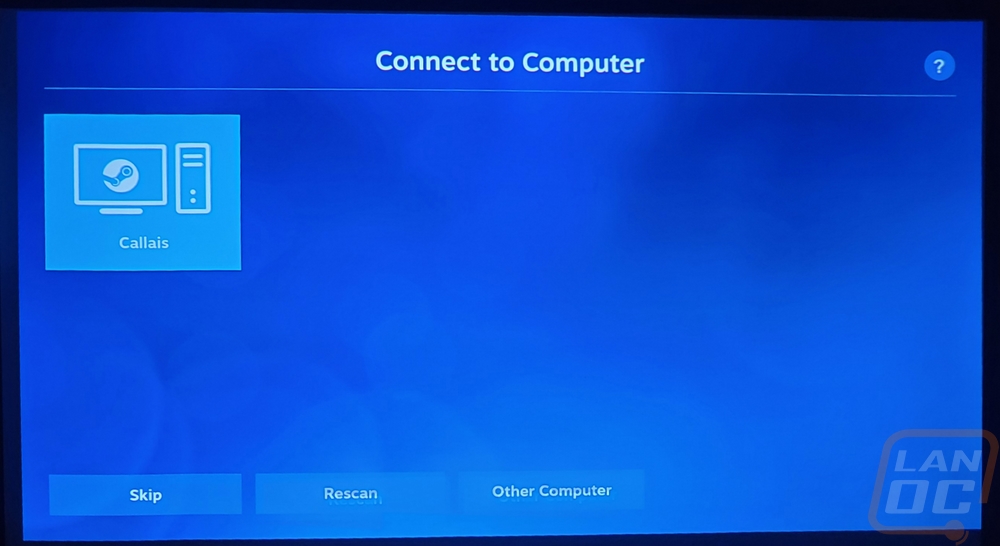
I was surprised to also see Steam Link Support which is another gaming option if you have a Bluetooth controller like the Cooler Master Storm Controller that I recently reviewed or an Xbox or Playstation controller like the Scuf Reflex that I took a look at and of course, the ROG Raikiri Pro as well if that is more your style. With Steam your PC does the processing and you can play on the Capsule 3 assuming you are on your network on a really good internet connection. Similar to that but the GeForce NOW app is also available as well which offloads the work to Nvidia’s servers and gives you access to a long list of games.
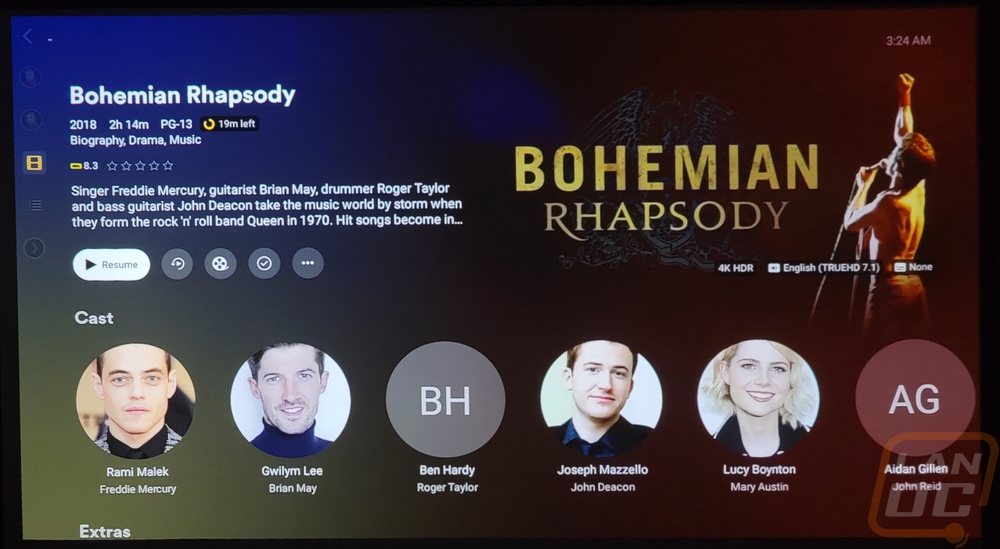
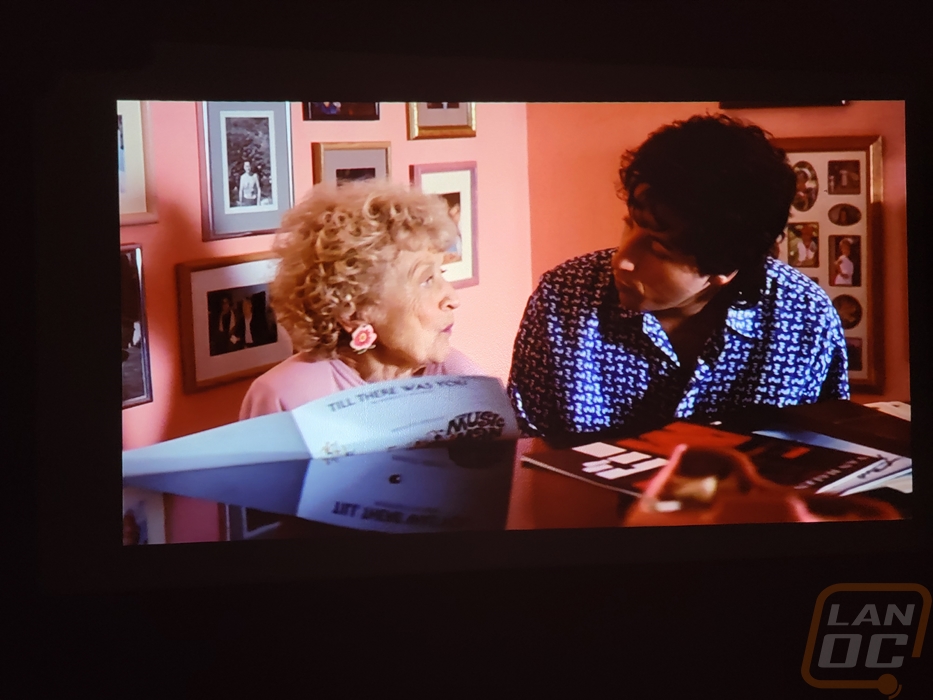
Diving into the project performance itself my first set of images are projected onto a white painted semi-gloss wall. This was a big improvement over the grey wall in my office but the glossiness combined with a slight texture from the paint roller showed the texture and gave some sparkling or speckling. This was projected from around 5 feet so it was close up and the projection size wasn’t too large so while there is some screendoor effect visible in the pictures it wasn’t noticeable in person and the 1080p resolution was perfect a big improvement from the 480p of the original Capsule.
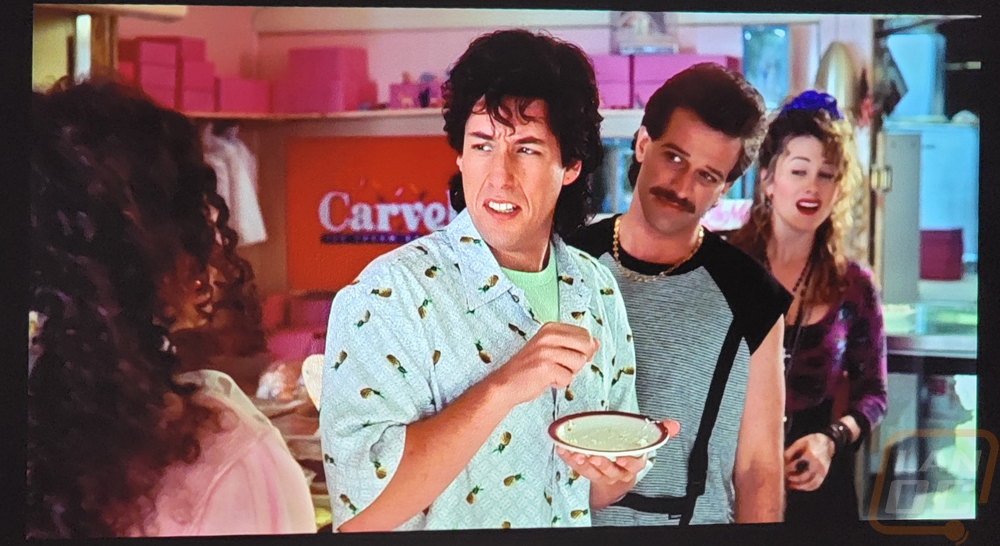
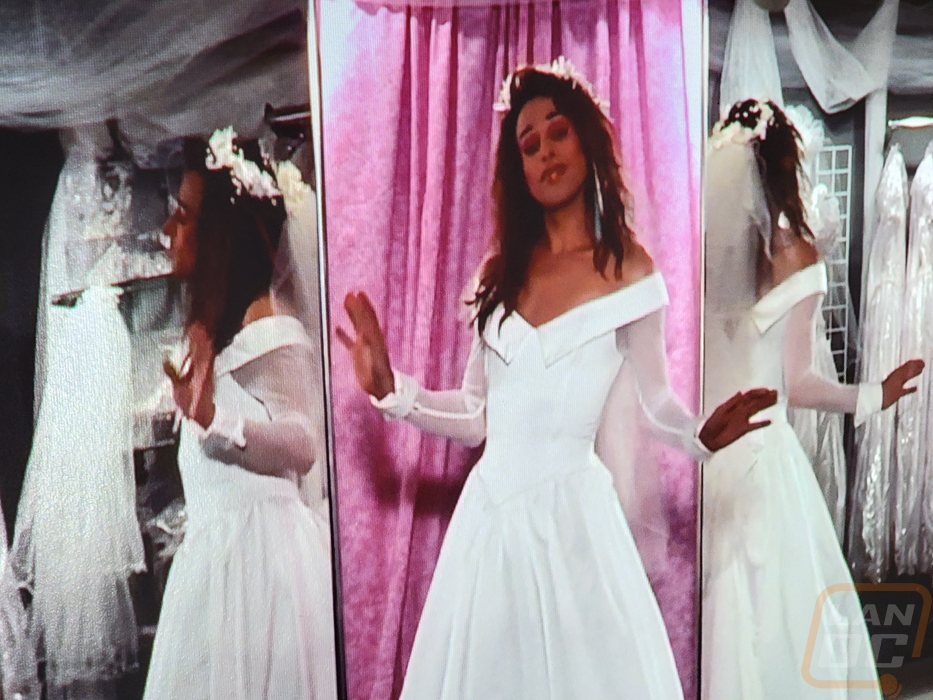

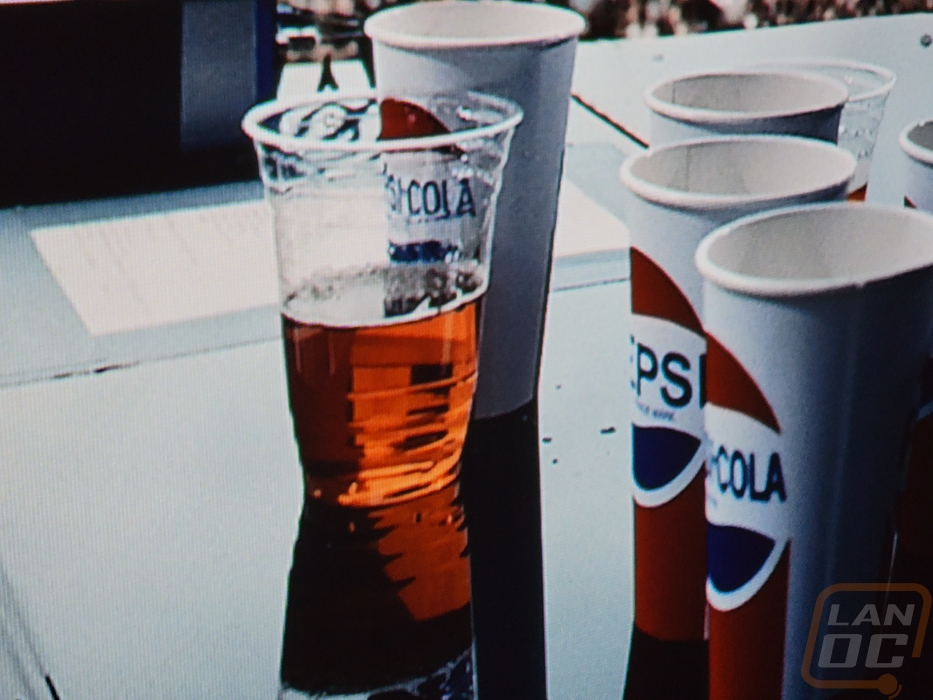
Moving down into my basement which wasn’t completely dark but was dark enough combined with a proper projector screen the image issues I was experiencing on the semi-gloss wall went away and the 300 Lumens was more than bright enough. The 1080p resolution is a big improvement over the original Capsule and is all I would want or need in a projector like this. But when projecting at nearly a 100-inch image you can start to see some of the screen door effect where we can see the individual pixels. It’s not a big surprise given the resolution and size, but it is important to set your expectations. With the original 480p Capsule that screen door/pixel effect was visible even when projecting on a wall close by. Here you have to project to a large size and with my pictures, I am standing about halfway there and using a 3x zoom. The one area where the Capsule 3 Laser was behind though for me was the audio performance. It has an 8-watt speaker and a lot of the space in the housing is filled with the batteries and a projector. There is only so much that it can do without being larger. The audio is capable to be able to watch something but the audio experience is just enough to get the job done but not enough to impress at all.