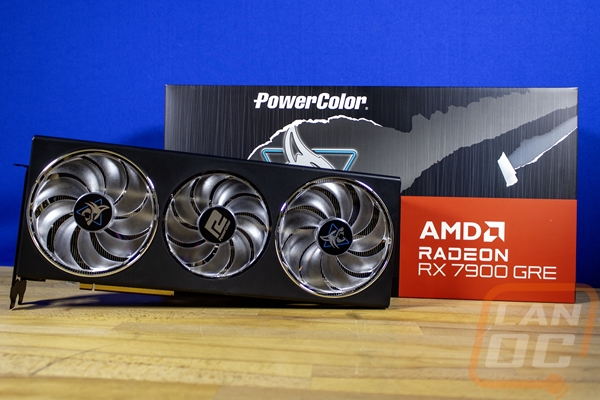
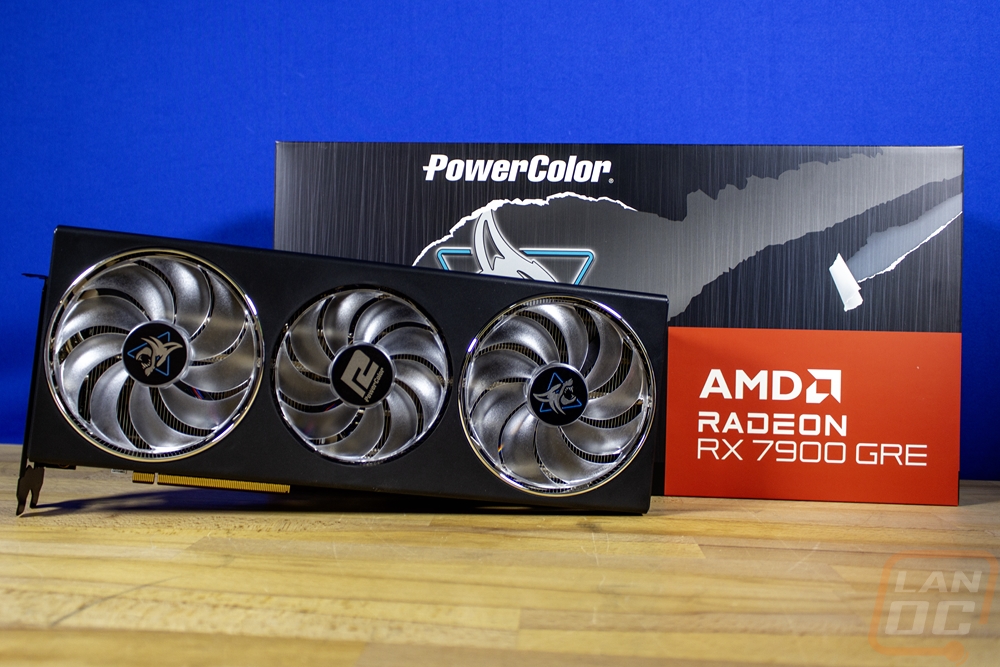
Card Layout and Photos
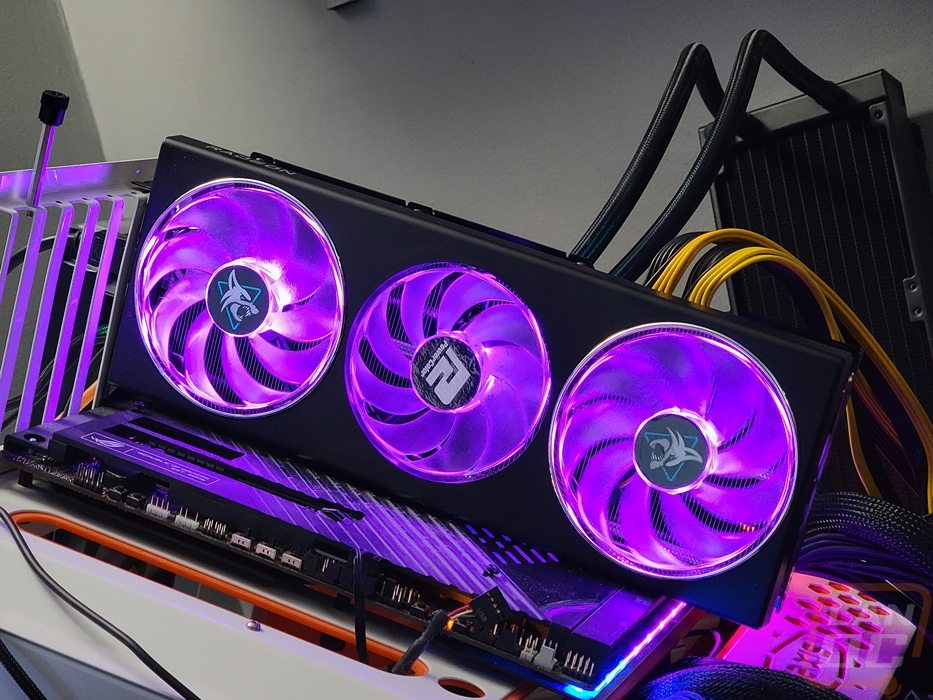
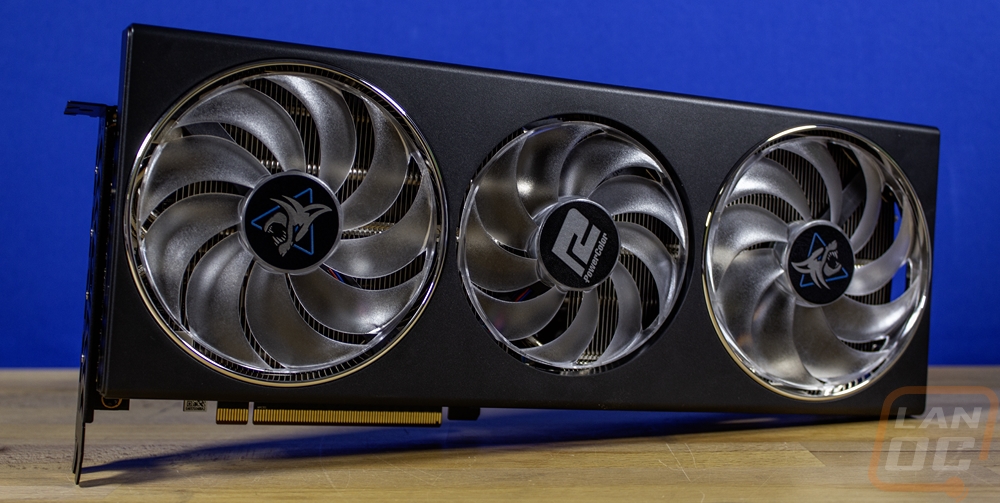
With a name like Hellhound, in my mind, I would be expecting a crazy flashy card design using all of the “gamer” focused tricks but PowerColor hasn’t done that at all. They haven’t done it in the past as well, I took a look at the Hellhound RX 7900 XTX last year and the Hellhound RX 7900 GRE has all of the same styling. Now saying it doesn’t have the flashy styling isn’t saying it isn’t a good looking card. For some, myself included, the simple styling on the Hellhound RX 7900 GRE looks better than when you see the crazy fan shrouds with all kinds of shapes molded into them. The Hellhound RX 7900 GRE has a flat black plastic fan shroud and a triple fan design. The design does have clear plastic fans for fans that light up in the Hellhound theme colors but the shroud design is flat and as simple as they come other than chrome rings around two of the three fans. This is similar to how a lot of the XFX designs have been and it feels a little more mature, even if the name itself doesn’t indicate that.
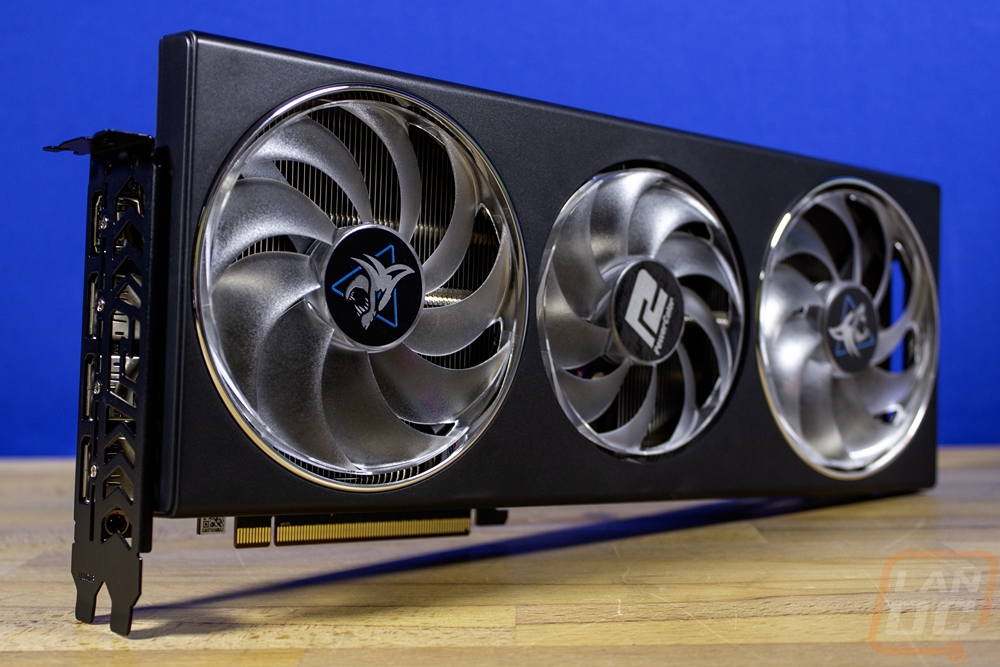
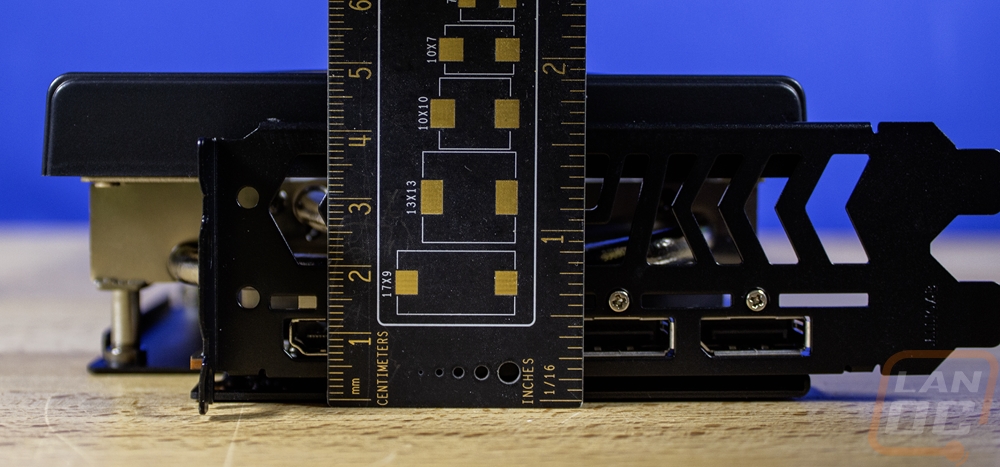
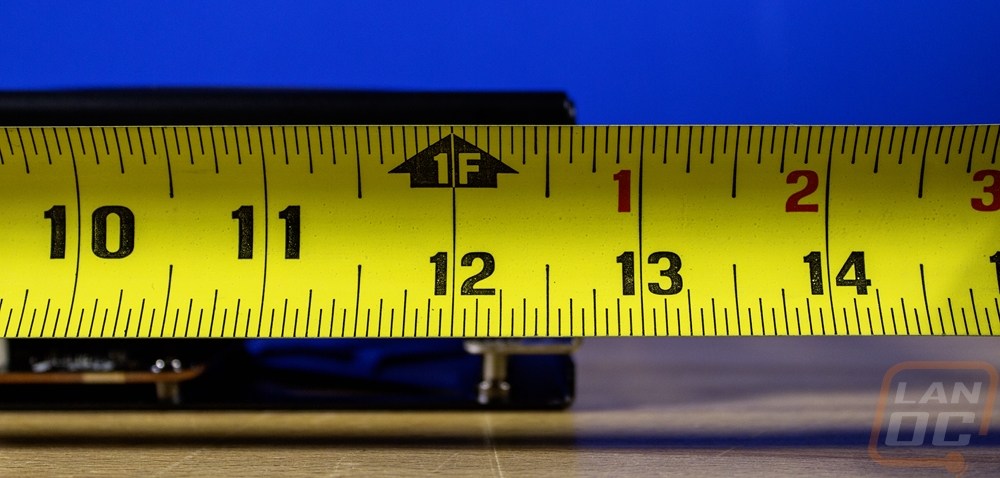
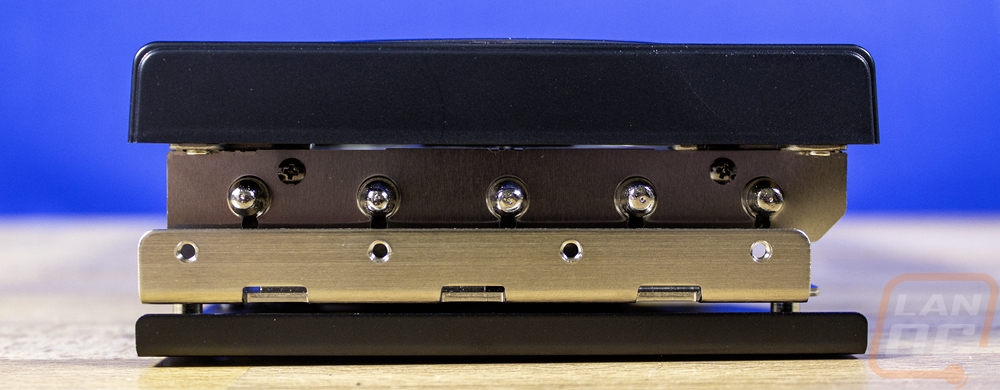
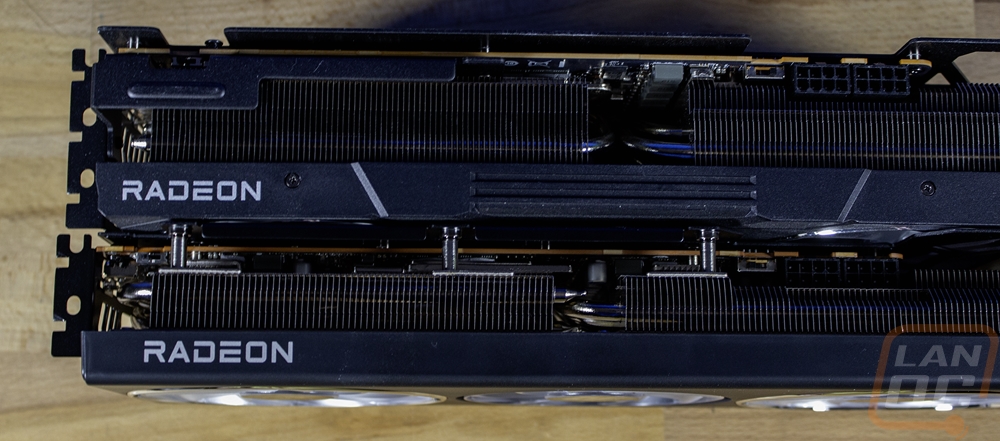
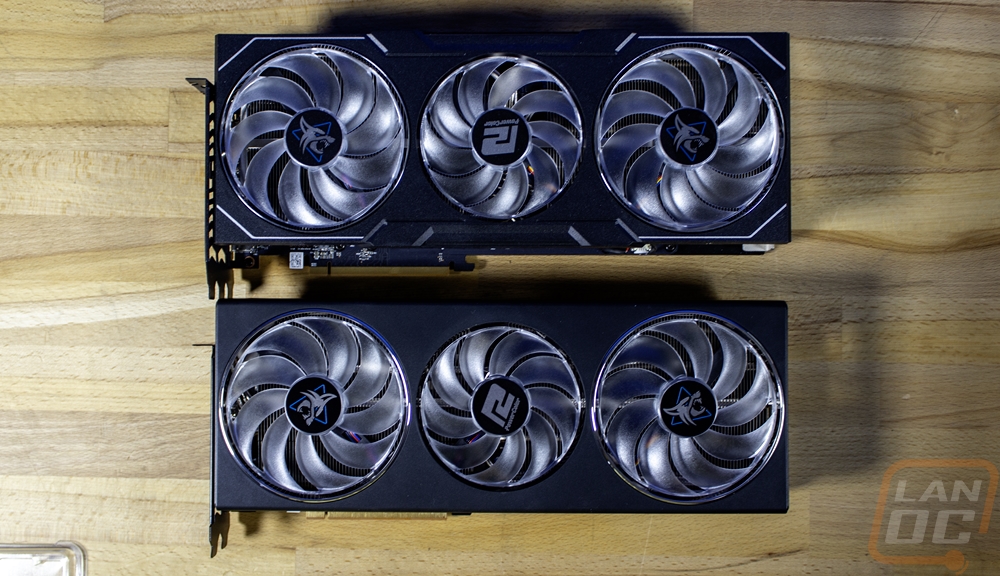
It isn’t anywhere as large as the Strix 4080 Super that I just recently covered but it also isn’t a small card as well. The top of the cooler sits 24mm up over the top of the PCI bracket so PowerColor has taken advantage of most cases these days having more space there. It is 49mm thick which puts it in as a two and a half slot card. This is thinner than the last Hellhound I took a look at and really in thinner than most cards these days. It feels like most designs are a full triple slot or wider anymore. It then comes in at 320 mm long or just past 12 and a half inches long.
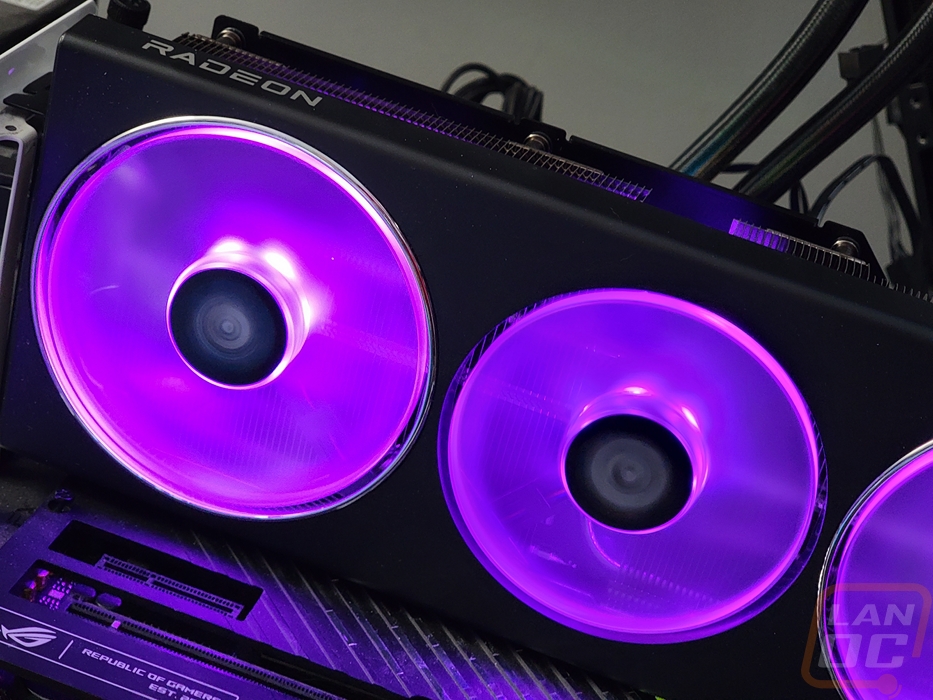
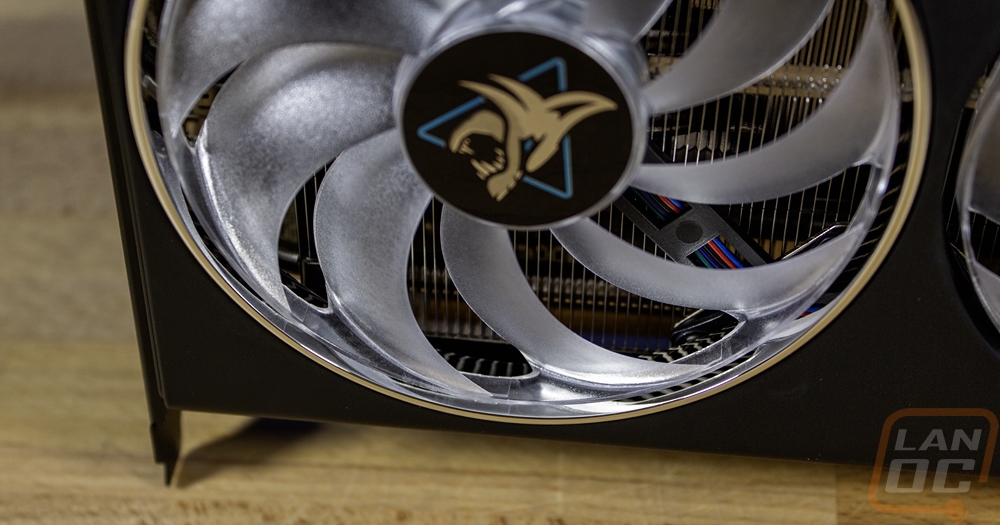
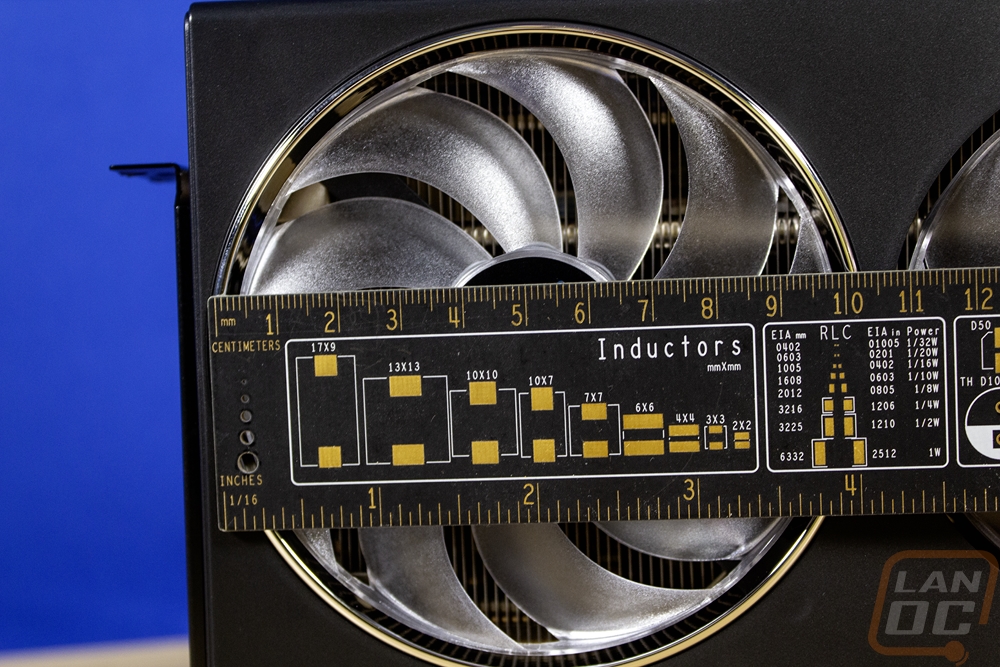
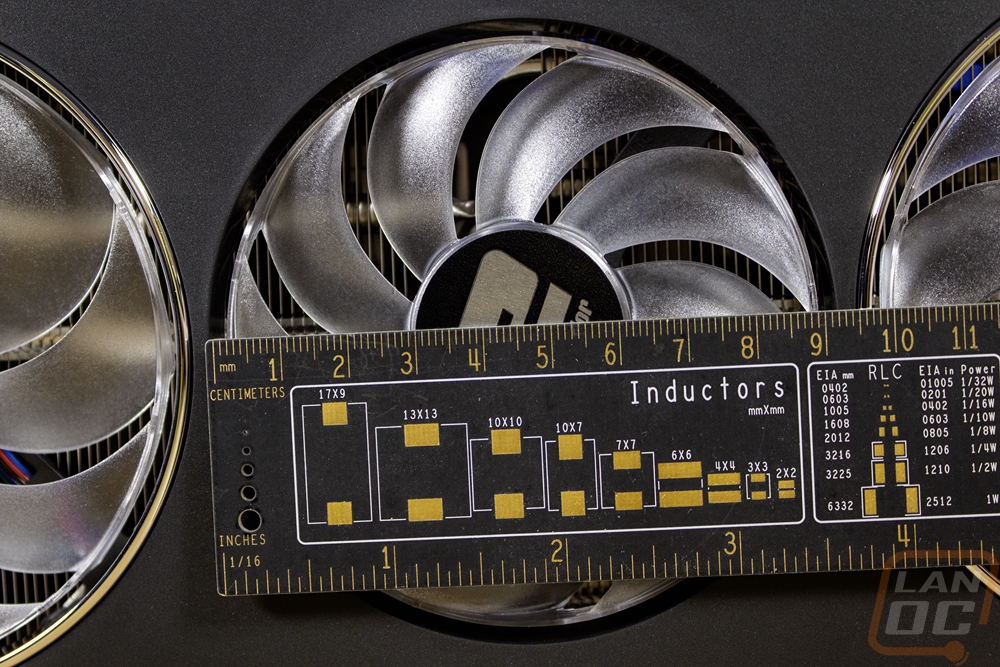
The fan side of the Hellhound RX 7900 GRE has a triple fan layout but because they went with two large 100 fans on the ends the center fan is smaller with the fan opening at 92 mm and 86 mm tip to tip for the blades. That center fan is also spinning in the opposite direction as the two larger fans. We see this on most cards these days, it means that when you look at where the fans are closest to each other they will both be moving up or down depending on the side. This makes for less turbulence between the fans and doesn’t waste any extra airflow with the fans fighting against each other. All three of the fans have an outer ring around the outside edge, this gives them more strength and also keeps the air blowing down into the heatsink. Speaking of which you can see down through the fans that the Hellhound RX 7900 GRE has an aluminum sheet metal heatsink design with the fins oriented vertically which means air pushed in from the fans will blow up or down through them. The fans are all clear plastic, not the normal translucent white that you see with some RGB fans and it looks great next to the chrome trim. The larger fans both have the Hellhound logo in grey and blue and then the center has a PowerColor logo sticker on its center section.

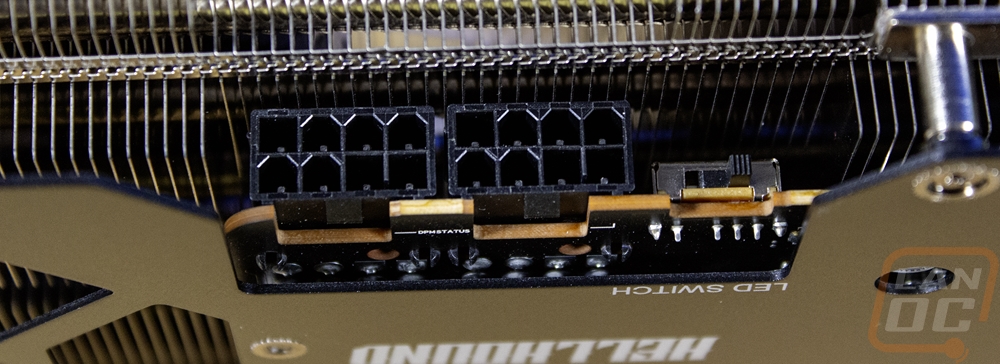
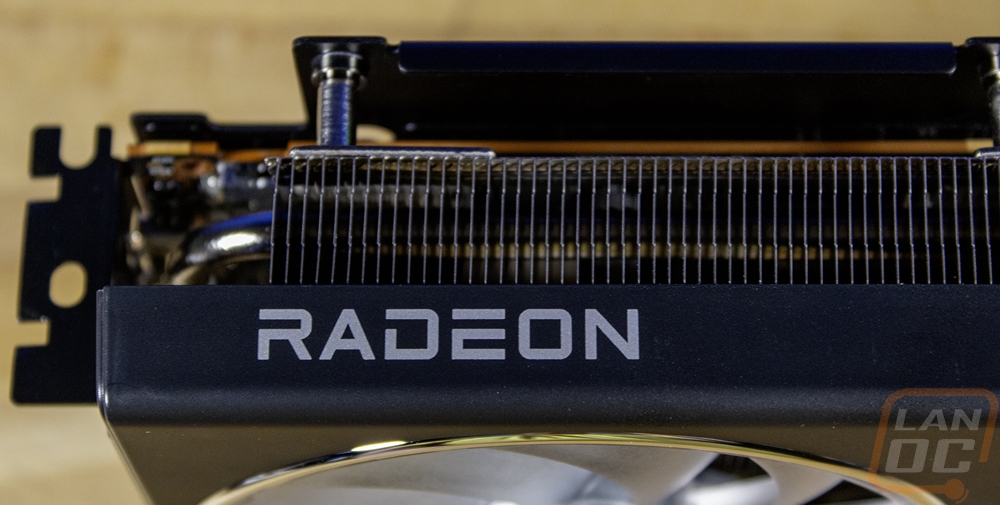
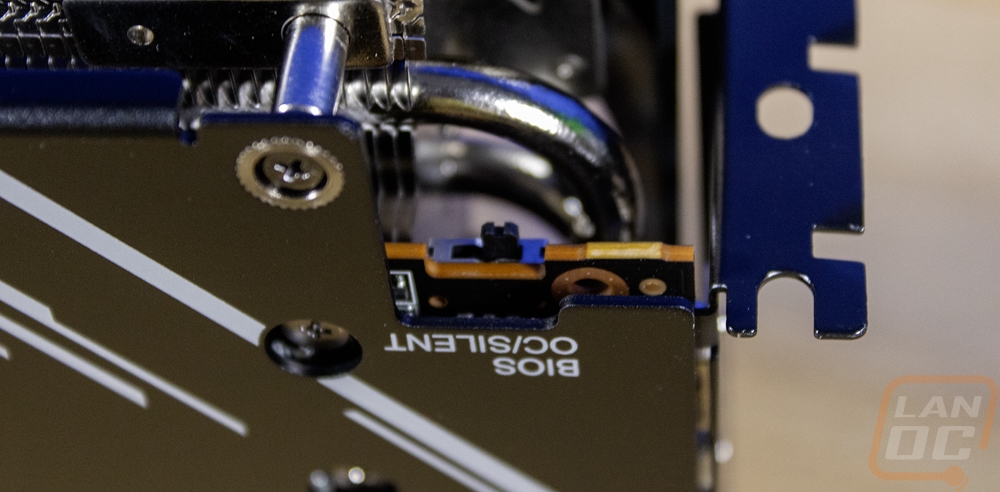
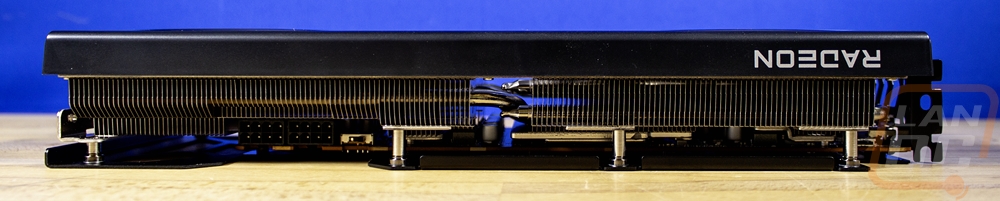
Up on the top edge, the Hellhound RX 7900 GRE has a few things going on. They have the Radeon logo printed on it in silver for one. I would prefer to see Hellhound RX 7900 GRE printed there to show off what GPU model you have and integrate the Hellhound branding. Then on the other end of the card, it has two recessed power plugs which sit even with the PCB. It requires two 8-pin PCIe power connections, not the new 12VHPWR plug. Then right next to it, there is a three way switch for the LED lighting controls. The Hellhound RX 7900 GRE fans can run in blue, purple, or off and this is how you can change that. In most cases, this is about as easy as you will get to being accessible. I also took a look at just how far down the power plugs were and they are about 15mm down which will make the power connection mostly tucked into the heatsink. PowerColor did a good job of utilizing the space that the power plug takes up by going taller on their heatsink without going any taller than needed making it hard to fit in some cases. There is a second switch on the top edge all the way at the end by the PCI bracket. This is the BIOS switch that will switch between overclock and silent modes, ours came in the OC mode which is what the card was tested with.
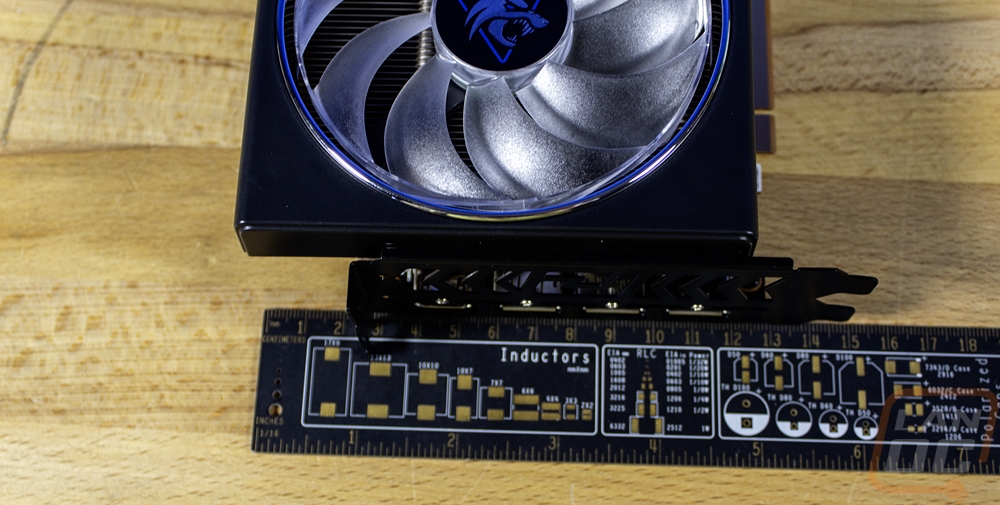
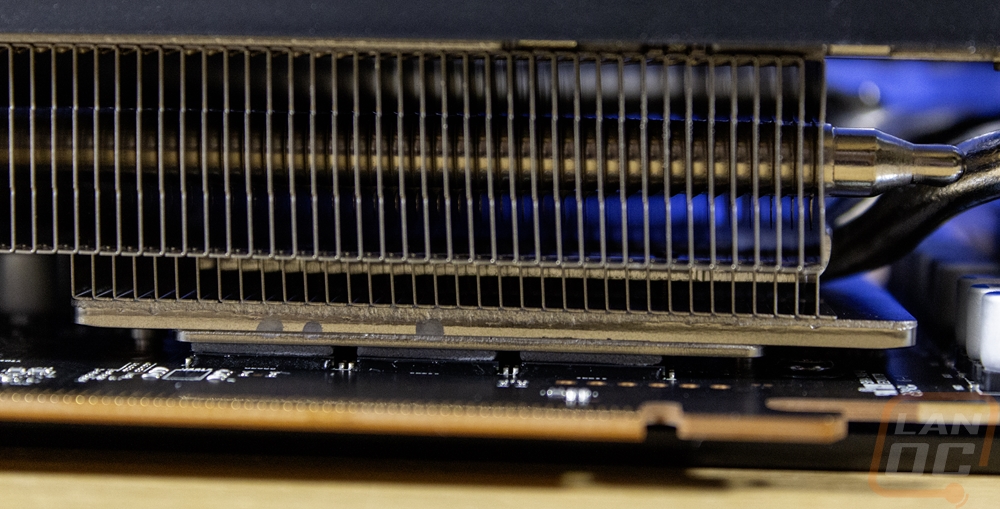
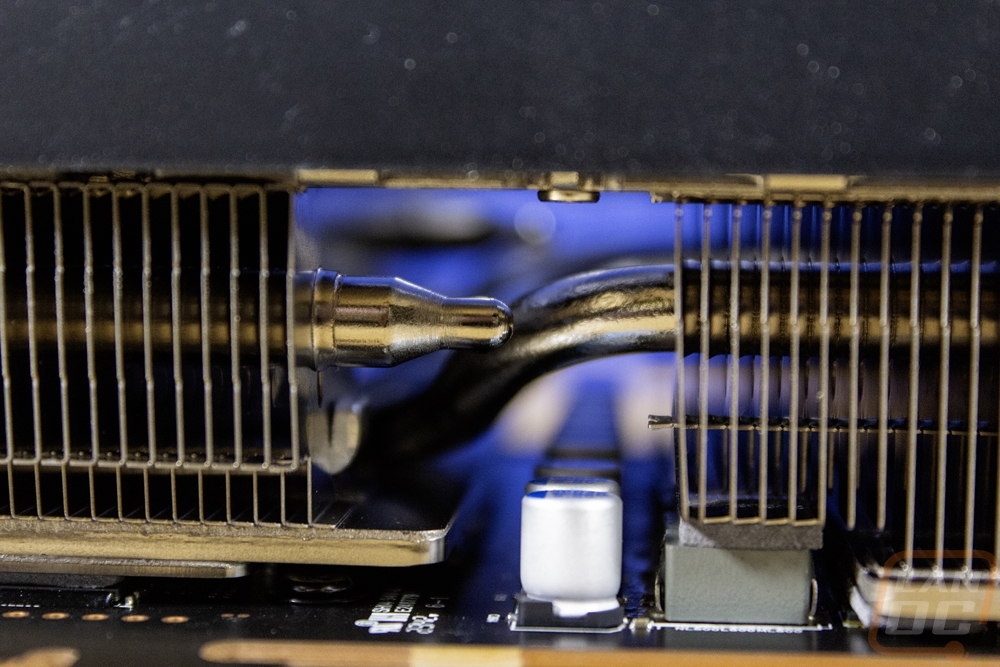
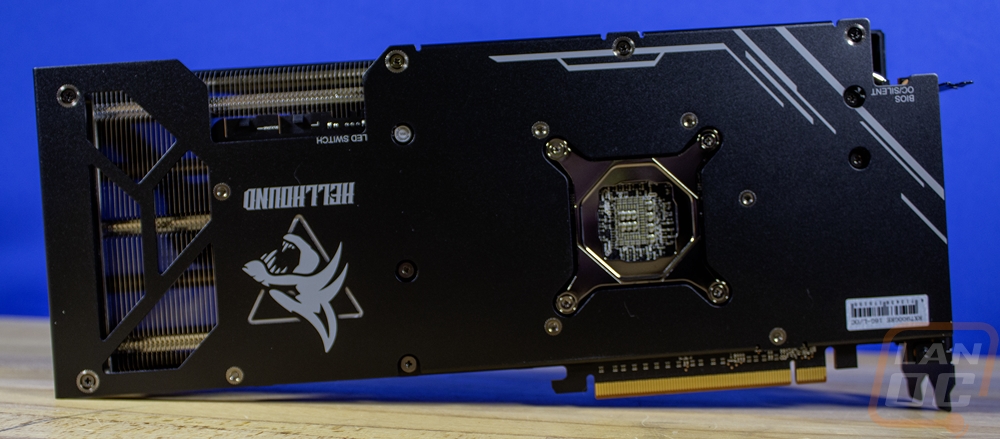
Looking around at the top, bottom, and edge of the Hellhound RX 7900 GRE gives us a little more information on the cooler design as well. I also like that we see the backplate being attached to the heatsink with standoffs along the top where the heatsink extends past the PCB. The heatsink has a copper heatplate sitting over the memory and GPU spreading the heat out along with having the heatpipes in direct contact with the heatplate as well. The heatpipes loop around on that end and also move up and run through the middle of the card on the far end of the card. They also have thermal pads on top of each VRM and the heatsink contacting the pads. The end of the Hellhound RX 7900 GRE has the metal backplate bend around to the end which gives it more strength as well as a full length metal bracket with threaded mounting holes for attaching an anti-sag support bracket. The fan shroud wraps around and ends right at the edge of the heatsink. The end also lets us see that there are 5 heatpipes in total. The fan shroud doesn’t cover up too much at the top or bottom of the card as well, leaving as much room as possible for airflow in addition to the small blow-through design which you can see starts where the PCB ends.

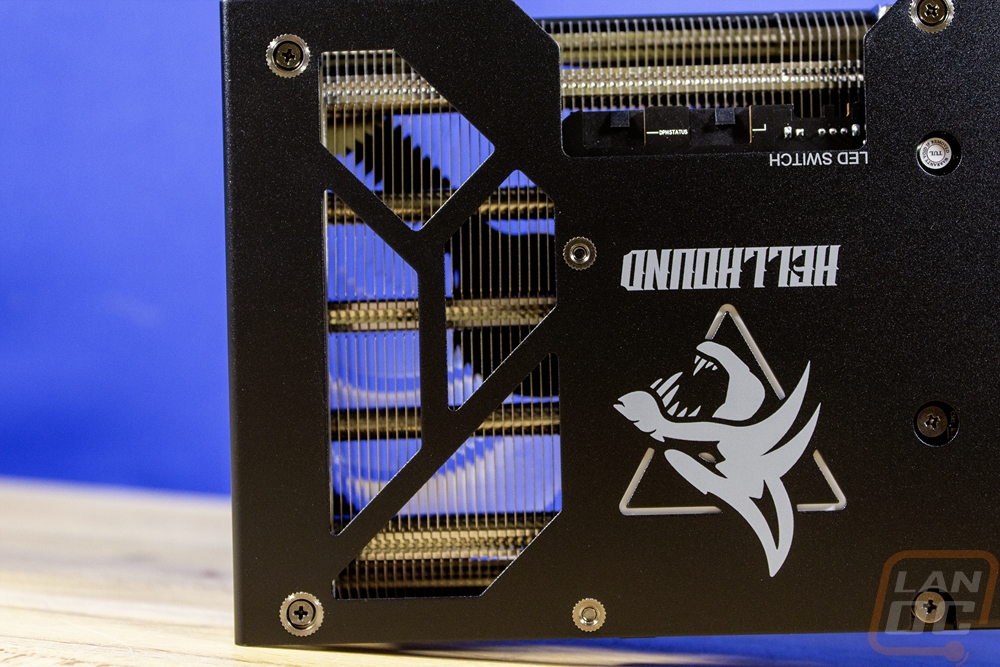
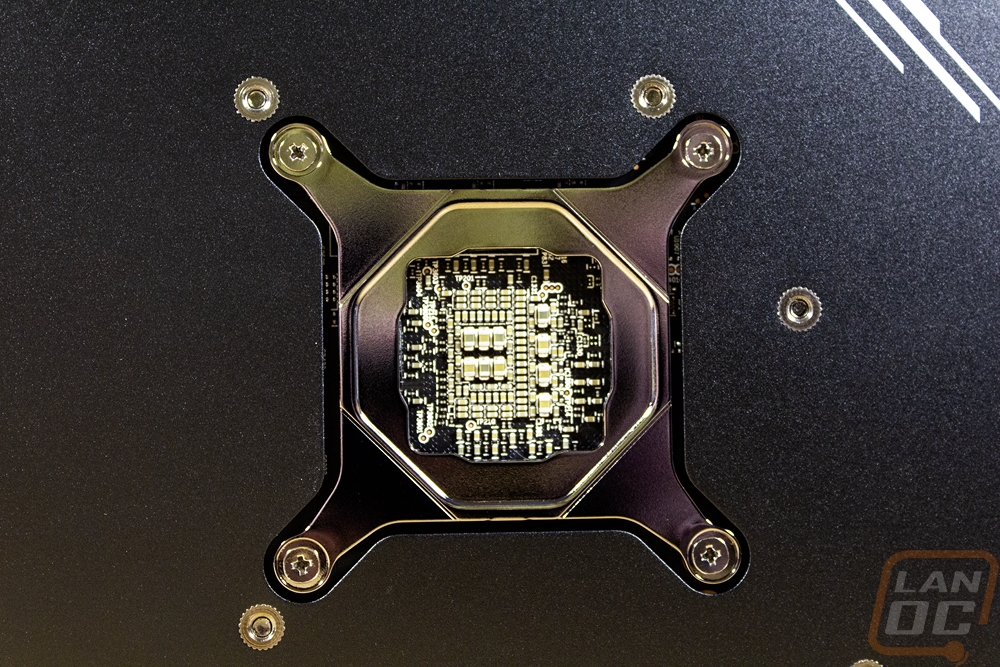
The back of the Hellhound RX 7900 GRE is covered with an aluminum backplate with a flat black finish on it to match the rest of the card. Where the rest of the card didn’t have any Hellhound branding or accents the backplate does have the Hellhound logo printed on it in a white/grey as well as a few hockey stick accents up near the front and top edge. The backplate is cut out around the back of the GPU so that is still exposed which is better for cooling and worse for protection. It also has large notches cut out of it for the BIOS switch at the front and the power connections and LED switch towards the back. Both of those have labels printed on them as well. Then at the end, there is the blow-through area of the card beyond the end of the PCB which has openings cut all over the backplate.
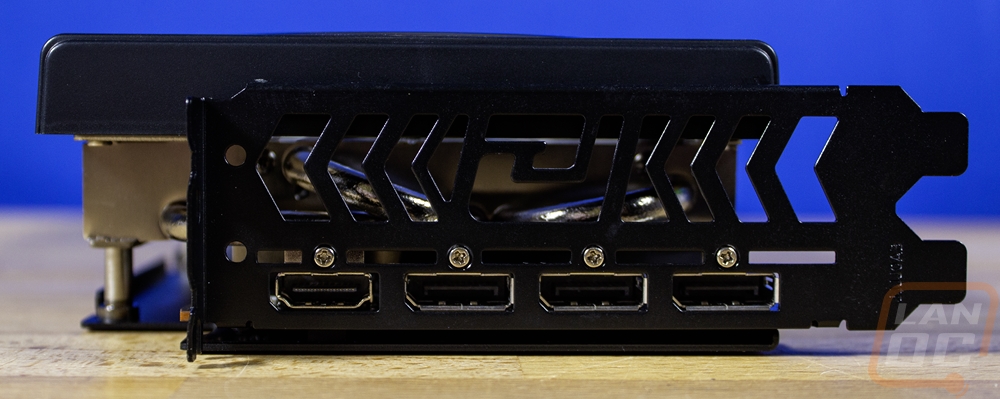
I’ve said it a lot, most cards should have a black PCI bracket but we rarely see it. The Hellhound RX 7900 GRE does have one though. It goes great with the blacked-out styling of the card and when installed in most cases will match the back of the case as well. The PCI bracket for the Hellhound RX 7900 GRE has ventilation cut into it with the PowerColor logo in the middle taking up most of the bracket. Then along the bottom edge, the card has four connections in total with three of those being DisplayPort and one HDMI up at the top making it easy to find. This is the “standard” layout these days so there isn’t anything wrong and it fits with the card which would be best paired with a more modern display that would be using DisplayPort.
With having the Hellhound RX 7900 XTX sitting in the office along with the Hellhound RX 7900 GRE I did of course have to get them next to each other. The styling on the Hellhound RX 7900 GRE is similar to the XTX model but it doesn’t have a few of the small accents on the front fan shroud, the GRE is extremely flat and simple. Having them next to each other shows how they do have the same length and height but the thickness is noticeably thicker with the XTX model.
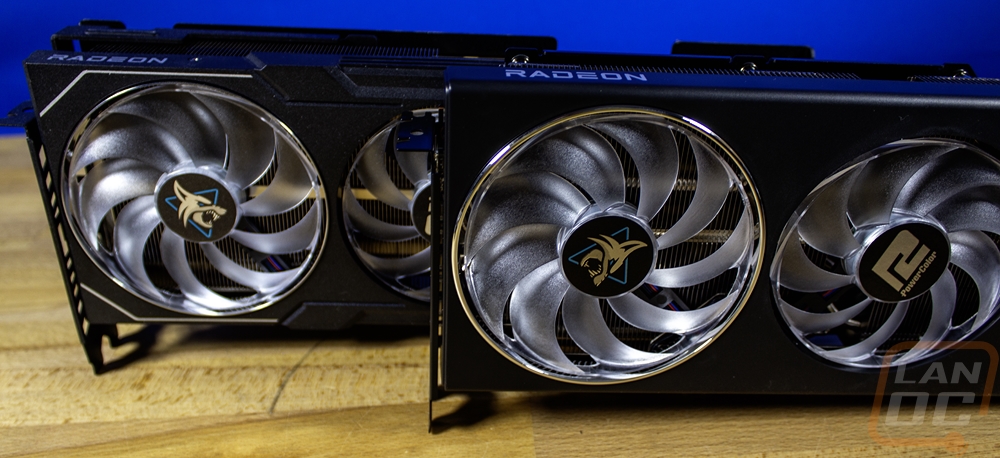

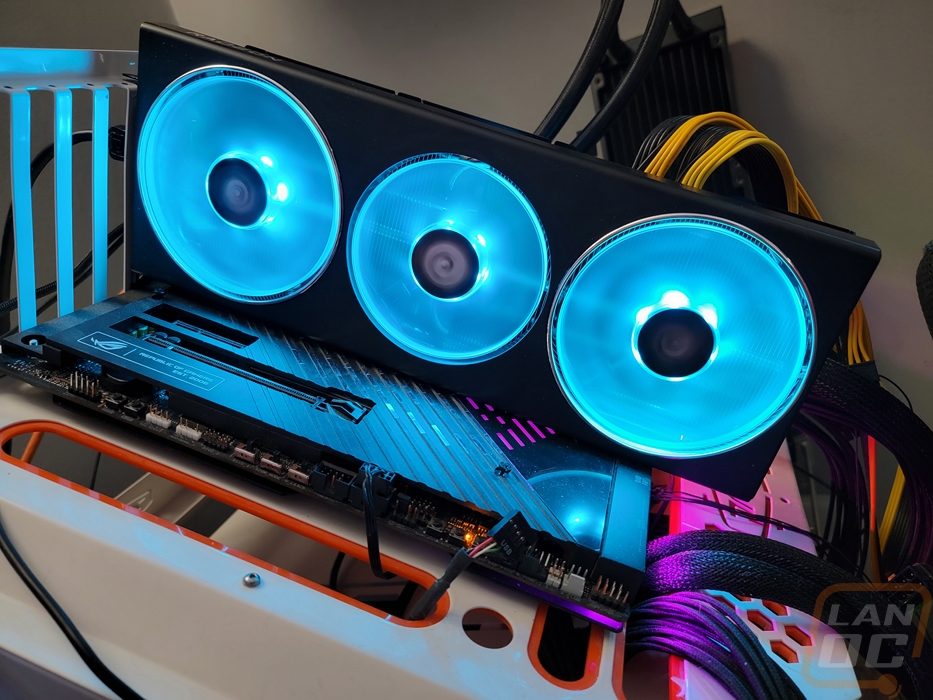
Before getting into testing I also took a look at the lighting for the Hellhound RX 7900 GRE. All three of the fans are clear and have lighting around them to help them light up completely and it does look great. This is the main styling for the card really. I should point out though that you only can pick between the two Hellhound signature colors the purple and blue. You can also turn the lighting off but this is not RGB. It means the two colors look better than if you tried to set them using RGB lighting but if those two colors don’t match your build, you are out of luck here. In the end, the lighting looks great but even just slipping in a white lighting option as well would be huge to give an option for those builds that the purple or blue wouldn’t match.